


Find the perfect fit by taking the AirPods Pro Ear Tip Fit Test
You’ll need to find the perfect AirPods Pro fit to take advantage of active noise cancellation.
We loved the first- and second-gen AirPods, which offer solid sound and the same seamless iPhone integration that AirPods Pro does, but they don’t let you perfectly customize the fit of the earbuds. AirPods Pro does, with three interchangeable ear tips included in the box.
After you pair your AirPods Pro, you can take an Ear Tip Fit Test on the iPhone to help you ensure the tips offer a solid seal and excellent sound. If you skip the test upon setup, you can return to it later to find the best fit. Here’s how.
- Pick the silicone tips that you think fit the best.
- Open the Settings app and select Bluetooth.
- Find AirPods Pro in the list of Bluetooth devices connected to your iPhone and tap the ‘i’ next to its status.
- Scroll down to Ear Tip Fit Test.
- Tap Continue.
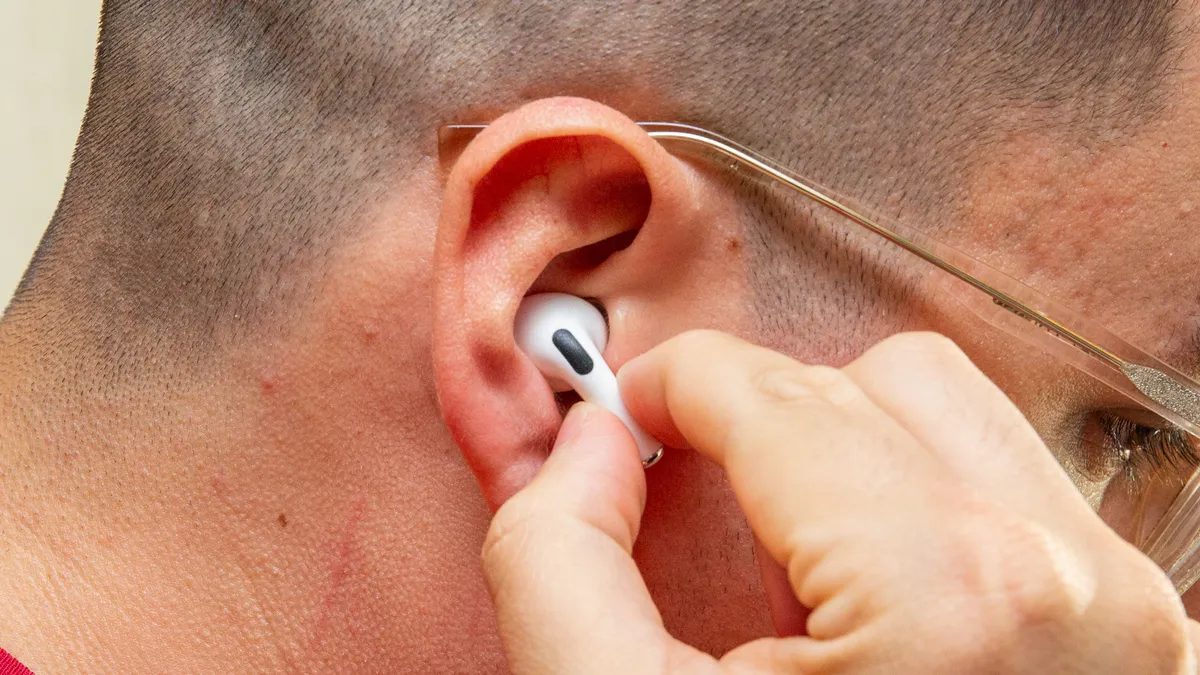
- Make sure the AirPods are securely nestled in your ears, then press play. Your iPhone will start playing a tune, using the AirPods Pro’s microphones, external drivers and software algorithms to determine if the audio quality and fit provide a good seal.

The test is quick, and helpful for figuring out if you need to swap out your tips for a different size. It’s possible that, like me, you’ll need a different size for each ear. Trust me: Finding the right fit is key to ensure that active noise cancellation and Transparency Mode work as intended. You’ll be glad you took the time to get it right.
