My streaming quality used to be terrible. Netflix looked blurry, Disney+ kept buffering, and I assumed the only solution was paying my internet provider for a faster plan or upgrading to one of the best Wi-Fi routers. I was ready to call them and upgrade when I decided to try a few things first.
Turns out, I didn't need faster internet at all. A few simple adjustments — some took five minutes, others just required changing a quick setting, improved my streaming quality without costing anything. Streaming looks better now, buffering has stopped, and I'm not paying an extra cent each month. Here's exactly what worked.
1. Move your router to a better location

I had my router sitting on the floor in a corner cabinet at one end of the house. Moving it made a surprising difference in streaming quality throughout my home.
Wi-Fi signals weaken as they pass through walls and floors, and routers positioned low or tucked away in closets limit their range. Place your router high up, on a shelf or mounted on a wall, and in a central location if possible. Fewer walls between the router and your streaming devices means stronger signal and faster speeds.
If your router has external antennas, position one vertically and one horizontally for better coverage in all directions. On the streaming device side, avoid placing it inside cabinets or entertainment centers if you can help it. The more open space around both the router and the device, the better.
I moved my router from the floor to a shelf in a more central room, and streaming improved noticeably in the back bedrooms where buffering had been constant. It's a free fix that takes five minutes of your time.
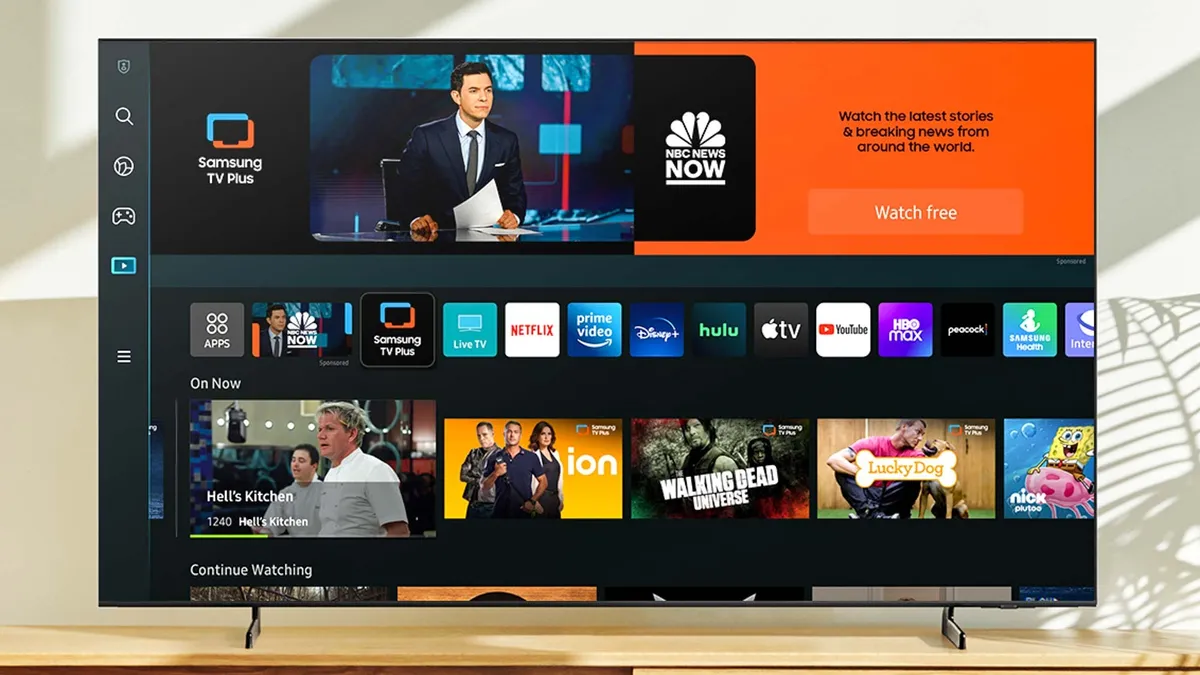
2. Adjust streaming quality settings

Most streaming apps automatically adjust video quality based on your connection speed, but sometimes they default to lower quality than your internet can actually handle. Check your app settings for video quality or playback options.
Netflix, Disney+, YouTube, Amazon Prime Video, and most other streaming services let you manually set quality levels instead of relying on automatic detection. Look for settings labeled Video Quality, Playback Settings, or Stream Quality within each app.
If your streams look blurry but you rarely experience buffering, your apps might be choosing lower quality unnecessarily. Switching from Auto to a higher manual setting can fix this. The exact location of these settings varies by app and device, but they're typically found in the app's settings menu under your profile or account section.
3. Clear app cache and close background apps
Streaming apps accumulate temporary data over time that can slow performance and cause buffering. Clearing this cache frees up resources for smoother streaming.
The process varies by device, but most smart TVs and streaming devices have an app management section in settings where you can clear cache for individual apps. On some devices, uninstalling and reinstalling the app achieves the same result.
Background apps running on your streaming device also use processing power and memory that could go toward your stream. Also, remember to close any apps you're not actively using.
I cleared the cache on my streaming apps after months of not doing it, and they loaded faster and buffered less afterward. It's easy to forget about this basic maintenance, but it makes a difference.
4. Reduce network traffic from other devices

Your internet connection has limited bandwidth. When multiple people stream, game, or video call simultaneously, everyone's connection suffers and quality drops.
I noticed my worst buffering happened during evenings when my household was all online. Streaming worked perfectly during the day with fewer devices connected. The problem wasn't my internet speeds, it was too many devices competing for bandwidth.
If you have slower internet, timing matters. Schedule large downloads, system updates, and cloud backups for overnight when nobody's streaming. If you can't wait until nighttime, pause any active downloads. Game updates and software downloads consume significant bandwidth even when running in the background.
Managing network traffic requires planning, but it's free and works immediately when bandwidth is limited.
5. Test your speed to measure improvements

After making changes, test your internet speed to see what's actually reaching your streaming device. The best speed test apps like Speedtest (iOS / Android ), or Netflix's Fast.com show your current download speed.
Run a speed test before making changes, then test again after each adjustment to see which fixes make the biggest difference. When I tested before and after moving my router, I saw speeds jump up without needing to change my internet plan at all.
Testing shows you exactly where the problem is and confirms when you've fixed it. If speeds are still too low after trying everything, then upgrading your internet plan might actually be necessary. But in my case, and likely yours, simple fixes will solve the problem.

Follow Tom's Guide on Google News and add us as a preferred source to get our up-to-date news, analysis, and reviews in your feeds. Make sure to click the Follow button!
More from Tom's Guide
- 5 free ways to upgrade your smart TV right now
- Can't find anything good on Netflix? Try these secret codes
- 7 hidden Roku tricks everyone needs to know