Club Benefits


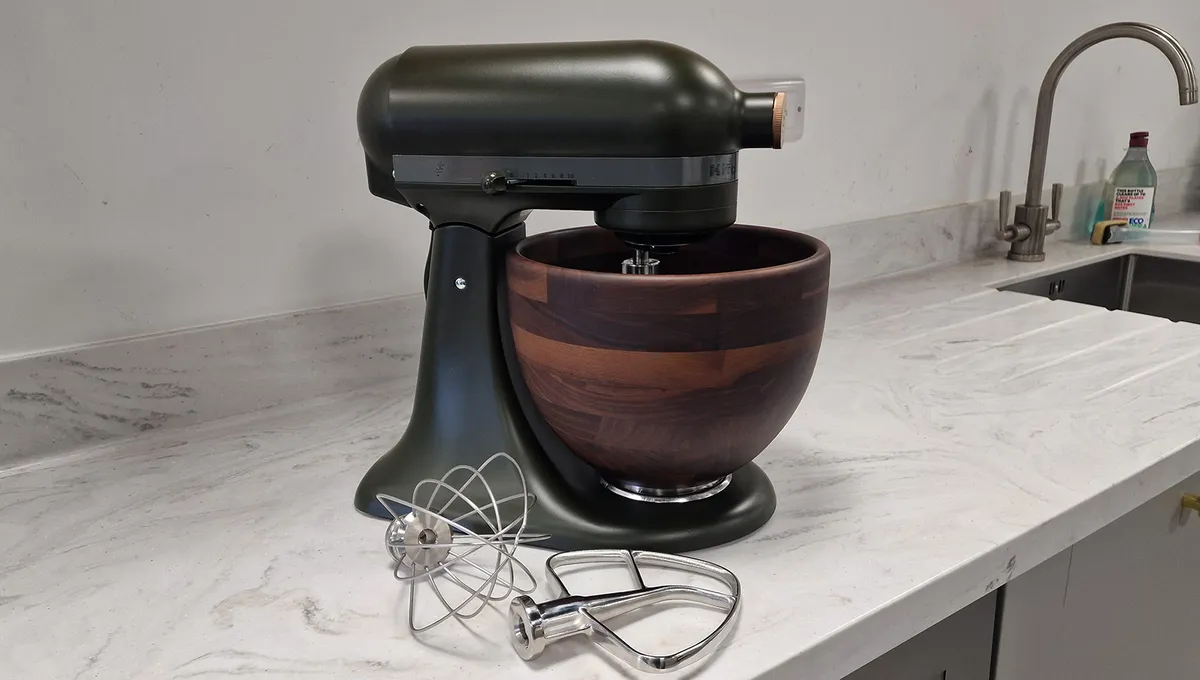
KitchenAid produces one of the best stand mixers you can buy, and apart from providing eye candy on your countertop, they are sturdy appliances that are built to last. It’s one of the reasons why KitchenAid stand mixers are so sought after.
But even though they are robust stand mixers, if you’re a regular baker and put your KitchenAid stand mixer though a ton of mixing, whisking and kneading, it may need a little tweak to keep it working smoothly.
So, rather than replacing your KitchenAid stand mixer when it starts to sound under strain, I've discovered a fix you can do yourself. Don’t let me stop you from replacing your KitchenAid stand mixer if you’ve been tempted by a different colorway, such as Spearmint, KitchenAid's new color for 2006.

Re-grease rather than replace
“Many KitchenAid owners are discovering that their stand mixer isn’t broken. It simply needs re-greasing,” says Zach Dinicola, founder at Mr Mixer, a KitchenAid repairer.
In fact, he says that stand mixers were never designed to be disposable and routine maintenance can dramatically extend their lifespan.
“Most consumers don’t realize that stand mixers contain internal food-grade grease that gradually breaks down,” explains Dinicola. “Years of storage, holiday baking marathons, and heavy doughs accelerate the process.”
And he adds that a stand mixer that sounds rough or slows down after heavy use usually needs maintenance, rather than replacement. You may also notice oil dripping from the planetary hub or running down the shaft, reducing mixing performance, especially with large quantities, and a loud grinding sound when it’s mixing.
To give your stand mixer new life, Dinicola recommends re-greasing. Apart from reducing noise during operation, he says, “A simple re-greasing keeps the gears running smoothly, protects the motor and helps a mixer stay reliable for decades,” he says.
How to re-grease your KitchenAid stand mixer

While you can call on a professional to service and re-grease your stand mixer, it is possible to do it yourself. Even though I was skeptical at first, with the right tools, I'd be confident in giving it a go.
All you need to know is how to disassemble your KitchenAid stand mixer to access the gears. Then, how to remove the old grease and reapply fresh grease before putting everything back together.
The steps below are recommended by Appliance Parts Pro and cover both the KitchenAid tilt-head and KitchenAid bowl-lift stand mixers.
What you need:
Flat-head screwdriver
Philips screwdriver
Clean rag
Food-grade grease
1. Disassemble your stand mixer
Remove the back cap: Take the Phillips screwdriver and remove the screws on the back cap on the upper body of the mixer. Once removed, pull the back cap towards you and lift it up slightly.
Tilt-head or bowl-lift models: If you have a tilt-head model, tilt the head back and lock it into place. For a bowl -lift model, lower the bowl and remove it.
Remove the trim band: Using the Phillips screwdriver, remove the two screws located on trim band located around the top of the mixer’s head. Then, pull the band away to lift it out. This exposes the motor housing and part of the internal wiring.
Remove the top housing: Unscrew the screws around the perimeter of the top motor housing, then lift off the cover. This exposes the gearbox and motor assembly.
Remove the planetary base: Turn the mixer upside down and look at the planetary hub where the attachments connect. Using a flathead screwdriver, remove the retaining pin that secures the planetary in position. You can now slide the planetary straight down and off the shaft.
Expose the gearbox: Remove the screws securing the gearbox cover to reveal the gears and grease.
2. Get to work on the grease
Clean out the old grease: Remove as much of the grease as you can, using a plastic scraper. Then, take a clean rag and wipe down the gears. You may find using a toothbrush helps to get into crevices, but avoid damaging the gears.
Reapply fresh grease: Take a generous amount of the food-grade grease and apply it to the gears. Cover each gear tooth with an even layer, ensuring any old grease is covered.

3. Reassemble your stand mixer
Replace the gearbox: Attach the cover and secure the screws. Take time to wipe away any excess grease that comes out.
Attach the planetary base: Turn the mixer upright and reinstall the planetary assembly. Align it with the shaft and push it into place, then reinsert the retaining pin.
Secure the top housing and trim band: Secure the motor housing with the perimeter screws, followed by the rear cover and screws.
Clean up: Wipe down your machine to remove any residue.
4. Test your stand mixer
Plug your appliance in and run it on a low, medium and high speed for a few minutes. If you've been successful, you should notice that your stand mixer runs more smoothly while making less noise.
Luckily, you don't have to re-grease your KitchenAid stand mixer that often. It all depends on how much use it gets, but every 3-5 years is probably sufficient.

Follow Tom's Guide on Google News and add us as a preferred source to get our up-to-date news, analysis, and reviews in your feeds.
More from Tom's Guide