How to set up your Sony Android TV
Simplify your Sony Android TV setup with this guide to getting started. how to connect your Sony smart TV to Wi-Fi
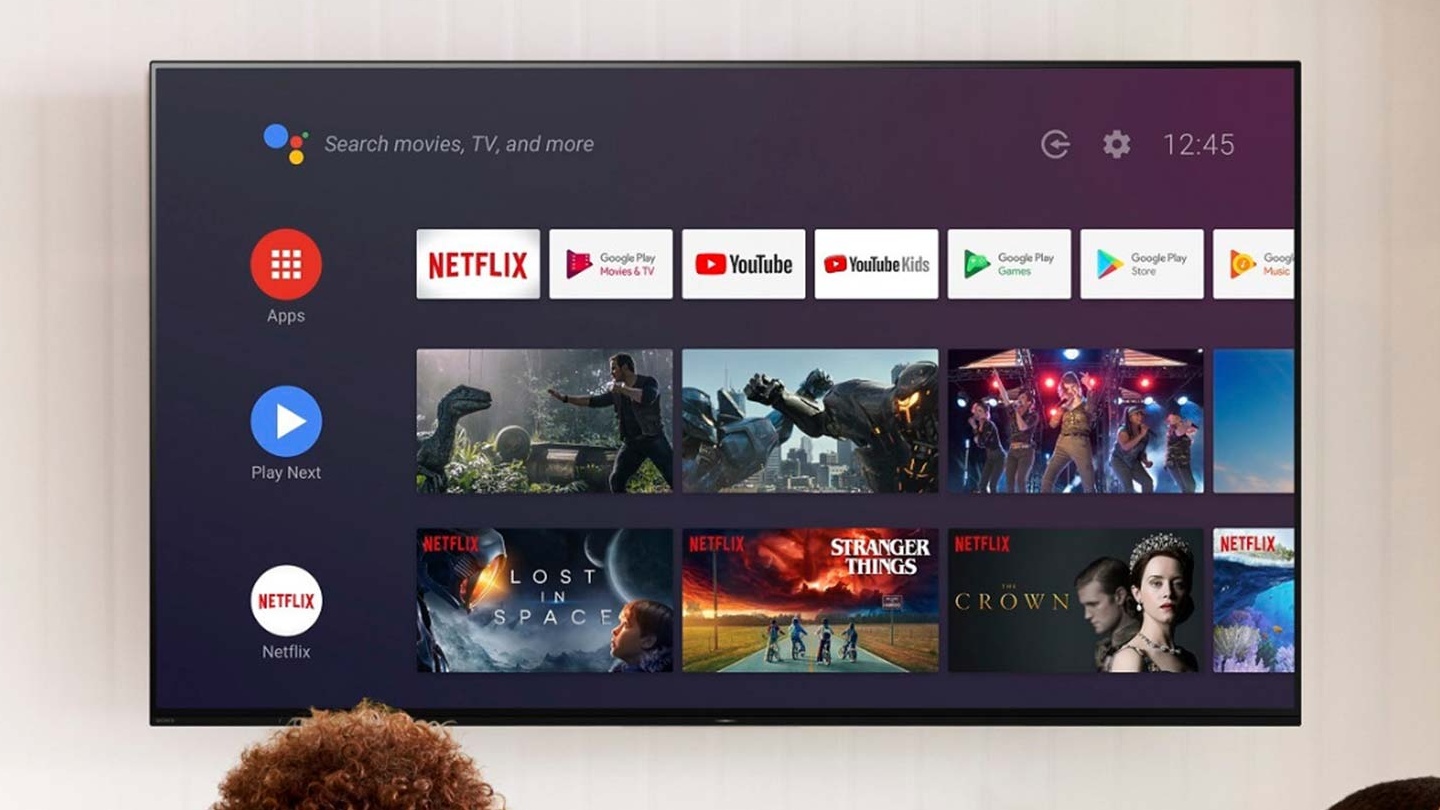
If you’re searching for how to set up your Sony Android TV, look no further. Getting a new TV holds a myriad of benefits — improved audio, slicker interface, the latest smart home features and more. But there are certain steps you’ll need to take for the Android TV setup process before you can take advantage of your entertainment upgrades.
The Sony 2020 TVs are powered by Android TV, the Google-based smart TV platform that integrates your set with the best Google Home compatible devices and puts the best Google Assistant skills at your disposal.
- The best TVs rankings right now
- Have you read our Sony Bravia A8H OLED TV review?
With built-in Chromecast, hands-free controls and thousands of apps to choose from, it’s no wonder you’re motivated to set up your Sony Android TV the proper way.
Android TV setup: Set up Sony Bravia TV and other Sony TVs
Android TV setup is a rather straightforward affair, but we’ve detailed it below so you’ll be catching your favorite shows and movies in no time. Knowing how to connect your Sony smart TV to Wi-Fi will prepare you for a majority of the process, but there are few additional steps you’ll want to take for making the most of your new Sony set.
You’ve got your TV out of the box and powered on, so it’s time to set up your Sony Android TV.
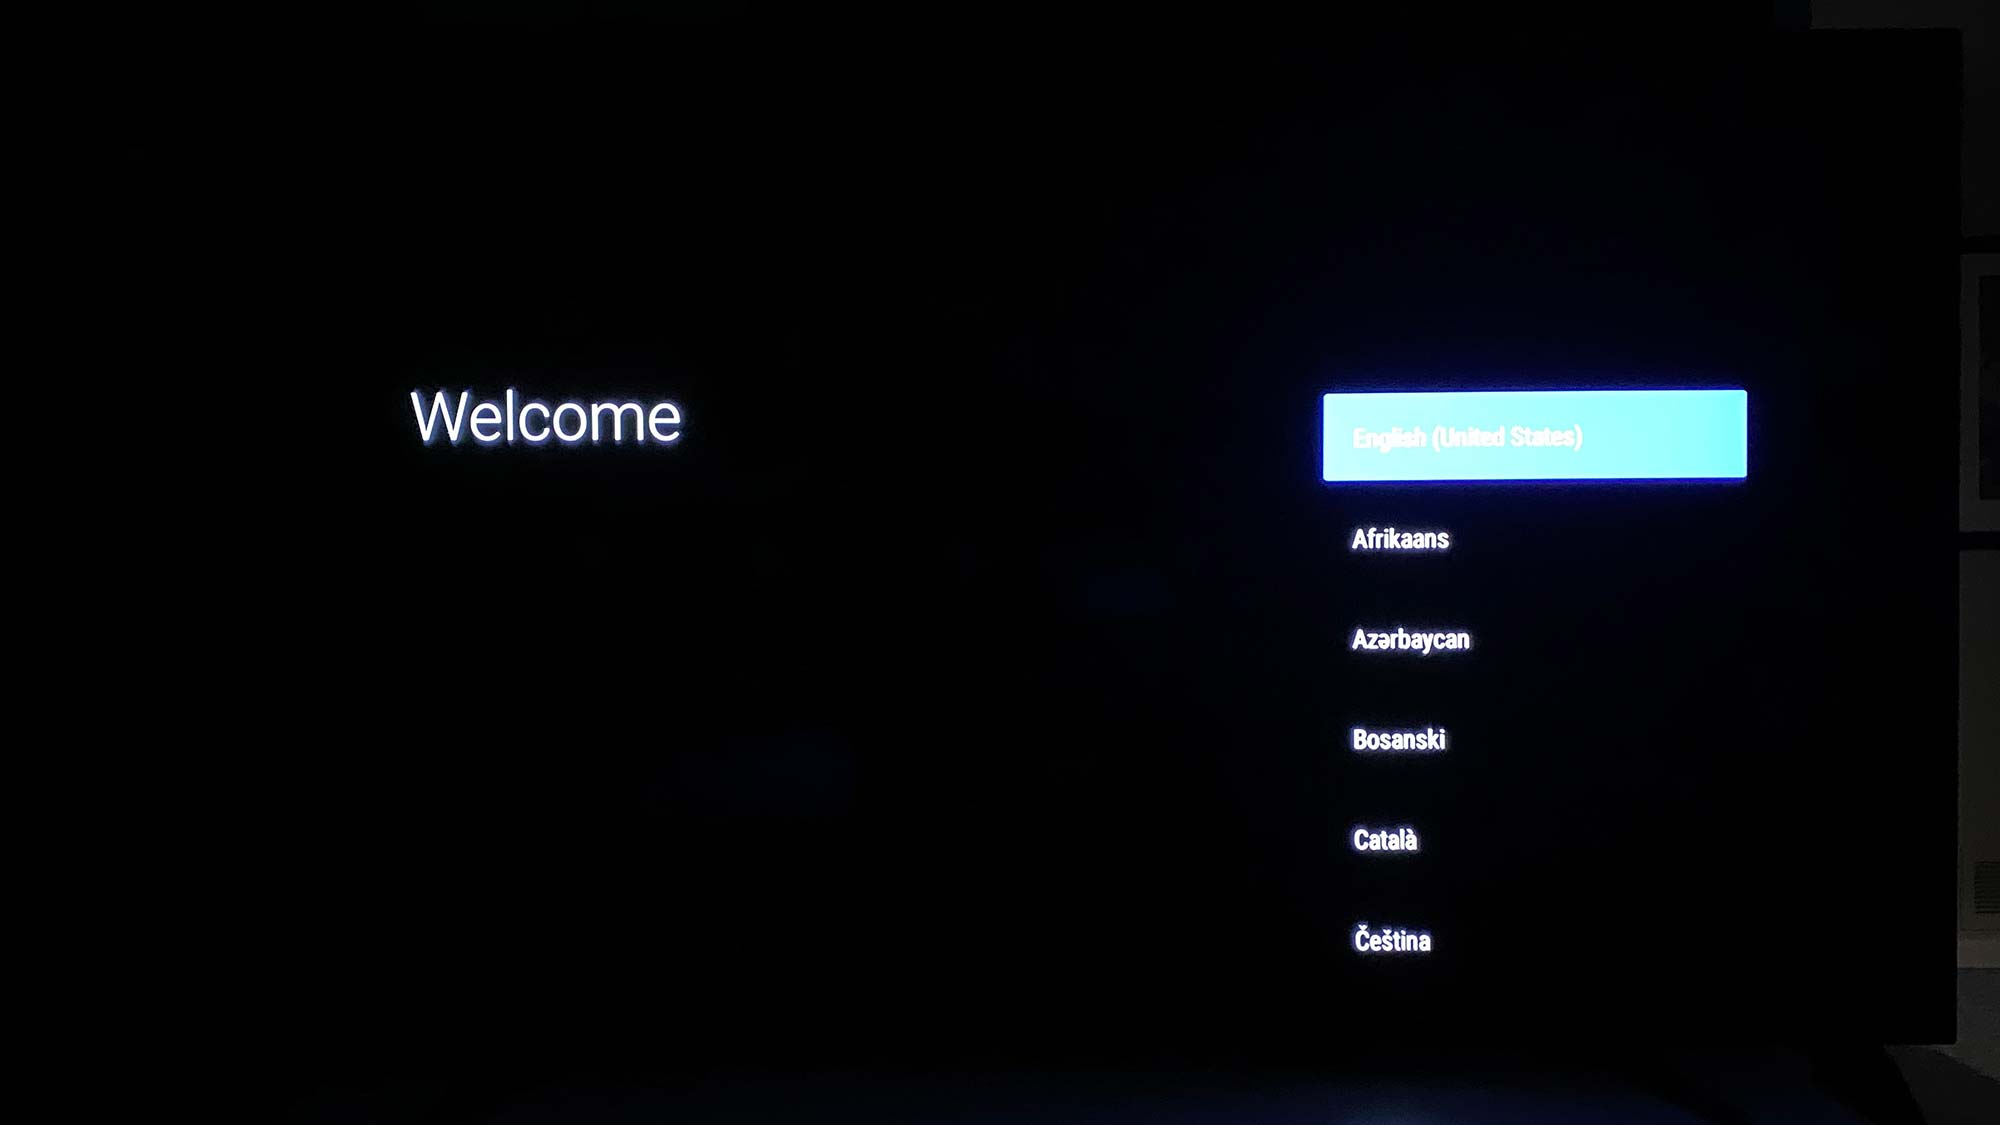
1. Select your language preference from the Welcome page.
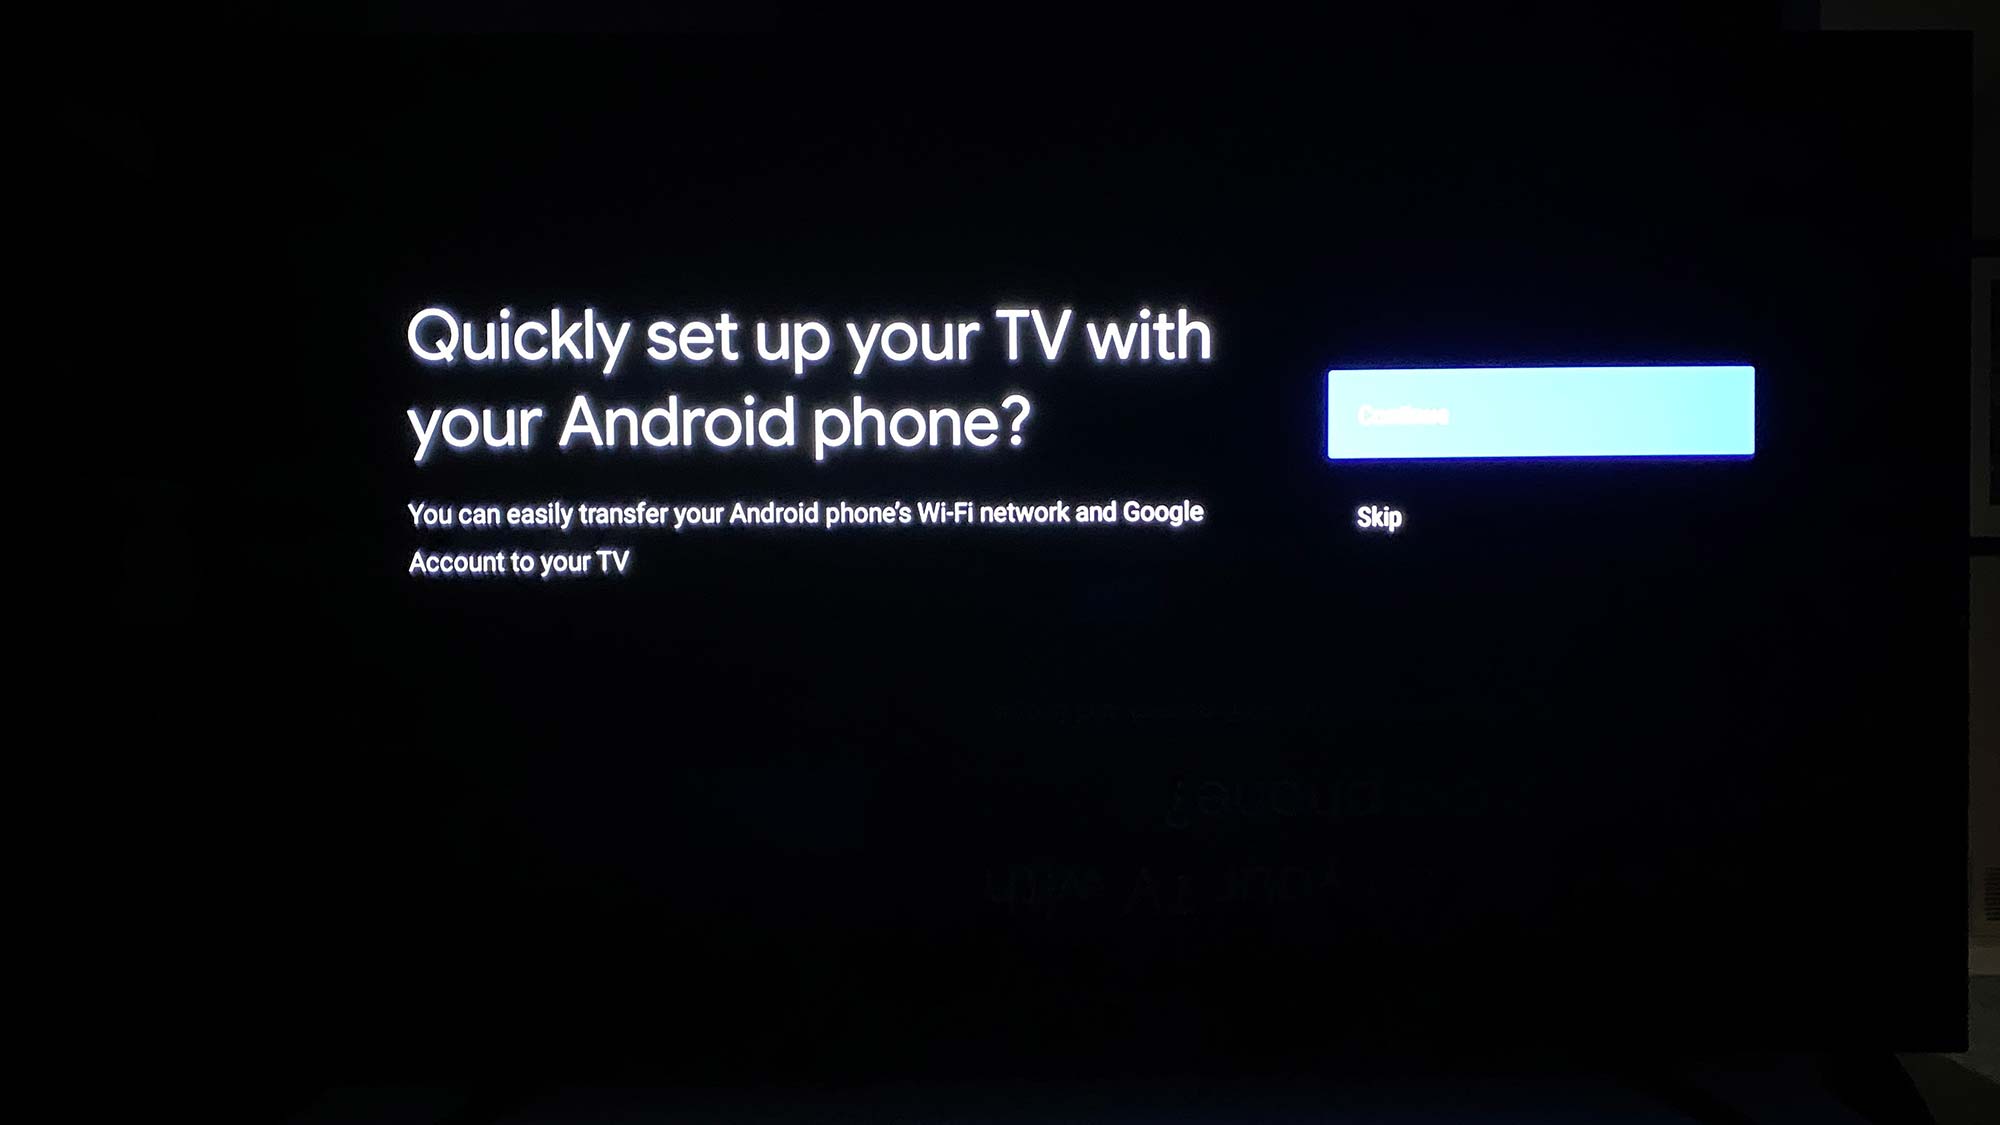
2. Decide whether you want to set up your TV with your Android phone. A perk of Android TVs for Android smartphone users is that your phone can quickly transfer your network settings and Google account to your TV with Quick Setup. Select Skip if you do not have an Android phone or want to continue with the manual set up instructions.
Get instant access to breaking news, the hottest reviews, great deals and helpful tips.
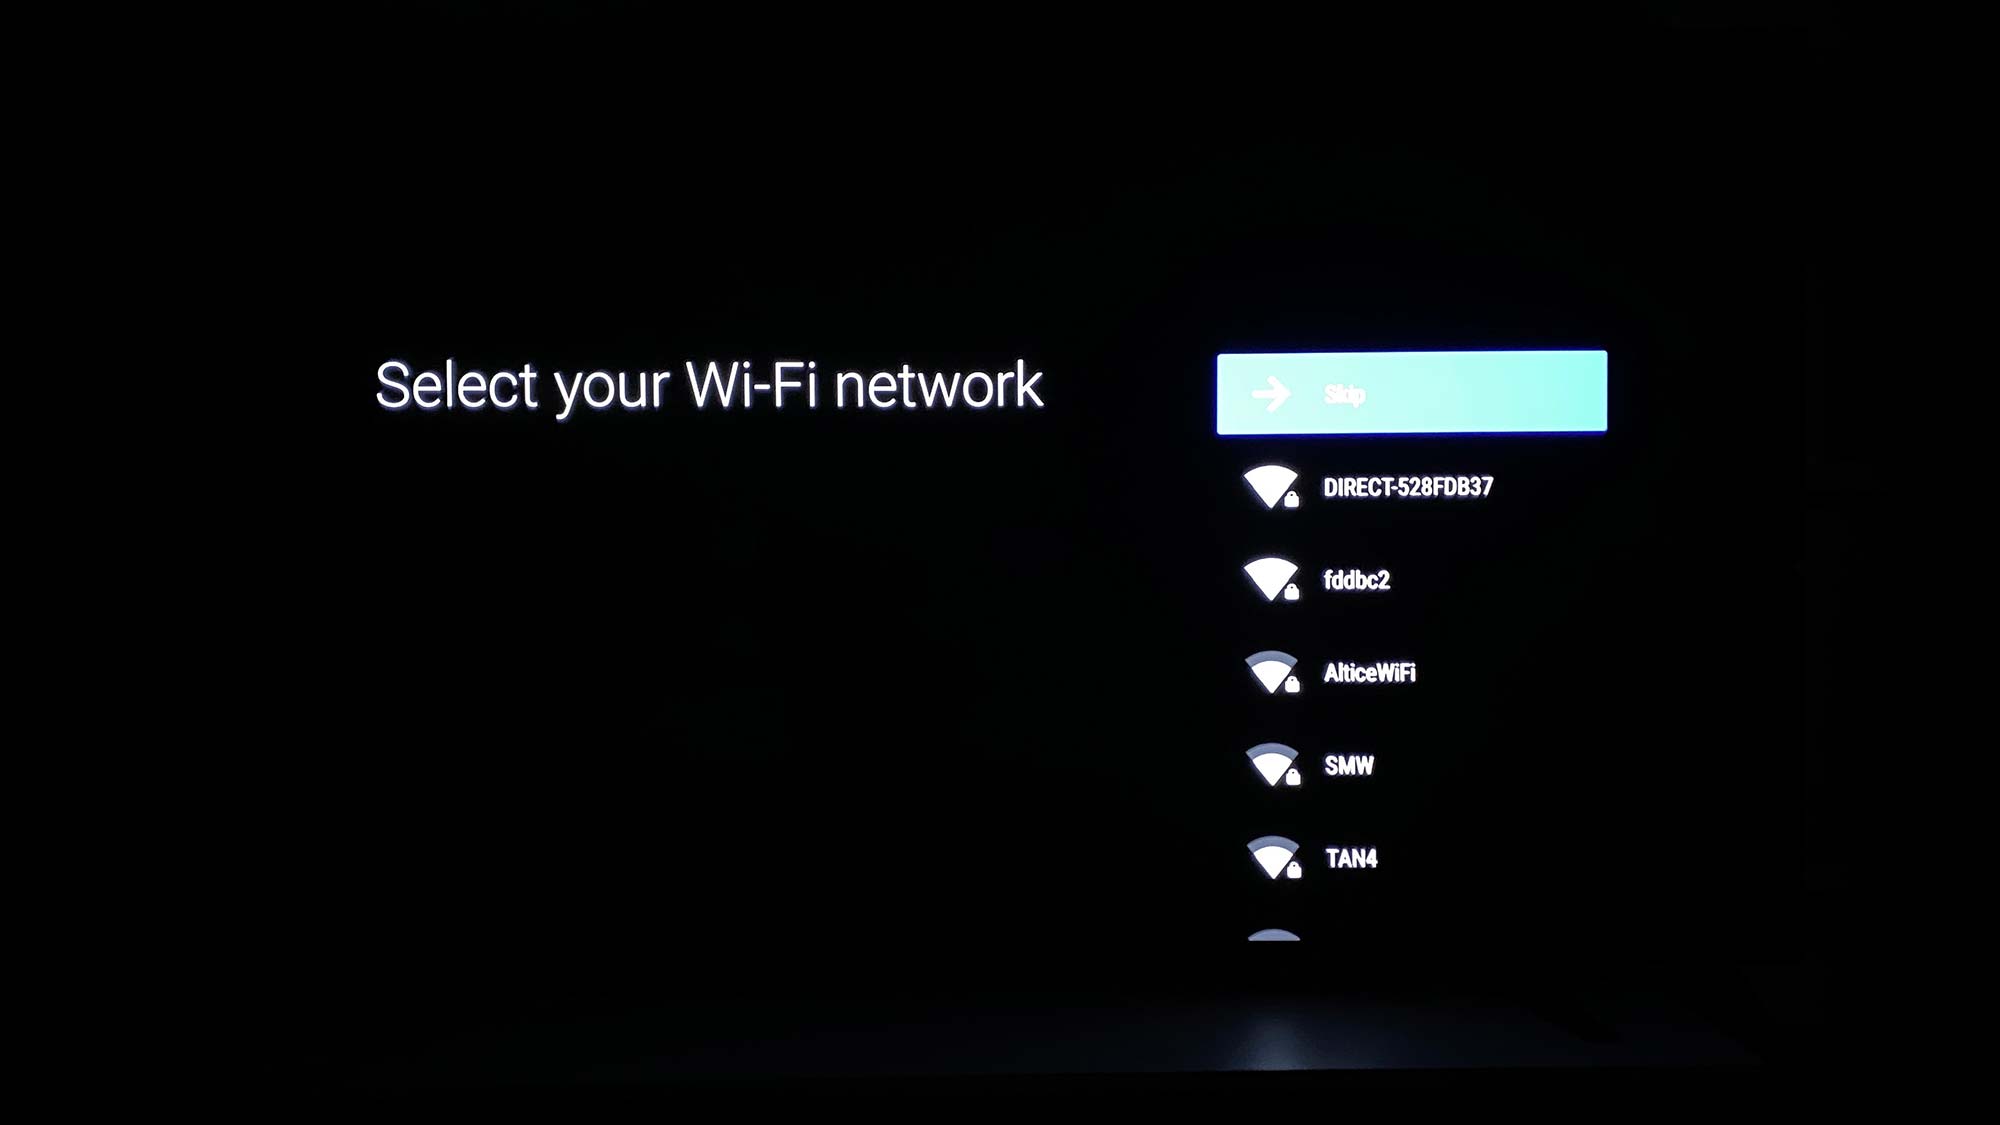
3. Select your W-Fi network name and enter your password, or select Skip. You can connect your Sony smart TV to Wi-Fi at any time. See below for steps on how to run the Sony smart TV Wi-Fi setup process.
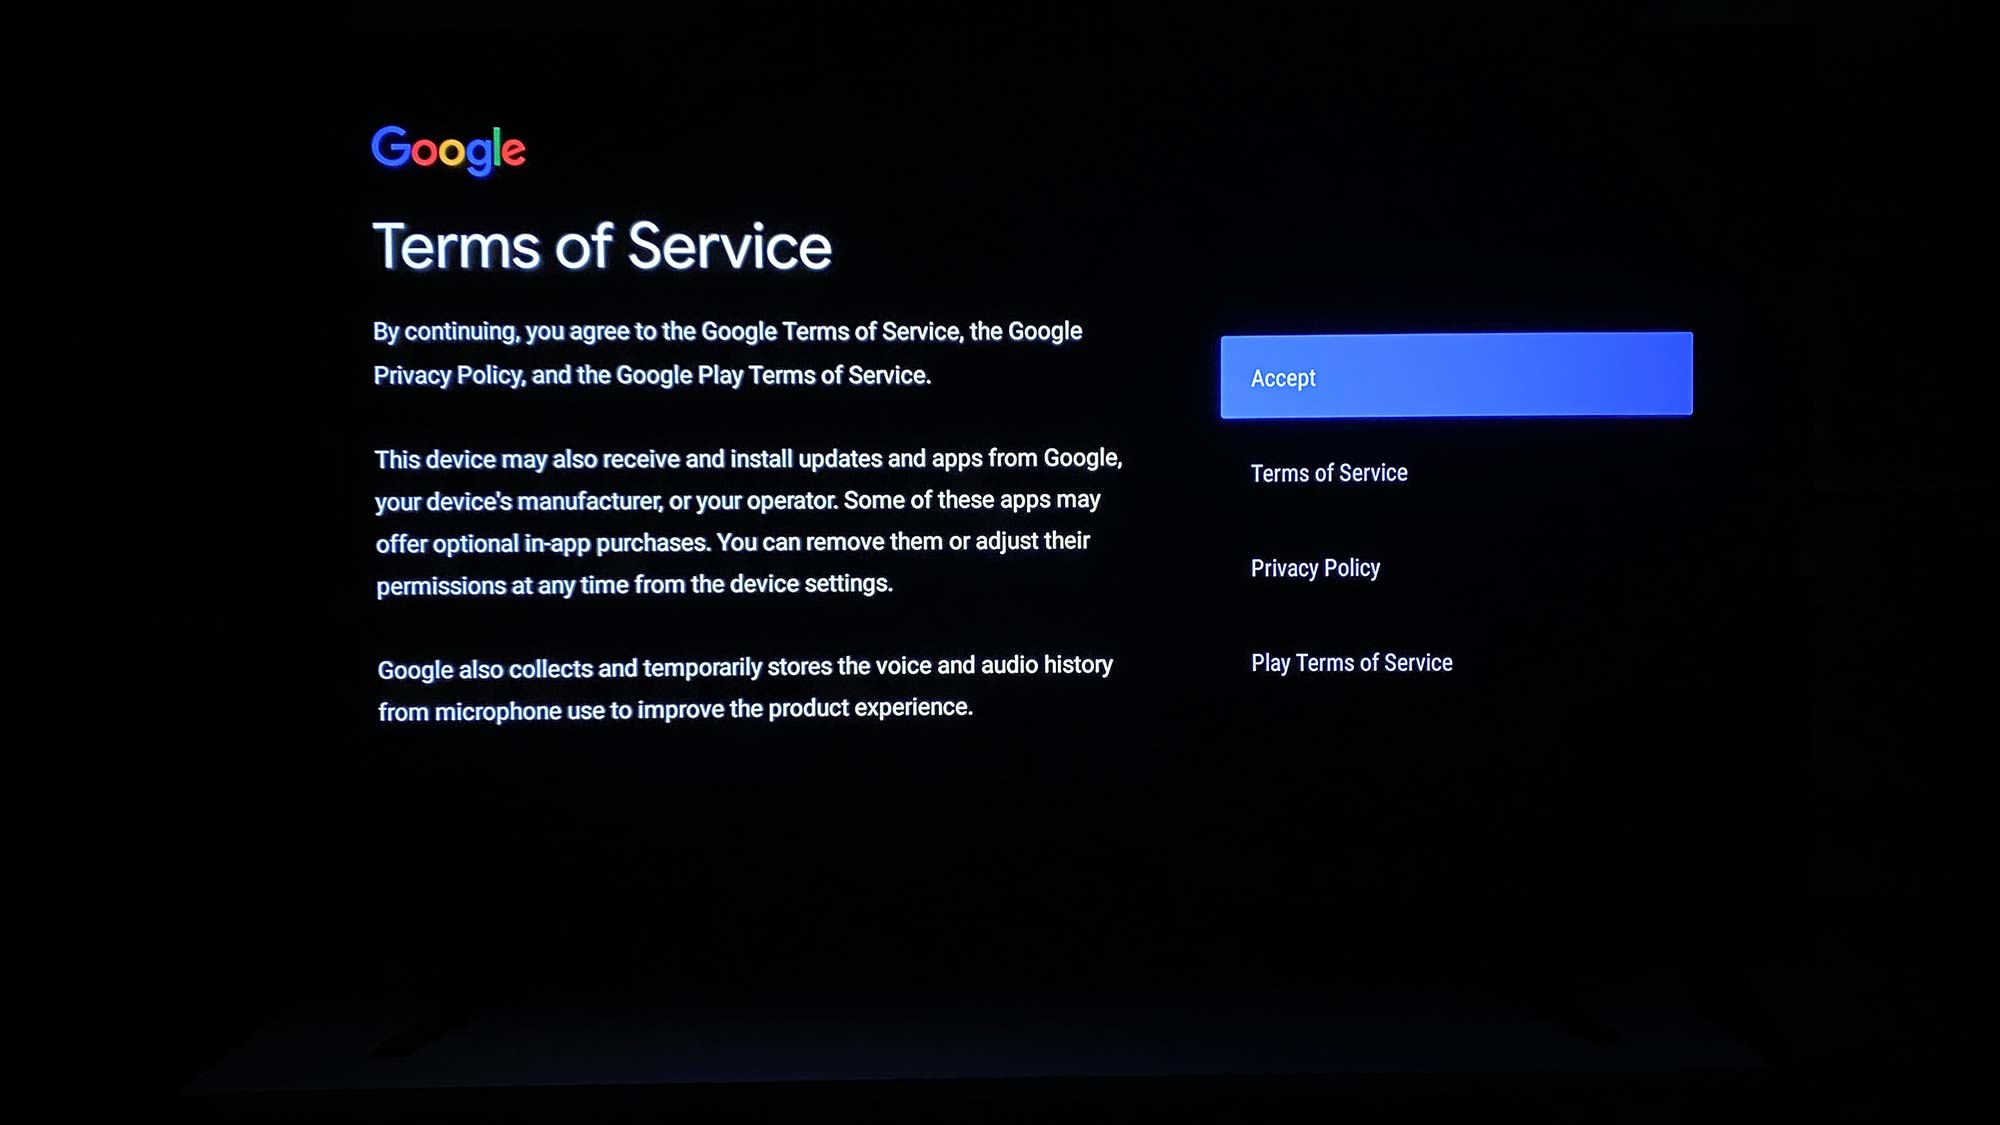
4. Select Accept on the Terms of Service page.
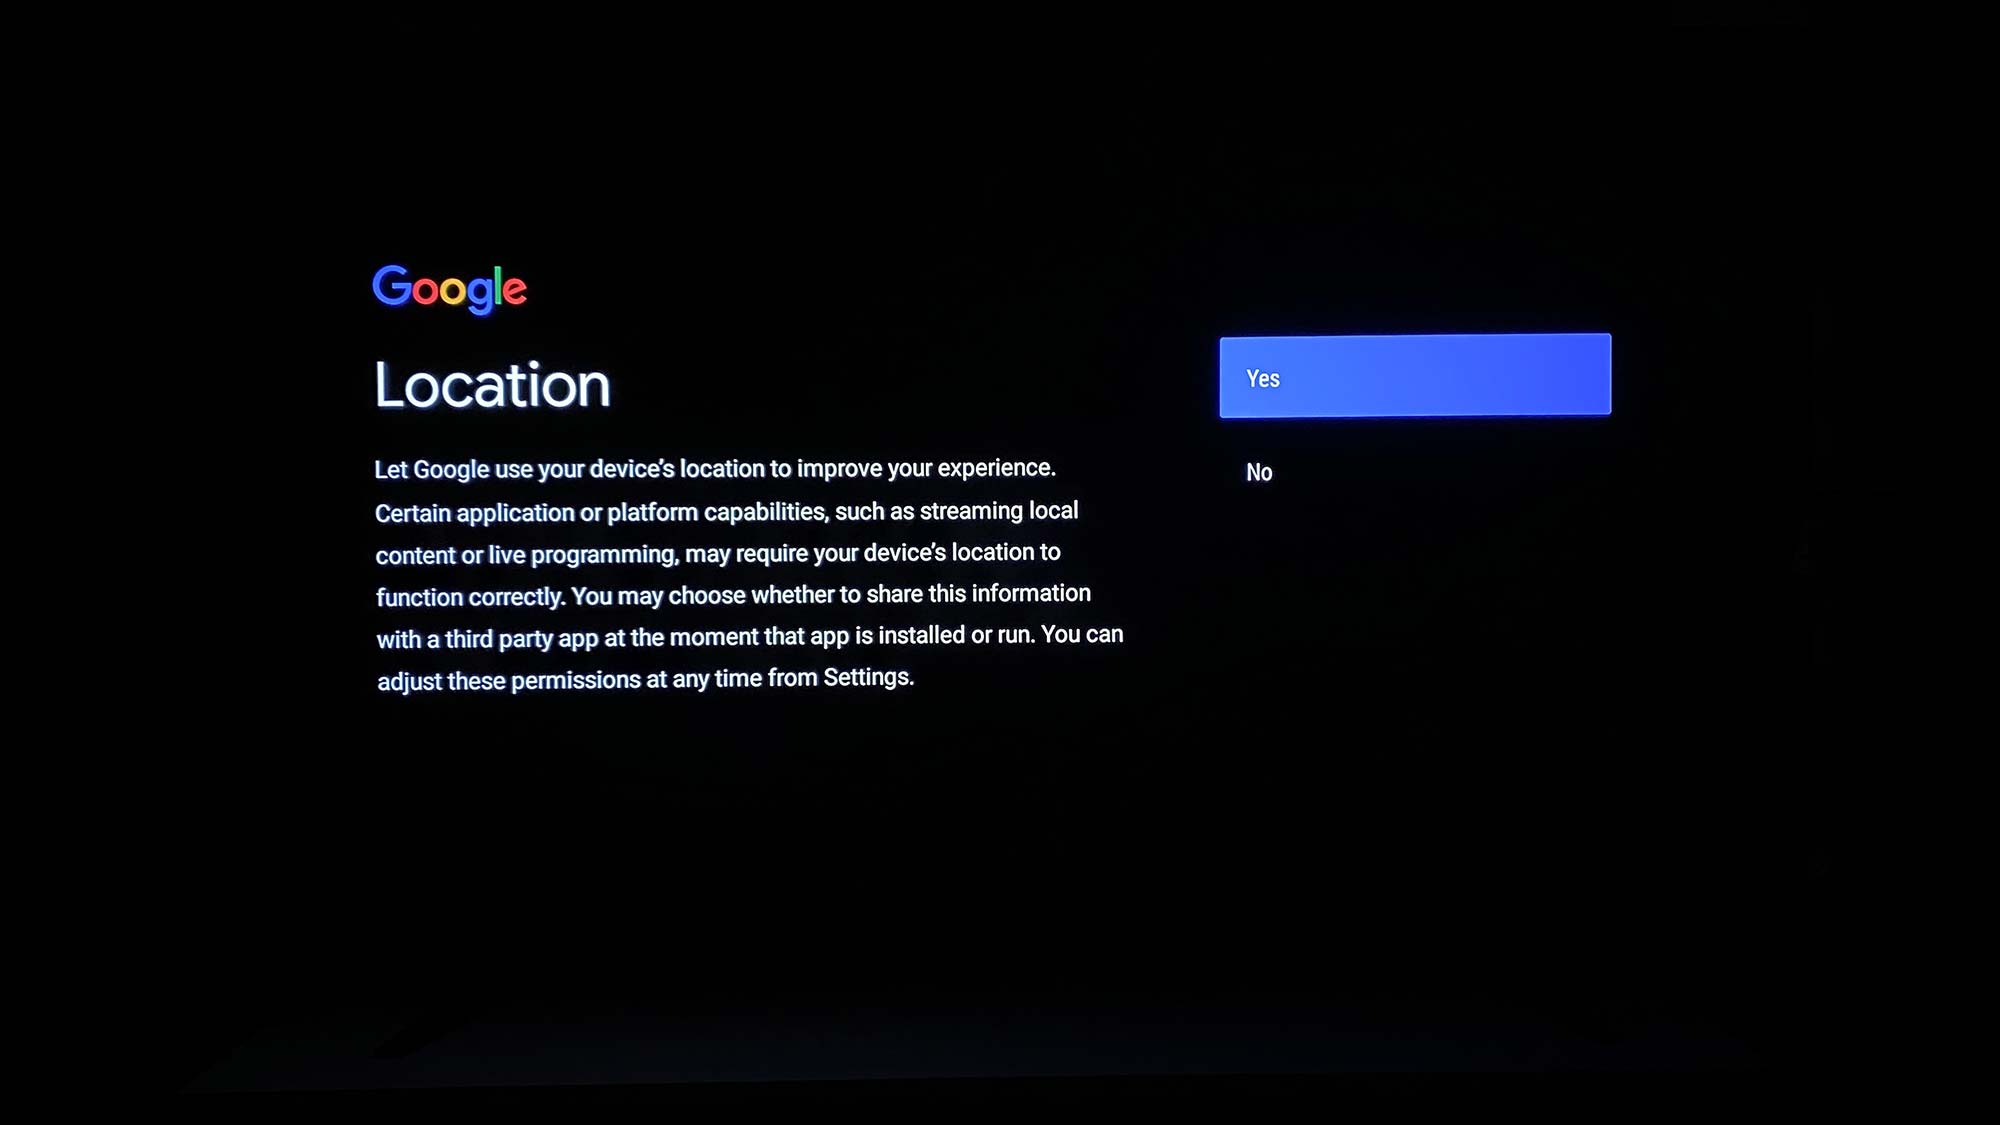
5. Select Yes or No to decide whether you want to let Google use your TV location to personalize your experience with local programming. The choice is yours.
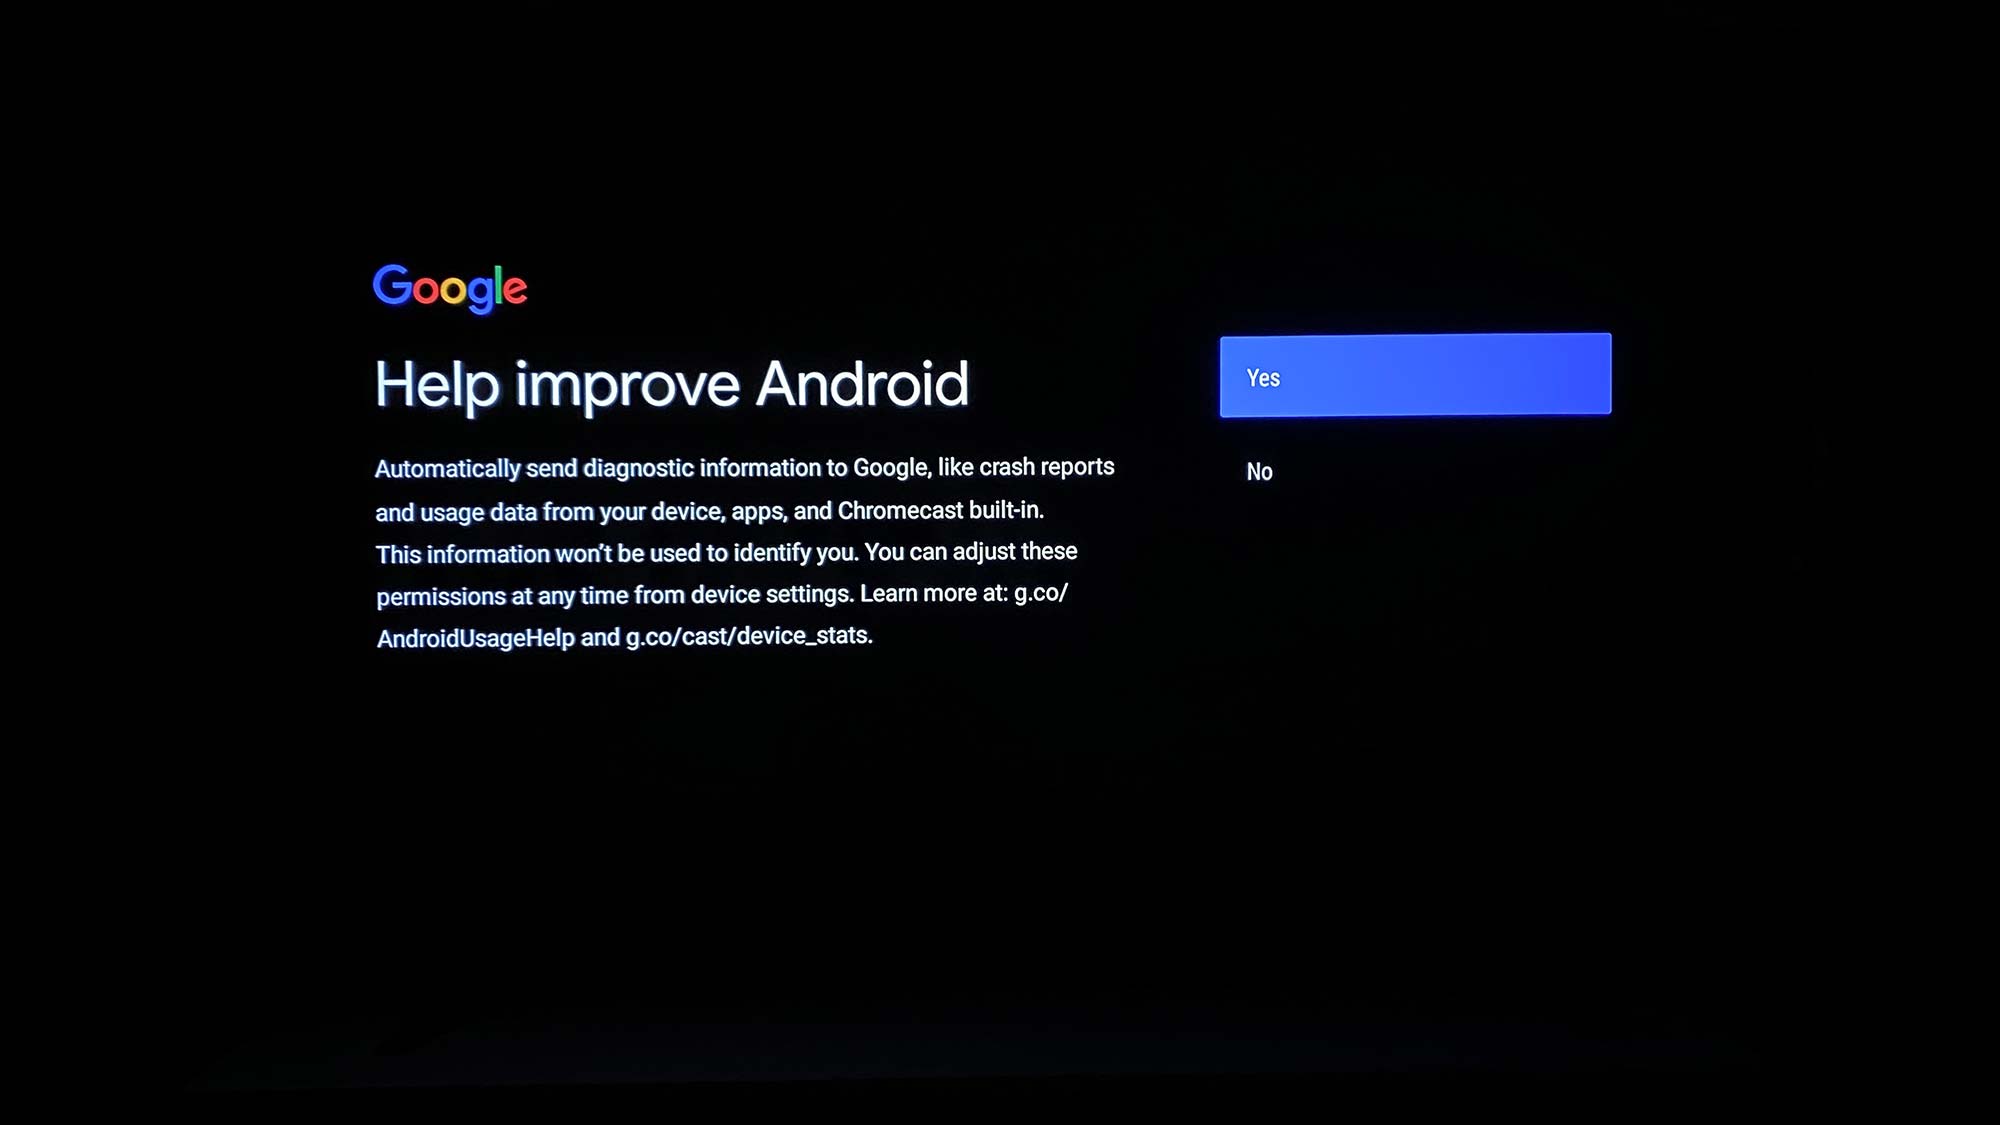
6. Select Yes or No to decide whether you want to send feedback to improve Android TV. Again, the choice is yours.
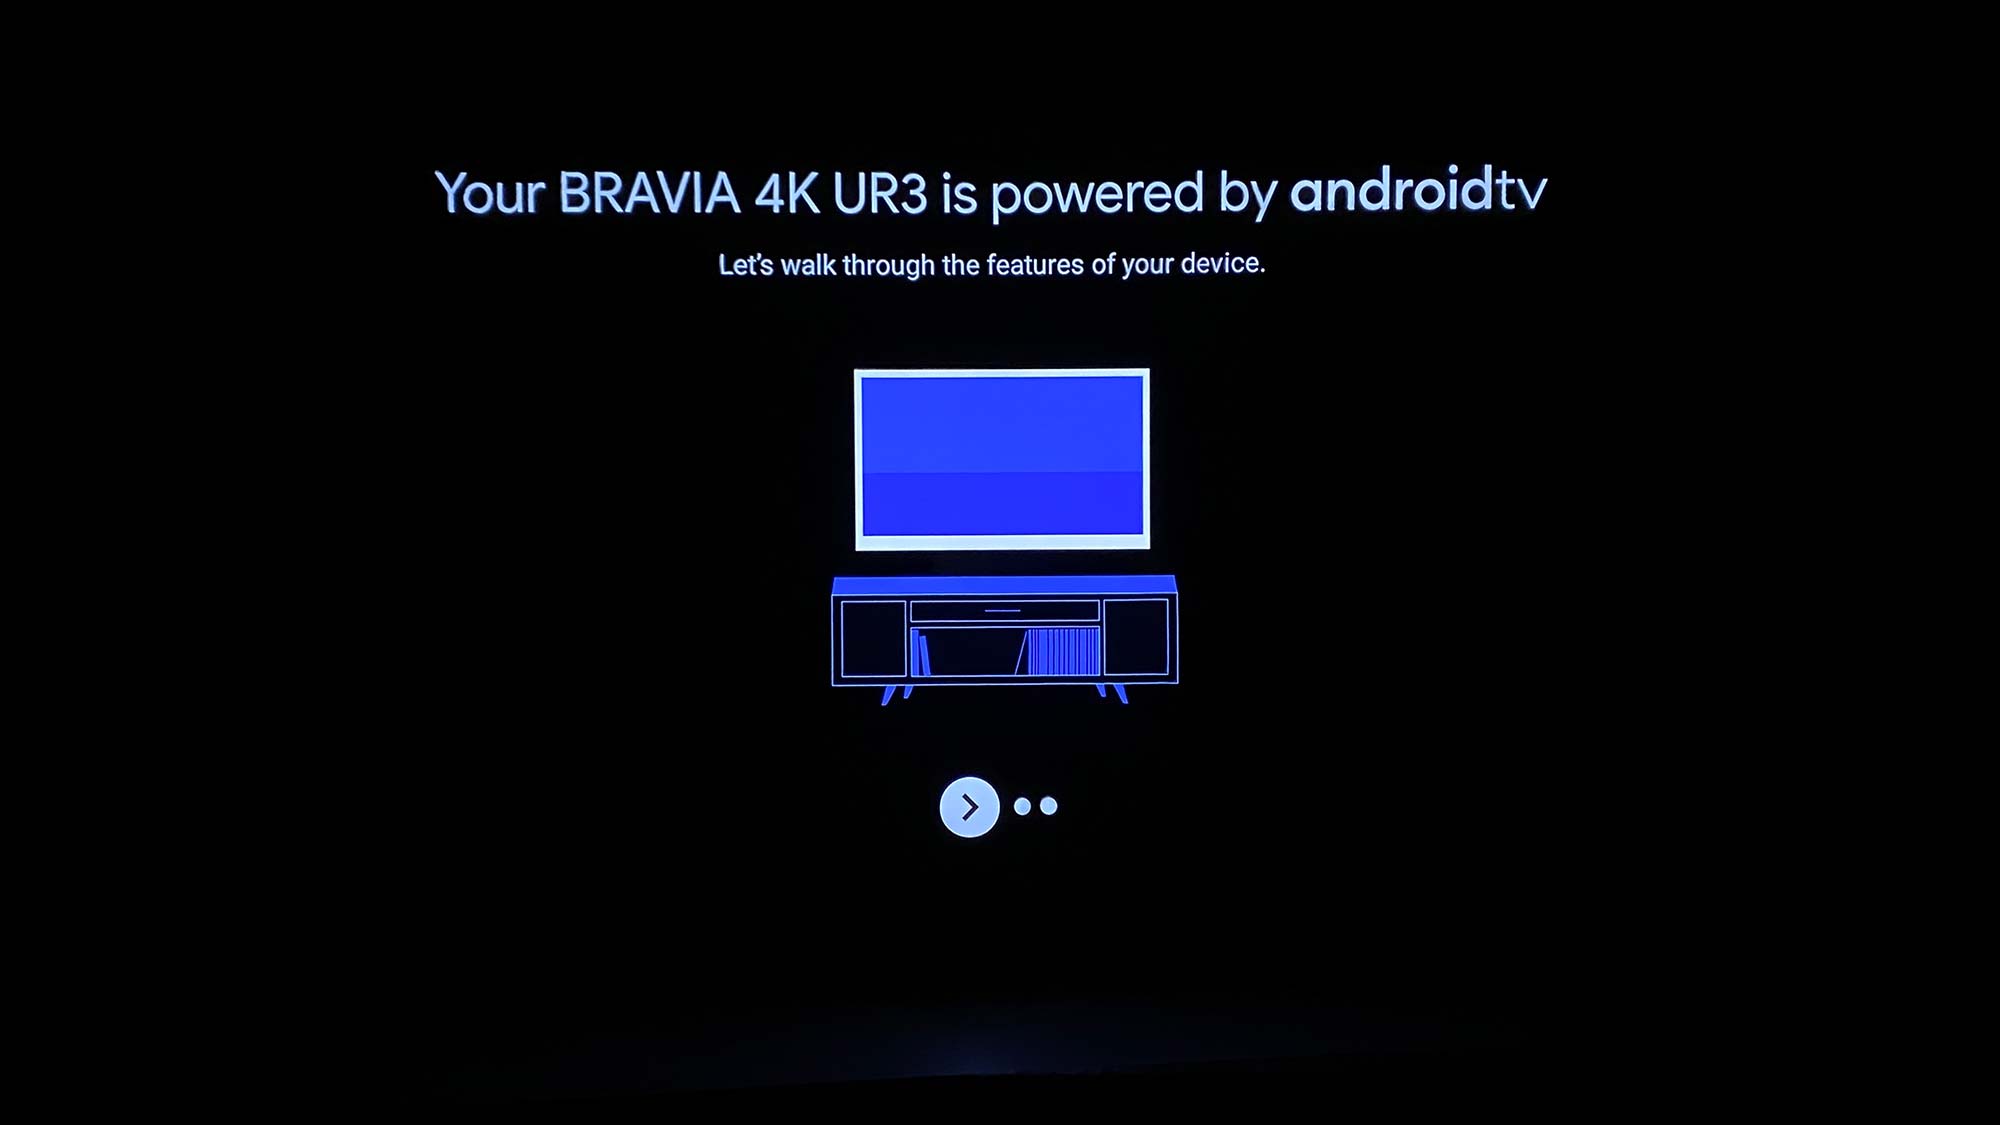
7. Follow Sony’s steps to walk you through your new TV. Once you’ve clicked through the introduction, a brief clip will lead you to a secondary setup menu.
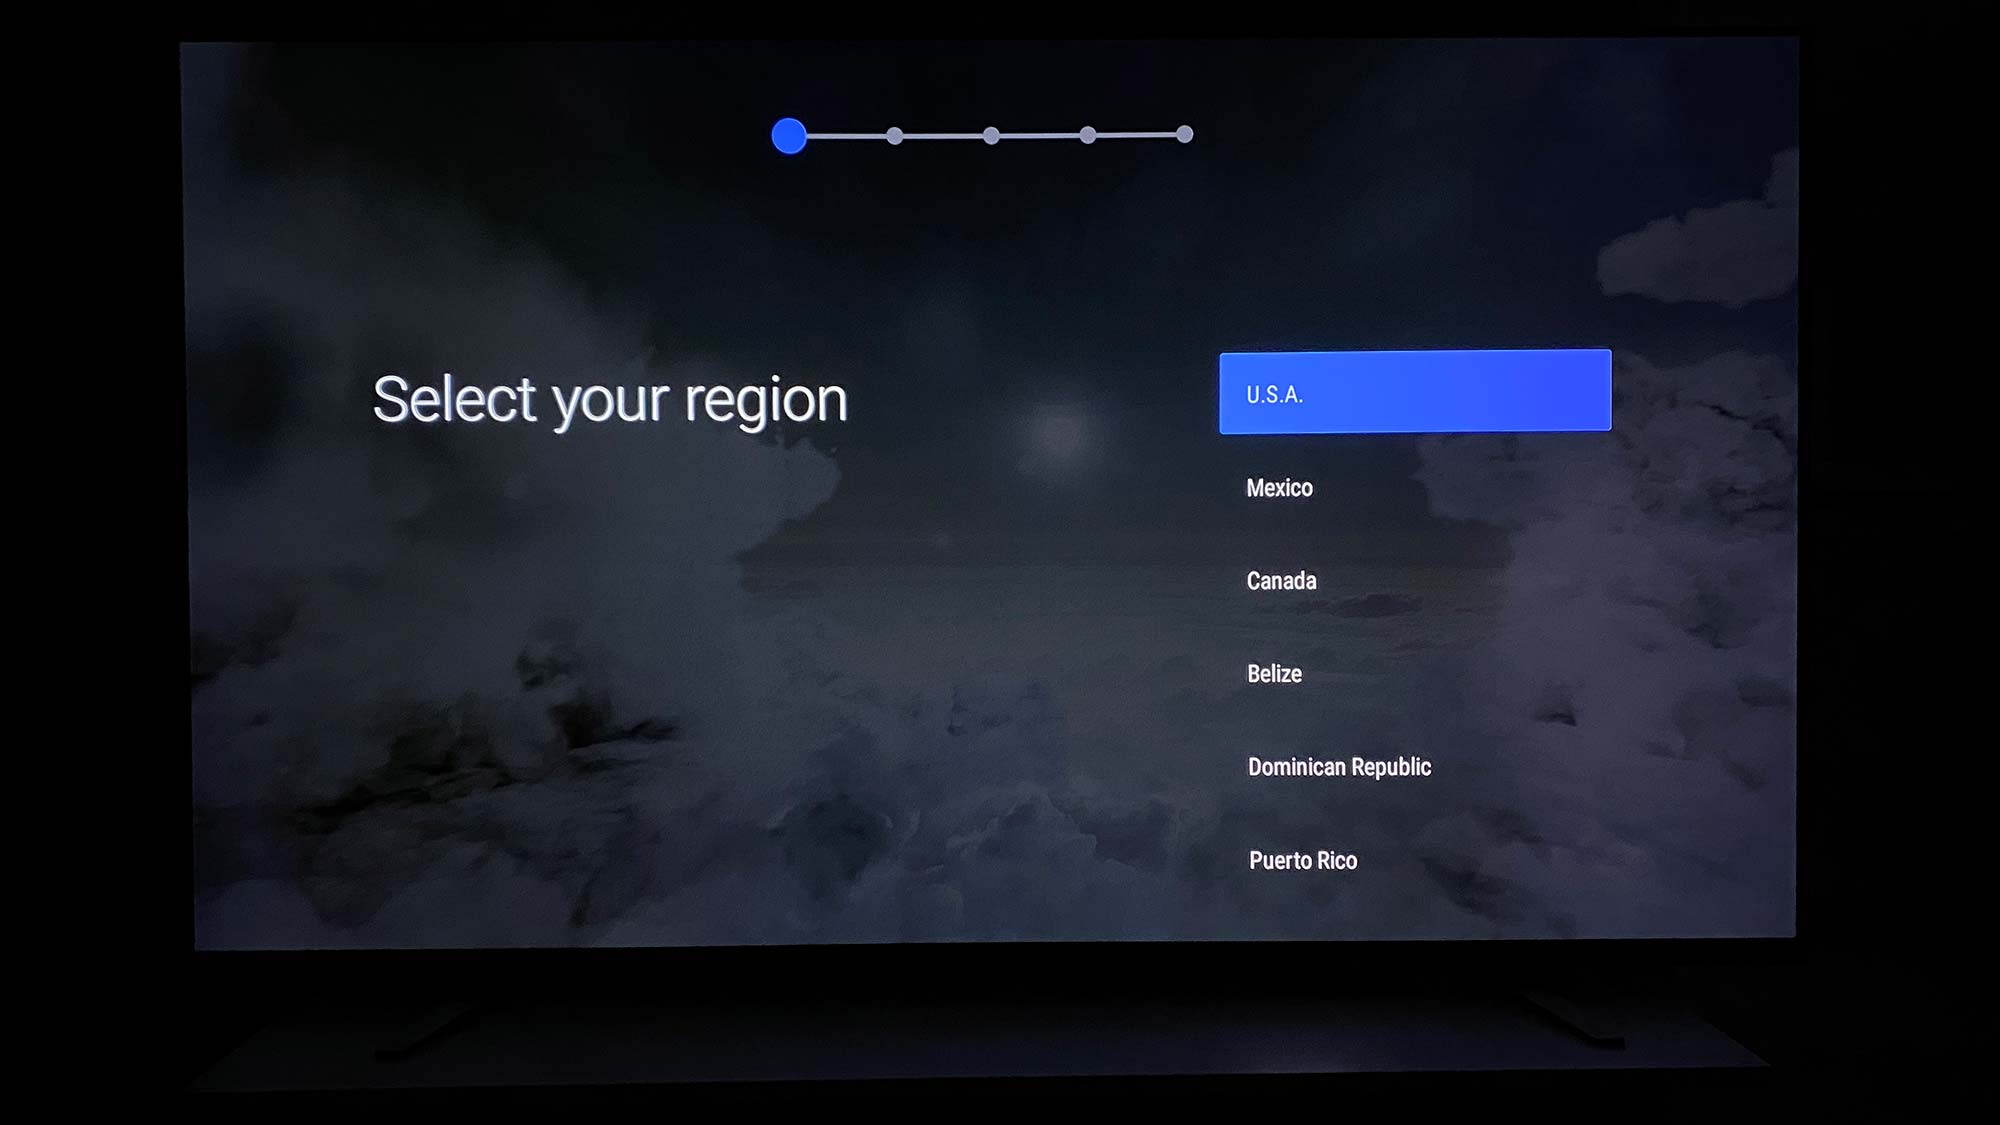
8. Select your region.
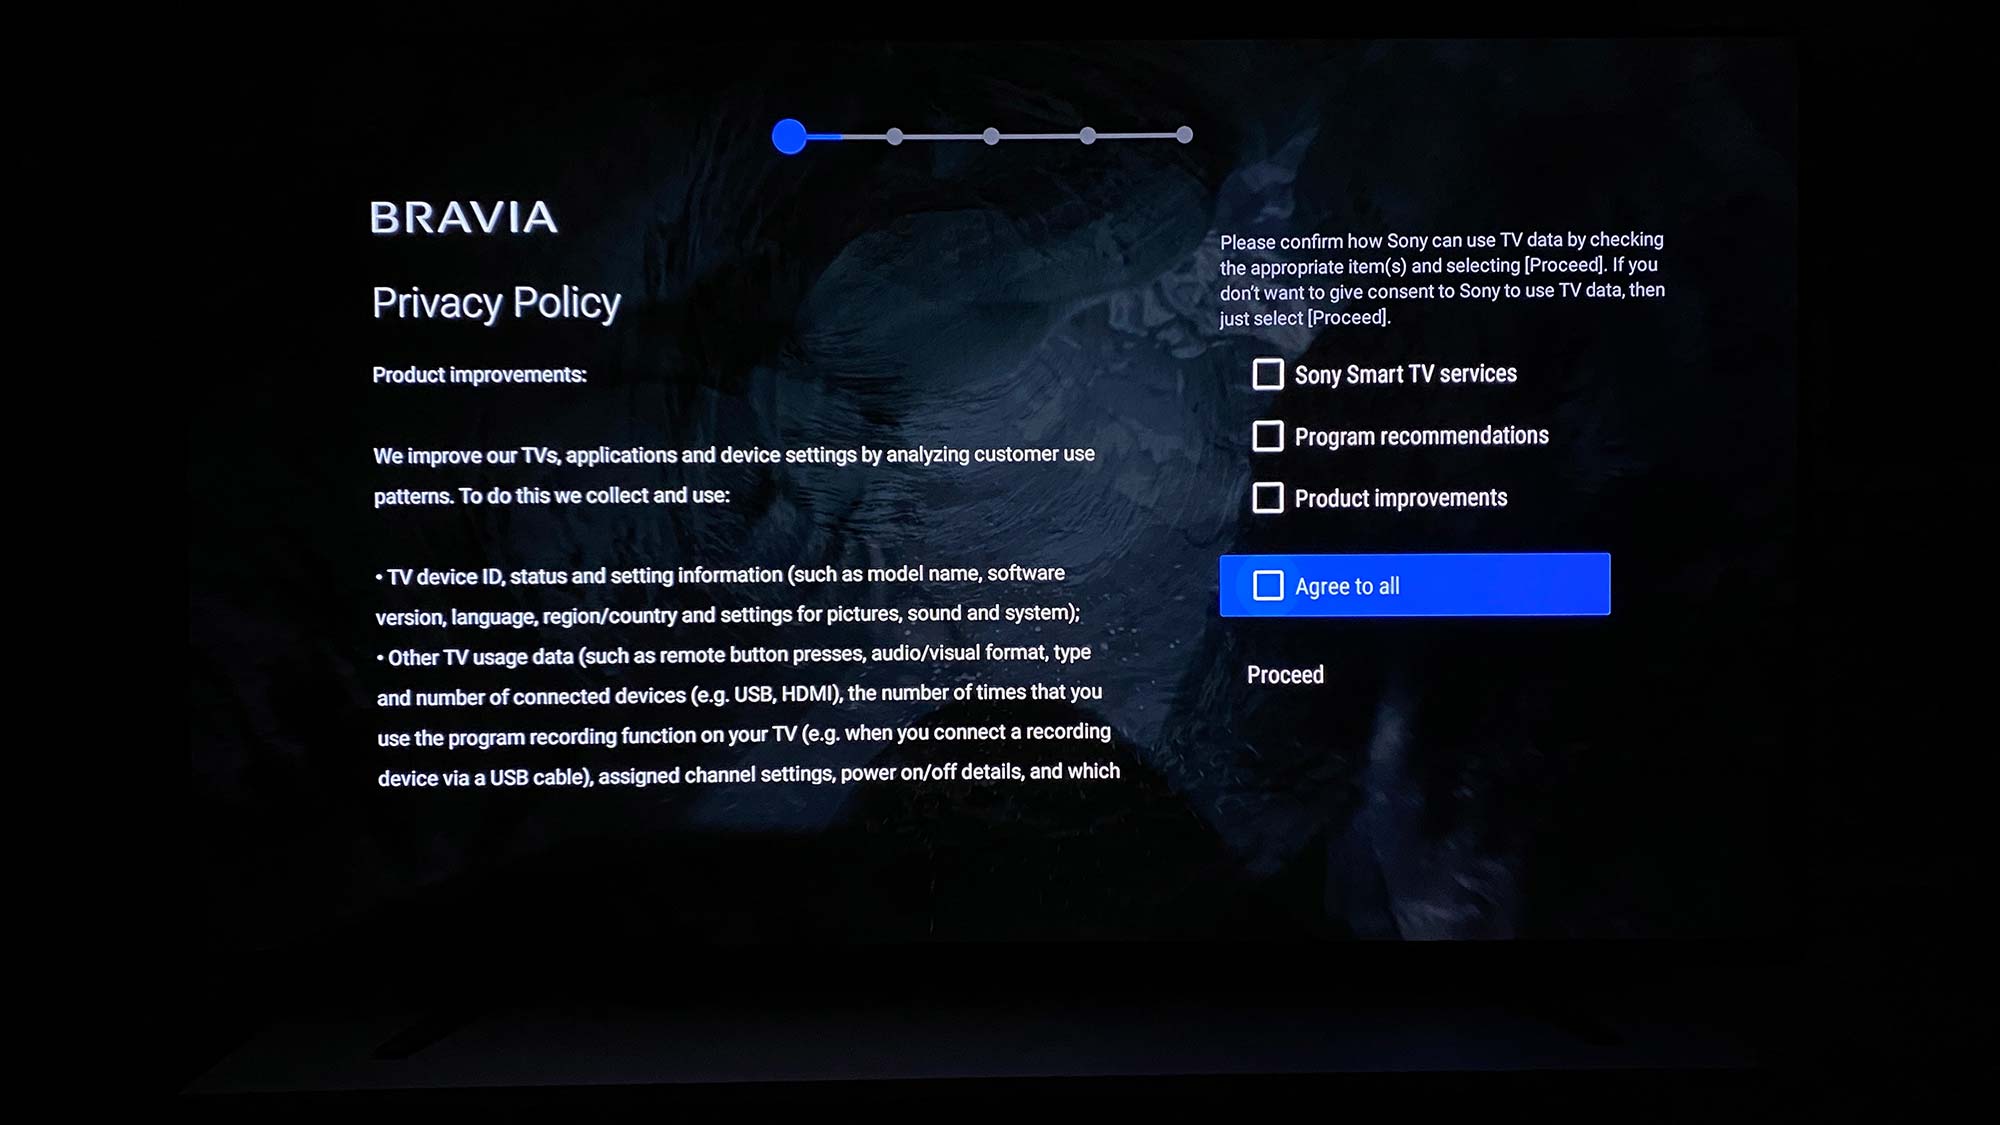
9. Scroll down to review the Sony Bravia privacy policy. When you’ve scrolled to the end you’ll be able to consent to Sony using your TV data. Select which of the items you agree to, Agree to all, or proceed without granting consent.
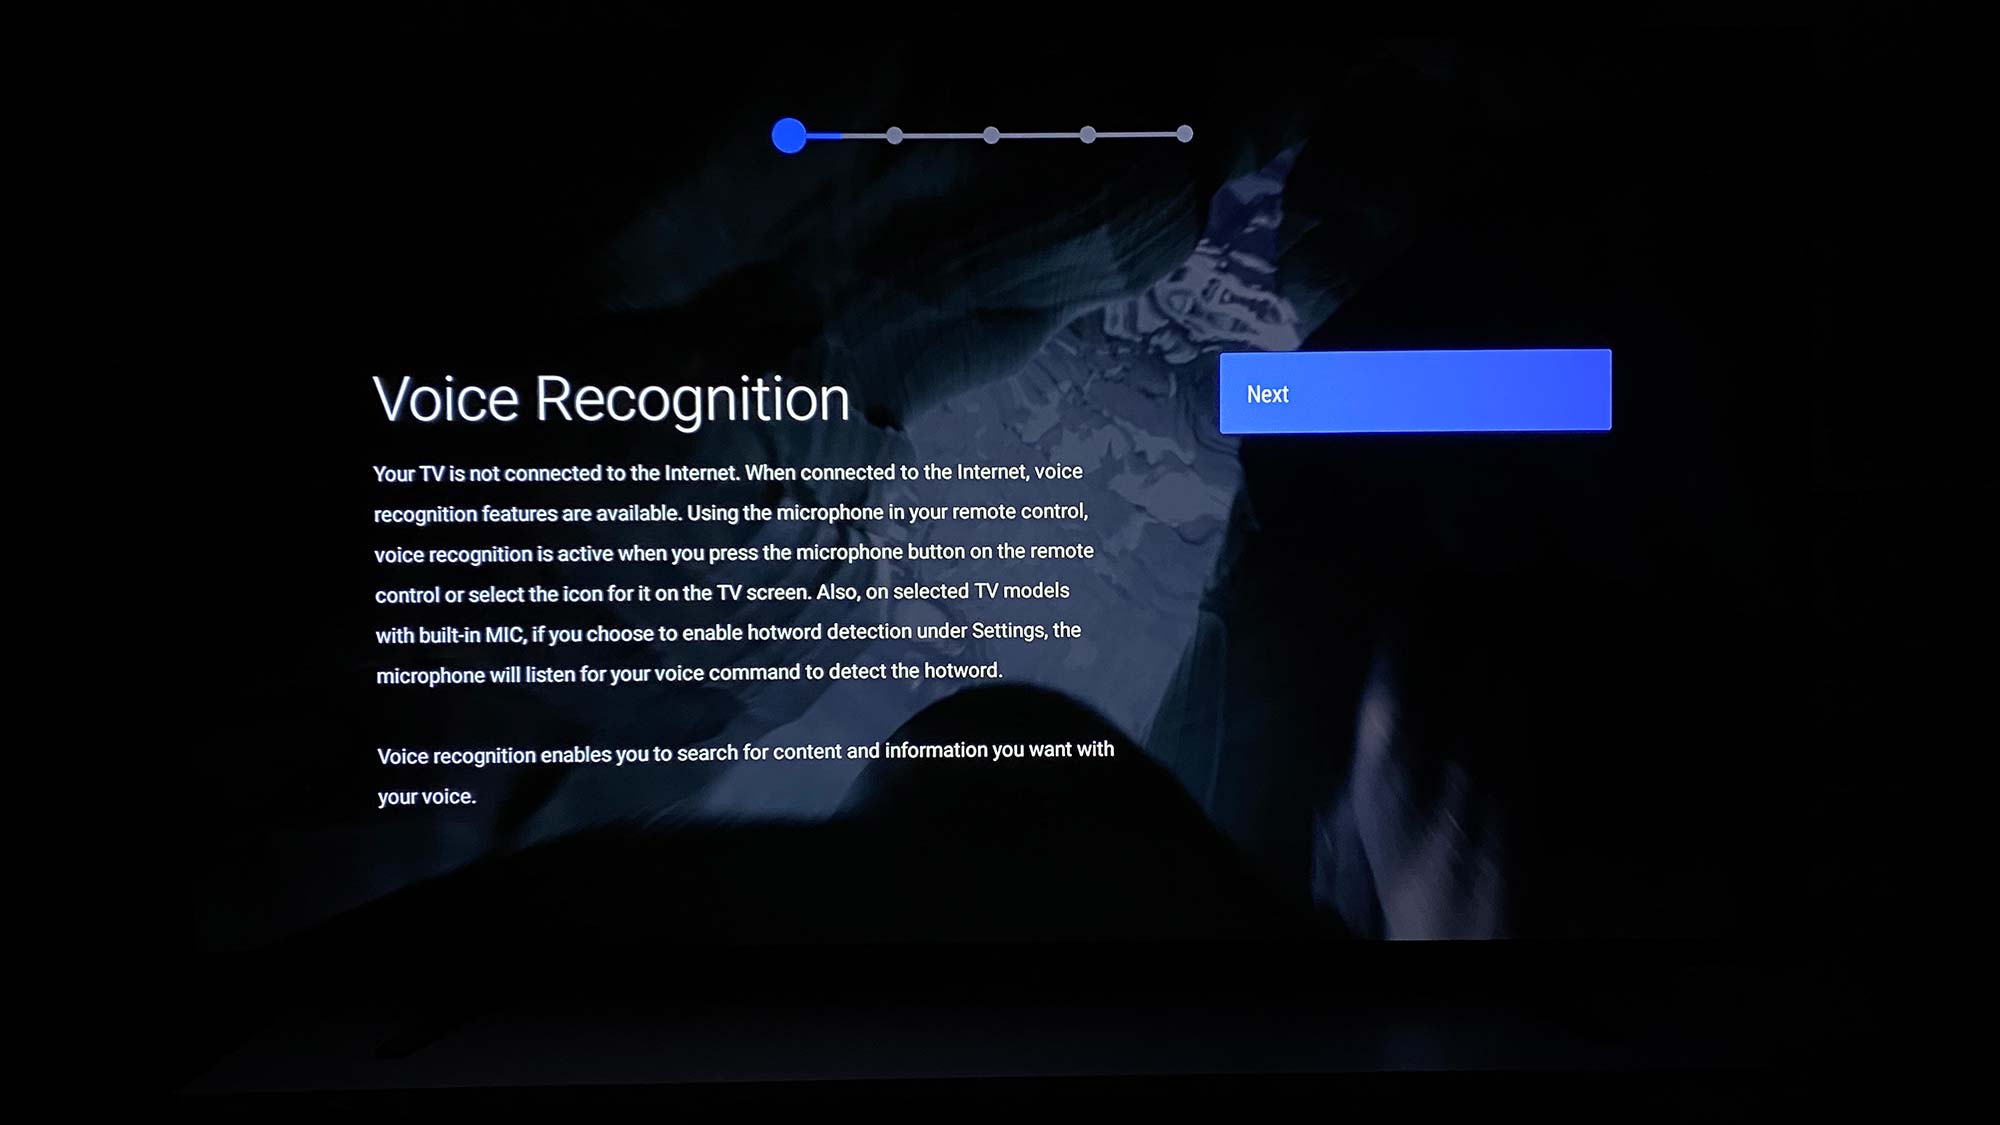
10. Agree or deny voice recognition if you connected your TV to Wi-Fi earlier. Select Next if you have not connected your TV to Wi-Fi yet.
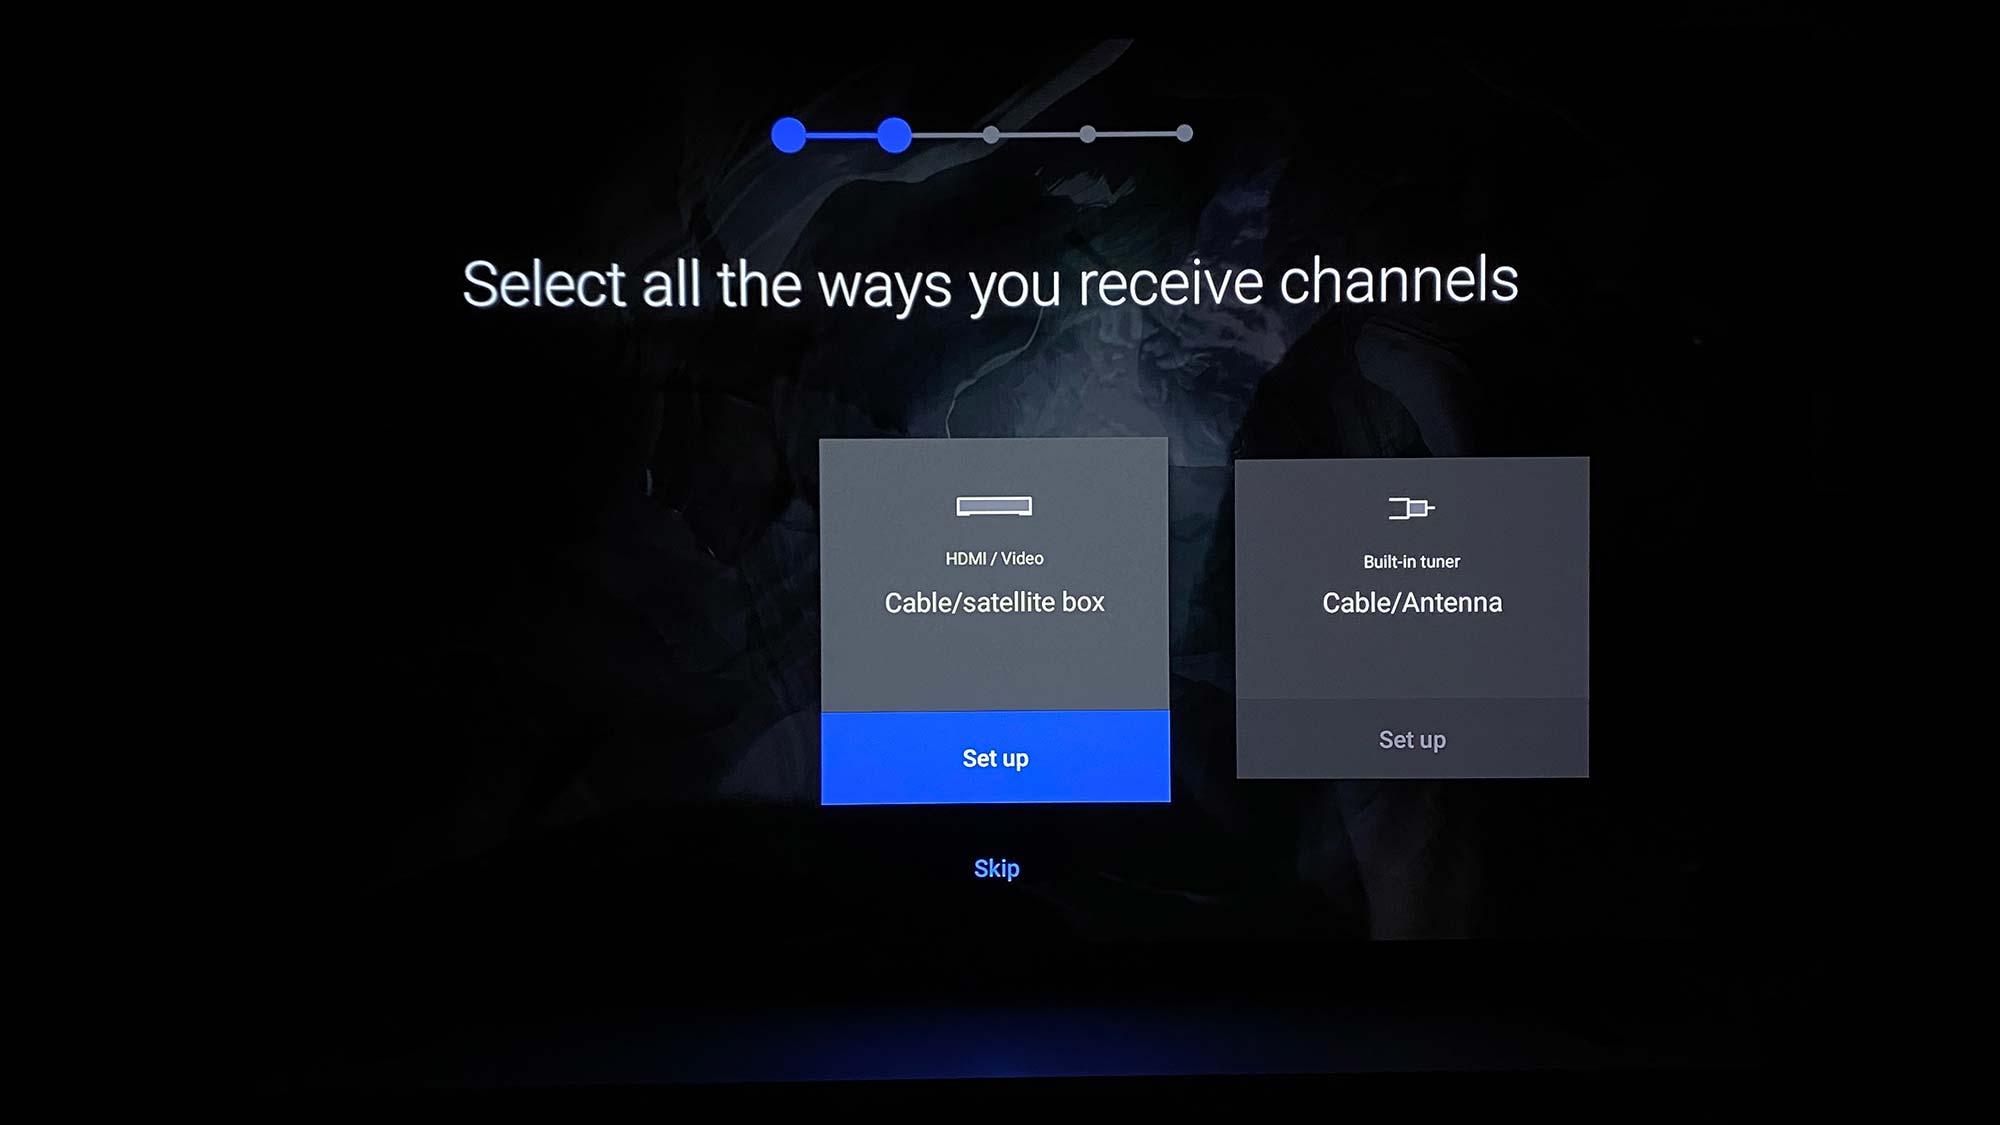
11. Select the ways you receive channels, whether that’s through a satellite box via HDMI or antenna via a built-in tuner. You can also skip to step 13 if you don’t have cable.
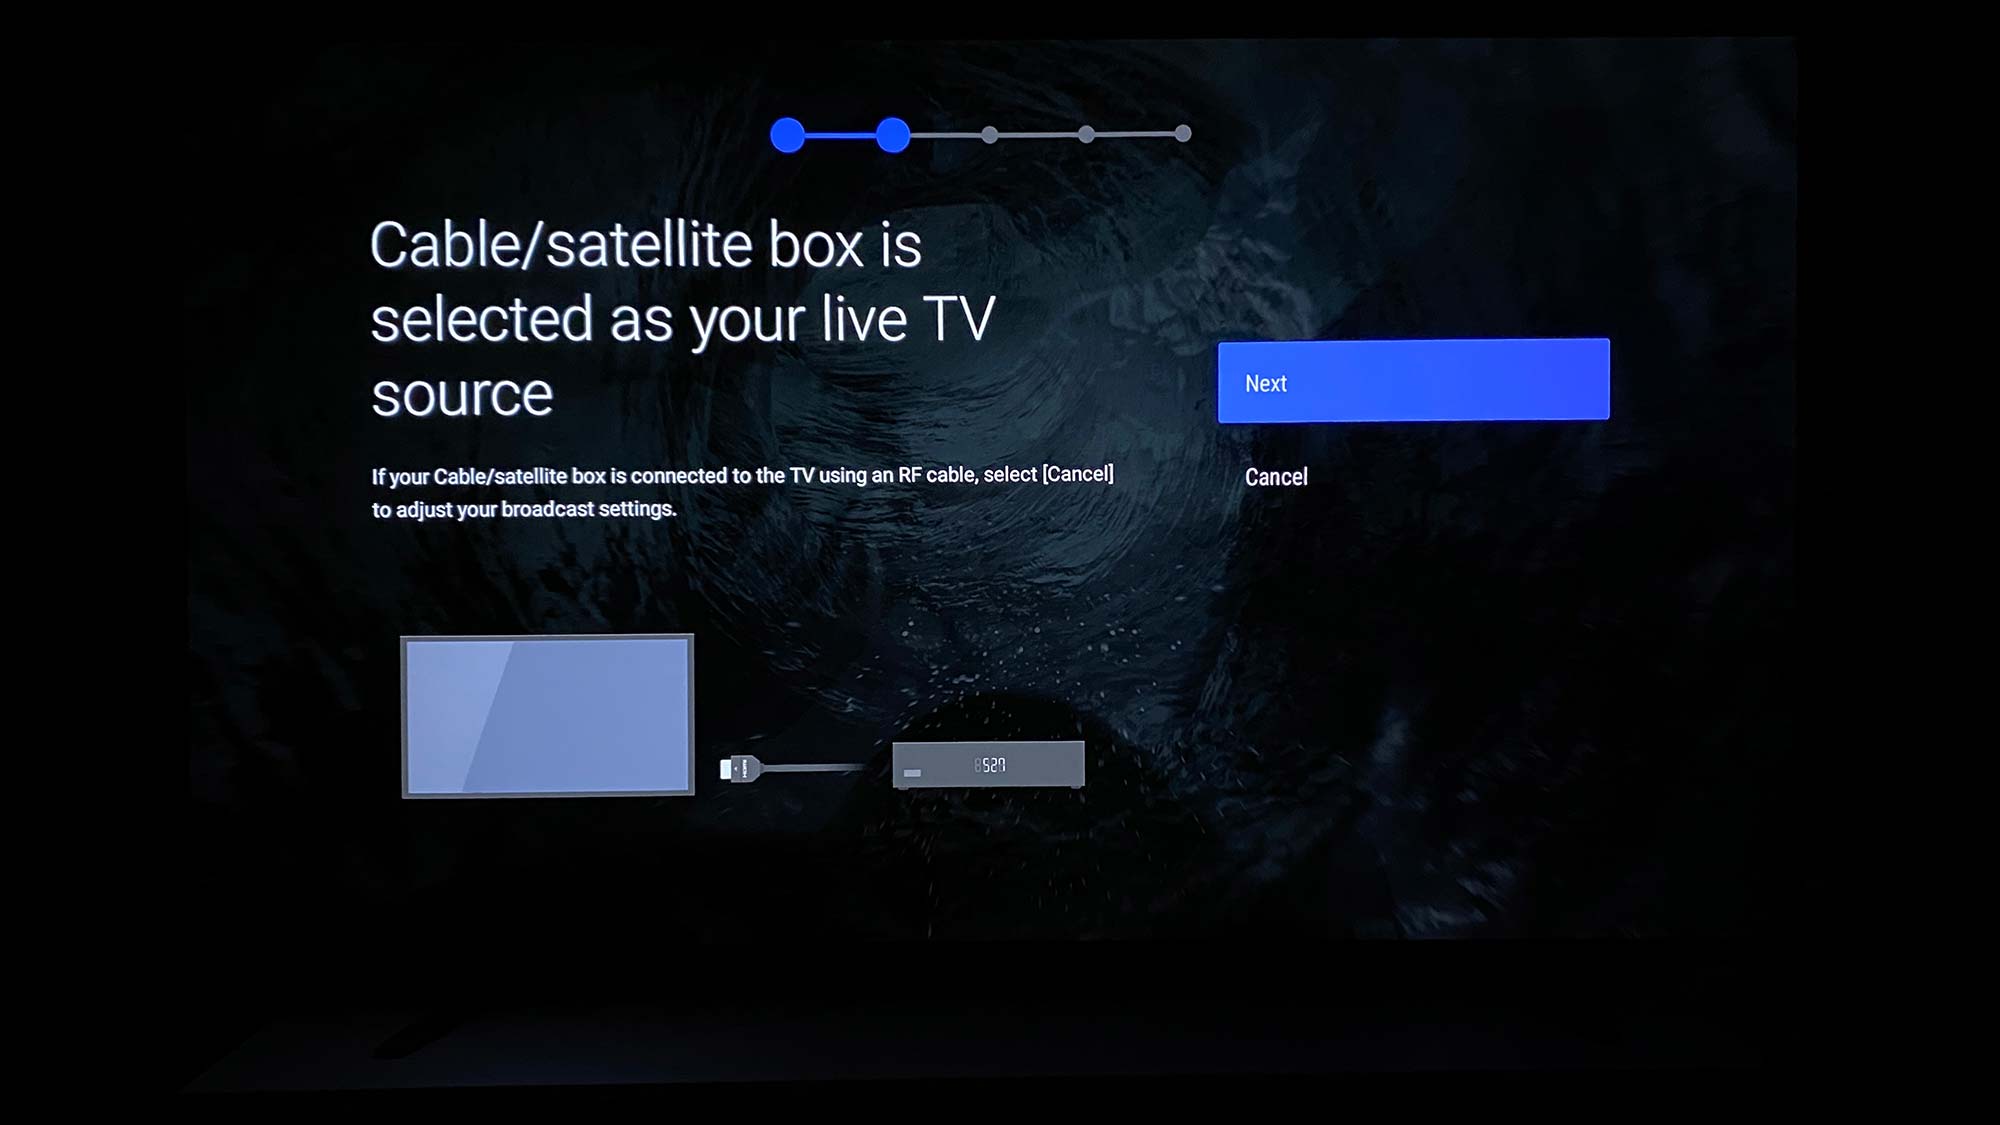
12. To set up cable: Hook up your cable to your set if you haven’t already. You can opt to set up your Sony TV remote so that it controls your cable channels now. Power on your cable box and select the input which you want to assign to cable. Enter your zip code and select your service provider. Point your remote at the cable box, select Prog Up, and confirm whether you see the channel change. Do the same for Menu and changing channels.
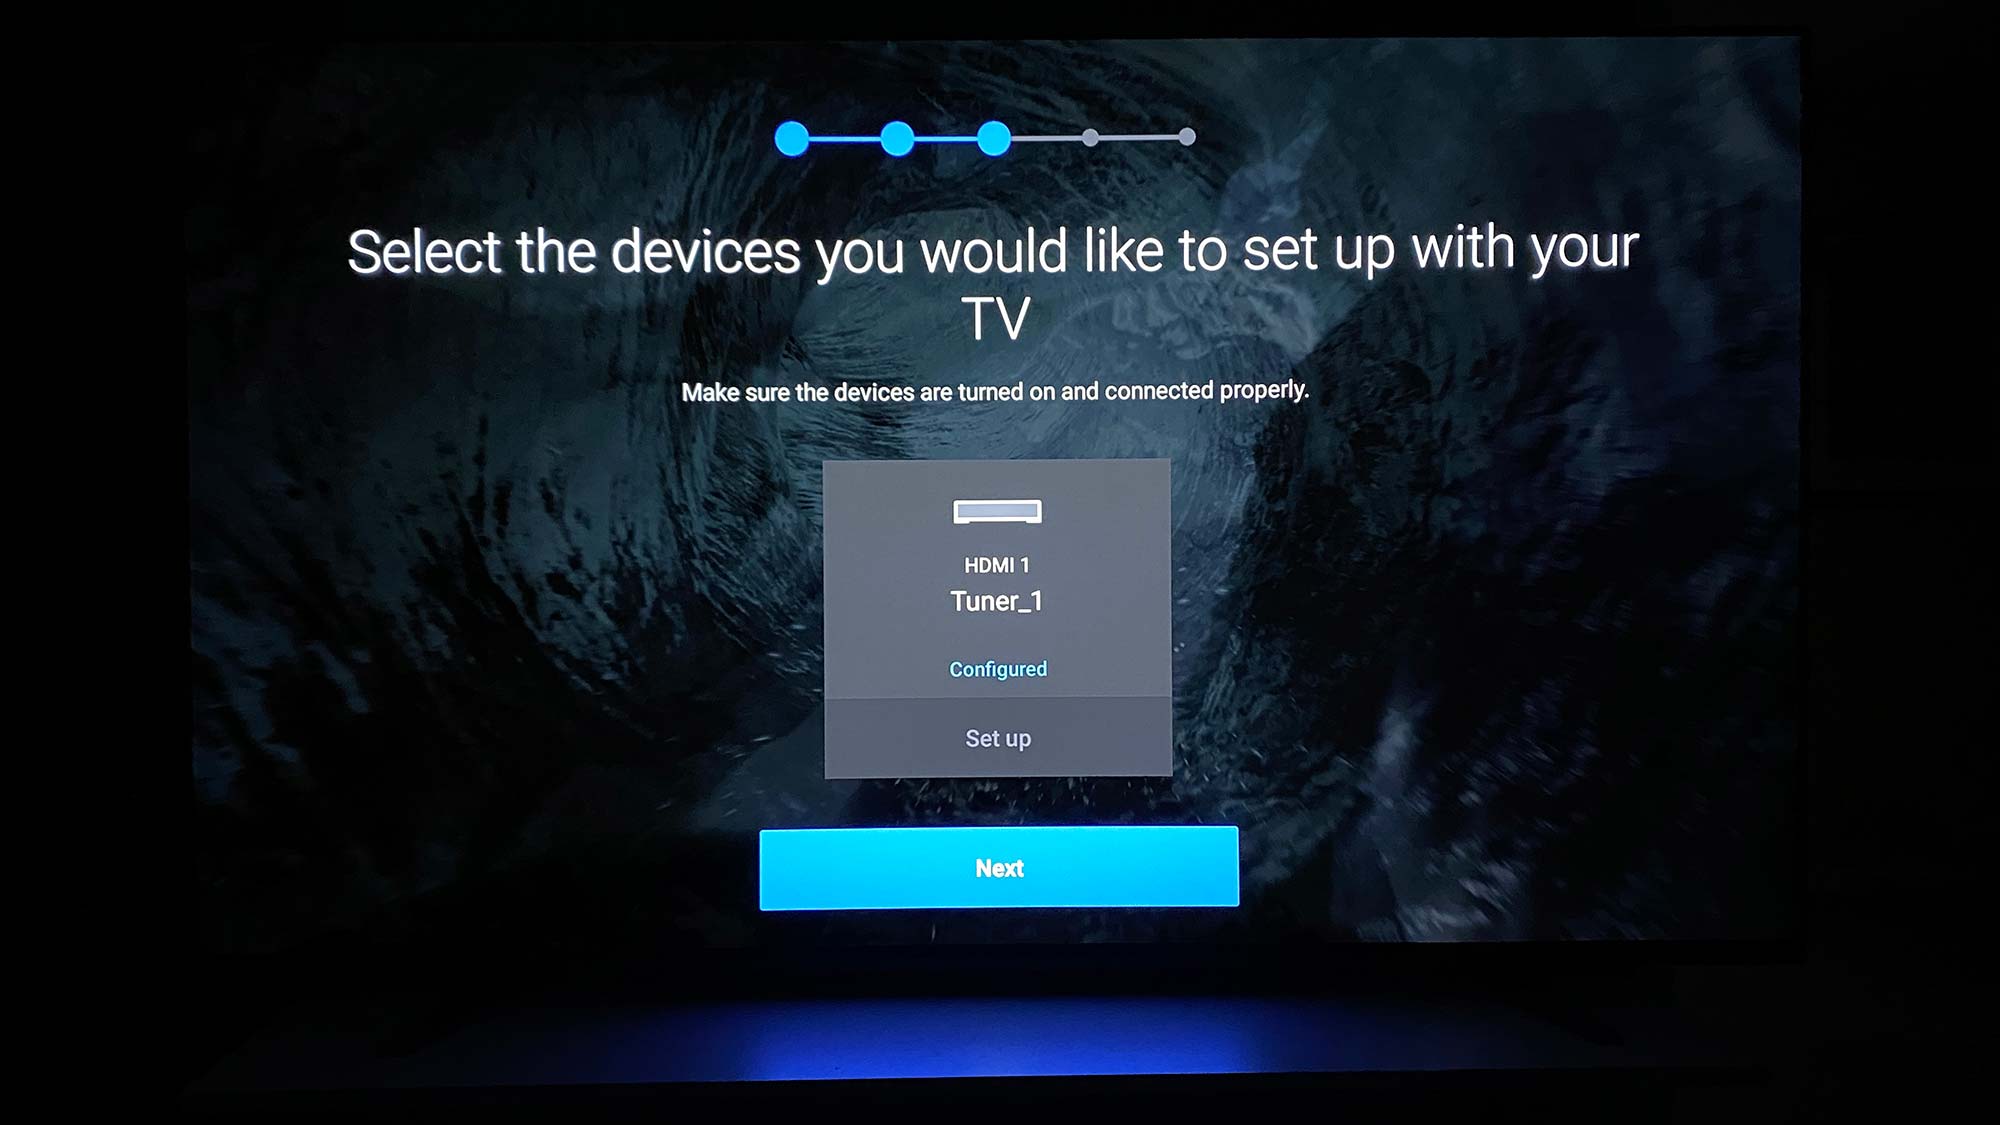
13. Select the peripheral devices you would like to set up with your TV. This can include your cable box, soundbar, Blu-Ray player and more.
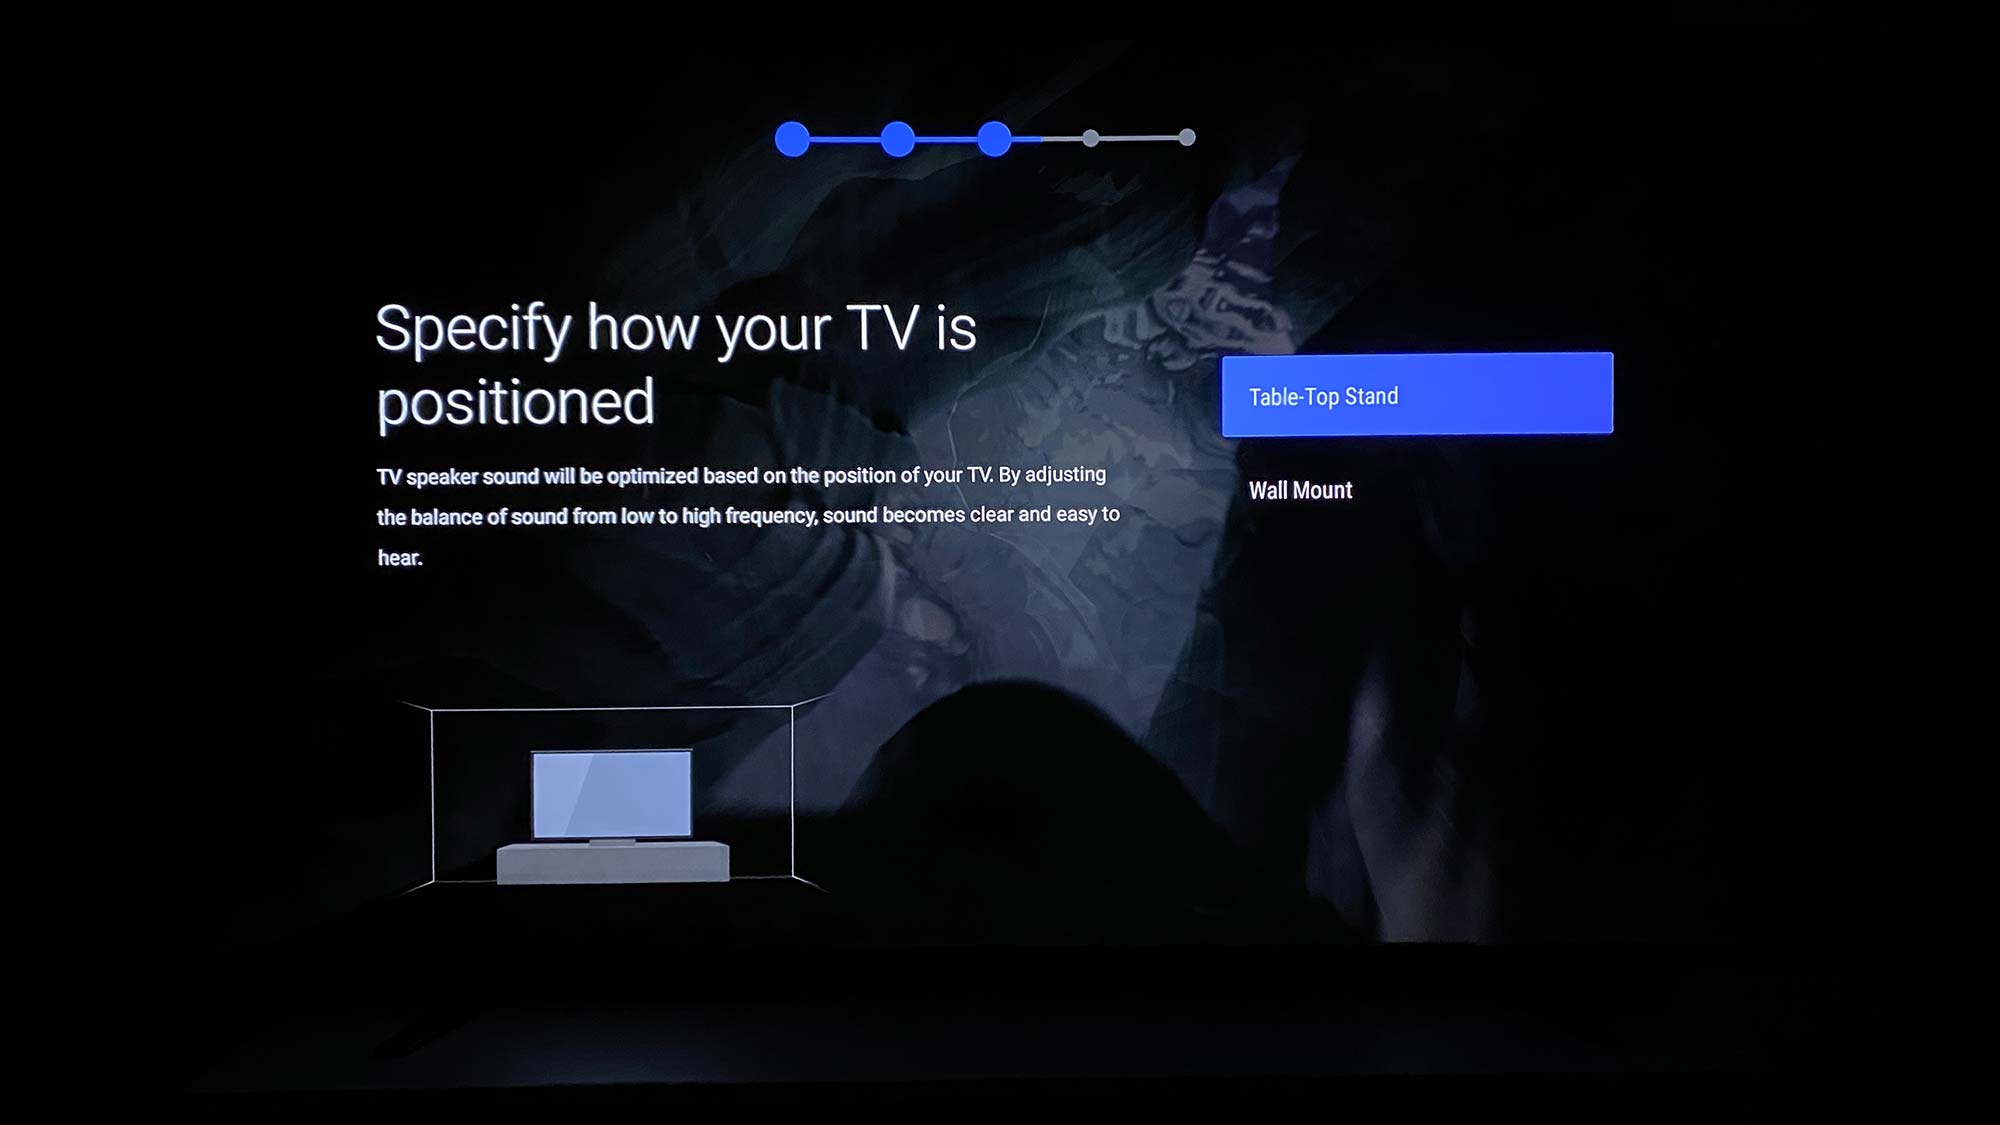
14. Select whether your TV is standing on its feet or mounted to a wall for audio tuning.
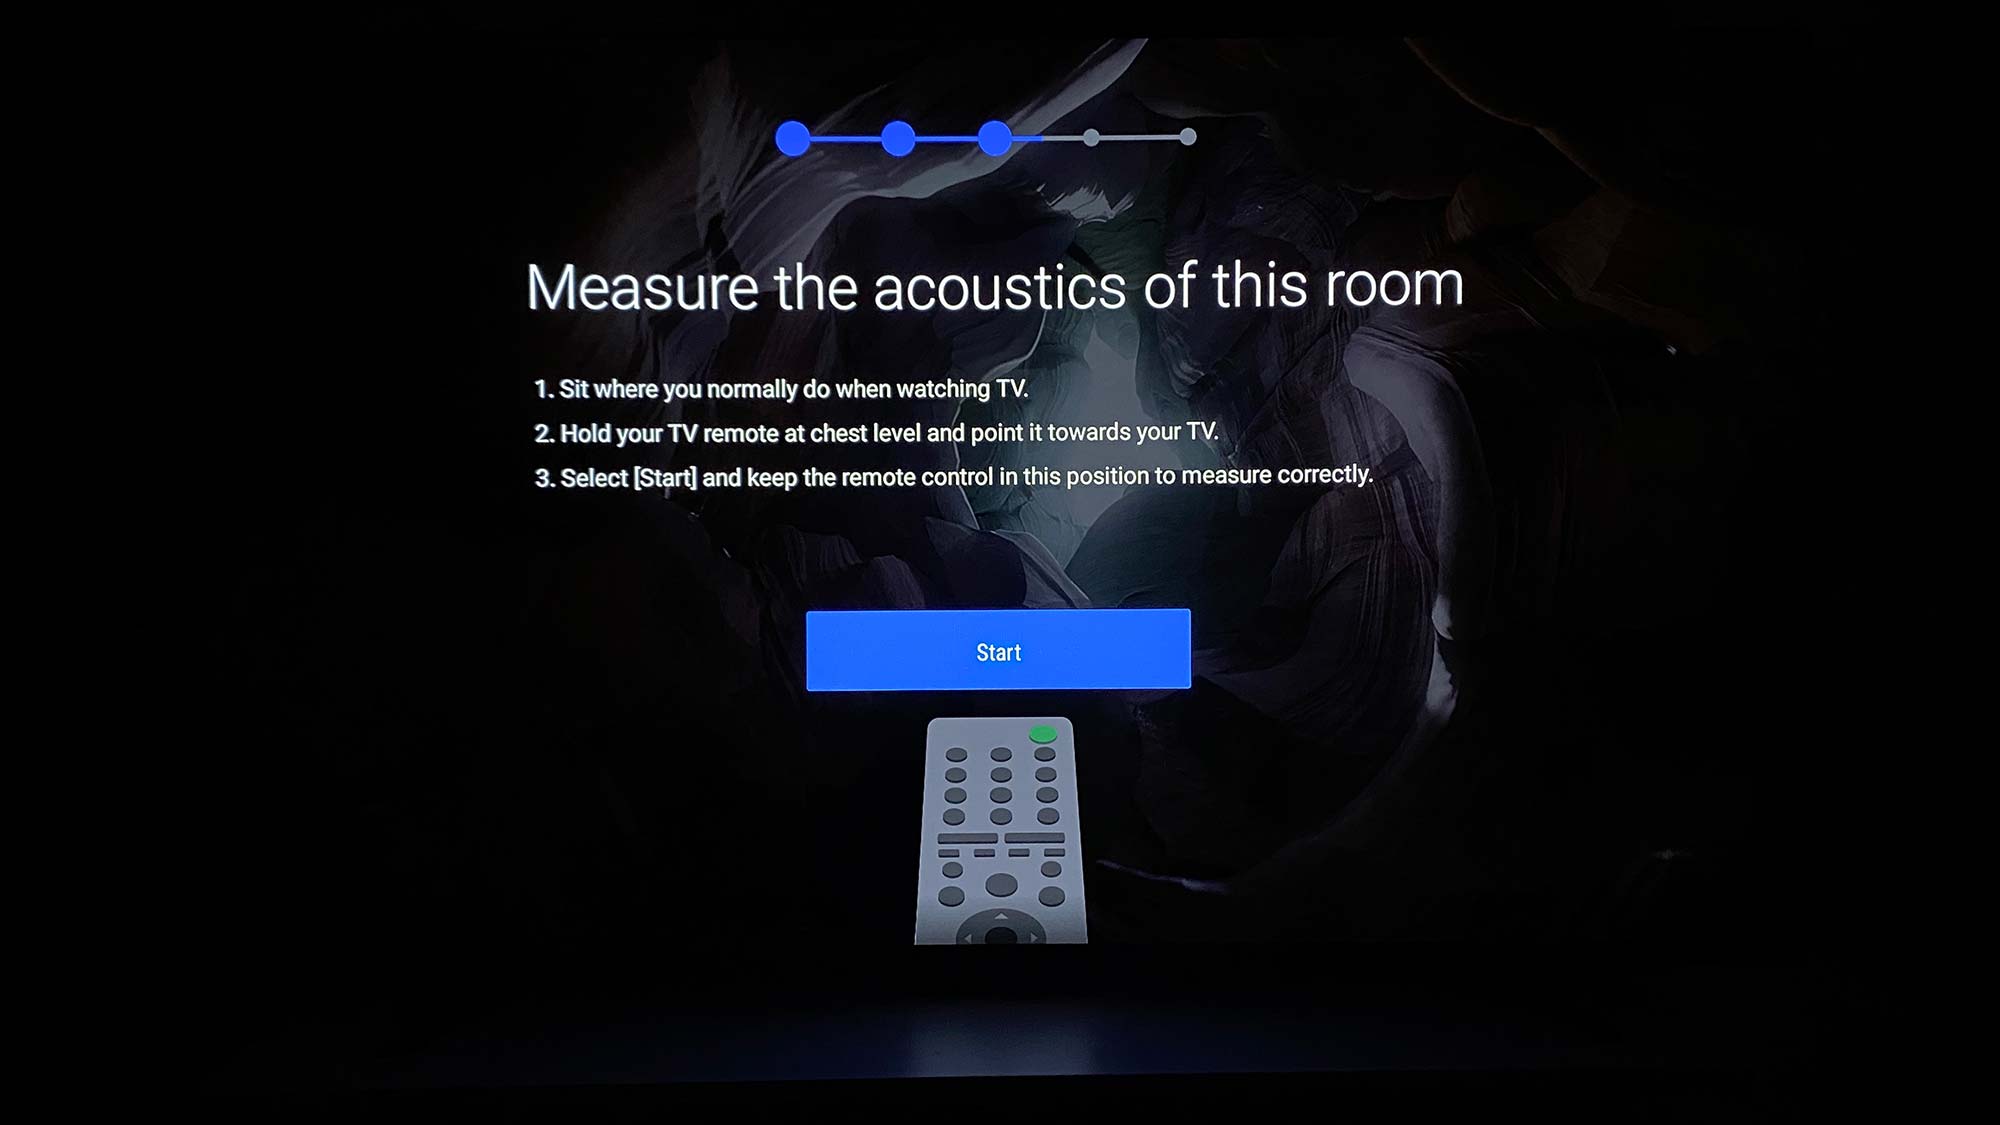
15. Run or skip Acoustic auto calibration. This will optimize your TV’s sound for the space it’s in, so we recommend running calibration and selecting Allow. But beware, a series of sounds will play and could startle you. Skip to step 17 if you do not want to set up Acoustic auto calibration.
16. Sit wherever you will normally sit to watch TV and select Start to begin calibration. Select Next when the calibration is complete.
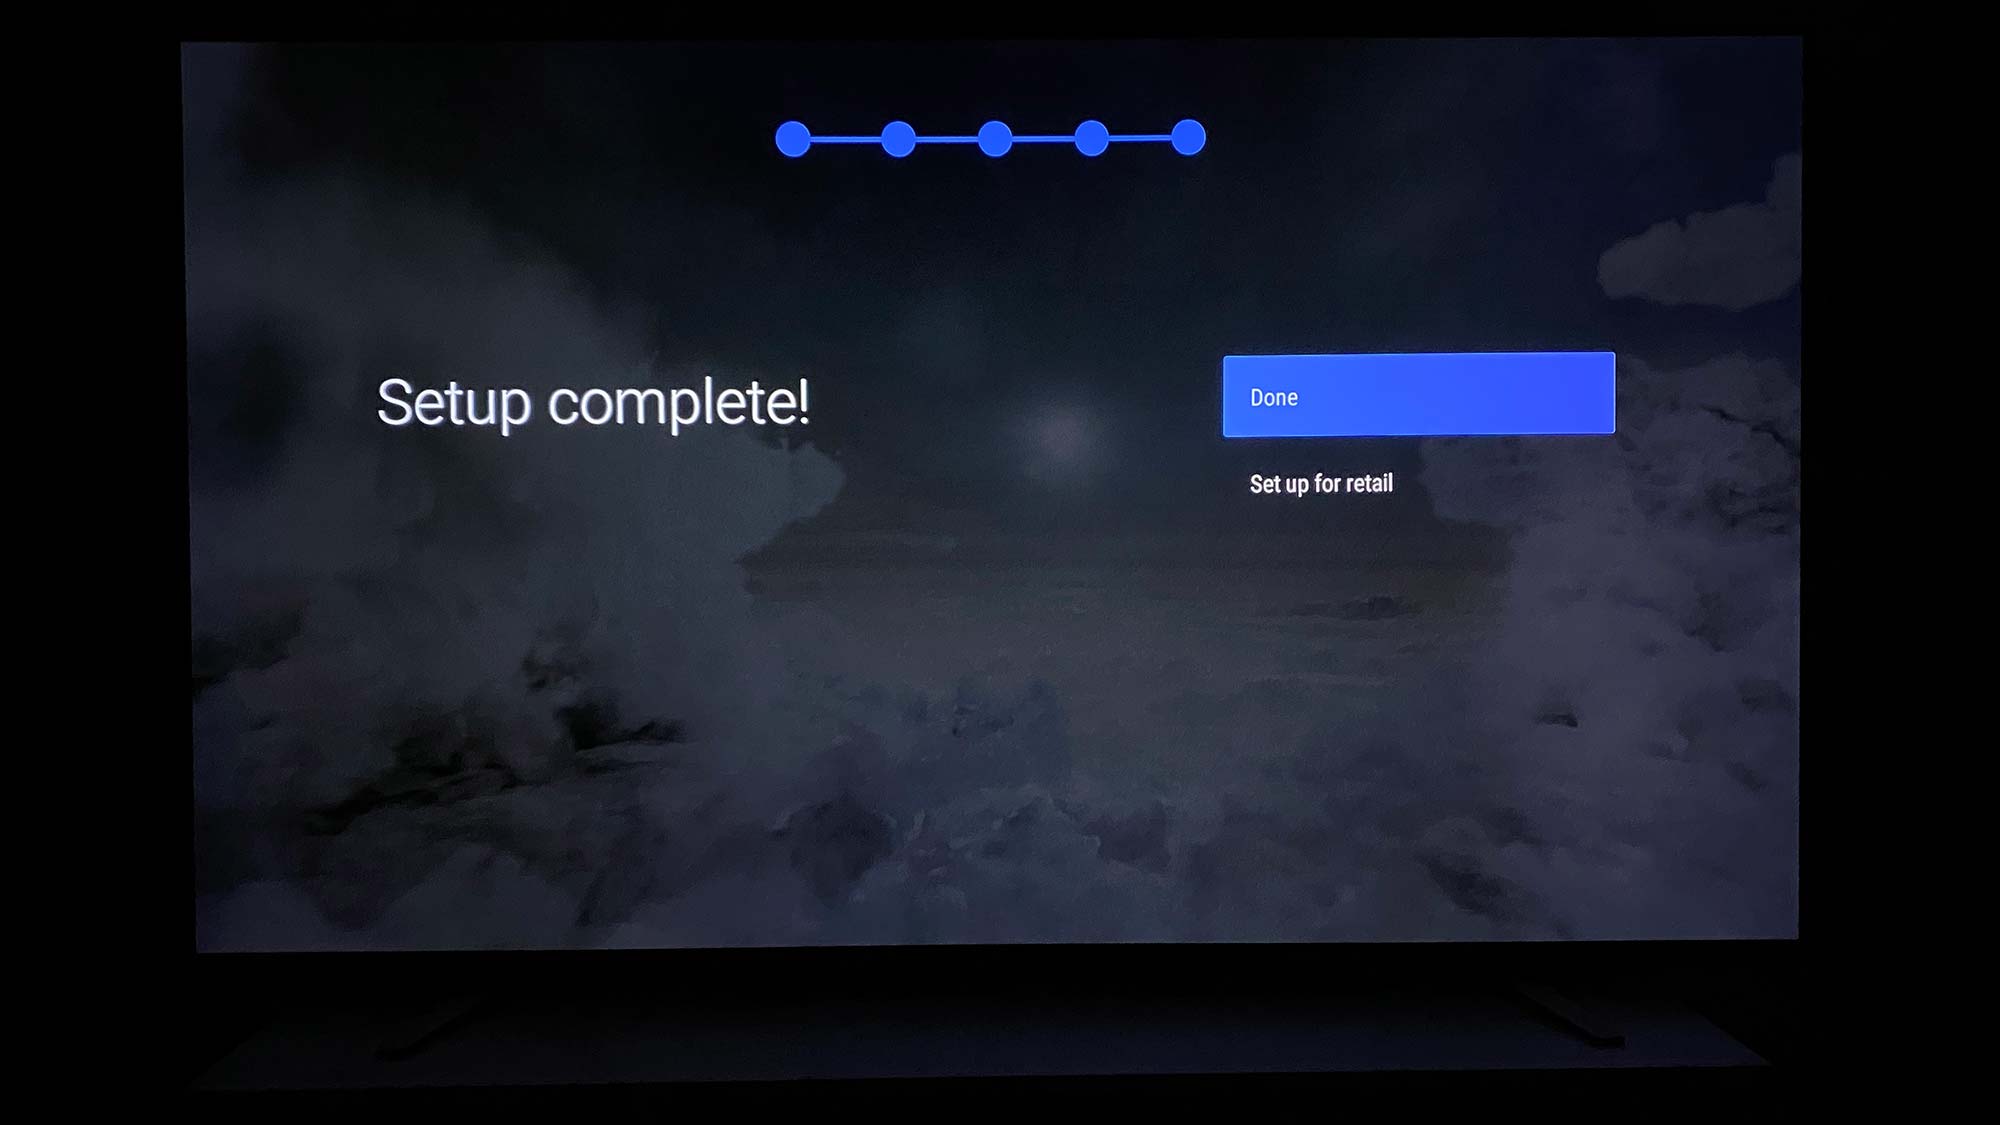
17. Select Done to finish.
You’ve successfully set up your Sony Android TV. See our guide on how to set up Google Assistant on Sony Android TV to get started with smart home features, as well as instructions on how to install and remove Sony TV apps.
Keep reading to connect your Sony smart TV Wi-Fi if you skipped that step during set up.
How to connect your Sony smart TV to Wi-Fi
The Sony smart TV Wi-Fi setup process isn’t tedious as long as you know your network name and password.
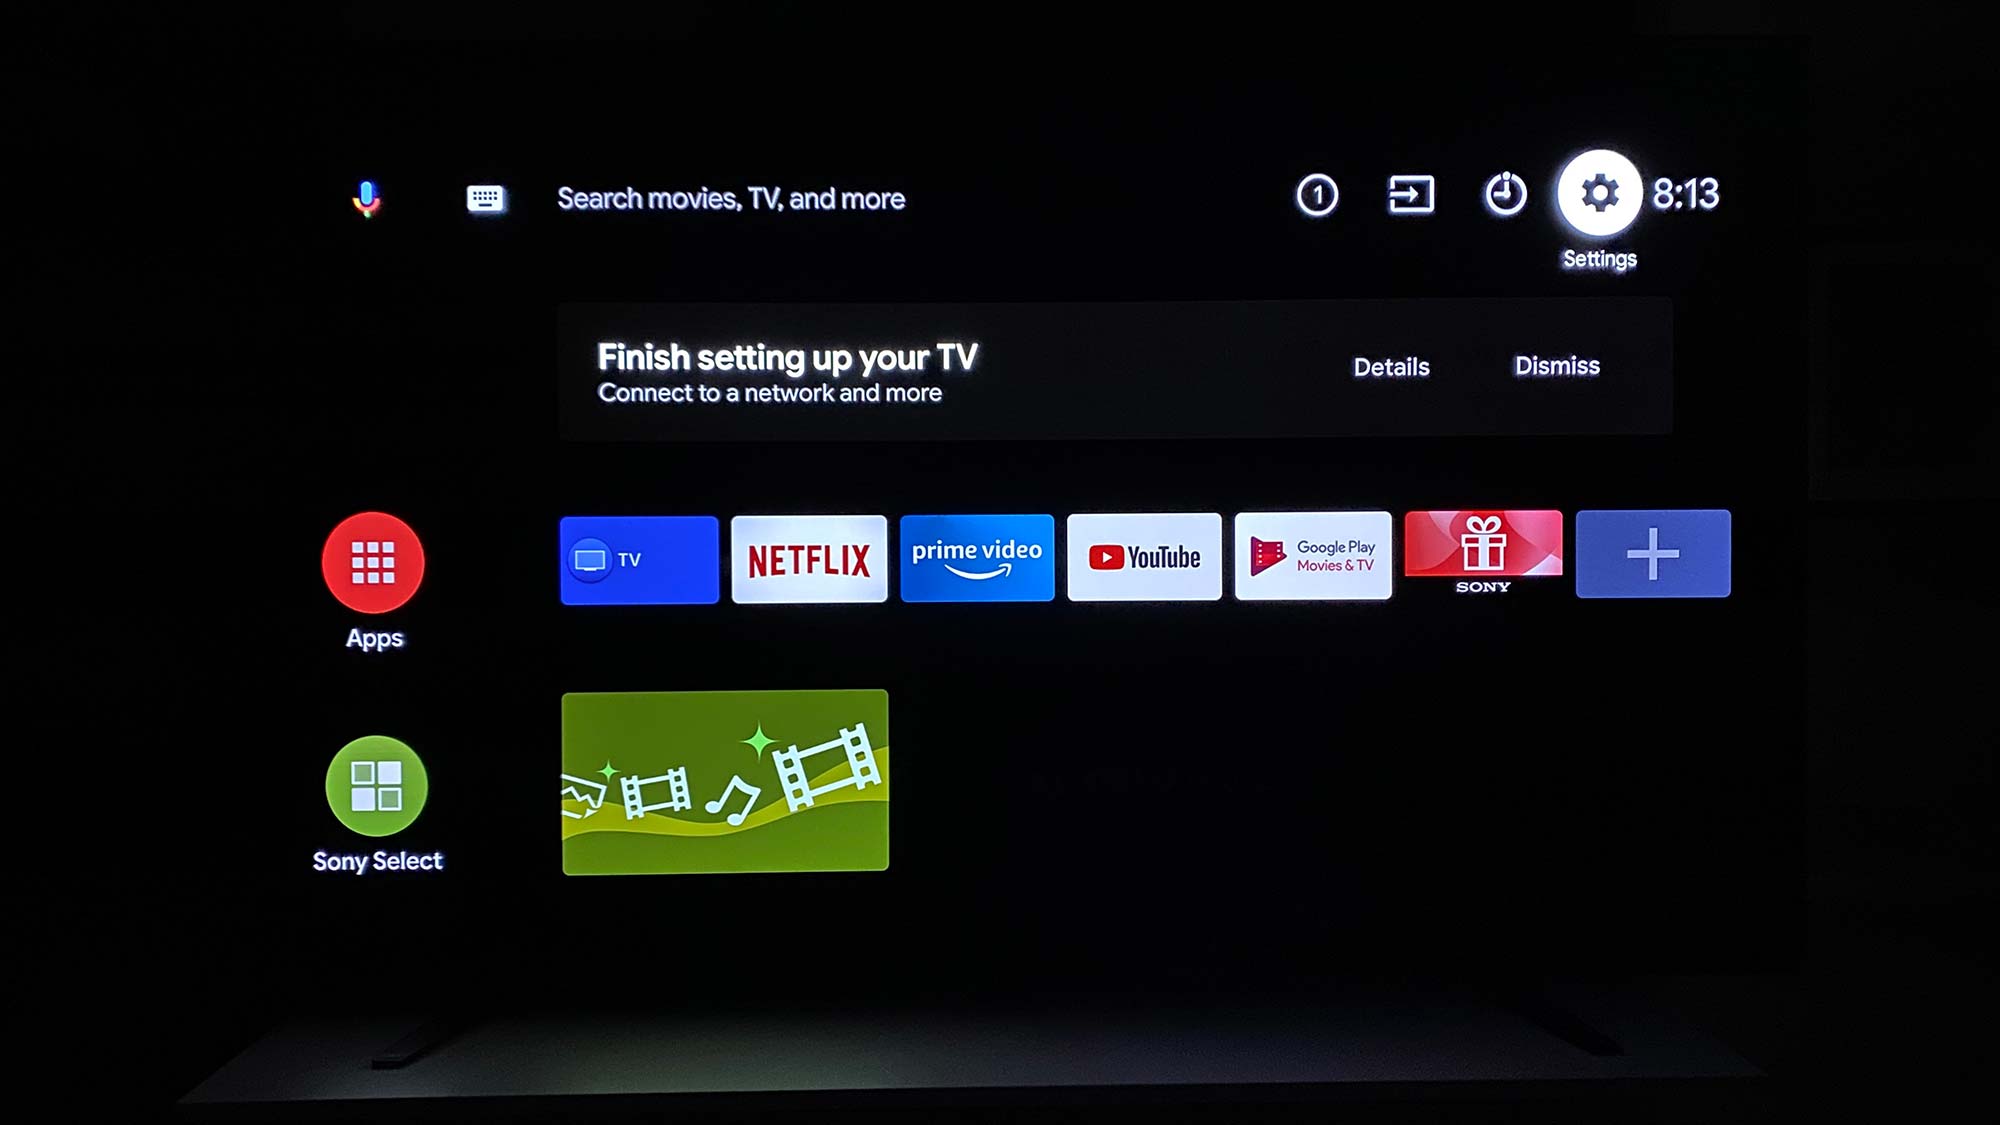
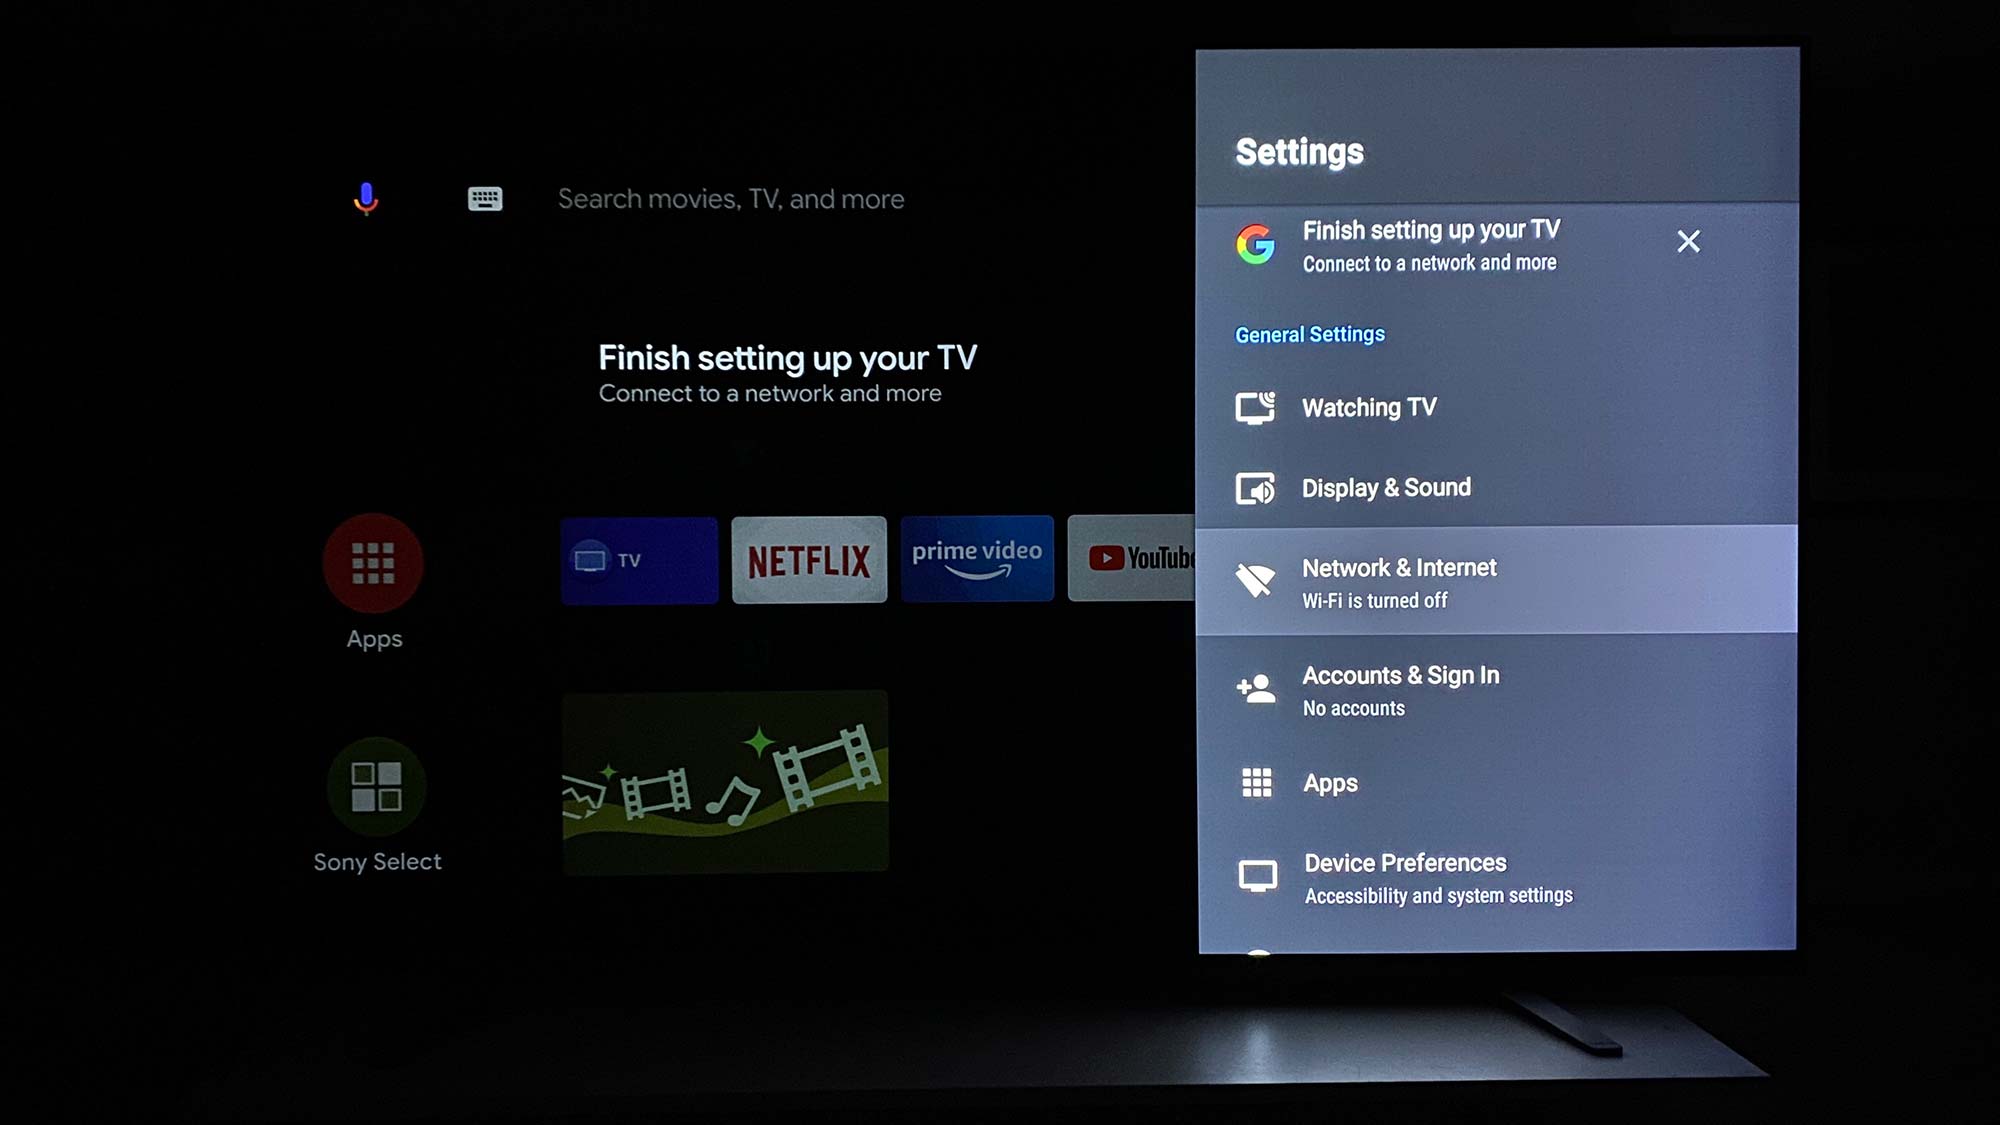
1. Select settings, or the gear icon, to open your settings menu.
2. Select Network & Internet.
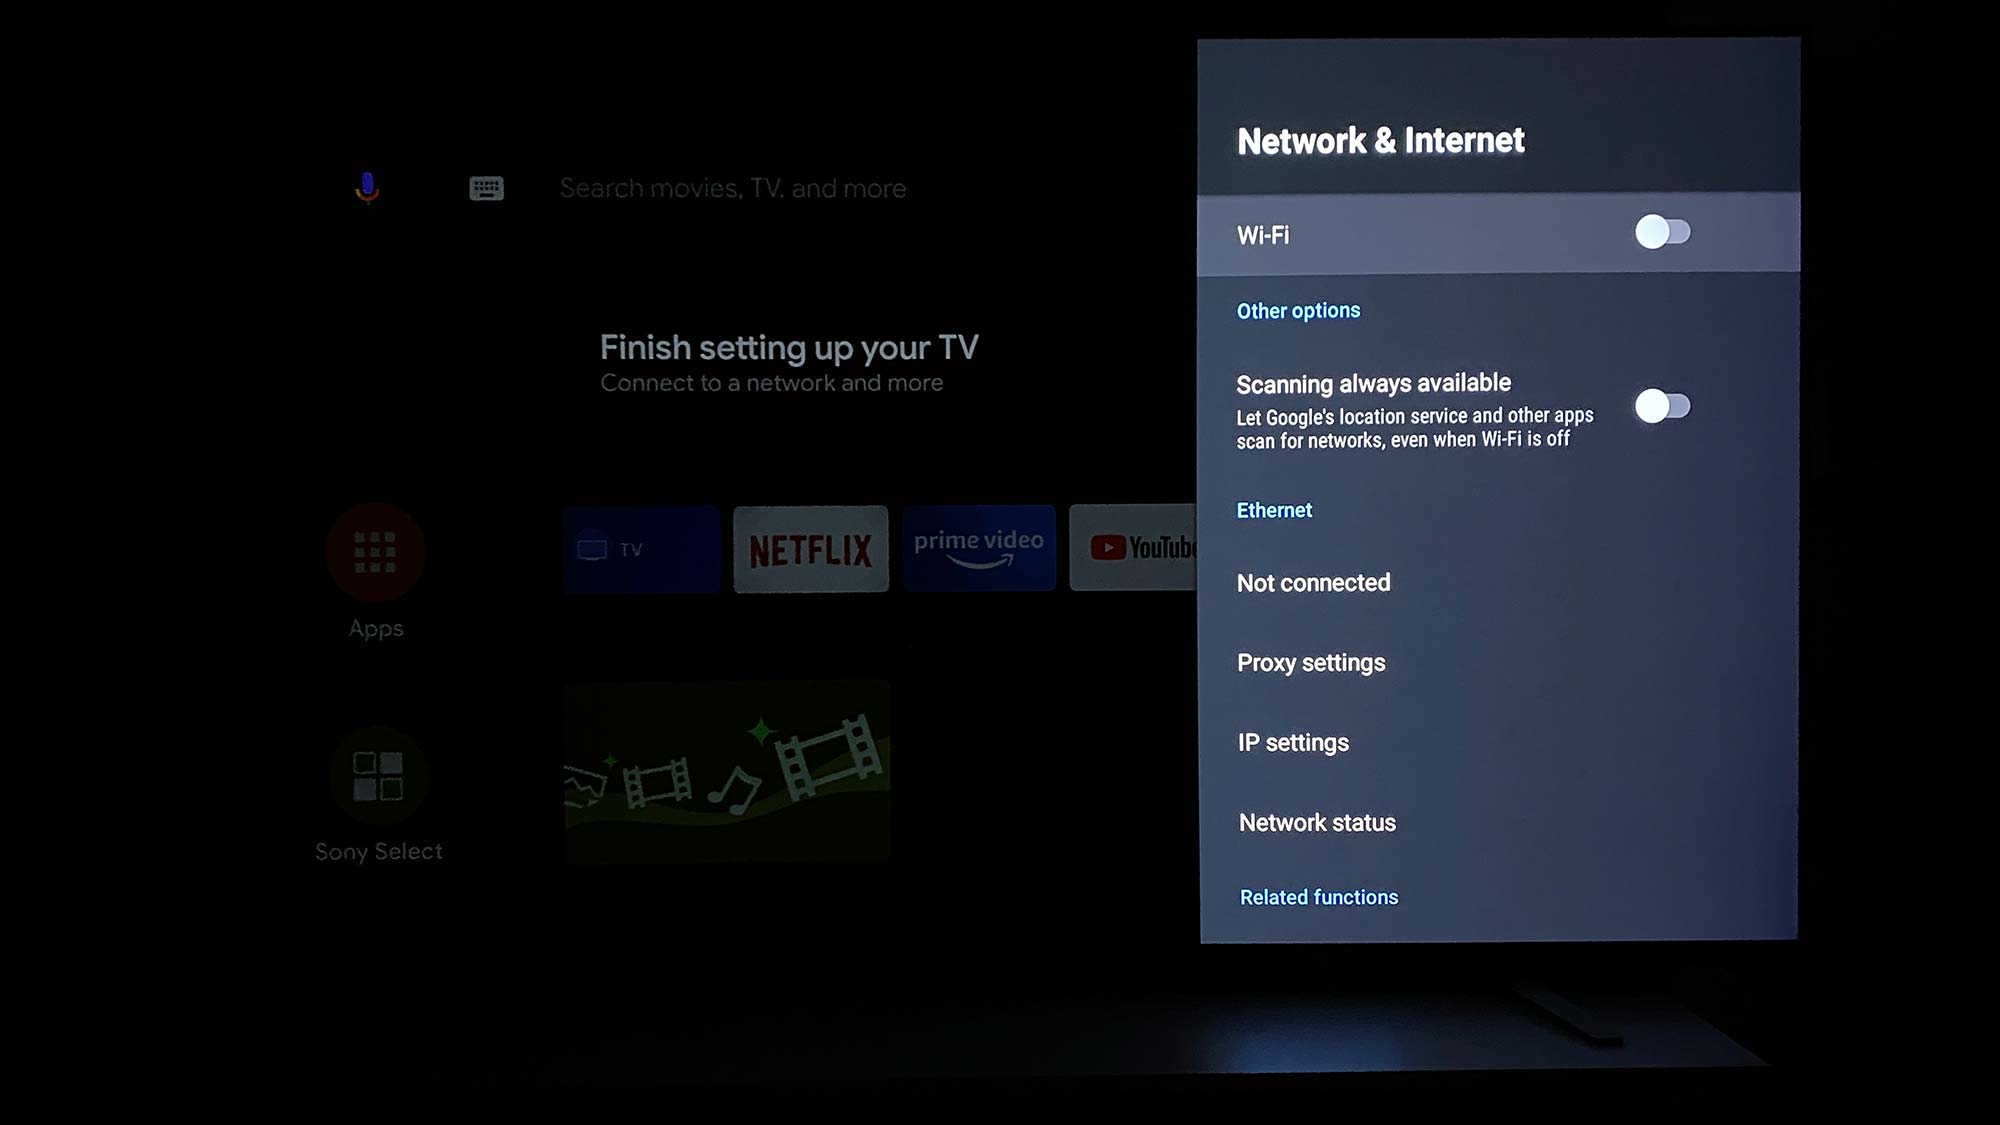
3. Toggle on Wi-Fi. Your TV will search for available networks.
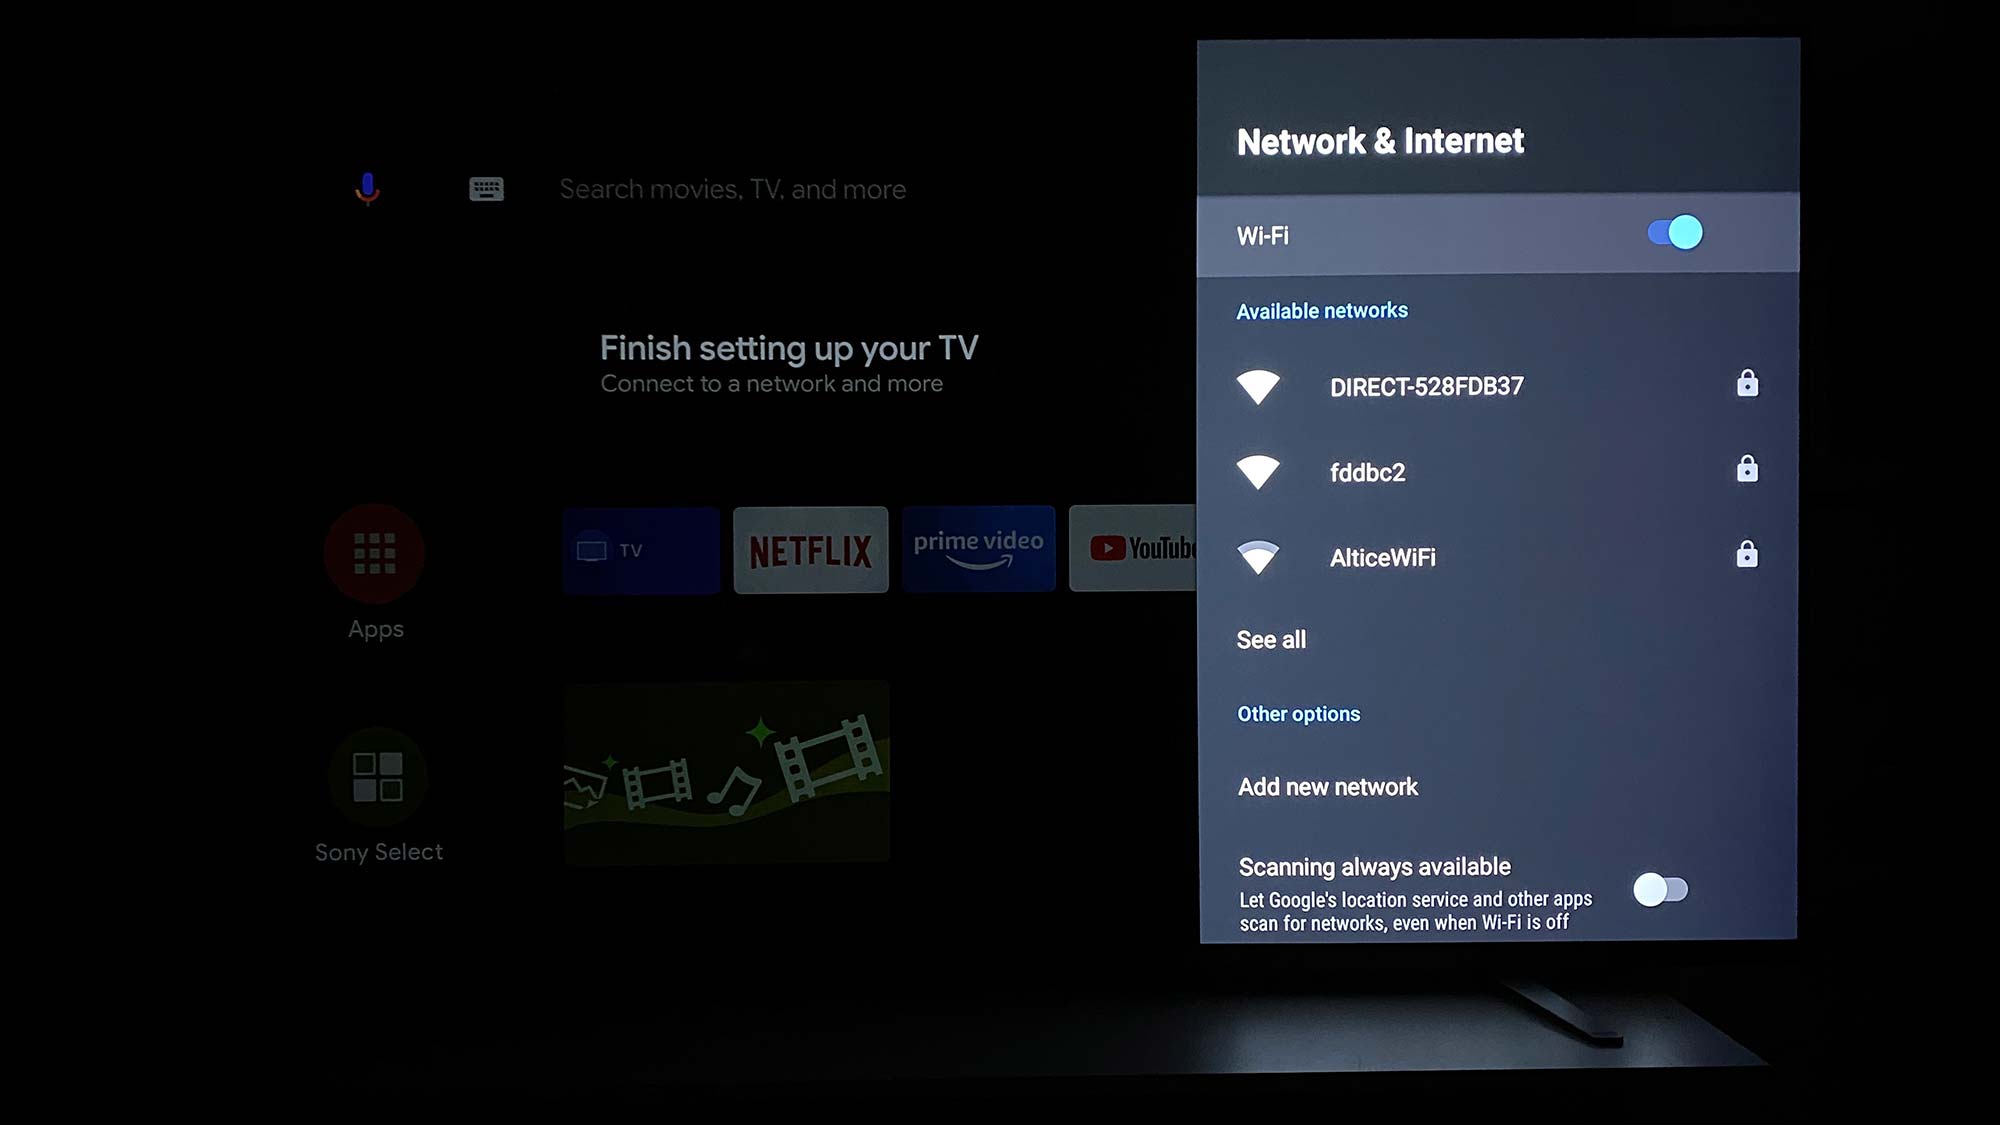
4. Select your network from the list of available networks.
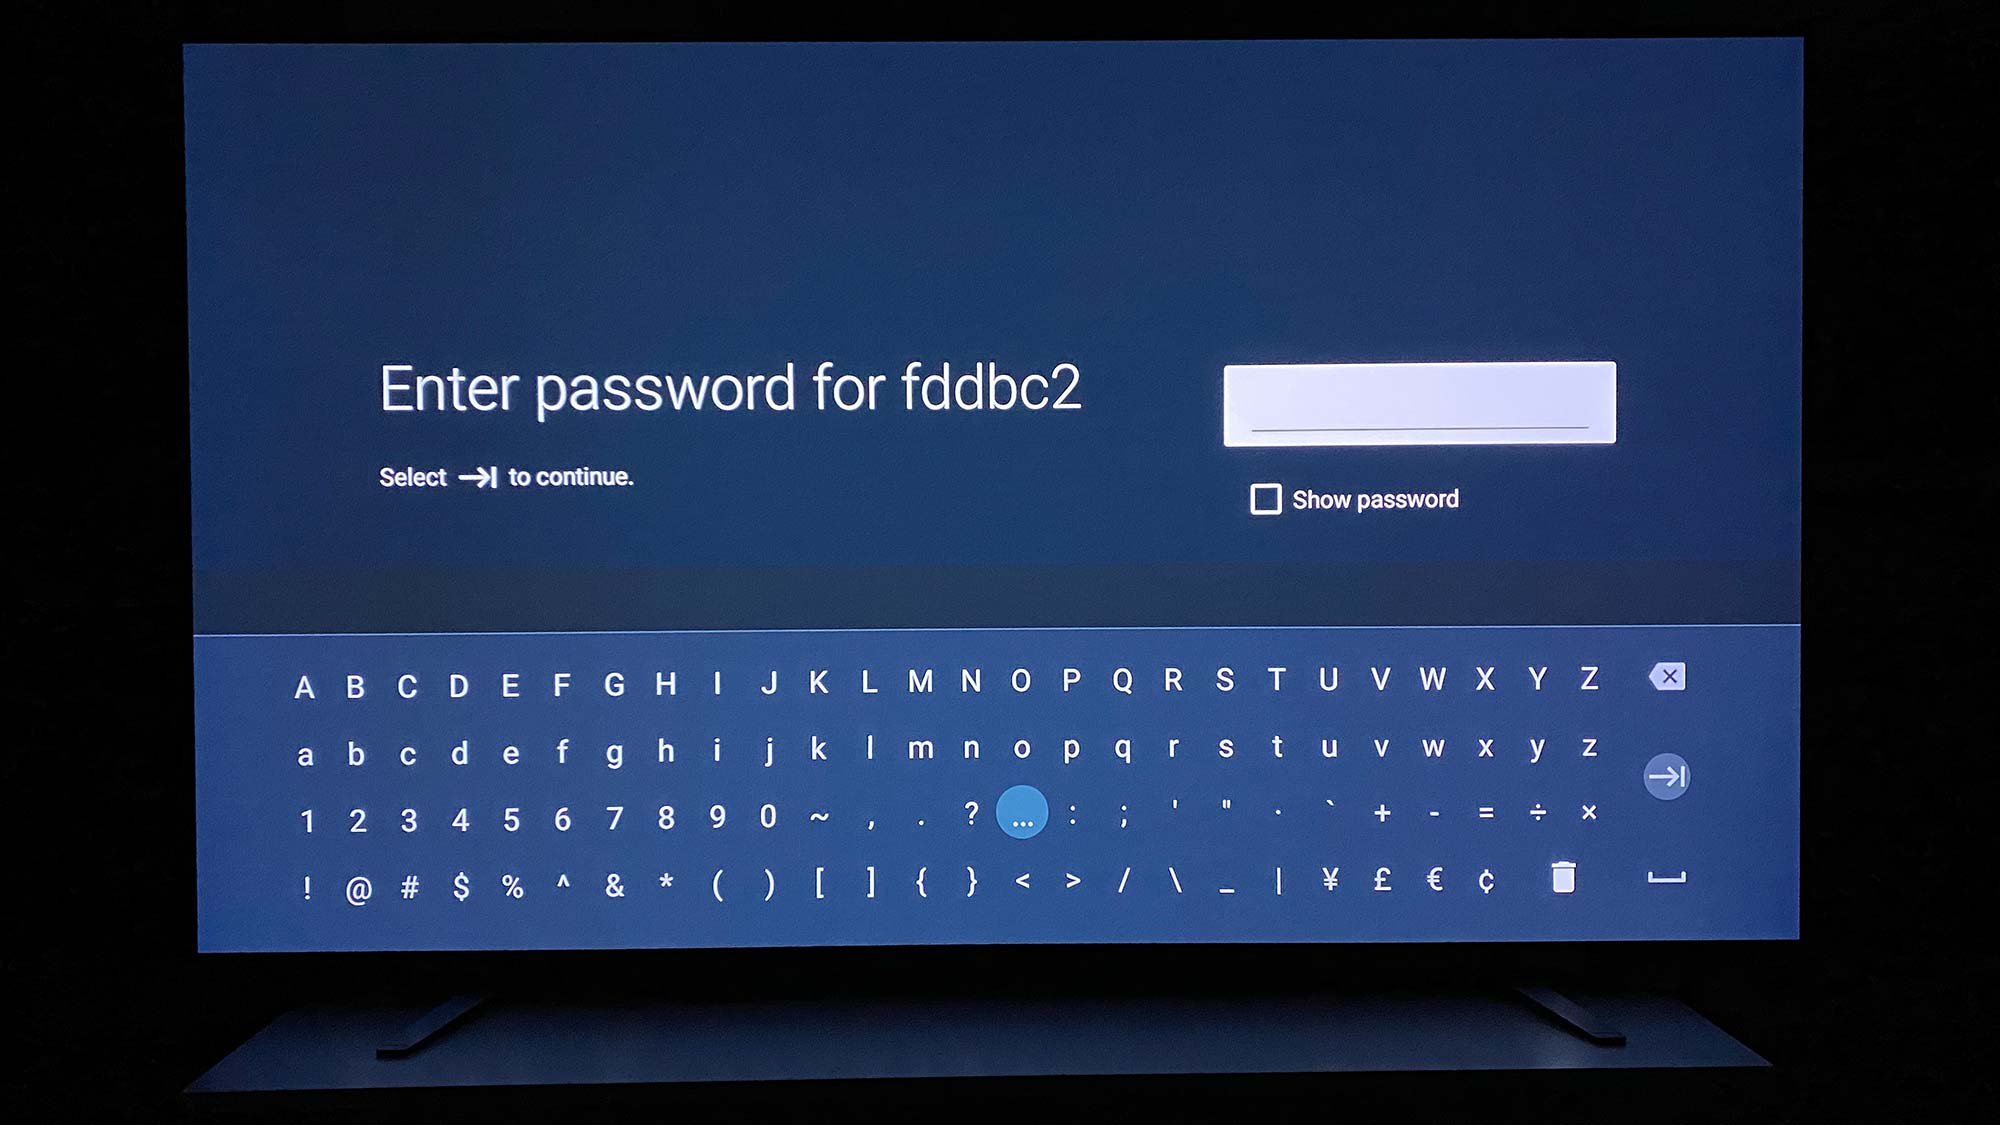
5. Enter your password and select the enter key to complete connecting your Sony smart TV to Wi-Fi.

Kate Kozuch is the managing editor of social and video at Tom’s Guide. She writes about smartwatches, TVs, audio devices, and some cooking appliances, too. Kate appears on Fox News to talk tech trends and runs the Tom's Guide TikTok account, which you should be following if you don't already. When she’s not filming tech videos, you can find her taking up a new sport, mastering the NYT Crossword or channeling her inner celebrity chef.
 Club Benefits


