Tom's Guide Verdict
If you go big on protein, a four-probe meat thermometer is just the ticket. And the GoveeLife certainly delivers on all fronts, including looks, as the hub is super sleek and attractive. What's more, apart from accessing real-time temperatures, the addition of an app allows you to follow cooking programs for specific cuts of protein and done-ness.
Pros
- +
Wireless operation
- +
Built in Wi-Fi
- +
Guided cooking system
- +
Neat storage case
Cons
- -
Needs charging
- -
Instructions could be more detailed
Why you can trust Tom's Guide
Model: H5194
Probe size: 0.5 x 5 inches
Charging case size: 7.48 x 4.57 x 1.14 inches
Weight (with hub): 1.2 oz
Weight (probe only): 0.79 oz
Connectivity: Wi-Fi, Bluetooth
Wireless working range: 500 ft (Bluetooth)
Max temperature: 212°F (internal) 572°F (ambient)
Battery life: 72 hours
Power: Rechargeable internal battery
GoveeLife, a leader in smart home innovation, has expanded its presence in the kitchen with the launch of its latest smart gadget. The company’s latest Smart Wireless Meat Thermometer was launched earlier this year, and I've had the chance to put it through its paces in my home kitchen.
Is it one of the best meat thermometers on the market? It faces intense competition, including the instant-read Thermapen One by ThermoWorks, the CHEF iQ Sense, and premium models, such as the four-probe Meater Pro XL.
And while the GoveeLife meat thermometer is available with one, two, and four probes, I tested the four-probe version, which is the latest release.
GoveeLife Smart Wireless Meat Thermometer: price and availability
The four-probe GoveeLife Smart Wireless Meat Thermometer retails for $149 at Amazon, though it's already sometimes on sale for $129, just two months after its release.
That's a whole lot lower than the four-probe Meater Pro XL, which normally retails for $349. And the GoveeLife isn't just cheaper than some premium models: it's better value than single-probe options like the Ninja ProChef, which costs $79 — so you get four times the probes for double the price with the GoveeLife model.
If you want to keep costs down and don't need the four-probe edition, the one-probe GoveeLife Smart Wireless Meat Thermometer is $69, while the two-probe version is available for $99 at Amazon.
GoveeLife Smart Wireless Meat Thermometer: design
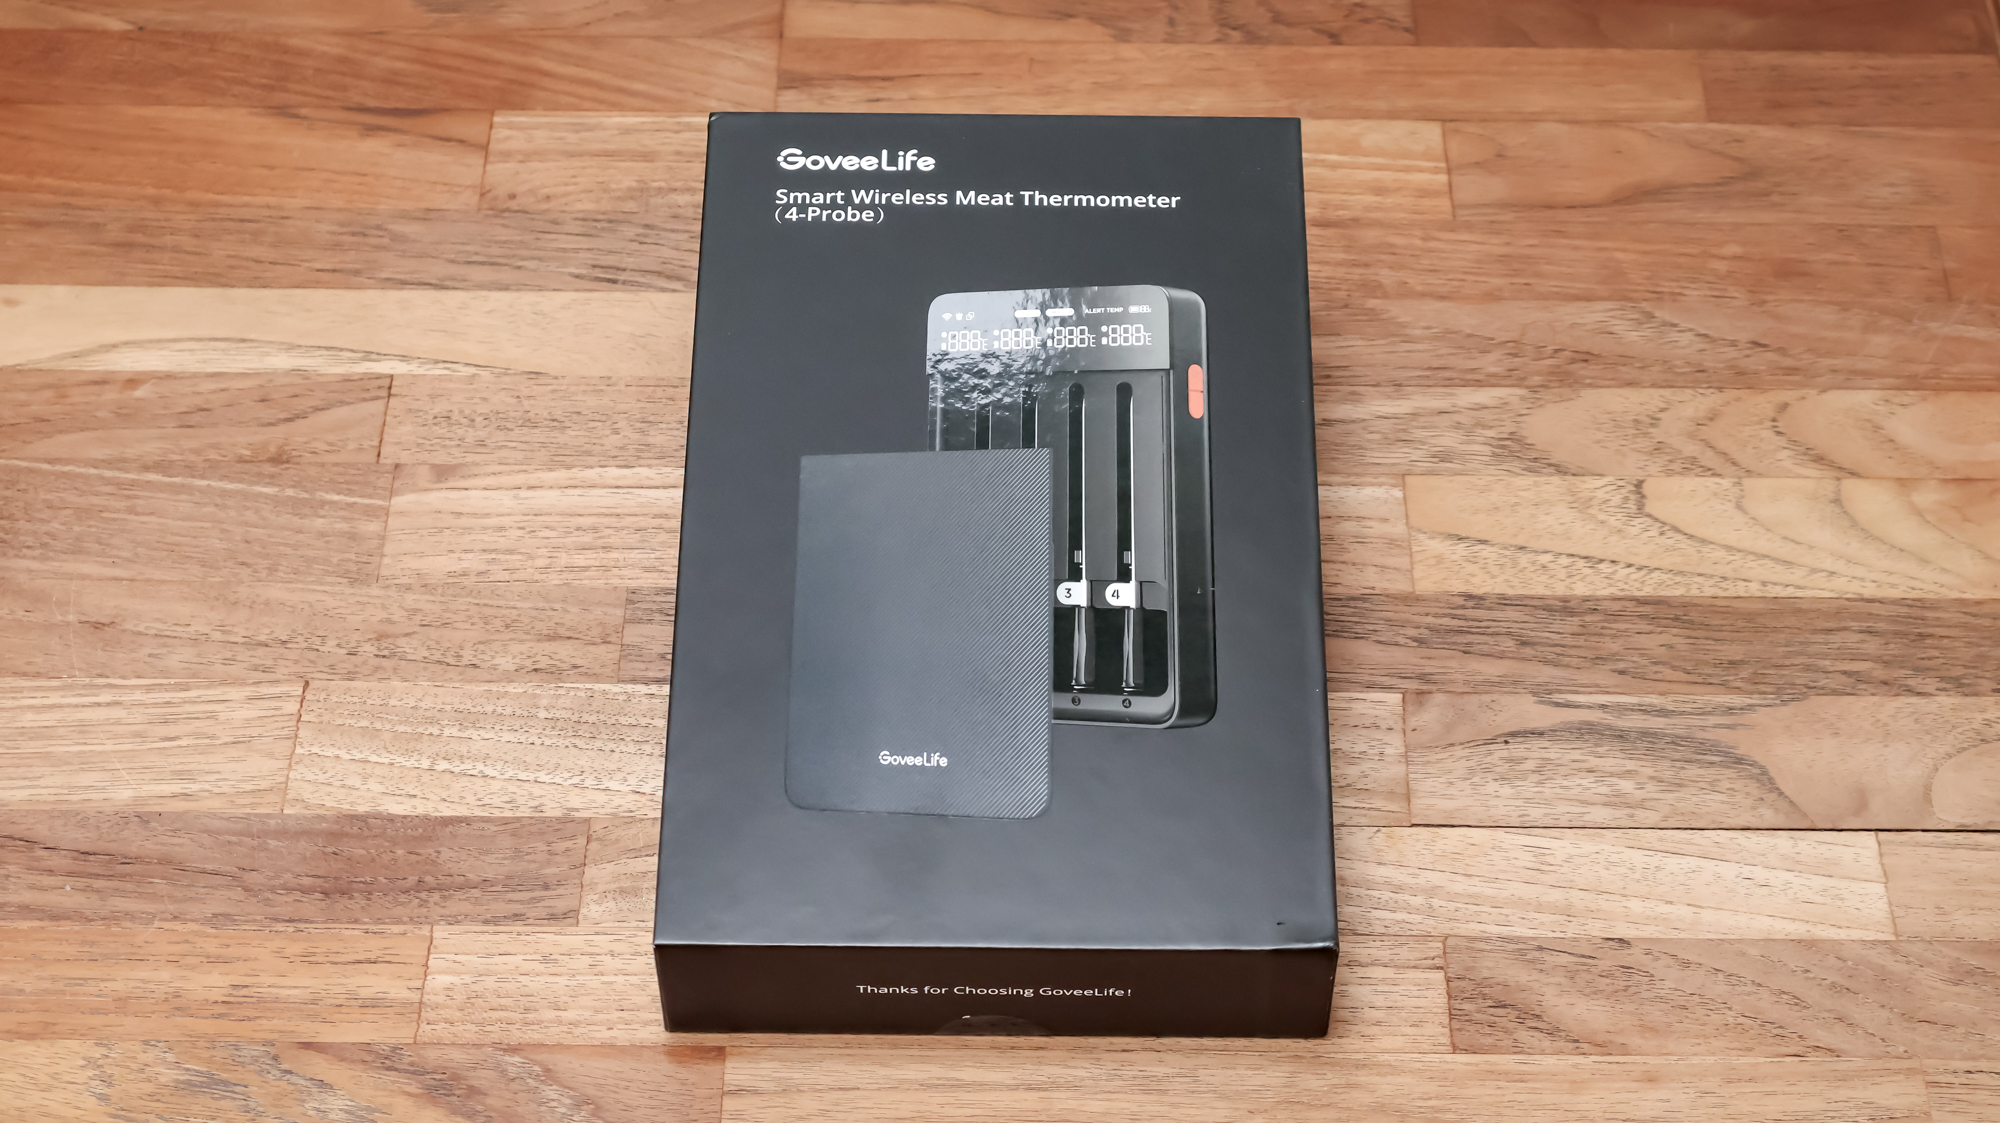
The GoveeLife Smart Wireless Meat Thermometer arrives in a smart matte black box, giving the impression of a sleek appliance even before you unbox it.
Get instant access to breaking news, the hottest reviews, great deals and helpful tips.
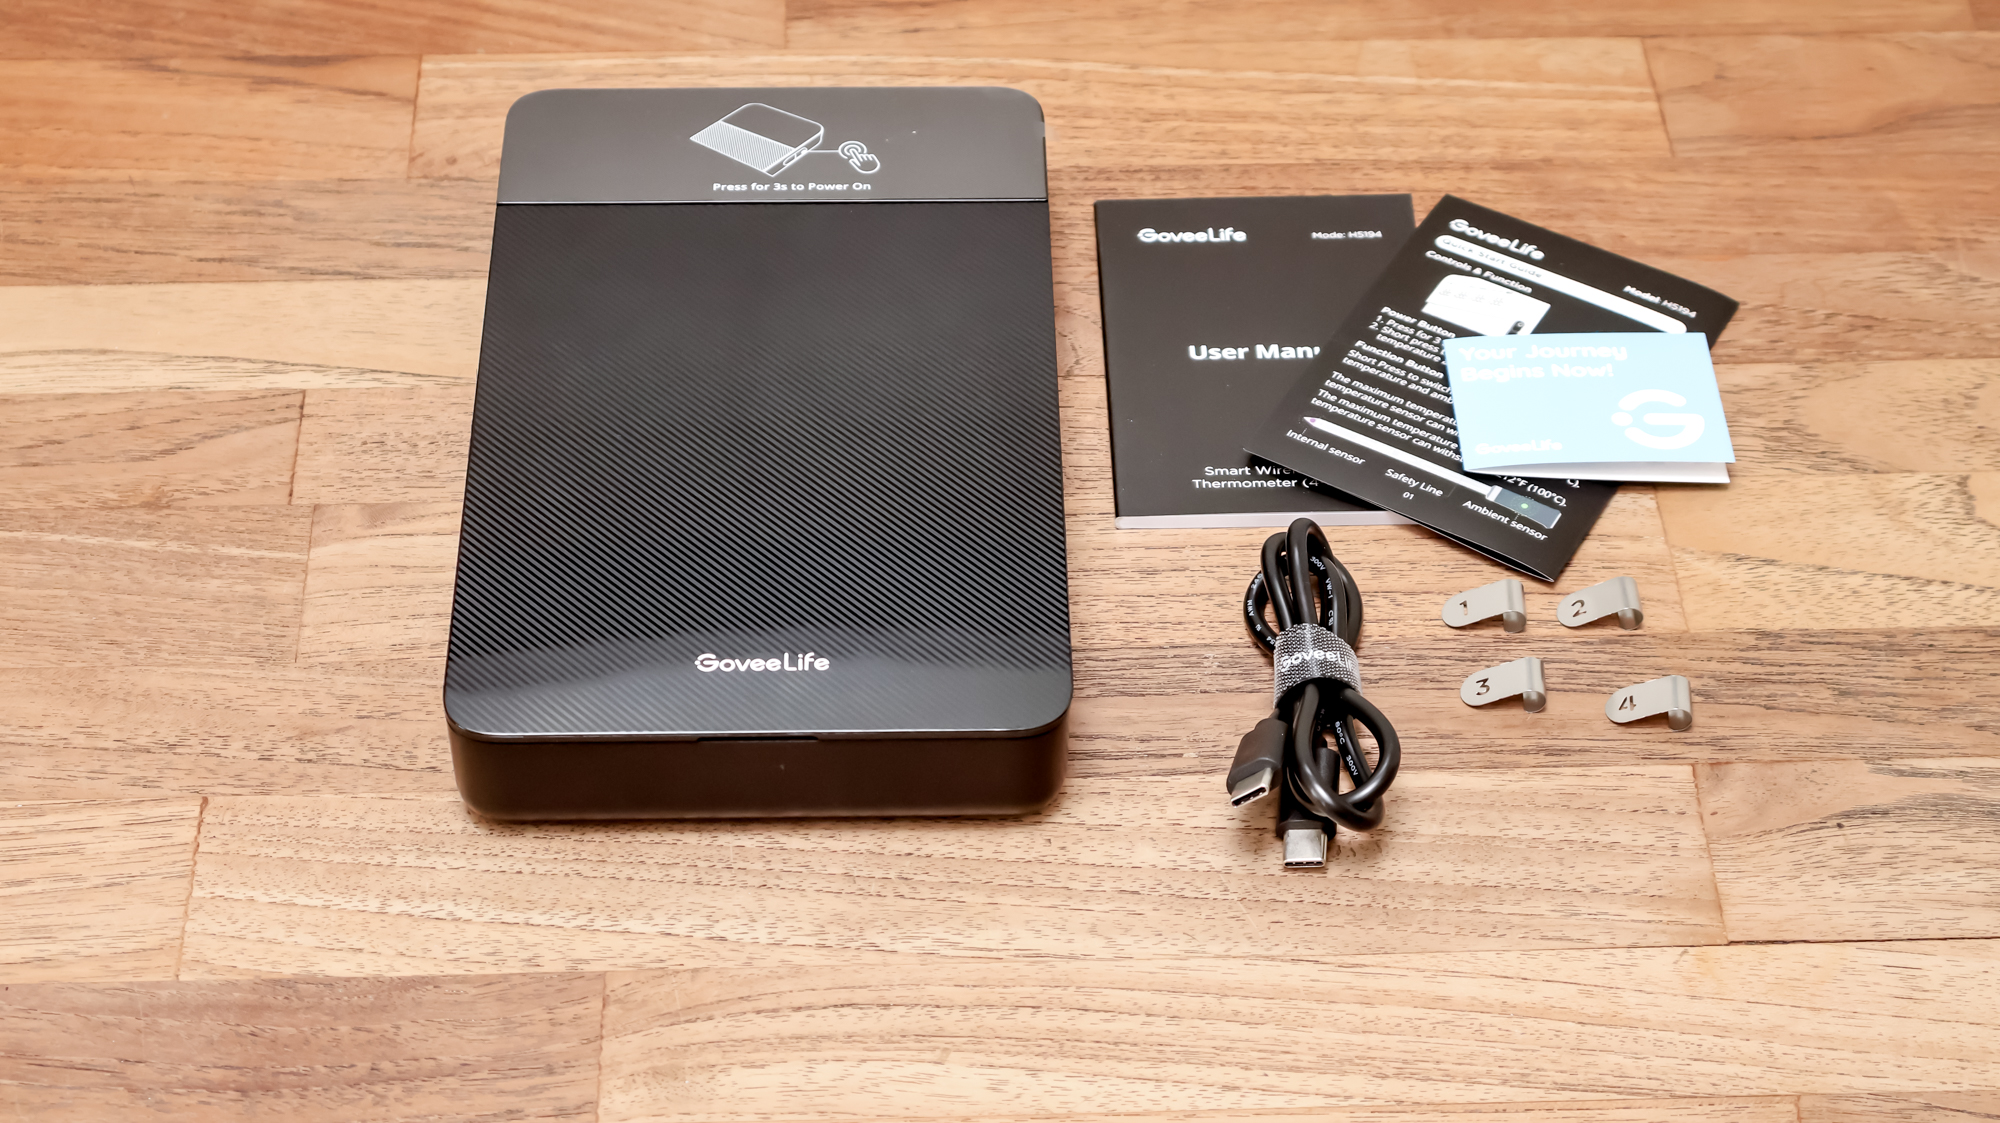
Once opened, the hub sits neatly in the packaging and rests on top of the quick start guide and user manual. The USB charging cable rests in a separate compartment, along with the number tags to add to the probes.
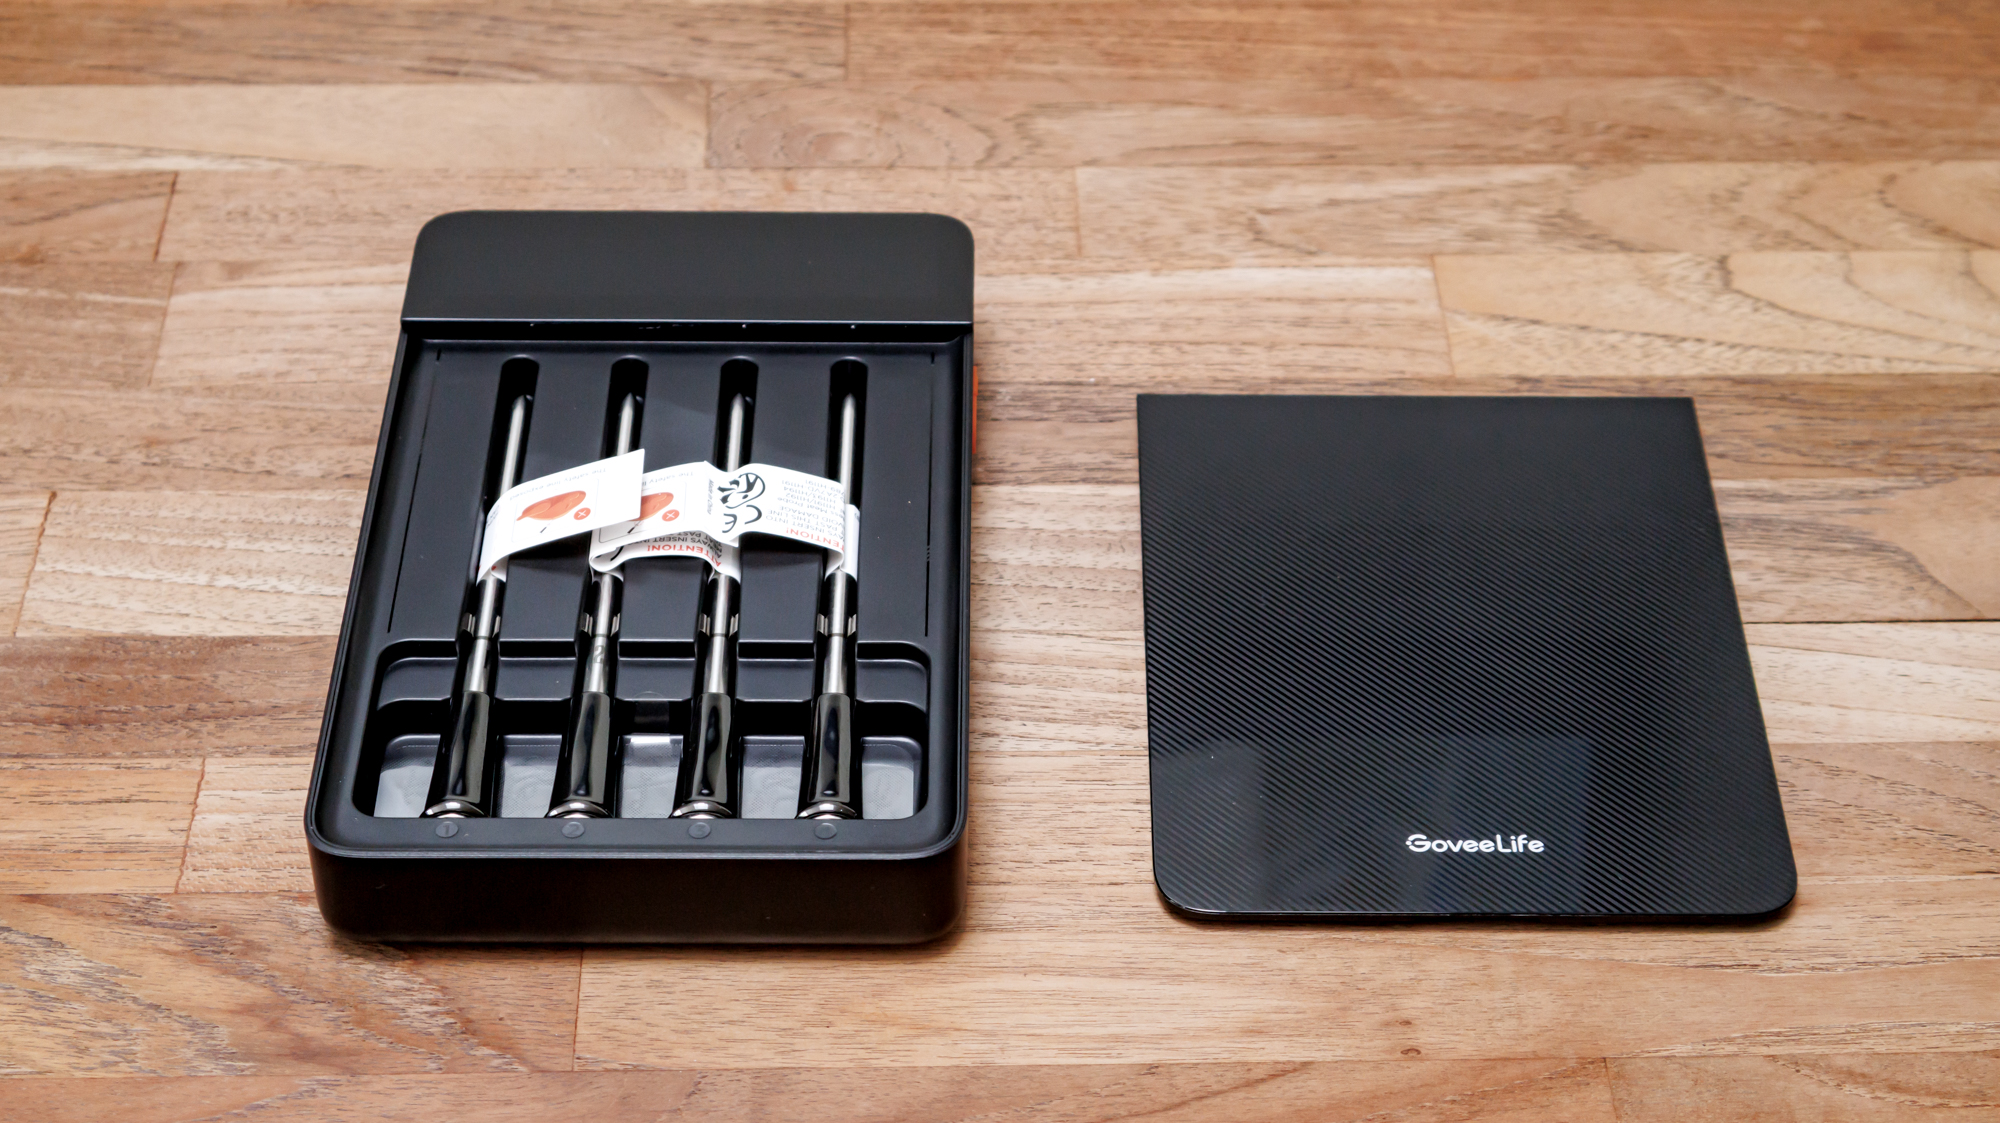
The hub houses the four probes — remove the front cover, which is magnetic, by grasping it from the edge and then lifting it off. It feels satisfying!
The probes are inserted into dedicated units, marked 1 to 4 on the inside casing. Each probe is also numbered close to its handle, and a tag can be attached for added identification, as the indented number will be impossible to read once inserted into your protein.
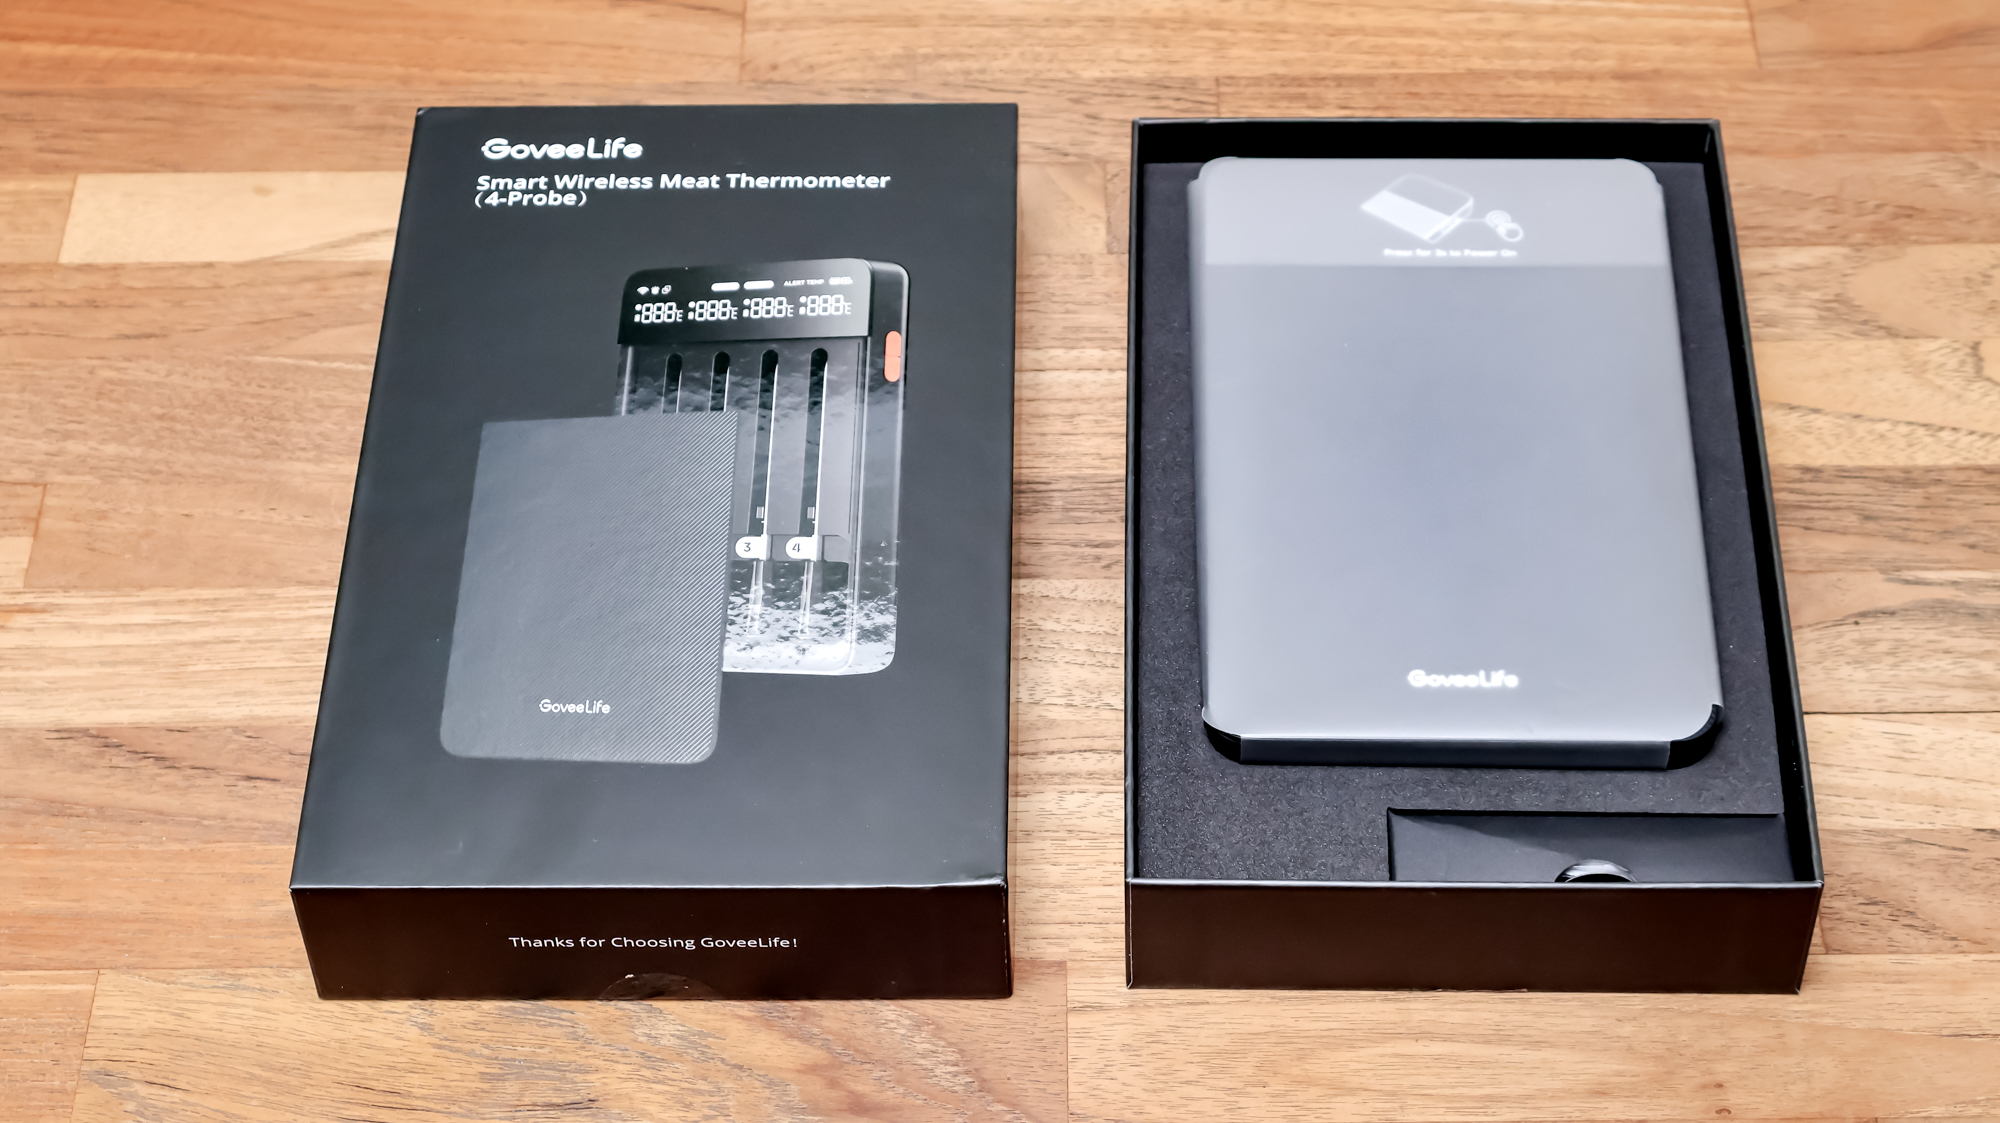
The beauty of the design is that if you don’t want to use all four probes at once, they can stay inside the hub and be hidden beneath the case’s cover, keeping them clean and out of sight. This isn’t possible with the Meater Pro XL, where the probes remain on display.
If you turn the hub on its back, you’ll notice a section on the lower part that can be pulled out and used as a stand. This allows you to get a better angled view of the display section when in use, without having to view the temperatures from a flat surface.
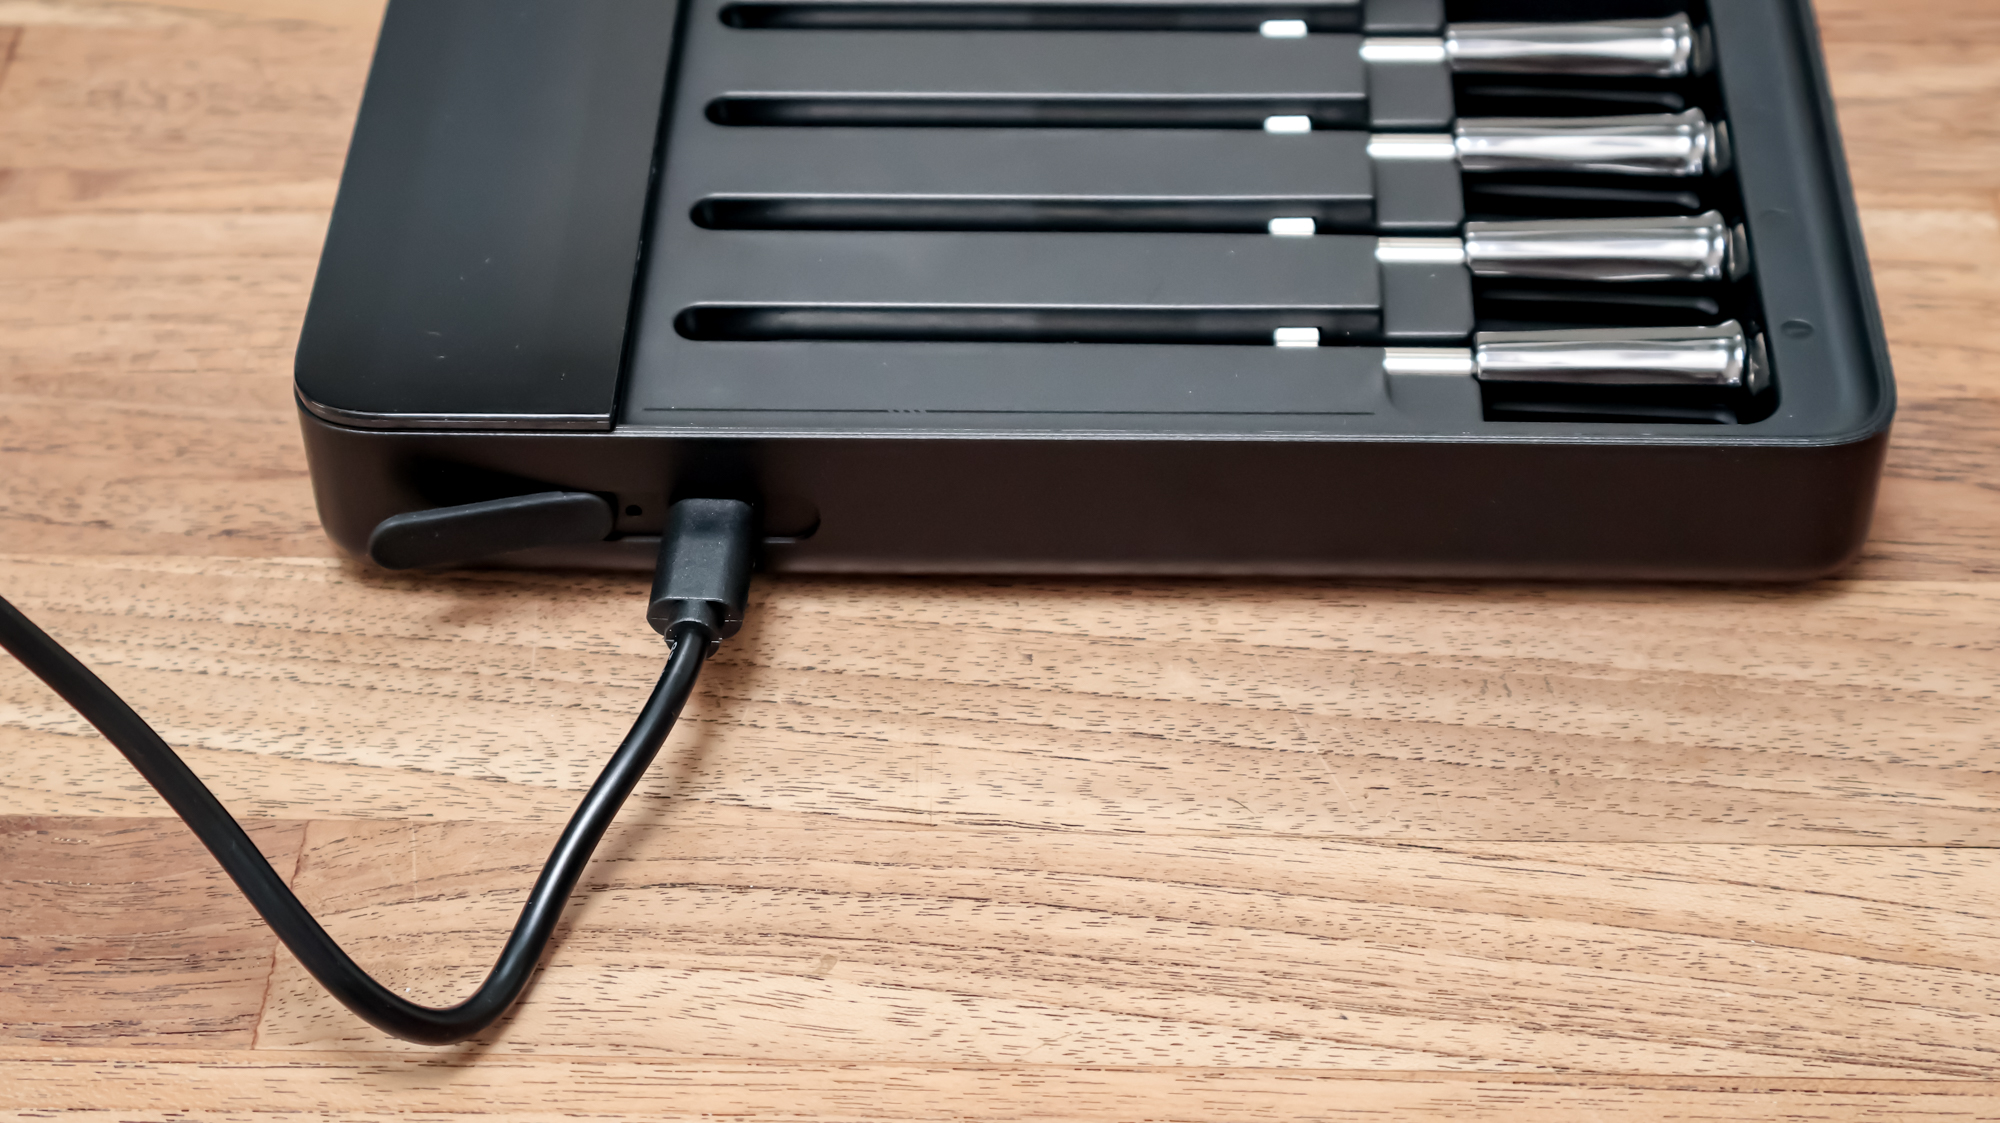
On the left side of the hub, there's the charging port beneath a black rubber flap. On the right side, you’ll find an orange button that features the power and function button.
Apart from charging the hub, placing the probes in the base to charge for 25 minutes before use, and attaching the tags to the probes, there's not a whole lot more to do before downloading the app to get started. Although you will need to press down the power on button for three seconds.
GoveeLife Smart Wireless Meat Thermometer: Getting started
After unboxing, charging, and powering up the meat thermometer, you’ll need to download the Govee Home app. This can be found on the App Store or at Google Play, and there is a QR code to scan in the Quick Start Guide and User Manual.
You’ll then need to select ‘H5194’ as your product before following the connecting instructions. I made multiple attempts to connect my device, but I eventually succeeded.
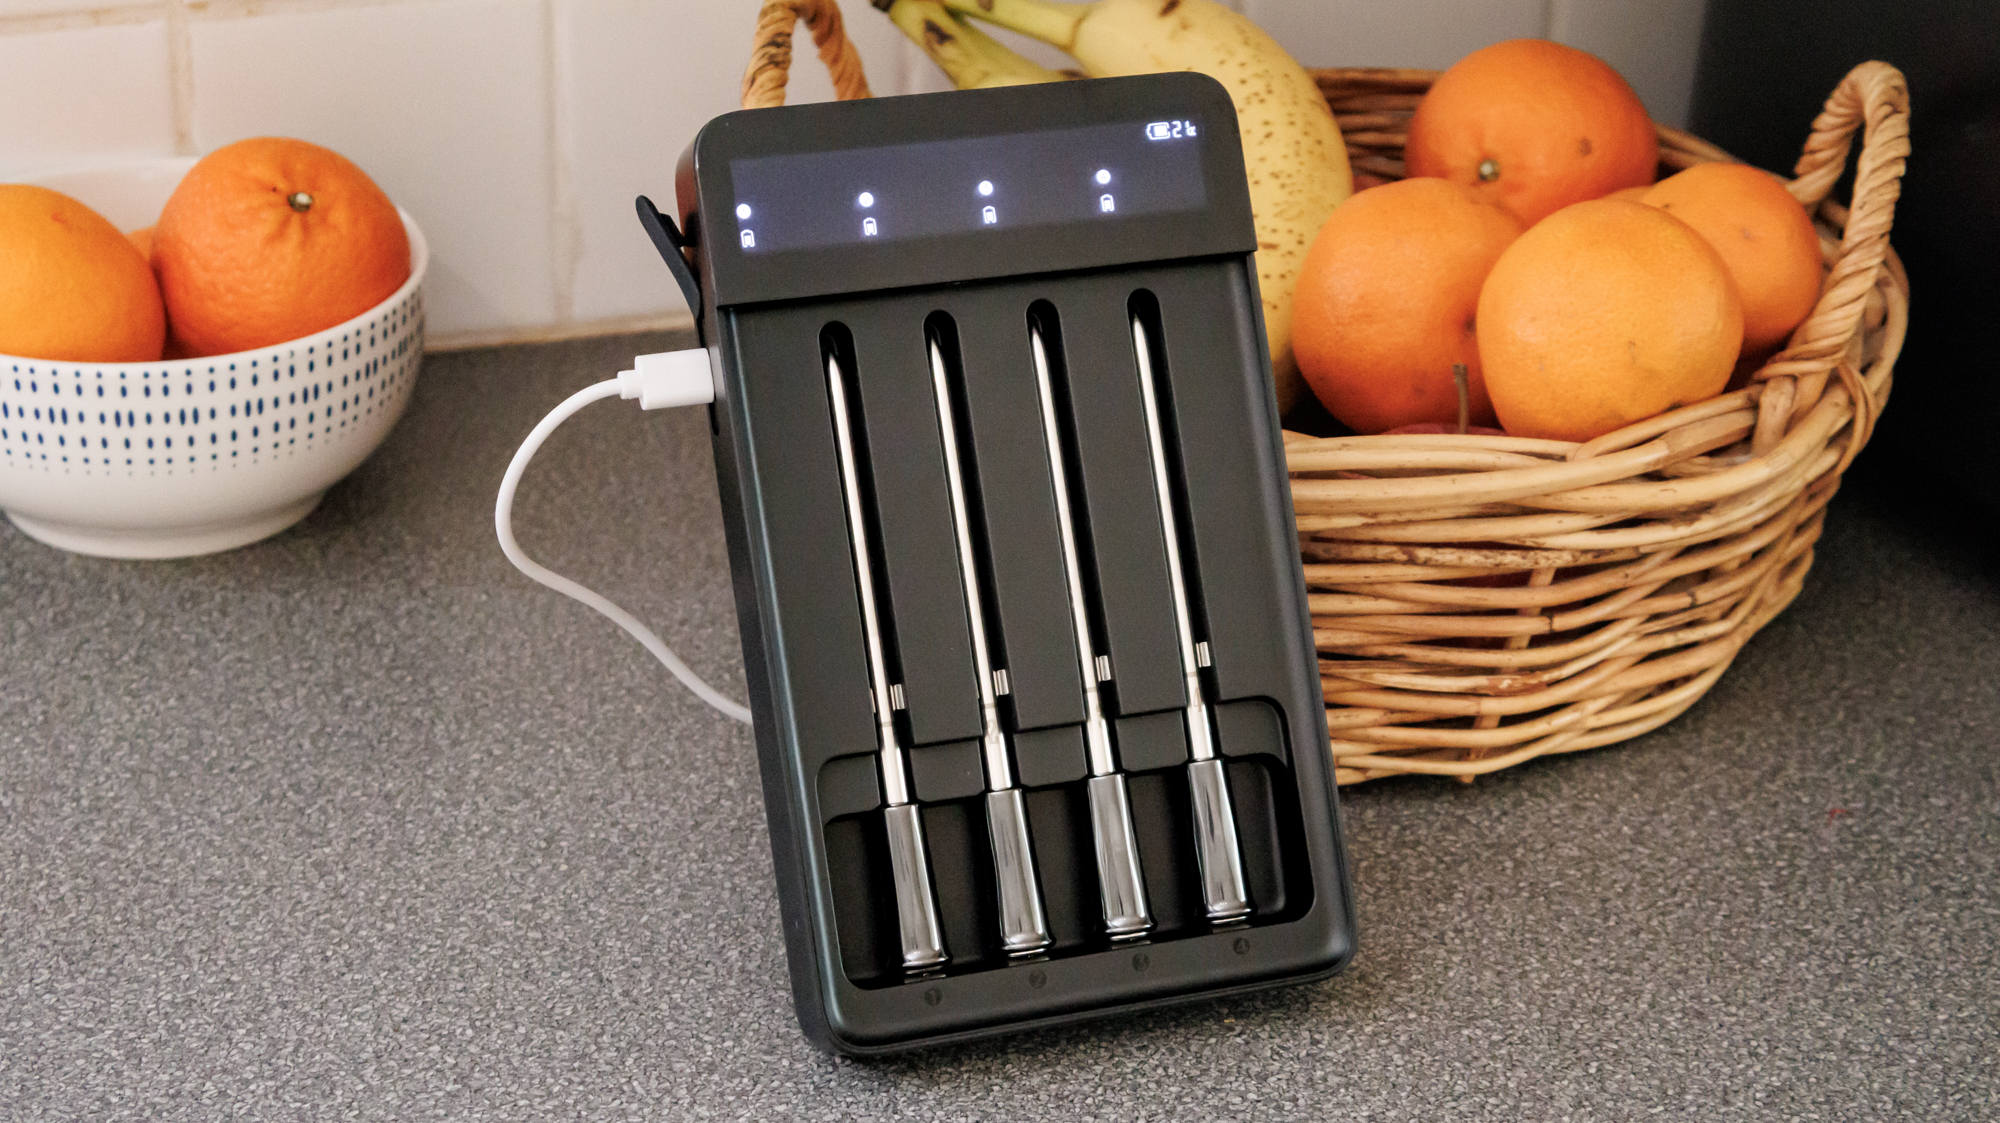
As soon as you remove a probe from the hub, the temperature it registers will appear on the LED screen. Its default setting is in Fahrenheit, but you can switch it to Celsius, in the app. However, it took me a while to find out how to change it. (I clicked on one probe, found settings, and changed it from there.)
Within the settings, you can also change the volume of the buzzer and add an early warning signal, which will pre-warn you when the food is within a certain number of degrees before the preset temperature. I like this extra feature, that gives you advance notice that you meat will be ready to serve up.
You are now ready to insert the probe into your protein. But, as with all meat thermometers, there is a certain method to follow. Insert the probe into the thickest part of the meat, avoiding any bones or fat. This will ensure the final temperature registered indicates the meat is safe to eat through to its core.

The probes measure two temperatures. The sensor at the top of the black section measures the ambient temperature, such as the heat of your oven, while the second sensor, on the length of the probe, measures the internal temperature of your protein.
The internal sensor measures the range from 14°F to 212°F, and the ambient sensor from 14°F to 572°F. GoveeLife claims the accuracy is ±1.8°F. And while your protein is cooking, you'll receive real-time updates every three seconds, to keep you on top of the game.
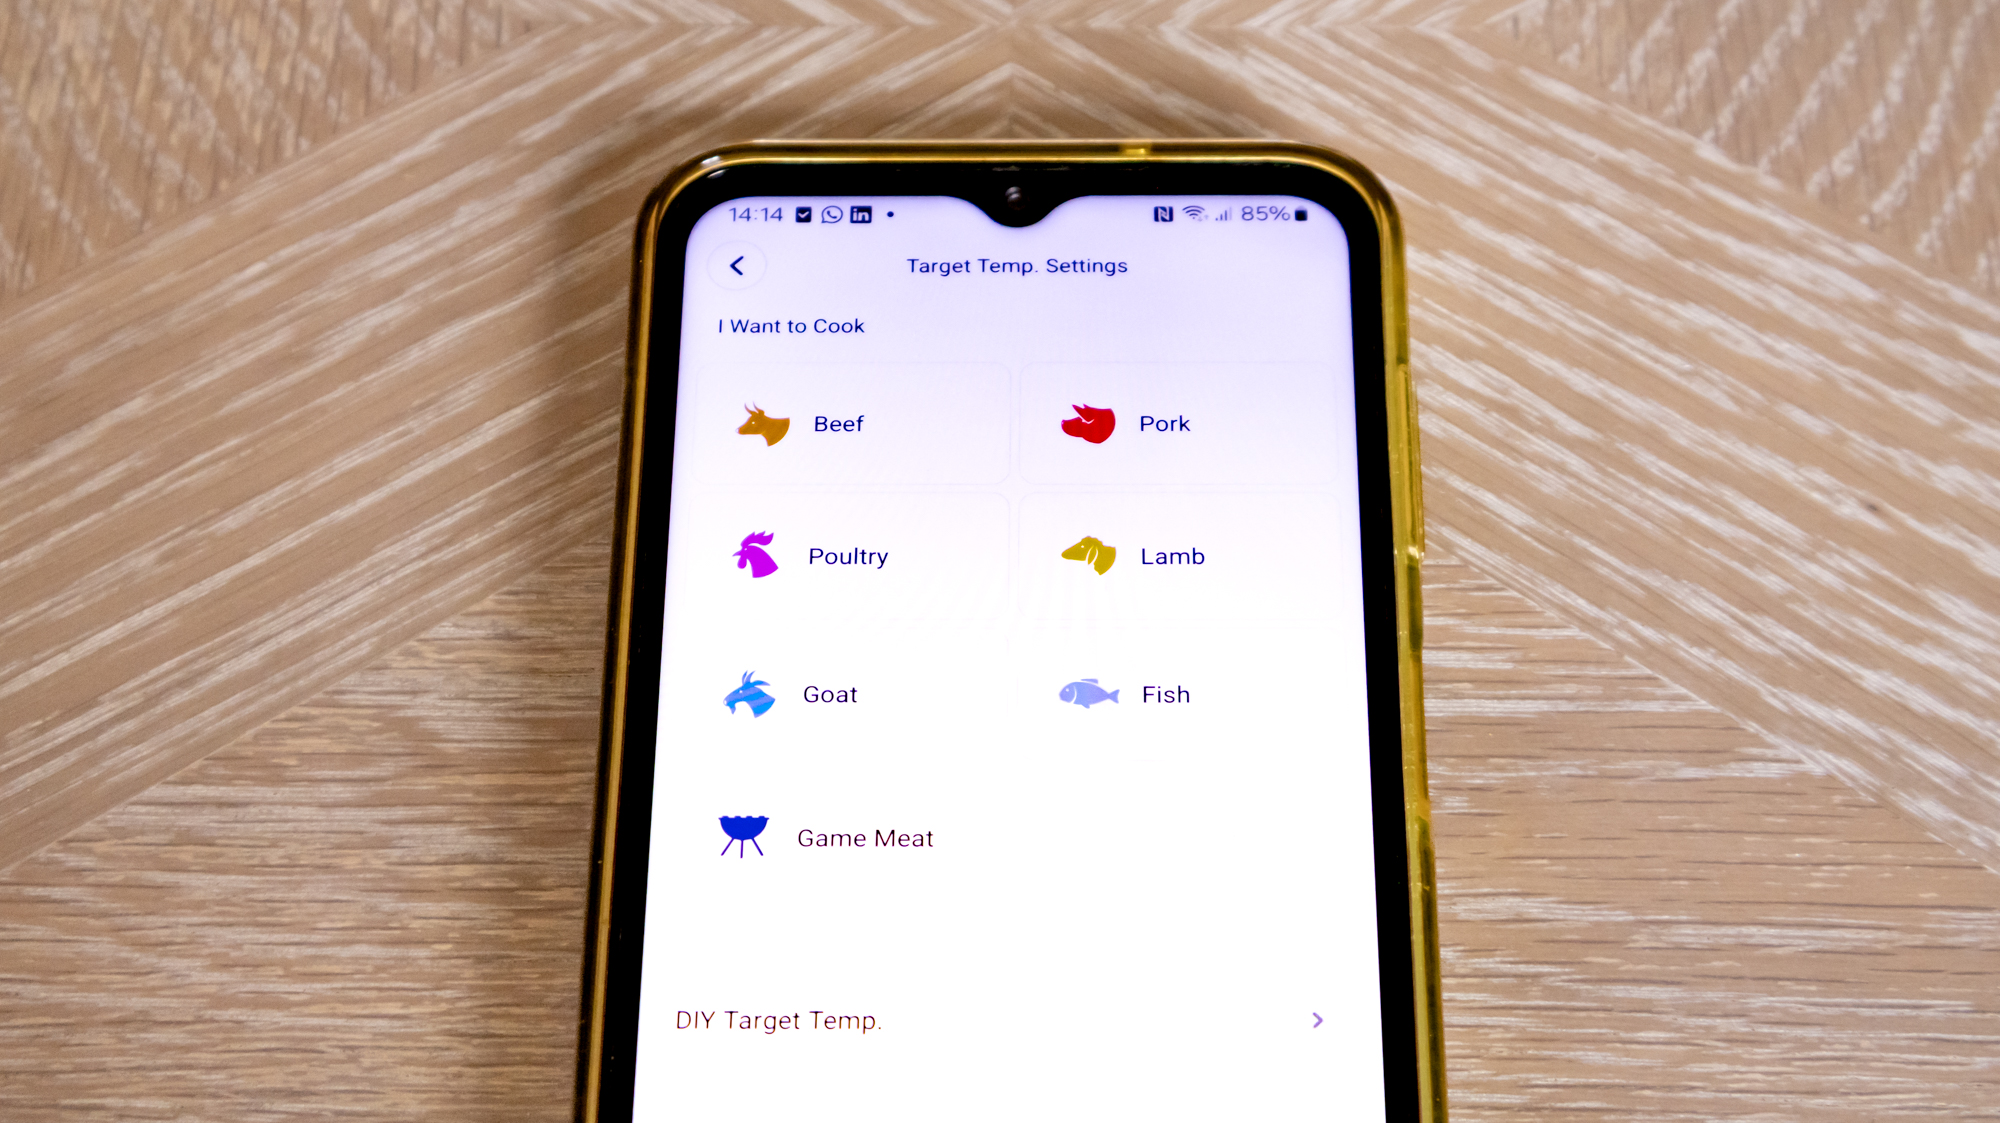
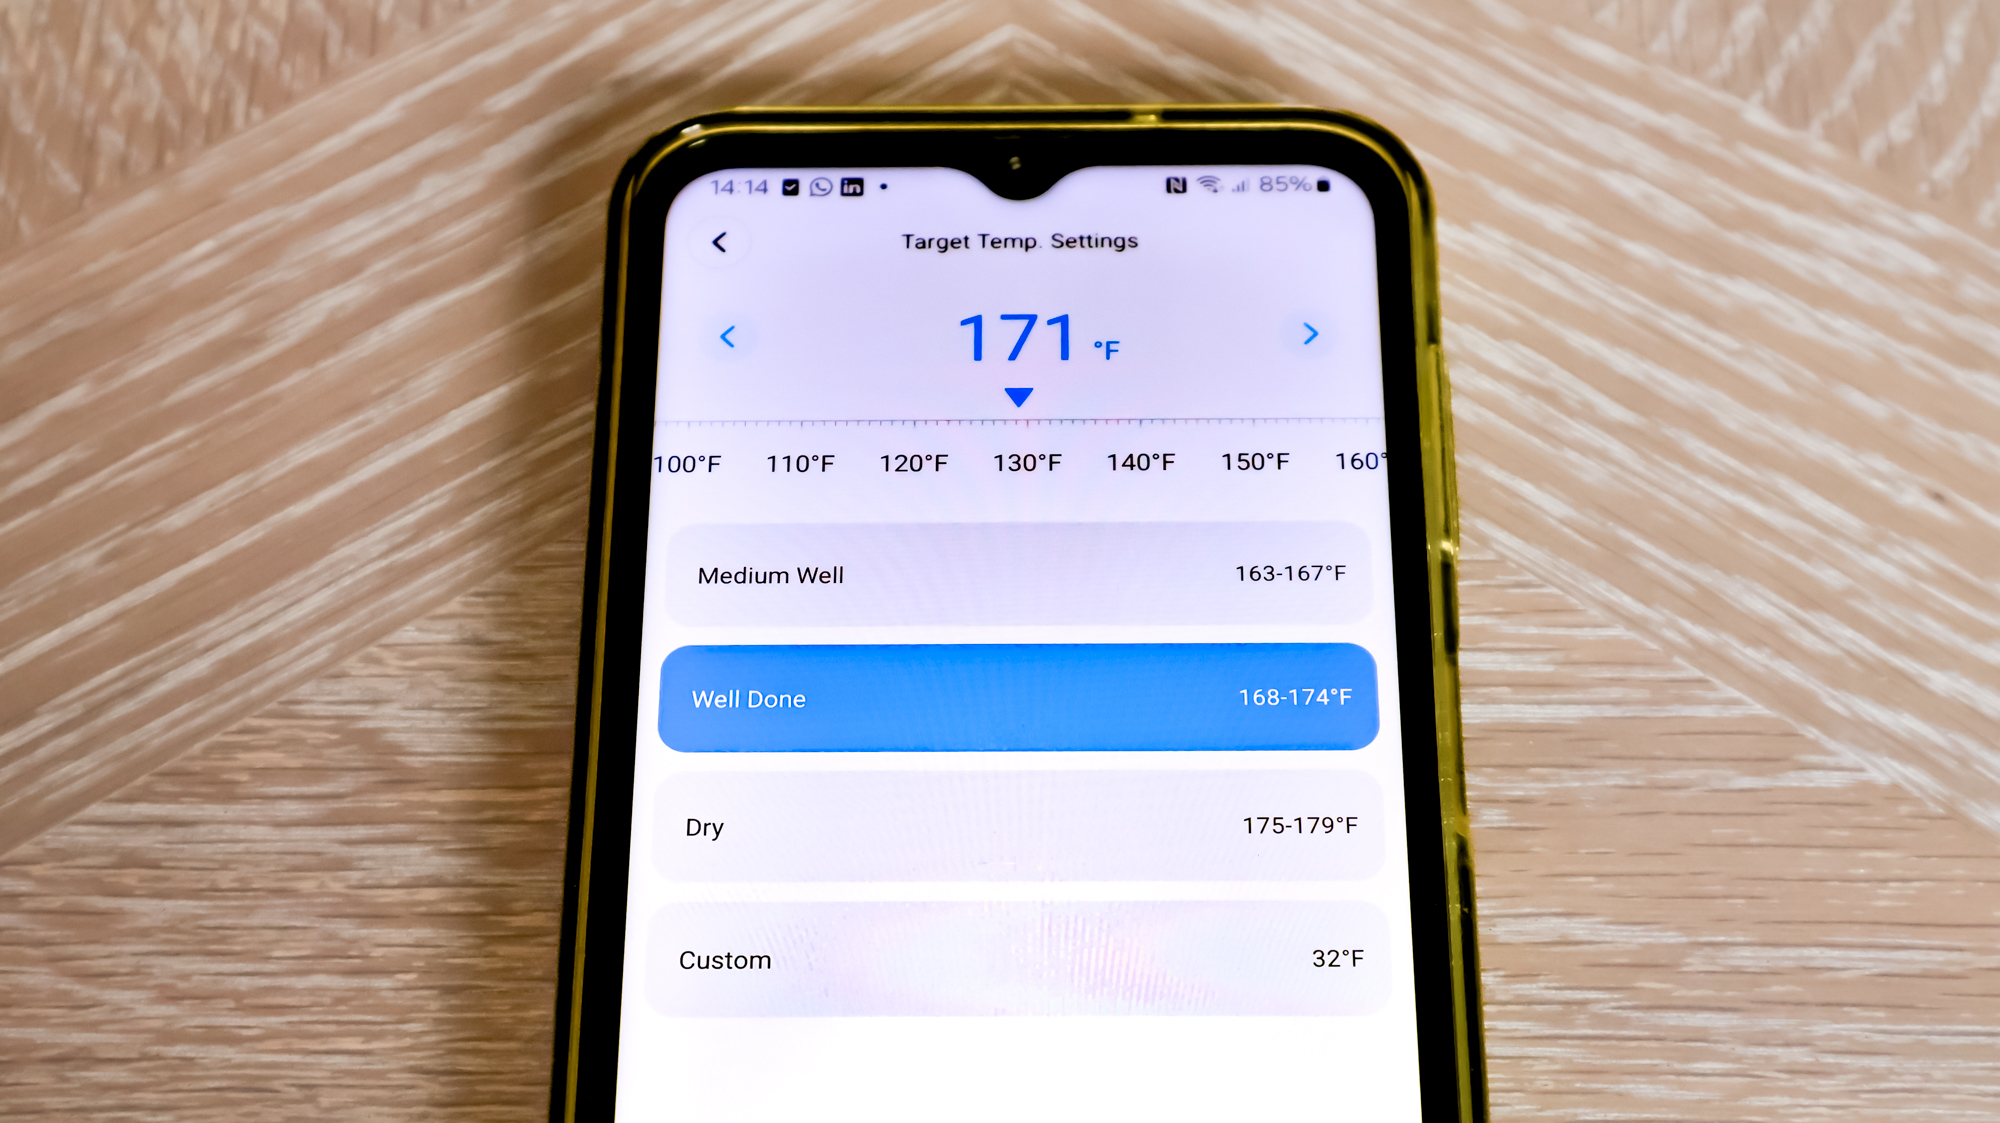
The User Guide isn’t particularly helpful with telling you how to use the cooking guides on the app — you have to work it out for yourself — but if you are used to using apps, it shouldn’t be too much of a problem.
The experience was similar to using the app for the Meater Pro XL, with instructions being equally limited. To set up a cooking program, select ‘Set target temp’ on the app, then choose the protein type, cut, and desired doneness level. Then, get cooking.
GoveeLife Smart Wireless Meat Thermometer: performance

I cooked a mix of proteins, including a whole chicken, sausages and sirloin steak, using a single probe for the chicken, four probes for the sausages and two probes for the steaks. While the chicken and sausages were cooked in my Cosori TurboBlaze air fryer, the steaks were started off in an oven and completed on a gas cooktop.
You can watch the cook progress on the app, and when the target temperature is reached you'll hear an alarm sound and receive an app notification. However, the probe will be hot, so only remove it using heat-resistant gloves, unless you allow it to cool down beforehand.
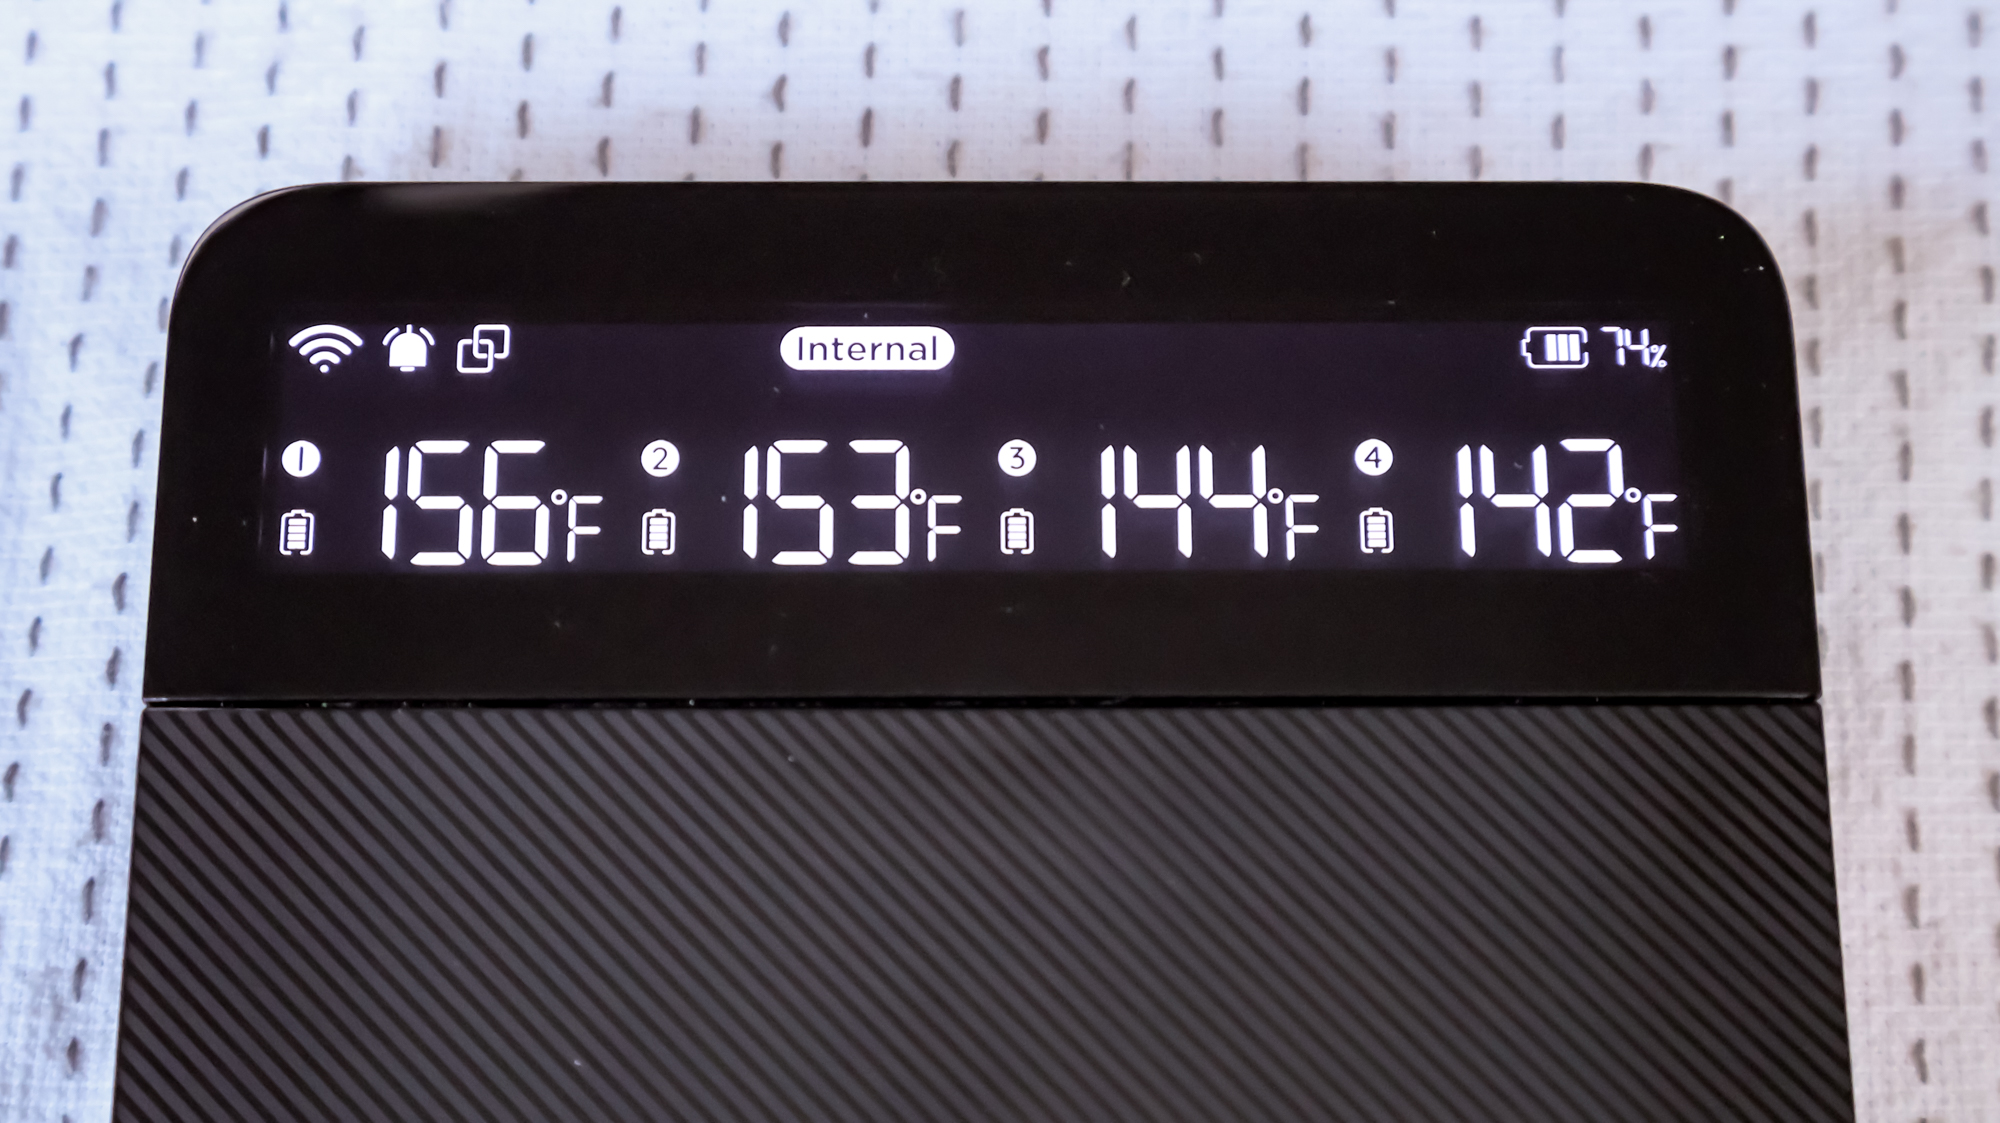
What I like about the GoveeLife meat thermometer is that you can see the temperature on the hub and on the app, although the app gives your greater detail.
The only information you receive on the hub is either the internal or ambient temperature, and you switch between the two by pressing the function button on the right side.
On the app you see a whole host more of details, including the current and temperature target and comparison data and you can also view one probe at a time or all of the probes.
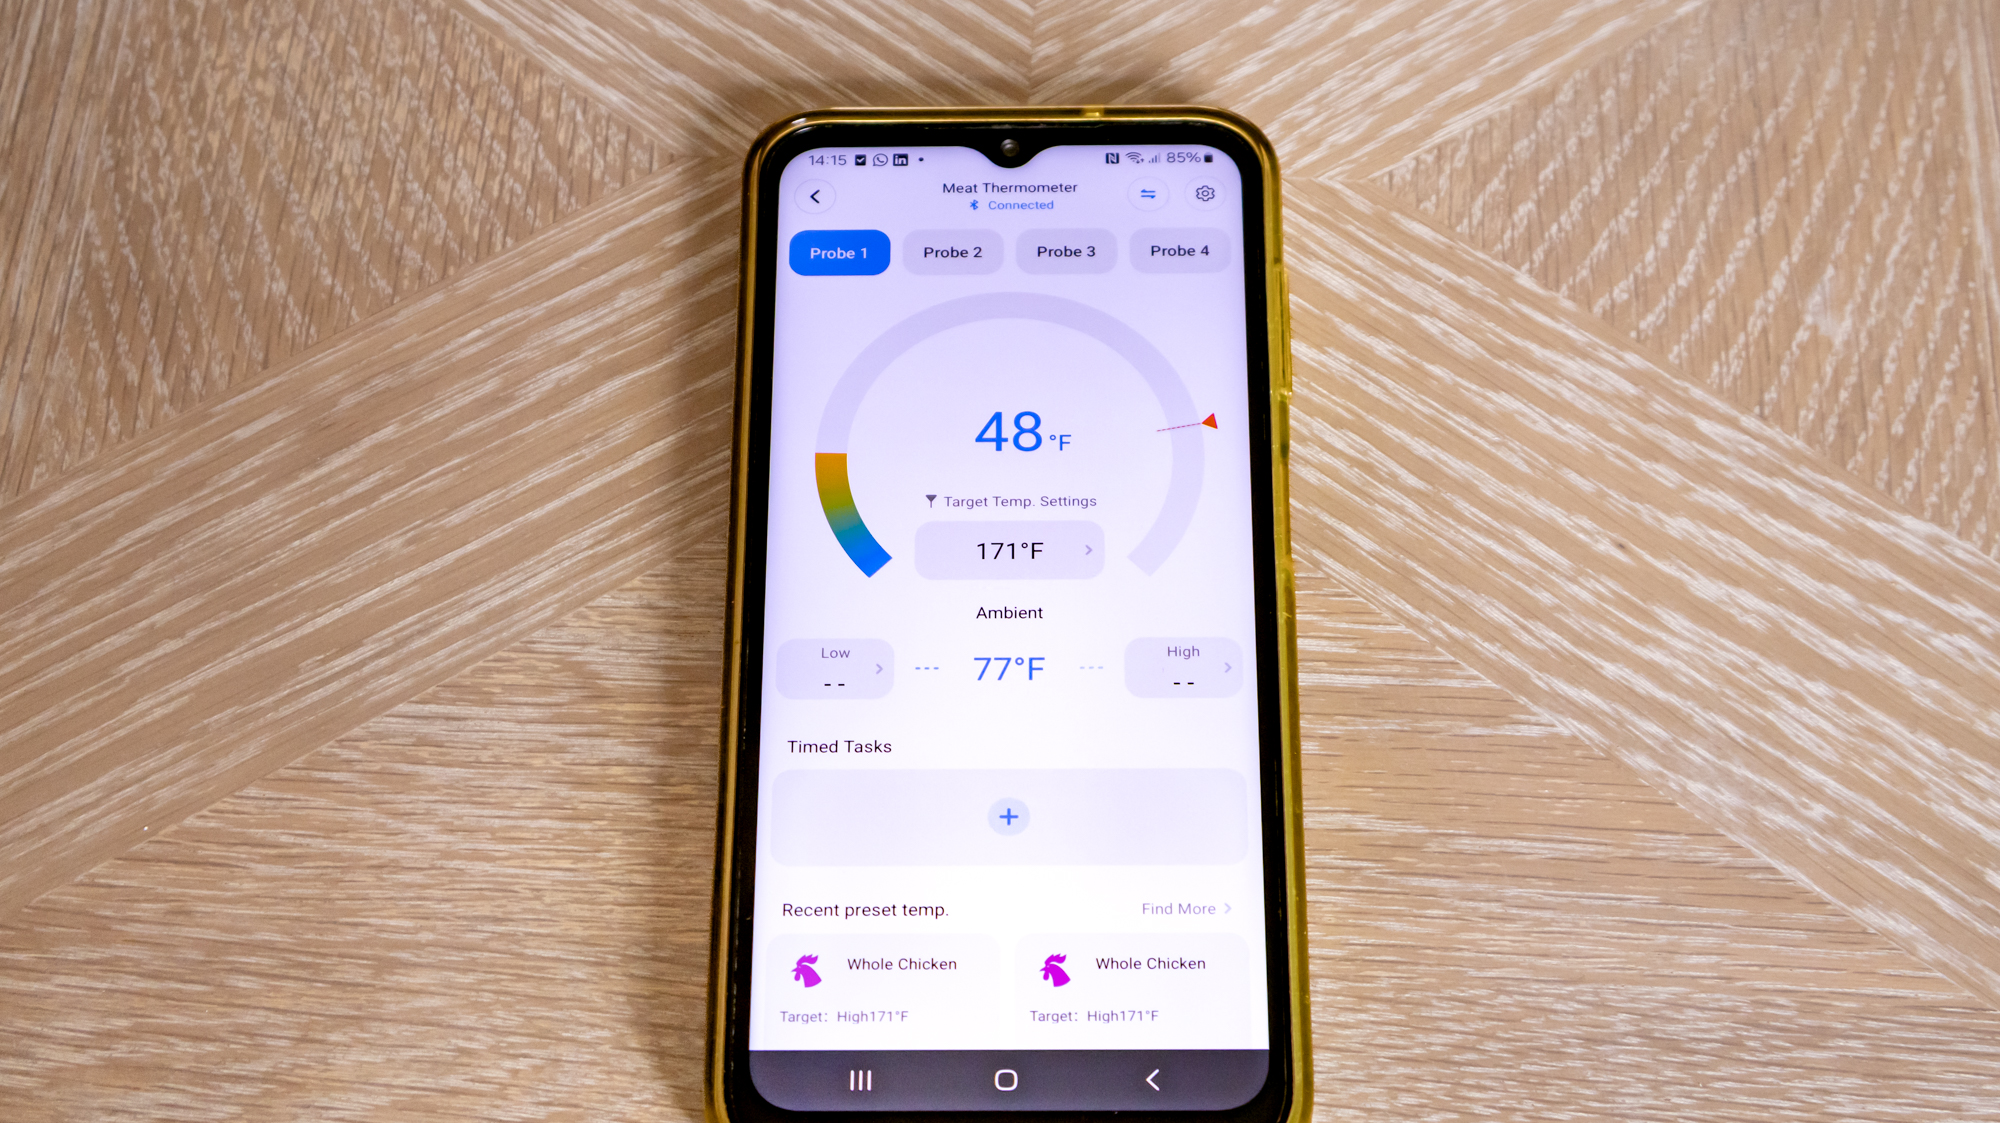
However, I couldn't properly test the Bluetooth connection, only the Wi-Fi version. In Bluetooth mode, even though it should work within 500ft in an open environment, just wasn't stable or reliable enough for me to use.
And there was another issue, although this isn't unique to the GoveeLife thermometer, as I've experienced it with other leave in probes — cooking a whole chicken can be unpredictable.
Although I carefully insert the probe into the thickest part of the meat, it always ends up undercooked. My solution is to flip the whole chicken halfway through and then reinsert the probe on the other side. I then end up with a chicken that’s cooked right through.
I tend to cook whole chickens in my air fryer, and space is limited, but if I were to use an oven, I would add two probes from the outset.
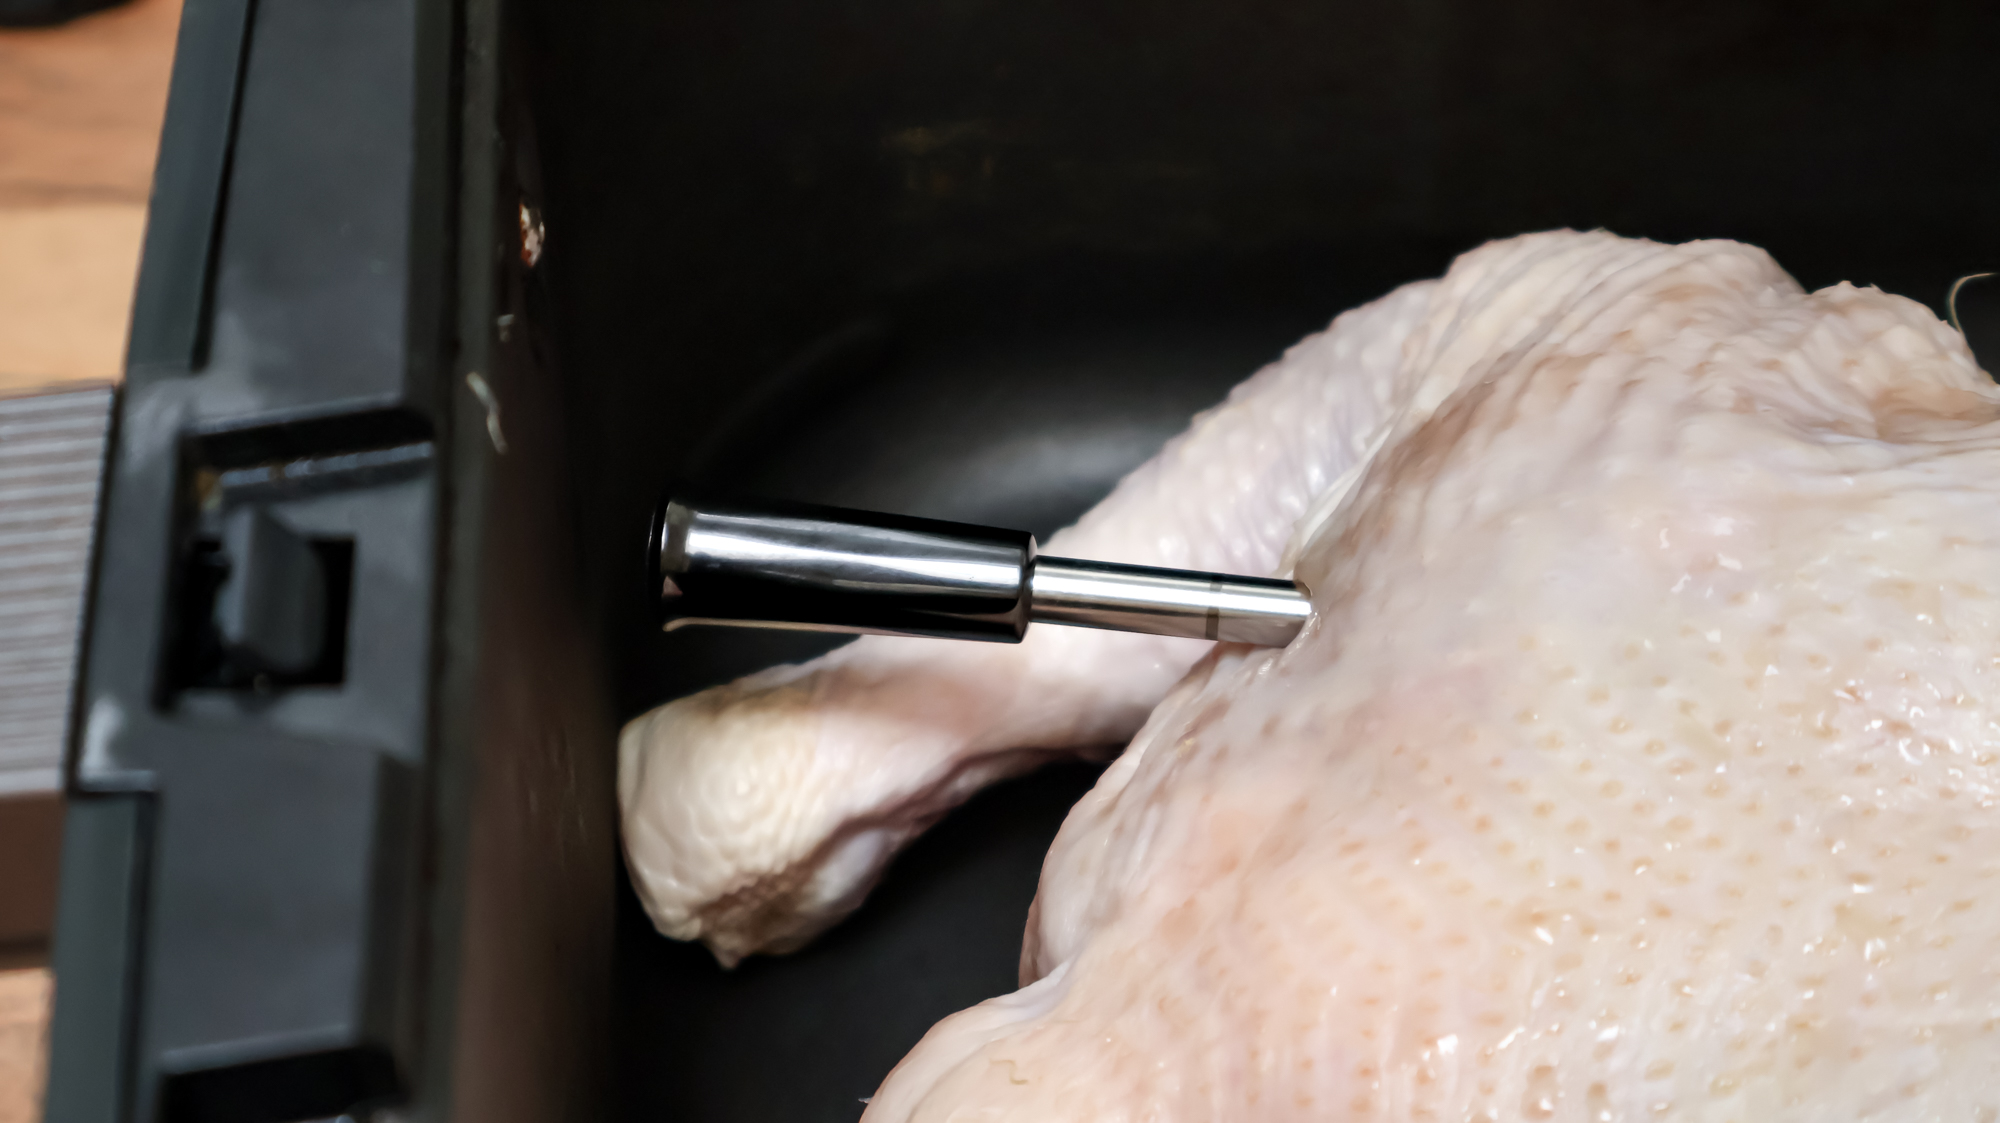
One of the benefits of using the GoveeLife Smart Wireless Meat Thermometer probes is that they register the ambient temperature. This was a real benefit when cooking steaks, which were started off in my electric oven.
Rather than relying on the temperature dial to convey the exact temperature I required, I could check the accuracy by reading the ambient temperature registered on the probes.
So, if your oven temperature goes rogue, a probe with an ambient measurement can give you the reassurance that your meat is cooking as per your recipe.


I was also able to use the probes to check the internal temperature of the steaks once they were moved and finished on my gas grill. And with each of us wanting a different doneness, from medium to well-done, the presets on the app were a real help.
And while I don't eat steak every day of the week, I thoroughly enjoyed what was cooked using with the help of the GoveeLife meat thermometer.
GoveeLife Smart Wireless Meat Thermometer: cleaning
There's not a great deal to keep clean, although you will find the hub gets marked with fingerprints, but that's all part of having anything shiny in your kitchen. That aside, the probes should be cleaned with a damp cloth after each use then placed back into the base for charging.
Should you buy the GoveeLife Smart Wireless Meat Thermometer?
If you love to entertain and eat a whole load of protein, buying a meat thermometer with one probe doesn’t make sense. That’s where GoveeLife’s Smart Wireless Meat Thermometer with four probes comes in.
It allows you to cook multiple cuts to different target temperatures without juggling your cooks, ensuring your protein is cooked just how you like it. I found the app to be slightly less intuitive than the Meater Pro XL, but at a fraction of the cost, it’s a worthy competitor.
It also stayed connected throughout every cook. And although the instructions are limited, this seems to be a common failing across the board. Overall, this meat thermometer is a hot contender.

Camilla is the Homes Staff Writer and covers everything to do with homes and gardens. She has a wealth of editorial experience, mounting over 30 years, and covers news and features, tests products for reviews and compiles buying guides.
Her work has appeared in business and consumer titles, including Ideal Home, Real Homes, House Beautiful, Homebuilding & Renovation, and Kitchen & Bathroom Business. She’s even appeared on the cover of Your Home, writing about her own house renovation.
Although she’s obsessed with decorating her home, she also enjoys baking and trying out the latest kitchen appliances. But when she’s not inside, you’ll find her pottering about in her yard, tending to her vegetable patch or taking in her prized hydrangeas.
You must confirm your public display name before commenting
Please logout and then login again, you will then be prompted to enter your display name.
