How to Set Up and Secure Your Netgear Nighthawk R7000P Router
Netgear’s $200 Nighthawk R7000P AC2300 router is made for gaming and streaming, thanks to its beamforming technology and MU-MIMO to stream to multiple devices simultaneously. Here's how to set it up.
Here at Tom’s Guide our expert editors are committed to bringing you the best news, reviews and guides to help you stay informed and ahead of the curve!
You are now subscribed
Your newsletter sign-up was successful
Want to add more newsletters?

Daily (Mon-Sun)
Tom's Guide Daily
Sign up to get the latest updates on all of your favorite content! From cutting-edge tech news and the hottest streaming buzz to unbeatable deals on the best products and in-depth reviews, we’ve got you covered.

Weekly on Thursday
Tom's AI Guide
Be AI savvy with your weekly newsletter summing up all the biggest AI news you need to know. Plus, analysis from our AI editor and tips on how to use the latest AI tools!

Weekly on Friday
Tom's iGuide
Unlock the vast world of Apple news straight to your inbox. With coverage on everything from exciting product launches to essential software updates, this is your go-to source for the latest updates on all the best Apple content.

Weekly on Monday
Tom's Streaming Guide
Our weekly newsletter is expertly crafted to immerse you in the world of streaming. Stay updated on the latest releases and our top recommendations across your favorite streaming platforms.
Join the club
Get full access to premium articles, exclusive features and a growing list of member rewards.
Netgear’s $200 Nighthawk R7000P AC2300 router is made for gaming and streaming, thanks to its beamforming technology and MU-MIMO to stream to multiple devices simultaneously. If you’re looking for a high-performance router, this is one device to keep in mind. But to get started, you’ll need to get your router online and make it secure. Here’s how.
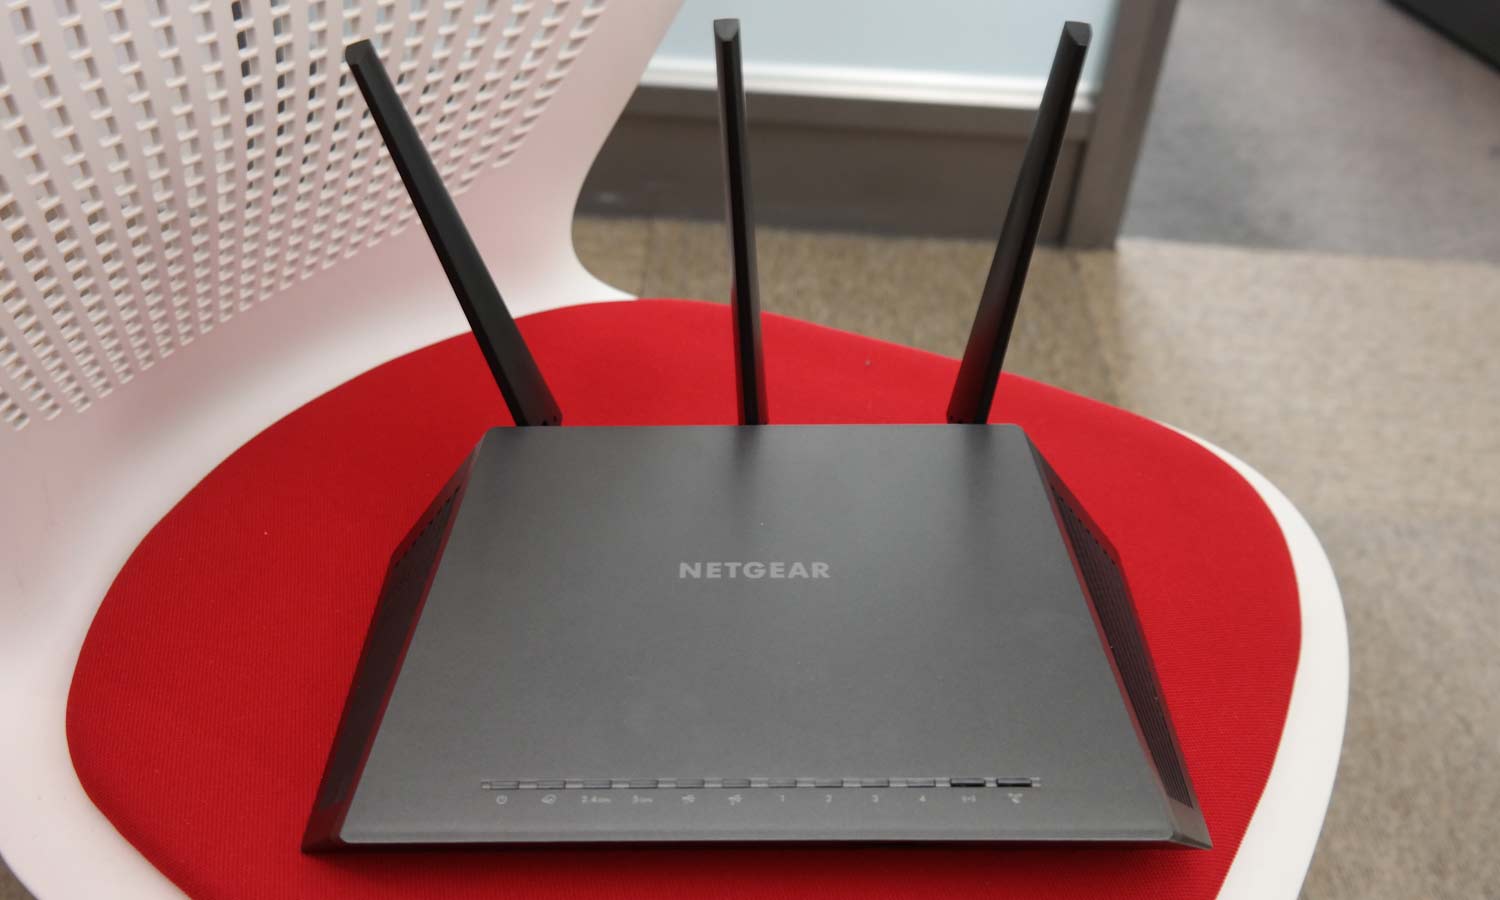
Editor’s Note: Several Netgear routers were recently discovered to have security flaws so bad the US government issued warnings about them. The R7000P was not on Netgear’s list of affected routers, and we have not been able to reproduce the flaw. However, other experts have suggested the R7000P could be vulnerable. Be sure to keep your firmware up to date.
MORE: Our Top-Rated Routers
While we specifically tested these steps on a Nighthawk R7000P router, they’ll likely work on other routers in Netgear’s Nighthawk lineup with a few variations here and there.
Setting Up the Initial Connection
1. Remove the antenna caps from the back of the router.
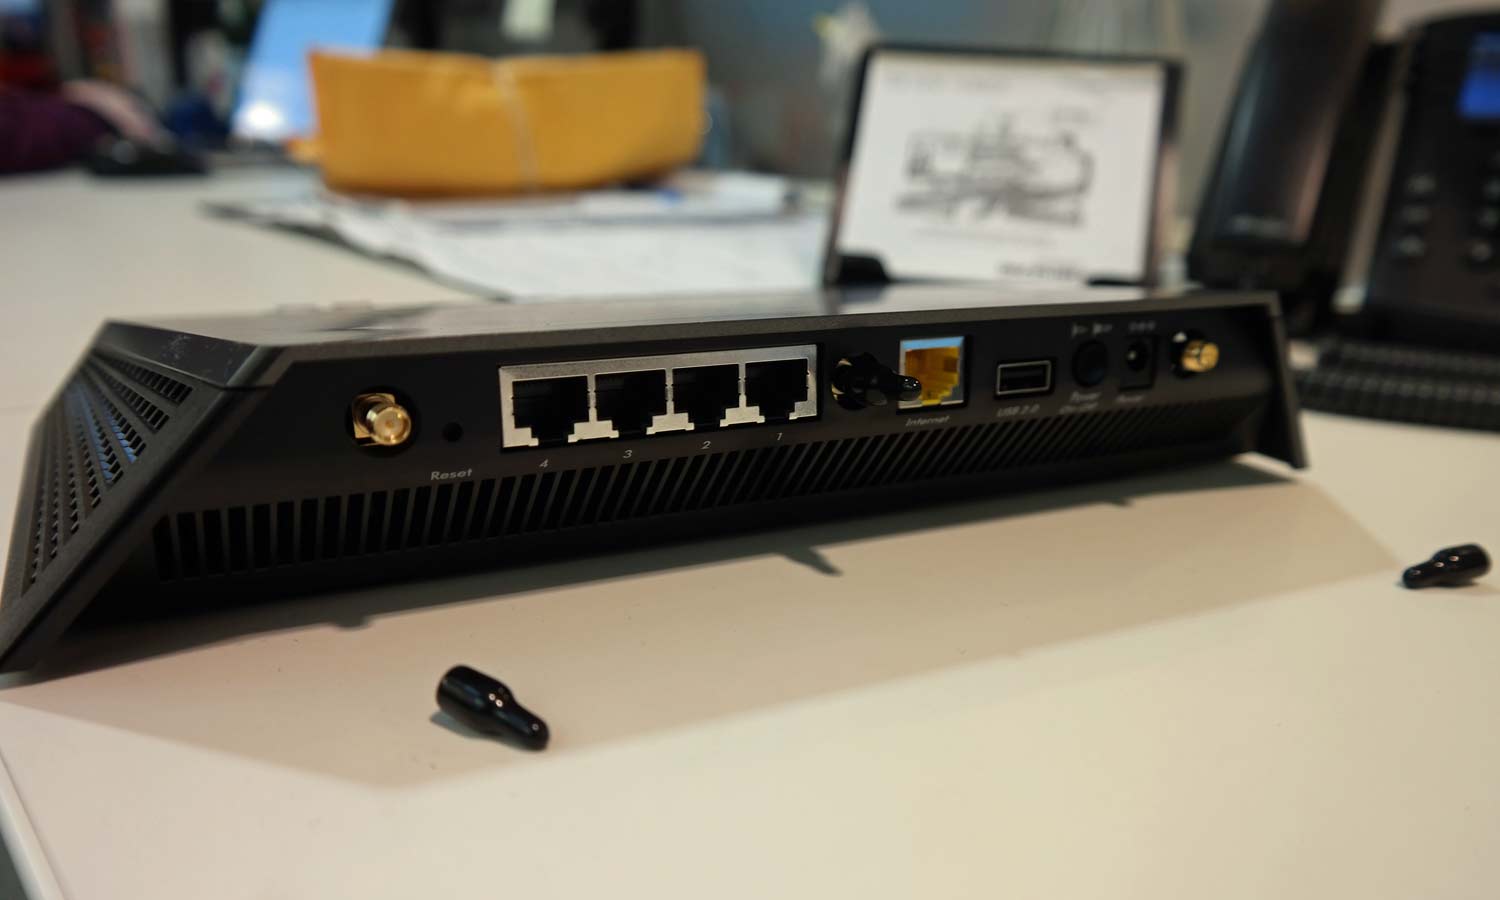
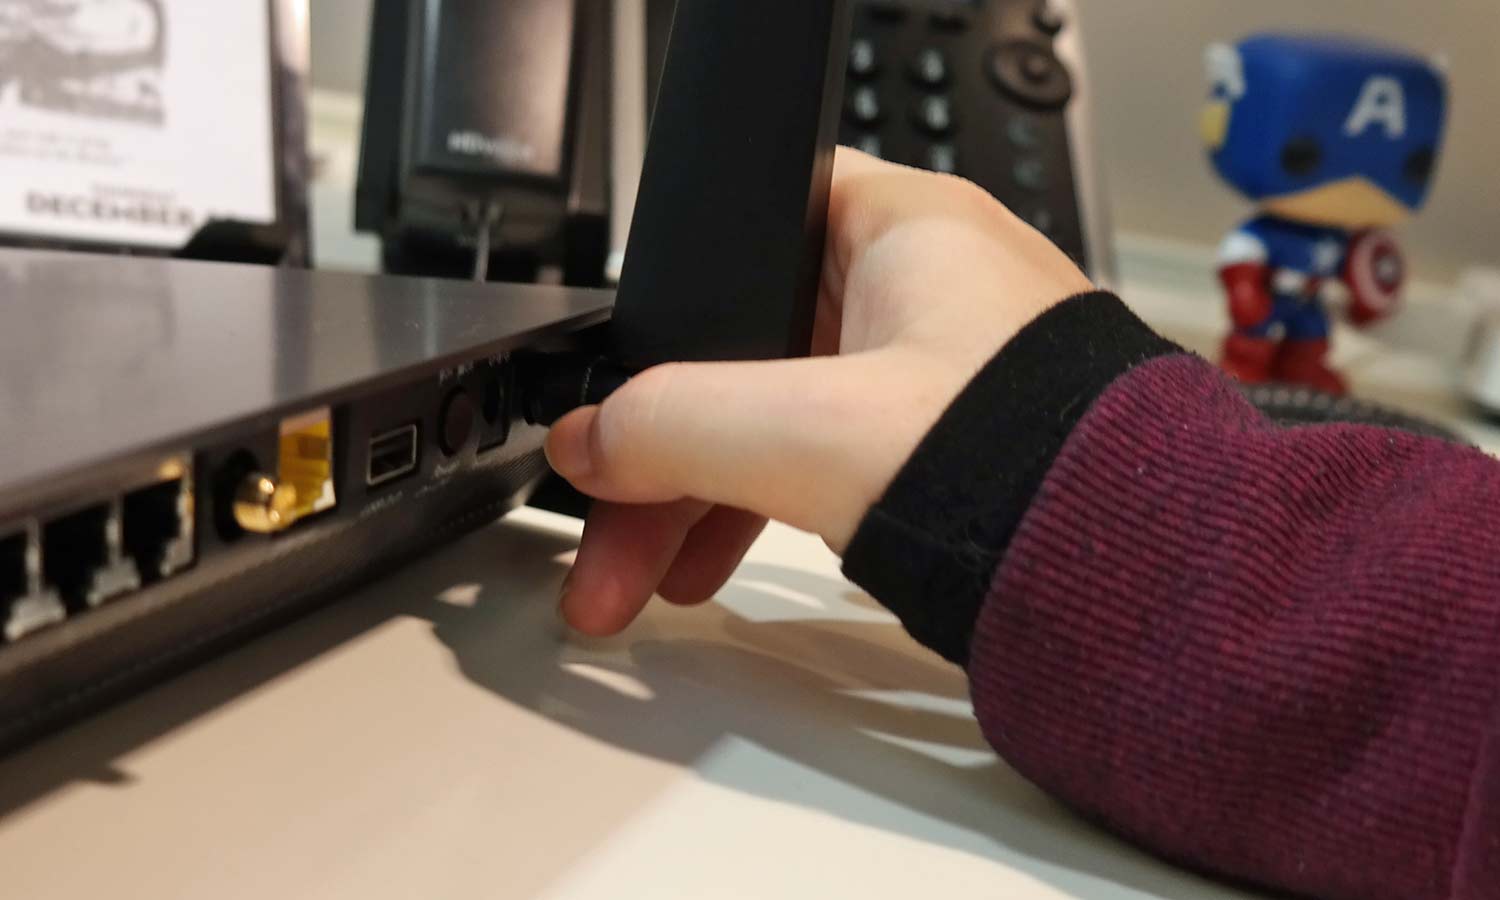
2. Attach the three antennae. Set the left and right antennae at a 45-degree angle.
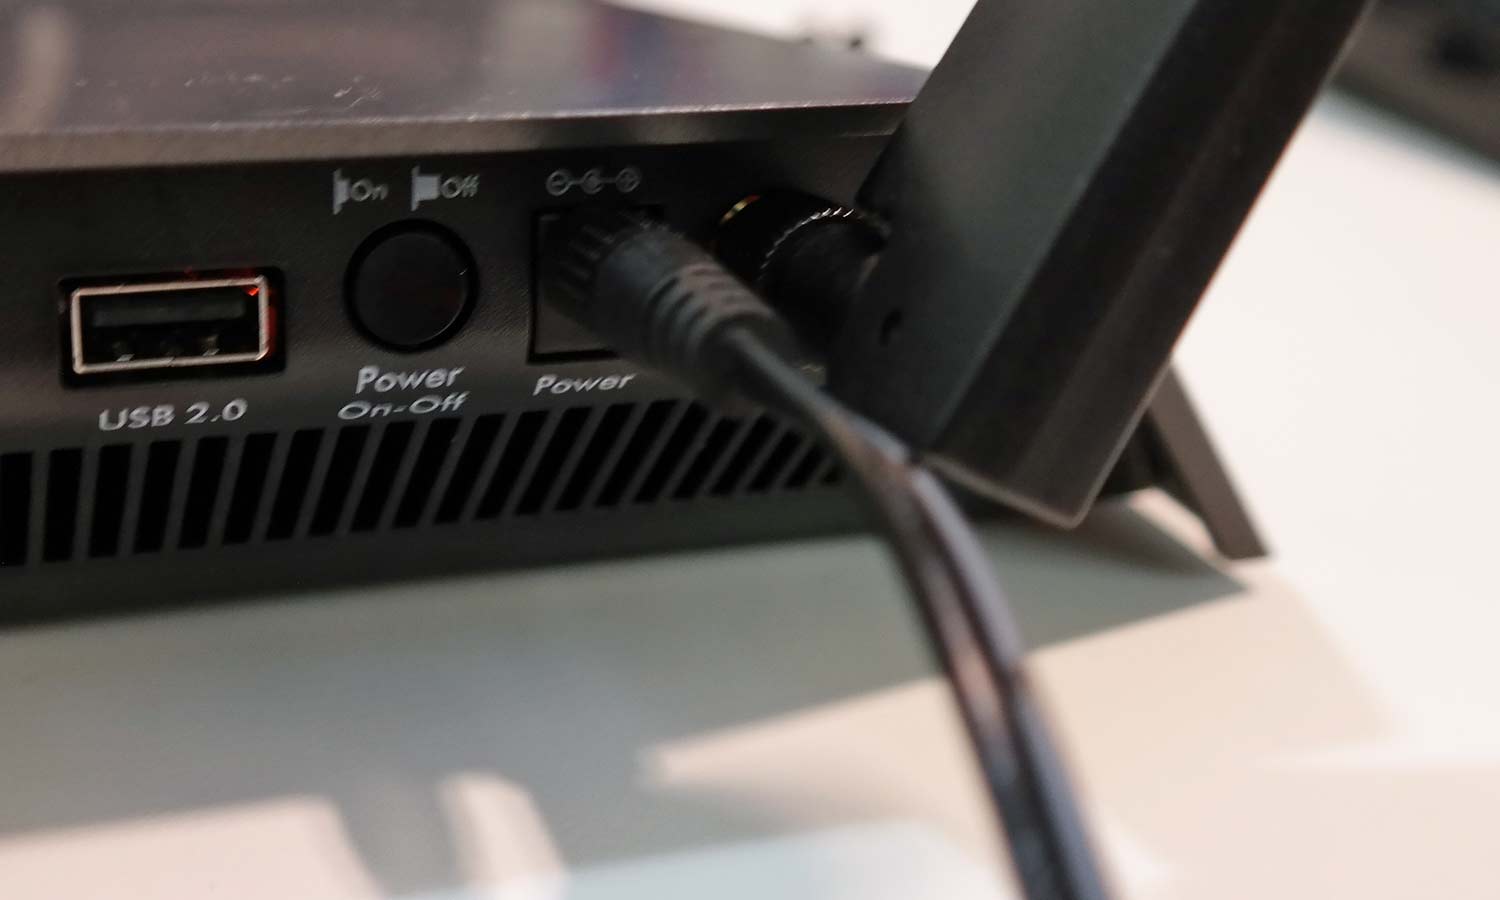
3. Connect the router to a power source.
Get instant access to breaking news, the hottest reviews, great deals and helpful tips.
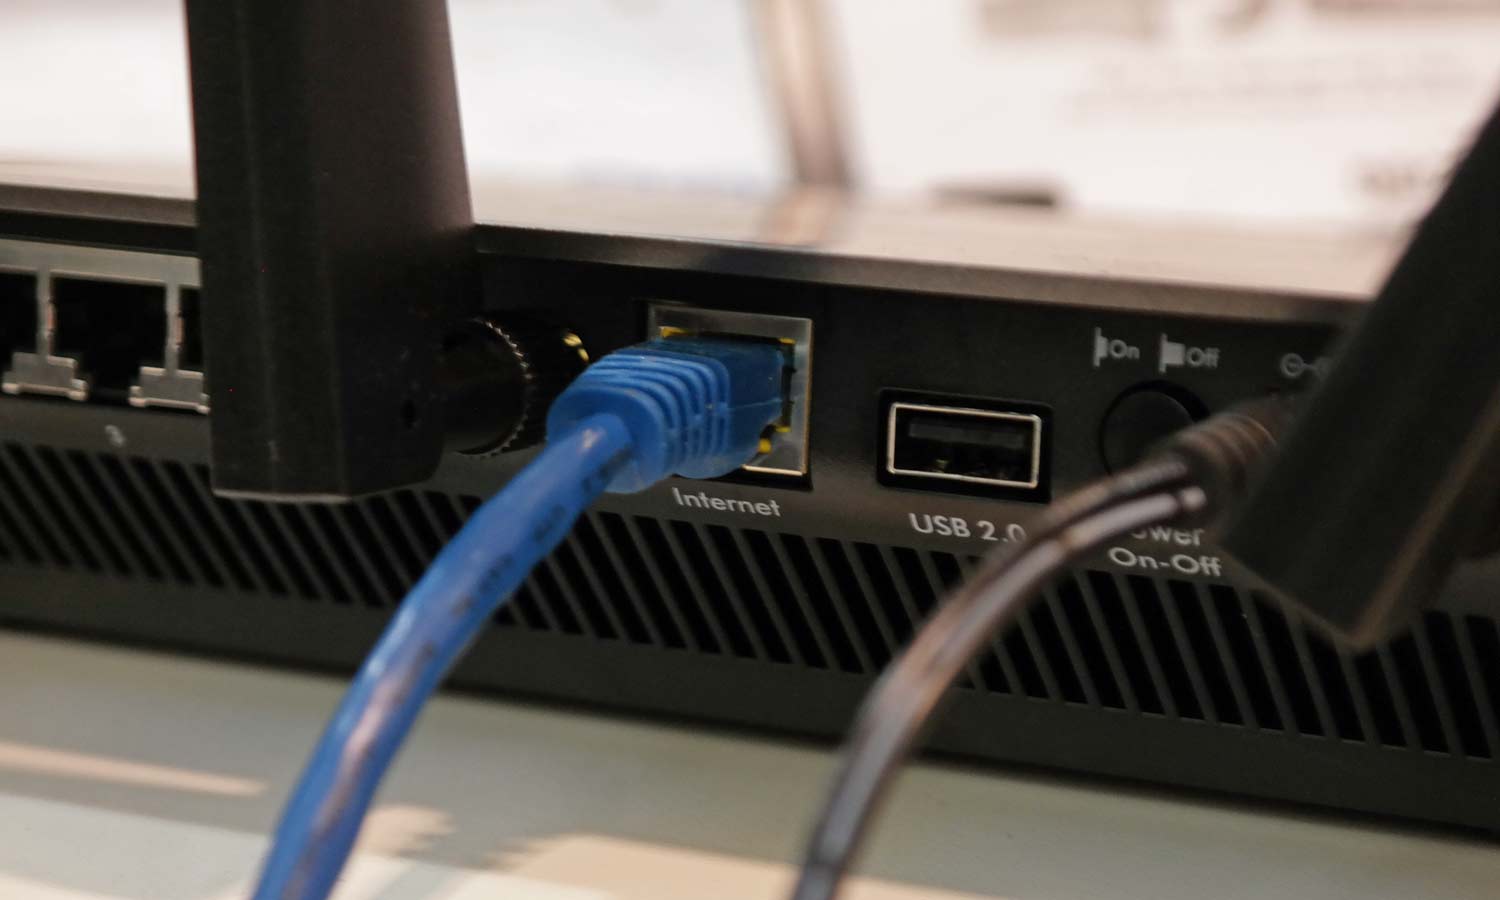
4. Attach the router to your modem with an Ethernet cable. The Ethernet port on the AC2300 is bright yellow.
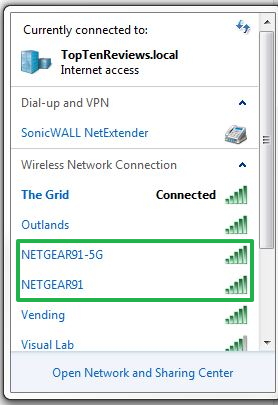
5. Open your wireless internet settings on your computer. The Wi-Fi icon is on the bottom right corner of the screen on Windows machines and the top right on Macs.

6. Connect to the new router. Yours will have its own unique name found on the bottom of the device and on a sticker in the packaging. You can choose the normal or 5GHZ band — either will work.
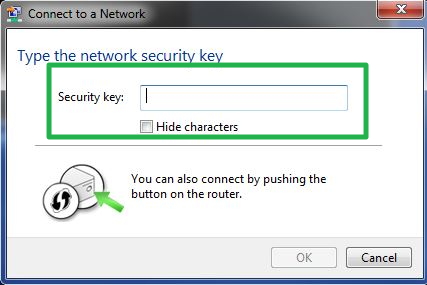
7. Type the password included with your router.
8. Go to the setup page in your web browser. The browser should open to that page automatically, but if it doesn't, go to routerlogin.net using the URL bar (if that doesn’t work, try routerlogin.com).

Securing the Router
While your router comes with a default password for setup, you'll want to change that to a unique password during the setup process. Giving your router a unique password that's hard for others to guess will make it more difficult for an uninvited visitor to infiltrate your network. Here’s how to change your security settings.
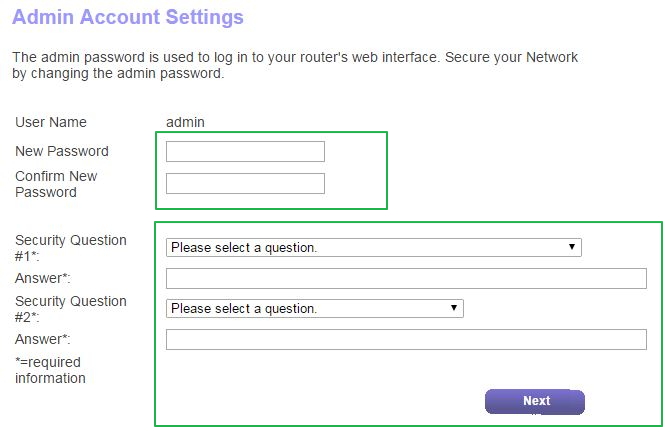
9. Choose a new password and security questions under Admin Account Settings, and click Next. You’ll use these to log in to your router settings.
10. Choose whether or not to download router apps. When you’re done, click next.
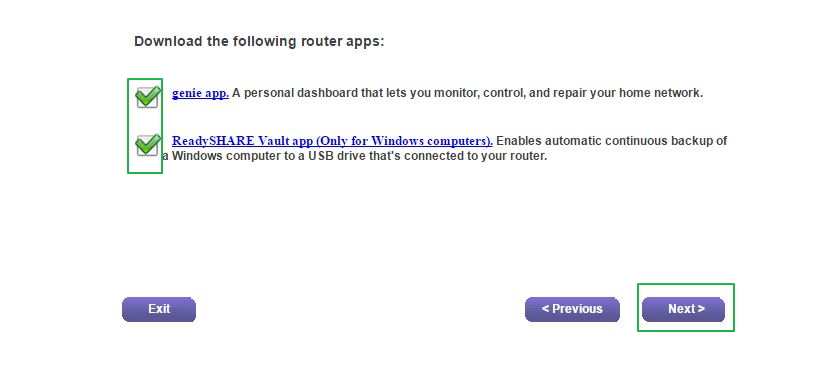
11. The router will check for a new firmware update. If new firmware is available, download it. If not, press OK.

12. You’ll see a confirmation screen, but all of the links take you to Netgear articles. Return to routersettings.net.
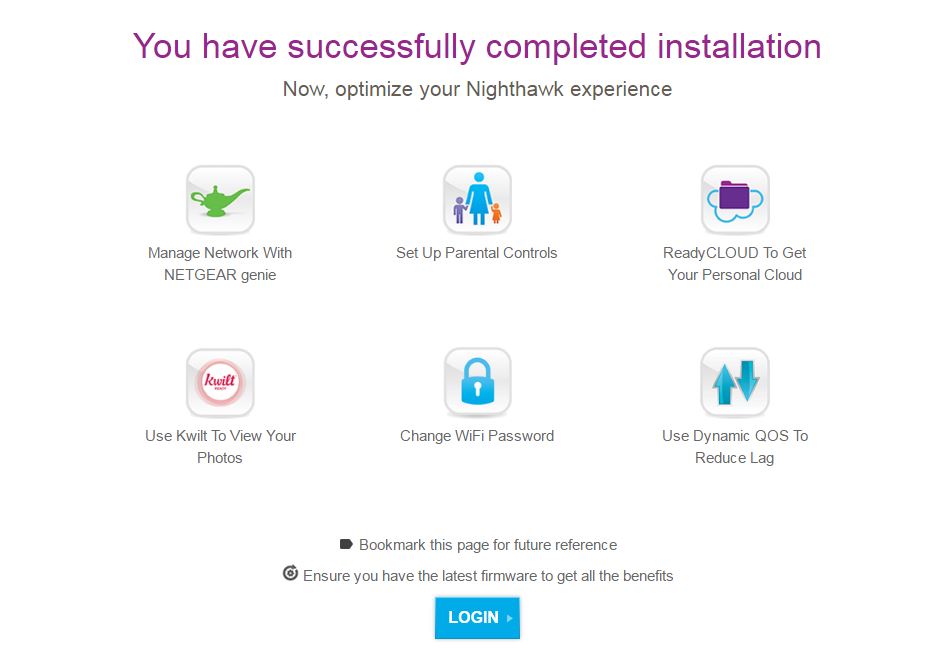
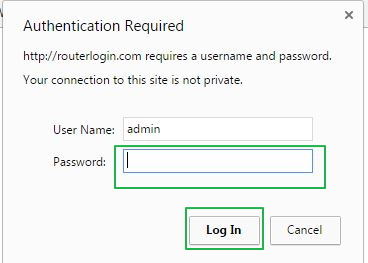
13. Log in with your username and password.
14. Click Wireless.
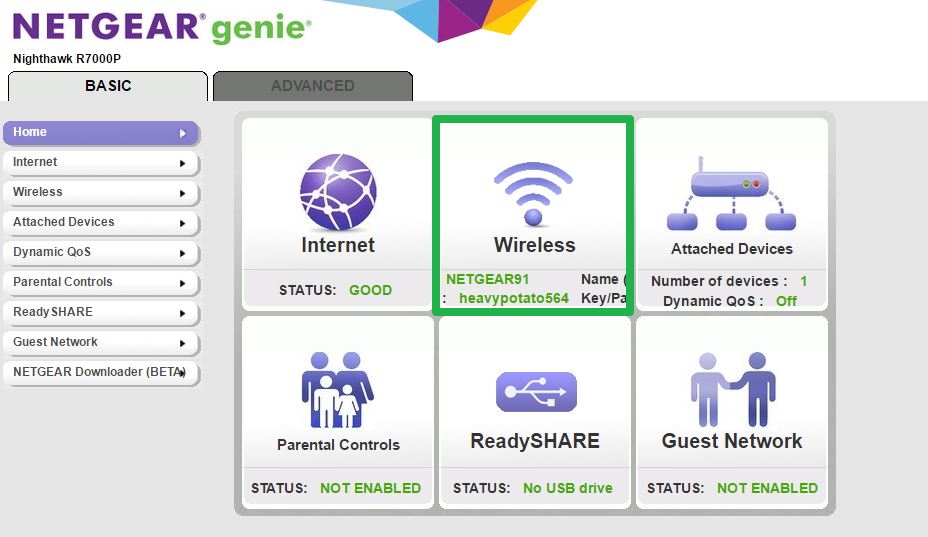
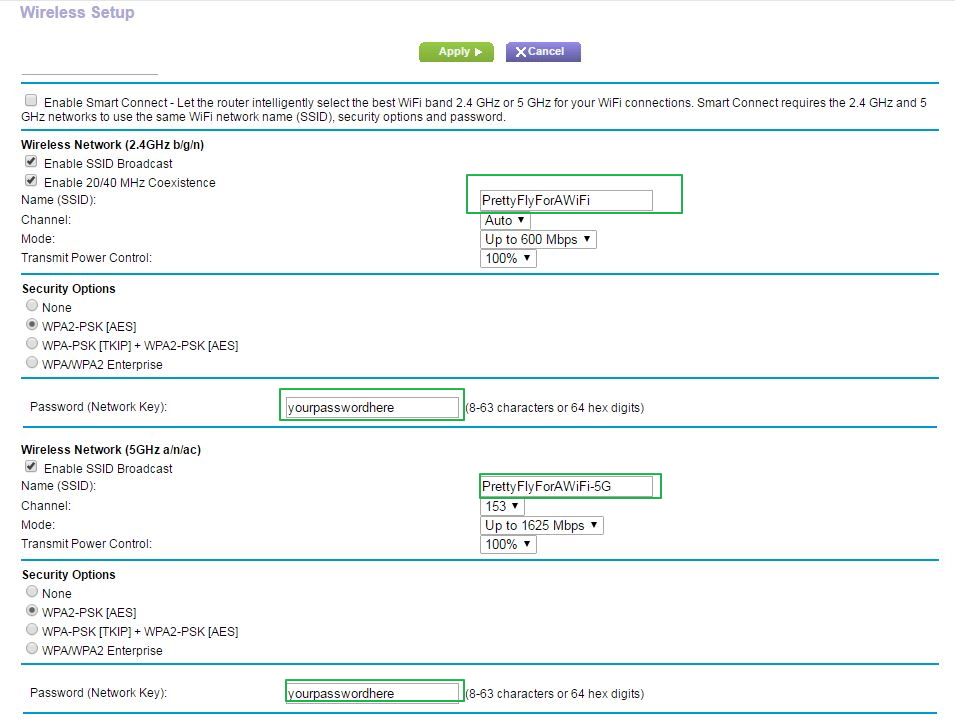
15. Type new SSID names and passwords, and click Apply. After this takes hold, you’ll want to connect to the newly named network.
MORE: Best Router - Get a Better Wi-Fi Signal at Home
Enabling Guest Networks
Setting up a guest network lets visitors use your Internet without also having access to other devices — say storage devices or printers — connected to the network.
16. From the settings page, click Guest Network.
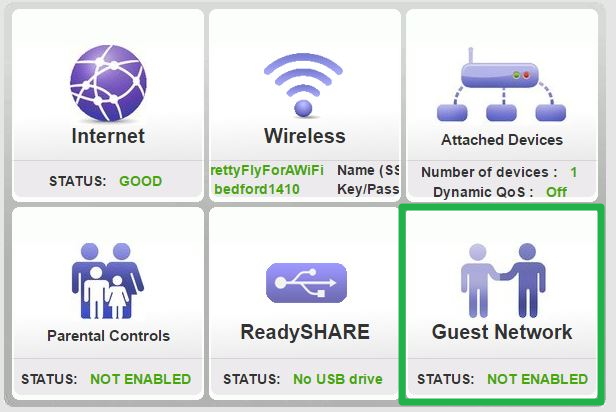
17. Check “Enable Guest Network,” name your networks, set passwords and click “Apply.”

Andrew E. Freedman is an editor at Tom's Hardware focusing on laptops, desktops and gaming as well as keeping up with the latest news. He holds a M.S. in Journalism (Digital Media) from Columbia University. A lover of all things gaming and tech, his previous work has shown up in Kotaku, PCMag, Complex, Tom's Guide and Laptop Mag among others.
 Club Benefits


