I've been using the new Spotlight in macOS Tahoe 26 — and it's an absolute game-changer
I have some tips to help you become a Spotlight Search power user
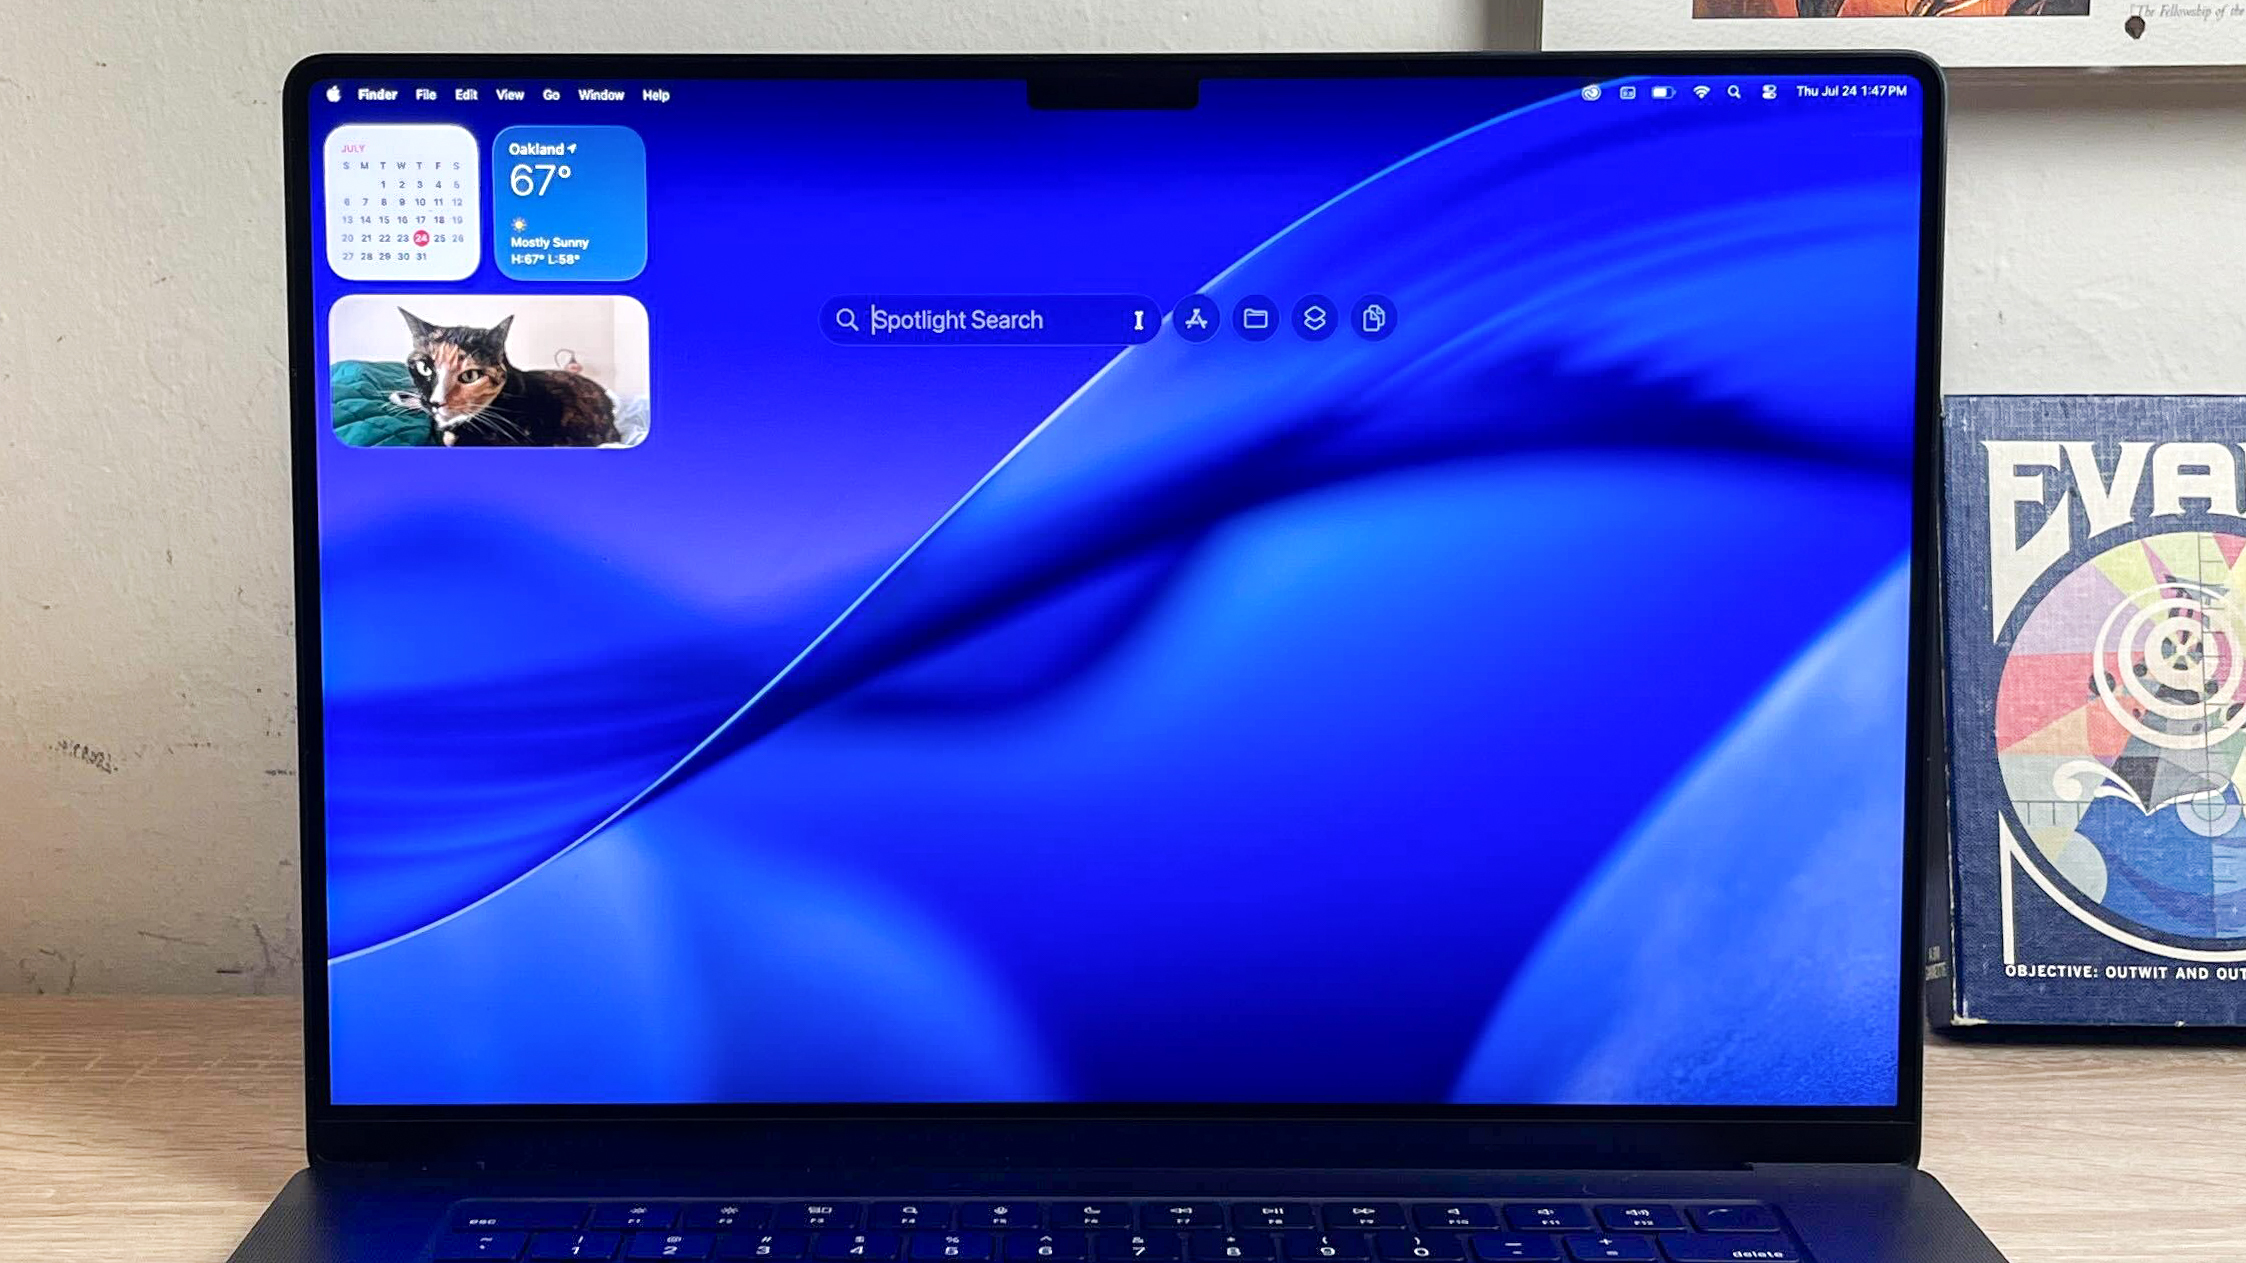
Ever since Apple first introduced us to macOS Tahoe I've been excited for all the changes coming to Macs in 2025, and I might be most excited about the supercharged new Spotlight Search.
I know, Spotlight Search is hardly the most exciting part of macOS, but with Tahoe it's becoming a lot more like the Windows 11 Start button—and I couldn't be happier.
See, I love being able to hit the Start button on Windows and start typing whatever I want to do next, trusting in Windows' algorithms to find the app or file I want to open. It makes the Start button the de facto starting point for almost everything I do on my PC, and my Mac running macOS Tahoe now has a similar feature in Spotlight Search.
For years now Spotlight Search has been utterly fine on macOS, but its barebones functionality and occasional foibles have driven a lot of Mac users into the arms of more powerful search tools like Alfred.
Now, for my money Alfred is one of the best Mac apps you can get, but I bet it's going to be a lot less attractive to folks who upgrade to macOS Tahoe because Spotlight Search is now far more useful.
I know because I've been using macOS Tahoe since the earliest developer beta, so I've had a lot of time to play with all the new features. Now that it's public anyone can download the macOS Tahoe beta and start testing out the new Spotlight Search, so I wanted to give you some quick pointers to get the most out of it.
So without further ado, let's dive right in! If you're on a Mac running a version of macOS Tahoe, open Spotlight Search (by clicking the icon in the upper-right corner or just hitting the Cmd + Space key combo) and scroll down to see all the cool things you can do with it.
Get instant access to breaking news, the hottest reviews, great deals and helpful tips.
General tips
First and foremost, the most exciting upgrade to Spotlight Search should be clear as soon as you open it. Once you upgrade to macOS Tahoe Spotlight Search gets a lot smarter, and you can type in more natural language with greater expectation that your Mac will find what you're after.
For example, you can type "Send" and Spotlight Search will begin to auto-populate results with apps like Messages and Mail, so you can immediately hit a key to start sending a text or email. Spotlight Search will intelligently surface entry fields like Recipients and Subject right in the search bar, so you can just start typing your message from within Spotlight Search.
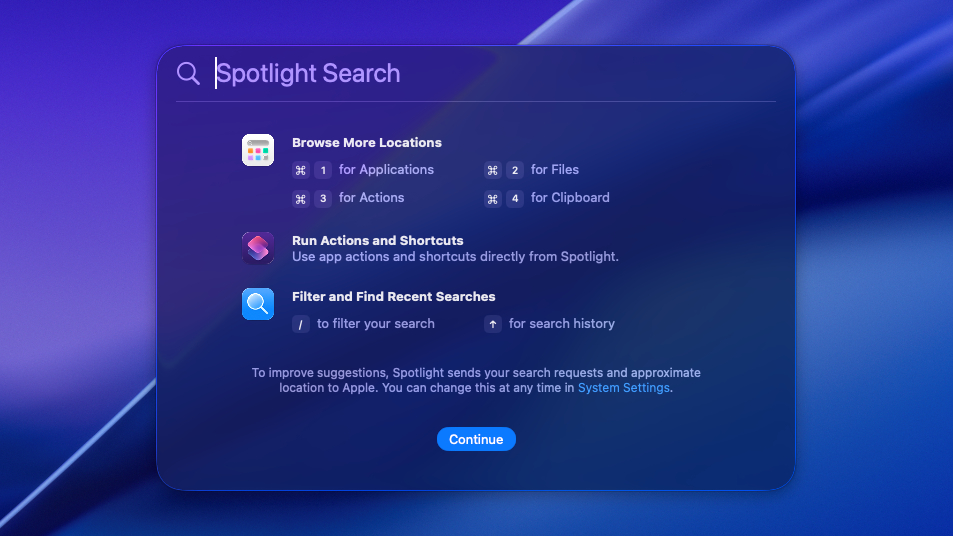
You can also use hotkeys to navigate between the four new sub-menus of Spotlight Search: Applications (Cmd + 1), Files (Cmd + 2), Actions (Cmd + 3) and Clipboard (Cmd + 4). You can also use Tab and the arrow keys to navigate the list of search results quickly via keyboard.
Also, you can often hit Tab to dive deeper "into" an app or folder and start searching within it, right from the Spotlight Search bar. Supported apps will also let you hit Tab to start writing directly into the app, which is how you can do things like start writing a new note in the Notes app or composing a new message in the Messages app from within the Spotlight Search bar.
Plus you have new options to filter search results by either clicking on the appropriate section of the Spotlight Search menu or hitting the / key.
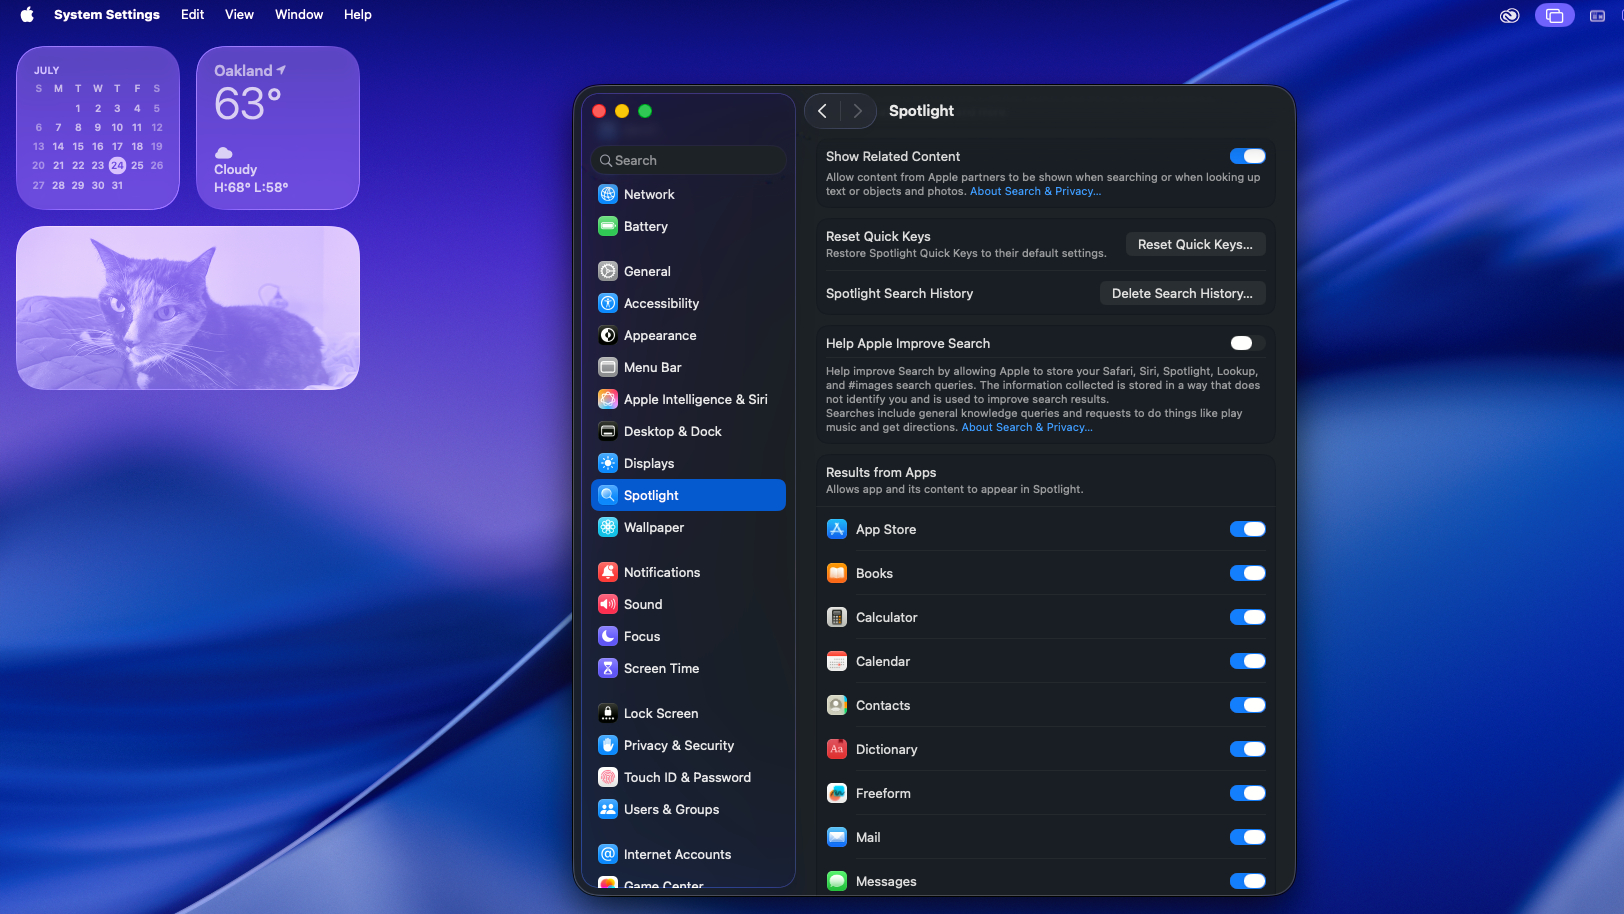
You can further fine-tune how Spotlight Search works by exploring the Spotlight Search subsection of the Settings menu (click the Apple icon in the top-left corner and navigate to System Settings > Spotlight). From here you can enable or disable search results from specific apps, subsections of your Mac or even your iPhone (if it's linked via iPhone Mirroring).
Applications submenu
Once you get comfortable with the basics of Spotlight Search, you can start becoming a power user by becoming familiar with the four new submenus.
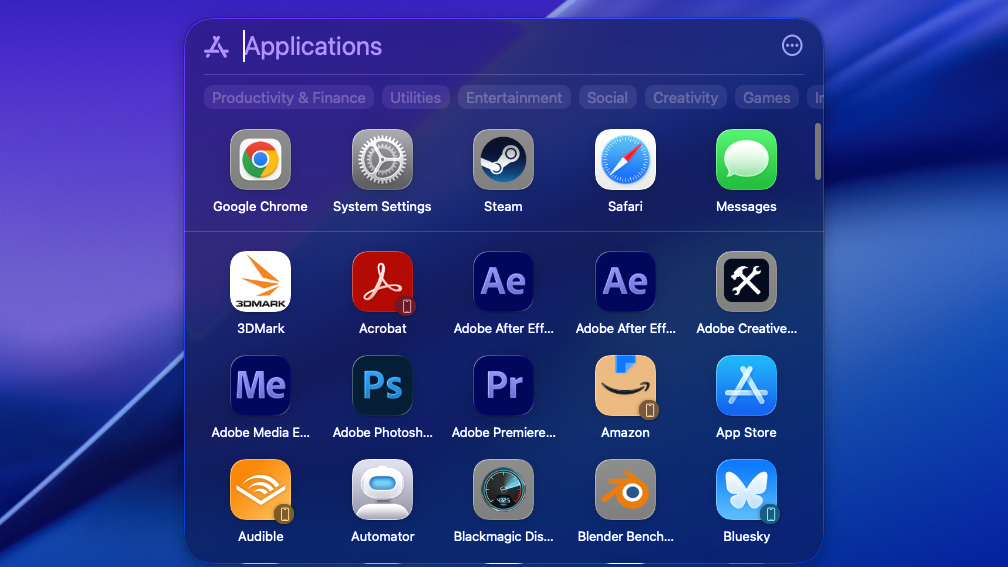
And the first one you will find, either by clicking on the icon which appears to the immediate right of your Spotlight Search bar or by hitting the (⌘+1) key combo, is the Applications submenu.
You can use this subsection of Spotlight Search to find specific apps more quickly, because your search results won't include anything else—no files, folders or clipboard items.
This search will also surface apps on your iPhone if you've connected it via iPhone Mirroring, so it can be a good way to quickly find, say your Amazon app without having to scroll through search results of the Amazon website and emails with your Amazon order receipts.
You can also click on the submenus within the Applications section of Spotlight Search (or hit Cmd + Left or Right) to filter apps by categories like Productivity & Finance, Entertainment and Utilities.
Files submenu
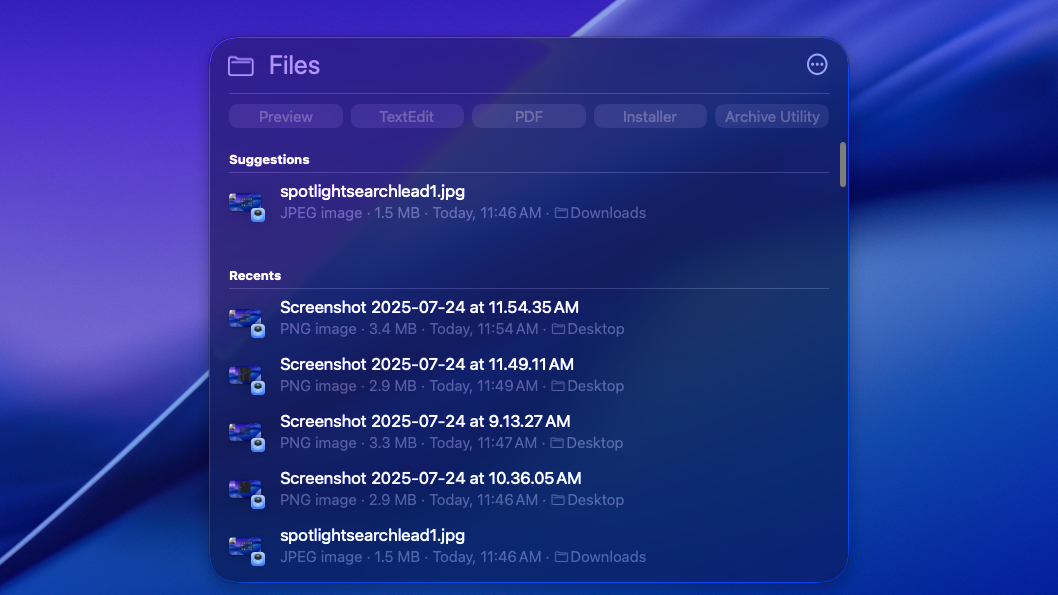
Once you get the hang of using the Applications submenu, the Files submenu (aka the next one over) is easy to figure out. It works exactly the same way, except it filters out everything but files on your Mac.
It's pretty basic, but there are some neat features like the ability to filter by file type. I wish this was a bit more fine-grained so you could actually create a custom search query that would seek specific file types and filter out others, but you can get 90% of the way there by just hitting the filters that appear automatically under your search, like "Installer" or "PDF."
You can also search within apps and folders by typing the name of the app or folder, then hitting Tab when it's highlighted in search results. So you could type Adobe Photoshop and then hit Tab to search for Photoshop files, for example.
Actions submenu
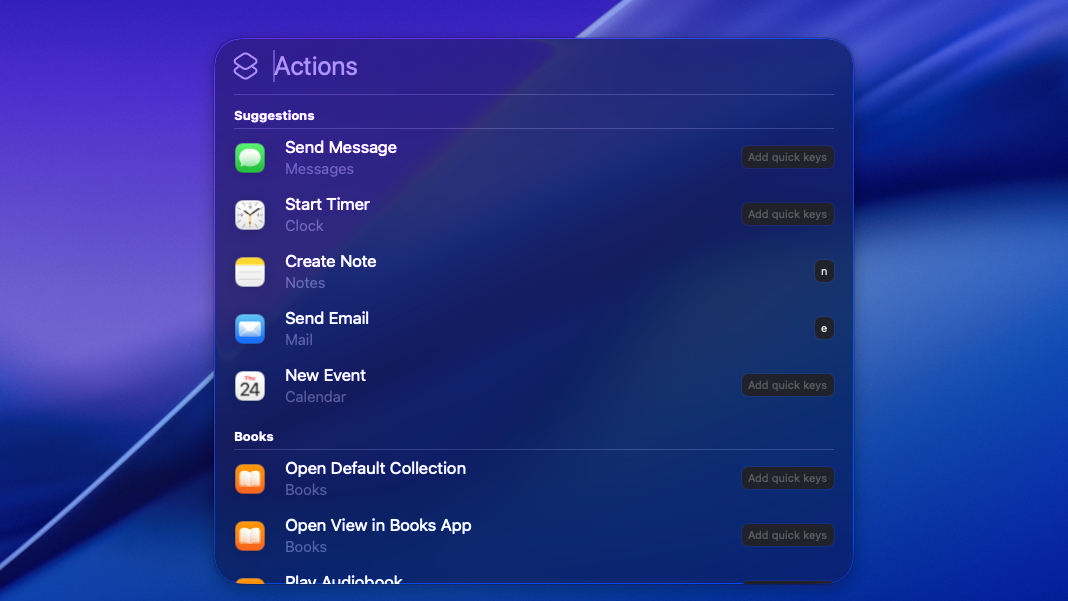
Now we're really getting into the powerful aspects of Spotlight Search. The third submenu, Actions, lets you quickly search through sets of actions you can take within apps right from the Spotlight Search bar.
This is basically a simple way of filtering search results down to just the ways in which you can execute actions from the Spotlight Search bar. This is where you'll find the "Send message" in Messages or Mail shortcuts, for example, as well as lots more like "Add reminder" in the Calendar app or "Eject disk" in the Disk Utility app.
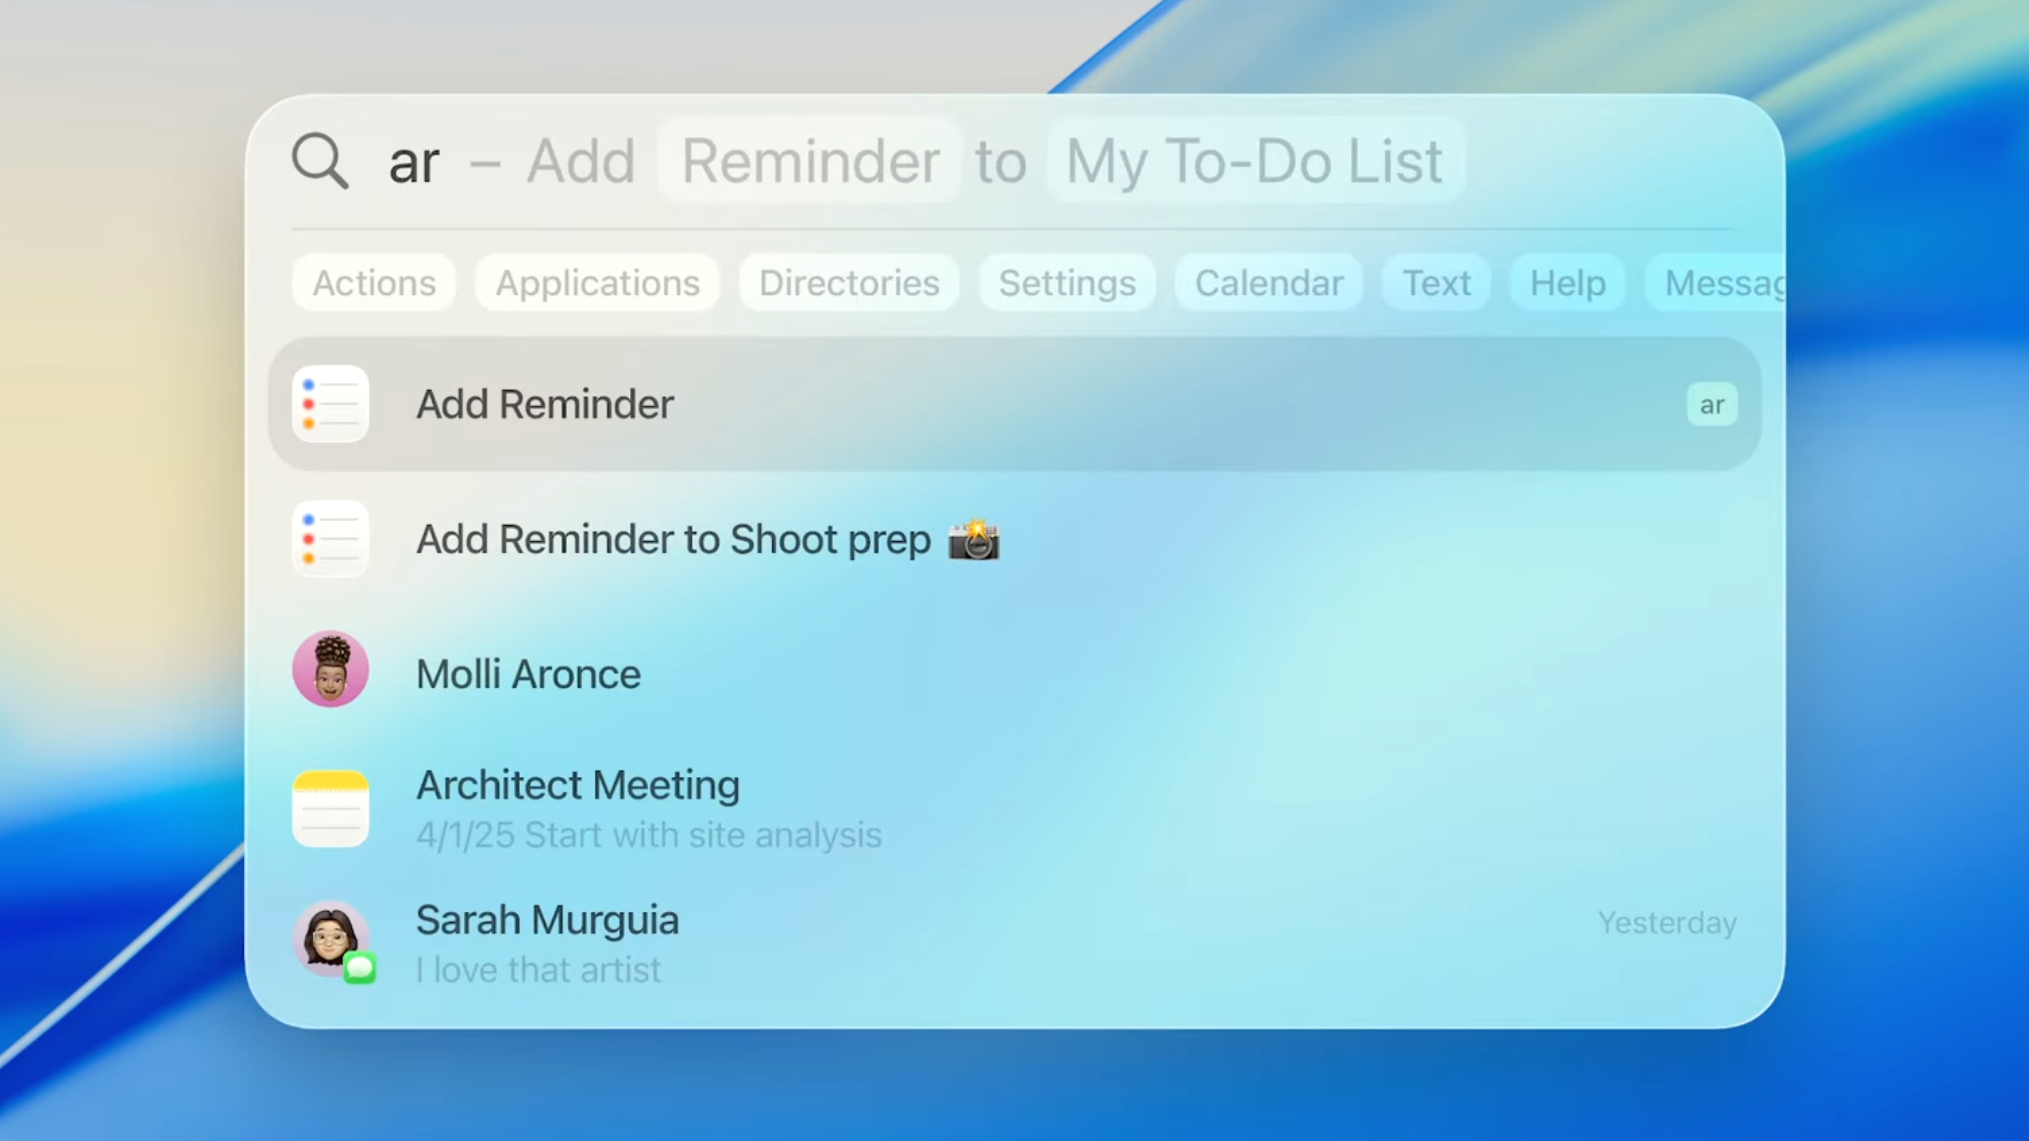
Not only can you execute these actions right from the search bar, you can also set "Quick Keys" key combos for each action that let you quickly initiate them from the Spotlight Search bar.
So you can set "Add Reminder" to the "ar" key combo, for example, and next time you hit "ar" in Spotlight Search it will immediately auto-complete to the "Add Reminder" action.
This is probably secretly the most powerful submenu of the new Spotlight Search bar, and I've already created key combos for all my most commonly-executed actions.
Clipboard submenu
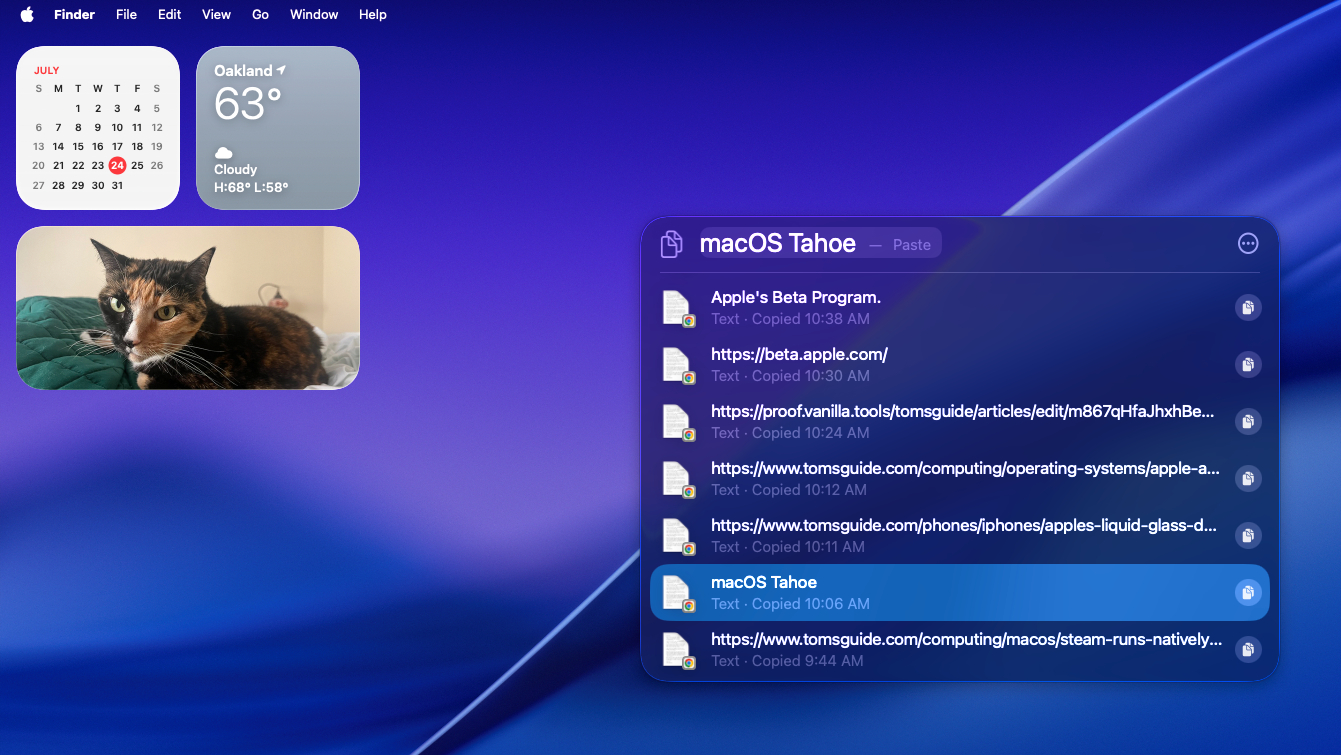
Last but probably not least, the Clipboard submenu of the new Spotlight Search allows you to quickly sift through everything you've copied to your Mac's Clipboard, then copy it back and paste it wherever you like.
This isn't the coolest or most powerful feature of Spotlight Search, but it can really come in handy when you need to dig up something you copied yesterday and have long since copied over.
That's about all it's good for, but I love it because I'm a writer by trade so I often have to copy and paste bits and bobs from various drafts in the course of a given workday. Before upgrading to macOS Tahoe I just had to be vigilant about making sure I'd copied what I wanted to paste, but now that I can easily sort through my clipboard history I don't have to worry about wasting time re-copying and pasting things all day.
If you've made it this far, you've seen every corner of the upgraded Spotlight Search and you're well on your way to becoming a macOS Tahoe power user. More power to you!
More from Tom's Guide
- Apple is ripping a page from Microsoft with this macOS Tahoe feature — and I couldn't be happier
- I thought glasses-free 3D gaming was a gimmick, but this monitor may change my mind
- Finally! Steam runs natively on Mac with Apple Silicon — here's how to try it

Alex Wawro is a lifelong tech and games enthusiast with more than a decade of experience covering both for outlets like Game Developer, Black Hat, and PC World magazine. A lifelong PC builder, he currently serves as a senior editor at Tom's Guide covering all things computing, from laptops and desktops to keyboards and mice.
You must confirm your public display name before commenting
Please logout and then login again, you will then be prompted to enter your display name.
 Club Benefits


