


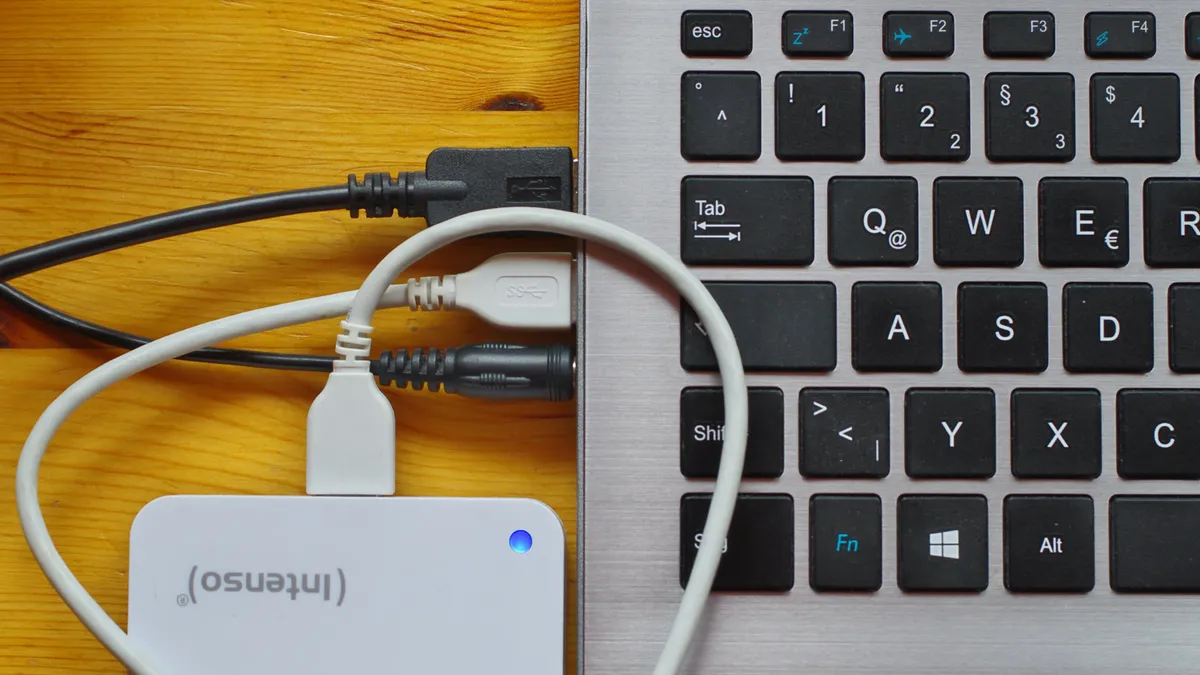
Any computer user will want to know how to fix an external hard drive that’s not showing up. After all, there’s no point having one of the best laptops or best computers if you can’t access the files you need from your external drive.
Obviously, too, there’s the worry that any precious files stored on the drive will be lost — from treasured family photos to important work documents and even your favorite game files.
Thankfully, if you have an external hard drive that’s not working, there are a few ways to try and fix it.
These range from relatively minor settings tweaks to actual physical triage.
Do remember, though, that hard drives are not meant to last forever. They have a lifespan which is certainly possible to reach during ownership.
Mechanical hard drives are also notoriously susceptible to physical damage from knocks and drops, rendering them beyond saving. Both of these factors mean, we’re sorry to say, that it is possible your files are gone for good.
Still, you don’t have much to lose by trying to fix your drive. So, here’s how to fix an external hard drive that’s not showing up.
How to fix an external hard drive that's not showing up
- Check your external hard drive is powered up
- Try a different USB port or computer
- Check your drive is enabled and allocated/mounted
- Check and update your drivers
- Install your hard drive directly into your computer or a new enclosure
Read on for detailed instructions regarding each step.
Check your external hard drive is powered up
This may sound like an obvious step to follow, but the simplest faults are often the most common when it come to tech.
While most external hard drives get their power from their single USB port that also provides the data transfer channel, others may require an external power source, such as an AC supply or a secondary USB port.
1. Firstly, check the enclosure of your external hard drive to see if it has more than just a single USB port. If it does, connect either an external AC power supply (it's recommended to use the one that it originally came with, or one that matches the ratings printed on the enclosure if you don't have the original) or a USB cable to the port, and it should power on.
You may also need to press a power button or flip a power switch to an "On" position, following this.

Try a different USB port or computer
For all their uses, USB ports like to mess with us from time to time, so it helps to troubleshoot the port.
1. Try plugging your external hard drive into a different USB port on your computer, to see if this makes a difference. It may help to restart your computer if this doesn't work, since this should "refresh" your ports if they're acting up.
2. If you're plugging your drive into a USB hub, try connecting it directly to its own USB port on your computer instead. Alternatively, check whether your USB hub has an external power port (such as an AC power supply or USB port), since some hubs need an extra boost of energy to power certain devices such as external hard drives.
3. Failing this, try connecting your external hard drive to another computer, if you have one to hand. Since Windows and Mac computers have compatibility issues with certain types of drive format, you may find that your drive works in a Windows PC if you're running a Mac, and vice-versa.

Check your drive is enabled and allocated — Windows
If your external drive is connected and powered up as it should be, you may need to enable it manually in Windows.
1. Open Disk Management by launching the Start menu and typing "disk management". When it appears, click Create and format hard disk partitions.

2. Next, check if your drive appears on the list of available drives. If it does, and has the label "offline" underneath it, you need to enable it.
To do this, click your drive's name. Right-click inside the gray box, then click Online.
This should enable your drive, allowing you to use it right away. (Note: The screenshot below says "Offline" but it will read "Online" if your drive is working correctly.)

3. If this doesn't work, you may need to allocate a drive letter to your external drive.
To do this, right-click inside the gray box, then click Change Drive Letter and Paths to assign a drive letter.

4. If you see the dreaded word "Unallocated" by your drive's name, this means you'll need to format your drive before it'll work, deleting its contents in the process.
To do this, right-click on the drive's name, then click New Simple Volume. Before doing this, you may want to try some of the other methods mentioned in this guide, unless you don't mind resetting and deleting your drive.
Check your drive is mounted and use First Aid — macOS
If you're using a Mac, the equivalent of checking whether a drive is enabled is checking whether or not it is mounted.
1. Open Disk Utility by typing "disk utility" into Spotlight, or via the Utilities folder in Applications. Your drive should appear in the left hand side under External.
If you can see the drive, but its name is grayed out, click Mount in the top right hand corner of the page. If you don't see it at all, skip to step 4 at the bottom of this section.

2. If mounting the drive doesn't work, hit First Aid, then click Run.

3. If First Aid finds no problems, but you still can't mount or access the disk, click Erase to format the drive, then select a Format from the dropdown, give the drive a name and hit Erase.
Again, before doing this, you may want to try some of the other methods mentioned in this guide, unless you don't mind resetting and deleting your drive.

4. If you can't see your drive at all, restart your Mac with the drive plugged in.
If it still doesn't appear, try a different machine if you have one. Unfortunately, if this still doesn't work, it may be time to look into buying a new drive using our best external hard drives buying guide.
Check and update your drivers — Windows
If your external hard drive is powered on and recognized by your computer but still not functioning, it may be a driver issue, though this is unlikely since Windows automatically uses and updates the latest drivers for external storage.
This process is usually fruitless, though it's still worth a shot if you're out of options.
1. Open the Start menu and begin typing "device manager". When you see Device Manager appear, click it.

2. Scroll down to Universal Serial Bus controllers, then click on the arrow to expand the section. You should now see your drive in this list.
If a yellow symbol with an exclamation point appears next to your drive, this means there's an issue with it.

3. You can right-click on your drive's name and click Properties. Click Driver, then Update driver. Next, click Search automatically for drivers to search online for a new driver, though prepare to be disappointed.
You can also search online for drivers from the drive manufacturer's website.
Check and update your drivers — macOS
macOS works a little differently, and USB driver issues are all sorted by updating the operating system.
1. Click the Apple logo at the top of your screen then select About This Mac Next, select Software Update to check for updates to macOS. If there is an update ready, click Install Now, and then Install Now again.

Install your hard drive directly into your computer or a new enclosure
If all else fails and you possess the technical know-how, you can triage your hardware by removing it from its enclosure and hooking it up to a computer the old-fashioned way.
If anything, this will allow you to copy its contents to another drive, or upload it to the cloud, in case it fails completely. This only applies to external hard disks or SSDs; it won't work with thumb drives.
1. Open the enclosure and disconnect the drive. Then, connect the drive to your desktop or laptop, following the manufacturer's instructions.
2. Once connected, you may need to enable the drive in Windows using the Disk Management tool, as detailed in Step 3 above.
3. Alternatively, you can transfer the hard drive to a different external enclosure, if you're not comfortable with opening up your computer. External enclosures are available relatively inexpensively online — just make sure you get one that matches your drive's physical size (2.5 or 3.5 inches.)
Now you know how to fix an external hard drive not showing up, you may want to check out our guide on cloud storage vs external hard disk drive to see if ditching your drive may be the better option.
And to get even more out of Windows, learn how to enable God Mode in Windows 11 or 10, how to clone a hard drive on Windows and how to change the Windows 11 Start menu back to Windows 10.
Sick of Teams? We'll show you how to stop Microsoft Teams from opening on startup.

