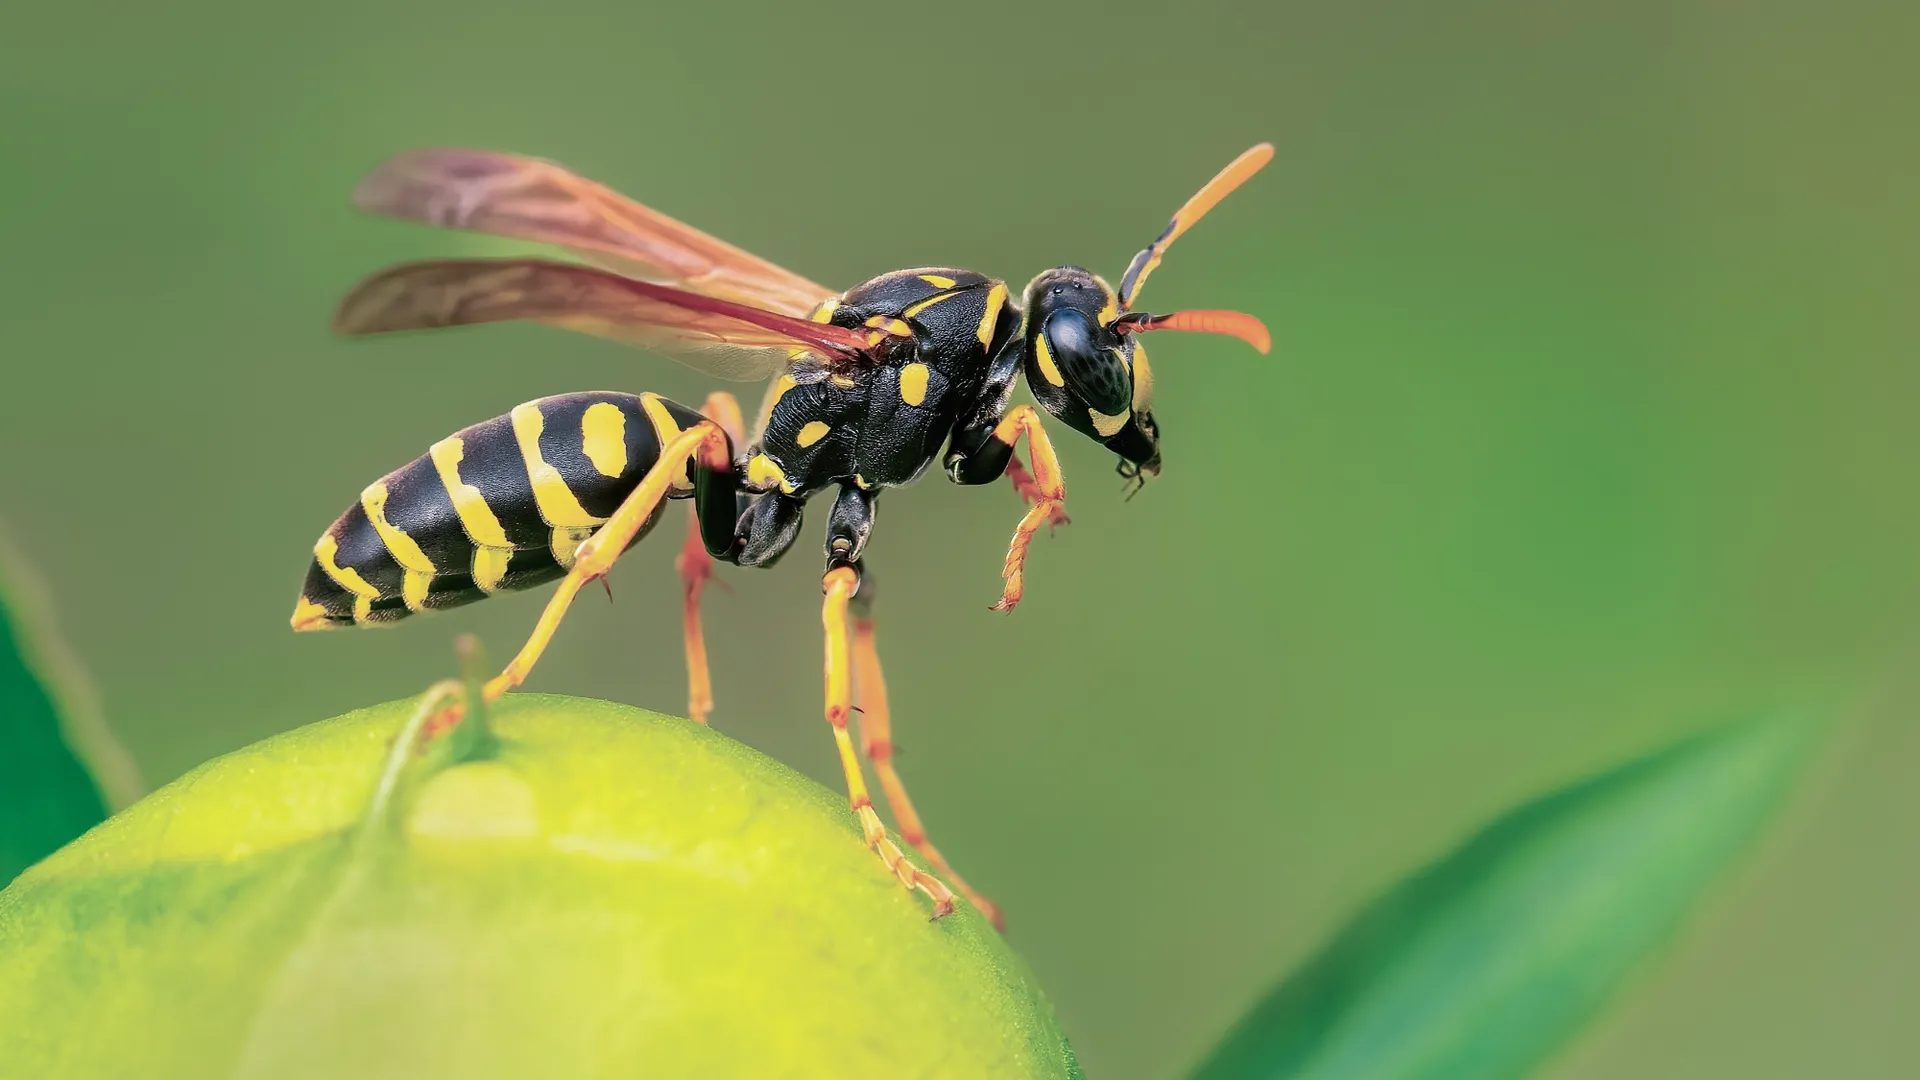
Wasps can quickly turn outdoor gatherings into frustrating experiences, especially if you're allergic to their stings. While these insects do help gardens by pollinating plants and controlling harmful pests, keeping them at a safe distance from your yard or patio is often necessary.
Instead of buying commercial traps, you can create an effective wasp trap using a simple plastic bottle and common household items. This DIY approach costs practically nothing and works just as well as store-bought versions.
You can stop wasps swarming your yard by building your own trap in just 10 minutes using materials you probably already have at home.

1. Gather your materials

You'll need a two-liter plastic soda bottle, a permanent marker, a sharp knife or scissors, and bait for the trap. Most households have these items already, making this project essentially free.
Use the permanent marker to draw a line around the bottle's neck, just below where it starts to taper. To keep your line straight, you can wrap a rubber band around the bottle as a guide, then trace along it with your marker.
This line marks where you'll cut to create the entrance funnel for your trap. Make sure the line is even all the way around for the best results.
2. Cut the bottle and create the trap entrance

Carefully cut along the line you drew and make sure to take your time with this step to avoid injury and ensure a clean cut.
Remove the bottle cap and set it aside, as you won't need it for the trap. You should now have two pieces: the bottom portion of the bottle and the top funnel-shaped piece.
The cut creates the perfect entrance size for wasps to enter but makes it difficult for them to escape. Keep both pieces as you'll need to reassemble them in the final step.
3. Add the right bait

The type of bait you use depends on the time of year and what wasps are seeking. In spring and early summer, it's better to use protein-based baits like small pieces of lunch meat or raw hamburger since wasps need protein for their developing larvae.
During late summer and fall, sweet baits like sugar water, fruit, soda, or water mixed with jam are most effective. When making your sweet bait, consider adding a small amount of apple cider vinegar as wasps are attracted to it but it will deter any passing honey bees.
You can also add a drop of dish soap to make it harder for wasps to escape once they enter the liquid.
4. Assemble your finished trap

Take the top funnel piece and flip it upside down, then insert it into the bottom portion of the bottle. The narrow opening should point downward into the bottom section, creating a funnel that's easy for wasps to enter but difficult to exit.
Press the pieces together firmly so they fit snugly — the funnel should sit securely inside the bottom portion. You could also tape the two sections together.
If you want to hang your trap, use a hole punch to make two holes across from each other near the top, punching through both layers of plastic. Thread wire or string through these holes to create a hanging loop.
5. Position and maintain your wasp trap

Place your trap in areas where you've noticed wasp activity or want to prevent wasps from gathering. Good locations include near outdoor dining areas, garbage cans, or flowering plants where wasps congregate.
Check the trap every few days to remove dead wasps and refresh the bait weekly to maintain its effectiveness. Empty and clean the trap regularly, being careful to check for any live wasps before handling.
Follow Tom's Guide on Google News to get our up-to-date news, how-tos, and reviews in your feeds. Make sure to click the Follow button.
More from Tom's Guide
- House flies ruining your summer? Keep them out with these plants
- How to mosquito-proof yourself this summer — 7 simple tips
- Gardeners swear by this simple trick — how to save split tomatoes fast