I added this accessory to my desk setup and it fixes the biggest downside with the iMac M4 and Studio Display
A game changer for ergonomics
In the same way that you might painstakingly redo your bedroom to get a better night’s sleep, putting that same level and care into your home office and specifically your desk setup can do wonders for your productivity as well as your health.
As someone who reviews the best standing desks and the best office chairs for a living, I’m always looking for new ways to improve my own setup. From adding a monitor light bar above my main display to using a foot pedal for one press keyboard shortcuts, there’s always something you can tweak or change to your desk setup or your workflow.
I recently had a chance to review the new Mac mini M4 and while I think it's definitely one of the best mini PCs overall, I wasn’t nearly as impressed with the Studio Display that Apple sent over with it. While it’s a fantastic monitor with a very clear picture and great viewing angles, there’s one thing you can easily overlook when purchasing one for yourself.
Whether you have a Studio Display yourself and forgot this one upgrade at checkout or you’re thinking about getting a new iMac for your home office, this underrated accessory is absolutely worth picking up if you want to have the best ergonomic experience possible with either device.
Not your usual case of buyer’s remorse
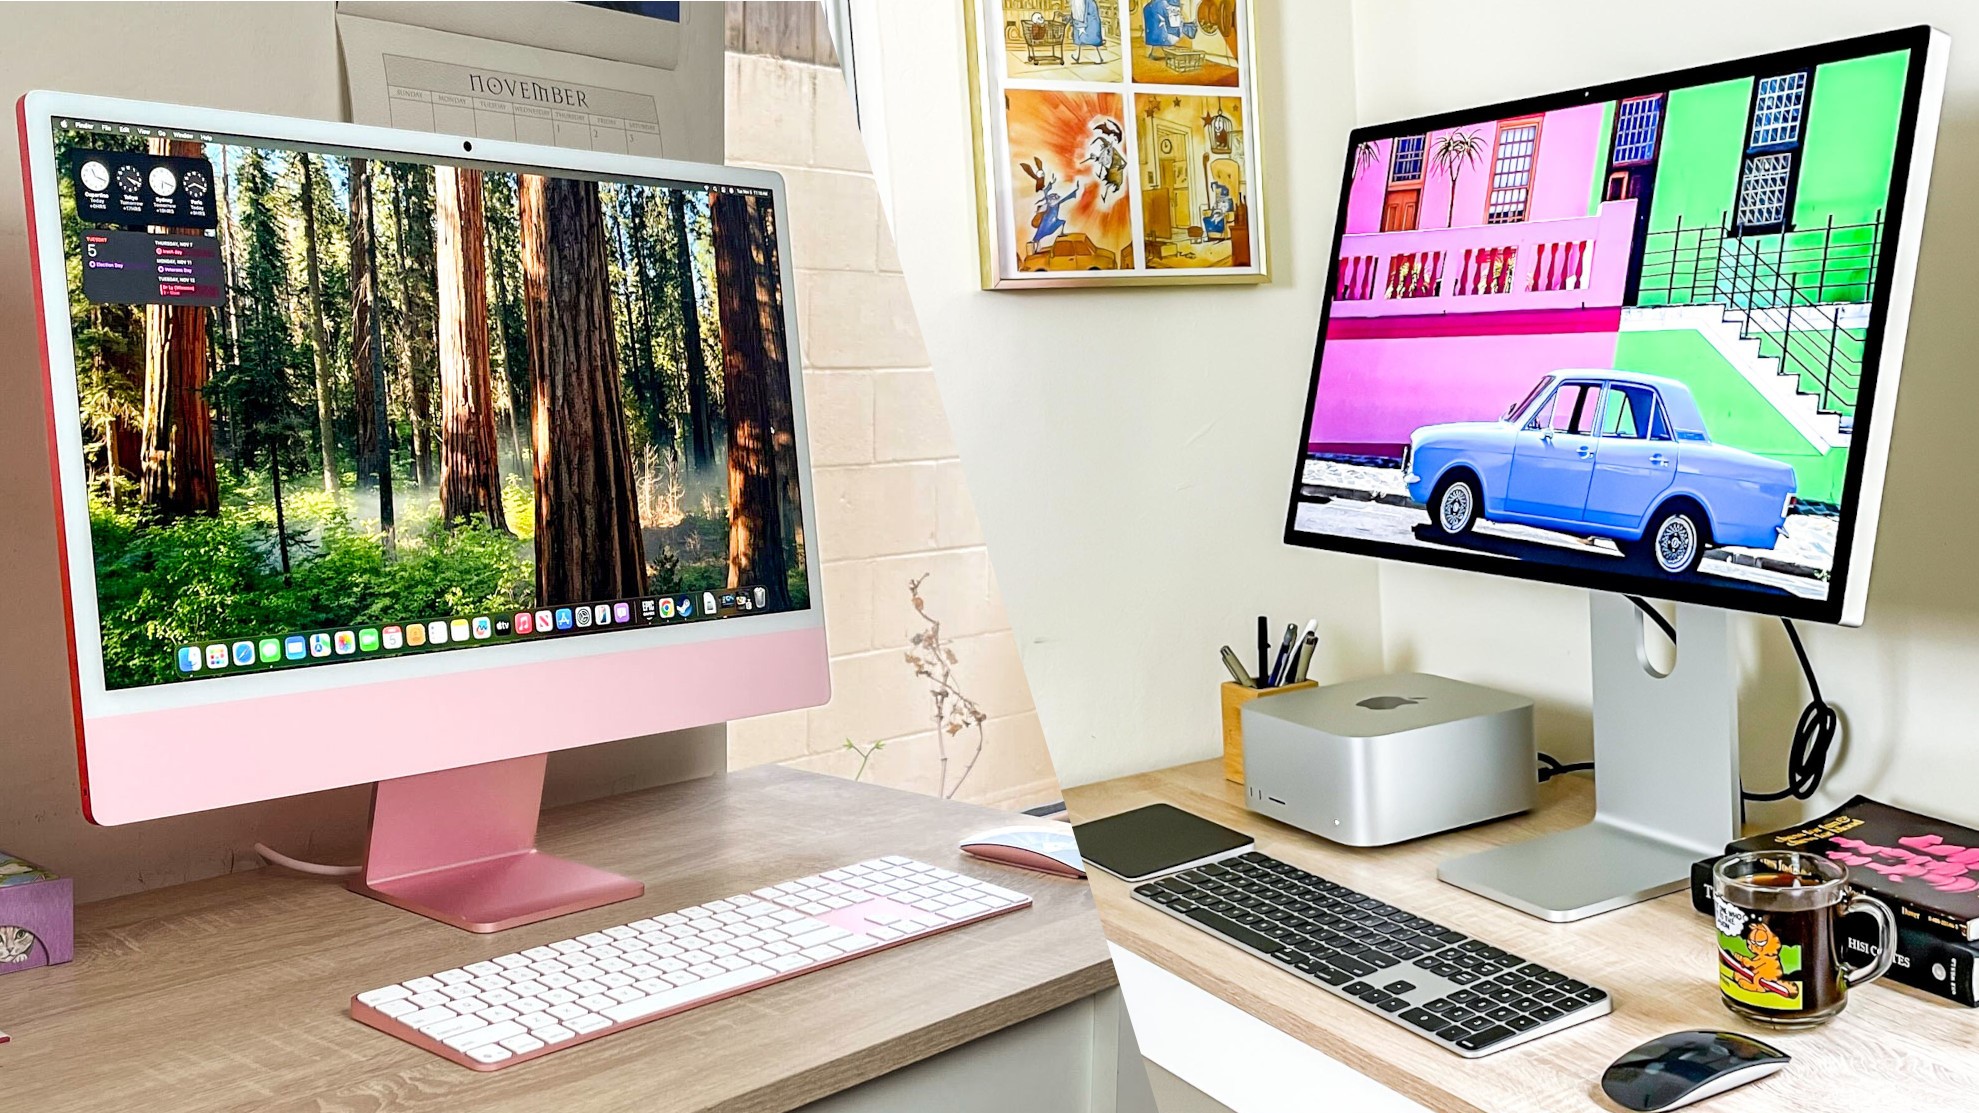
If you head to the Apple Store or to a big box retailer like Best Buy and pick up either a new iMac or a Studio Display, chances are you’ll be quite happy with your purchase. Both devices look fantastic and perform equally well. However, you might start noticing some strain on your neck and shoulders once Apple's 14-day return window has passed.
While the iMac M4 and previous versions of Apple’s all-in-one computer can’t be configured with a height adjustable stand, you can get one for the Studio Display. However, doing so adds an extra $400 to the premium monitor’s already high $1,600 price. Likewise, both Apple’s iMac and Studio Display can be outfitted with a VESA mount adapter at no additional cost.
With a VESA mount adapter, you can use either a monitor arm or a monitor stand to lift your display higher up off your desk and closer to eye level, which makes all the difference when setting up an ergonomic workstation. If you do decide that you want a VESA mount adapter after the fact, you’ll need to bring your iMac or Studio Display back to the Apple Store, to an Apple Authorized Service Provider or to an Independent Repair Provider to make the swap. You might be able to do it yourself but I wouldn’t recommend it as you can easily damage either device.
This can be a hassle though, as this change can be time consuming and expensive. For instance, the VESA mount adapter for Apple’s Pro Display XDR costs $200 on its own without an arm or stand to go with it.
Get instant access to breaking news, the hottest reviews, great deals and helpful tips.
When I saw that Apple was sending over the standard version of its Studio Display with the Mac mini M4, I knew this would be a problem for me, so I bought one desk shelf online and called in another. Here are two options — a budget one and a more premium one — along with what it was like putting them together, adding them to my desk setup and using them.
An inexpensive fix

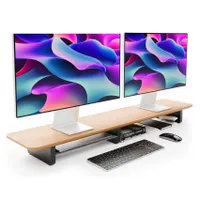
Since they’re often hand made out of premium wood, desk shelves can get quite expensive, especially if you’re going for a particular aesthetic and don’t want to use a cheap plastic one to raise up your iMac or Studio Display. I spent a lot of time scouring Amazon for one that fit my own needs until I stumbled upon this dual monitor riser from a company called KIVY.
While the listing page shows that there are three color options available (oak, walnut and black oak), I’ve been checking for a few weeks now and only the oak version is currently in stock. It's hand made from natural wood and since it isn’t finished, you can always stain it whatever color you want later on. Another thing I like about this particular desk shelf is that it has a built-in shelf to store one of the best laptops or a tablet to keep your desk clutter free.
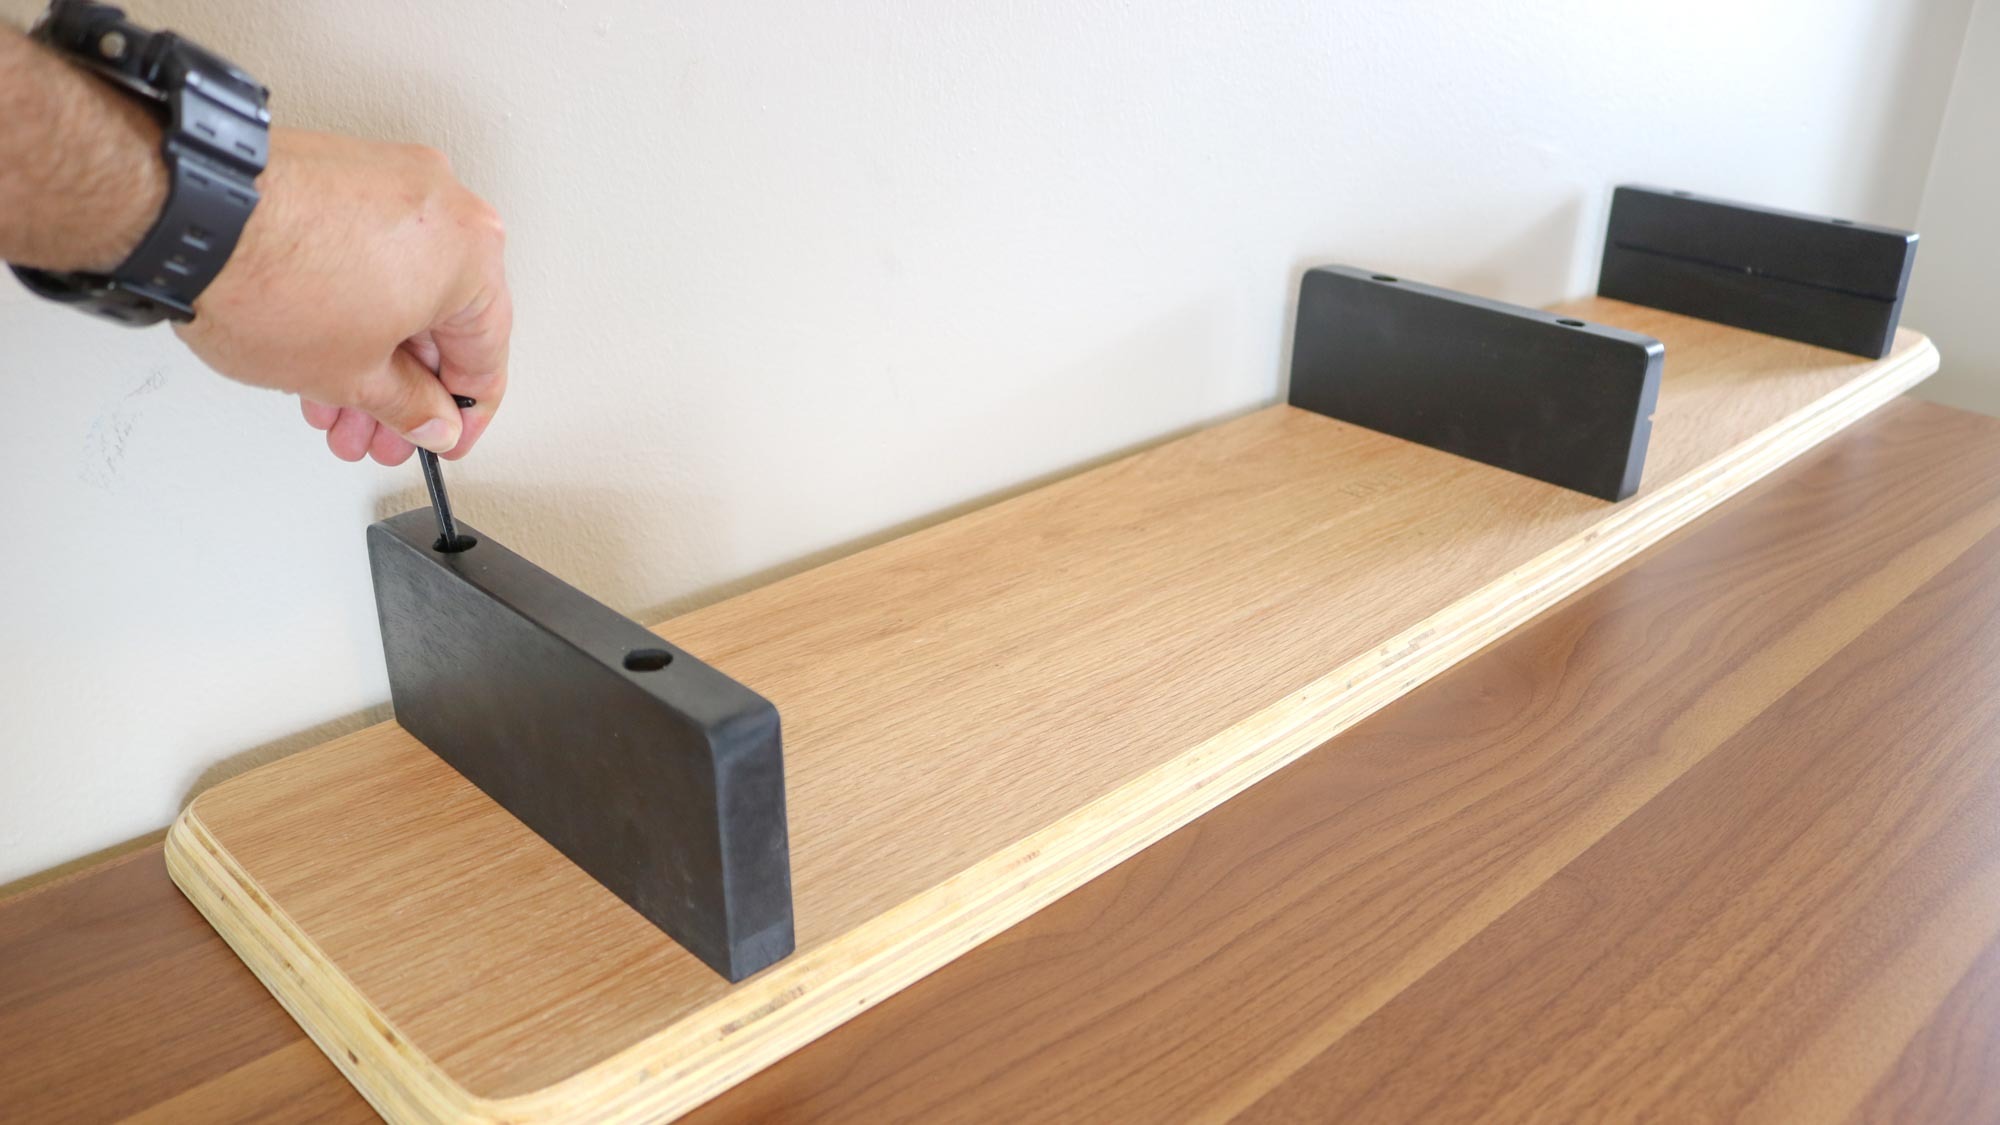
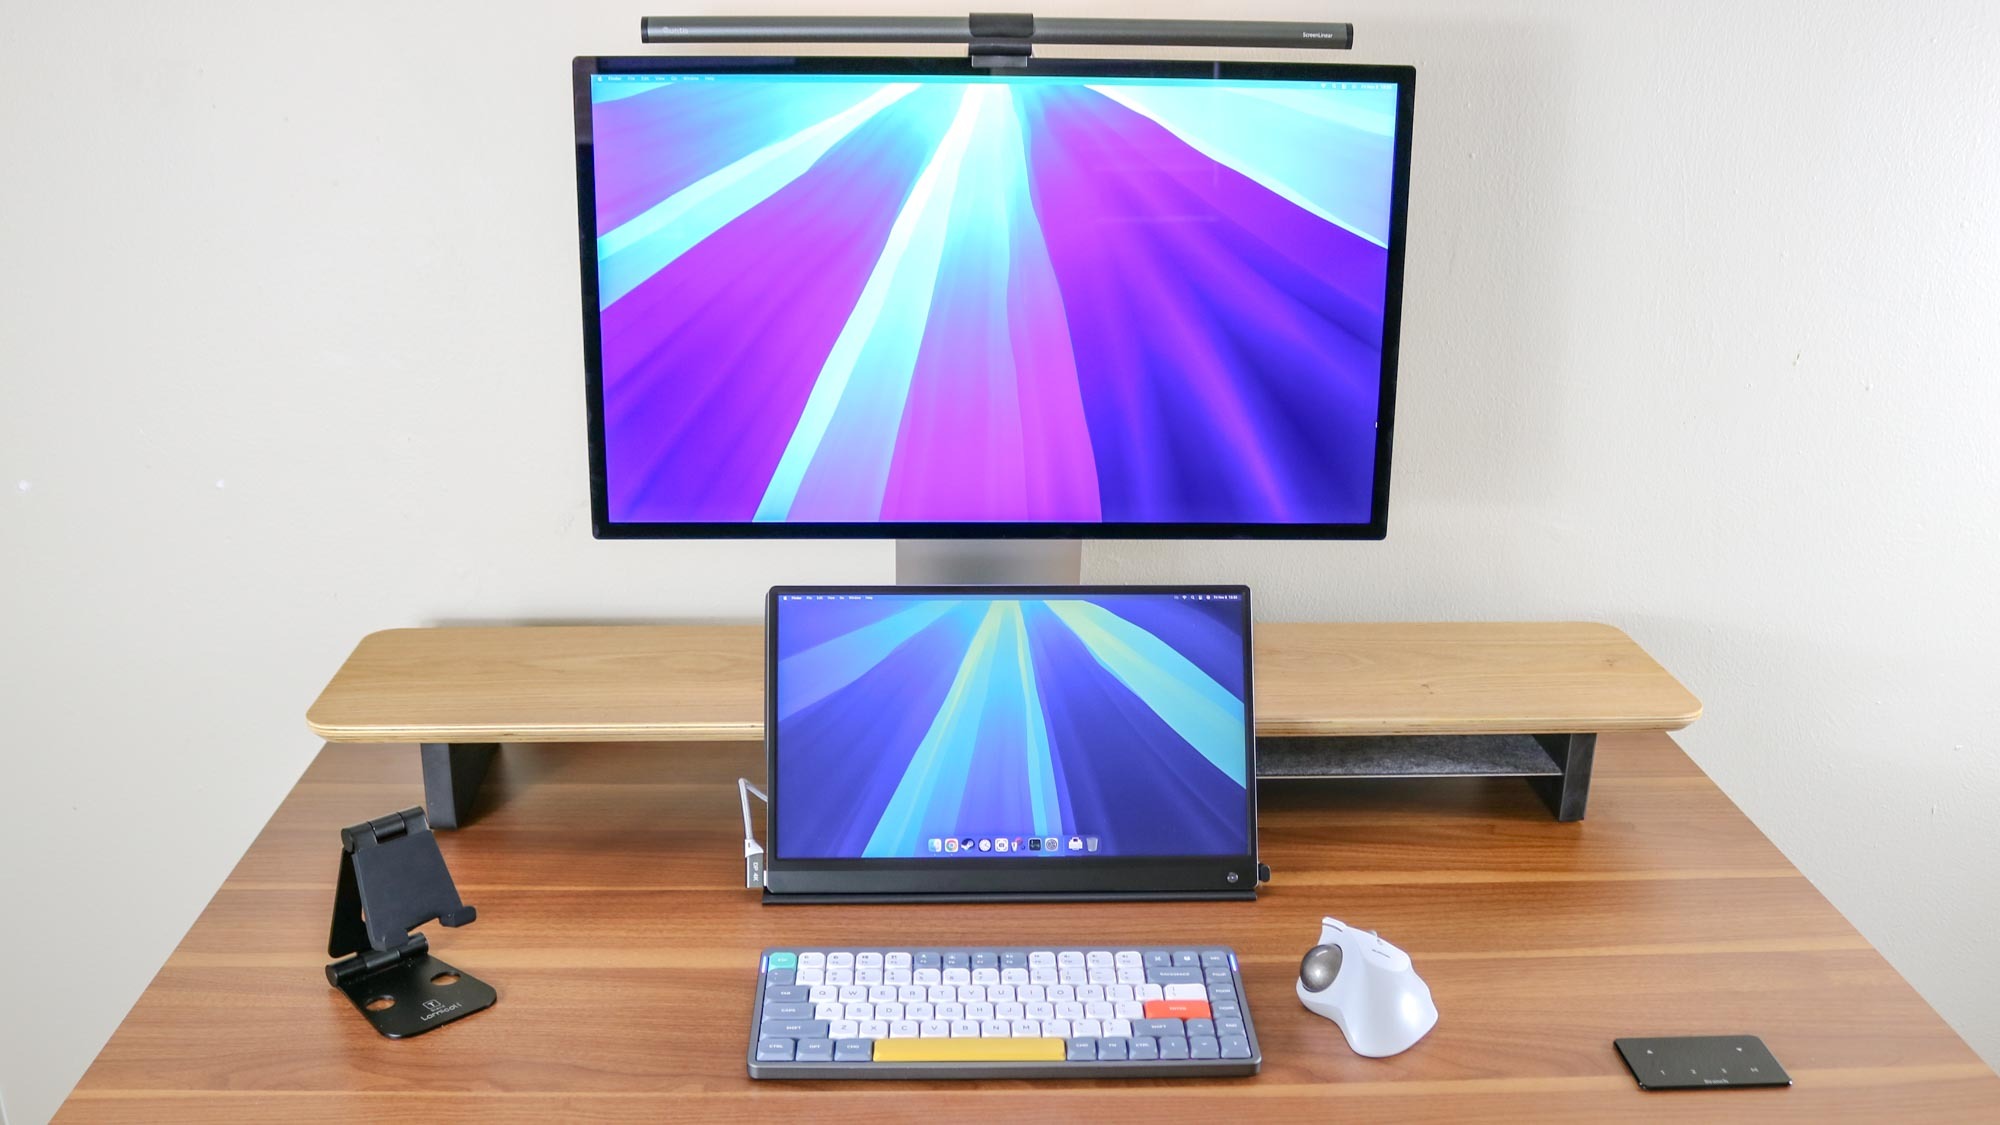
Putting the KIVY desk shelf together was simple too. Once I had all the feet lined up with their predrilled holes and the two with slits for the shelf next to each other, I just had to use the included Allen key to screw in six bolts. From there, it was just a matter of sliding in the aluminum shelf with its felt padded side facing towards the desk shelf.

The KIVY desk shelf is 43 inches wide, 9 inches deep and 4 inches tall which means it should easily fit on most desks. In the picture above, you can see how it looks on the new Four Leg Standing Desk from Branch. Even though its desktop is walnut, the oak desk shelf still looks nice on top of it and you get a nice contrast between the two finishes.
KIVY Dual Monitor Riser: $77 @ Amazon
This desk shelf can hold two monitors on either side or one larger one in the middle and it can hold up to 60 pounds of weight. The integrated aluminum shelf is just shy of 14 inches wide as well as 7.5 inches deep which makes it perfect for 14-inch laptops like the MacBook Pro 14 or even the ASUS ROG Zephyrus G14. Non-slip feet prevent it from scuffing up your desk and it’s super easy to put together too.
A more premium option
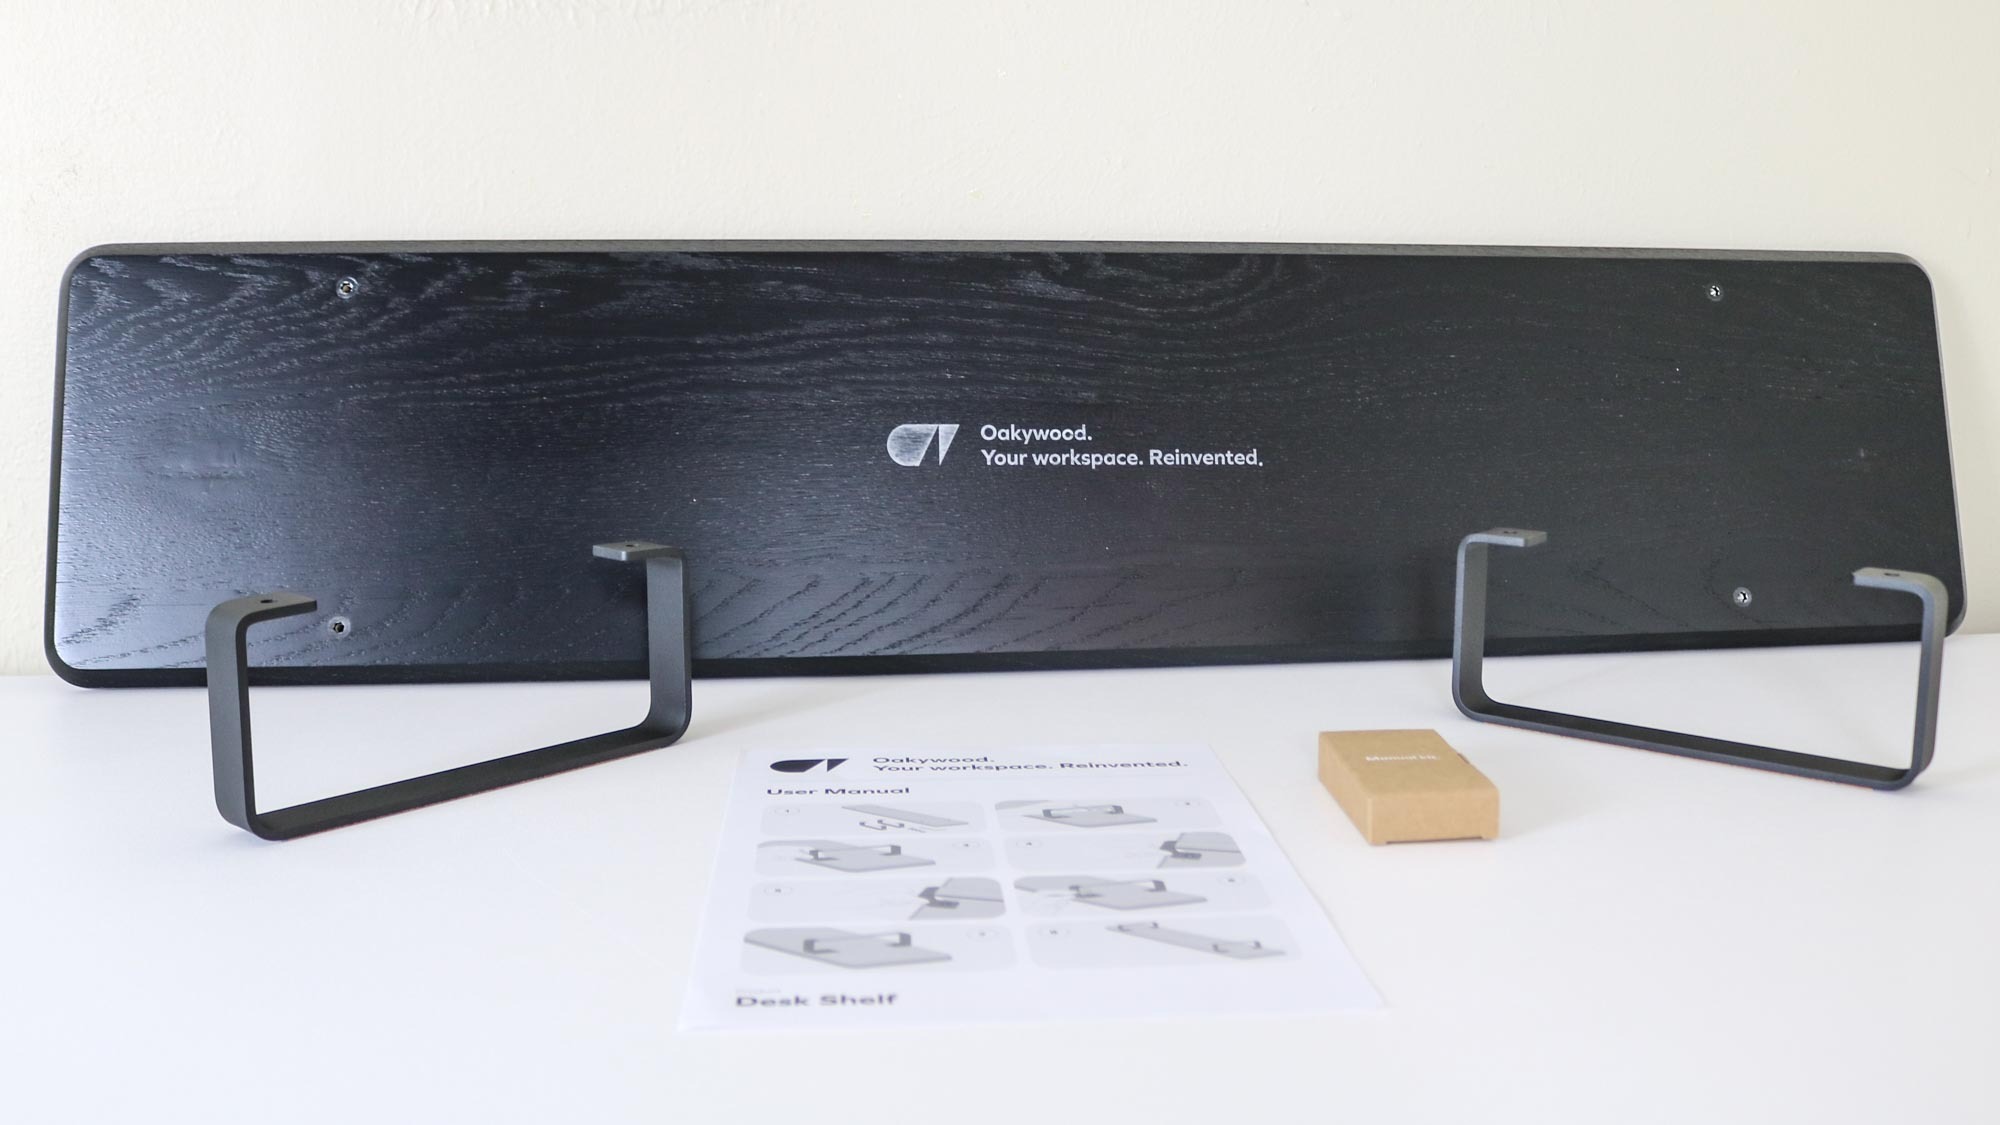
Besides lifting the Studio Display up to eye level, one of the things that intrigued me about desk shelves and this one in particular, is that I kept seeing it in desk setup videos online. I knew I had to try it out for myself, so I reached out to Oakywood and they sent over their Desk Shelf in all black.
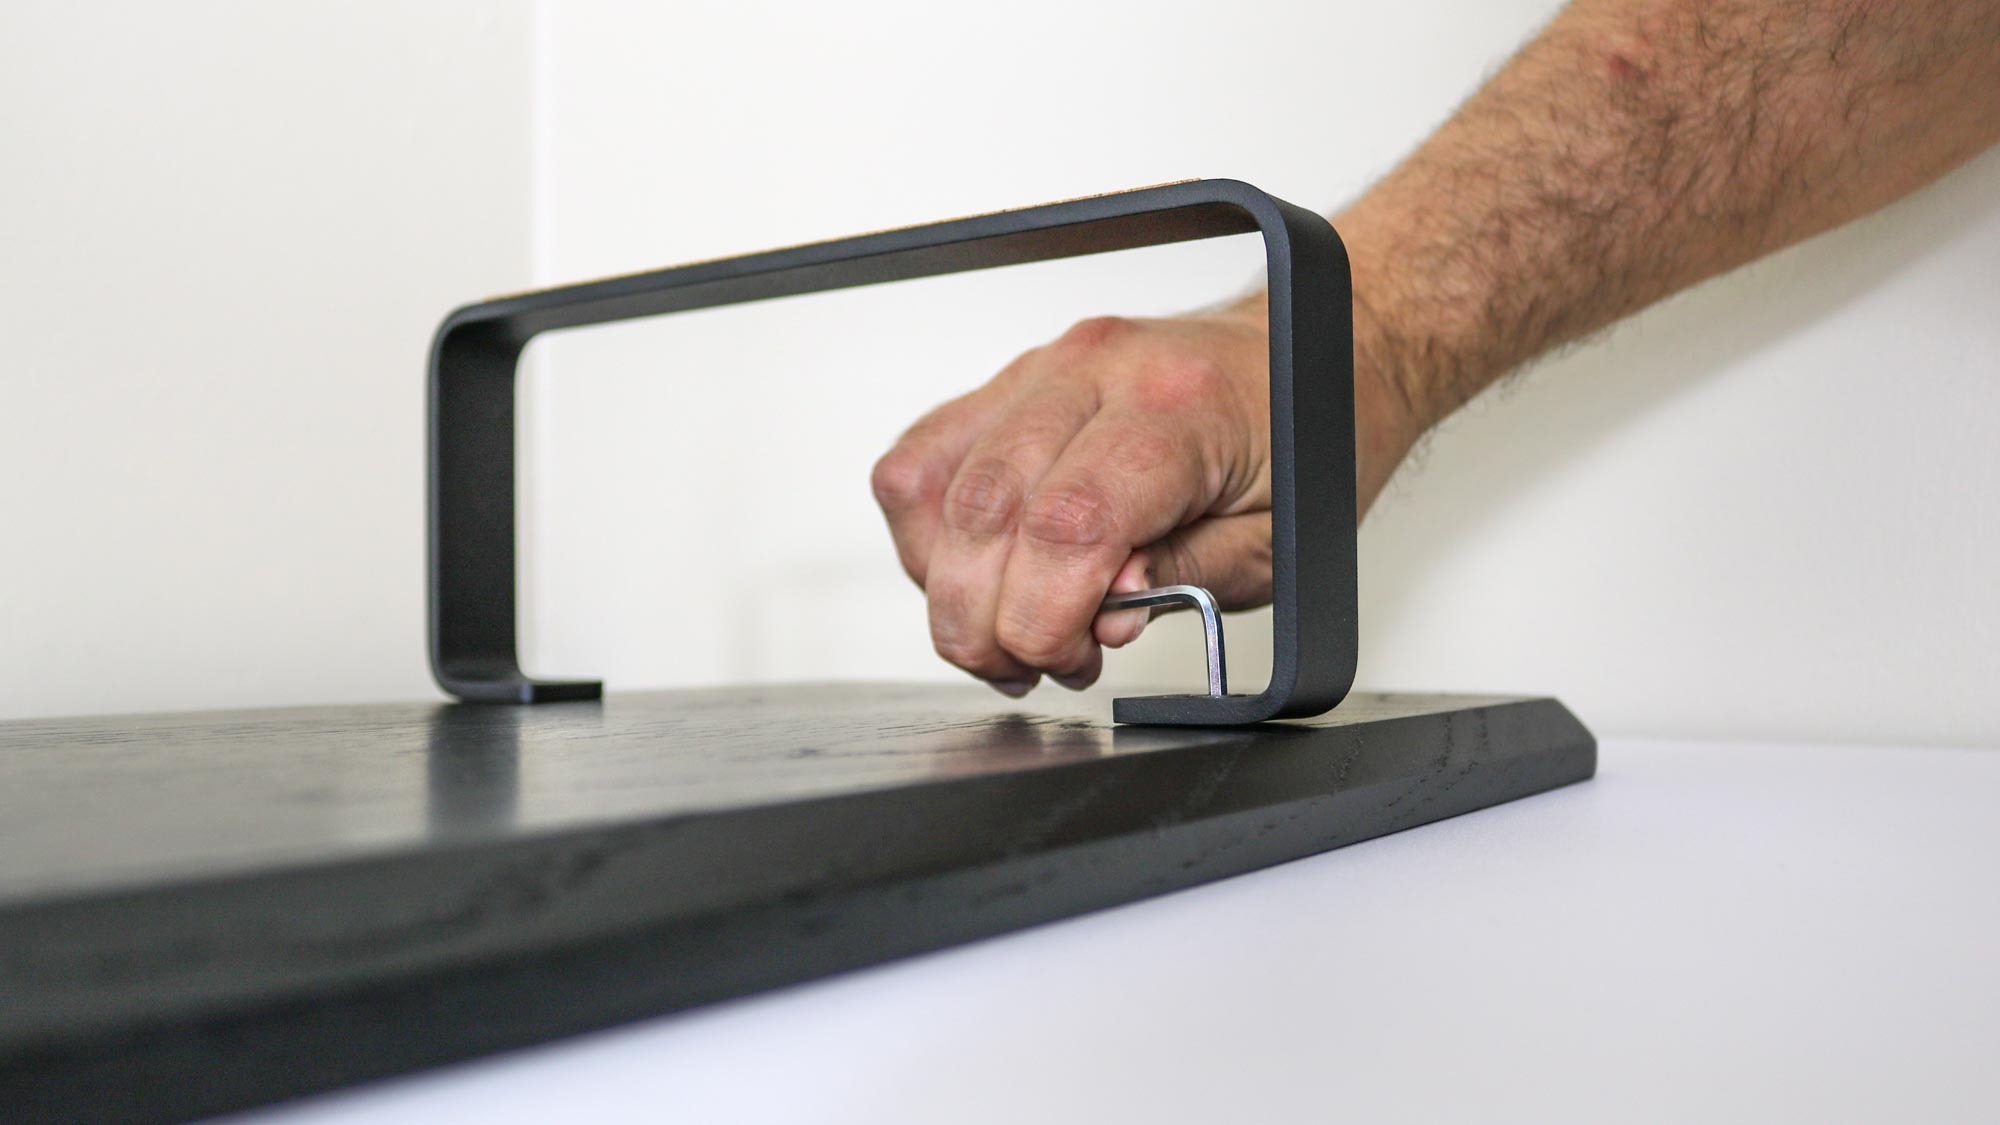
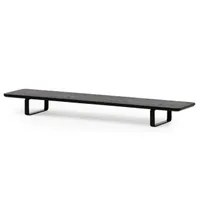
Unlike the one from KIVY, it’s available in several other colors too including oak, walnut, oak veneer and walnut veneer and you can also choose between black or white legs. It doesn’t have a built-in shelf though as Oakywood has a whole ecosystem of optional accessories for it from large and small drawers to trays that slide underneath the shelf.
The Desk Shelf came with the shelf itself, the two legs, a few bolts and an Allen key. Putting it together took even less time than the other one and the cork pads on the bottom of the legs came pre-applied too. If you do get any of the optional accessories with it, they just slide under the shelf when you’re done assembling it.

The Oakywood desk shelf is 41.3 inches wide, 9.1 inches deep and 4.3 inches tall which makes it just slightly higher than the first one I looked at. Its steel legs and the solid oak wood used in the shelf give it a more premium look and feel too. However, it costs more than double what the KIVY desk shelf does and depending on which type of wood you pick, it could cost even more with the walnut finish being the most expensive of the bunch. You do get a two-year manufacturer’s warranty with the Oakywood Desk Shelf which covers repairs and replacements for defective parts.
Oakywood Desk Shelf (all black): was $220 now $165 @ Oakywood
This desk shelf can hold two monitors side by side or a larger one in the middle with a maximum weight capacity of 220 pounds. It may not have an integrated laptop shelf but there’s a whole ecosystem of other hand made accessories for it. Its hollow legs also give it a more elegant appearance on top of your desk.
Height is just as important as resolution

Regardless of whether you go all out and pick up Apple’s Studio Display or take the all-in-one approach with an iMac, you don’t want to be hunched over your desk looking down at a screen all day long. Instead, you want the top of your monitor slightly above eye level for better ergonomics. This will allow you to sit upright with good posture without any aches or pains.
Now that I’ve tried out two desk shelves, I plan on incorporating them into my desk setups going forward. There’s just something about having extra storage space right on the top of your desk where you need it the most. This is especially true with standing desks which often trade mobility for storage.
The Apple Studio Display and iMac are both excellent devices but with a desk shelf like these, you can easily raise either of them up to eye level without having to head to your nearest Apple Store to swap out their built-in stands for a VESA mount adapter. Once you’ve used a monitor at the proper height for your eye level, I guarantee you won’t be going back anytime soon.
More from Tom's Guide
- I finally found the perfect display for under my main monitor and it even has a touchscreen
- Mac mini M4 — 4 reasons to buy and 3 reasons to skip
- I tried a pocketable mini PC you can upgrade in seconds and the Khadas Mind feels like the future of computing

Anthony Spadafora is the managing editor for security and home office furniture at Tom’s Guide where he covers everything from data breaches to password managers and the best way to cover your whole home or business with Wi-Fi. He also reviews standing desks, office chairs and other home office accessories with a penchant for building desk setups. Before joining the team, Anthony wrote for ITProPortal while living in Korea and later for TechRadar Pro after moving back to the US. Based in Houston, Texas, when he’s not writing Anthony can be found tinkering with PCs and game consoles, managing cables and upgrading his smart home.
