How to use Nano Banana and get started with Gemini's new AI image editing model
Who knew editing photos could be this easy?
Image editing just became a whole lot more fun thanks to Google’s Nano Banana AI image editing model.
Designed to retain an image’s maximum consistency, Nano Banana can be used for anything from styling yourself in new clothes to replacing objects in a photo. The process is simple and works with traditional text-based prompting.
While you can still create images from scratch, you’re also able to upload your own images for Nano Banana to work with. So far, we’ve seen people using it to turn themselves into action figures and to perfect their selfies, but all sorts of creations are possible if you can think of them.
This powerful AI image model has been integrated directly into the Gemini app, making it easy to access and use. But if you're just hearing about it now for the first time, consider this your step-by-step guide to learn how to use Nano Banana to edit your images online for free.
1. Sign in
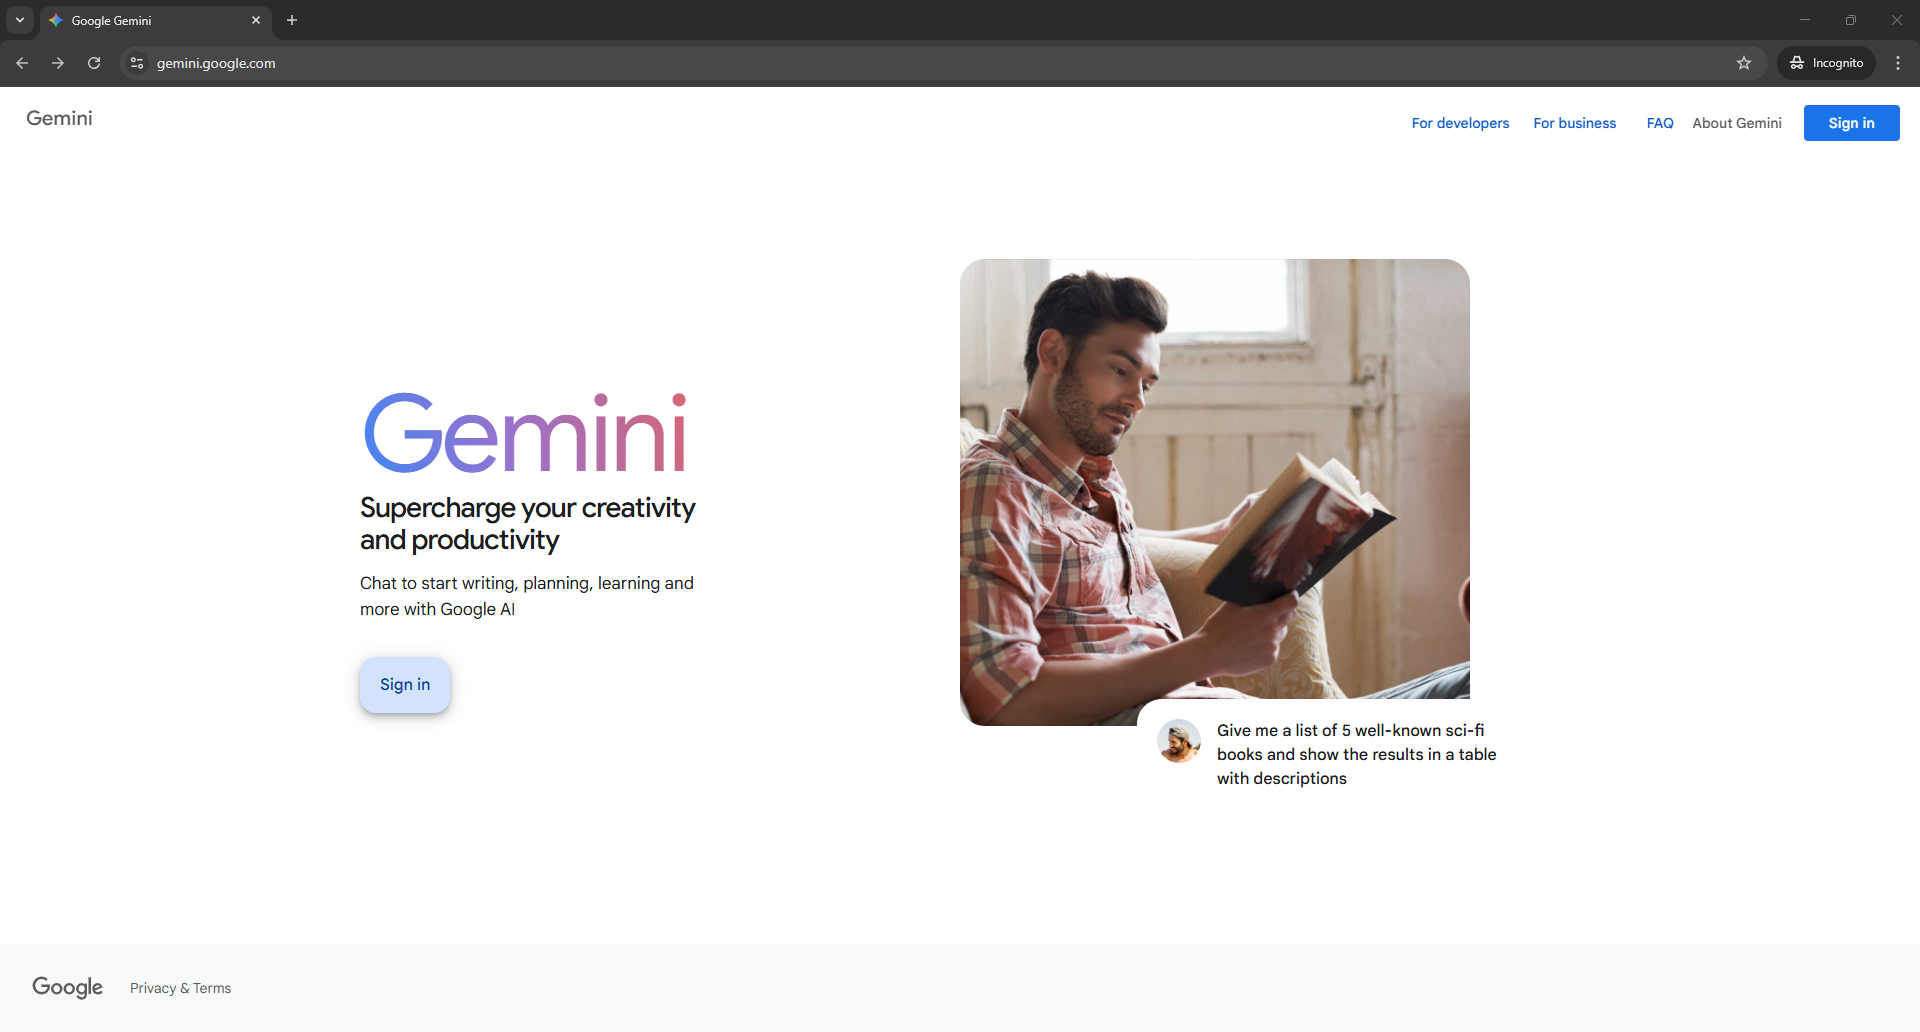
To use Nano Banana, you’ll first want to sign in to Gemini. If you’re already a user of Google products like Gmail and Docs, then you can use your existing Google Account to log in. If you’re new to Google, just create a free account.
2. Enable Nano Banana
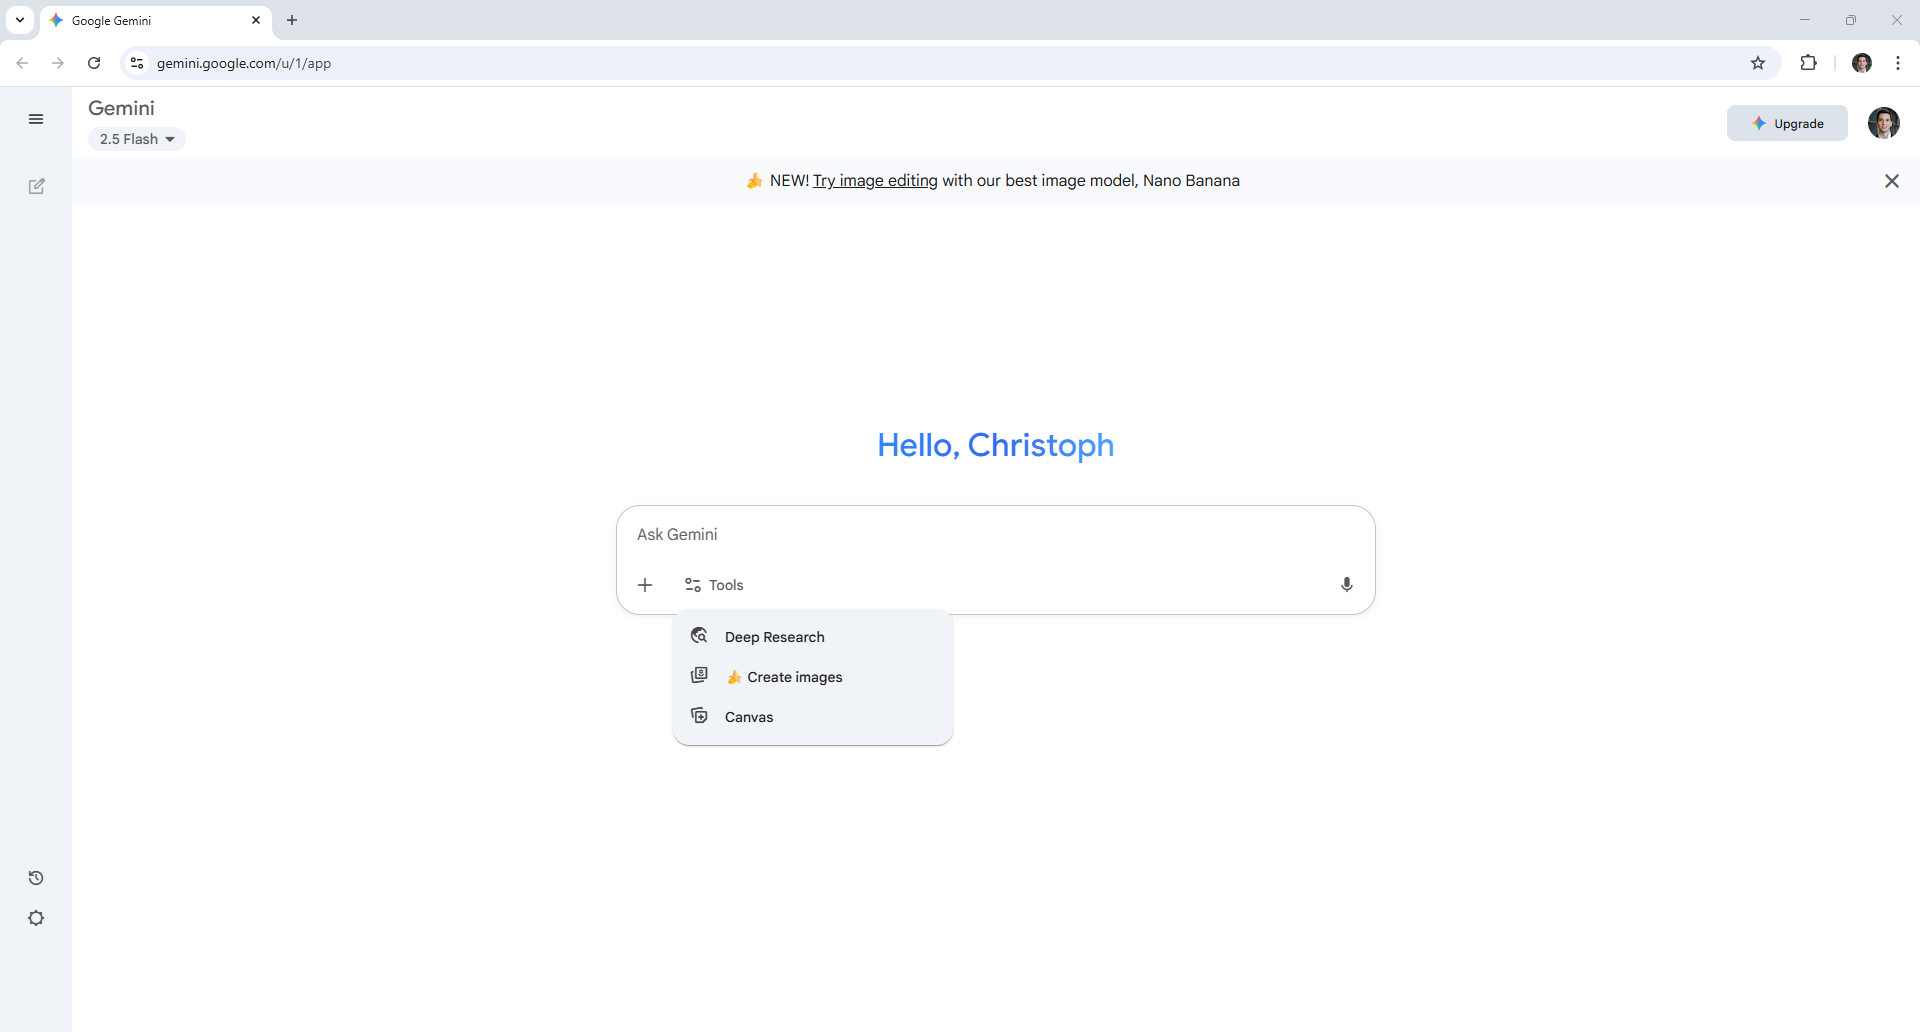
Once you’ve made your way to Gemini, you’re likely to be nudged about the Nano Banana model since it’s still relatively new. Either click on the link provided or hit create images in the tools section to dive straight into the AI image action.
3. Create your first image
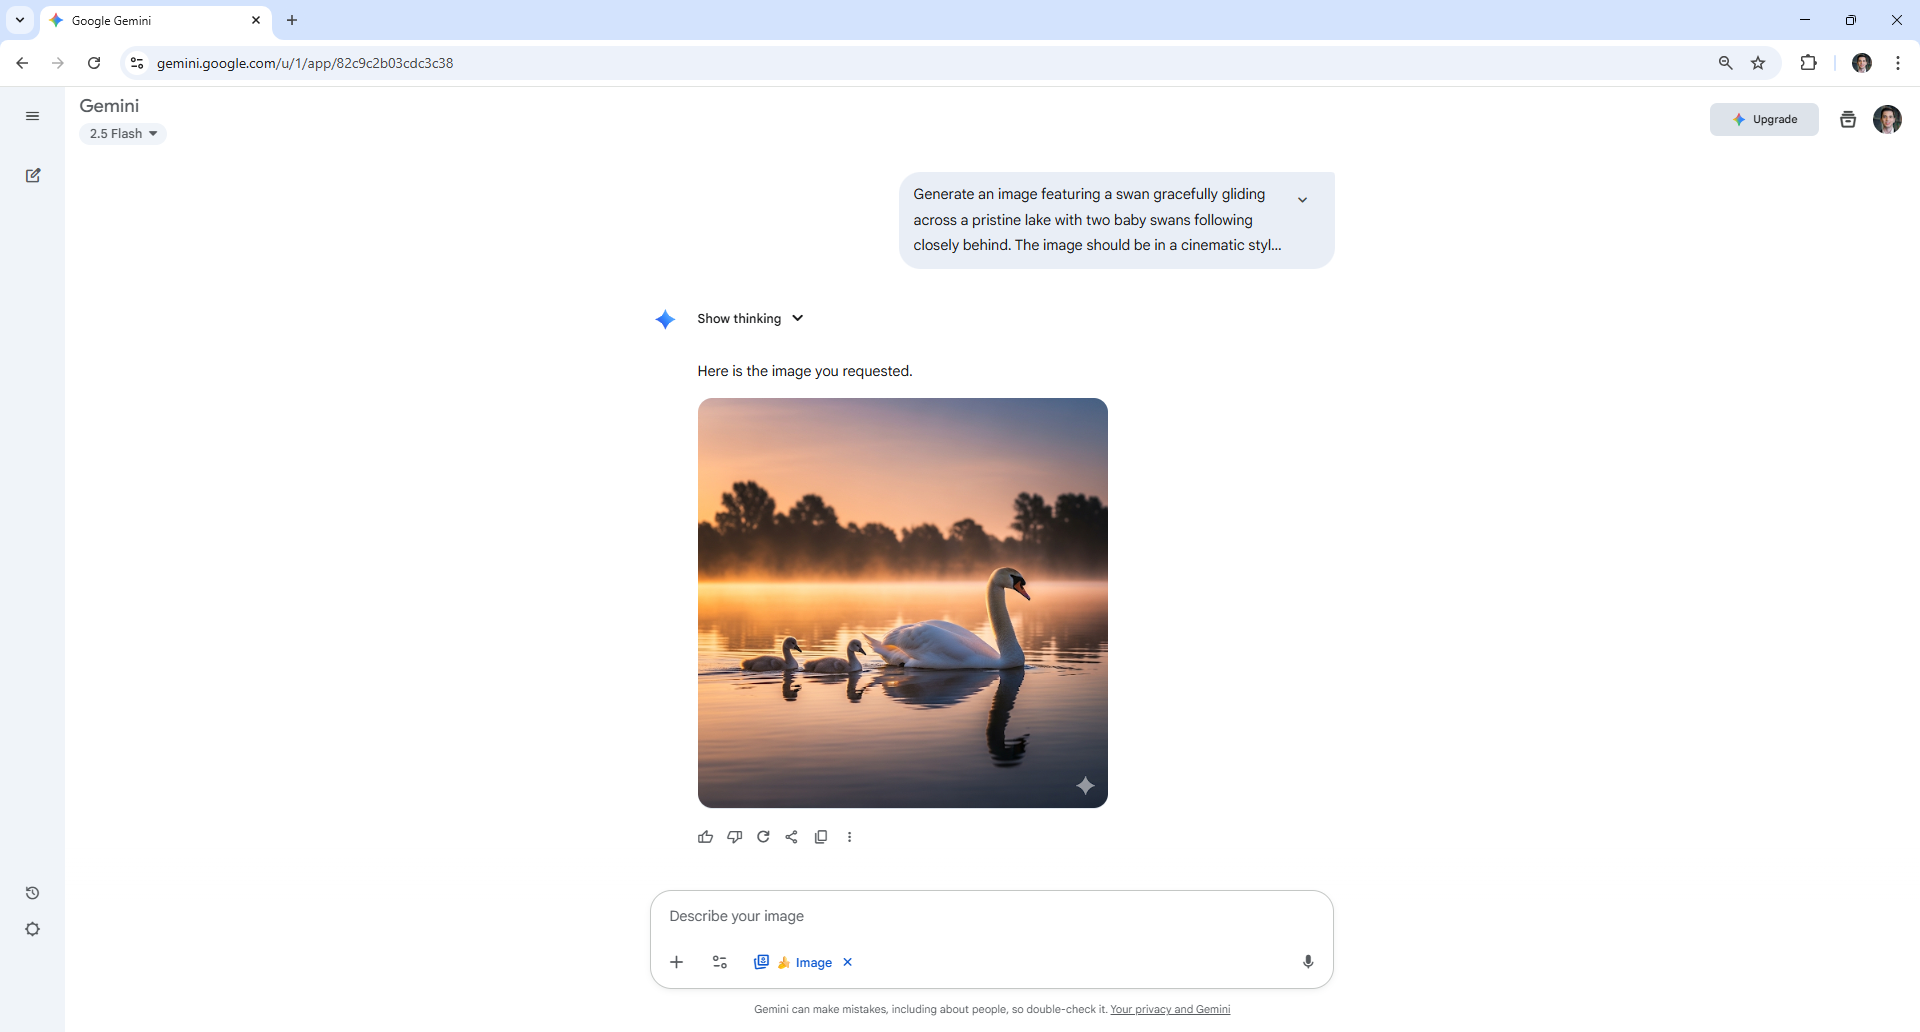
While the excitement around Nano Banana has primarily been about its image editing capabilities (we’ll get to these below) you can still use the latest image model from Google DeepMind to create AI images. Simply type in your prompt and hit enter.
For this example, I used Nano Banana to generate an image of a swan gracefully gliding across a lake with two baby swans in tow.
4. Refine your image
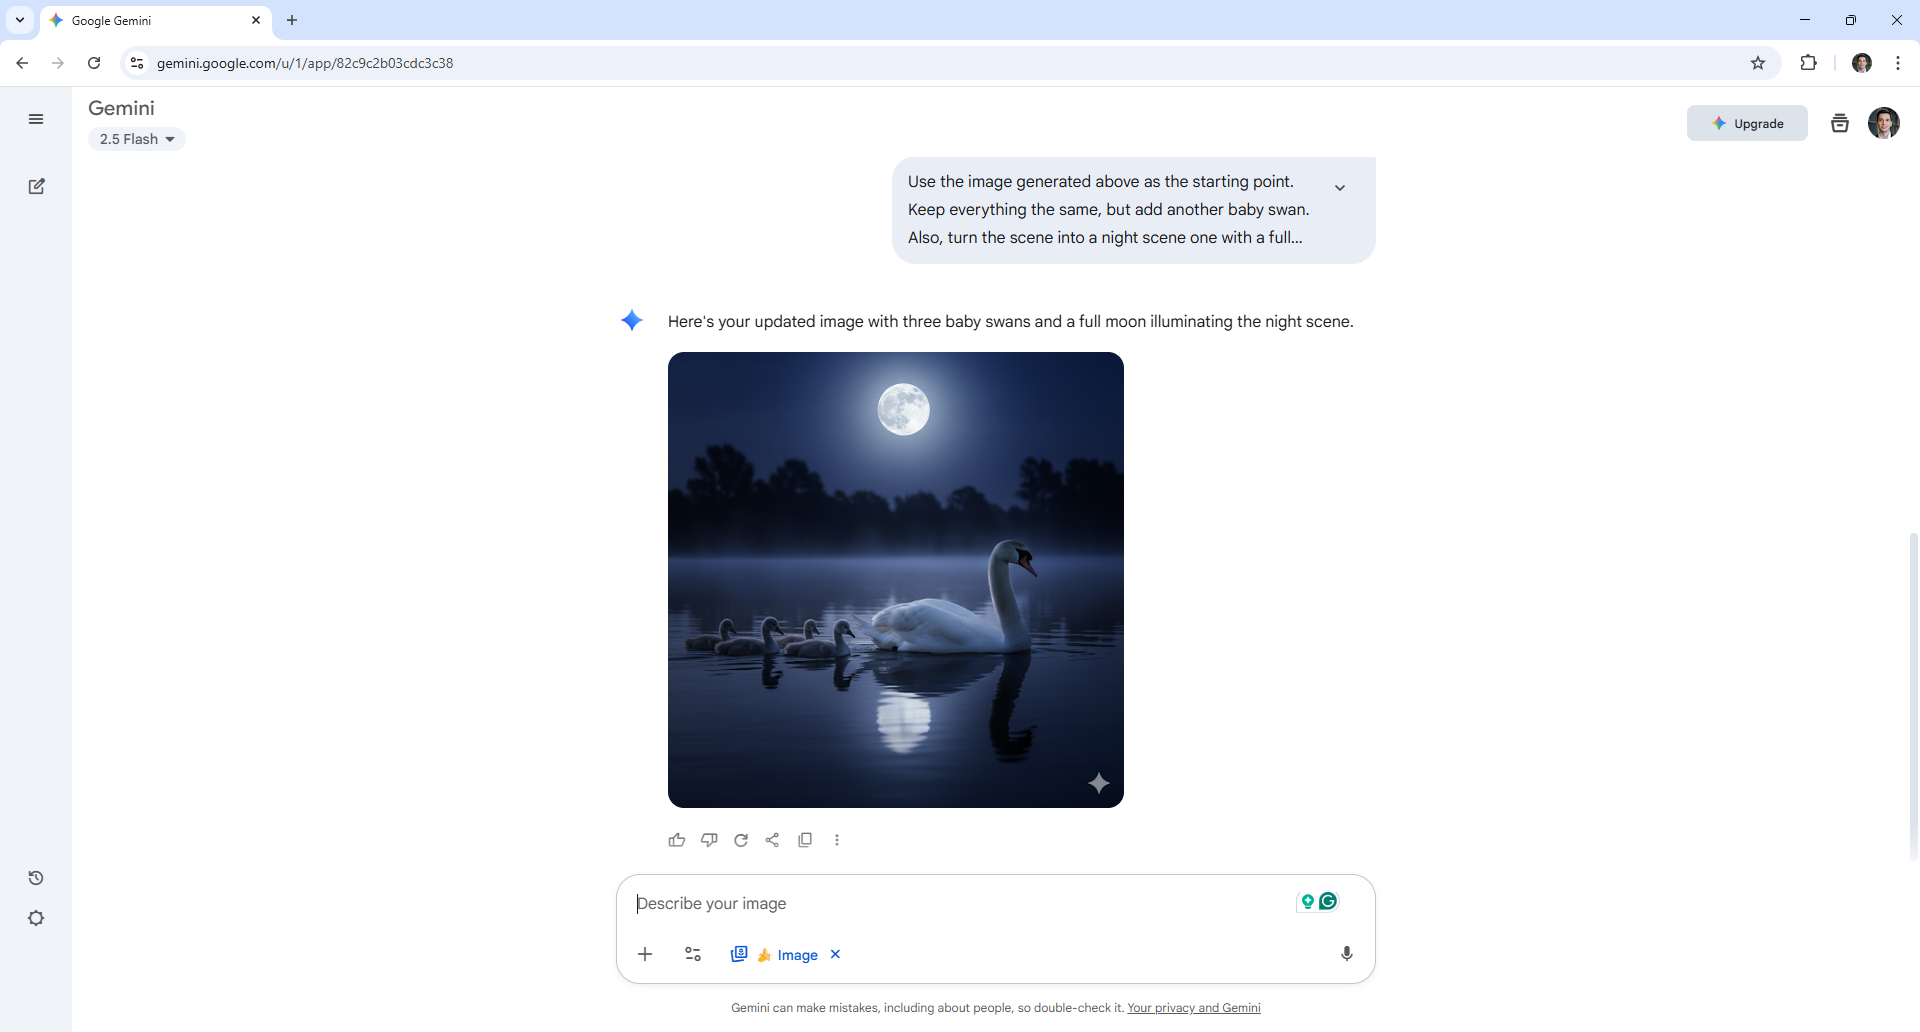
If you’re not quite happy with the result, you can suggest refinements to the image you created. The more specific you are in your prompt, the better Gemini can create images that reflect your vision.
Simply state what refinements you’d like to see and hit enter. In the example above, I switched it to a night scene.
5. Editing your image
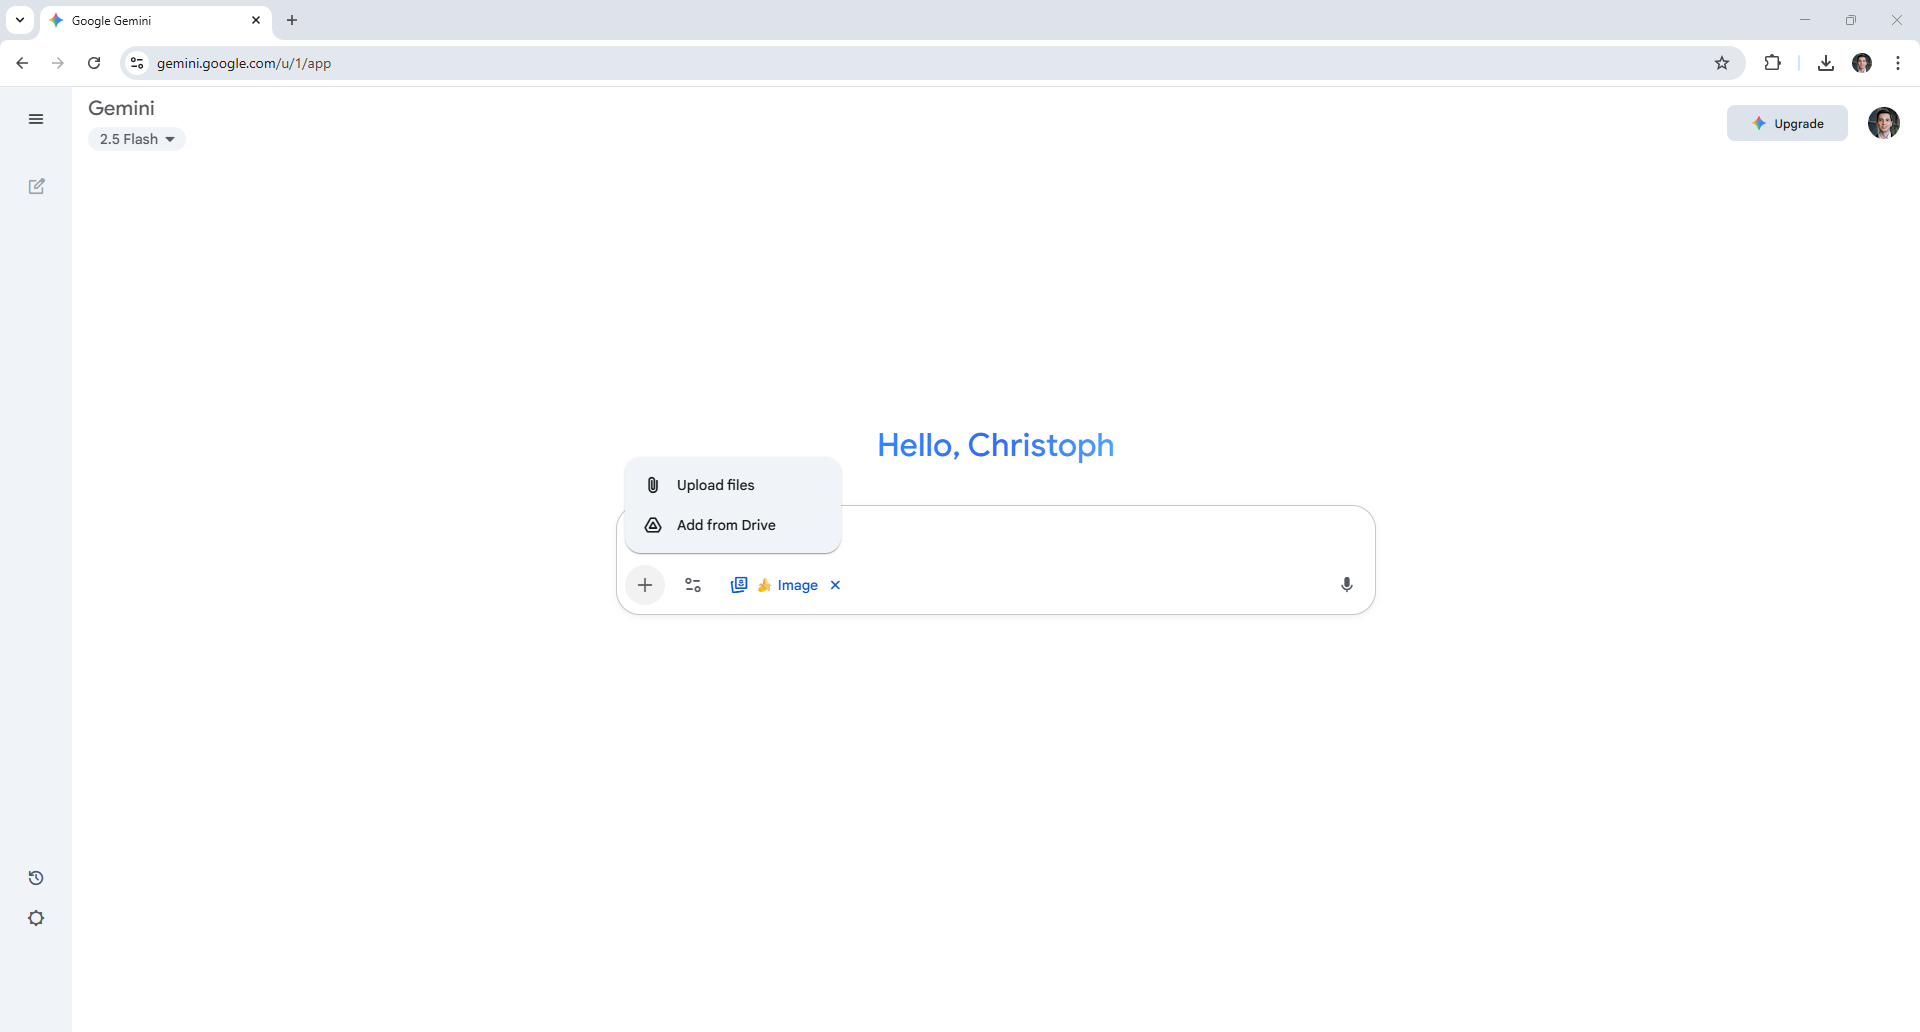
Nano Banana’s main selling point is its image editing capabilities. To try them out yourself, upload an image that you generated using AI or upload one you took with your camera or phone. You do this by clicking the plus symbol.
6. Describe the edits
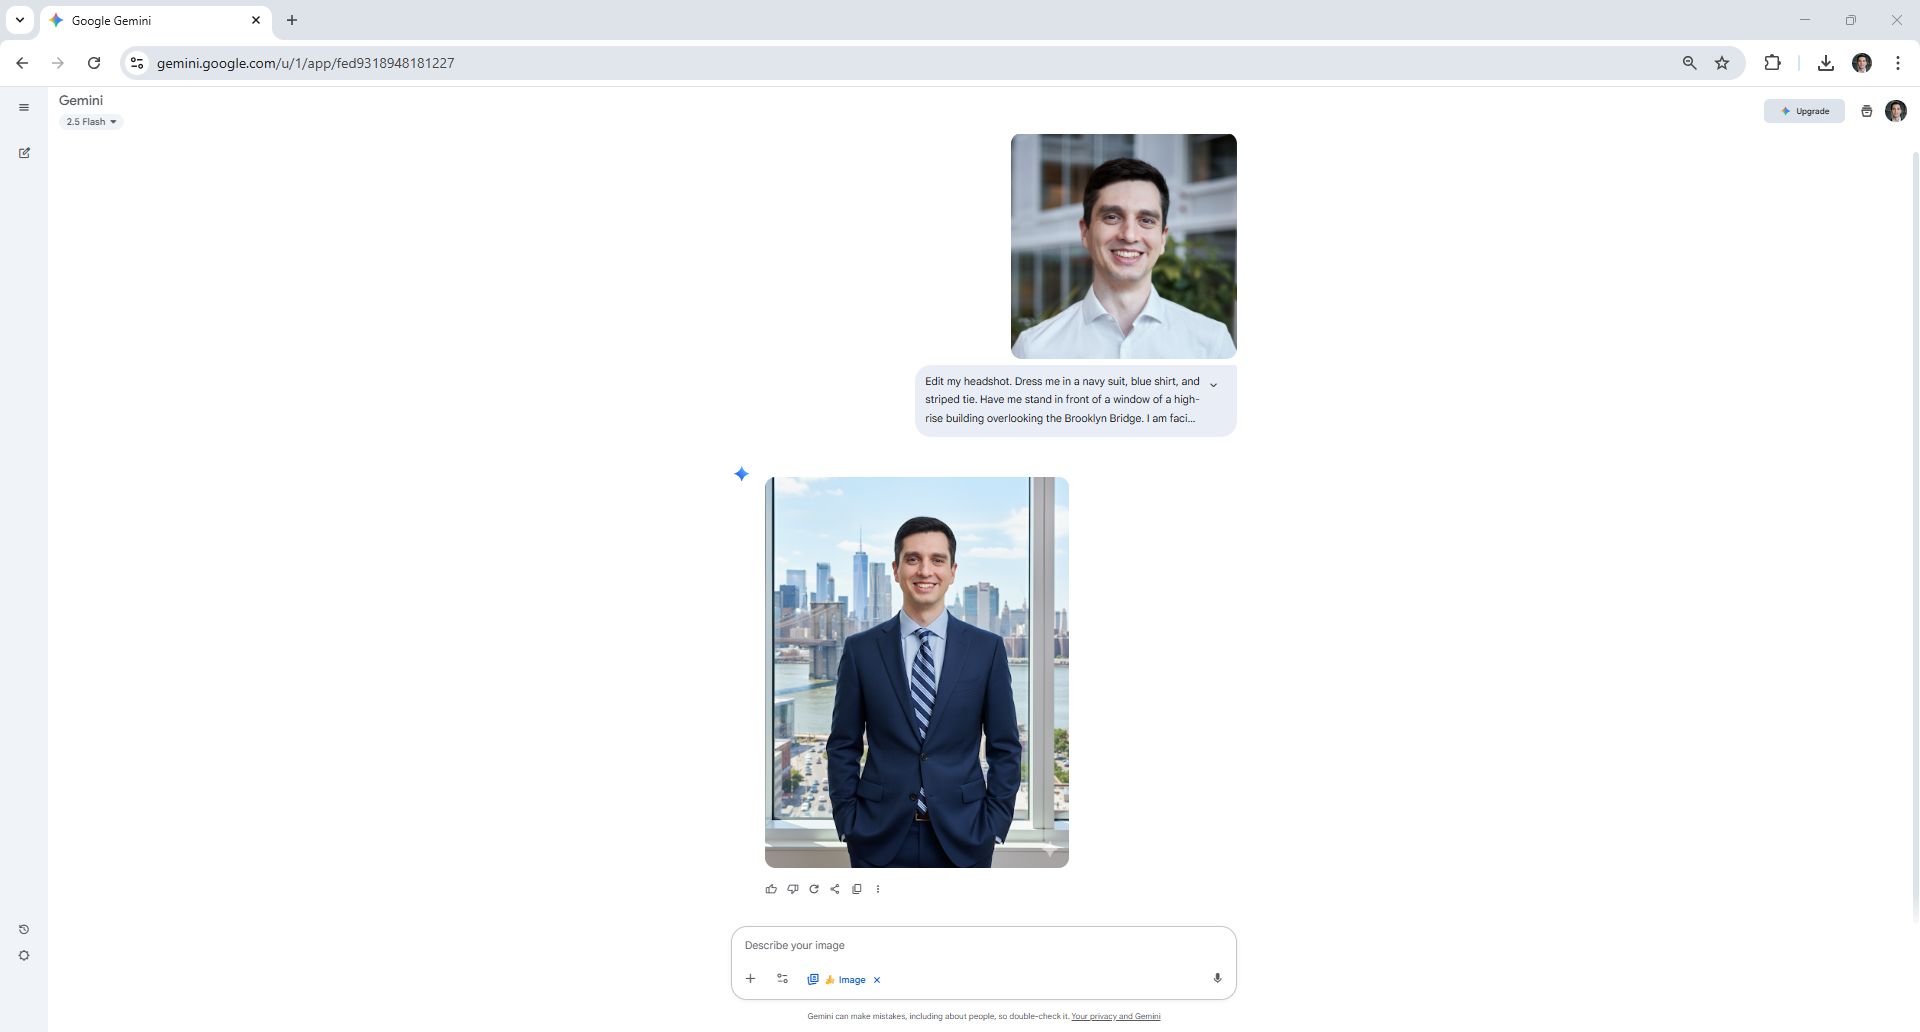
After you’ve selected your starting image, specify the edits you’d like Nano Banana to make using your text-based prompt. You don’t need to be familiar with photography jargon, simply describe what you’d like to see differently as if you were chatting with a friend.
For this example, I uploaded my headshot and requested that Nano Banana dress me in a suit while having me stand in front of a window that overlooks the Brooklyn Bridge.
7. Change your background
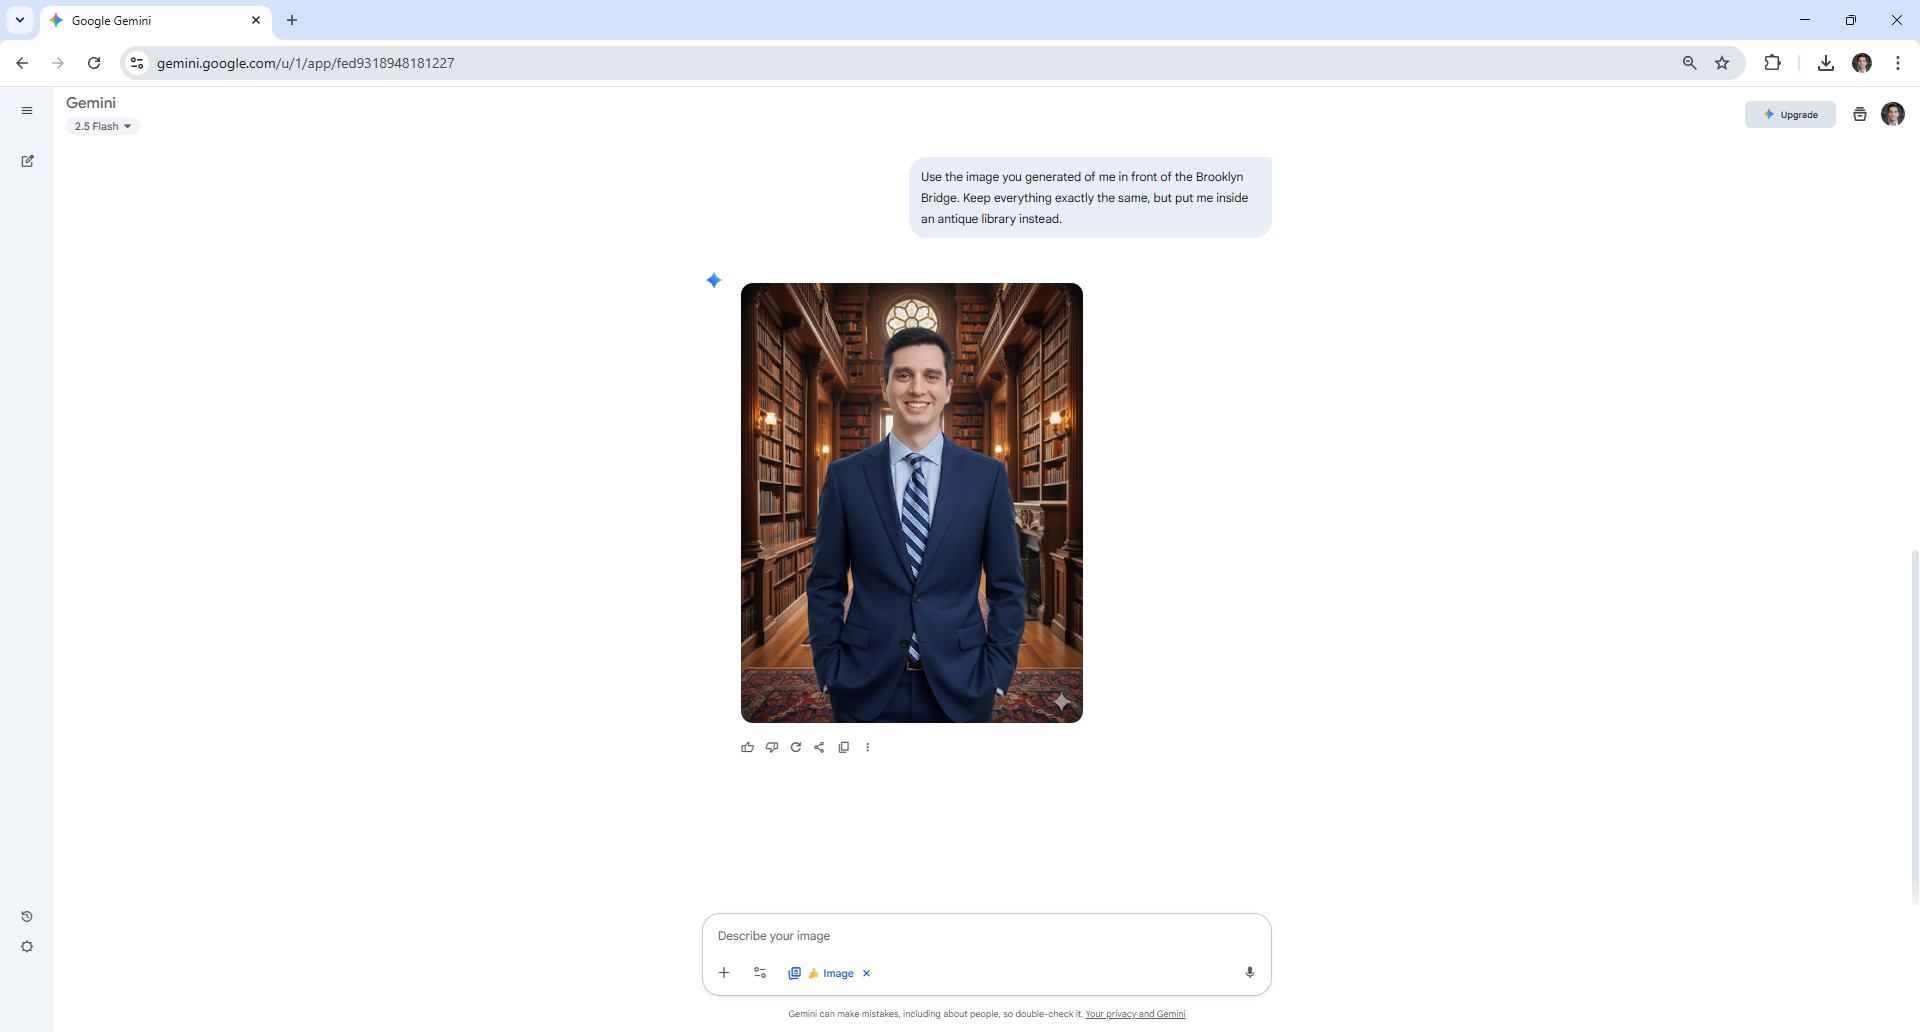
Nano banana is also specifically designed to change the background in a photo. To use this feature, select the photo you want to edit and describe any background changes you’d like.
I used the prompt: Use the image you generated of me in front of the Brooklyn Bridge. Keep everything exactly the same, but put me inside an antique library instead.
8. Mix and match
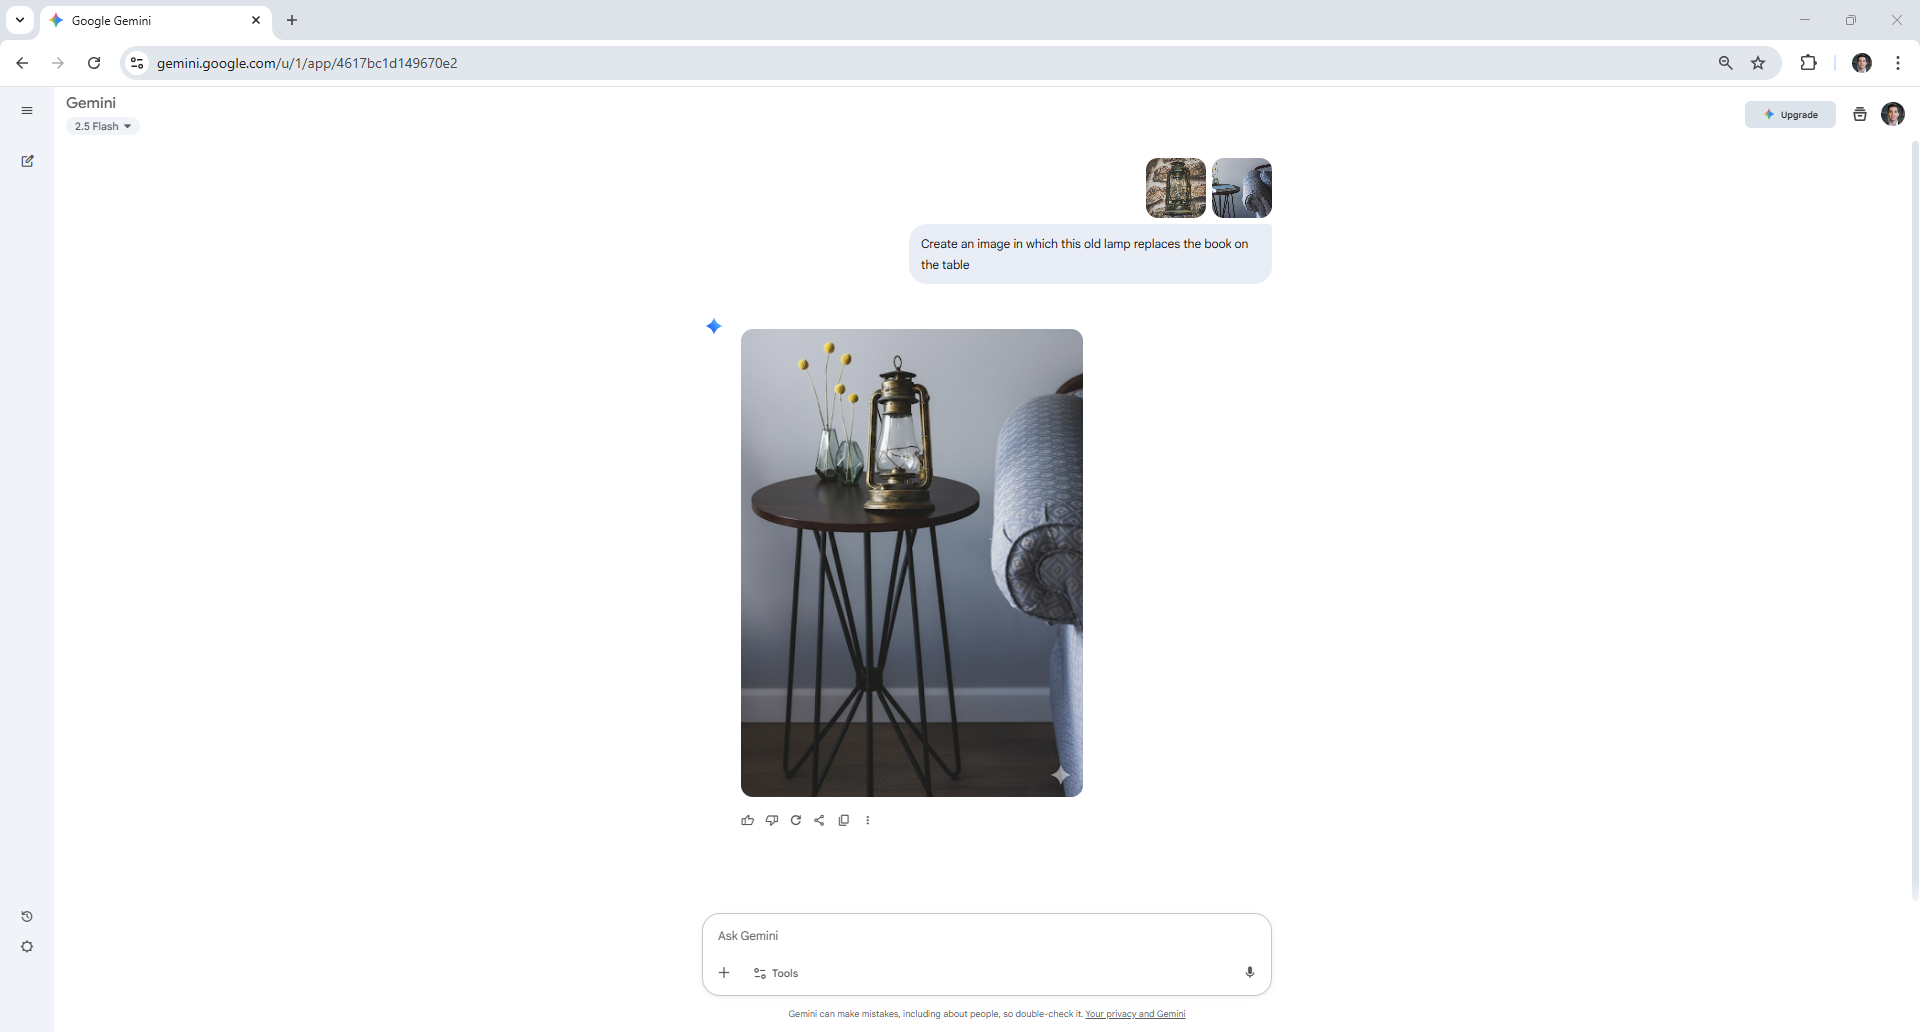
Nano Banana is a great tool to use when you’d like to combine two photos together. Similar as to when you’re editing a photo, the way to do this is to upload the photos you’d like to blend together and describe the new scene you’d like to create.
To show you how it’s done, I uploaded a photo of an old lamp to Nano Banana. I then asked it to replace a book that’s lying on a table with said lamp.
9. Multi editing
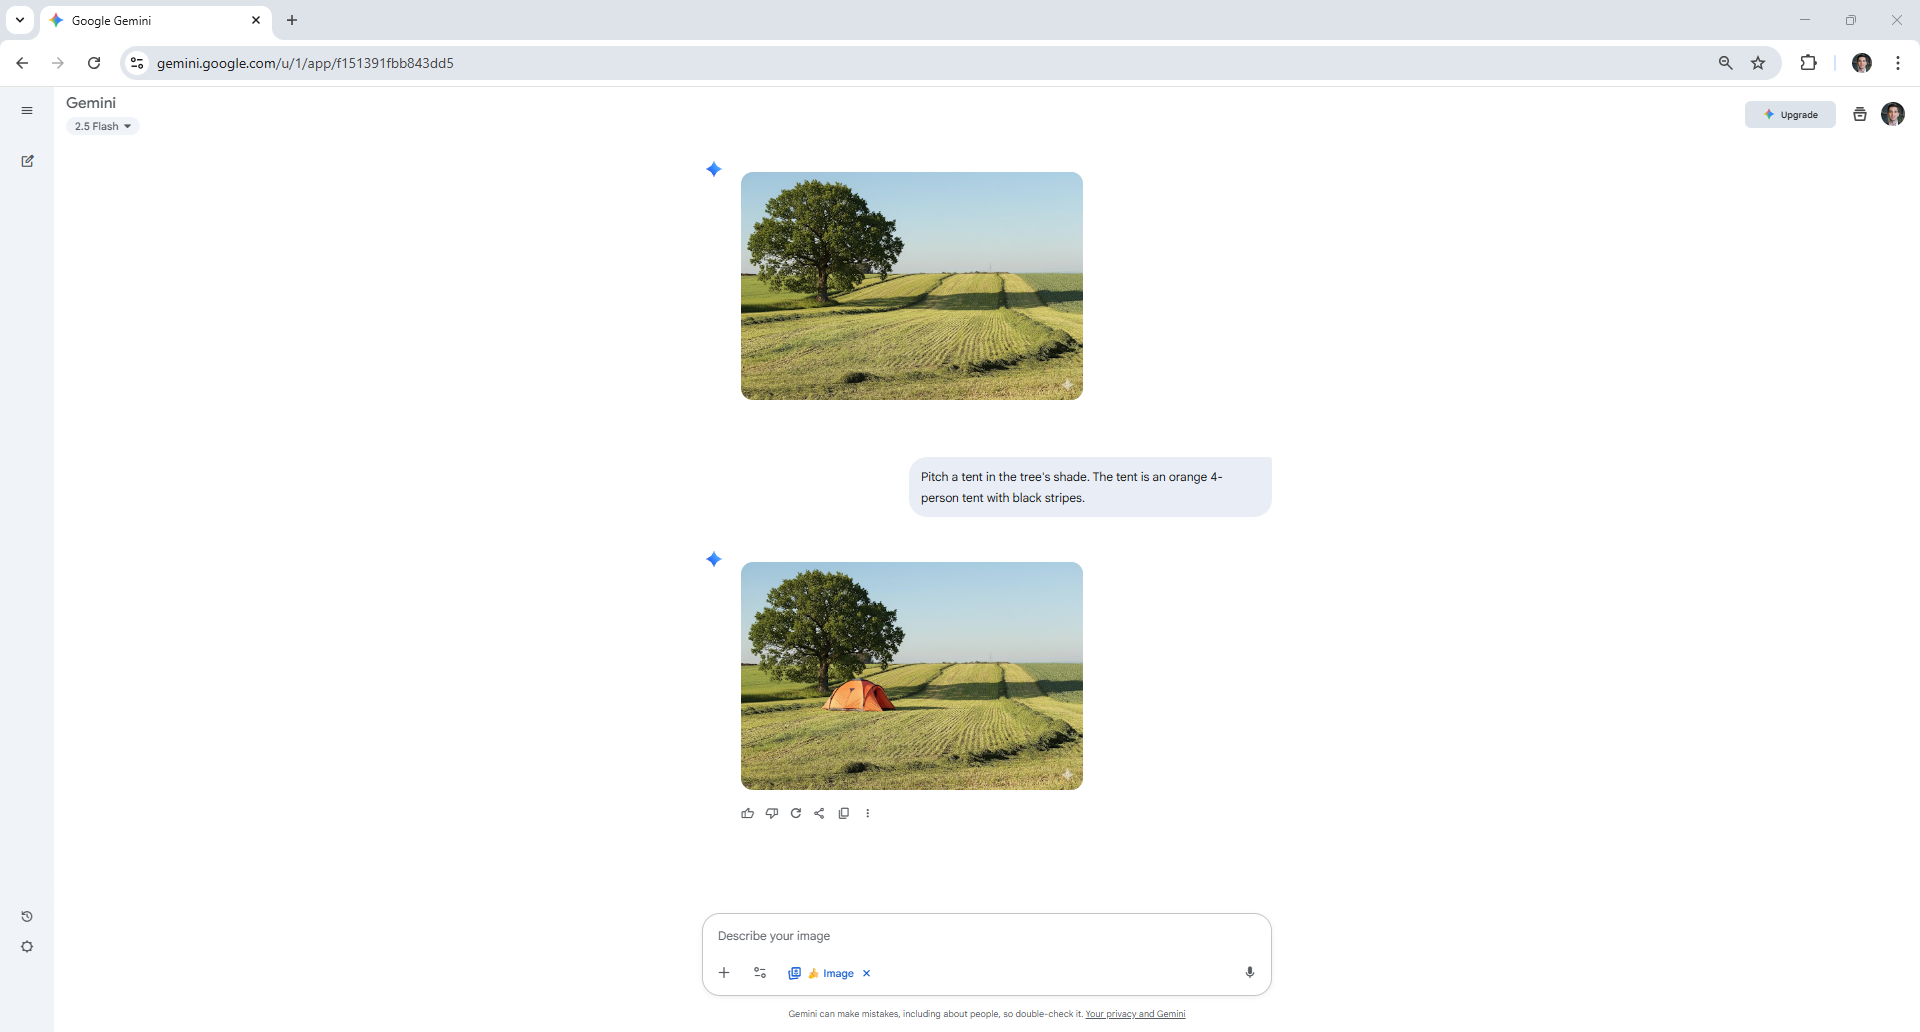
Using Nano Banana you could also make progressive edits to subsequent images you create.
Say you started out by adding a tree to an empty field. You can then ask for a tent to be included in the next version. Repeat this process until you’re happy with the final result.
10. Applying patterns
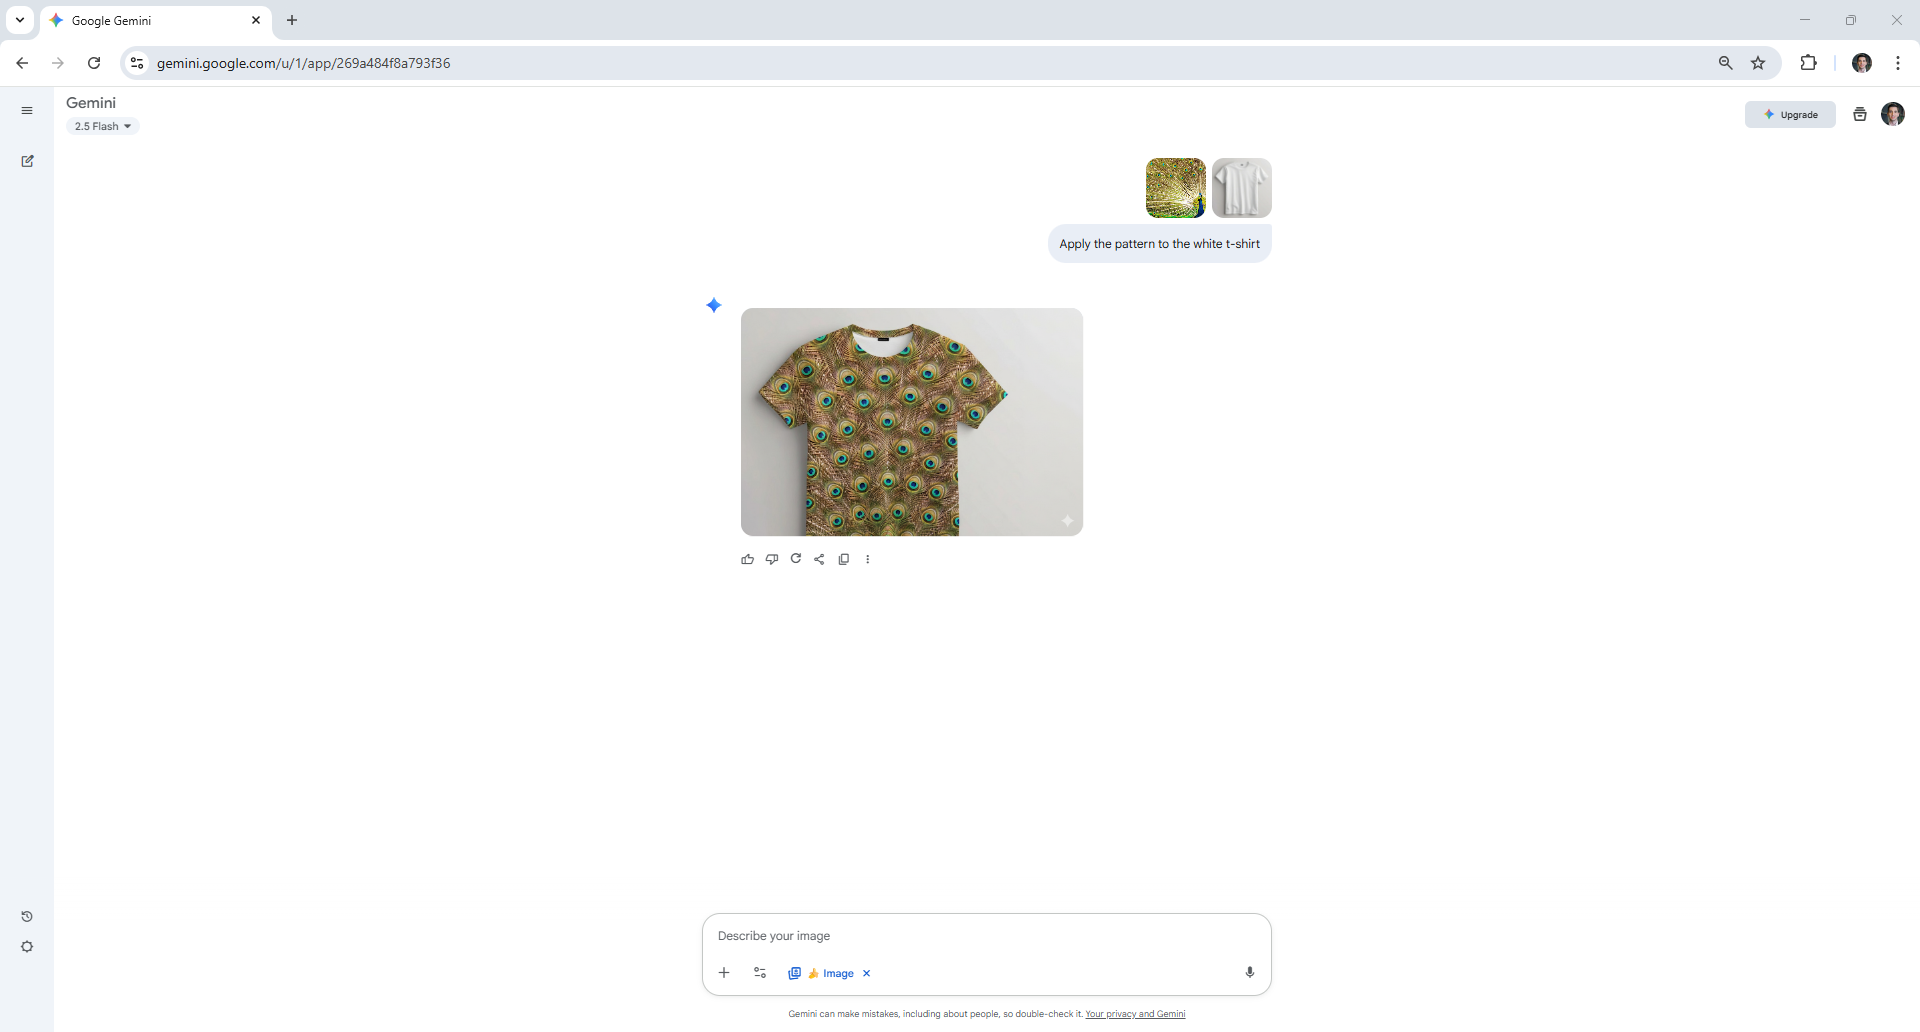
Allow yourself to be inspired by patterns you spot around you and incorporate them into your next design. Upload an image showing the pattern and ask Nano Banana to apply it to an object of your choice.
For this example, I asked Nano Banana to create a t-shirt inspired by a peacock's feathers.
If you've followed these examples, you should probably have a pretty solid grasp of Nano Banana now. Why not use it to try to improve your own selfies or find out how it compared when we put it through a 9-round face-off against ChatGPT-5.
Follow Tom's Guide on Google News to get our up-to-date news, how-tos, and reviews in your feeds. Make sure to click the Follow button.
More from Tom's Guide
- I used ChatGPT-5 to level up my AI image prompts — here's how you can too
- I asked ChatGPT-5 to take me behind the scenes of its brain — this is what I learned
- You can stop Gemini from training on your data — here's how
Get instant access to breaking news, the hottest reviews, great deals and helpful tips.

Christoph Schwaiger is a journalist who mainly covers technology, science, and current affairs. His stories have appeared in Tom's Guide, New Scientist, Live Science, and other established publications. Always up for joining a good discussion, Christoph enjoys speaking at events or to other journalists and has appeared on LBC and Times Radio among other outlets. He believes in giving back to the community and has served on different consultative councils. He was also a National President for Junior Chamber International (JCI), a global organization founded in the USA. You can follow him on Twitter @cschwaigermt.
You must confirm your public display name before commenting
Please logout and then login again, you will then be prompted to enter your display name.
 Club Benefits


