I’ve always been a big fan of portrait mode as you can see even more content on a web page or document without having to scroll. However, even with the best monitors, switching between portrait and landscape mode can be a hassle.
Over the years, I’ve even considered using a monitor exclusively in portrait mode since I’m often writing and editing long documents. When you watch videos online or need to open a spreadsheet though, landscape mode remains your best option. This is because you end up seeing large black bars above and under a video or you have to scroll horizontally to reach distant cells in a spreadsheet.
In the past, I’d switch to portrait mode, use my monitor like that for a few days and eventually end up switching back to landscape mode permanently. However, as I wall-mounted a monitor when I set up the digital dashboard in my office earlier this year, I’ve realized that a wall mount makes it dead simple to switch between the two.

If using a monitor in both landscape and portrait mode is the kind of thing that could benefit your workflow, this is why a wall mount might just be for you.
Switching between portrait and landscape mode with a monitor stand
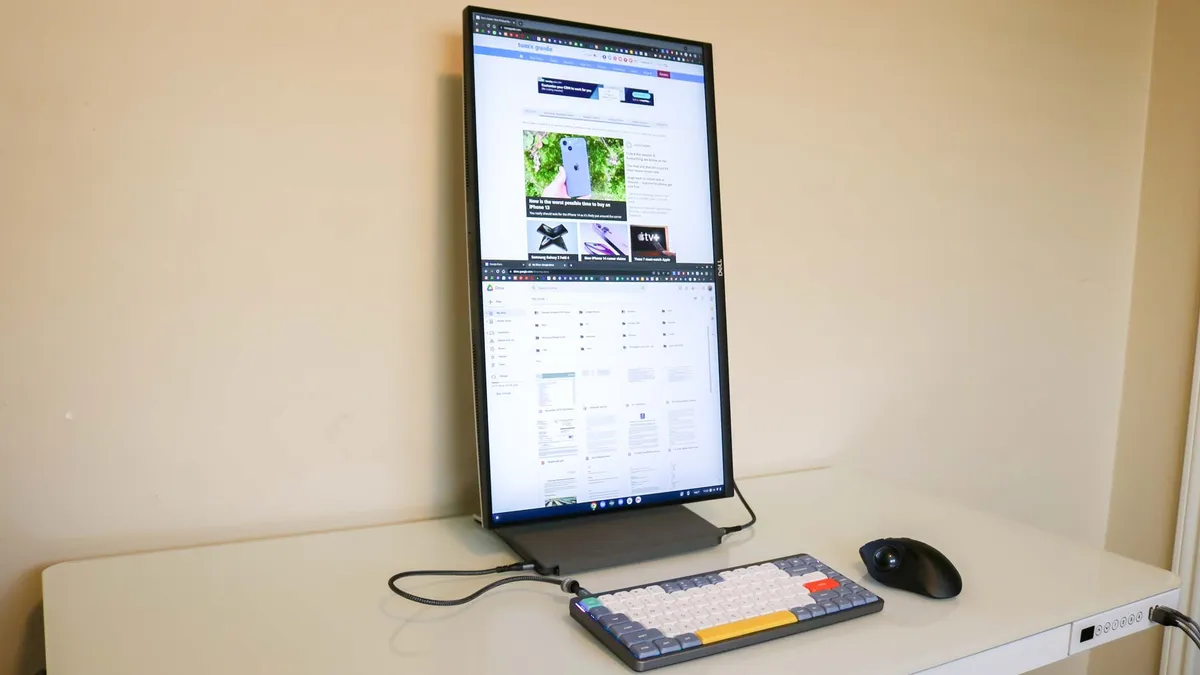
Many of the monitor stands that ship with the best gaming monitors or other high-end monitors include the ability to rotate your display. This is easy enough to do as you just have to physically turn your monitor from landscape to portrait mode. However, you need to be careful when doing so in order to avoid damaging your monitor’s ports or anything else on your desk. For instance, when I took this photo, I actually scratched the back of the keyboard on my Lenovo Chromebook Duet 3.
If your monitor isn’t particularly tall when attached to its stand, you may also have to tilt your display back before changing its position. From here, you just need to rotate the screen in your operating system.
In Windows, this can be done by right clicking on your desktop, clicking on “Display Settings” and changing the “Display orientation” from landscape to either Portrait or Portrait (flipped) depending on which way you rotated your monitor. (Here’s how to rotate the screen in Windows 10 if you need some extra help.)
On macOS, you need to click on the Apple menu, then go to System Settings and Displays in the sidebar. Clicking on a pop-up menu next to “Rotation” allows you to choose how many degrees to rotate the image on your display according to this support document from Apple. It’s a similar situation on one of the best Chromebooks and you can rotate your screen by opening Settings, heading to Device and then clicking on Displays. Under the Orientation setting, you can choose how many degrees to rotate your display.
While rotating your display is a breeze regardless of which operating system you’re using, physically doing so can be a bit annoying when using a monitor stand. Fortunately, a wall mount removes any obstacles you might encounter.
Wall mounting makes things even easier

Surprisingly, this wasn’t my first time wall mounting a monitor as I actually have another one mounted on the opposite side of this wall. However, that wall mount can’t be rotated which is why I purchased this one ($18, Amazon) when I first set up my digital dashboard. It took just two bolts to install and it has a such a low profile that my monitor is only three inches away from the wall.

What I really like about it though is how easy it is to switch my monitor from portrait to landscape mode and vice versa. I just grab the top and bottom of my monitor and gently turn it to the desired position; I don’t need to worry about pulling it out or accidentally hitting any items on my desk this way.
Sure, not everyone will be able to set up their monitor this way. However, if you don’t live in a small apartment or have an exceptionally big monitor like the Samsung Odyssey G9, you can wall mount your monitor to easily switch between landscape and portrait mode. Just like with wall mounting a TV, there’s the added bonus that your display will take up less space since it’s attached to the wall instead of taking up space on your desk. Likewise, you could use a monitor arm to achieve the same effect, but you will need to worry about accidentally hitting your desk.

If you prefer portrait mode but want a bit of extra space on the left and right, the LG DualUp is the perfect vertical monitor in my opinion. Unlike using a normal monitor in portrait mode, the DualUp offers the same screen real estate as two 21.5 monitors stacked on top of each other without any bezels getting in the way.
When to use a monitor in portrait mode
So what are the best use cases for portrait mode? Well, if you frequently write, read or edit long documents, portrait mode will make your work even easier. This also goes for programmers and developers that work with code all day.
Now that TikTok, Instagram Reels and YouTube Shorts have made vertical videos so popular, you also might want to consider using your monitor in portrait mode if you’re a content creator or just someone that enjoys these short-form videos.
While wall mounting my monitor has made it much easier for me to switch between these two screen orientations, you could always pick up a budget monitor to sit next to your main display and only use it in portrait mode. Dual-monitor setups are quite popular for this reason since you don’t have to constantly switch back and forth.
Regardless of how you choose to put a monitor in portrait mode, it’s definitely worth trying if you haven’t done so yet and the results just might surprise you — especially when surfing the web or editing documents.