5 ways I improved headphone sound from my MacBook
Here's how I boosted audio from my MacBook
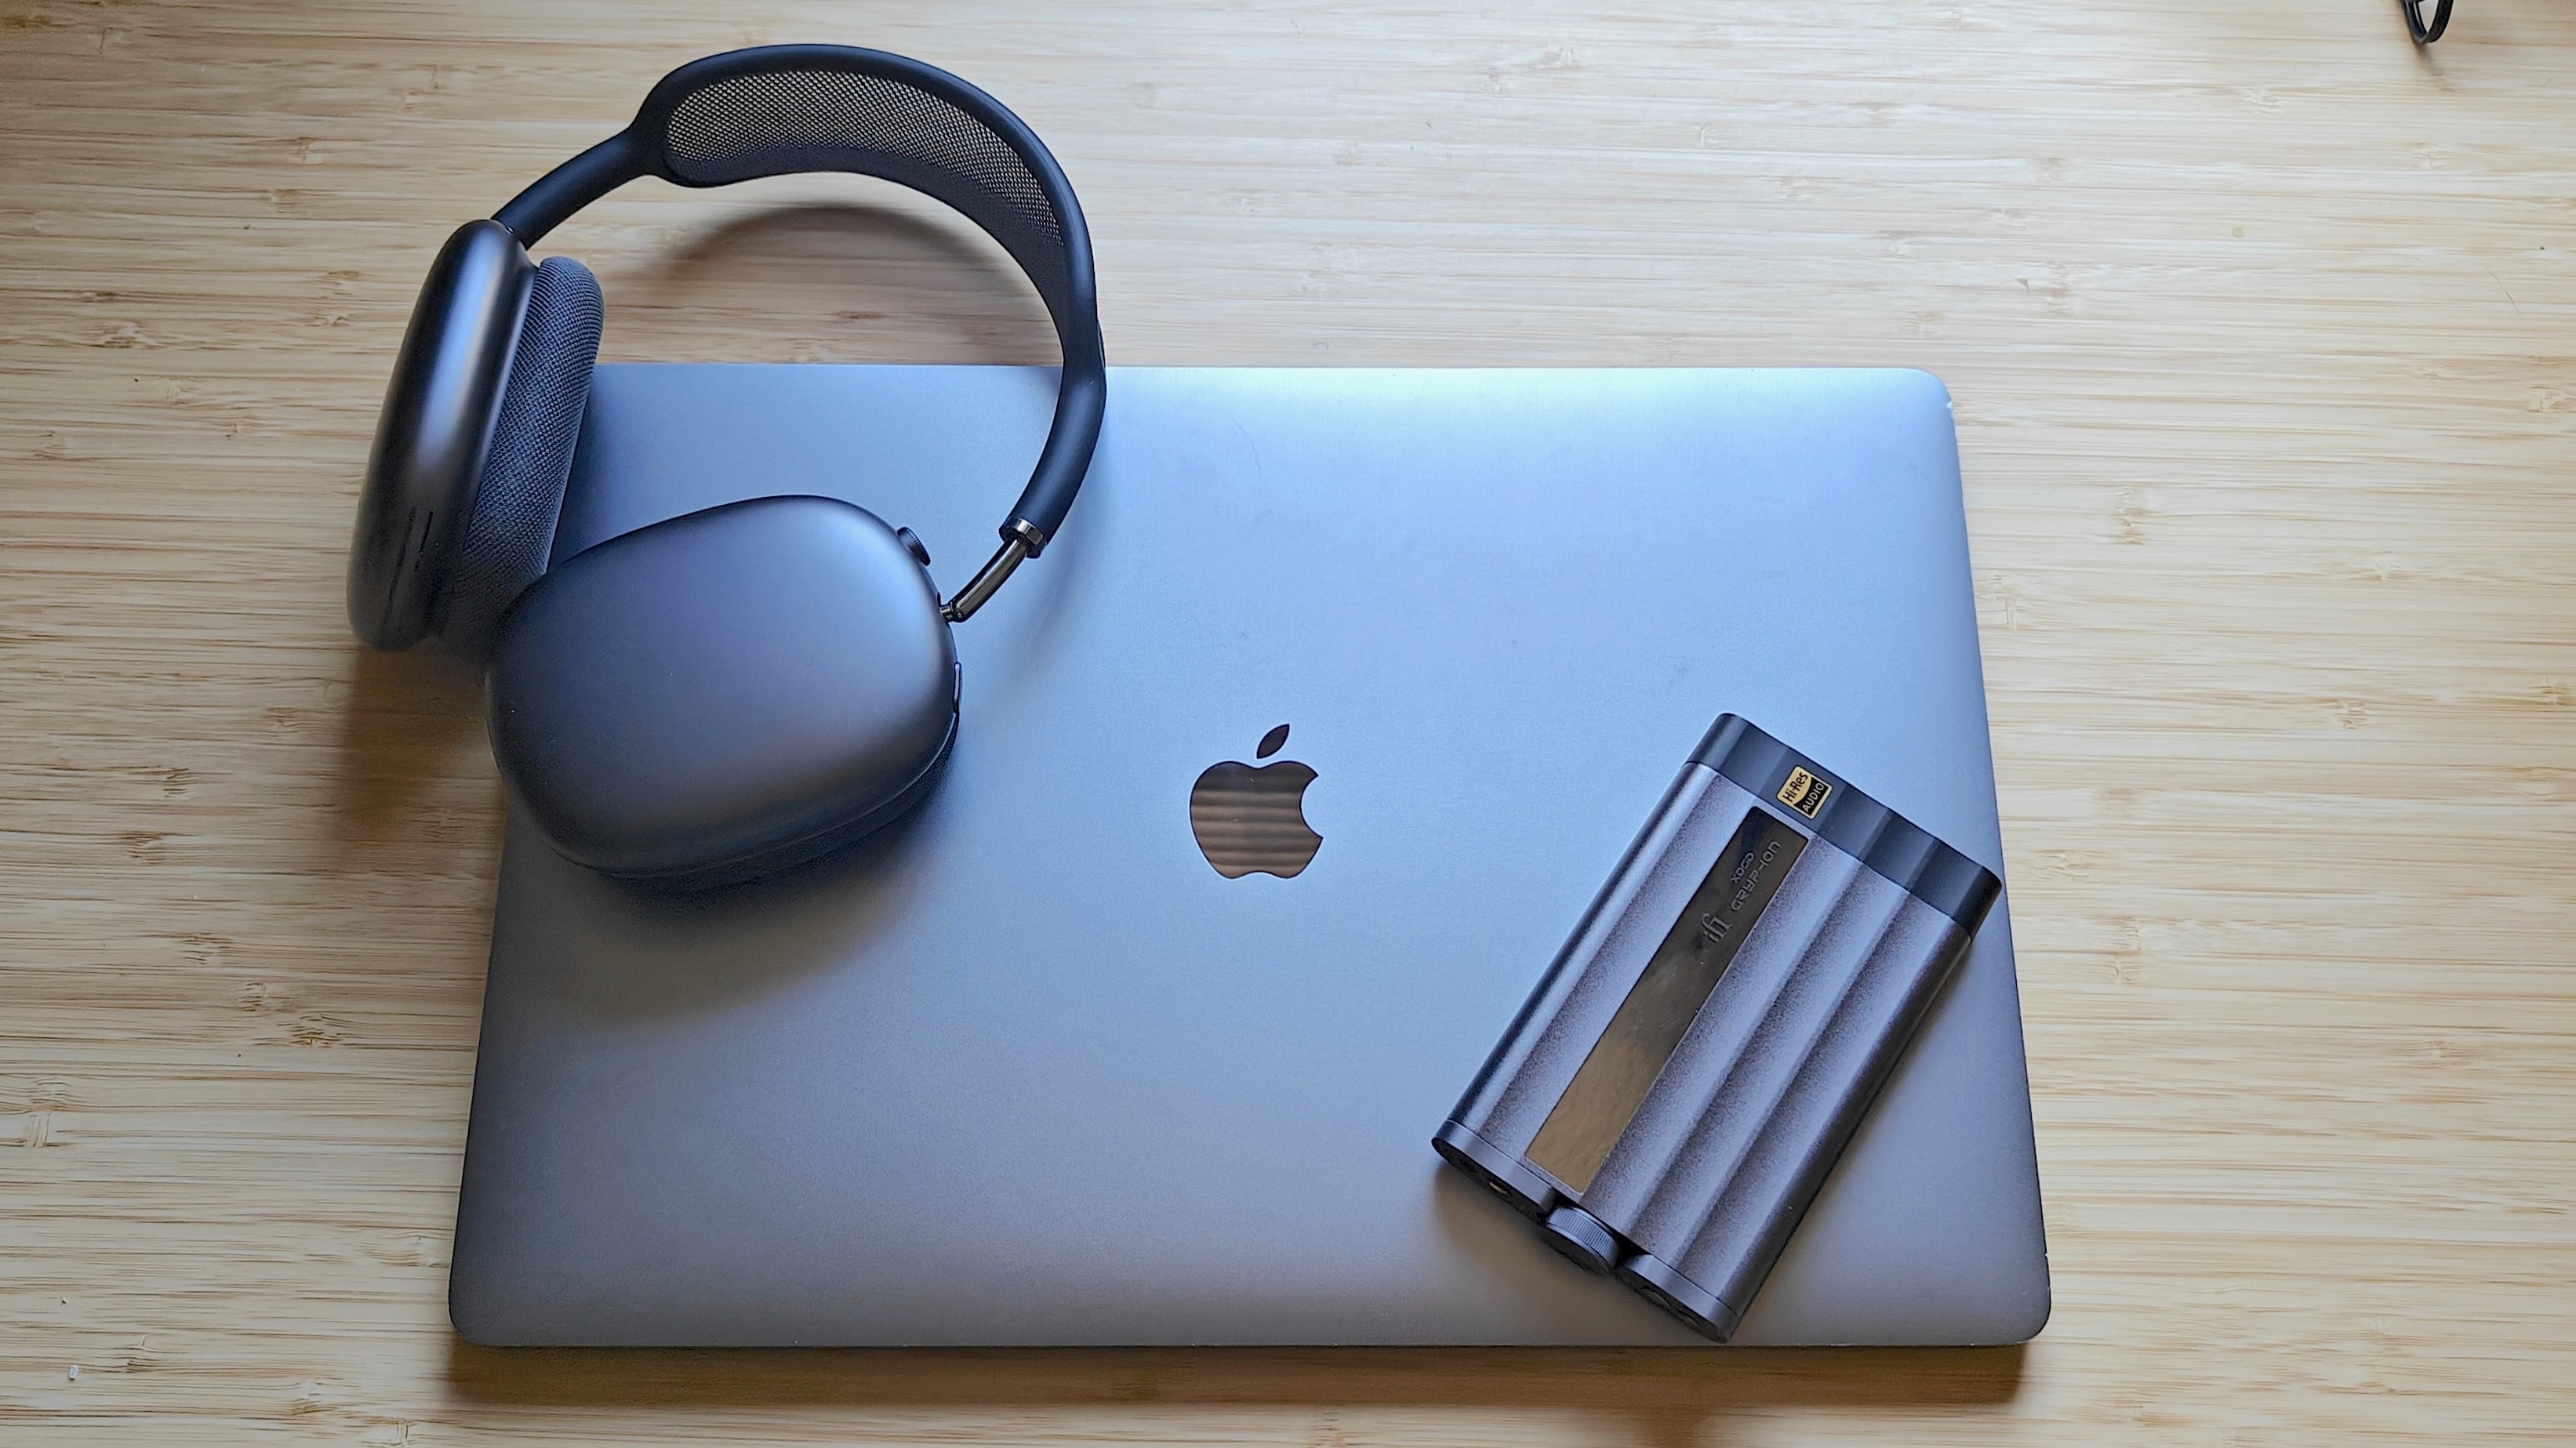
The best headphones (wired or wireless) are built to deliver great sound from all kinds of playback devices, including the best MacBooks. Class-leading headphone designs like the Sony WH-1000XM5 are exceptionally engineered with technologies that maximize audio quality over Bluetooth for higher quality streaming that's better than standard SBC and AAC wireless connectivity. While the Bose QuietComfort Ultra Headphones have cleverly developed a spatial audio alternative to deliver an immersive listening experience no matter what playback source you're using.
So, why are you still unsatisfied with the sound your headphones produce when paired to Apple’s MacBook? The answer is simple: you haven’t optimized its audio capabilities beyond the factory settings, nor explored other sound-enhancing techniques to enhance playback. Allow me to assist.
Being a MacBook Pro owner for over a decade, I’ve dug around in macOS and found some of the operating system’s unadvertised audio features. I’ve also taken advantage of the hidden listening modes and settings on my favorite music streaming platforms, while adding Hi-Fi tools to my laptop setup that have raised the bar when it comes to listening on my favorite headphones.
These are the five tips I recommend for achieving better headphone sound on a MacBook.
1. Adjust your streaming service’s EQ
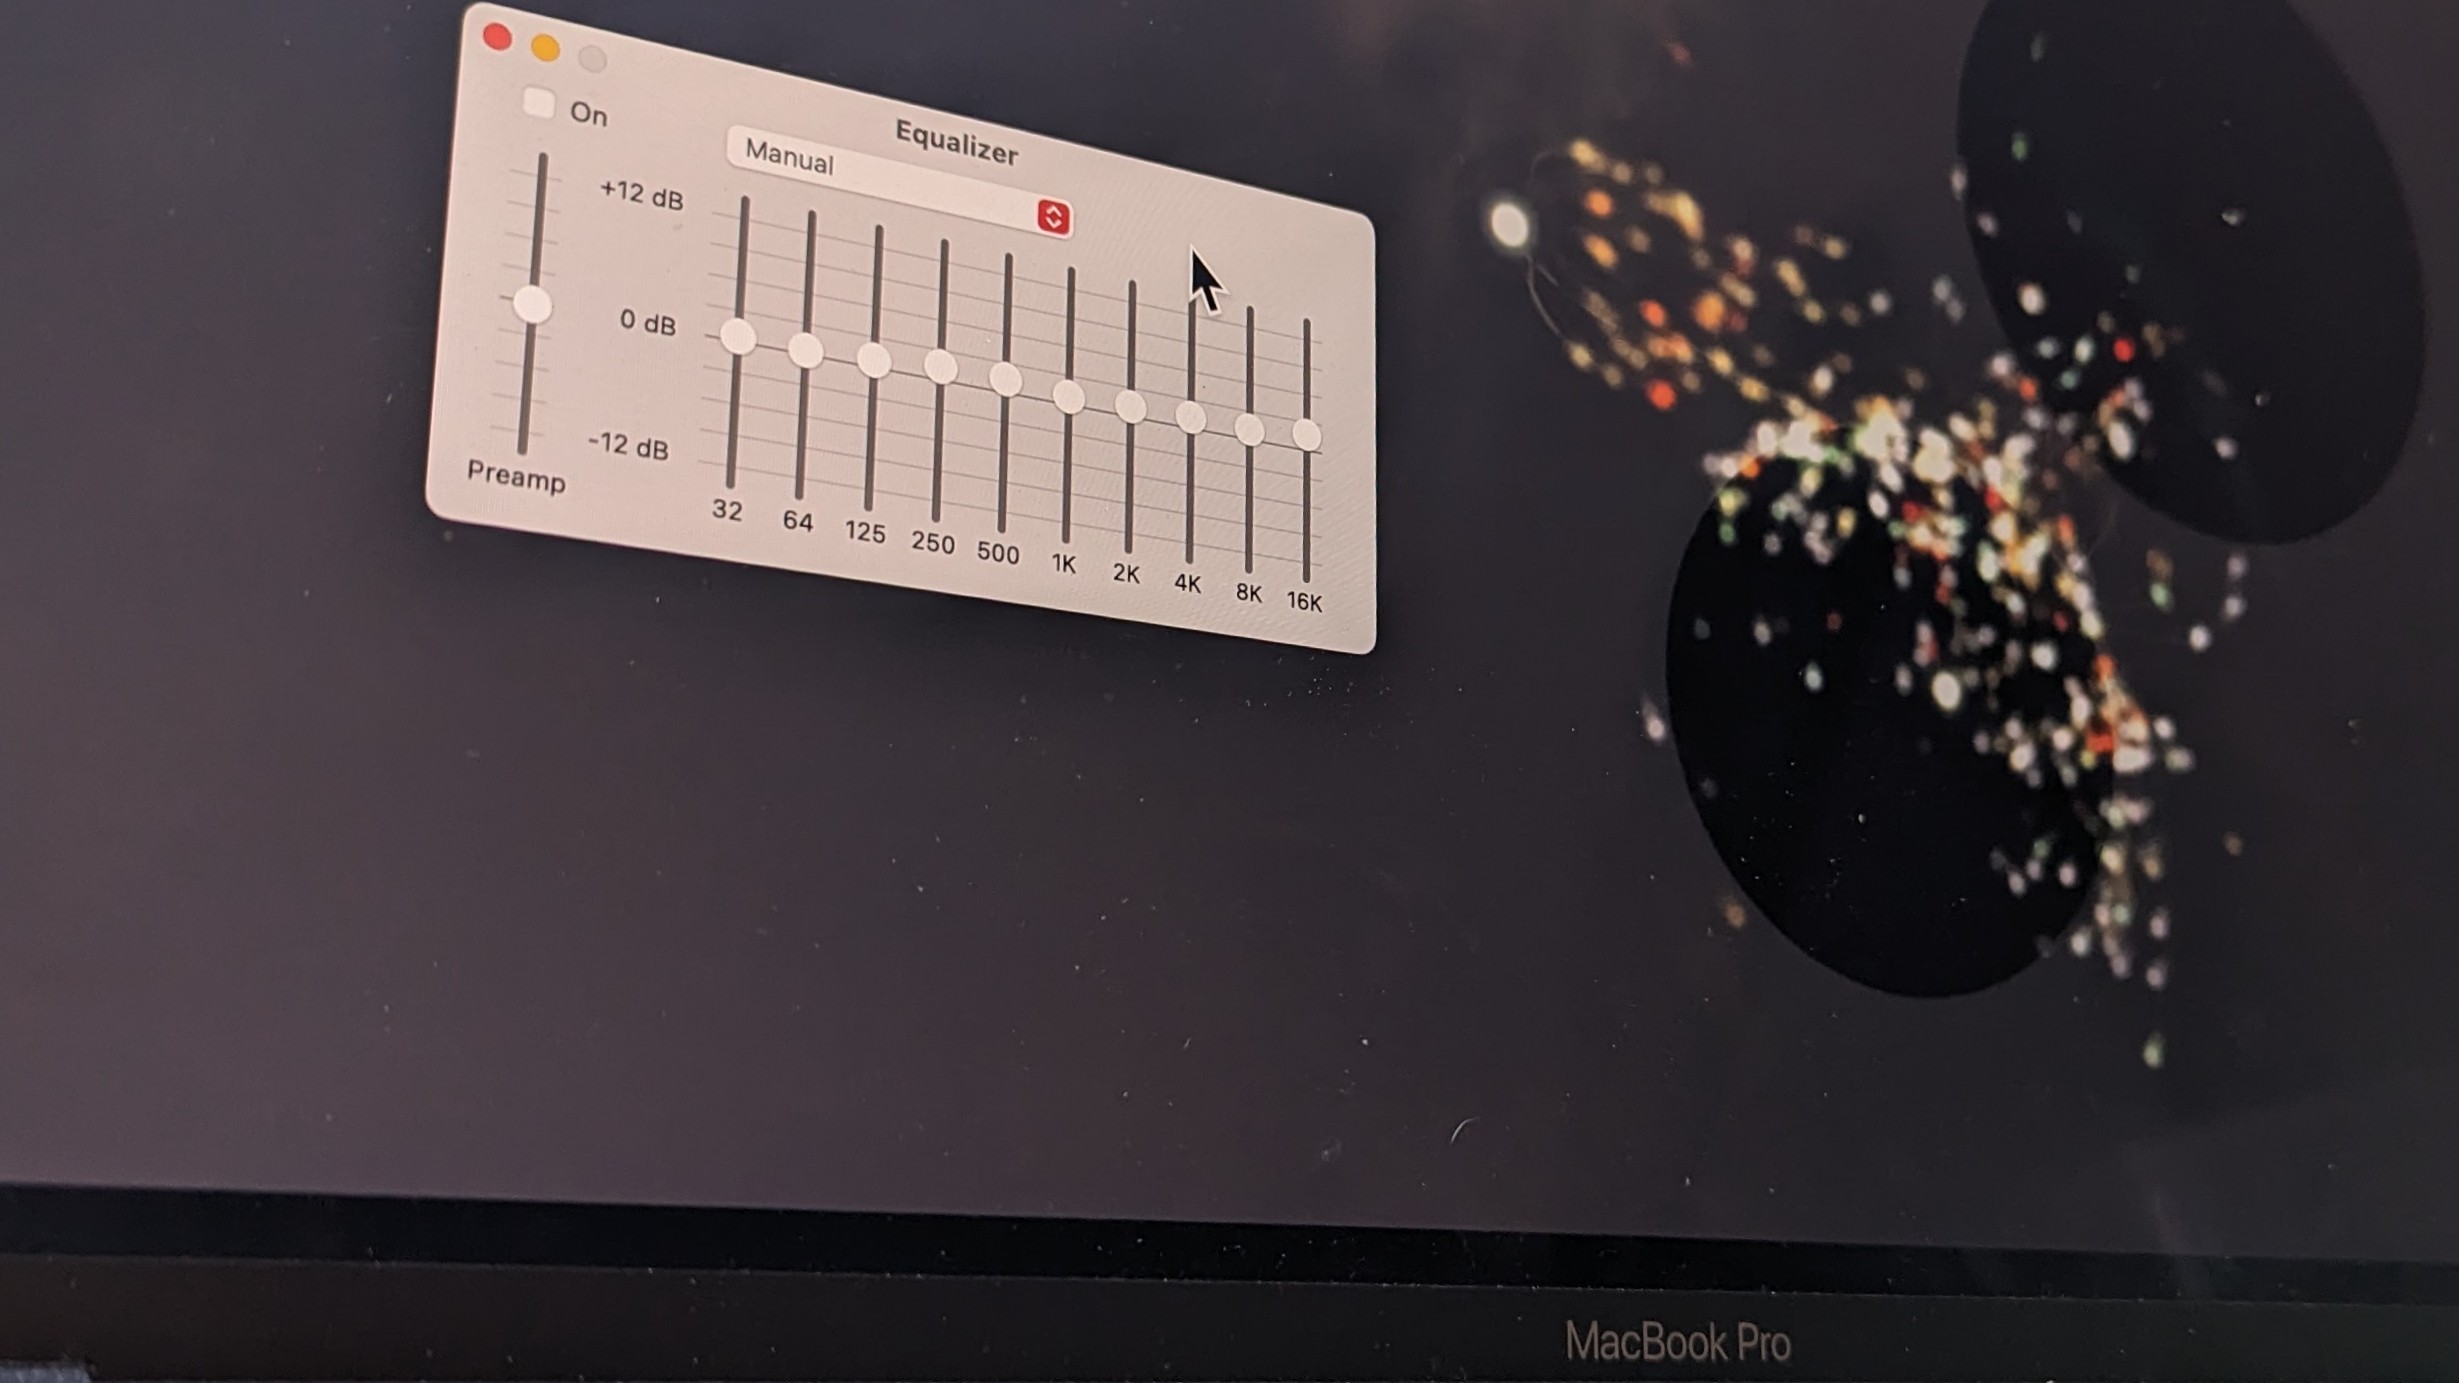
This first option isn't specific to MacBooks, but is a handy first step for all kinds of platforms. Many of the best wireless headphones and best wireless earbuds come with a customizable EQ to manually adjust and create your own sound profiles. Those who use wired headphones do not have that luxury. Furthermore, the EQ available on most headphones isn’t always great, so using the one available on a streaming platform is a sweet alternative.
Apple Music and Spotify have their own built-in equalizer that lets you set frequency levels, while also granting access to over 20 presets that complement different music genres and media.
- Apple Music > Window > Equalizer
- Spotify > Settings > Playback > Equalizer
2. Add an outboard DAC to unlock true lossless audio
Apple Music subscribers can enable the Apple Lossless Audio Codec (ALAC) for maximum audio output. However, a DAC (digital-to-analog converter) and wired headphones setup is required to stream lossless files in true 24-bit/192kHz high-resolution audio. You can purchase a quality DAC and headphones for much less than the $549 AirPods Max, which don’t play lossless audio over Bluetooth.
Get instant access to breaking news, the hottest reviews, great deals and helpful tips.
Tom's Guide's audio editor has been mightily impressed by the versatility of the Chord MoJo 2 portable DAC, which can be hardwired to devices or wirelessly connected using AirPlay to the MoJo's Poly module (available as an add-on). Also consider the iFi Uno USB DAC/headphone amp for $79 at Amazon.
- Music > Settings > Playback > Audio Quality > Streaming > Lossless (ALAC up to 24-bit/48kHz)
3. Download Dolby Atmos-quality tracks for offline listening
Travelers who want to maintain hi-res playback when Wi-Fi is unavailable should save this somewhere in their Notes app. It turns out you can download lossless and Dolby Atmos tracks from Apple Music for offline listening. Your Apple Music library must first be merged with your Apple account.
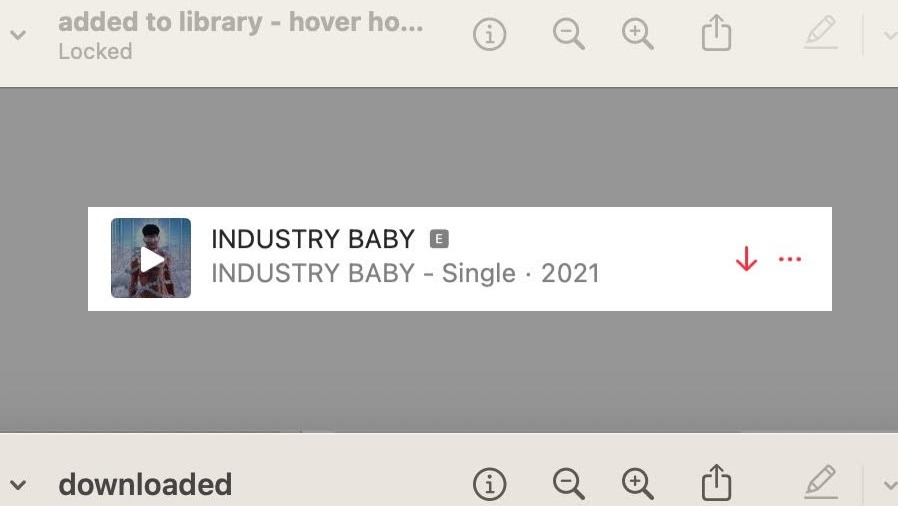
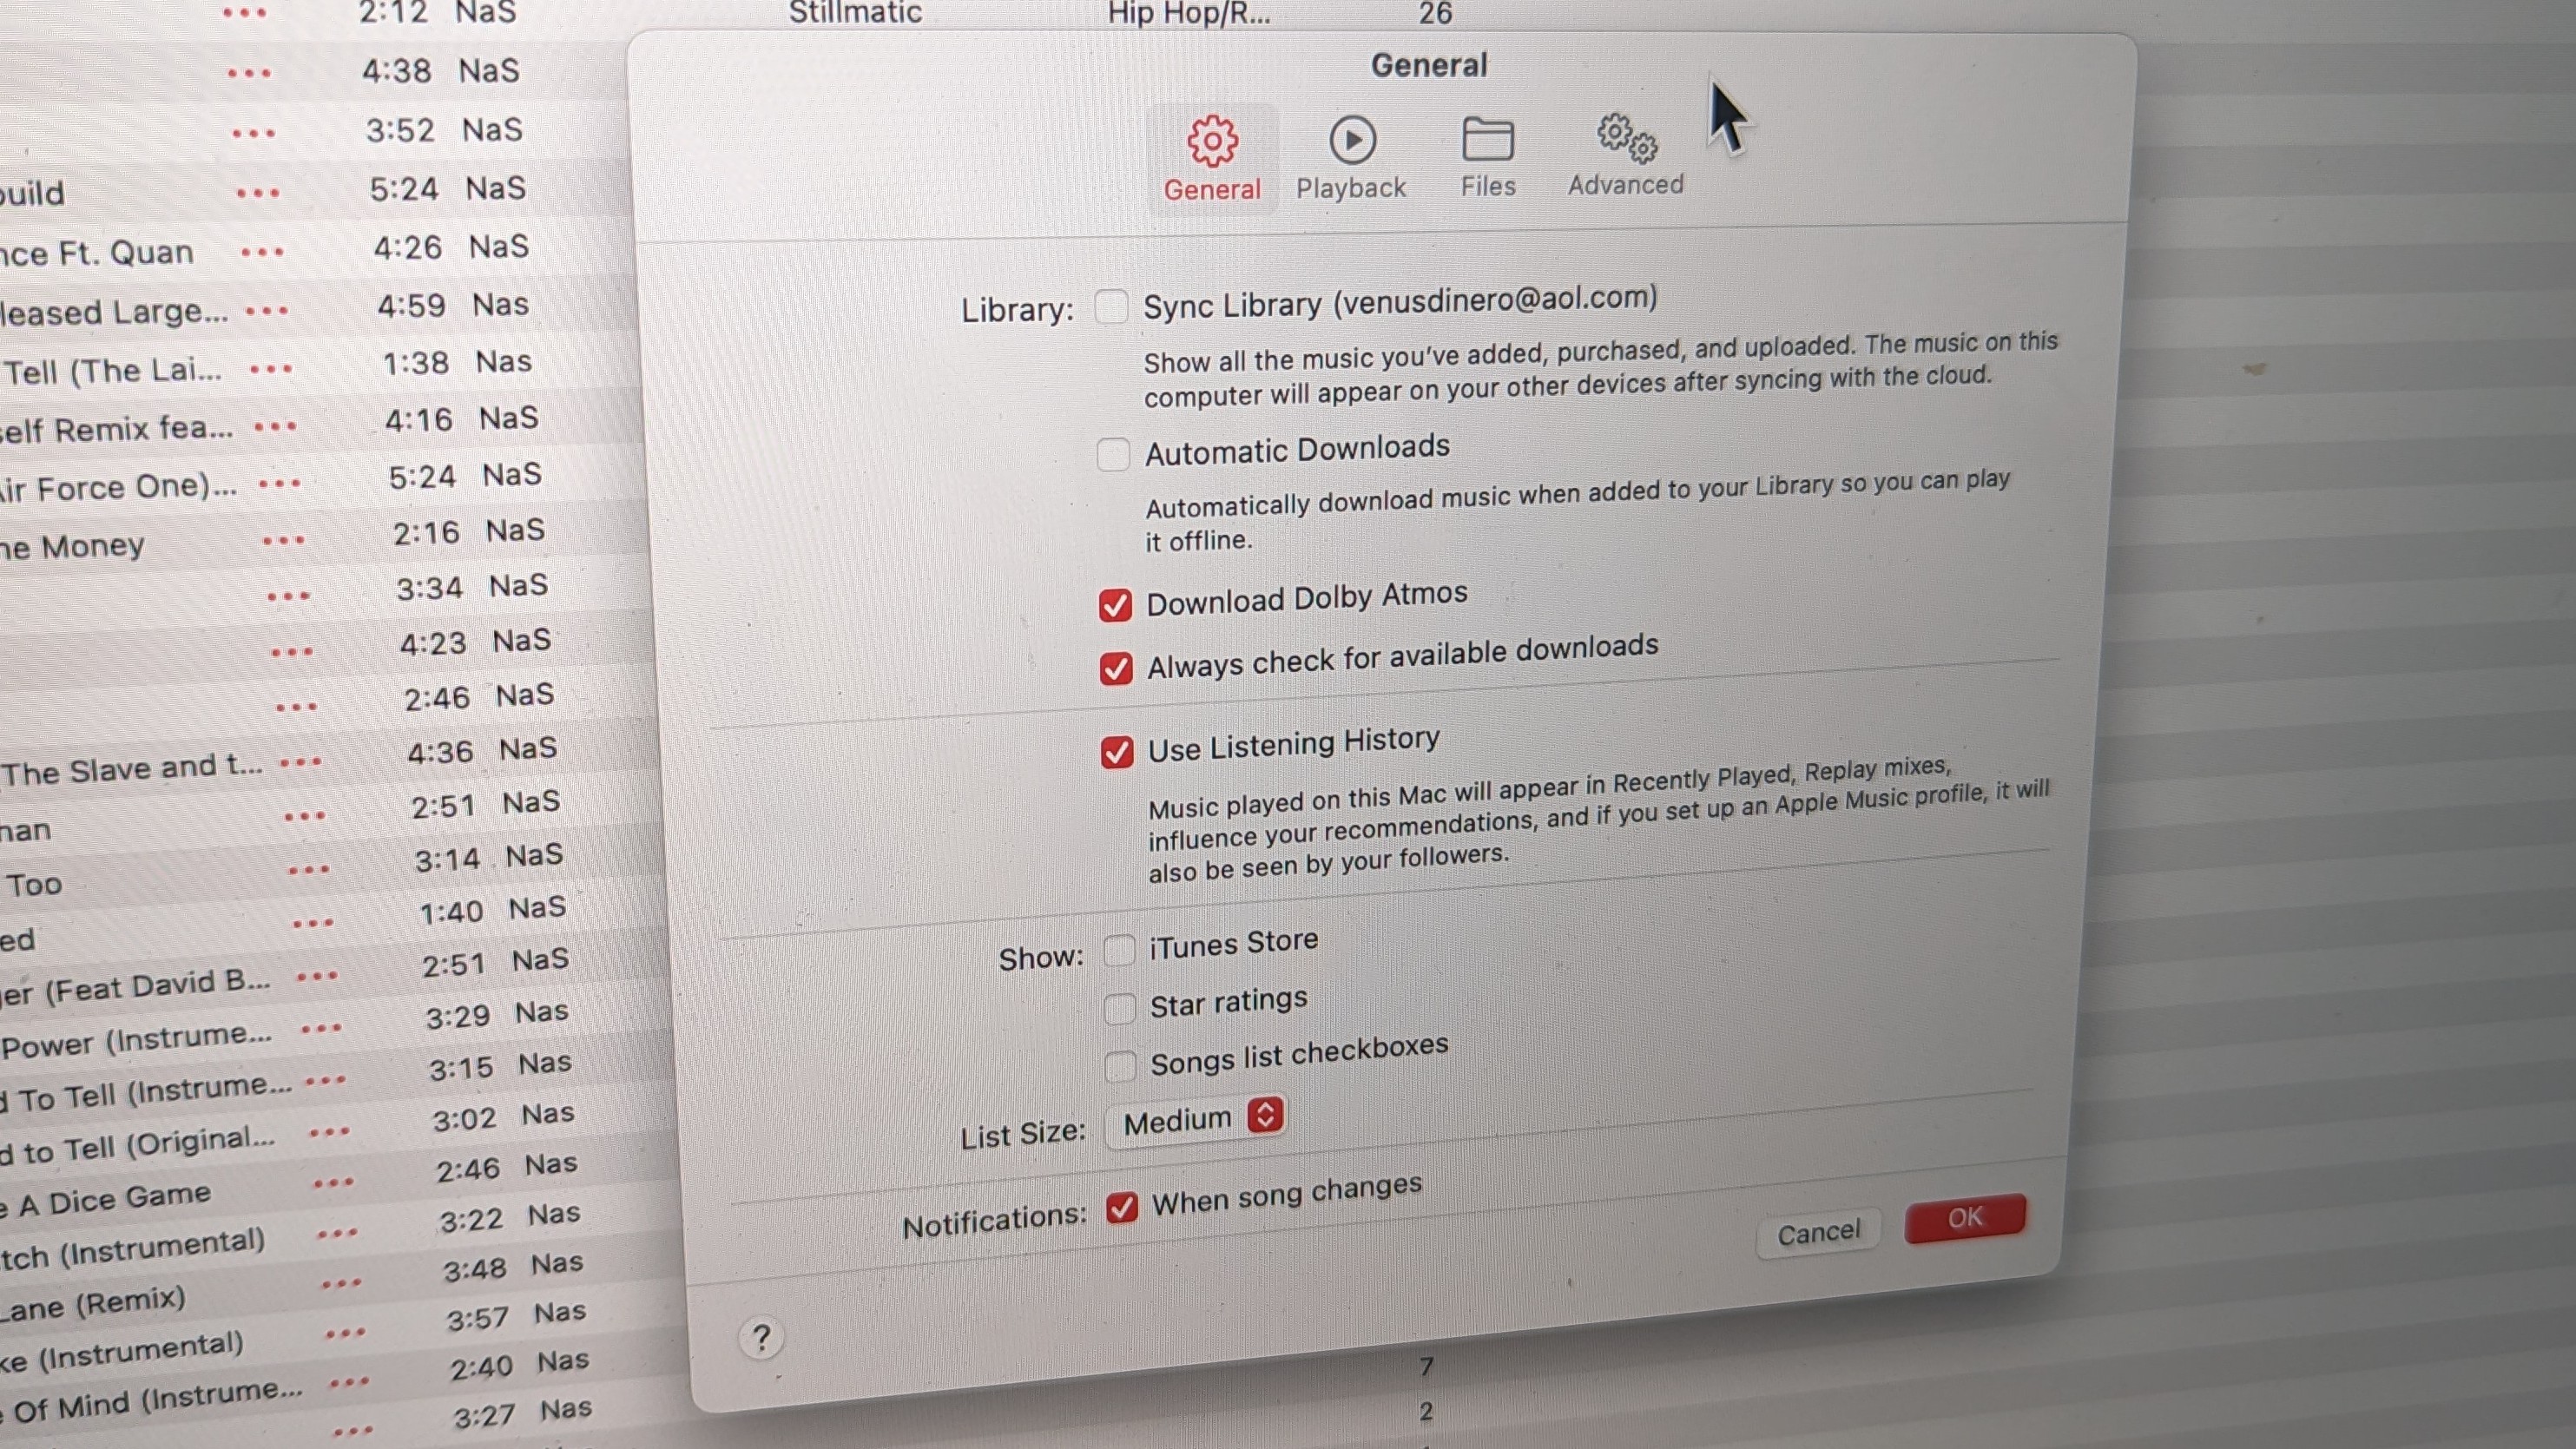
Go to Settings and check the Download Dolby Atmos box in the General tab. Make sure to also enable and select Lossless Audio in the streaming and download drop menus via Playback tab. A downward arrow will appear when hovering the cursor over a track that’s available for download.
- Apple Music > Music > Settings > General > Download Dolby Atmos
- Apple Music > Music > Settings > Playback > Audio Quality > Click Lossless Audio
- Apple Music > Music > Settings > Playback > Audio Quality > Download > Lossless (ALAC up to 24-bit/48kHz)
4. Turn on Sound Enhancer
Another secret audio feature in Apple Music is Sound Enhancer. Essentially, it’s a slider that increases the “perceived ‘wideness’ of the stereo effect by modifying bass and treble response.” The feature works effectively on local tracks stored to your MacBook drive, expanding the soundstage for greater low-mid presentation. You’ll immediately hear the differences in sound quality on EDM, hip-hop, rock, and most other contemporary genres.
- Apple Music > Music > Settings > Playback > Sound Enhancer > Adjust to preference
5. Use Tidal’s hidden desktop modes
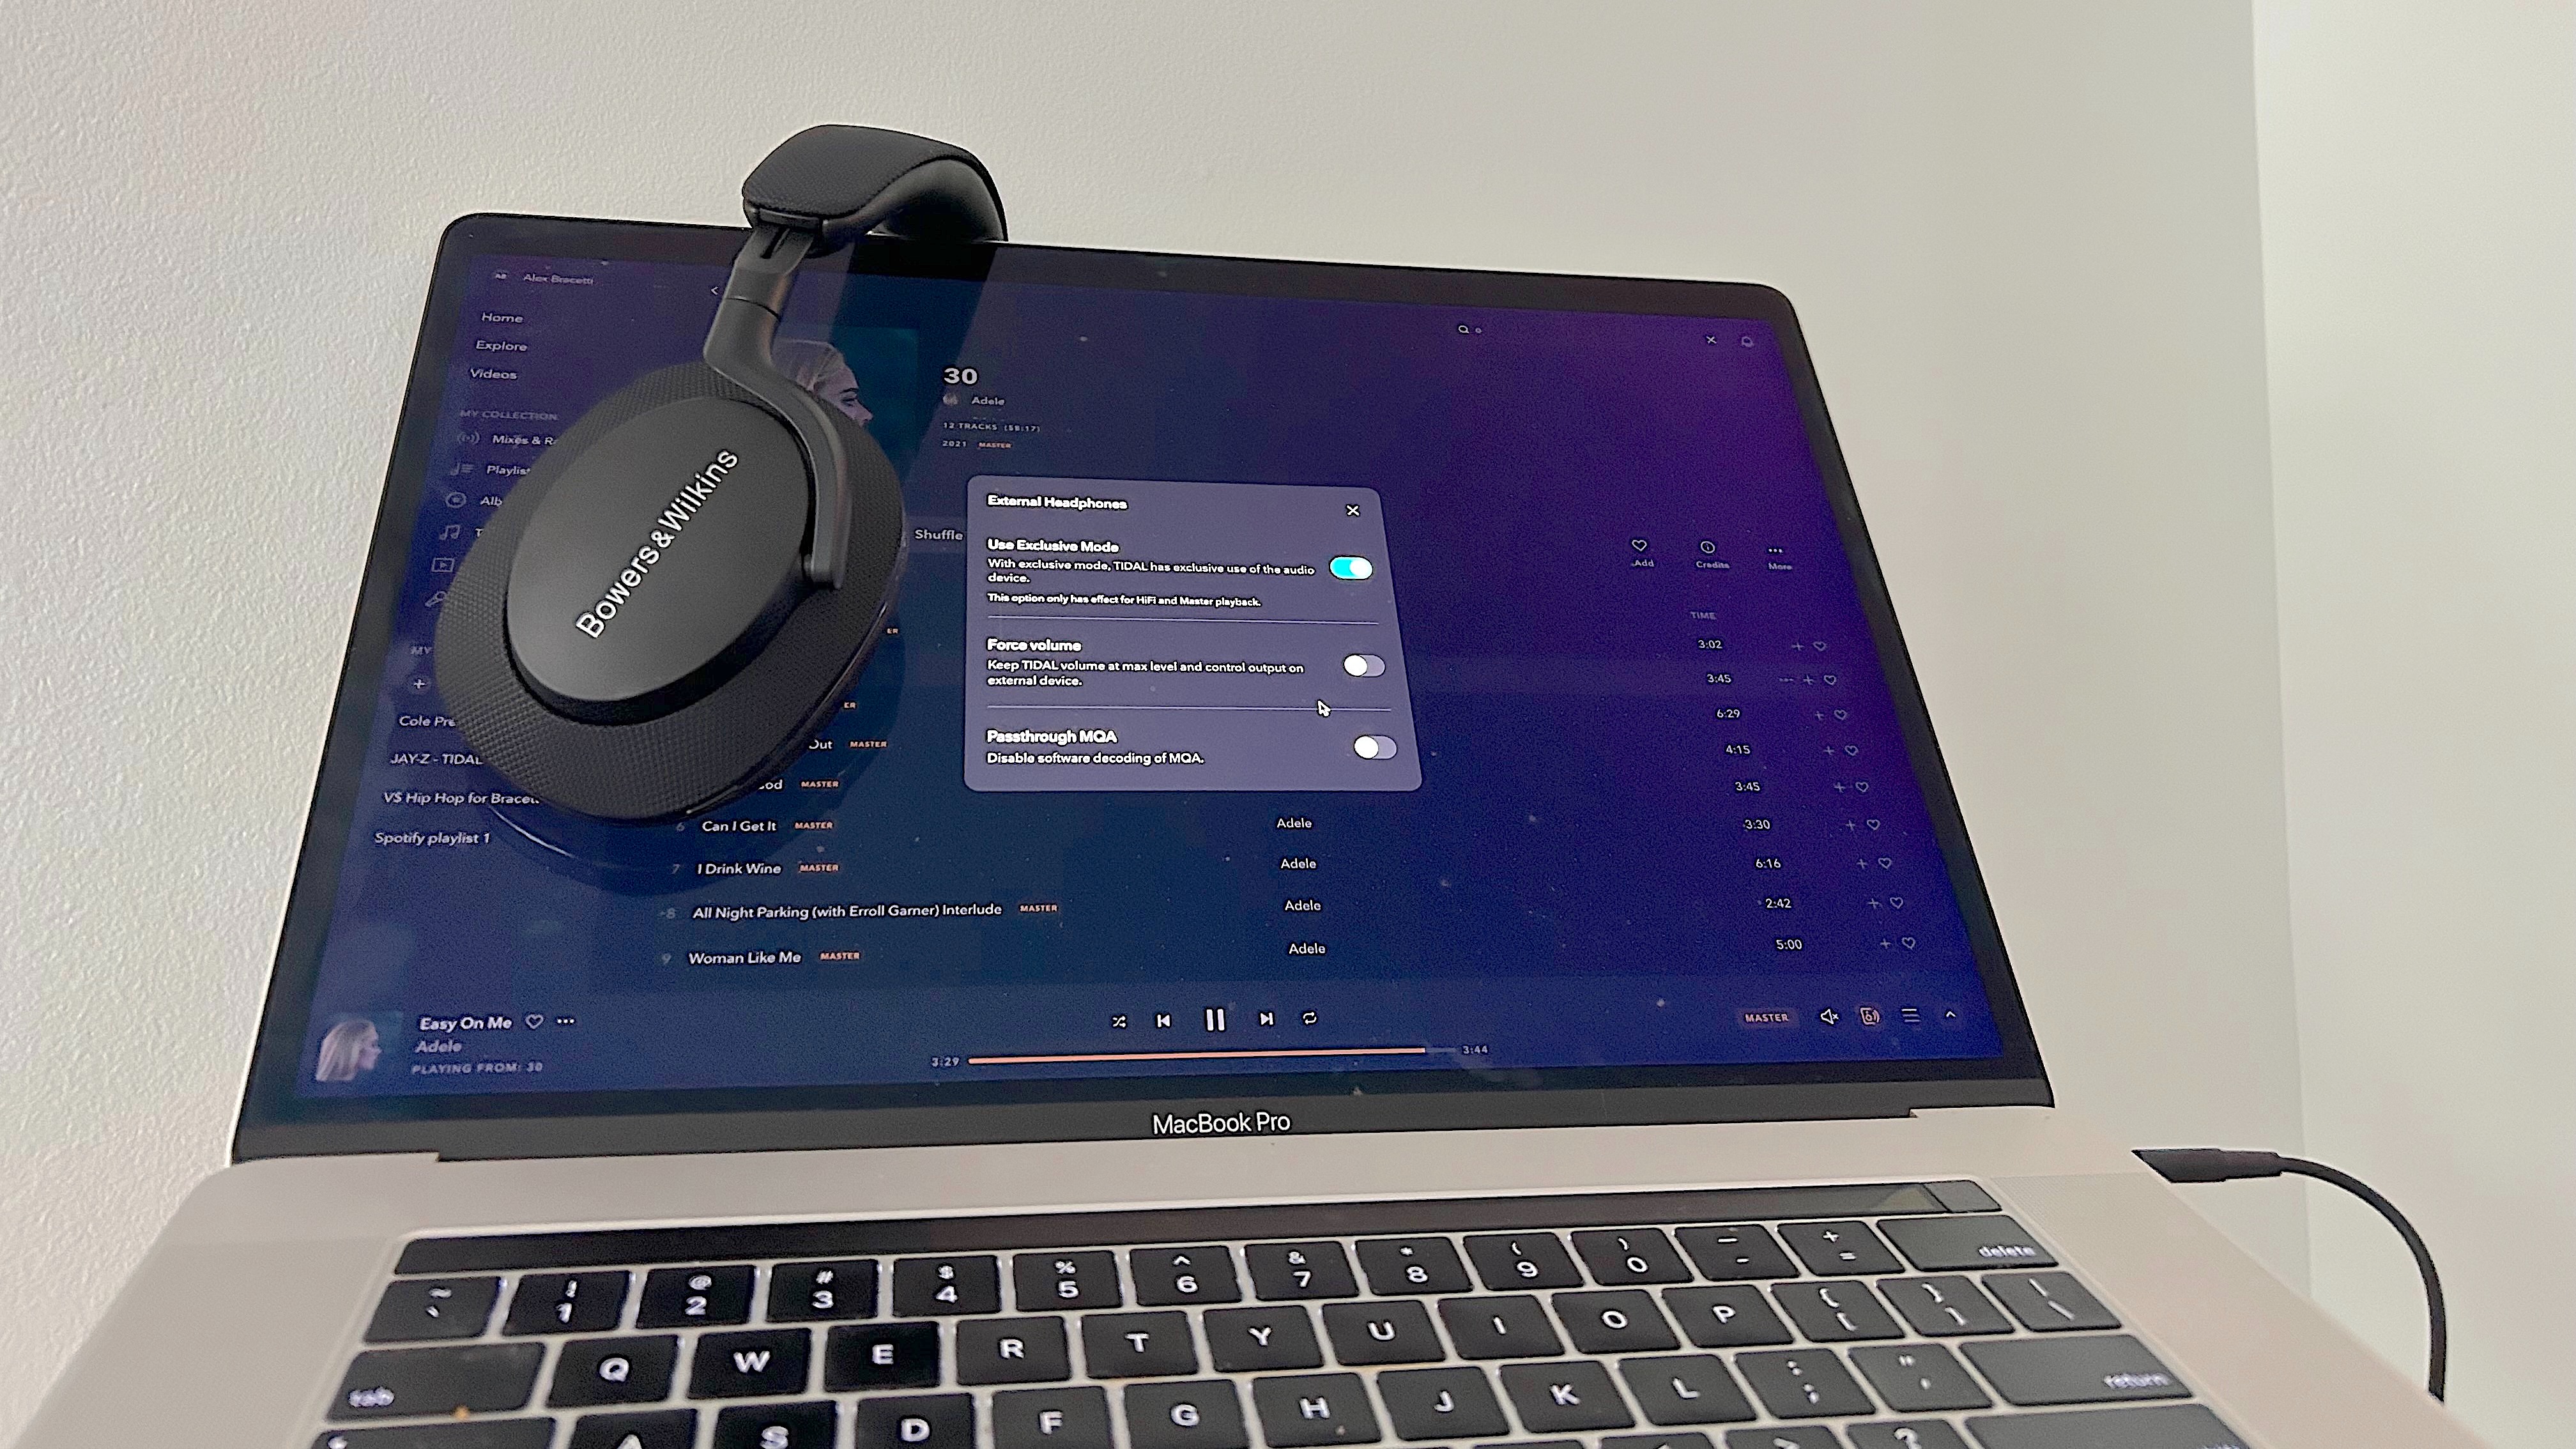
As one of the best music streaming services, Tidal has many features that boost the audiophile streaming experience, two of which are exclusive for desktop/laptop use. First up is Exclusive Mode (formerly Hog Mode), which bypasses your MacBook’s audio mixer and gives Tidal permission to assign the specific bitrate and sample rate relating to playable audio files on the streaming service.
The second is for audiophiles with older DACs: Passthrough MQA. Disabling this feature turns off the software MQA (Master Quality Authenticated) unfolding in Tidal and has your DAC perform full decoding of Tidal Master recordings.
- Tidal > Sound Output (speaker icon bottom right on music player) > More Settings > enable Use Exclusive Mode
- Tidal > Settings > Streaming > Master
- Tidal > Settings > Sound Output > Select DAC
- Tidal > Sound Output (speaker icon on music player) > More Settings > Enable Exclusive Mode > Disable Passthrough MQA
More from Tom's Guide
- Spotify Wrapped 2023 is live — here's how to get it
- AirPods Max vs. Bose QuietComfort Ultra Headphones face-off
- Tidal opens the floodgates to 6 million hi-res FLAC tracks
A lifestyle journalist with an affinity for consumer products, Alex has over a decade of experience and has worked with popular publications such as Complex, Thrillist, Men’s Health, Gear Patrol, AskMen, and Hoop Magazine. He currently focuses on audio, reviewing the most coveted headphones in the market for both Tom’s Guide and Laptop Magazine.
 Club Benefits


