10 Facebook Privacy and Security Settings to Lock Down
Stop sharing absolutely everything with the public. Lock down your Facebook account with these privacy and security settings.
Fan of Facebook? Who isn’t. Fan of everyone knowing your online business? That’s a little tougher of a pill to swallow, especially if you have some friends for whom you don’t want every detail of your life to be splashed out all over the digital world — or, for that matter, family members. (Or worse, future employers.)
Thankfully, Facebook has a number of privacy settings you can use to exert a bit more control over your online life. They’re easy to find and tweak, but they might not be things that you initially thought you had to look into. Or, to phrase it another way, you’ve probably just been spending all sorts of time on Facebook all willy-nilly, unaware that you can actually lock down your Facebook experience to a pretty significant degree. We’ve prepared 10 tips for maximum Facebook privacy that you’re going to want to start playing with right now.
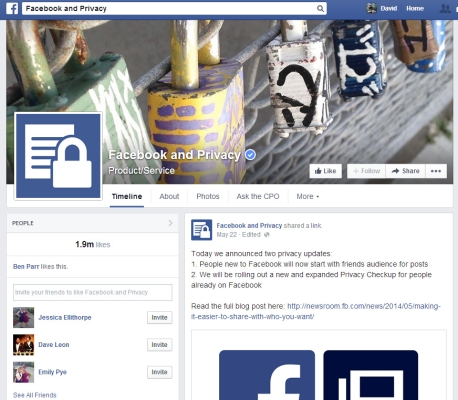
1. Bookmark Facebook’s privacy page. Simple, easy, efficient — for all the latest updates on tweaks that Facebook has made toward its privacy settings, which are useful tidbits to know the more the company adds to and modifies its services, just like Facebook and Privacy. You can’t win the game if you don’t know all the rules.
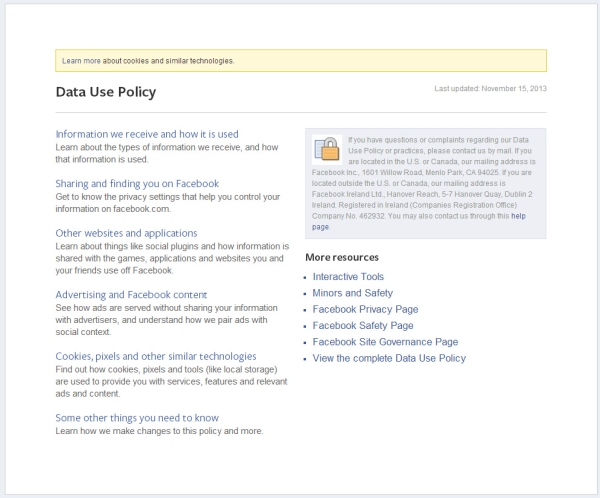
2. Read how Facebook uses your data throughout the service — and how it shares that data with third-party sites and services. This might help you generate a few ideas about how you’d like to lock down your own account.
MORE:12 Mobile Privacy and Security Apps
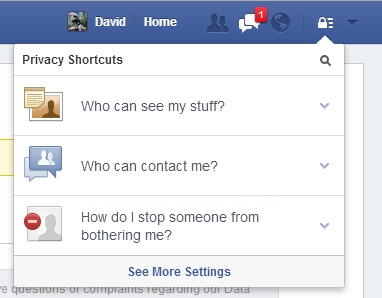
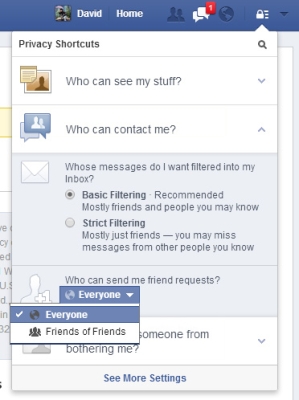
3. Take a privacy shortcut or two. Click on the icon that looks like a lock in the upper-right corner of Facebook’s UI. From there, you’ll be given three options to pick from (as of this article’s writing): Who can see my stuff, who can contact me and how do I stop someone from bothering me.
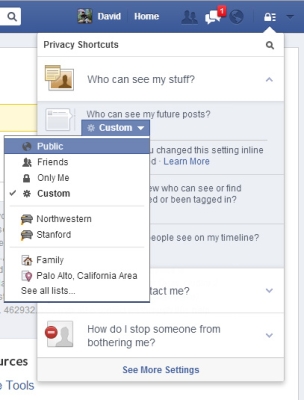
4. Select Who Can See Your Stuff from the drop-down menu you just clicked on. Check out the “who can see my future posts” option to see the default privacy setting for all future Facebook posts you make — public, friends, only you, custom groups Facebook has already created on your behalf. You can create a customized list of people that you can be quite specific about, and we'd recommend you use
Get instant access to breaking news, the hottest reviews, great deals and helpful tips.
5. Click on the “who can contact me” sub-section of Facebook’s Privacy Shortcuts. Within that sections are two options that are equally important: Message filtering, which allows you to determine what kinds of messages you want to receive (just friends only, or a looser interpretation of friends, friends of friends, and others you might want to hear from), and the ever-important setting that determines who, on Facebook, can send you friend requests.
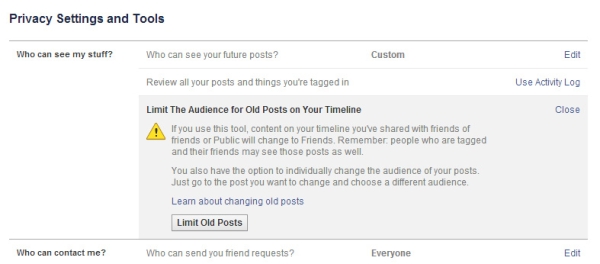
6. Click on See More Settings link on Facebook’s Privacy Shortcuts to access all of Facebook’s more specific options. Within this new screen, “Privacy settings and tools,” click on Use Activity Log link. It’s here where you can look at everything you’ve done on Facebook (though you can’t easily search for it) and decide just what, if anything, needs its privacy adjusted.

7. You can also limit the default privacy options for much of your previous Facebook activity — the nuclear option, as far as privacy settings go. Click on the Limit Past Posts link, which will allow you to change anything you’ve previously shared to Friends Of Friends or the public at-large. You can only change these old posts to Friends Only, which is a bit of a bummer for those looking to customize their history in greater detail.
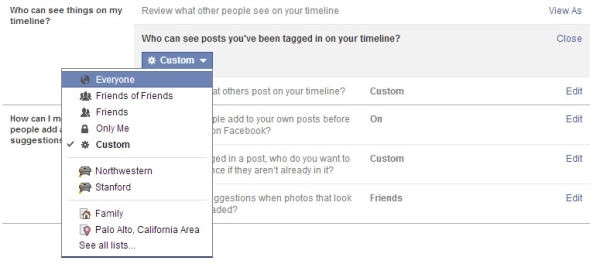
8. Click on Facebook’s Timeline And Tagging option on the left-most sidebar. From there, check out “who can post on your timeline” option, which is super-useful if you want to turn off anyone else’s ability to share content with you. If you want a less stringent approach, click Edit on the option that allows you to review posts before they appear on your timeline — change that to yes, and you’ll have to approve everything your friends tag you in. It’s a great trick if you’re afraid your friends might post content that you don’t want everyone else to see.

9. Click on "who can see things on my timeline." This isn’t a per-post setting, rather, it’s a default option that allows you to prevent certain friends from seeing anything you’ve been tagged in or anything others pots on your timeline. These two options give you a wide latitude of options for limiting others’ visibility for content on your wall (everyone, friends only, only you, custom groups, etc.) If you don’t want your boss to see anything your raunchy friends post on your wall, these settings are critical.
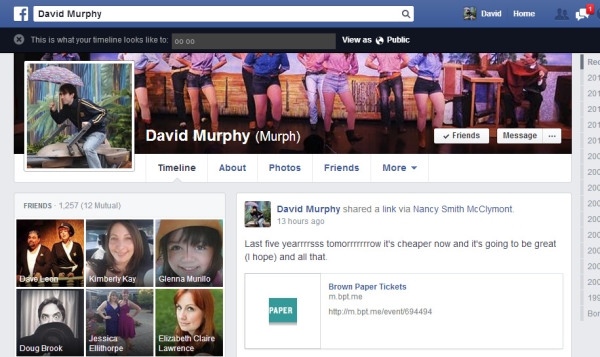
10. Double check your settings. Click on the View As link under “Review what other people see on your timeline,” click on the subsequent “view as specific person” link, and start inputting your friends’ names to ensure that all your privacy tweaks are correctly working.
- 8 Offbeat Social Networking
- Scariest Security Threats Headed Your Way
- How to Protect Yourself from Data Breaches

David Murphy is a tech journalist based in Silicon Valley specializing in phones, smart homes, wearables and other gadgets. He has written product guides, tutorials and reviews on all kinds of different hardware and software for titles such as WSJ, CNN, Reviewed, Wirecutter, Android Police, PCMag and others. He's also a big fan of World of Warcraft.
 Club Benefits


