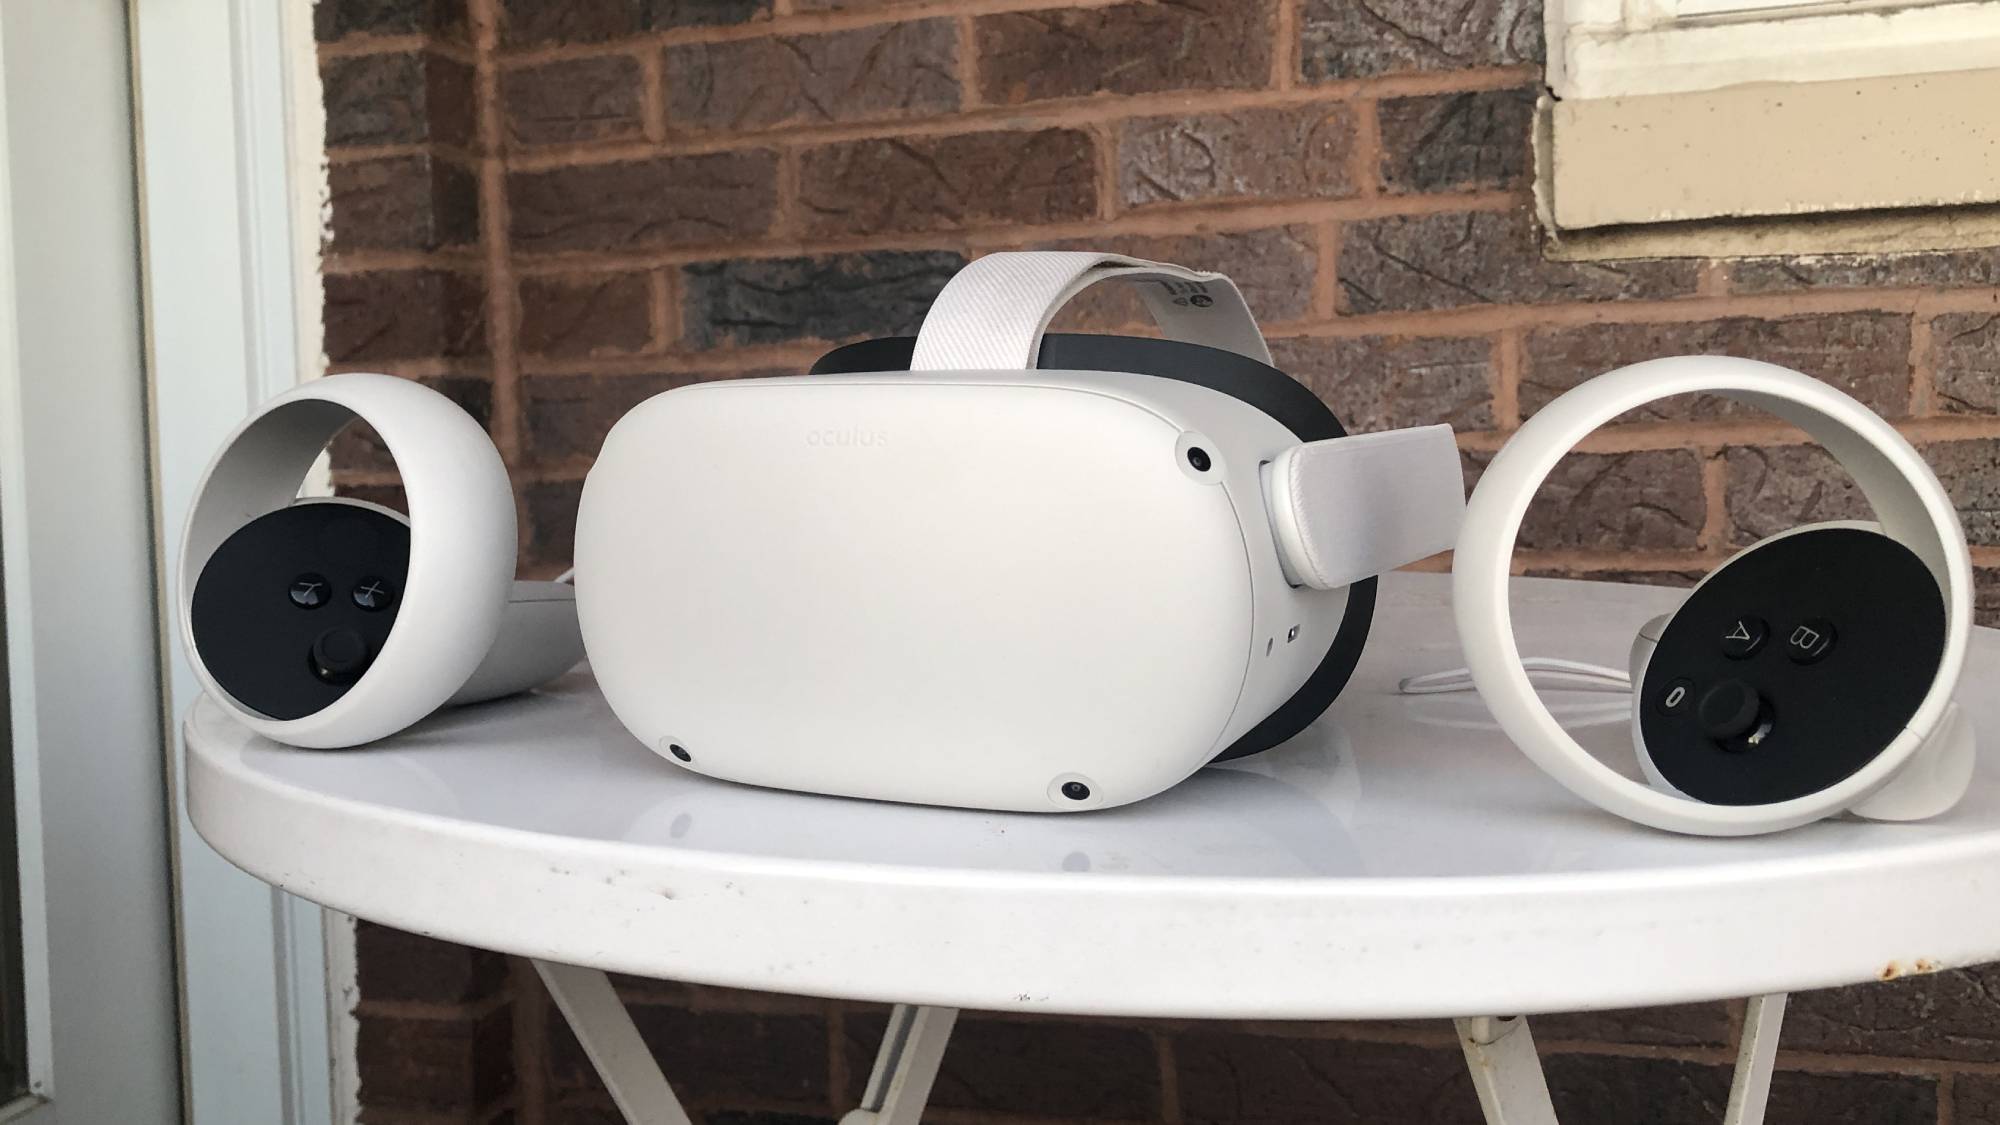
How to set up and use your Oculus Quest 2
Skip the virtual insanity and explore all the Oculus Quest 2 has to offer with our quick setup guide
Here at Tom’s Guide our expert editors are committed to bringing you the best news, reviews and guides to help you stay informed and ahead of the curve!
You are now subscribed
Your newsletter sign-up was successful
Want to add more newsletters?
Daily (Mon-Sun)
Tom's Guide Daily
Sign up to get the latest updates on all of your favorite content! From cutting-edge tech news and the hottest streaming buzz to unbeatable deals on the best products and in-depth reviews, we’ve got you covered.
Weekly on Thursday
Tom's AI Guide
Be AI savvy with your weekly newsletter summing up all the biggest AI news you need to know. Plus, analysis from our AI editor and tips on how to use the latest AI tools!
Weekly on Friday
Tom's iGuide
Unlock the vast world of Apple news straight to your inbox. With coverage on everything from exciting product launches to essential software updates, this is your go-to source for the latest updates on all the best Apple content.
Weekly on Monday
Tom's Streaming Guide
Our weekly newsletter is expertly crafted to immerse you in the world of streaming. Stay updated on the latest releases and our top recommendations across your favorite streaming platforms.
Join the club
Get full access to premium articles, exclusive features and a growing list of member rewards.
If you've found where to buy an Oculus Quest 2 VR headset the welcome to the world of virtual reality. The Oculus Quest 2 is the best VR headset for most people, thanks to its all-in-one nature.
And slipping on this headset allows you to physically move around simulated environments, grab virtual objects and be a part of a scene rather than watch the action unfold on a distant screen.
If you do happen to have a powerful rig, you can purchase an Oculus Link cable to play PCVR games that are too powerful to run on the Quest 2’s mobile chip. This gives the Quest 2 the versatility to allow you to play powerful titles like GOTY Half-Life: Alyx while plugged in at home or untether yourself to play less demanding games like Beat Saber on the go.
Follow our Oculus Quest 2 guide below to escape the confines of your living room and explore vibrant virtual worlds within minutes. Once you're set up, be sure to check out our list of the best Oculus Quest 2 games, as well as the first seven games you should play on Oculus Quest 2.
Download the Oculus app
Before you unbox your new Oculus Quest 2 it’s best to download the Oculus app for iOS or Android. You’ll need to sign in with a Facebook account. If you’ve managed to get this far without selling out your data, kudos to you. Unfortunately, if you want to use your Oculus device you’ll need to make an account with Facebook.
While you’re at it, make sure your mobile device has Bluetooth enabled for a seamless process going forward. You won’t need your phone after the initial setup, though it is handy for notifications, buying apps on the move and social functionality. With your soul sold to Facebook and your app ready to go, it’s unboxing time!
Unbox the Quest 2 and peripherals
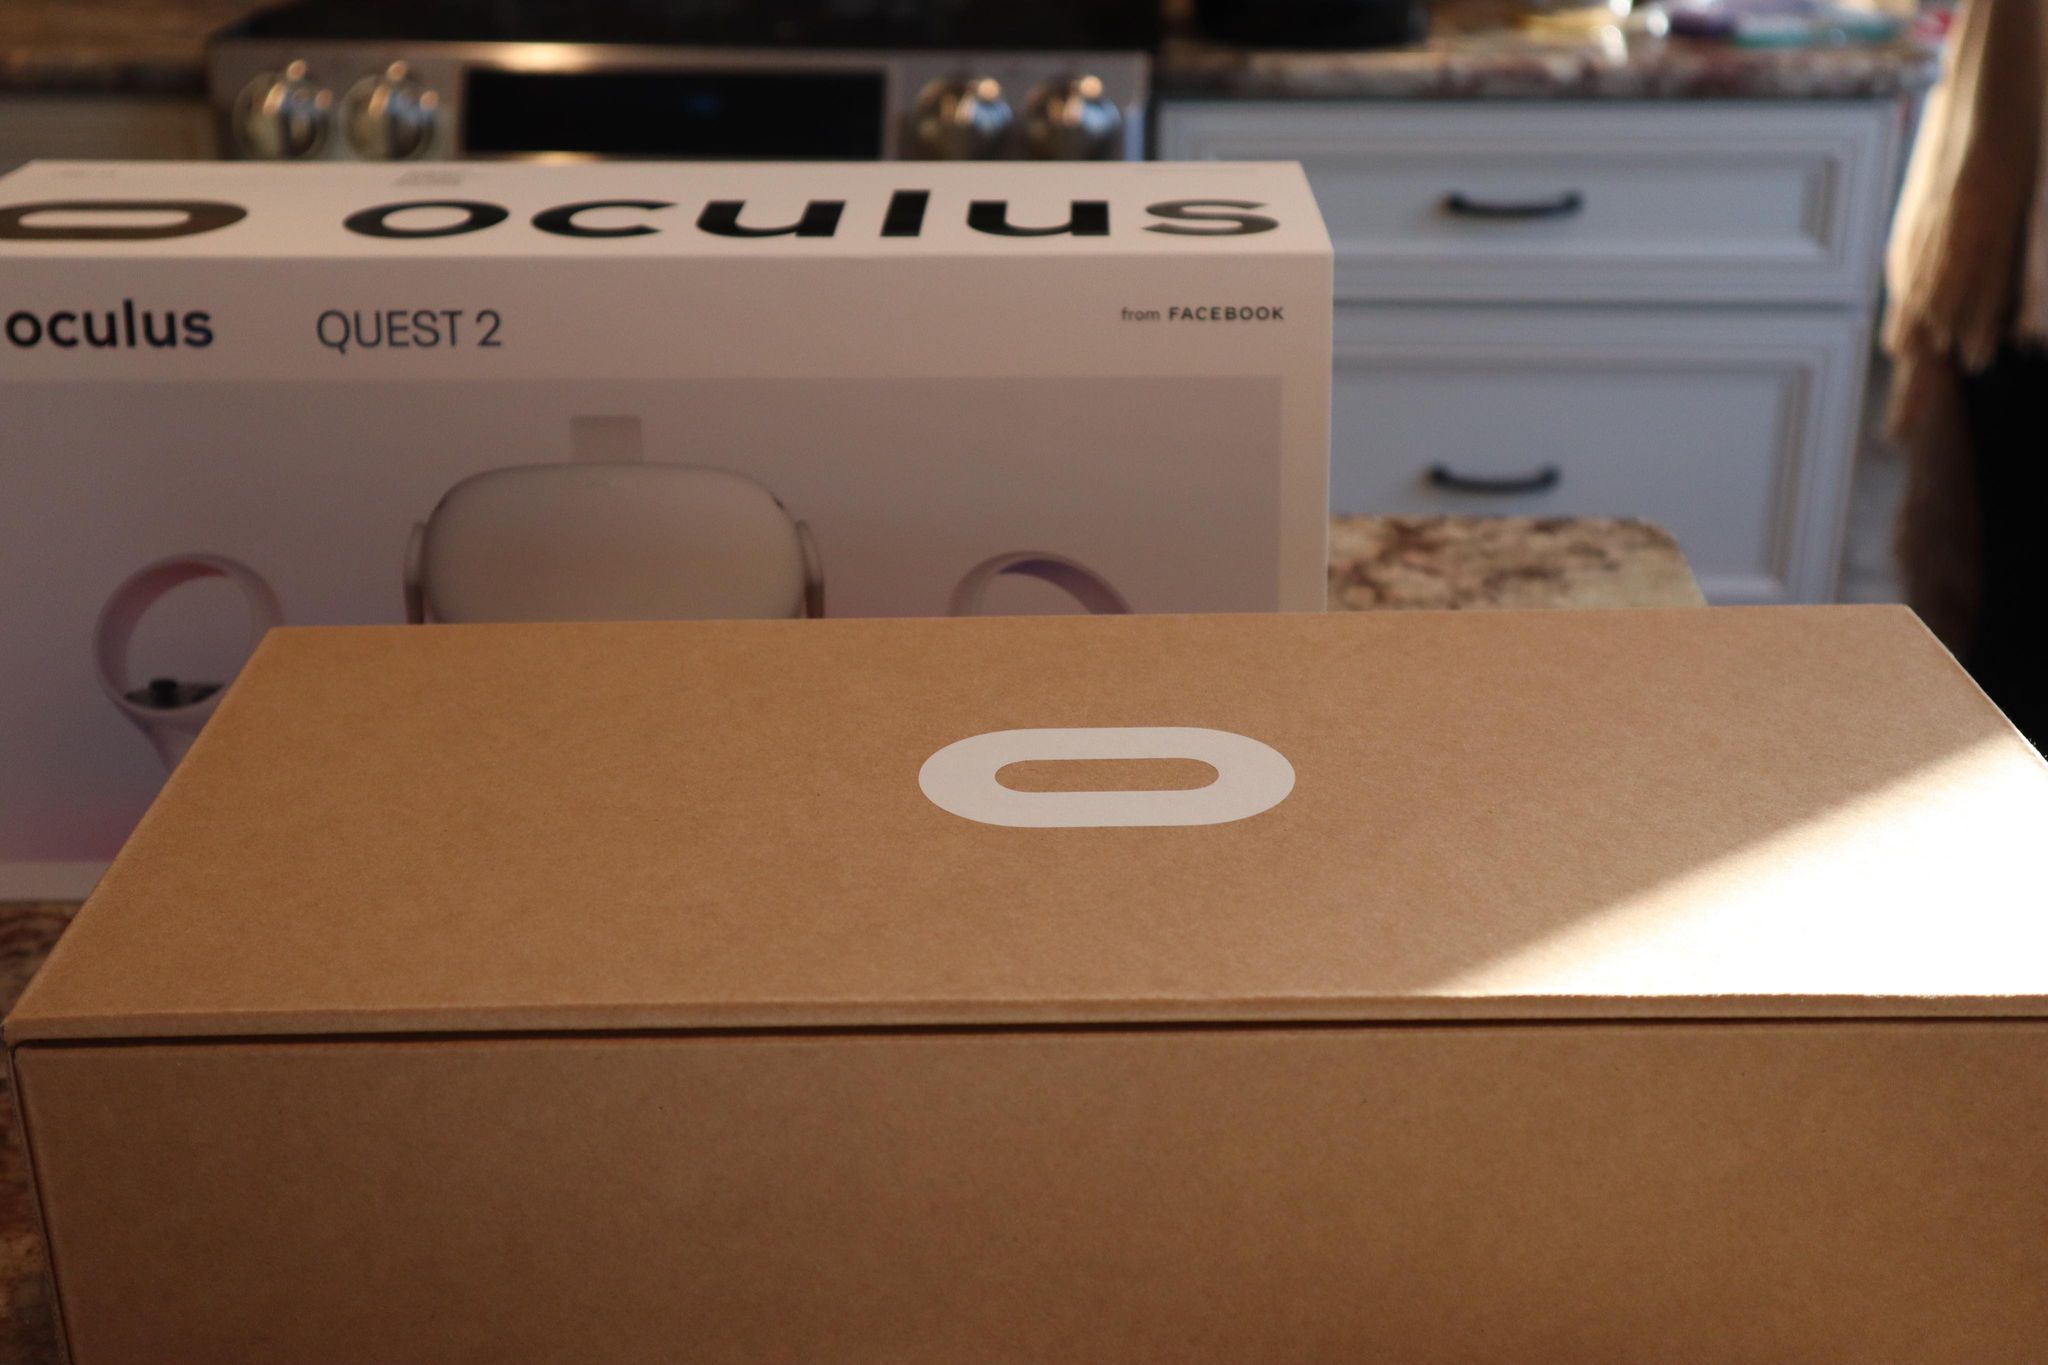
Simply pull the marked tab on the plastic outer seal and the Quest 2 box emerges. Grab the slipcover and slowly jiggle out the cardboard box by pulling in an up and off motion. With a slow lift of the lid to build up the anticipation, you'll find your sleek new white Oculus 2 headset, two controllers, charger and glasses spacer with some paperwork in a compact box.
Get instant access to breaking news, the hottest reviews, great deals and helpful tips.
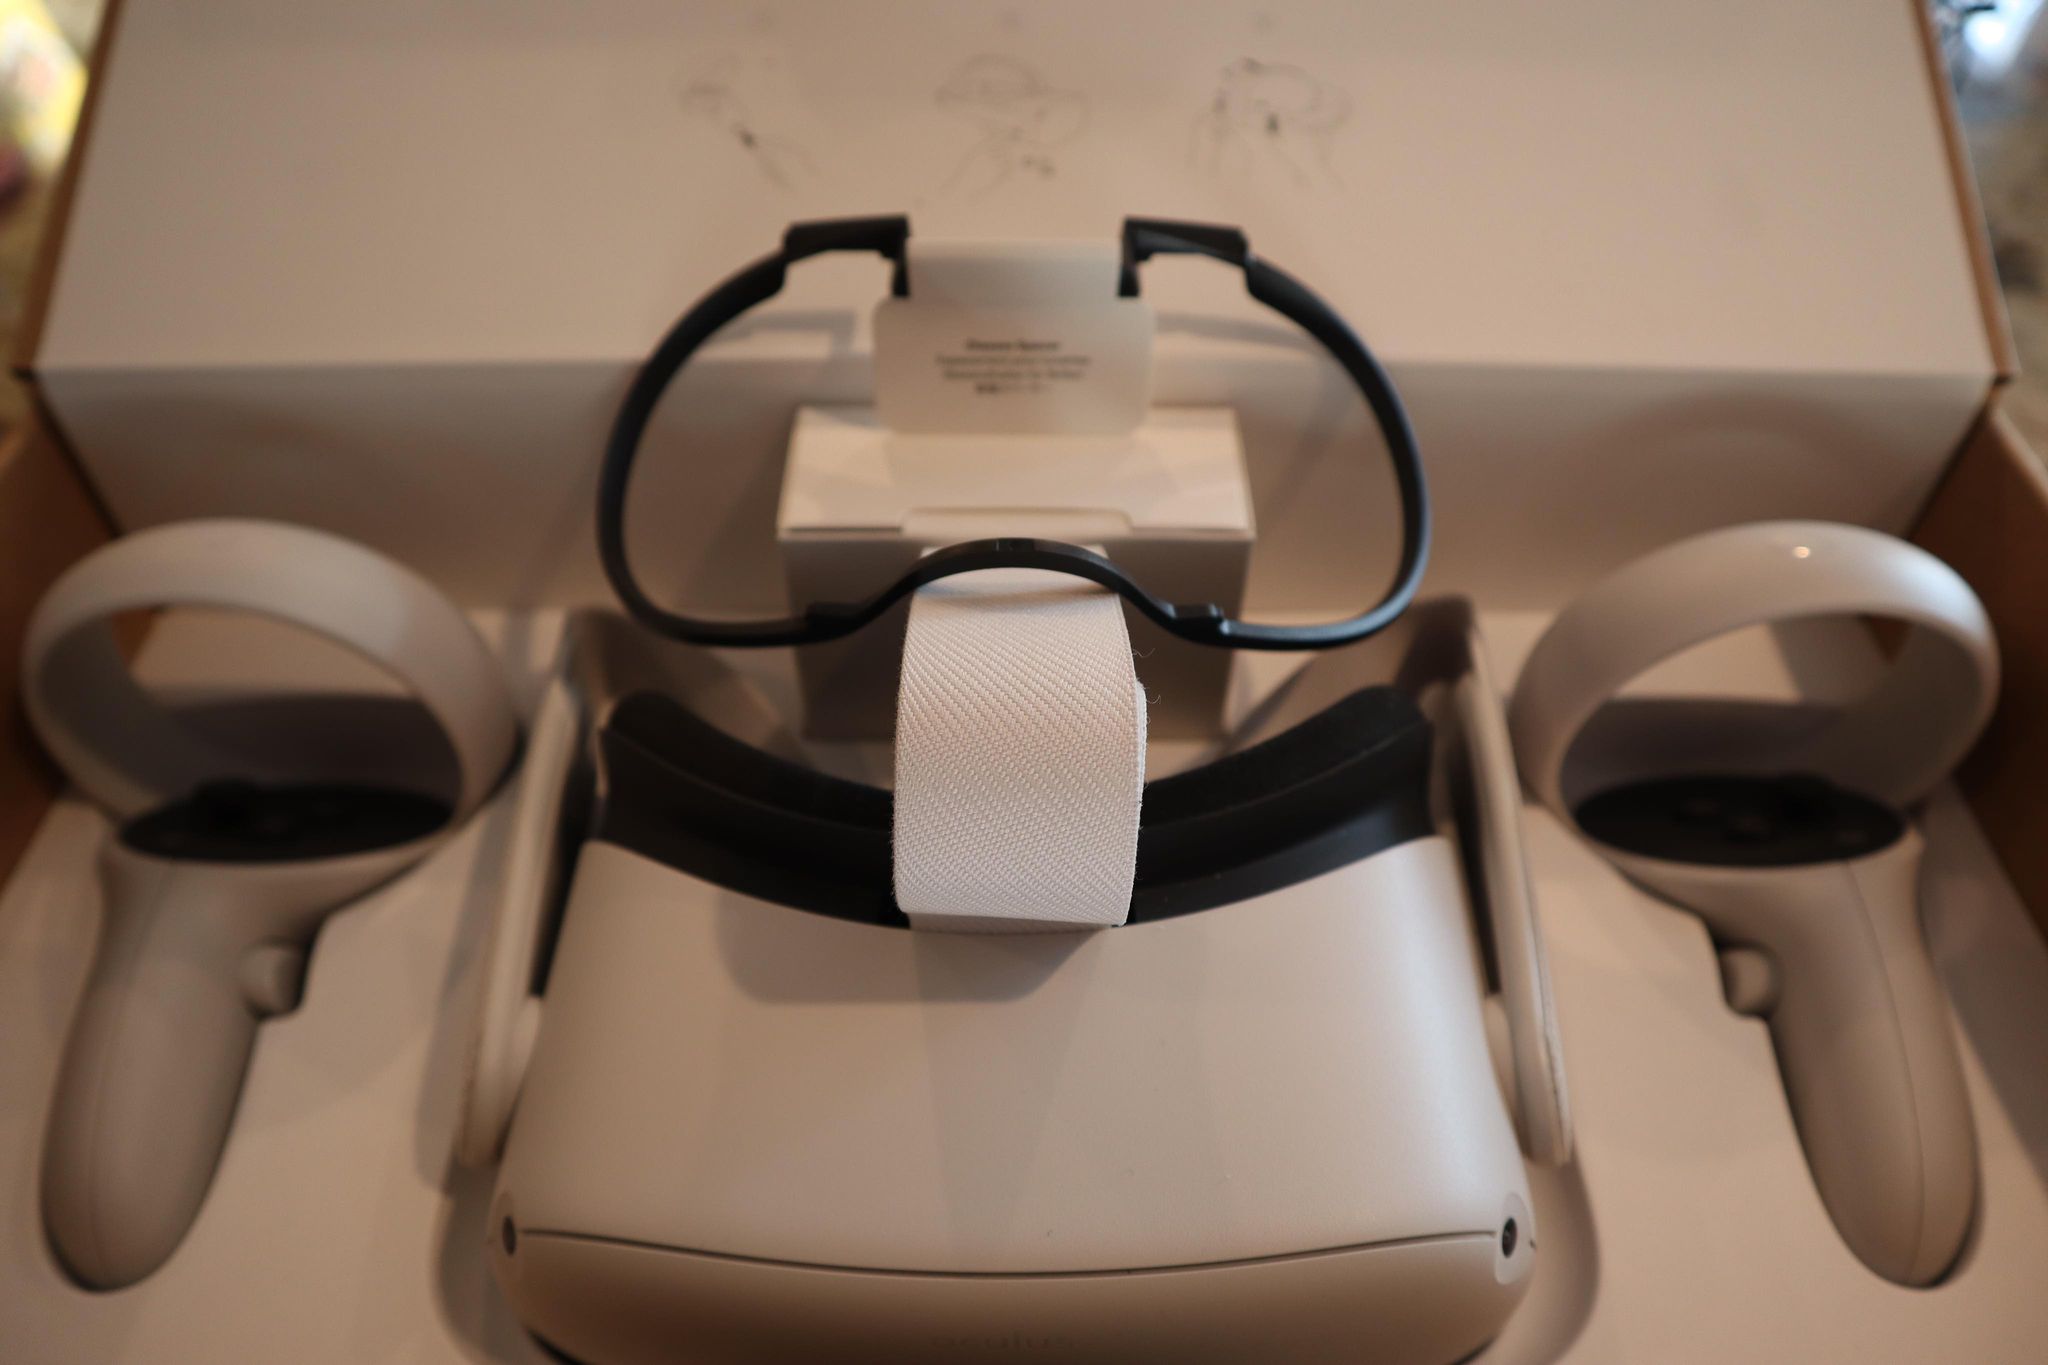
Next you'll want to grab the controllers and remove the pull tab on each to power them up. Slip the headset over your eyes and hold the power button on the right side of the device until you see a big white O. After your Quest 2 boots up, give a trigger on each controller a squeeze. This automatically pairs them with the headset.
You’ll now see both controllers while inside of your Quest 2. Pretty cool, huh? Using the controller in your dominant hand as your pointer, select your language and connect to your local Wi-Fi network to allow your Quest 2 to run updates. Since your headset only comes halfway charged, prop it up on a stable surface, and plug it in to give it some juice. Put your feet up and grab a refreshment — you’ve earned a break after all that hard work.
Oculus Quest 2 setup: Adjusting your fit
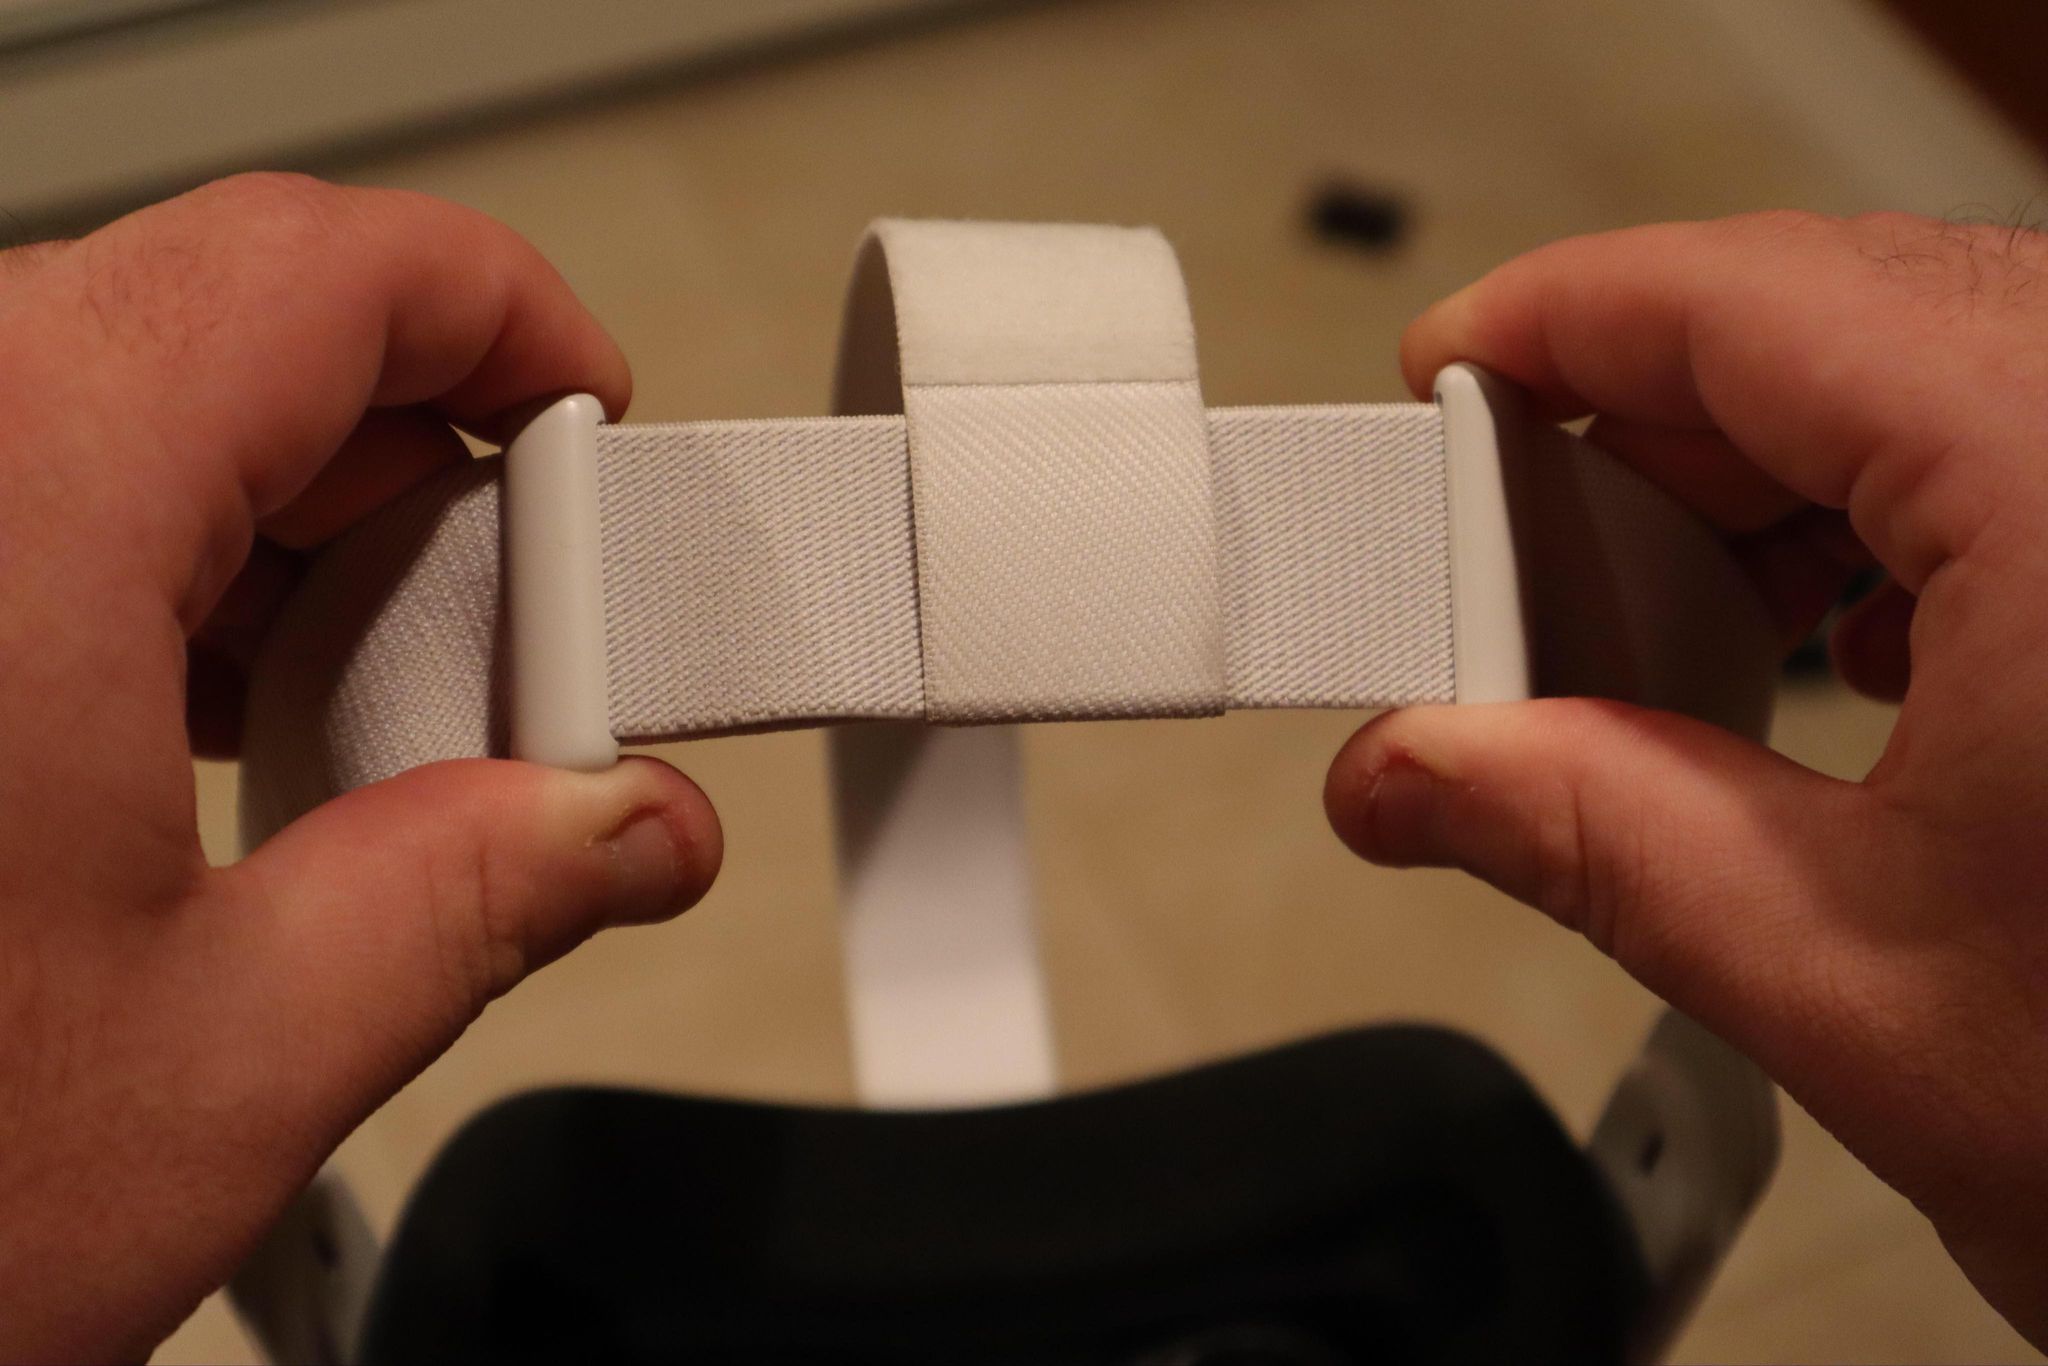
To best experience your Quest 2, you’ll need a custom tailored fit with the proper lens spacing to maximize comfort and avoid blur. Slide the headset on and grasp the two symmetrical side straps sitting opposite each other on the lower portion of the band. Sliding these loosens or tightens the grasp around the sides of your head.
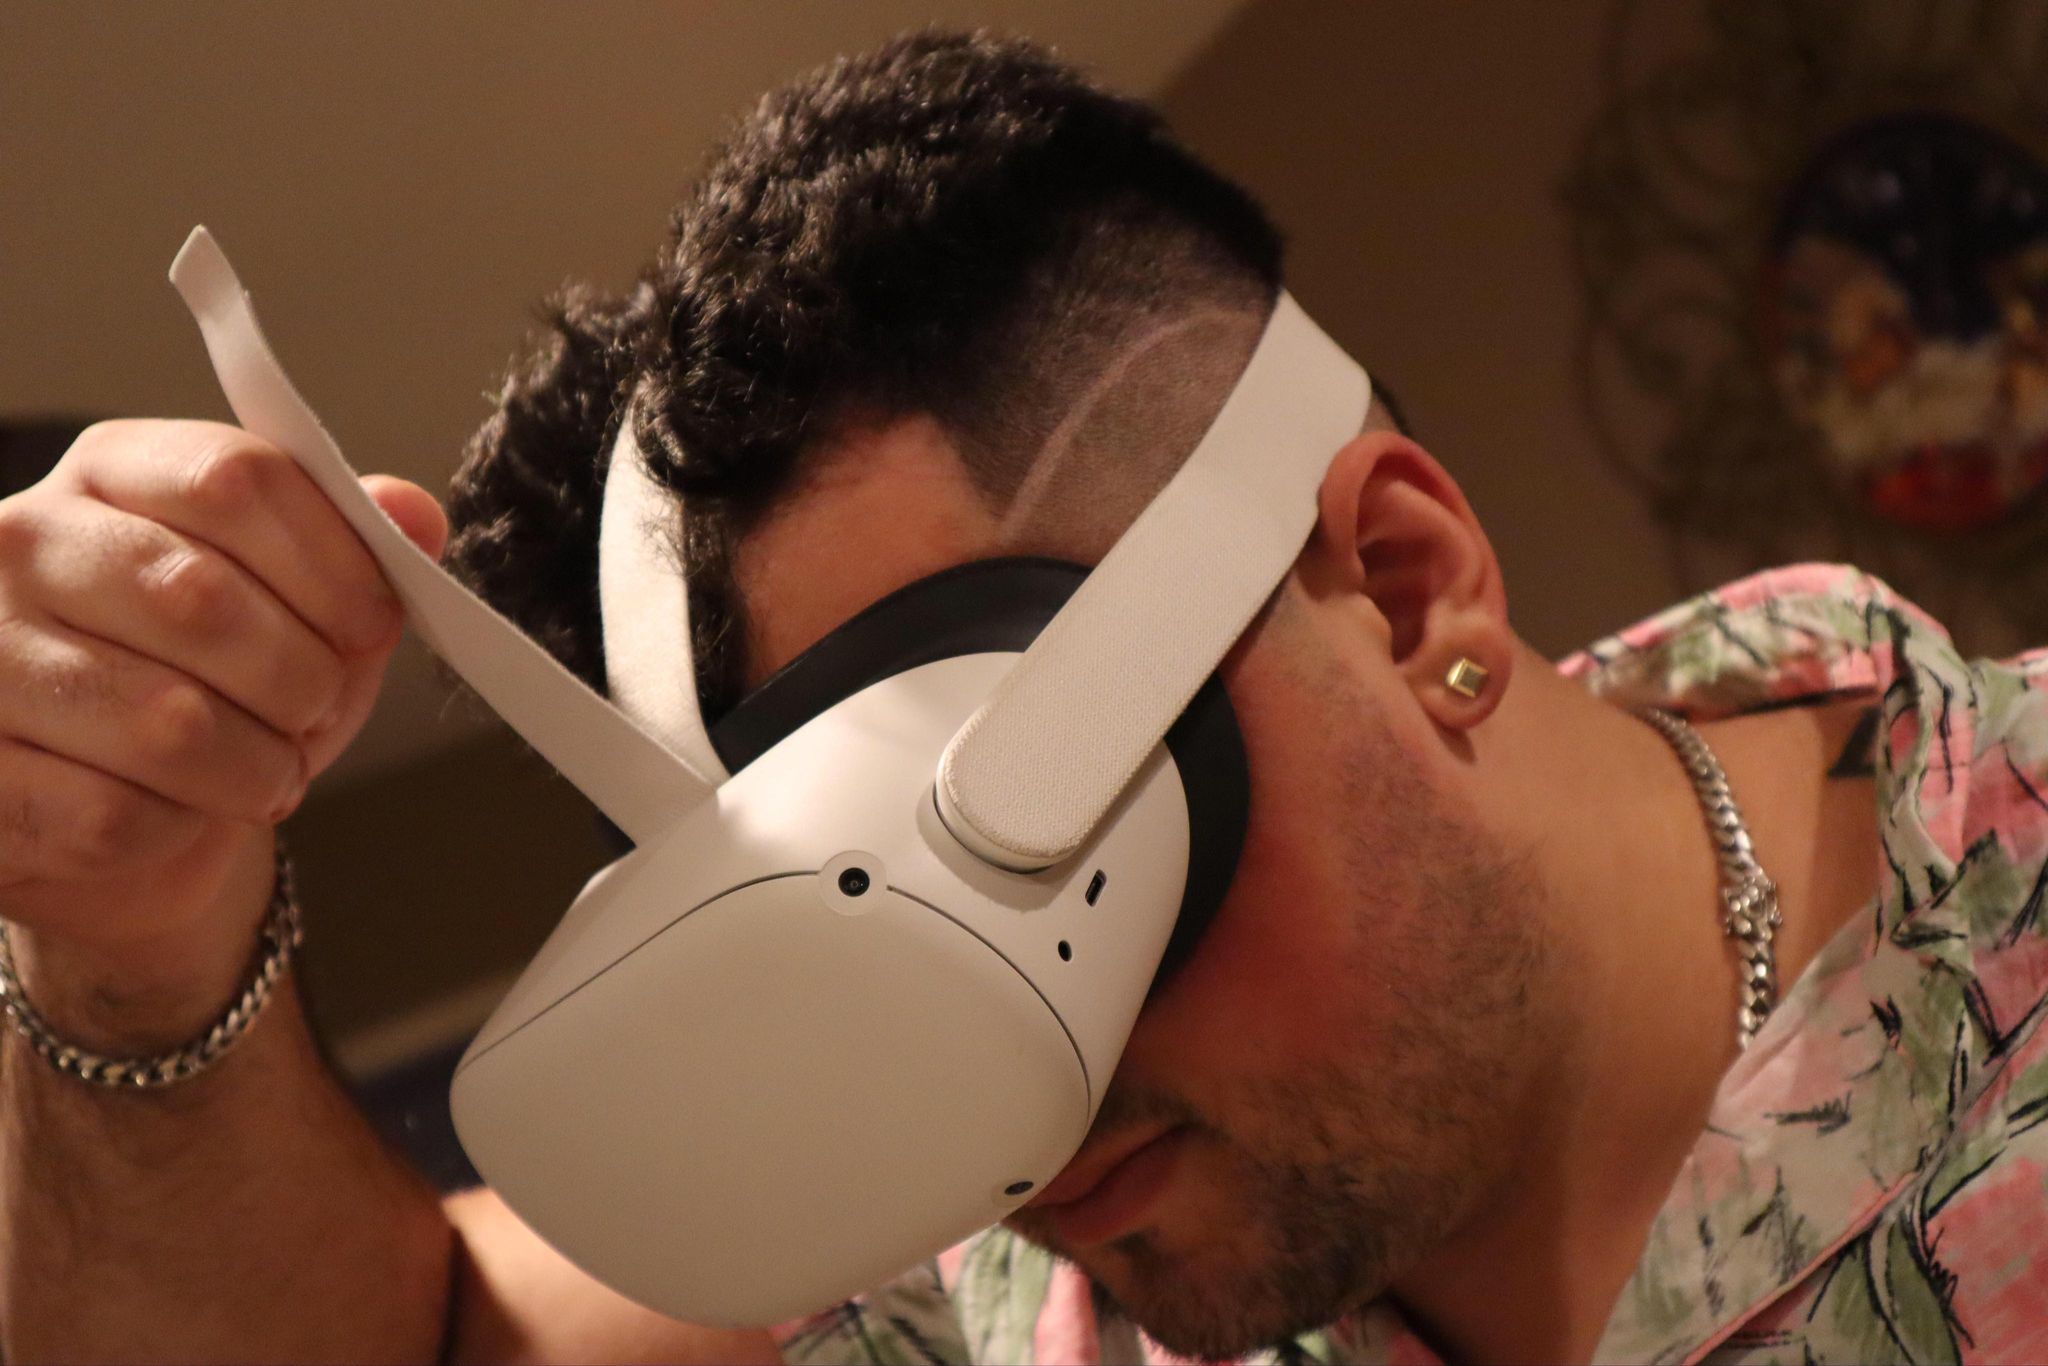
With the proper fit cradling your head, slide your digits up to the top strap. Tighten or loosen this band to distribute headset pressure on the top of the head. When you’re happy with the tightness on your face, the final adjustment to make is the lens IPD which is the distance between each eye.
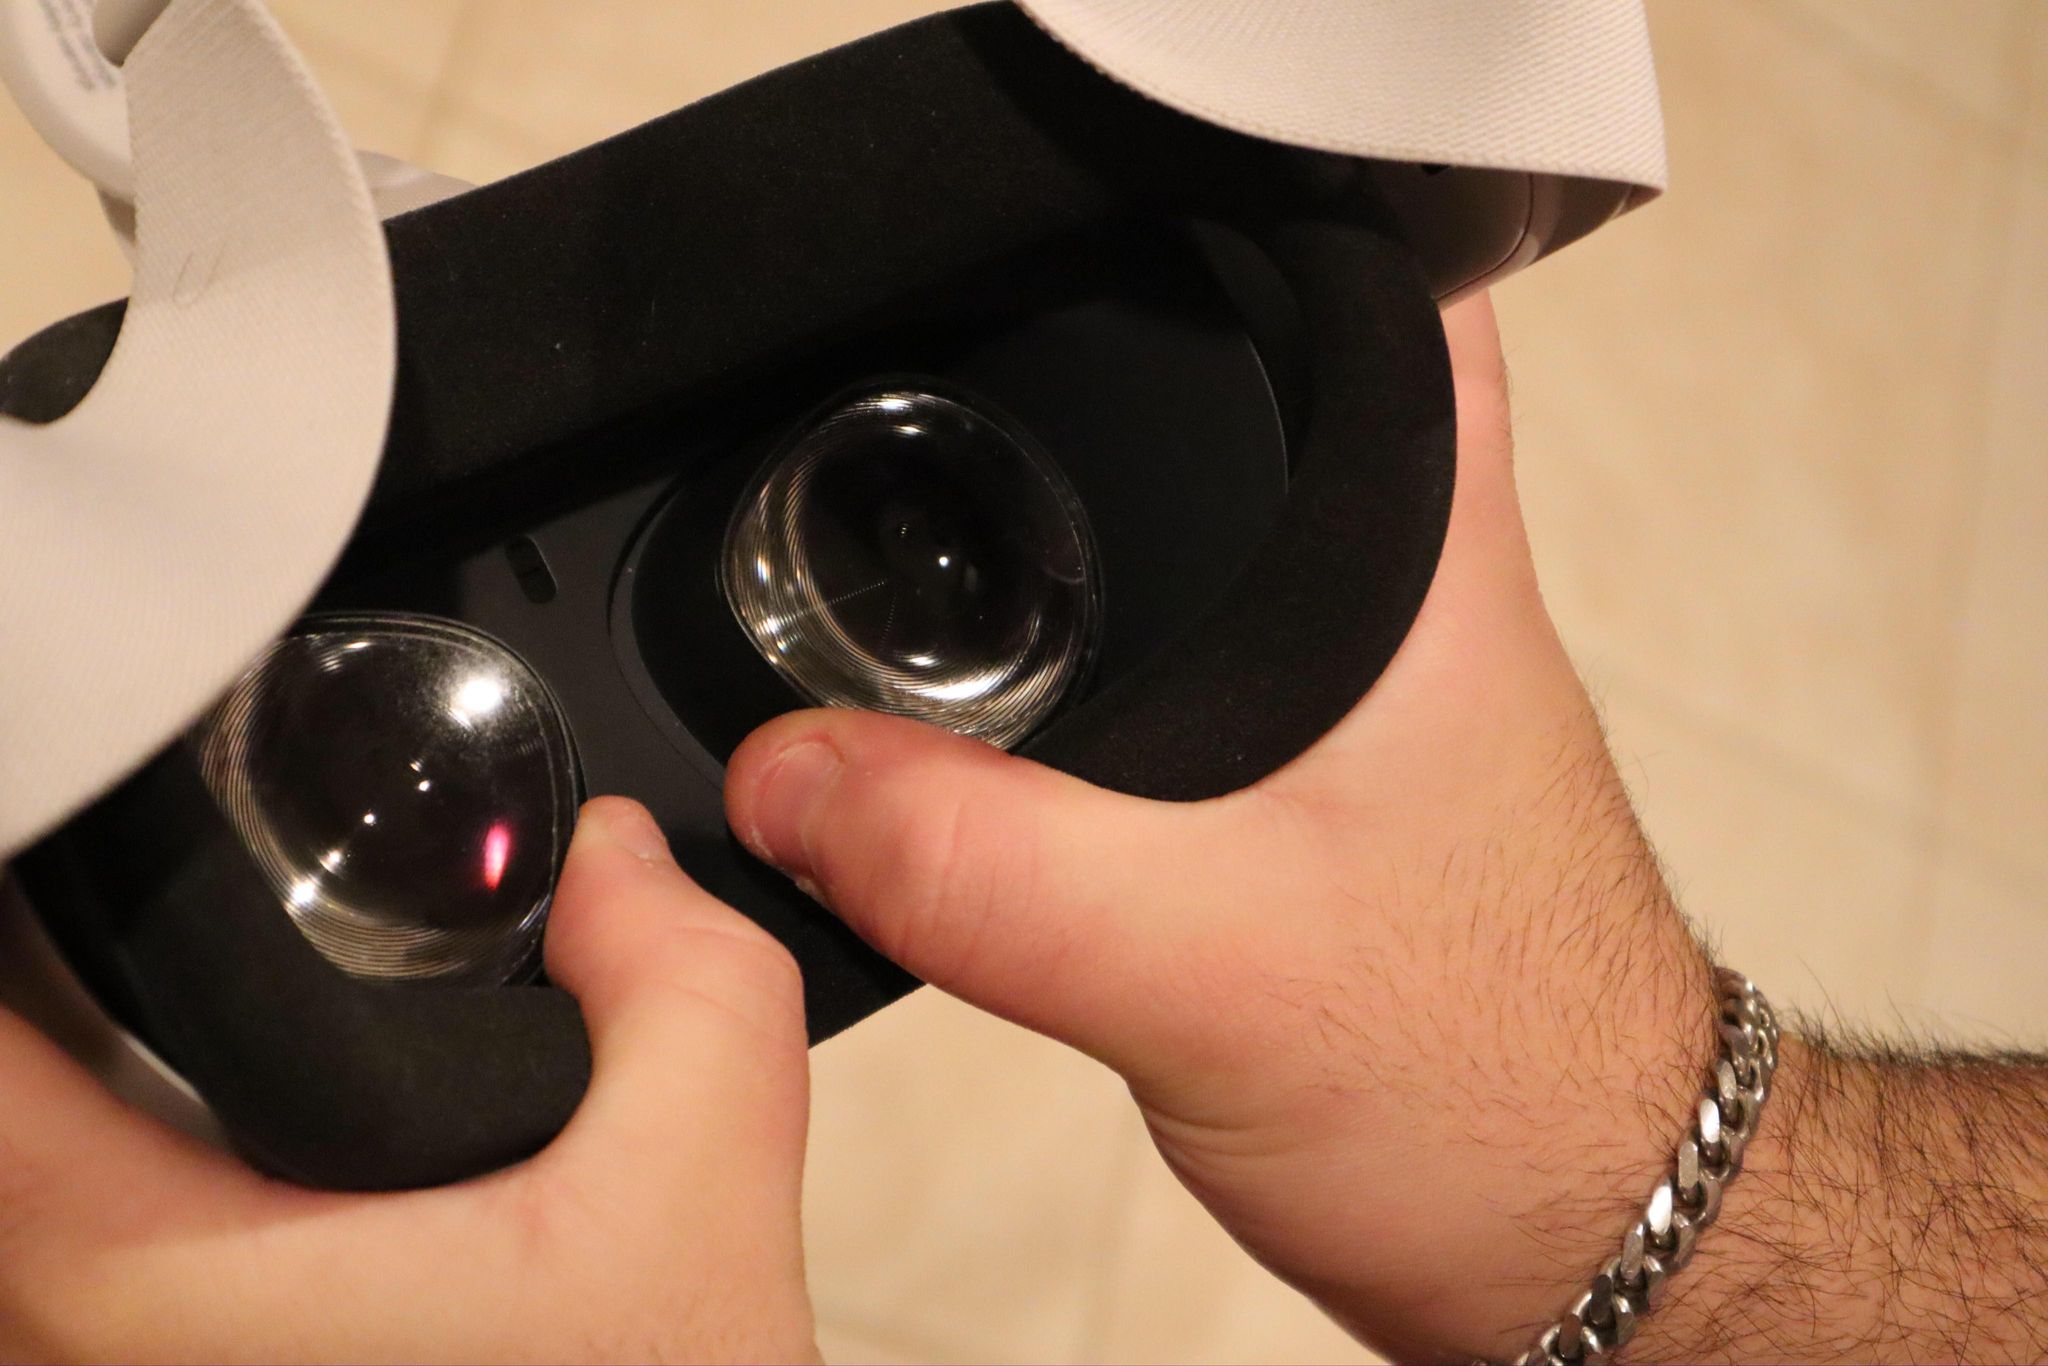
Physically moving each lens with your thumbs allows you to cycle between distances of 58mm, 63mm and 68mm. Adjust this setting to find the option that provides the clearest picture and sharpest text for you. With your fit adjusted for comfort and crisp visuals, you can now pop in the included glasses spacer if necessary. Otherwise, it’s time to dive in.
If you happen to get fingerprints on the lenses, we have a guide on how to clean your Oculus Quest 2 lenses.
Oculus Quest 2 setup: Create your virtual playspace
Time to create the guardian boundary for your Oculus Quest 2 playspace. You’ll be greeted by a colorless view of the real world space around you. This is called passthrough and merges the real world with virtual elements. Here you’ll use your controller to draw your playspace boundaries. This virtual barrier prevents you from running into walls or breaking your TV during an intense game.
If you play VR in multiple rooms throughout the house, you'll be pleased to know that these boundaries are persistent. This allows you to walk in and out of boundaries without having to redraw your space every time. Leaving an area to see a floating untouched playspace tows the line between futuristic and eerie.
Oculus prevents you from recording when setting up your boundary for safety reasons. This official video from the company shows the whole process in action.
If you have hazardous obstructions such as furniture in the area, your Guardian system will mark it red. With an open space, lower your controller to the floor and press the trigger button to set your floor height. Hit the confirm button and use your controller’s trigger to draw the virtual boundary defining your play area.
Now you’re safe to run around mindlessly and really get lost in VR. If you get too close to your boundary, a red barrier will overlap your game world to show you your distance from the edge. With this step complete, hit OK to really enter a whole new world.
Oculus Quest 2 setup: Navigate the virtual world
Welcome to your Oculus home environment. There are multiple locations to customize this dashboard space, from a seaside retreat to a Cyberpunk apartment.
Floating in front of you in this virtual environment is the universal menu. This slick six icon interface leads you to every function within three clicks. You’ll be able to access Friends, your Content Library, Sharing, Notifications and Settings. We’ll take a dive into each section to explain what they contain.
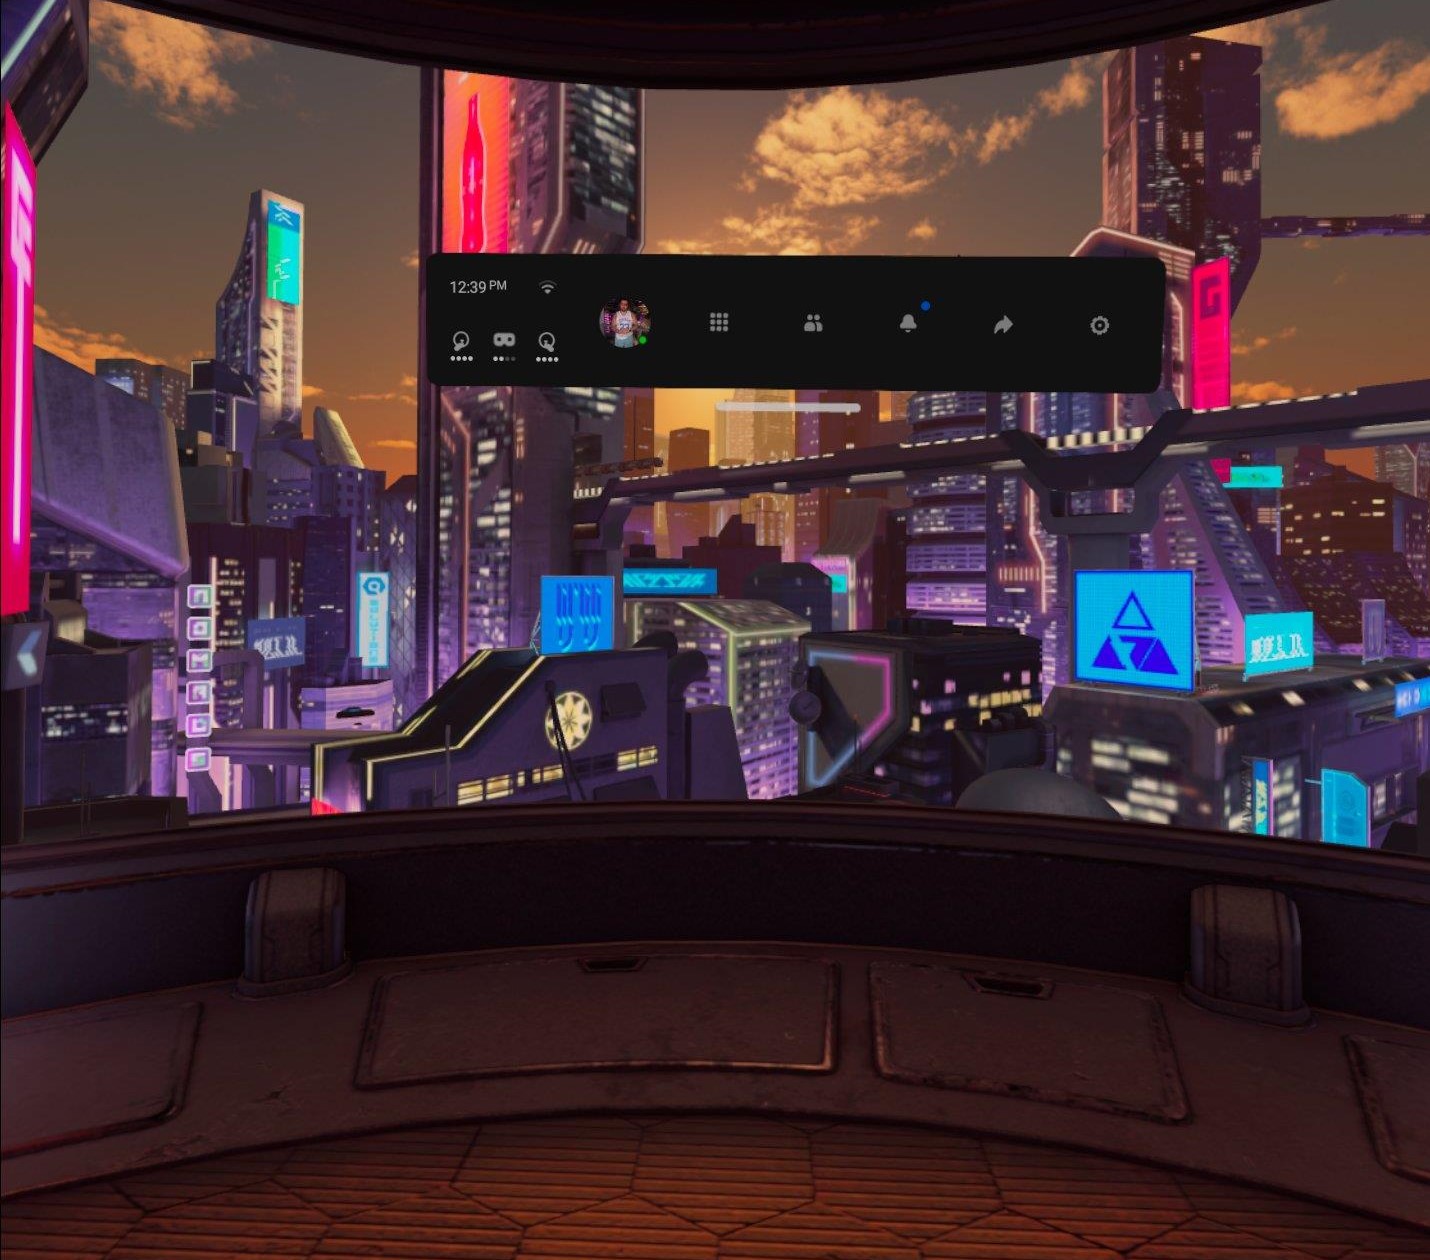
Starting from the left hand side of the menu bar provides a quick access look to the time, date, Wi-Fi signal strength and battery status of your peripherals. The first tab button you’ll come across leads to your profile settings. From avatar customization to bio information, this is the place to express yourself and adjust privacy settings.
Second from left is a square icon consisting of nine dots. You’ll be spending a majority of time in here as this is your Apps section. Purchased content lives here as well as buttons that lead to the Oculus store and web browser. You can sort and filter apps by name, install date and/or size.
Moving on, things start to get more social. The MySpace-esque buddy icon is your Friends section. This is where you can create parties, chat with friends and view activity. Oculus will also show suggested friends here.
Next to the Friends section is your Notifications tab signified by a bell icon. Downloads, invites and event reminders will pop up here. If you allow notifications on your phone, these alerts will also be relayed to your mobile device.
An angular arrow proceeds the Notifications section. For content creators or party hosts this is the Sharing tab. You can enable display casting to your phone or Chromecast, livestream directly to Facebook and record highlight-worthy moments.
Closing out the menu is a Settings wheel. This is where you’ll tailor your experience with advanced options such as storage management, your personal virtual environment and display options.
Oculus Quest 2 setup: Time to explore
Now that you have the basics down, it's time for you to go out and explore the wonders of virtual reality. The wow factor makes for a great experience to share with loved ones. If you want them to see what you're seeing, check out our guide on how to cast your Oculus to your TV.
Keep in mind that motion sickness can occur when you're wearing a virtual reality headset like the Oculus Quest 2. If it does, simply remove the headset and take a break for at least one hour. Pushing through motion sickness is a good way to turn yourself off from virtual reality for good.
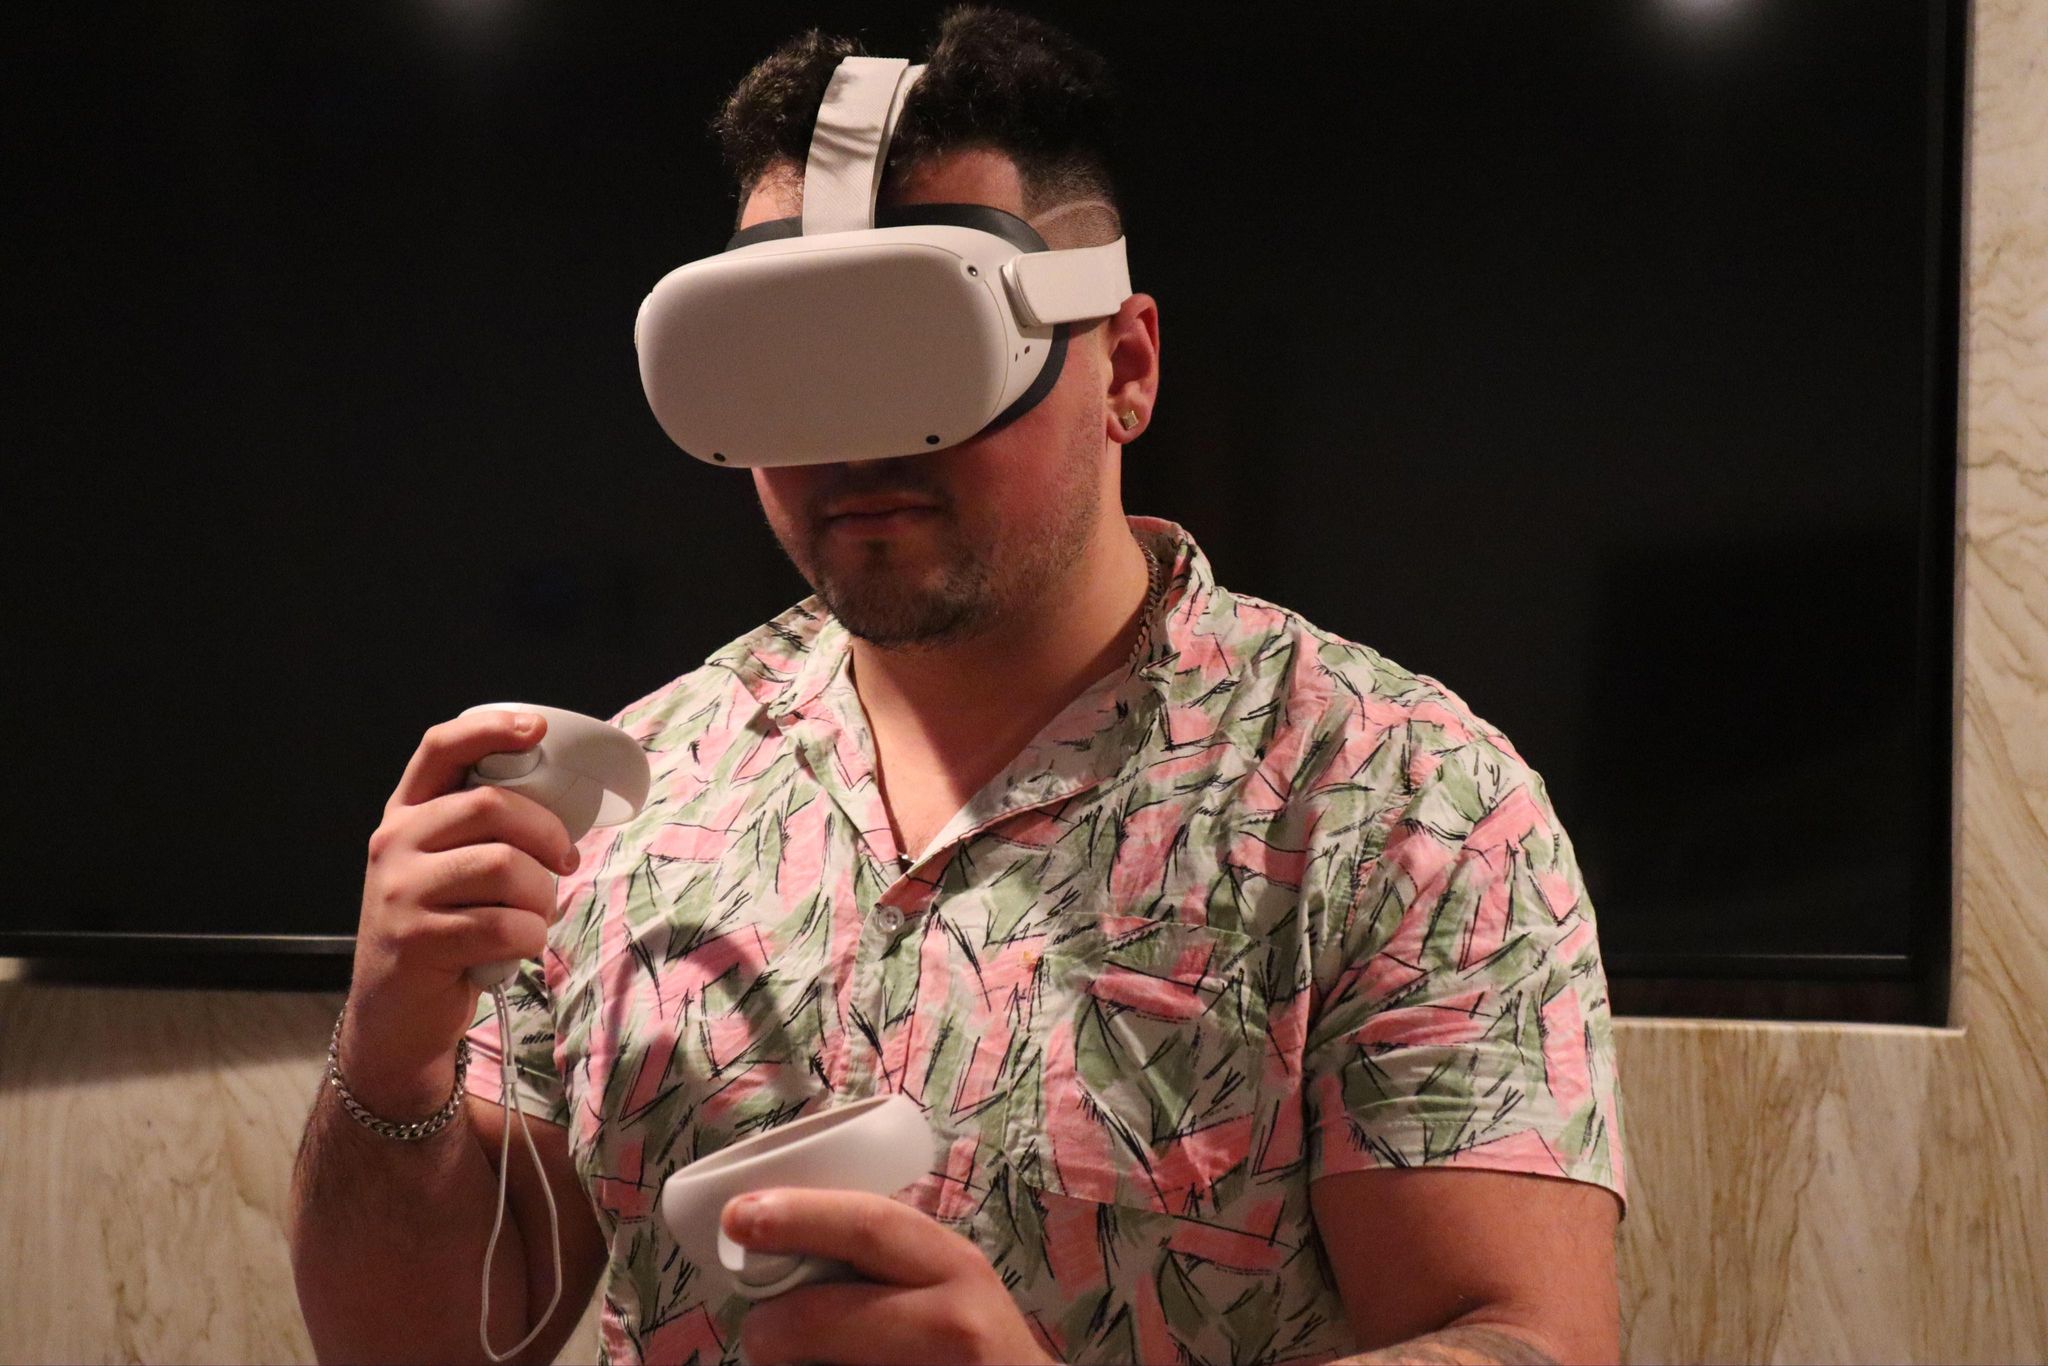
There’s plenty of solo experiences available on the Quest store. Once you get your bearings, we recommend checking out the burgeoning online scene in multiplayer titles. This is an exciting space reminiscent of the early days of online gaming.
Standing next to teammates across the world while interacting in a shared virtual environment elevates the VR experience to new heights.
If you're looking for a more comfortable fit or a better way to charge everything, the best Oculus Quest 2 accessories will also help you get more out of your headset
Hunter Fenollol was a Senior Editor for Tom’s Guide. He specializes in smart home gadgets and appliances. Prior to joining the team, Hunter reviewed computers, wearables, and mixed reality gear for publications that include CNN Underscored, Popular Mechanics, and Laptop Magazine. When he’s not testing out the latest cooking gadgets, you can likely find him playing a round of golf or out with friends feeding his paycheck to a QuickHit slot machine.
Hunter started his career as an intern at Tom’s Guide back in 2019 while in college. He graduated from Long Island University Post with a degree in Communications and minor in Advertising. He has been vlogging ever since the iPhone 4 took front-facing cameras mainstream.
 Club Benefits


