




Few things ruin a clean bathroom faster than discolored, dingy grout lines. No matter how thoroughly you scrub your floor and wall tiles, darkened grout leaves the entire space looking worn and neglected.
Getting your grout sparkling again does not require endless elbow grease or harsh fumes. By switching to an oxygenating paste that breaks down deep-seated grime from the inside out, you can restore your grout lines in minutes.
Here is why bleach fails on grout and the simple method to clean it for good.
Why household bleach fails on bathroom grout
Unlike smooth tile, grout is a cement-and-sand mixture that acts like a microscopic sponge. Every shower forces body oils, soap scum, and hard water minerals deep inside its pores, far past the surface.
Reaching for household bleach only makes things worse.

Household bleach is mostly water, so its active ingredients sit on top of the tile while the water seeps into the grout, feeding the mold's hidden root system. Bleach whitens surface stains, but it can't dissolve buildup.
To permanently lift grime without breaking your back, you need a smart dual approach: an alkaline agent to melt away grease and soap scum, paired with a deep-penetrating oxygenating agent to pull organic stains and mold roots out of the pores for good.
How to restore dingy grout without scrubbing
Instead of liquid sprays that run down the wall before they can work, the trick is creating a clinging paste that lets chemistry do the lifting.
Start by combining half a cup of baking soda, a quarter cup of 3% hydrogen peroxide, and one teaspoon of liquid dish soap in a small bowl.
Stir the ingredients together until they form a thick, toothpaste-like consistency. The dish soap immediately breaks through the oily barrier of soap scum, while the hydrogen peroxide penetrates deep into the grout's pores.

If you have natural stone tiles like marble or slate, skip the baking soda. While it isn't an acid, its gritty texture can scratch and dull highly polished stone finishes; stick to a simple mix of hydrogen peroxide and dish soap instead.
As the peroxide encounters embedded organic mold and grime, it breaks down and releases micro-bubbles of oxygen that expand inside the pores, physically lifting trapped dirt and spores to the surface.
Use an old toothbrush or application brush to paint a generous layer of the paste directly along your discolored grout lines. For vertical shower walls or severe floor staining, you can press strips of plastic wrap directly over the paste-coated grout lines.
The plastic wrap prevents the hydrogen peroxide and water from evaporating, locking in moisture and forcing the active chemical reaction to work against the grout for hours instead of drying out in minutes.
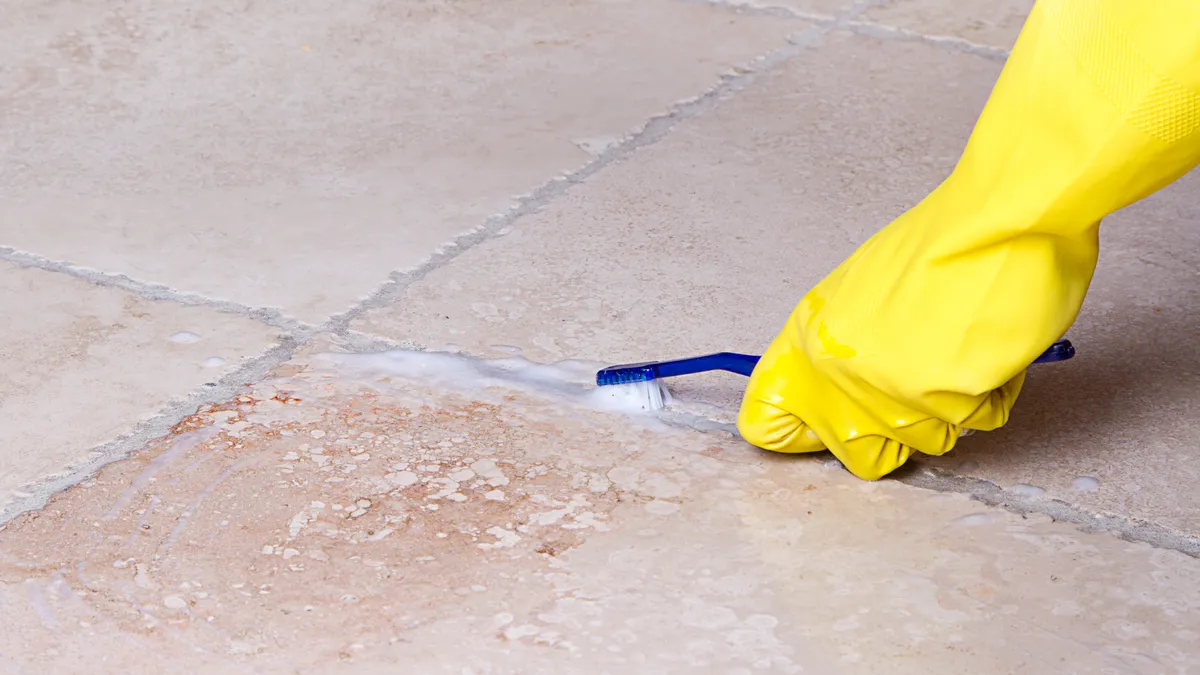
Once the time is up, peel off the plastic wrap and wipe the paste away using a damp microfiber cloth or a warm showerhead stream. The loosened dirt, mold, and soap scum will rinse off, revealing clean, bright grout lines underneath.
How to keep your grout clean permanently
Once your grout is restored to its original color, taking a few preventive steps will keep it bright and save you from deep-cleaning it again anytime soon.
Because freshly cleaned grout is completely exposed, you need to seal it— but timing is everything. Allow the grout to dry completely from the inside out for 24 to 48 hours after cleaning.
Once it is thoroughly dry, paint a clear penetrating grout sealer over the lines. This locks the microscopic pores so water, body oils, and soap scum bead off the surface instead of soaking into the wall.
After every shower, spend 30 seconds squeegeeing the walls to eliminate standing moisture, and, if you have one, leave the exhaust fan on for 20 minutes to keep mold-triggering humidity at bay.

Follow Tom's Guide on Google News and add us as a preferred source to get our up-to-date news, analysis, and reviews in your feeds. Subscribe to Tom's Guide on YouTube and follow us on TikTok.
More from Tom's Guide