

I don’t find cleaning therapeutic, but I do get a dopamine high when I see the results — especially when it comes to rescuing grimy kitchen and bathroom grout.
While the effort is worth it to cook and bathe without staring at stains and mold, there has to be an easier way. To save us all from endless scrubbing, I asked top cleaning experts how to get sparkling grout in a fraction of the time.
Know your stain

According to the cleaning pros, the secret of cleaning less is knowing what you’re fighting against. Once you’ve identified the culprit, you can use the right method without wasting time.
The most common grout stains fall into four categories.
1. Mold and mildew
“Mold and mildew are the top offenders in bathroom environments, creating a black, dark green, or gray color which most people associate with dirty grout,” says Reanato Cruz, cleaning expert and professional organizer at Coastal Maid San Diego.
And for mold and mildew to exist, she says there needs to be moisture present and poor ventilation, which is why it’s usually worse in shower areas.
2. Soap scum
Soap scum, which also includes shampoo and body wash, is another culprit that clings to grout, and is present in bathrooms.
3. Limescale
You may also spot white, chalky, limescale deposits if you live in an area with hard water. These marks will be noticeable in any area where water is present in your home.
4. Grease
“Grease and cooking oil are the primary stain-causing agents in kitchen grout where they penetrate into the pores of the grout and continue to darken it over time,” says Cruz.
These stains can also sink into kitchen floor grout, unless spills are cleaned up promptly.
For light clean ups
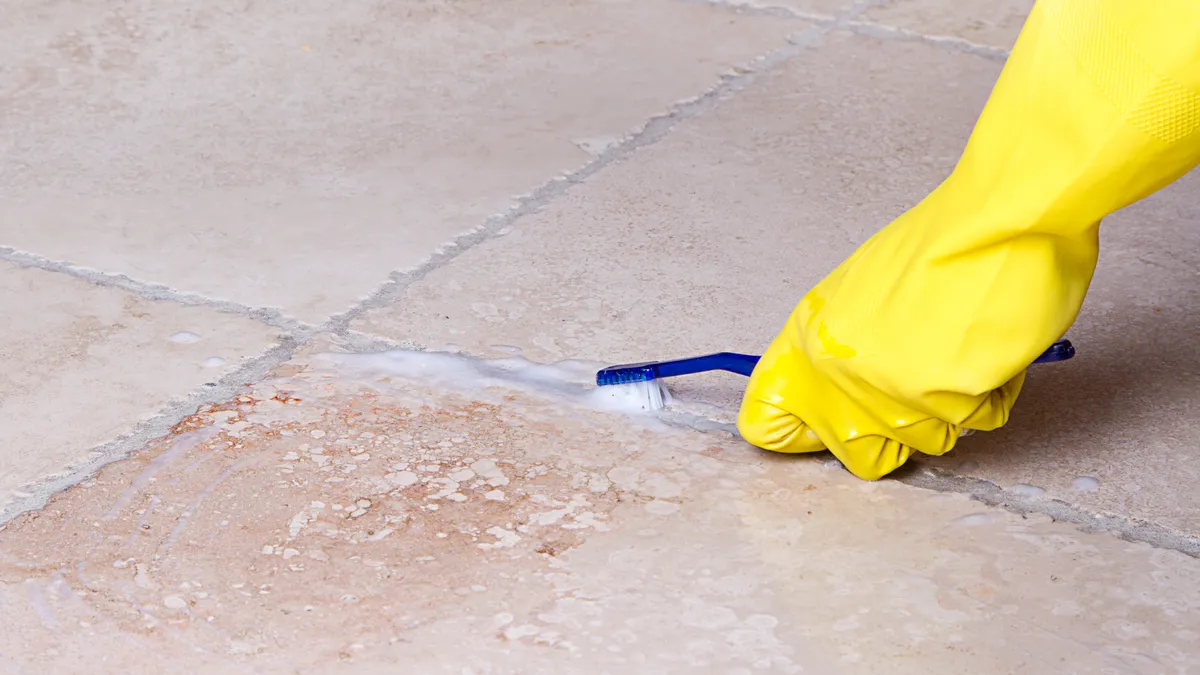
Before applying any liquid solutions to the grout stains, Sara Aparacio, resident cleaning expert at Homeaglow, explains it’s best to take a light approach.
“I usually use a vacuum cleaner to pick up any light, loose grime. Often, grime can cause grout to come loose or consist of loose grains that, if you scrub too hard, will scratch and damage the surface of other parts of the grout.”
It’s only once Aparacio has got a head start with one of the best vacuums and has checked that the surface is dry, that she uses a product.
“I tend to apply a dedicated grout cleaner, like Zep, and work it in with a scrubbing brush or an old toothbrush to help it reach any cracks or crevices, then rinse it and let the grout air-dry.”
Top tip
Like Aparacio, I regularly use toothbrushes around my home for cleaning. They are excellent at cleaning around taps and other tight bathroom corners. I even use a toothbrush to clean the limescale off my showerhead. If you don’t have a spare toothbrush around, you could try OXO’s Good Grips Grout Brush for $7 on Amazon.
Mold and mildew

For stubborn stains and marks from mold and mildew, Aparacio uses hydrogen peroxide: “I’ll spray it onto the grout and scrub it with a toothbrush or similar to work it into the grout surface. After leaving it for roughly 10 to 15 minutes, I’ll then rinse and wipe down the surface.”
She adds, “Some people apply hydrogen peroxide as a foamy solution after mixing it with baking soda, but I find that you’re often doing more work than is necessary.”
However, baking soda does have a place, and she tends to use it for what she describes as "super-targeted" applications.
Cruz isn’t quite so reserved about using baking soda with hydrogen peroxide and recommends a ratio of 2 parts baking soda to 1 part hydrogen peroxide for cleaning grout.
Deep mold
When battling mold that has had time to grow and is not just on the surface level, Cruz recommends using an oxygen bleach solution instead of chlorine bleach. She says, "It will break down mold at a molecular level rather than simply whitening the surface."
To do this, she combines oxygen bleach powder with enough water to form a paste, then applies it to the grout lines. She recommends leaving it to sit for 15 minutes before giving it a scrub and rinsing the surface.
Kitchen grease

Cruz’s solution of using two parts baking soda and one part hydrogen peroxide can be slightly adjusted when cleaning kitchen grease or other areas where grease accumulates on grout. In this scenario, she suggests adding a dash of dish soap to the cleaning solution.
Whether you’re using it with or without the dish soap, she says, “This combination is my first choice due to the fact that it is both effective in removing most stains and non-abrasive on the grout structure itself; produces no hazardous fumes; and can be used on most tile types without fear of damaging them.”
Dwell time

The key issue with most cleaning methods is rushing the "dwell" time, which Cruz describes as the amount of time allowed for the product to set.
"I let mine sit for at least 10-15 minutes depending on how badly stained the grout is. On extremely bad cases or neglected grout, I let mine sit for 30 minutes.
"During this time I check on it periodically to ensure it remains moist rather than dries out. Then, after the time has passed, I begin to gently scrub in a circular motion with a stiff bristle nylon brush."
She advises against using a back-and-forth motion, as this pushes material back into the pores rather than pulling it out.
Finally, she finishes by rinsing the area, as any remaining paste within the grout lines will attract dirt far faster than clean grout.
Stay away from bleach and vinegar

There are two products that both experts warn against using when cleaning grout: Bleach and vinegar.
Bleach
Aparacio explains, “I know some people claim [bleach] it’s a cure-all; it doesn’t really do the job you want it to. Given the smell, potential health risks, and damage it can cause to grout, it’s just not worth it, in my opinion.”
Cruz adds, “Chlorine bleach is good at killing surface mold and whitening out stained areas, but it also damages and degrades the grout sealer with repeated use.”
She also adds that it can fade colored grout and doesn’t resolve mold issues that have developed deep within the pore structure.
Vinegar
Aparacio also prefers to pass on using another cleaning staple. “Vinegar is another solution I’m not a fan of; while yes, it is a natural cleaning method for most grout stains, it’s not nearly as effective as hydrogen peroxide.”
Cruz agrees, saying vinegar isn’t suitable for alkaline cement-based grout. “Acidic solutions such as vinegar will break down and dissolve the cementous particles rather than simply cleaning them. Repeated usage will weaken the grout structure over time and contribute to accelerated degradation, which is not immediately apparent but quite real.”
She also shares that white vinegar is incompatible with natural stone tile, such as marble and travertine, and will permanently etch their surfaces.
Be cautious before you use any product
Whatever product you choose, Aparacio says you must check whether it’s safe for your surface, adding, “You don’t want to use a cleaning solution on the grout that could mark or damage the surrounding area.”
The best tools for cleaning grout

Although wire brushes and metal scrubbing pads appear more abrasive than other options available and therefore more likely to be successful, Cruz warns against using them.
“They will scratch tile surfaces and expand existing grout pores even further, creating additional susceptibility to future staining rather than reducing it. “
Instead, she recommends using stiff nylon brushes, which deliver sufficient mechanical action for effective scrubbing while minimizing damage. And if you don't have a specialist brush at hand, a toothbrush will do the job.
How to prevent grime taking over your grout
Seal out the grime
Both experts agree that you can't go far wrong with applying a grout sealant to reduce the need to deep clean grout. "It helps prevent stains from seeping into porous grout surfaces, making future cleaning far easier and helping prevent permanent staining," explains Aparacio.
Cruz adds, "Cement-based standard grout is extremely porous and will soak up whatever comes in contact with it unless there is a sealant protecting its pores."
She recommends sealing newly installed grout after it has fully cured and reapplying the sealer every 6-12 months in high-traffic, high-humidity areas, such as bathroom walls and floors and kitchen backsplashes.
Maintain good habits
Even if you do use sealant on the grout, the next best solution is prompt cleaning of messes and wipe-downs of grout surfaces.
Cruz also suggests running your exhaust fan for at least 20 minutes after showering to prevent excess moisture from collecting in your grout. Using a squeegee on your shower walls after showering will remove water and soap residue before they can penetrate further.
She also recommends quickly wiping up spills on kitchen tiles to minimize potential damage from grease or acidic foods, such as tomato sauce, which can easily penetrate unsealed or worn-out grouting.
And to keep your grout in good shape, she recommends giving it a regular light brush with a pH-neutral cleaner to reduce the need for aggressive treatments.
Cleaning essentials we love

Follow Tom's Guide on Google News and add us as a preferred source to get our up-to-date news, analysis, and reviews in your feeds.
More from Tom's Guide
- Ditch the bleach: The common bathroom mistake that’s silently destroying your sealant
- Not vinegar — I just discovered an unusual hack to get rid of hard water stains on glass, and I can't wait to try it
- I tried everything to banish limescale from my toilet, but the solution was this cheap household item I already had in my cupboards