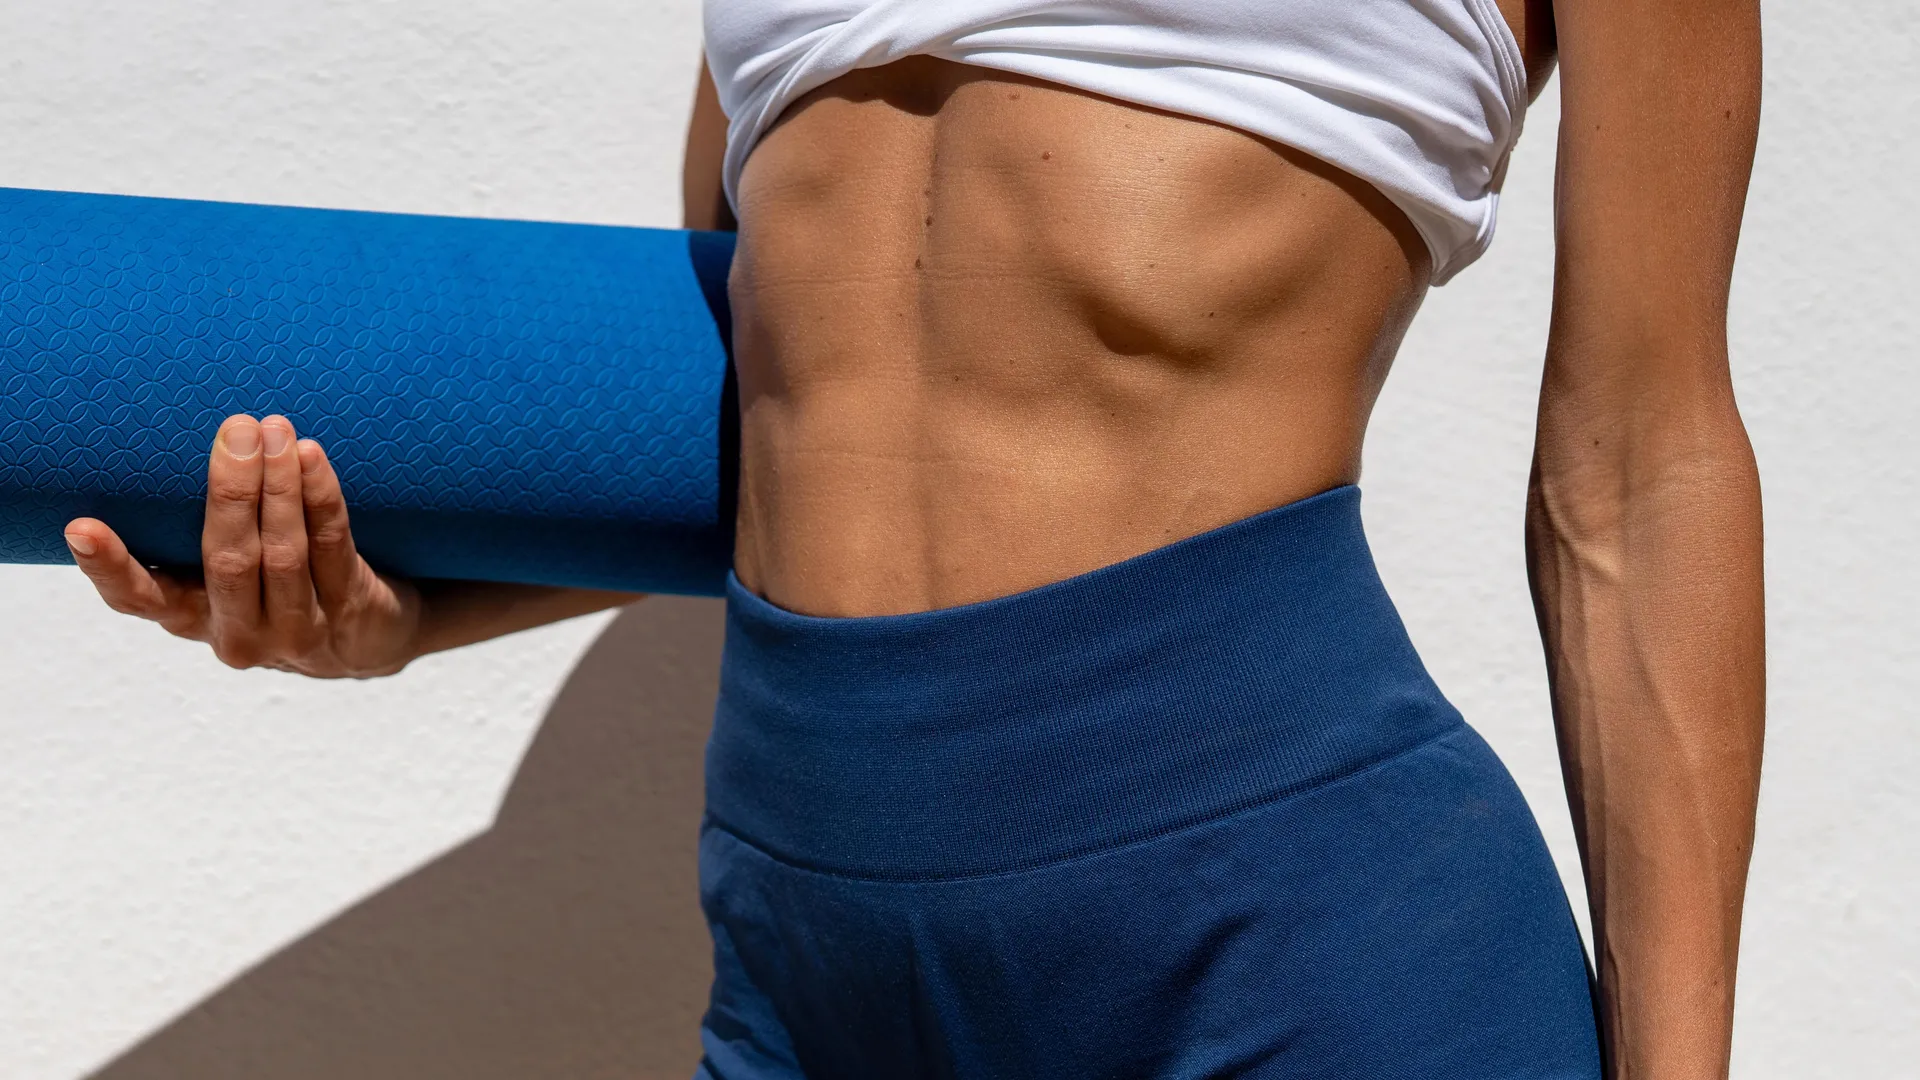
I’ve been practicing Pilates for the past 15 years — it’s helped me get to the start line of six marathons without injury, as well as rebuild my core postpartum. While crunches and sit-ups are great at targeting the six-pack, ‘outer’ core muscles, when it comes to working your internal and external obliques, as well as your deep transverse core, Pilates bicycles come out on top. Read on to find out more about this deep oblique sculpting move, as well as the variations to try.
As a reminder, what works for me might not be right for you and your body. If you’re a complete beginner, you’re pregnant or postpartum, or you’re currently working with an injury, it’s always best to seek personalized advice from a qualified professional.
What is the exercise?
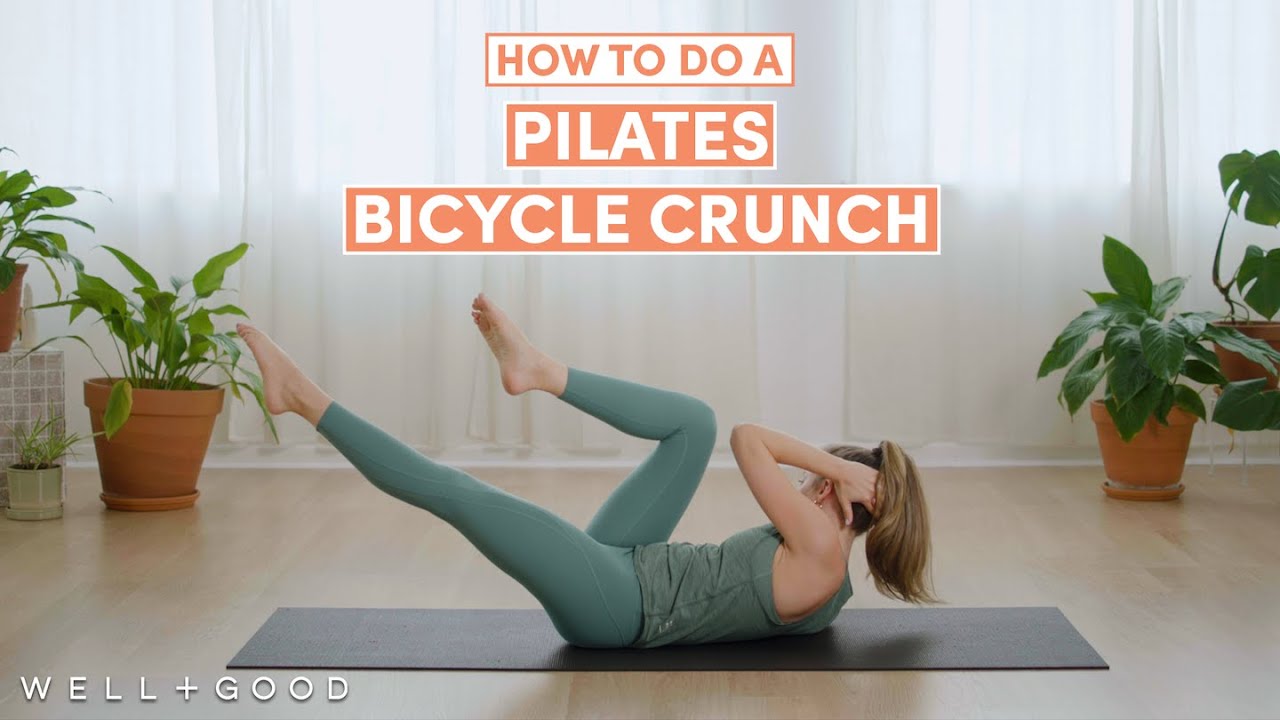
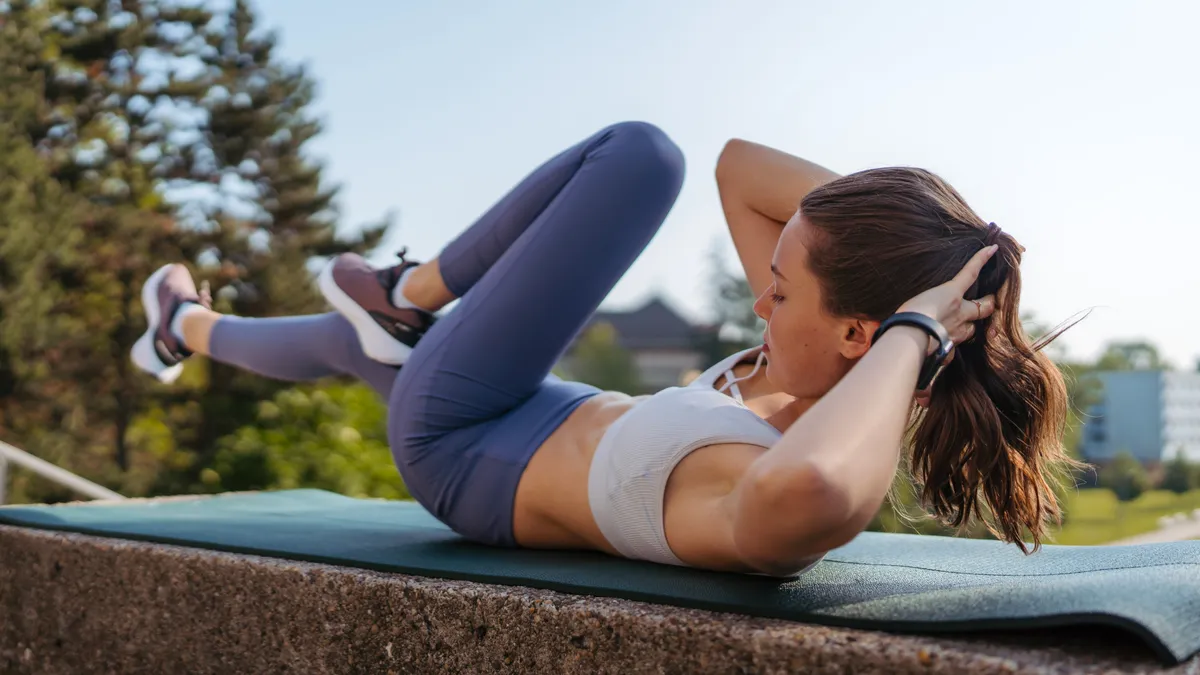
Unlike traditional bicycle crunches, Pilates bicycles focus on slow, controlled movements. The slower you move, the harder your core has to work during this move, so don’t be tempted to rush. This move is considered the ‘gold standard’ for targeting your obliques, but to ensure they’re working, you’ll need to perform the exercise with good form, so read all our top tips below, as well as watch the video from Pilates instructor Chloe De Winter.

Here’s how to do the Pilates bicycle crunch. You won’t need any additional equipment for this exercise, but using one of the best yoga mats can help keep things more comfortable:
- Start by lying on your back on your yoga mat and think about engaging your core. To do this, imagine you are zipping your abs up and in. Your lower back should be pressed into your exercise mat, and your core should be braced, with your pelvic floor muscles engaged.
- Bring one leg, then the other, into tabletop position. You should have a 90-degree bend in your hips, with your shins parallel to the floor.
- Rest your hands behind your head, with your elbows wide. Don’t interlace your fingers, as you don’t want to pull on your neck; just rest your fingertips behind your ears.
- Press your lower back into the mat. There should be no gap between your back and the floor.
- Lift your head, neck, and shoulders off the mat and take your eyegaze down toward your inner thighs.
- Exhale, and rotate your upper body, and reach your left elbow to touch your right knee. At the same time, extend your left leg out to a 45-degree angle (or lower if you can keep your back flat against the floor). Point your toes.
- Pause here, then inhale and return to the center. Exhale, and rotate to the left, reaching your right elbow to your left knee while extending your right leg.
- Move slowly and with complete control.
During this exercise, think about really rotating your torso and twisting — imagine you’re taking your armpit towards your knee, not your elbow, as this forces your obliques to really do the work. Keep your pelvis still throughout the move — it shouldn’t be rocking from side-to-side as your legs move.
Finally, count to three for every single rotation. You don’t want any momentum in this move; you want your deep, stabilizing muscles to be doing all of the work.
What are the benefits?
Deep oblique engagement
Your obliques are the rotational muscles in your midsection. You have internal and external obliques, and they sit down the sides of your torso. They are often missed in ab exercises like crunches and sit-ups, but they are essential for better strength and balance, as well as building rotational power.
The rotation in this exercise forces the internal and external obliques to work in this move, which helps build on your deep oblique strength. Again, the key is to move slowly, as this keeps the obliques under tension for longer. I like to pause in the ‘crunch’ element of this move for a few seconds.
Working your deep core
Your deep transverse abdominis muscle is working hard in this move to keep your lower back pressed into the floor. These muscles are responsible for protecting your lower back and acting as your body’s natural corset, improving your overall balance and stability.
Strengthening your hip flexors
The leg extension in this exercise means your hip flexors will be working hard in this move. If, like most people, you spend a lot of time sitting down behind your desk, there’s a good chance your hip flexors will be pretty tight. Working and strengthening them can help improve your overall strength and help reduce injuries.
What are the progressions?
Once you’ve mastered the simple Pilates bicycle, there are a few ways you can progress this move:
- Add weight: Adding weight to the Pilates bicycle increases the resistance. To do this, wear a set of the best ankle weights, or hold a light dumbbell in each hand as you move. Your core will have to work even harder to prevent your lower back from peeling off the floor as you extend your leg.
- Use a Pilates ring: Another progression is to hold a Pilates ring or pillow between your palms. As you rotate, squeeze the ring firmly. This helps knit the ribs towards the hips, resulting in a deeper oblique contraction.
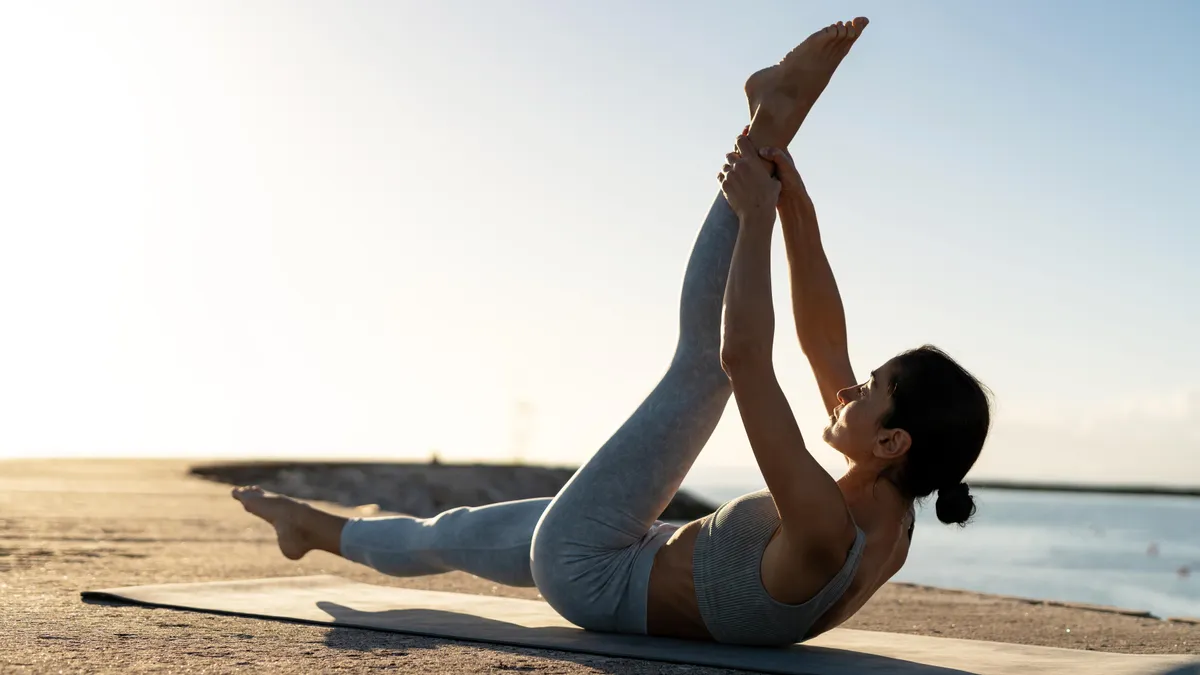
- Straighten your legs: To really challenge your hamstring flexibility and hip flexor strength, straighten both legs to the ceiling instead of keeping them in the tabletop. As you twist, lower the opposite leg to hover just above the mat, while the other stays vertical. This puts the lower abs under tension.
- Add a pulse: Another way to increase the tension is to add two small pulses to the top of the movement, pulsing your elbow towards your knee, before returning to your starting position and repeating.
Follow Tom's Guide fitness on Instagram for more workouts, routines, tips, and tricks.

Follow Tom's Guide on Google News and add us as a preferred source to get our up-to-date news, analysis, and reviews in your feeds.
More from Tom's Guide
- I’m a physical therapist who works with seniors: Here are the 5 bodyweight exercises I recommend
- No, not planks! I'm a personal trainer for seniors, and these are the 4 best exercises you can do for core stability at every age
- Over 60? I’m a personal trainer, and these 3 floor exercises will show you how strong your core is