
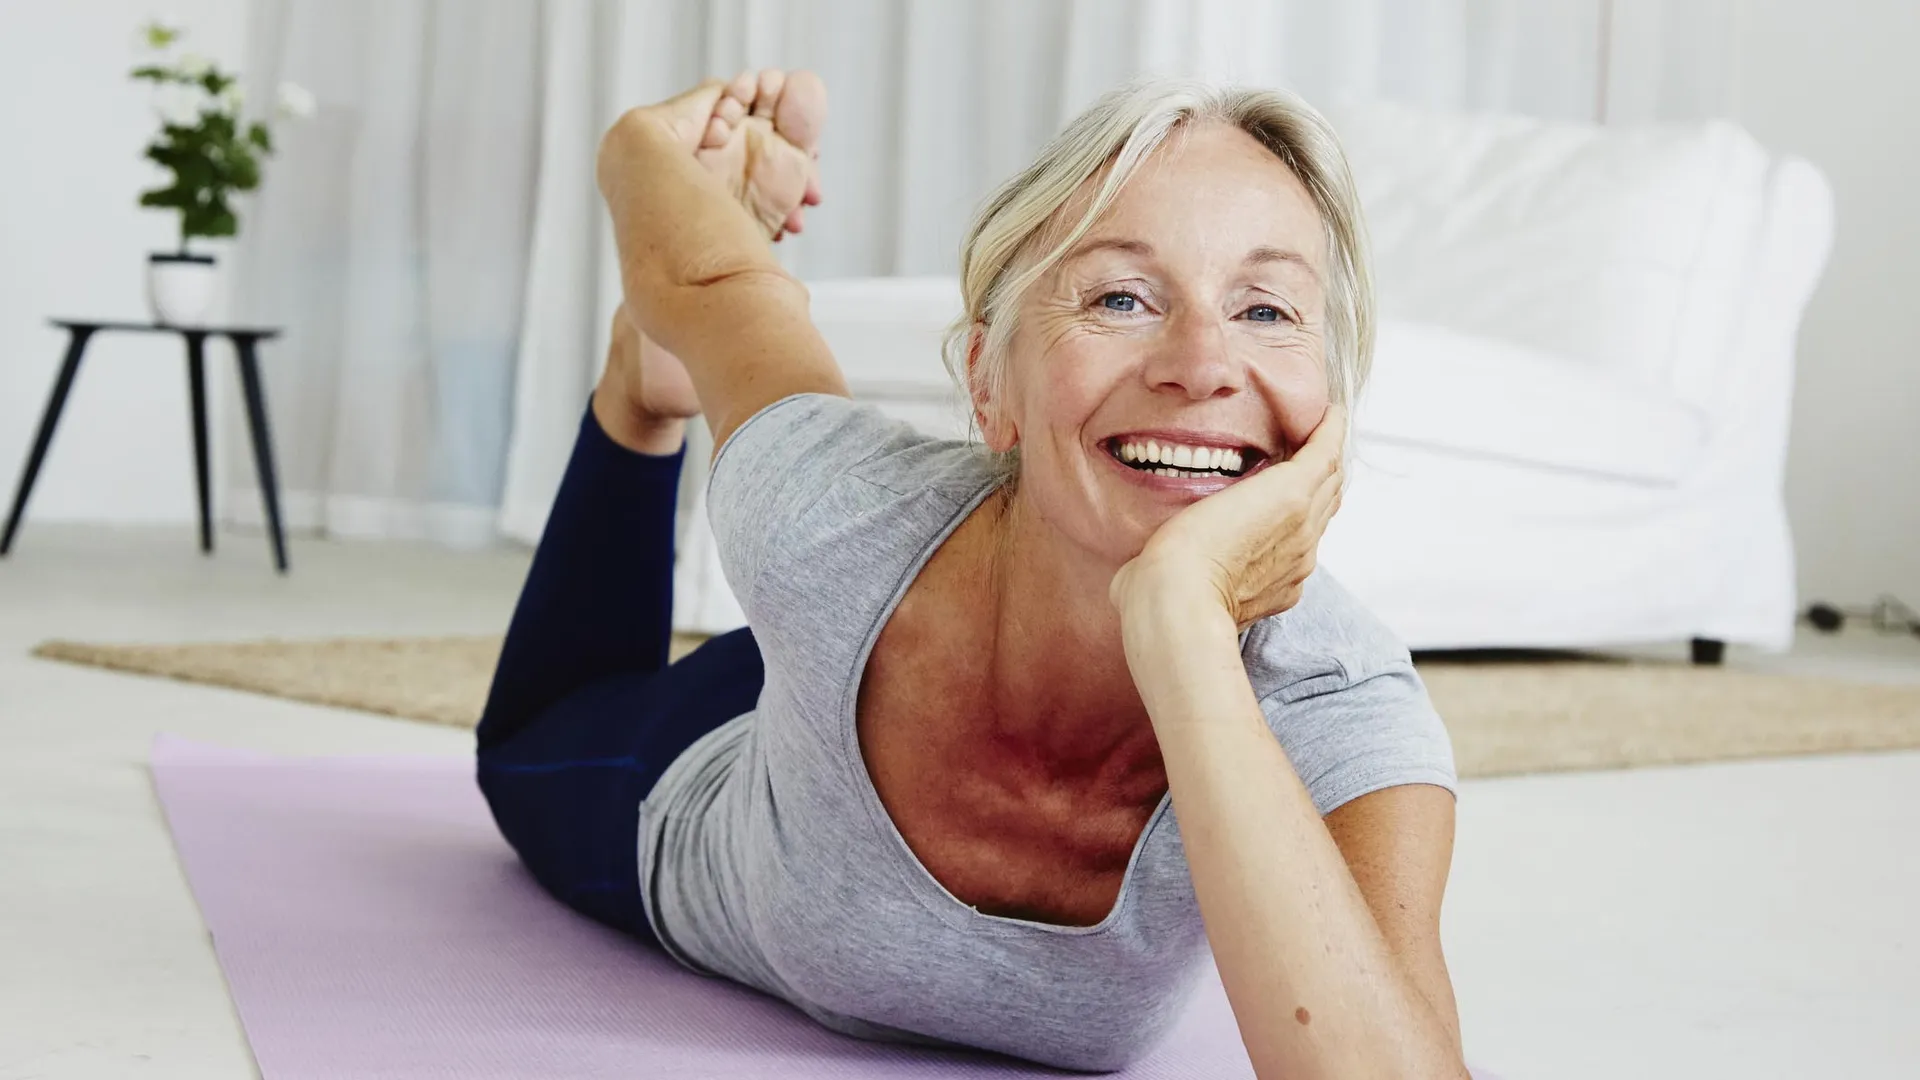
The famous yoga pigeon pose isn't for everyone, whether it's due to preference, mobility, or injury. Recently, I found another stretch I think I prefer to pigeon pose for stretching tight hips and glutes; it's another yoga favorite called cow-face pose.
Cow-face, also called Gomukhasana in Sanskrit, is a seated posture that stretches your outer hips, shoulders, arms, and glutes, but for this variation, I am focusing solely on the lower body. Call it modified cow-face, if you will.
Done with proper form (with the guidance from your teacher), the pose can help ease some symptoms of sciatica and relieve tension in muscles that become weak and inactive during prolonged periods of sitting, like your hips and glutes.
You won't need anything other than an exercise mat, and I recommend checking out the best yoga mats to help you relax more during your practice. Here's how to do the cow-face pose and the benefits.
What is cow-face pose?
Cow-face essentially involves sitting on your mat with your knees stacked and heels close to your body. As mentioned, it targets your hips and glutes, and the full expression involves clasping your hands behind your back to help stretch your upper body (many yogis use a strap if they have limited mobility).
You'll start with one leg over the other, then swap arms and legs to stretch both sides of the body.
Cow-face essentially involves sitting on your mat with your knees stacked and heels close to your body
I train people from all walks of life and all age groups, but when it comes to stretching and flexibility, I've learned the most from my yoga practice. It's helped me to unlock mobility while learning how to stretch deeply and safely.
That doesn't mean cow-face pose must replace pigeon pose, or vice versa; as with all exercise, some things just work better for some people. For me, I am currently loving this posture.
I've always loved pigeon pose, but I know many people have contraindications that prevent them from accessing it, so popular alternatives involve figure-4 and 90/90 poses. While cow-face will not be for everyone, it can help provide a deep stretch and relieve low back pain if it works for your body.
But as I always say, if you have an injury, a health condition, knee or back pain, or you're pre- or postnatal, I strongly advise speaking to both a physician and a yoga teacher before you start a new exercise, even if it works for me and my body, it might not for you.
How to do modified cow-face pose
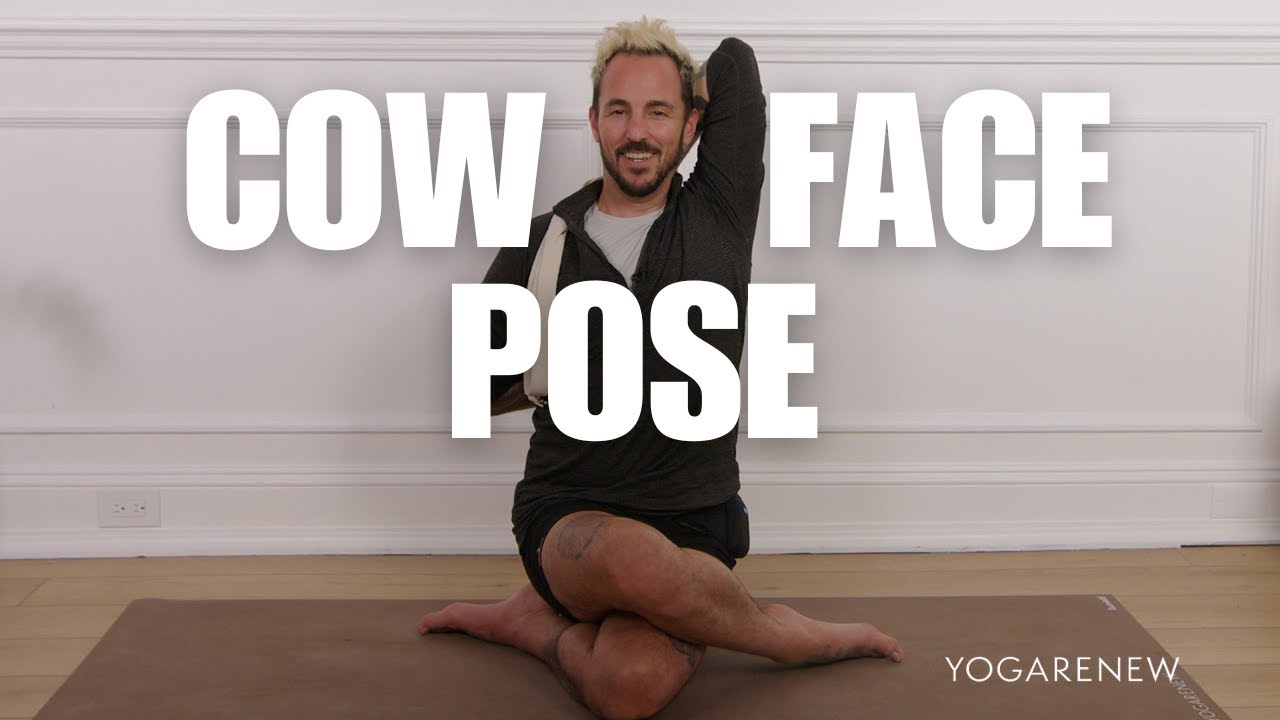
As I mentioned, I wanted to focus on the lower body portion of this exercise, but the full expression of cow-face also includes the upper body. You can sit on a yoga block if you prefer, which is great if you are especially tight.
Check out the steps for this modified version:
- Start seated with your legs out in front of you, knees bent and feet planted
- Take your left leg underneath your right leg, tucking the foot close to the body towards the outside of the hip
- Shift your left thigh in slightly so that it's aligned with your pelvis and stomach
- Swing your right leg over your left thigh, lining up your knees so that they stack and are aligned with your upper body
- Flex your top foot and rest on the top of the bottom foot
- Hold the stretch, breathing deeply in and out for at least 30 seconds, then slowly release the stretch as you came into it and switch sides.
You can follow along with the video for the full pose if you desire, or stick to focusing on the lower body as I do. To add intensity for the glutes, see if you can hinge at the hips and walk your hands forward to fold over your legs. This is optional, and if it causes any pain, stop immediately.
What is cow-face pose good for?
I turned to Yoga Renew for the how-tos, and they reiterate that cow-face is great for strengthening your outer hips, and in the full version of the pose, your stomach, upper back, spine, shoulders, and arms. Think about the muscles that can become hunched, tight, or weak when you sit at a desk for long periods.
This is important because when these muscles become tight or weak, they can create imbalances in the body that can cause injury or a limited range of motion as you get older. It's a good idea to break up long periods of sedentary time during the day using mobility exercises, micromovement routines, or walks to help you stay active.
For me, I like to focus on the lower body for this pose, as I have found it feels much better on my hips and glutes.
For me, I like to focus on the lower body for this pose, as I have found it feels much better on my hips and glutes.
The pose is used in lots of flows, but particularly in Yin yoga, where you can settle into the stretch and focus on a steady breath. Over time, you might notice a release of any stored tension, especially in the outer hips and thighs. If you include your upper body in this pose, it will also help you improve posture and release upper-body tension. If you fold forward and draw your hips down, you may feel this more in your glutes.
Lower-body mobility doesn't discriminate; anyone from the super active to the super sedentary can suffer from tight muscles and joints, and while it's better to start at any age than doing nothing at all, the sooner you begin focusing on the quality of your movements, the better.

I was shocked to learn from a 40-year study that fitness markers begin declining around 35 and continue to decline through the decades. I know as a trainer that my clients in their 40s, 50s, and beyond may begin to notice changes to balance, lean muscle, body fat, and strength, but still, it shook me.
In short, I highly recommend trying exercises like Pilates or yoga to help you focus on strengthening, mobilizing, and building flexibility as you get older, no matter your age now. And I wouldn't be doing my job if I didn't say resistance training and keeping active will serve you well later in life if your goal is to build or maintain muscle and strength.
Learning moves like this will be a game-changer for your daily routine or workouts. See if you can sit and breathe for 30 seconds per side, and consider spending longer here if you enjoy it.
Why not give it a try and let us know how you find it?
- Follow Tom's Guide fitness on Instagram for more workouts, routines, tips, and tricks.

Follow Tom's Guide on Google News and add us as a preferred source to get our up-to-date news, analysis, and reviews in your feeds.
More from Tom's Guide
- A yoga teacher told me to make this one simple tweak to pigeon pose, and it's transformed how I stretch my hip flexors
- We know weight training prevents muscle loss after 40, but what 3 moves should you start with?
- I train clients over 60, and this is one exercise I use to build lower-body mobility, strength and stability