How to Use the iPhone XS, iPhone XS Max and iPhone XR
Use these tips to help you master the iPhone XS, iPhone XR and iPhone X — from how to navigate the devices to getting the most out of their new features.
Here at Tom’s Guide our expert editors are committed to bringing you the best news, reviews and guides to help you stay informed and ahead of the curve!
You are now subscribed
Your newsletter sign-up was successful
Want to add more newsletters?

Daily (Mon-Sun)
Tom's Guide Daily
Sign up to get the latest updates on all of your favorite content! From cutting-edge tech news and the hottest streaming buzz to unbeatable deals on the best products and in-depth reviews, we’ve got you covered.
Weekly on Thursday
Tom's AI Guide
Be AI savvy with your weekly newsletter summing up all the biggest AI news you need to know. Plus, analysis from our AI editor and tips on how to use the latest AI tools!

Weekly on Friday
Tom's iGuide
Unlock the vast world of Apple news straight to your inbox. With coverage on everything from exciting product launches to essential software updates, this is your go-to source for the latest updates on all the best Apple content.
Weekly on Monday
Tom's Streaming Guide
Our weekly newsletter is expertly crafted to immerse you in the world of streaming. Stay updated on the latest releases and our top recommendations across your favorite streaming platforms.
Join the club
Get full access to premium articles, exclusive features and a growing list of member rewards.
How to Set Up an iPhone XS with iTunes or iCloud
A year after springing the iPhone X on the mobile world, Apple has tripled-down on that model's distinctive design and innovative features with three additional members of the x family. A month after the iPhone XS and iPhone XS Max arrived, the iPhone XR is now on the scene, sharing many of its two siblings' features, even though it boasts a lower price tag.
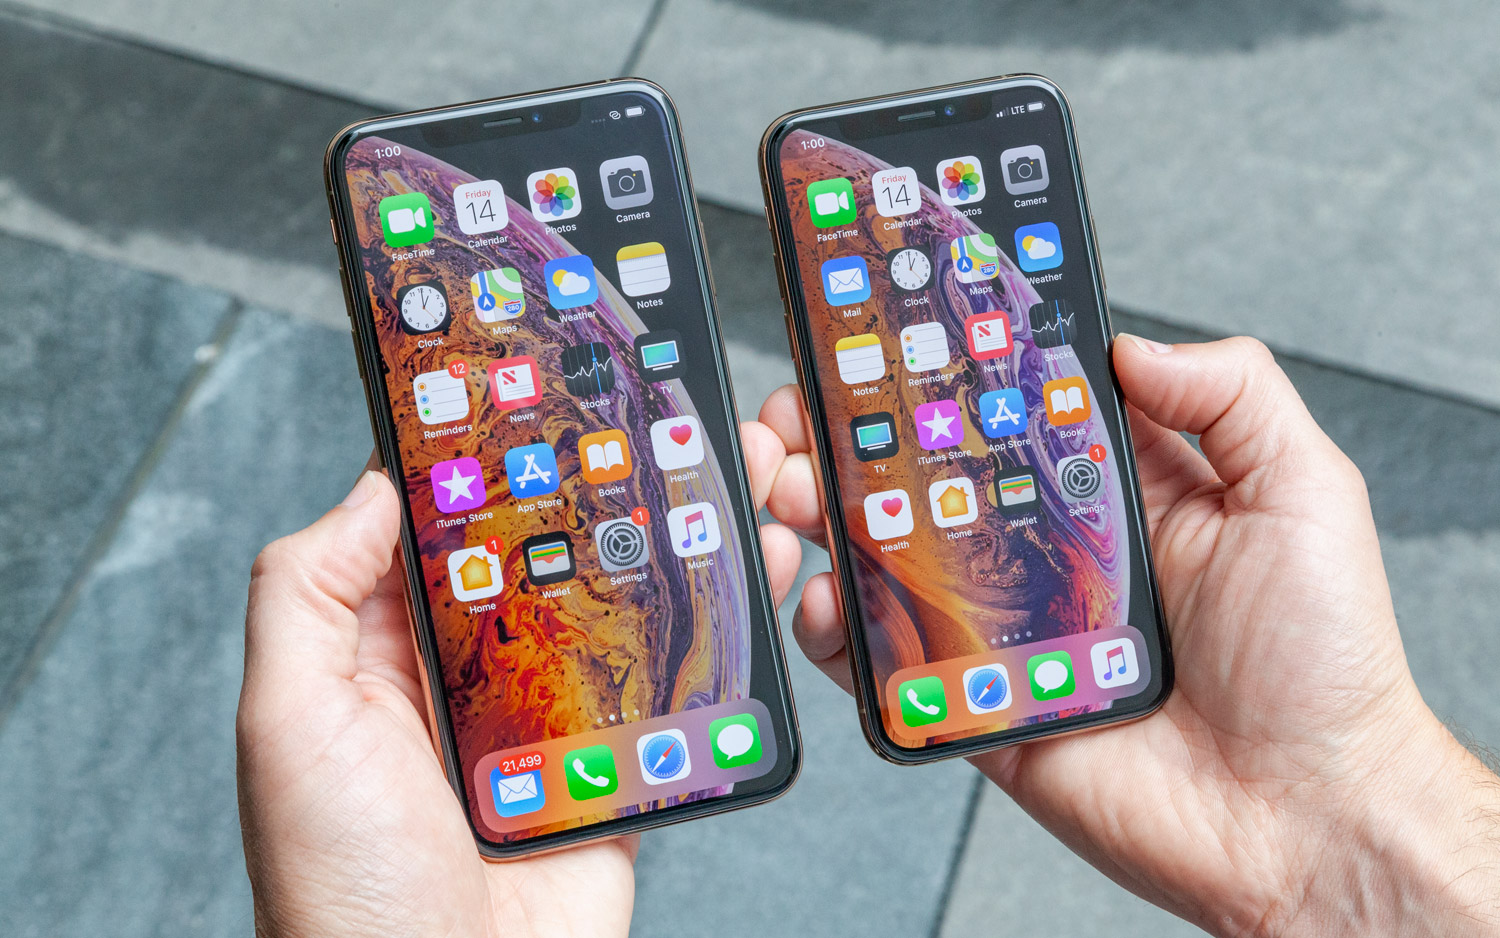
There's a lot that's familiar about these new phones. TrueDepth camera-powered features like Face ID and Animoji return, and as with the original iPhone X, you'll have to be ready to live life without a physical home button with these new models. There are new features, too, mostly centering around the iPhone XS's improved cameras and the new capabilities the phones' new sensor enables.
If you're getting your hands on a new iPhone, whether it's the XR, XS, XS Max or even an original X that you've found on sale, you're likely eager to fire up your phone and start exploring. Make sure you spend some time with these features first:
- Face ID lets you use your face to unlock your phone and confirm mobile payments. You'll want to consider setting up this feature right away.
- The lack of a physical home button can be a bit jarring if you're upgrading from an iPhone 8 or earlier. Familiarize yourself with the new way to close apps, switch between apps, take screenshots and turn off your phone.
- Some of the major changes in the iPhone XS and XS Max involve the phones' improved cameras. Two of those features include Smart HDR and the ability to adjust the depth on portrait shots even after you've snapped the photo.
- Another big change introduced by the iPhone X and continued on the XS family is the addition of Animoji — animated emoji you use in Messages (and now FaceTime) to add some personalization to your communications.
Before you can spend some time getting to know these iPhone X features, though, you're going to get your new phone set up. Here's how to get things up and running on any iPhone X model.
How to Set Up an iPhone XR, XS or XS Max with iTunes or iCloud
After you gingerly remove your new iPhone XS from its packaging, Apple offers three ways to set up the device. If you want to leave the past behind and start fresh, you can set your up as a brand new phone without restoring any of your old settings.
But if you have a lot of apps, photos, music or other files you really want to move from your old phone to your new one, you can restore from a backup you either stored in the cloud or within iTunes. We’re gonna show you both ways. And just in case you have an older iPhone X or are preparing to pick up an iPhone XR later in October, all of these suggestions still apply.—Caitlin McGarry
Restoring From iTunes Backup
Get instant access to breaking news, the hottest reviews, great deals and helpful tips.
After you power on your new iPhone and select your language and country, you’ll be prompted to either restore your iPhone from a backup, set up your device as a new iPhone, or move data from an Android device. In this case, you’ll select Restore from iTunes Backup.
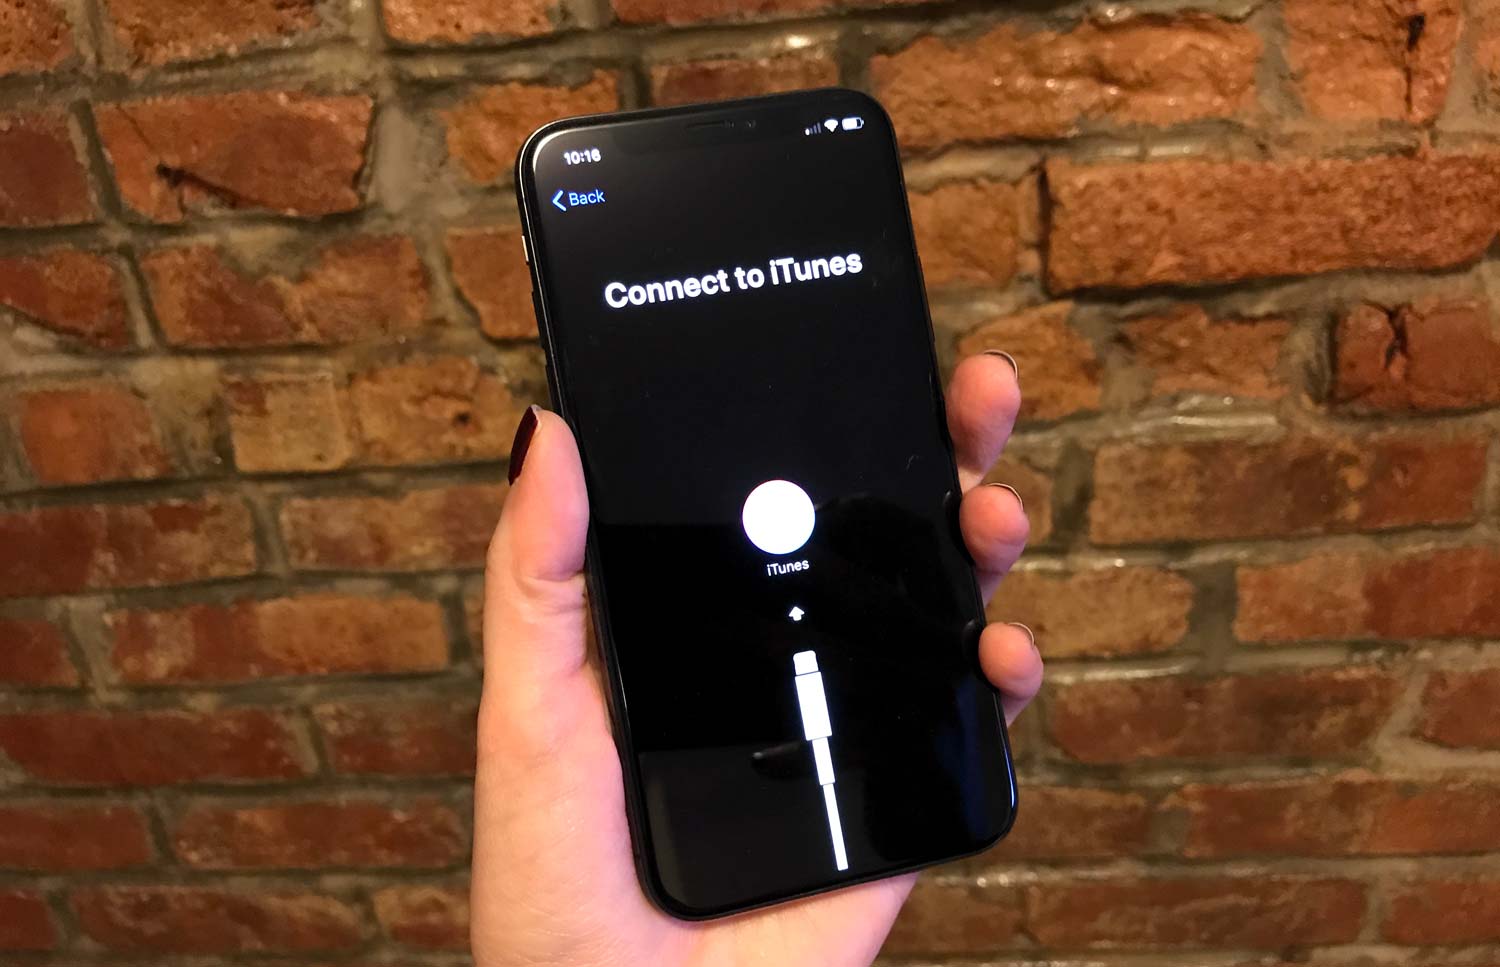
1. Connect your new iPhone to your computer using the included Lightning-to-USB cable. (If you have a MacBook with only USB Type-C ports, you’ll need to buy a Lightning-to-USB Type-C cable. I know. Sorry.)
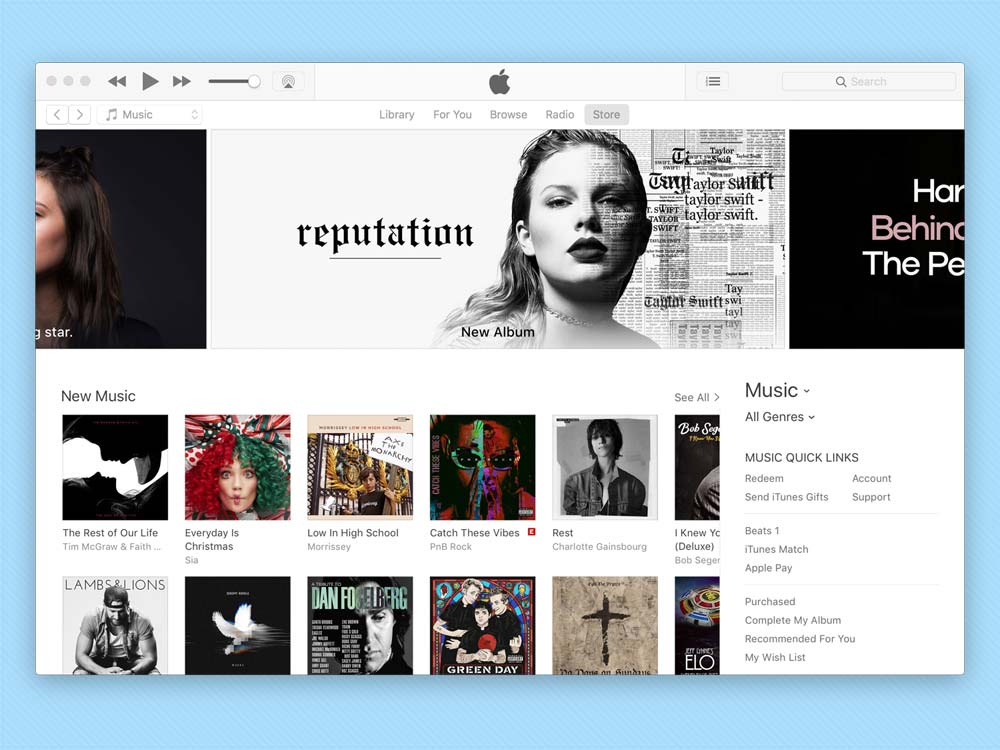
2. Open iTunes if it doesn’t open automatically.
iTunes will ask you if want to allow your computer to access information on your iPhone at the same time your iPhone will ask if you trust this computer. Tap Trust on your iPhone and click Continue on your computer.
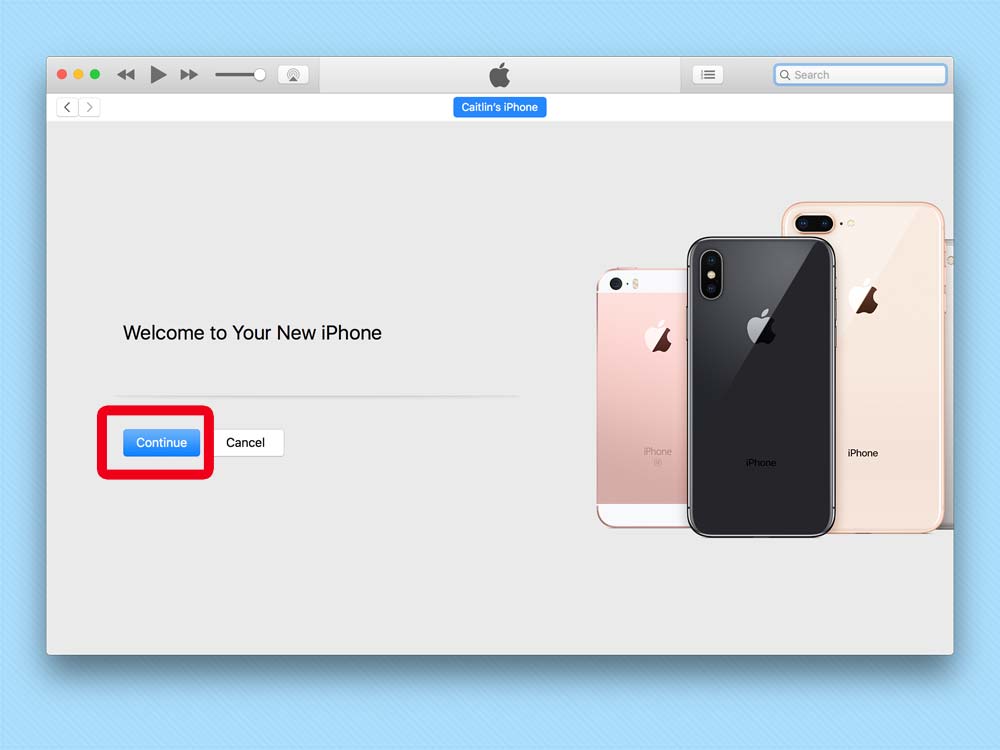
3. iTunes will then greet you. Click Continue, then click Get Started.
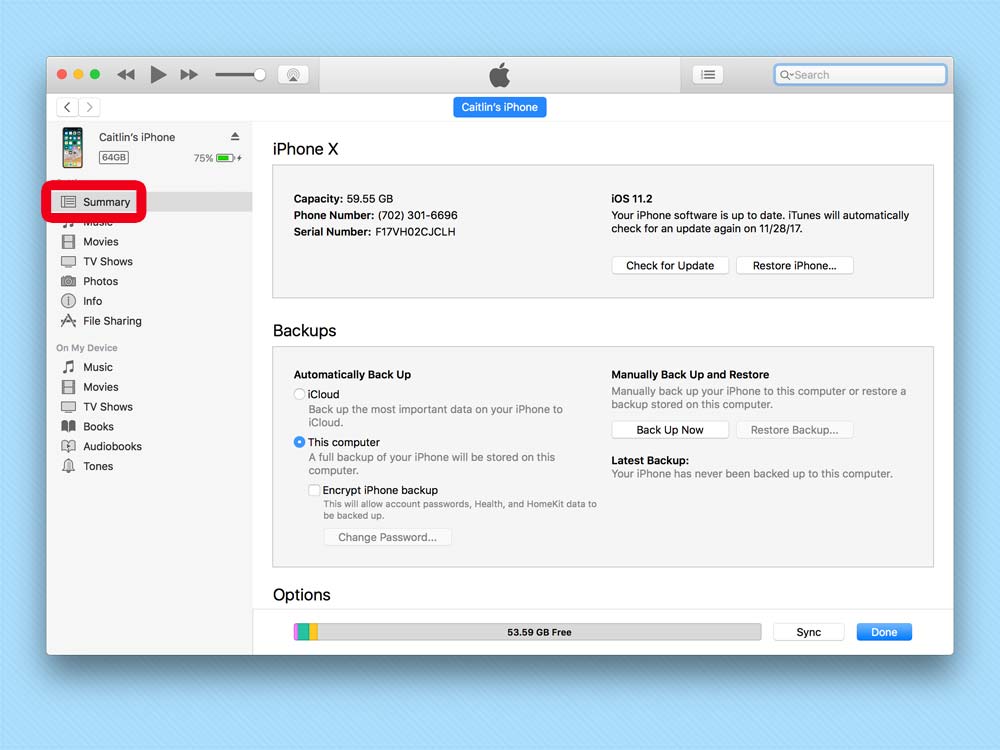
4. Select your iPhone X in the list of devices on the left panel. Click the iPhone’s Summary tab, which will tell you about your device and give you information about your backups.
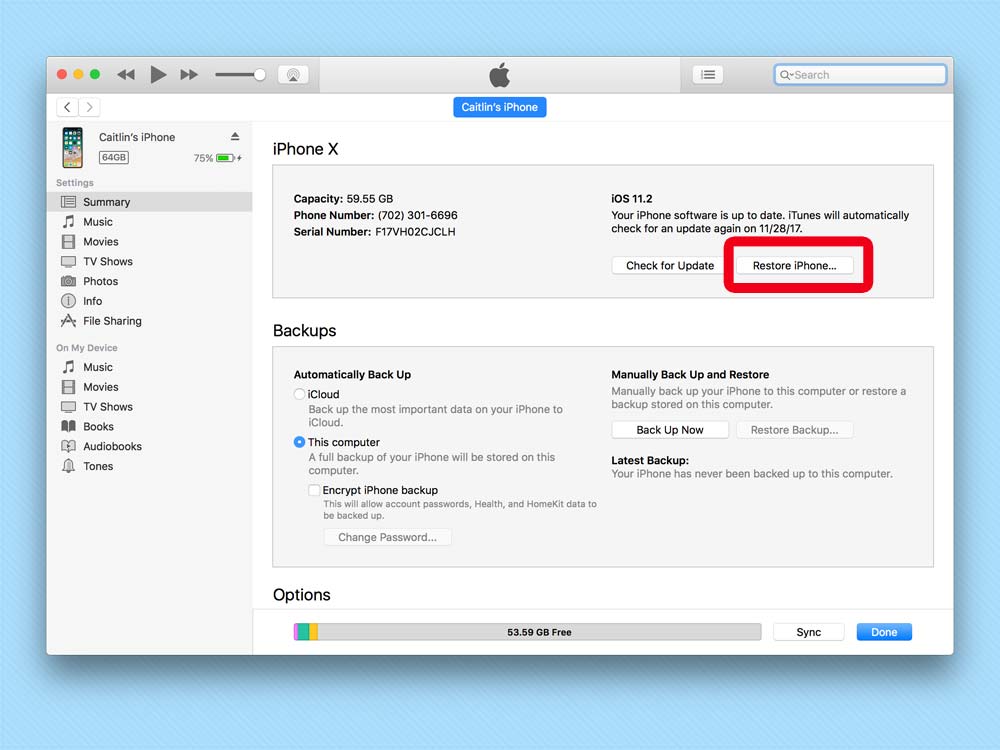
5. Select Restore Backup. If you have backups of multiple devices, you’ll be able to tell which is most recent thanks to a time and date stamp.
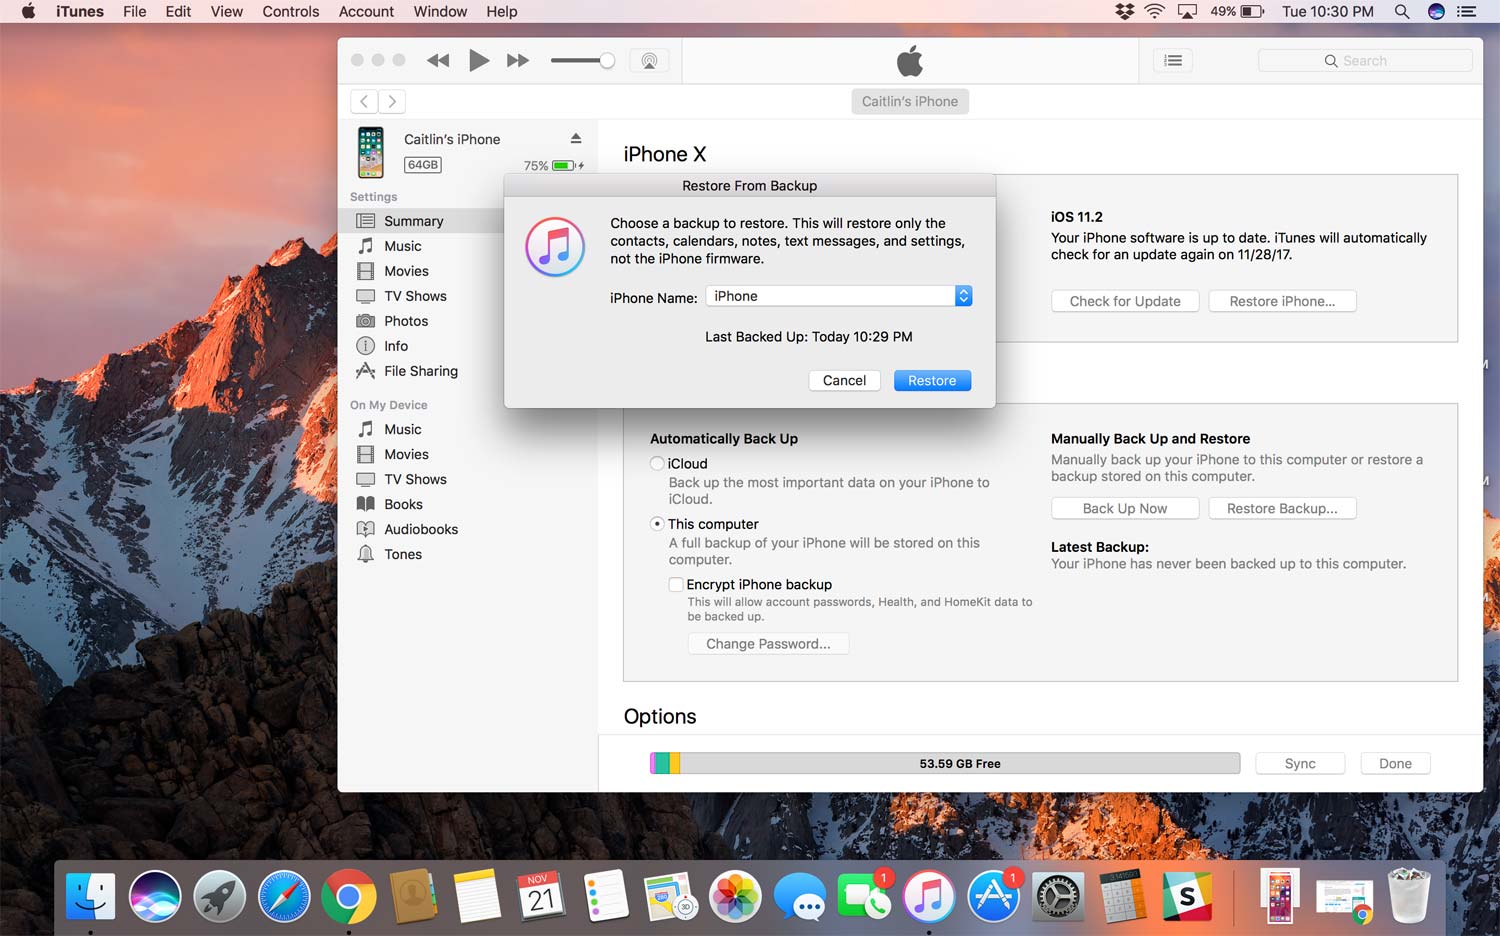
6. After you restore the backup, sync your phone to your computer. Then eject the device.
Restoring From iCloud Backup
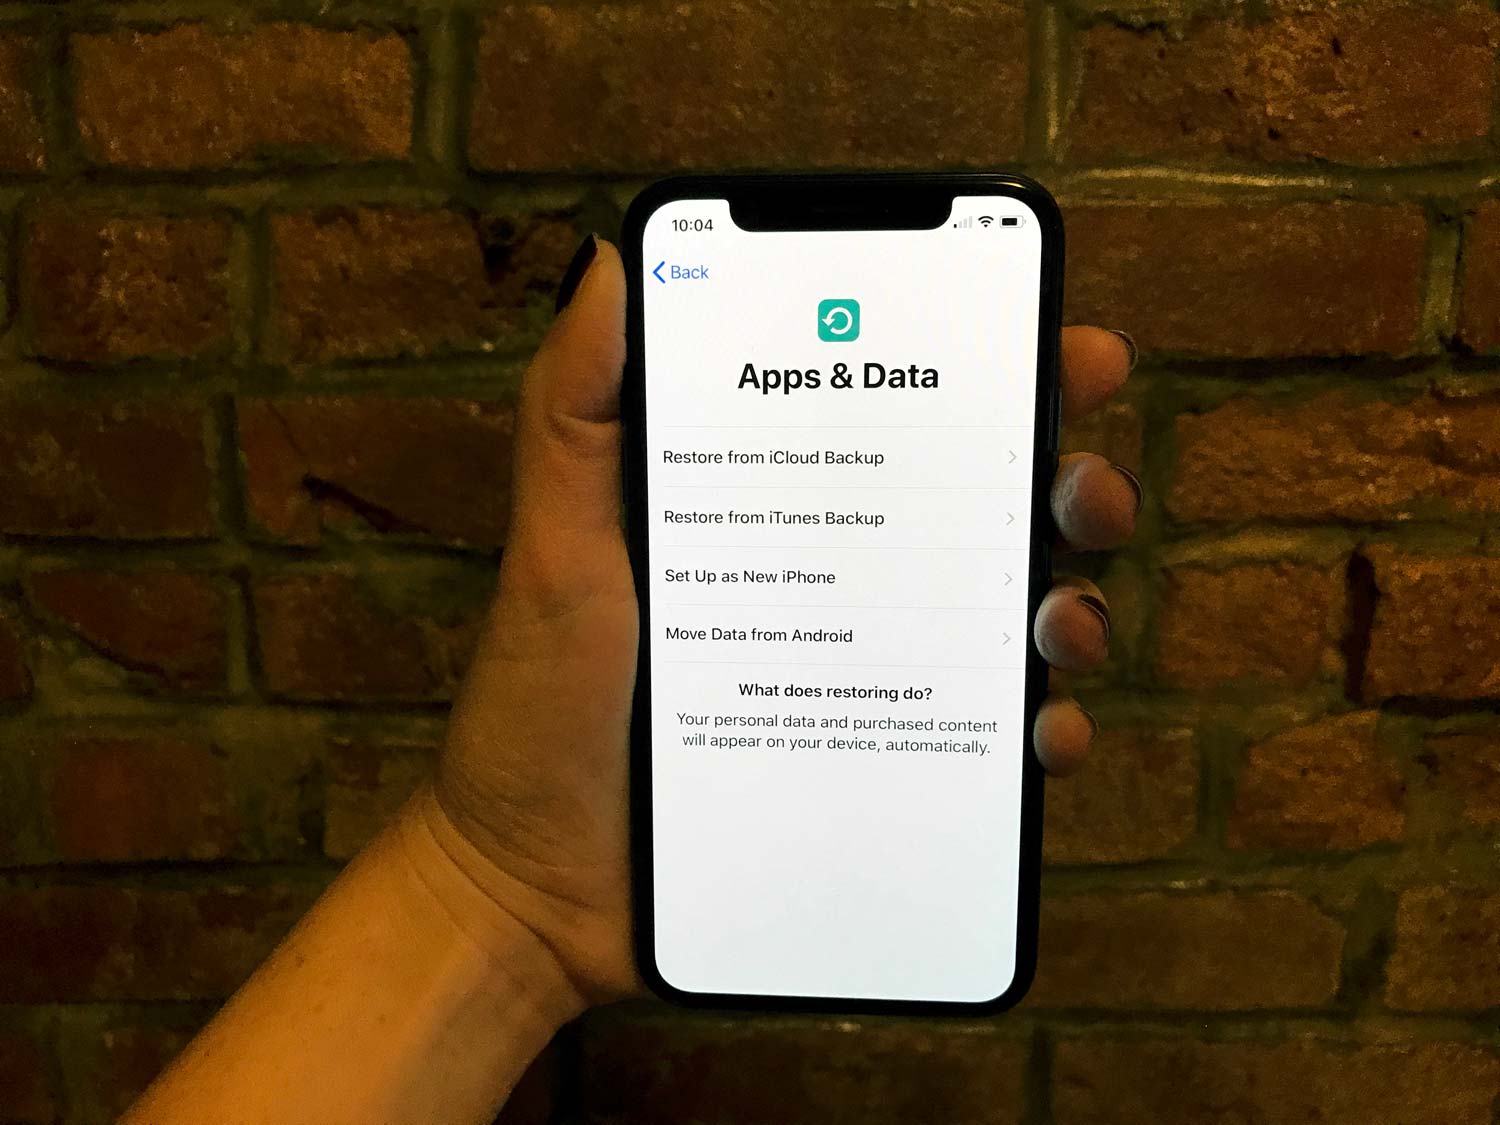
Once again, when you power on your new iPhone and select your language and country, you’ll be prompted to either restore your iPhone from a backup, set up your device as a new iPhone, or move data from an Android device. This time, we’re selecting Restore from iCloud Backup.
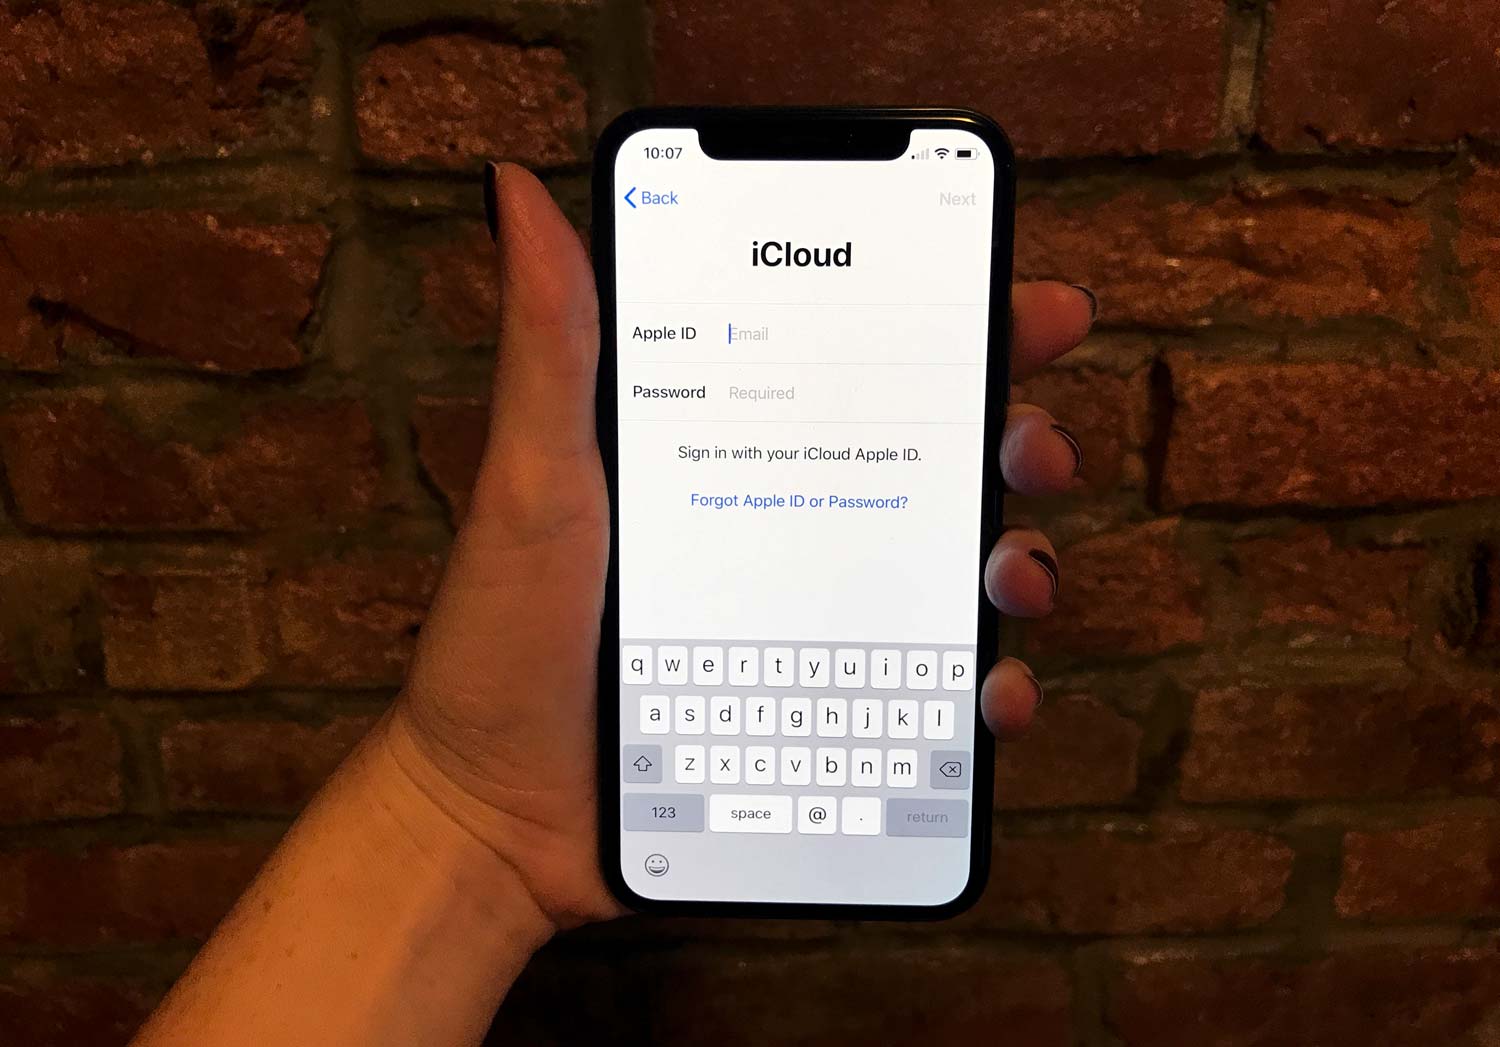
1. Enter your Apple ID and password.
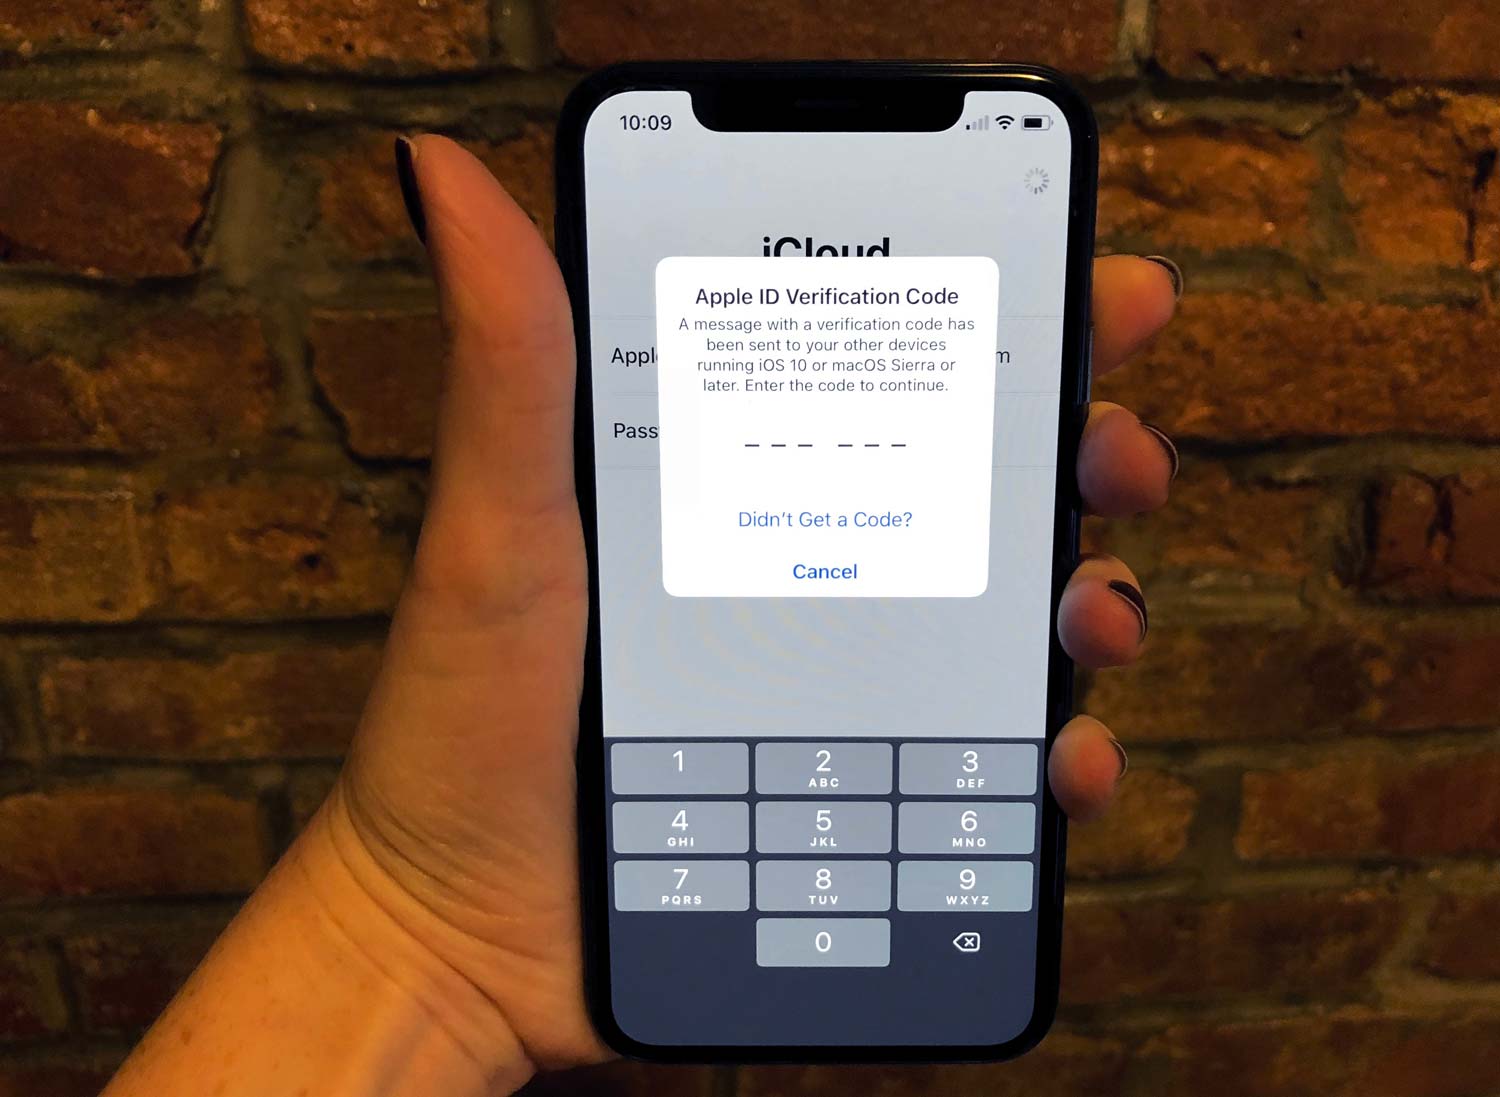
2. If you have two-factor authentication turned on, you’ll receive an alert on another device running iOS 10 or later or macOS Sierra or later with a code to enter on your new iPhone. Enter that code.
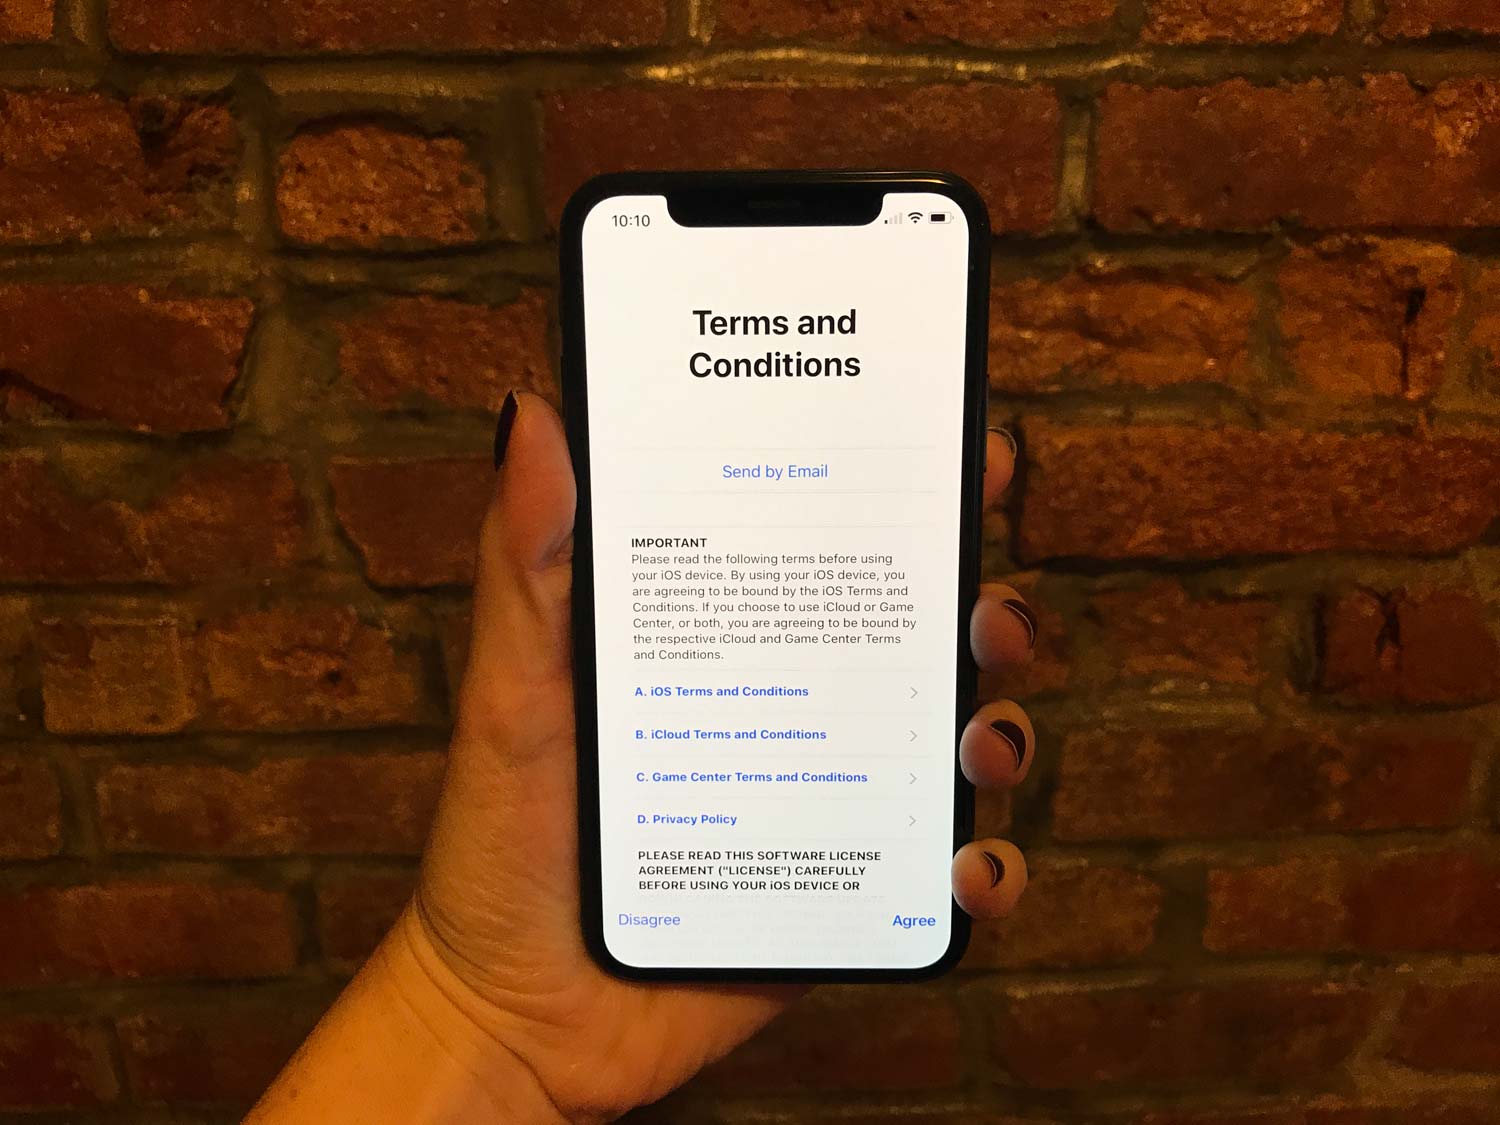
3. Agree to the Terms & Conditions.
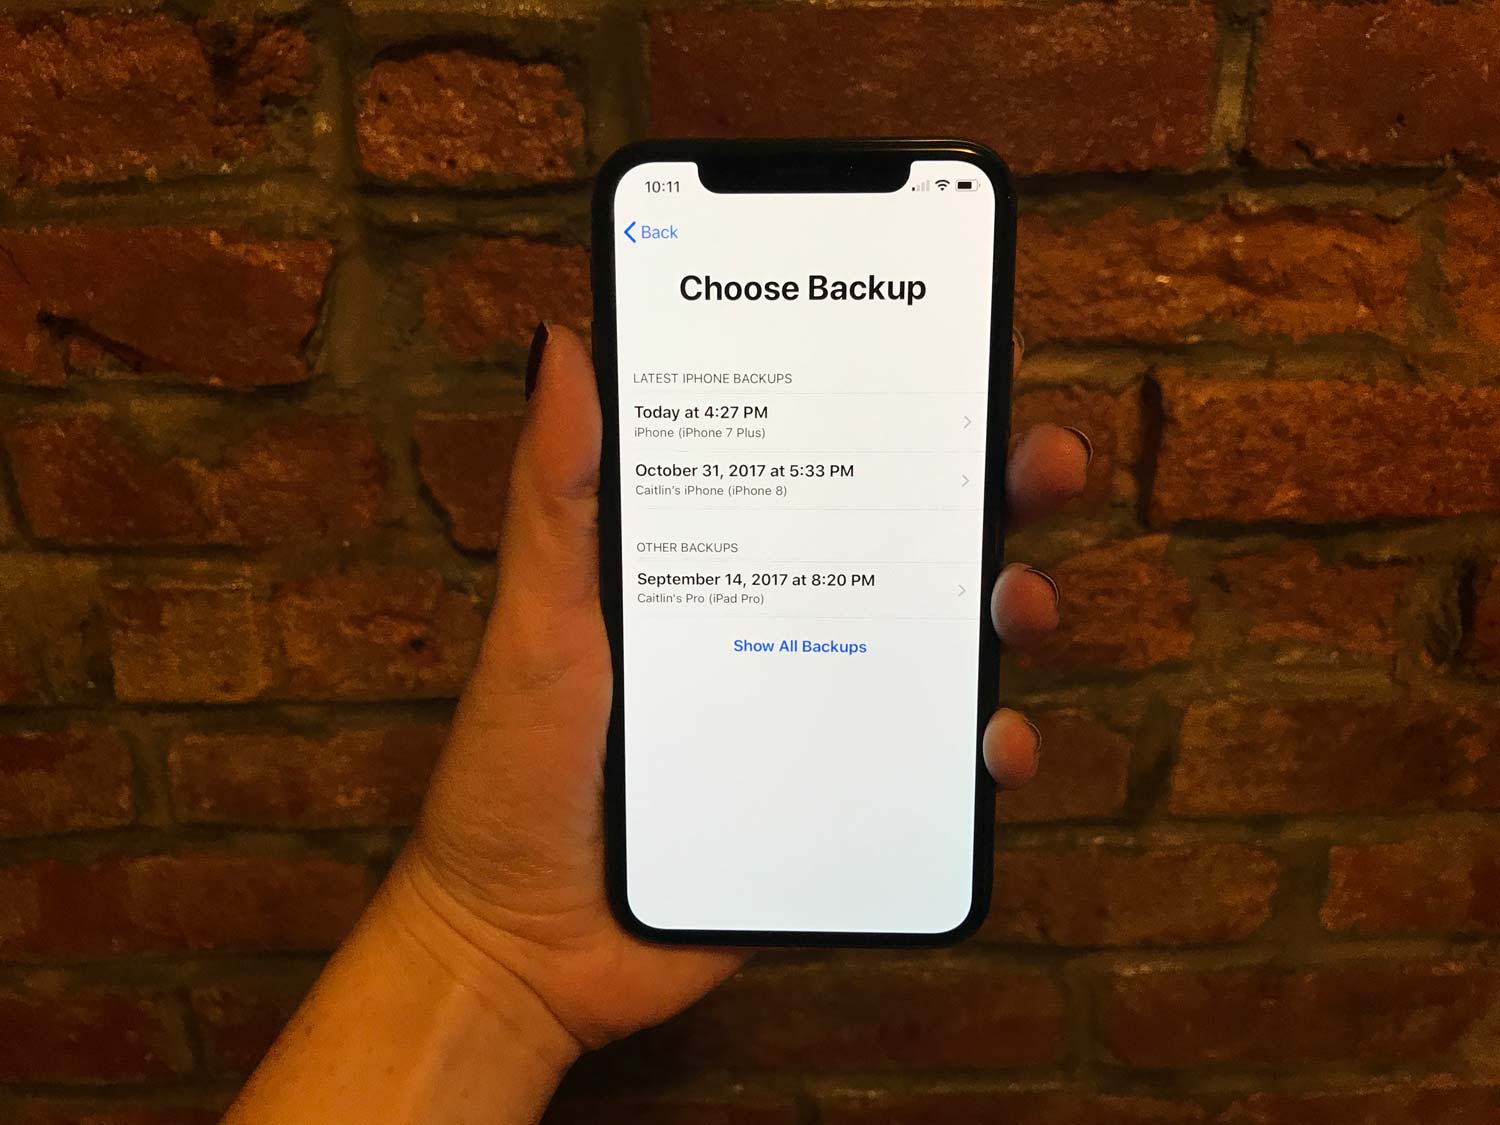
4. Choose an iCloud backup. You can tell which backup is most recent by the date and timestamp.
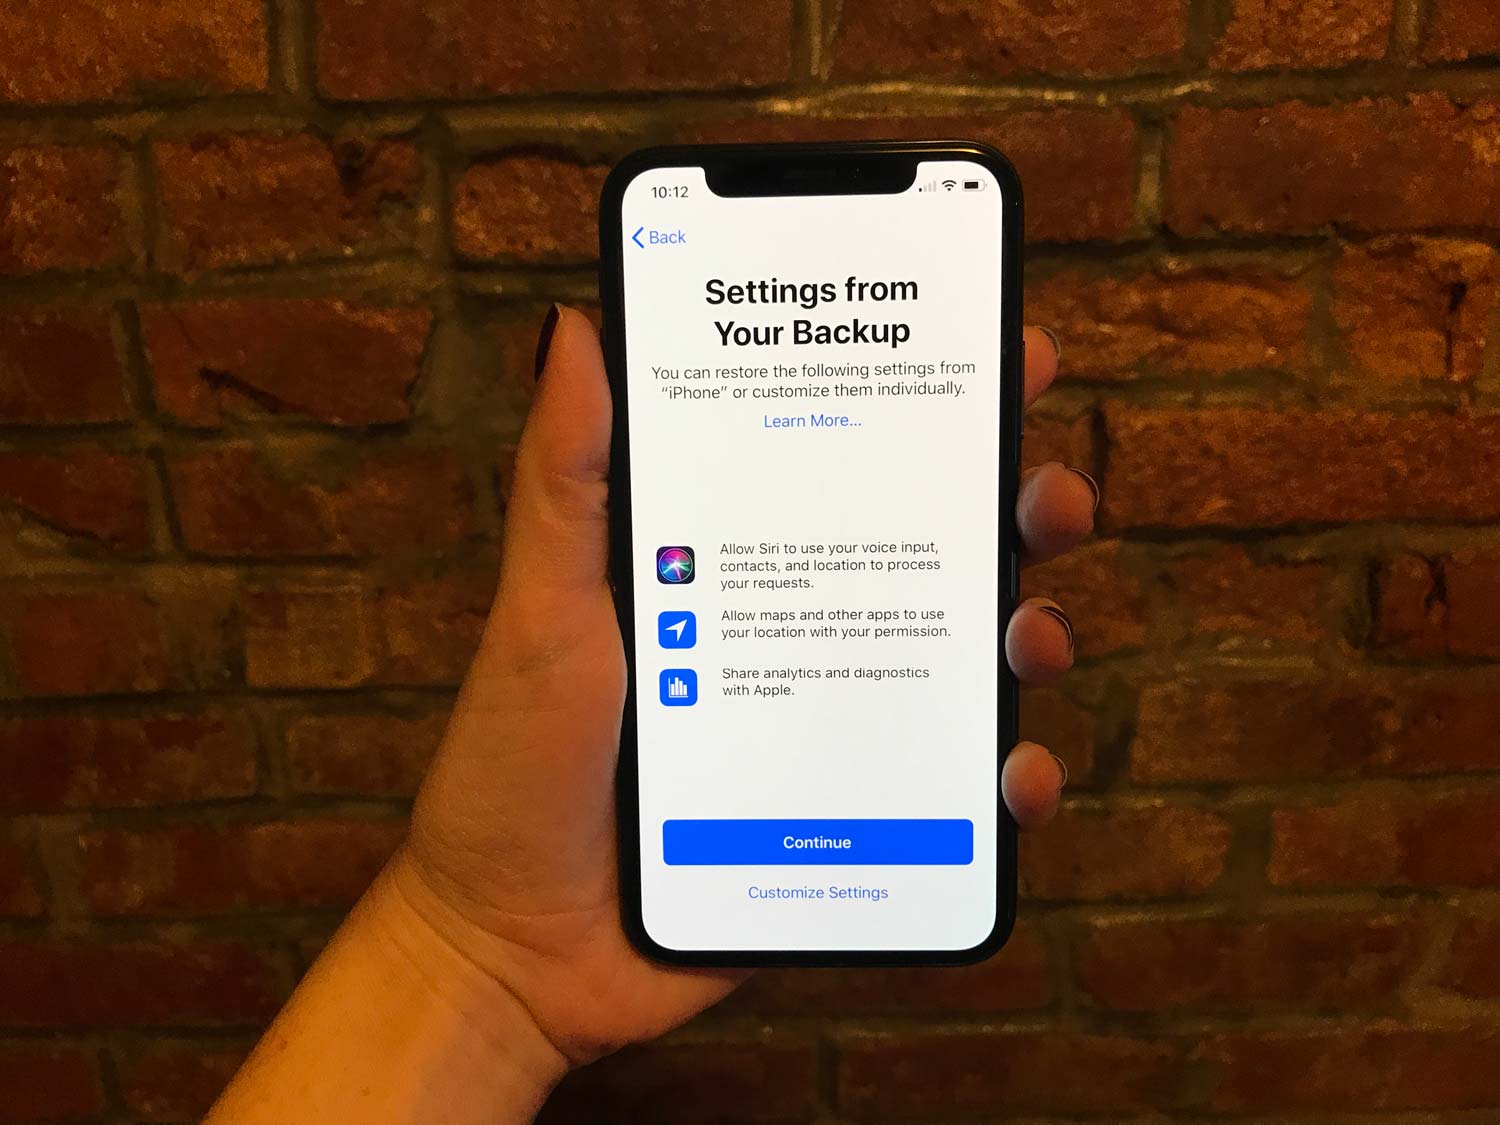
5. After you select a backup, choose whether you want to mirror your old iPhone’s settings or customize them on your new phone.
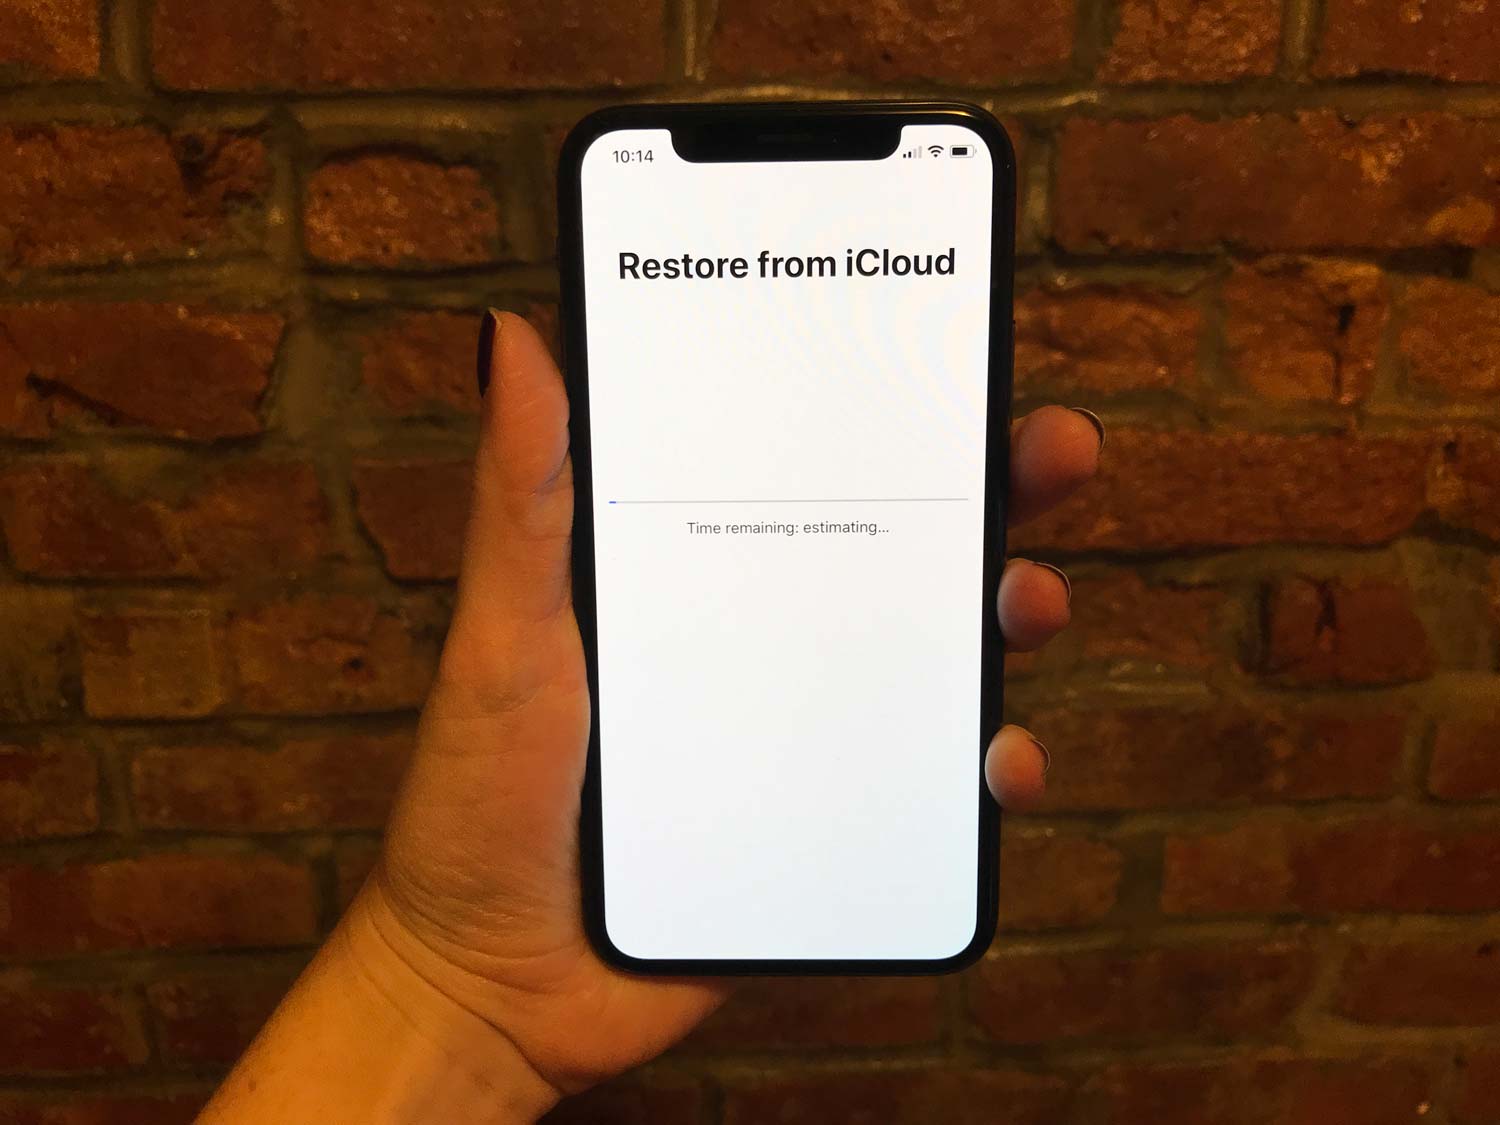
6. Your iPhone will restore from your iCloud backup. The process can take a while, so be patient.
Current page: How to Use the iPhone XS, iPhone XS Max and iPhone XR
Next Page How to Use the iPhone XS, iPhone XS Max and iPhone XR
Tom's Guide upgrades your life by helping you decide what products to buy, finding the best deals and showing you how to get the most out of them and solving problems as they arise. Tom's Guide is here to help you accomplish your goals, find great products without the hassle, get the best deals, discover things others don’t want you to know and save time when problems arise. Visit the About Tom's Guide page for more information and to find out how we test products.
-
doduyvuong If i switch the Control USB Restricted Mode on iPhone XS and i forget it for so longtime, untill the batterie is running out, can i still be able to recharge it to use t again?Reply -
webgtlnbrgrs Gee, it asked me if I wanted to up load all the info from my iPhone 7 , I clicked yes, and it said put both phones close together and it did it all on it's own, I don't understand why you even wrote this article ..Reply -
dittodan I tried several times and this only brings up a screen to let you "slide" to make it go off. What am I doing wrong?Reply -
dittodan Tried adding an Amazon and and PayPal CC and it denied me. Before I got this phone, both of the cards were signed up and working fine.Reply -
powerharp After years of using Android, I changed to an iPhone ONLY because iPhone can stream audio to my hearing aids. After 2 weeks with the iPhone there are several clearly inferior characteristics. Most annoying is that you cannot close all open apps at once. The requirement to swipe each open app up or possibly do three at once is garbage. it is extremely difficult to switch between apps as will, something I did frequently on my clearly superior Android phones. Also, Android has apps that allow you to record phone calls but Apple doesn't, claiming that it is illegal in a lot of places. It's also legal in a lot of places. The iPhone function to swipe to get to the open apps is a joke (Android just requires a touch) and the procedure to get to the previous screen when browsing is also laughable compared to Android.Reply
 Club Benefits


