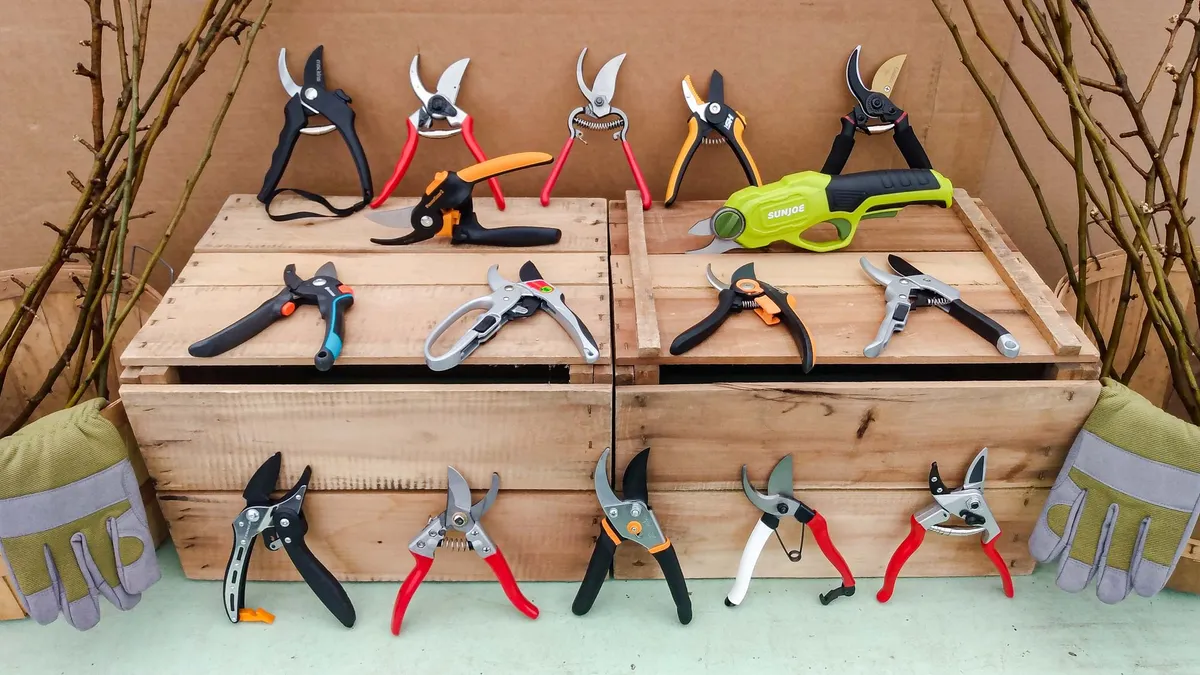
Whether you’re a keen gardener or beginner, having one of the best pruning shears is an essential tool to handle all your jobs.
Ranging from pruning roses and other plants, to deadheading flowers, our pruning shears (or secateurs) are put to good use. That’s why it’s so important to know how to clean pruning shears properly to get the most out of it.
Alongside sharpening, pruning shears need to be well-maintained in order to get the best performance. And if you don’t clean them often, shears can quickly get clogged up with dirt, sap from plants and other debris that can prevent the blades from cutting cleanly and quickly. What’s more, if you don’t clean shears after use, dirt can transfer from plant to plant, spreading disease. his might create rusty shears, which would eventually need replacing.
So, if you want to get the most out of your best pruning shears, follow these tips for cleaning pruning shears and make them last longer.
Just avoid these 7 pruning mistakes you never knew you were making. Plus, here's 5 ways to get the best out of pruning shears.
1. Dismantle the pruning shears

If possible, take the pruning shears apart so you can give the parts a proper clean. You can either use the key provided with the shears, allen key or a screwdriver to carefully dismantle the shears.
Take the components apart, and lay them out flat in order on a clean, dry surface. Typically, most pruning shears have one main screw or bolt holding each side together. To remember where each part goes, it might be a good idea to take a photo, just to be sure!
This process may seem tedious, but will make it much easier to clean the pruning shears thoroughly.
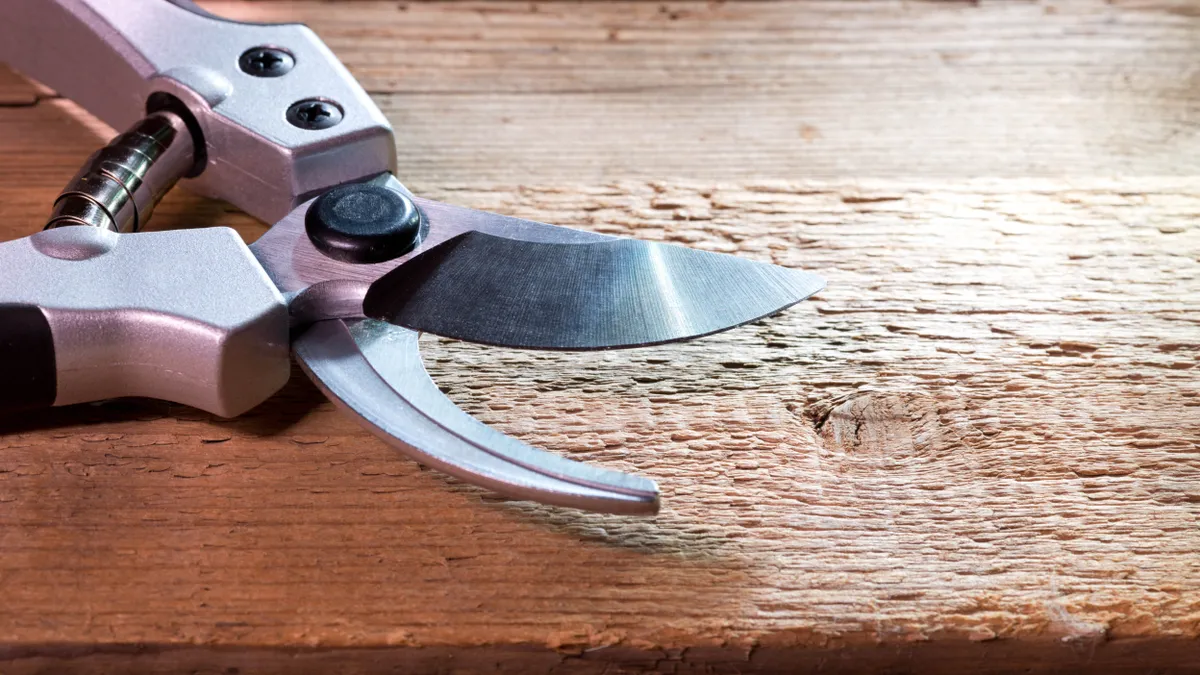
2. Clean your blades

Start by removing any dried soil, mud or sap from the blade and shaft with a nylon pan scourer or wire wool. To remove stubborn dirt, lightly spray WD-40 on the blades and leave to soak for an hour or two. This will help to loosen dirt, and make it easier to clean.
In addition, sandpaper can help to remove sticky, sap residue, while steel wire wool will eliminate any rust. Once the blades are clear and smooth, wipe off the remaining spray with a clean microfiber cloth. Next, wash the parts with warm, soapy water before rinsing and wiping blades clean. All parts including wooden handles should be completely dry to prevent swelling and the metal from rusting.
3. Sharpen blades

Once all clean, this is a good opportunity to sharpen your pruning shears to ensure an even and precise cut. First, hold the handle part of your pruning shears, take your sharpening tool and drag it against the beveled side — working from the thickest part of the blade to its point. Ensure you always keep the file at the same angle during swiping, and never file toward yourself.
While there is no exact time limit, the duller the blade, the longer it will take to sharpen. Check its condition after every swipe, and use a microfiber cloth to remove excess shavings.
A good tip for knowing if your pruning shades are ready is to test out on a piece of paper. If it cuts through the paper perfectly, then it’s sharp enough, but if it struggles, it will need a bit longer. Remember to always use protective gloves before sharpening garden tools.
4. Reassemble the pruning shears

Next, you can start to reassemble the pruning shears, carefully putting the blades back into the handles, and fixing the handles together using the pivot bolt and locking nut. Give the blades a test to check that they’re working properly, and have a comfortable grip.
Make sure you tighten any loose working parts, and if the blades feel stiff, drop some linseed oil into the central pivot point or to the spring and bolts. It’s always recommended to wear gloves when using oil products to prevent skin irritation.
5. Disinfect your pruning shears
As well as cleaning shears the right way, it’s important to disinfect your pruning shears between each cut. This will prevent the risk of spreading pathogens from plant to plant, causing disease.
Simply, soak a cloth in ethanol or isopropyl alcohol, and gently rub the blades. Both types of alcohol can be purchased at local super stores. Since these products are flammable, always store in a cool place, away from heat sources.
Alternatively, you could use household wipes/disinfectant or diluted pine oil to sanitize pruning blades. However, while these may be handy to keep clean, the are not as effective in getting rid of plant pathogens.
Once disinfected, your refreshed and sharpened pruning shears are ready to use.
How often should you clean pruning shears?
Ideally, pruning shears should be cleaned immediately after every use. This is to prevent diseases from spreading between plants and homegrown veggies. In fact, the same applies for most gardening tools.
When you have cleaned and protected your pruning shears, store them in a dry, well-ventilated place. If you have an abundance of tools, check out these 7 clever ways to store garden tools and save space.
More from Tom's Guide
- Before pruning, you’ll need one of the best gardening gloves
- Here’s how to deadhead roses and keep them blooming
- Or learn how to prune hydrangeas