Club Benefits


Whether you’re a keen gardener or just a beginner, having one of the best pruning shears is an essential tool. Not only will it help to keep your plants and shrubs in neat shape, but will encourage healthy plant growth and lush foliage.
And while it might seem like a simple task, it’s common to make pruning mistakes that we don’t even realise we’re doing. This can range from not using it properly or not maintaining your garden tool.
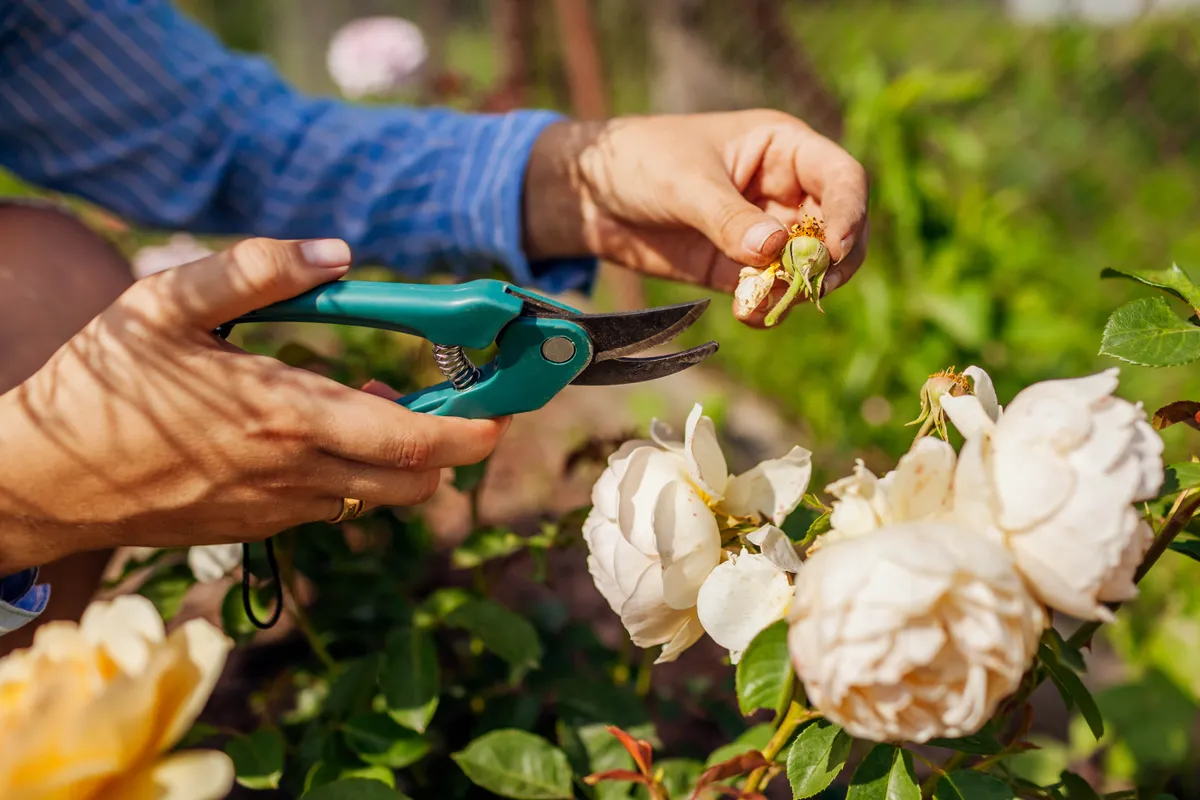
Luckily, there are some ways to get the best out of pruning shears to ensure you can use it correctly, and that your blooms, plants and shrubs will look amazing as a result. Ranging from pruning roses and other florals, to deadheading plants, our pruning shears (or secateurs) are put to good use. So it’s important that you maintain them to get the job done well.

Before you get out in the garden, here are 5 ways to get the best out of pruning shears, and make them last.
1. Choose the right type of pruning shears
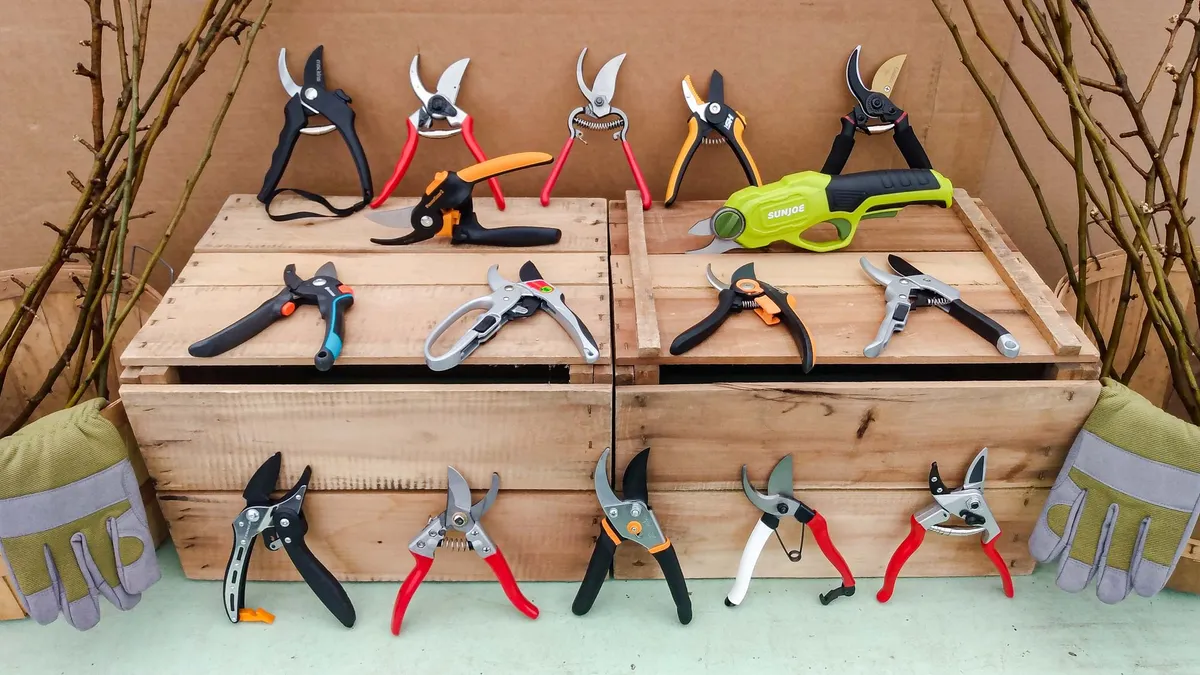
Not all pruning shears are the same, and you need to use the right type to avoid damaging the plant and the shears. Plus, if your pruning shears feel uncomfortable to handle, you’re not making this task any easier or enjoyable.
It’s always ideal to know which pruning shears would be suitable for the task. Bypass and anvil pruning shears are handheld tools for smaller jobs. Typically, bypass shears feature a blade which passes over another in a scissor-like fashion —producing a clean cut and best suited for live stems and branches.
On the other hand, anvil pruning shears feature a blade which meets another in an ‘anvil’ fashion. This crushes the stem rather than cuts through it and is designed for use on deadwood. Some pruning shears also come with ratchet mechanisms which break one cut into several smaller steps — this takes effort out the cuts, but makes the process longer.
Coupled with a pair of one of the best gardening gloves, the right shears will not only ensure your plants receive a clean cut, but should feel comfortable when using them.
2. Cleaning pruning shears

Alongside sharpening blades, you’ll need to know how to clean pruning shears well for maximum performance. Over time, shears can quickly get clogged up with dirt, sap from plants and other debris if you don’t clean them often.
As a result, all the gunk can prevent the blades from cutting plants or flower stems cleanly and quickly. Plus, this might create rusty shears, which would eventually need replacing in the long-term.
What’s more, if you don’t clean shears after use, dirt and diseases can potentially spread between plants and/or homegrown veggies — affecting its overall quality.
Ideally, pruning shears should be cleaned immediately after every use — which also applies for most gardening tools. Once you have cleaned and protected your pruning shears, store them in a dry, well-ventilated place. If you have a huge collection of tools however, check out these 7 clever ways to store garden tools and save space.
3. Sterilizing pruning shears

As well as cleaning shears after each use, it’s important to disinfect your pruning shears. This will prevent the risk of transferring pathogens from plant to plant — causing disease.
To sterilize your shears, you need to wipe over the blades soaked in ethanol or isopropyl alcohol, and gently rub the blades. You can purchase both types of alcohol at local super stores. Carry this cloth with you as you continue deadheading and pruning.
In addition, once you've cleaned and ready to store, applying WD-40 or mineral oil via a cloth to pruning shears will remove any sap or debris. This will ultimately improve the lifespan of this tool. Bear in mind that such products are flammable, so always store in a cool place, away from heat sources.
Alternatively, you could use household wipes/disinfectant or diluted pine oil to sanitize pruning blades. However, these are not as effective in getting rid of plant pathogens.
4. Sharpening pruning shears

Nobody likes cutting anything with a blunt blade, and your pruning shears are no different. If you use your pruning shears on a regular basis, you’ll notice that your shears won't cut cleanly, which will slow down the pruning process. What’s more, an unclean cut can affect healthy plant growth, encouraging disease as well. To get the most out of your tool, it’s important to know how to sharpen pruning shears, especially once the blade becomes dull.
All you need to sharpen is a fine-toothed metal file, diamond tool, whetstone or a dedicated tool like this Sharpal All-in-1 Knife Garden Tool ($19.99, Amazon). Before doing so, always remember to use suitable safety gear, including protective gloves and goggles. And ideally lay the shears down on a dish towel so you won’t lose any of the parts as you disassemble the shears.
It’s also advisable to give your shears a good clean first before sharpening them. Alternatively, if you’re not comfortable with sharpening shears, you can opt for paying for this to be done professionally at a local gardening center.
5. Avoid over pruning
Another way to get the best out of pruning shears, is to not over prune. While it can be tempting to keep snipping away, actively cutting off healthy sections of a plant will only result in undue stress and awkward growth. In addition, the plant has to recover each time you cut it, and it will be susceptible to disease during this time.
It’s advisable to break down your pruning into multiple sessions to avoid this, giving the plant a chance to recover between each trim. Also, this creates less wear on your pruning shears, and will help to maintain its condition.
More from Tom's Guide
- These are7 garden tool you didn't know you needed
- If you don't have a huge yard, here's how to grow a vertical garden
- Plus, clever ways to store garden tools