Club Benefits


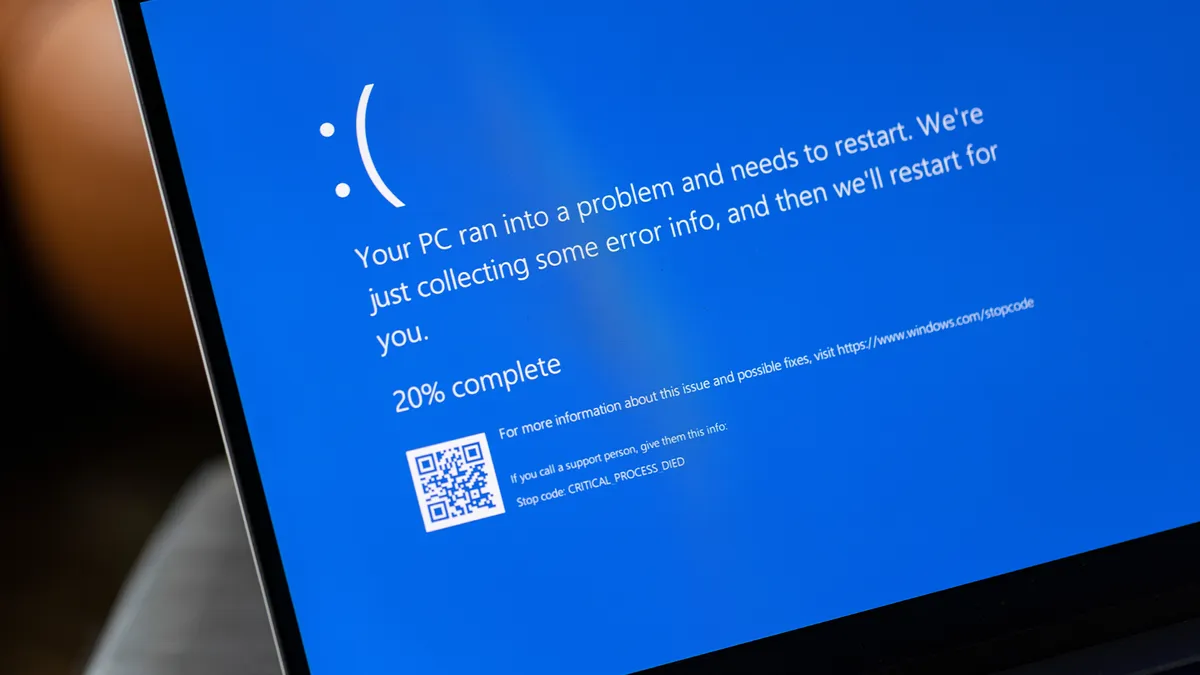
Even with Windows 11, a lot can go wrong with your computer whenever you install new software or drivers, change your settings, and especially if you make tweaks to the registry. This is why you should set up and start using System Restore points if you haven’t already.
When you make a System Restore point, Windows creates a snapshot of your PC at a given time that you can revert to when something goes wrong. For instance, let’s say you updated your drivers and a device like your printer or keyboard isn’t working anymore. If you made a System Restore point before doing so (which you absolutely should), you can quickly undo what you did and return to a point when your computer was working as it should.
Now, though, Microsoft is changing how this feature works in Windows 11, and as a result, you’re going to want to create System Restore points earlier and more often. Here’s why.

From 90 to 60 days
Up until Windows 11, all of the System Restore points you created would be available on your PC for 90 days after doing so. This gave you plenty of time to revert your computer to an earlier System Restore point.
With the release of Windows 11 24H2, System Restore points will now be deleted after 60 days. Once this window has passed, you’ll no longer be able to access your older System Restore points, which means that if you install a bad app or driver and don’t notice that you did so within two months, your only option will be to completely reset your PC.
As Windows Latest points out, some System Restore points disappeared even sooner and were no longer available after just 10 days. Thanks to this change, though, that should be a thing of the past, and now you’ll have the full 60 days to revert to an earlier System Restore point.
In a support document, Microsoft confirmed the change, saying: “After installing the June 2025 Windows security update, Windows 11, version 24H2 will retain system restore points for up to 60 days. This 60-day limit will also apply to future versions of Windows 11, version 24H2”.
How to create a System Restore point in Windows
If you haven’t created a System Restore point in Windows yet, you absolutely should, as doing so could be the difference between restoring your PC to an earlier point in time or having to reset it completely.
With one of the best laptops or best computers running Windows 11, it’s very easy to do so. However, if you’re unfamiliar with the process or haven’t done so in a while, I’ll walk you through the steps.

To get started, open the Start menu and type “Create a restore point” into the search box. This will open the System Protection tab in the System Properties menu in your computer’s Control Panel. This feature is disabled by default, so before getting started creating System Restore points, you’ll need to turn it on by clicking Configure.

A new window will appear next to System Properties, where you’ll need to select Turn on system protection to enable the feature. Below, you’ll also see a Disk Space Usage slider where you can decide how much of your computer’s storage space you want to allocate for your System Restore points.

After hitting Apply and closing that window, you’ll now be able to make your own System Restore points. To do so, click Create at the bottom of the window, and from there, you’ll need to give your restore point a name before hitting Create. It’s worth noting that you don’t need to worry about the date and time at which you made your System Restore point, as Windows automatically adds this information.

Once your System Restore point has been successfully created, a final window will appear letting you know the process is complete. Now, when you go to the Recovery menu within your computer’s Control Panel, you’ll have the option to Open System Restore so that you can revert to a previous restore point.
Backing up your files using the best cloud backup services or even the best cloud storage is important for safekeeping, but with System Restore points, you can back up your entire PC — complete with all your apps, files, and settings — in case of an emergency. That way, you can quickly restore your PC and get right back to how you left it without missing a beat.
More from Tom's Guide
- Windows parental controls are crashing Chrome — here's the workaround
- 7 online scams that can leave you broke, exposed, and feeling helpless — how to stay safe
- I just got my hands on the new Framework Laptop 12, and this one feature is a game-changer


 Light...")


")