As a marathon runner who has a day job that requires me to spend a lot of time sitting behind a desk, it would be a miracle if I didn’t have tight hips. In an attempt to release them in the run-up to my sixth marathon, I added the lizard lunge to my stretching routine for a week.
This yoga posture is one of the best ways to undo the effects of prolonged sitting. As well as stretching your deep hip flexors, you’ll also be working into your glutes, quads and hamstrings. Read on to find out more.
As a reminder, what works for me might not be right for you and your body. If you’re a complete beginner, you’re pregnant or postpartum, or you’re recovering from a specific injury, it’s always worth checking in with a qualified professional before trying anything new.

How to do the lizard lunge
All you’ll need for this exercise is your bodyweight, but using one of the best yoga mats can help keep things more comfortable.
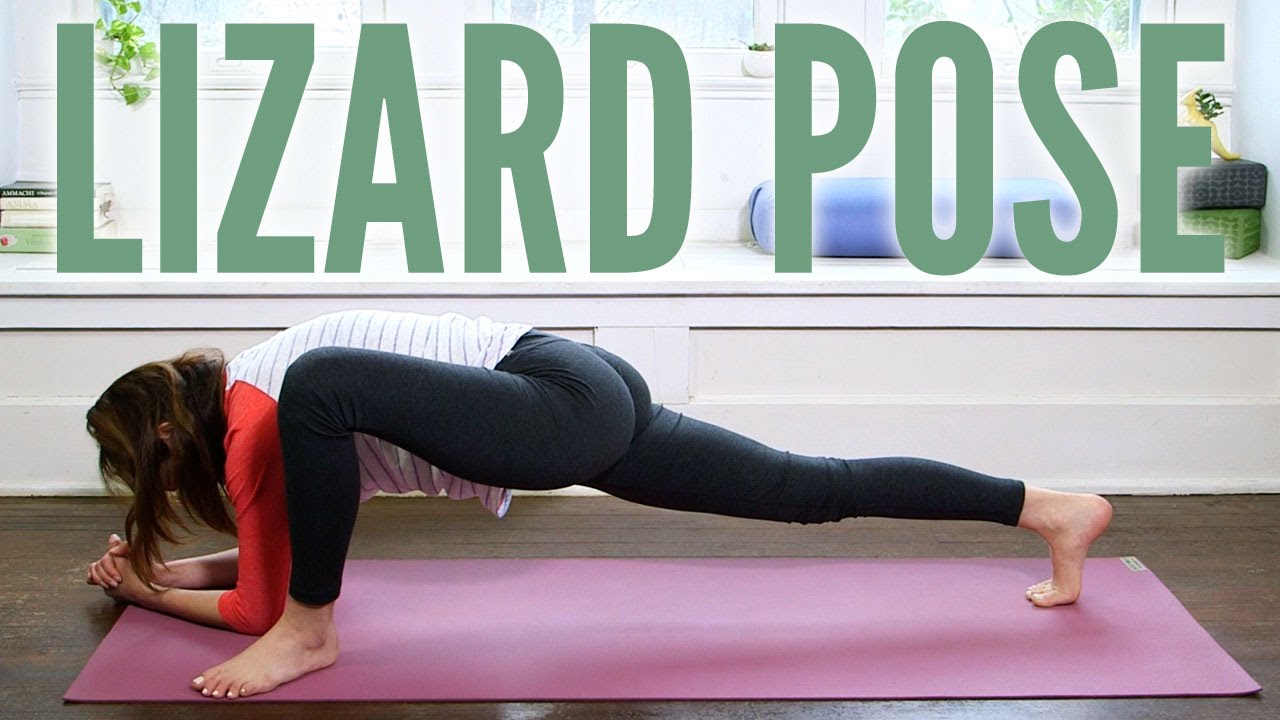
- Start on all fours with your knees stacked underneath your hips and your wrists in line with your shoulders.
- Step your right foot forward so it’s next to your right hand. Step your left leg back in a high plank position.
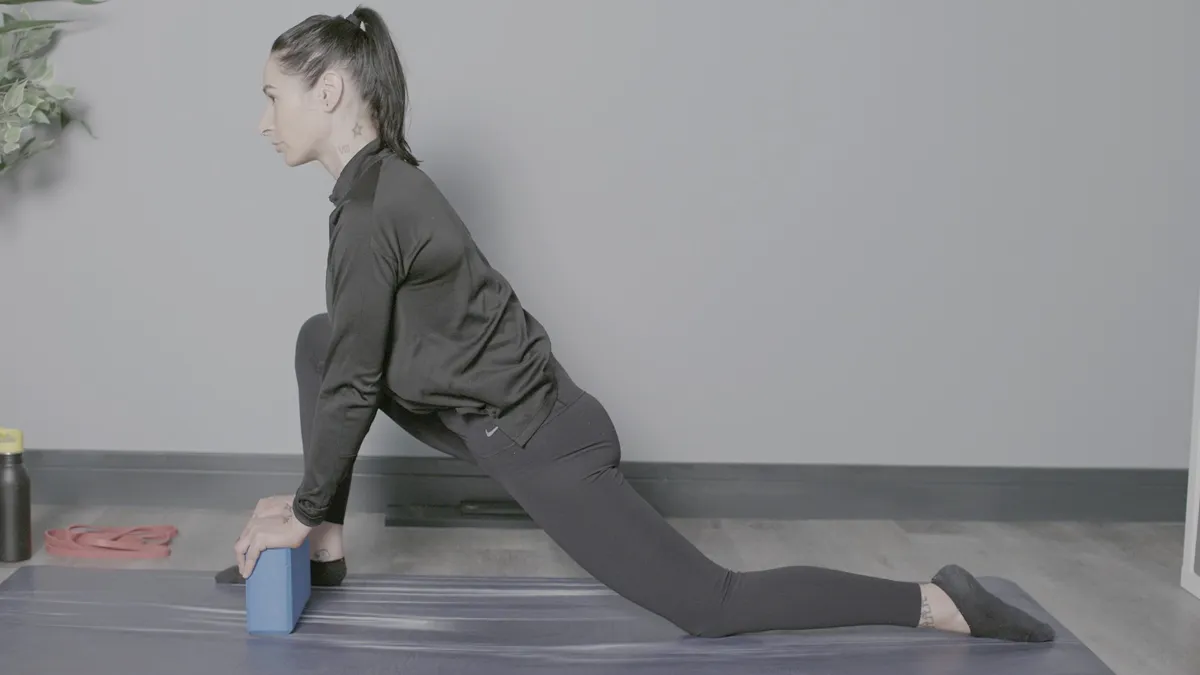
- If this is enough, stay here, but for a deeper stretch, hinge at your hips and lower one elbow, then the other to the ground. Try to keep your back straight; if you can’t, place your elbows on blocks.
- Reach your chest forward to lengthen your spine.
- Hold the pose for three to five breaths, taking a deep breath in through your nose and exhaling slowly through your mouth.
If this is too difficult, you can make the posture easier by lowering your back knee to the floor or placing yoga blocks underneath your hands or elbows.
Remember to keep your gaze soft during this exercise — don’t look up to the ceiling or down to the floor, as this can put stress on your neck. You also want to be careful not to round your back in this move — think about keeping your spine long and make sure the hinge comes from your hips. Keep both hips square to the ground and concentrate on keeping them stable — the hip of the back leg will likely want to dip towards the floor.
What are the benefits?
Deep hip flexor stretch
This exercise targets the deep hip flexor muscles that typically get tight after long periods of sitting. You’ll really deepen this stretch by hinging at your hips and lowering your elbows to the ground. By nature, in this move, you’re targeting the front of one hip and the back of the other, helping to open tight hips.
Unlike a standard lunge, the lizard lunge requires you to step your front foot wider than your hip. This targets the inner thighs and glute maximus and can help improve the range of motion in your hips needed for exercises like deep squats.
Builds lower-body strength
When performed as a lunge, with your back knee hovering off the ground, this active pose is strengthening your posterior chain — in other words, the muscles that run along the back of your body. You’ll be working your hamstrings and glutes to keep your knee from splaying out to the side as you hold the lunge, building functional tension in the lower body.
This exercise can also build mobility in the hips, which is helpful for other yoga and Pilates exercises like the crow pose.
Here’s what happened when I tried it for a week
I added the lizard lunge to my routine in the run-up to my sixth marathon to help loosen my tight hips, after 16 weeks of marathon training and a lot of time sitting down behind my desk.
On day one of this challenge, I immediately noticed that my right hip was a lot tighter than my left. This is normal, as you’ll always have one stronger side, but addressing these imbalances in your body can help you avoid injuries.
I was surprised at how much there is to think about during this exercise, especially if you’re hovering your back knee off the ground. I had to focus on keeping my hips level and my core engaged, especially as I hinged forward. I also had to watch that my front knee wasn’t drifting inwards, as this can put stress on the joint.
My yoga instructor always reminds the class to keep your knee stacked over your ankle to prevent extra strain during this pose.
Of course, after a week, I physically looked the same, but my hips definitely felt a lot more open. Tight hips can lead to back pain, knee pain and increase your risk of injuries, so if, like me, you’re spending a lot of time sitting down, paired with a repetitive movement like running, this is one to try.
Follow Tom's Guide fitness on Instagram for more workouts, routines, tips, and tricks.

More from Tom's Guide