How To Take Great Pictures with The Canon T5
The T5 offers a lot of features that can intimidate new users. But it doesn’t have to be scary: once you work out which controls and modes to use in different situations, you can unleash the power of this remarkable camera.
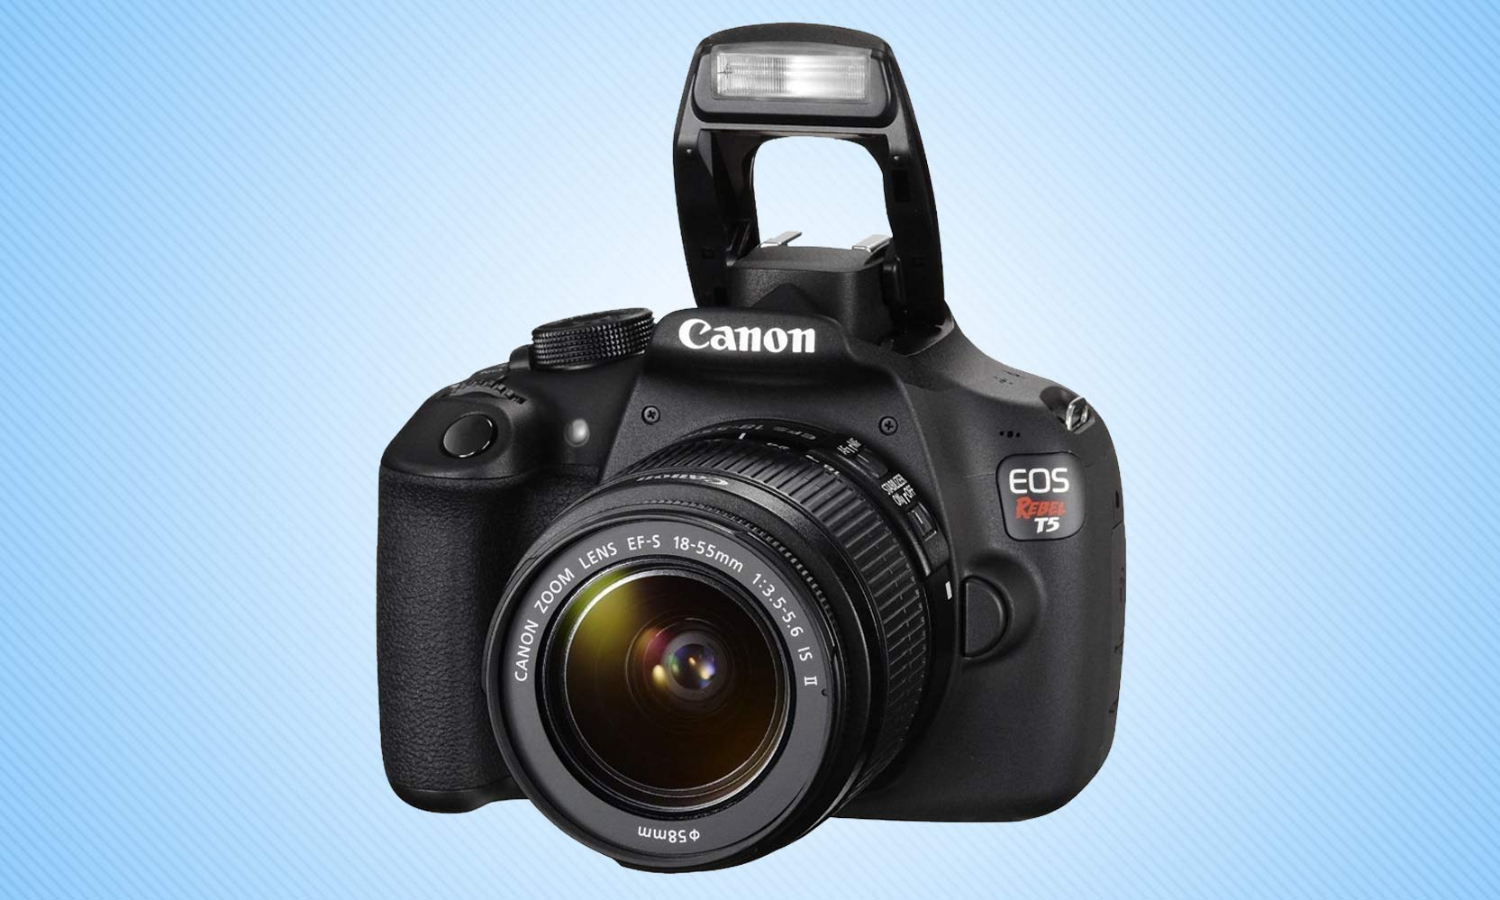
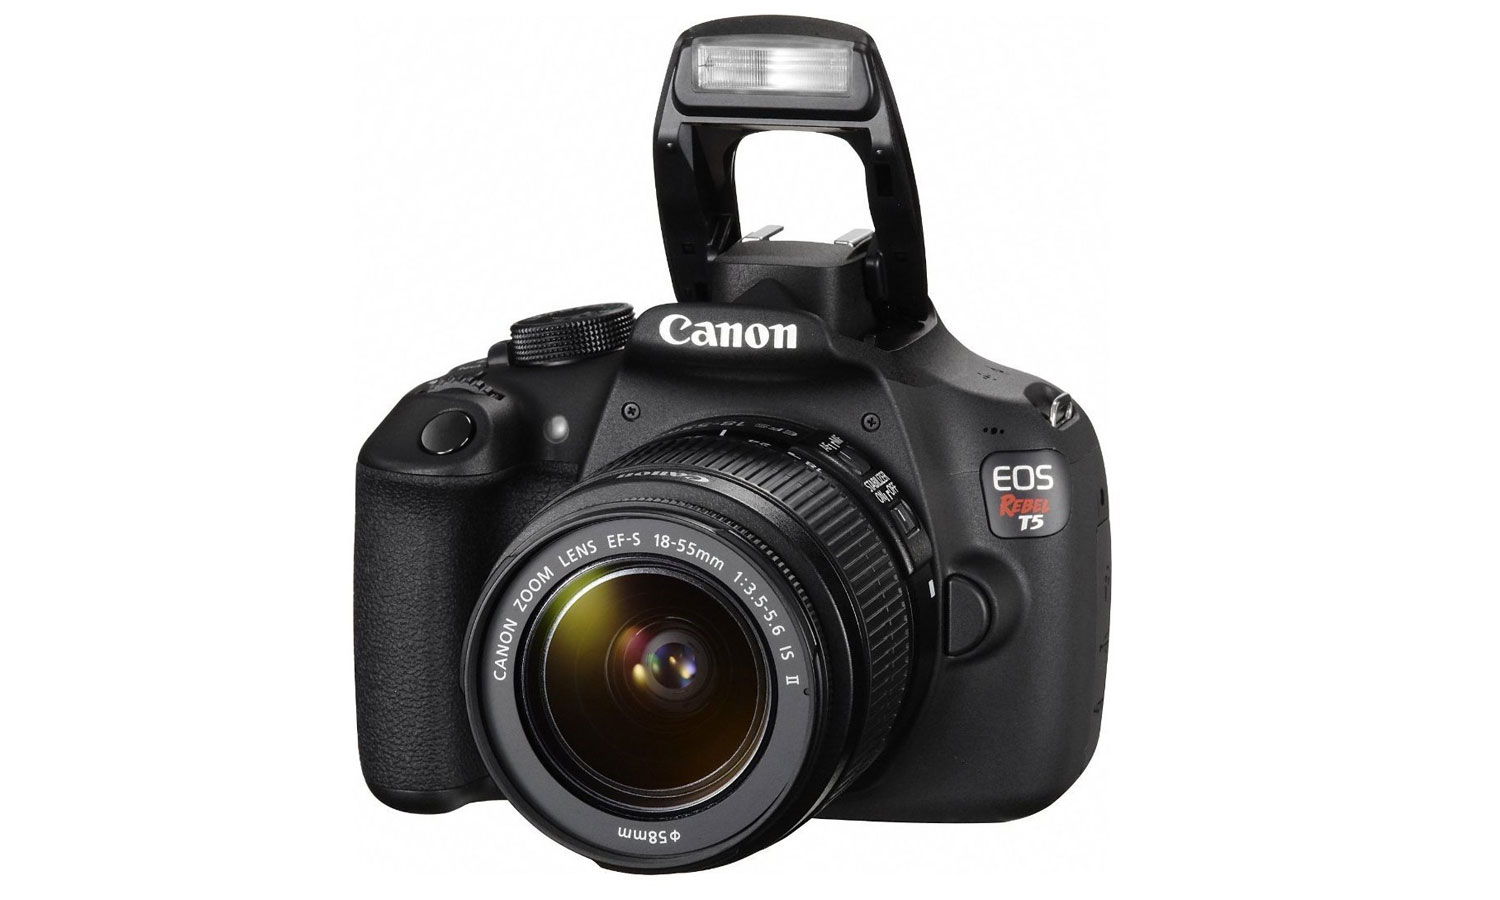
Available for less than $500, the Canon EOS Rebel T5 is one of the company’s most affordable DSLRs, and offers a lot for the money. It can take 18 megapixel images at very high speeds (up to 1/4000 of a second) and capture HD video. However, the T5 offers a lot of features that can intimidate new users. But it doesn’t have to be scary: once you work out which controls and modes to use in different situations, you can unleash the power of this remarkable camera. Here is a guide to getting the most out of your Rebel T5.
First, let’s take a tour of the controls on the camera.
Quick Tips:
- The P (Program) setting is the best option for general shooting.
- Press the Lv button to get a live preview of the image.
- Don’t push the ISO higher than 3200, or you’ll get very grainy photos.
- Use Partial metering mode when photographing objects against snow.
- Don’t use the built-in flash unless you have no other options.
Mode Dial
The mode dial on the top of the Canon T5 is the primary way that you control the camera. It has 13 different settings, 4 of which are the most important: M, Av, Tv and P.
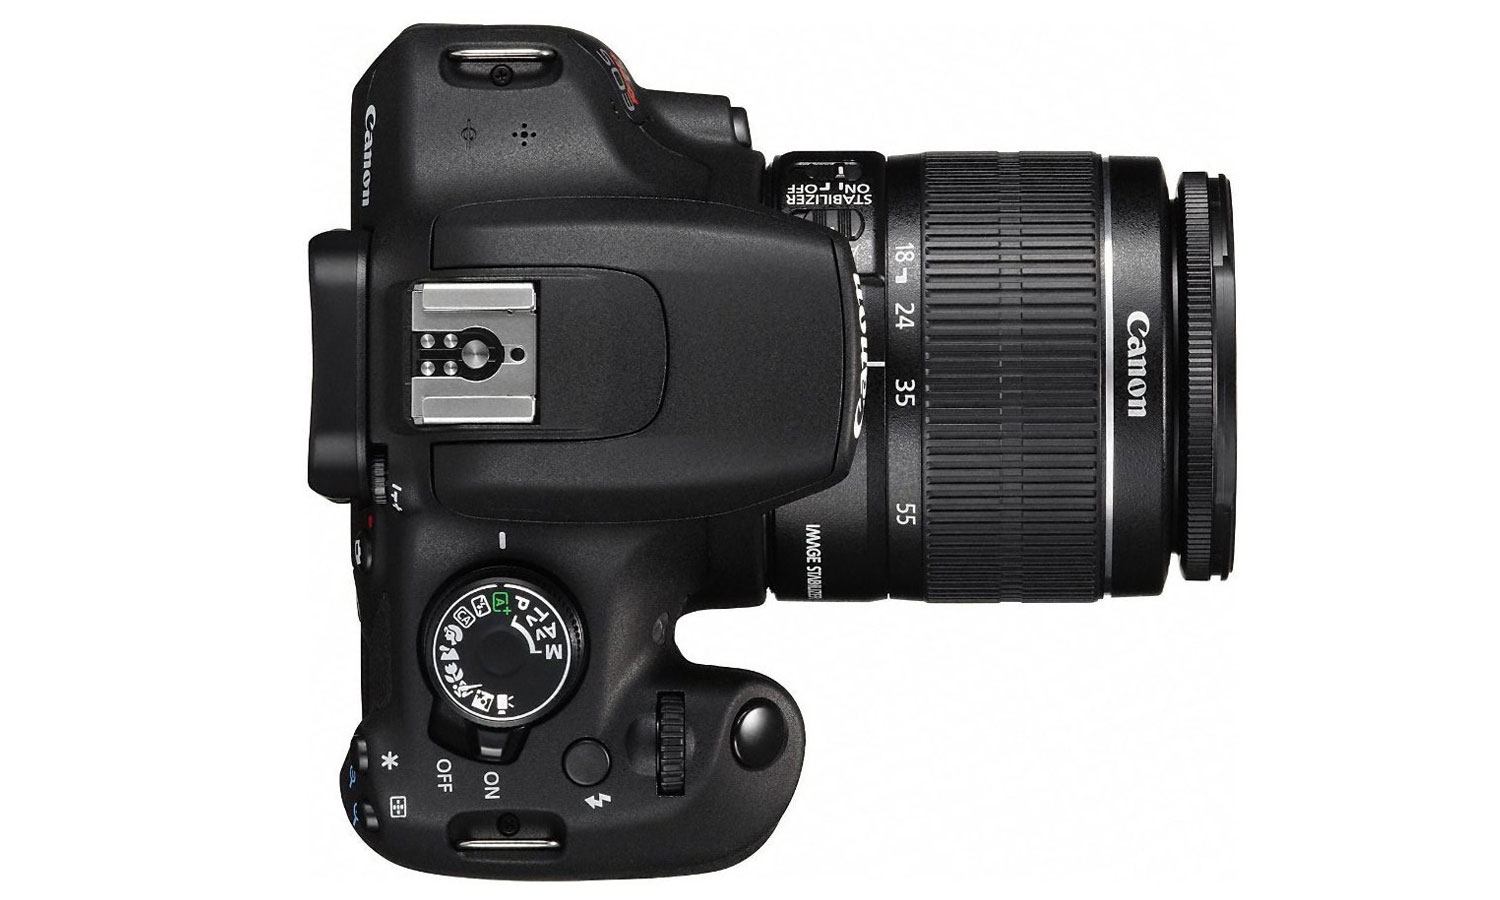
A - In full Auto mode, the T5 takes a look at what you are taking a picture of, and decides how best to capture it. If it detects fast motion, it will use a quick shutter speed to capture it. If it detects several objects that are near and far away from the camera, it will use a wider aperture. If it detects that there is too little light, it will pop up the flash and use that. In effect, it turns itself into a point-and-shoot camera, where you press the button and it makes all of the decisions.
P - In Program mode, the camera makes the decisions for shutter speed and aperture, trying to balance the two for the best image quality. This is the best mode for general shooting. The camera won’t provide much depth of field or action-capturing shutter speed, though. One thing to remember: when in P mode, the T5 won’t use the flash unless you press the button to activate it, just below the shutter. So, if you want to capture something indoors but don’t want the annoying and unflattering light of the flash, use P mode.
Av- In aperture priority mode, you set the aperture, which determines how much light the lens lets in. The larger the number after the F, the smaller the aperture will be, and the less light will be let in, and the longer the shutter speed will need to be. When you half-press the shutter, the camera will measure the light and set the shutter speed accordingly. The advantage of a smaller aperture (and thus the larger the F number) is that more objects will be in focus in front and behind the subject. That’s called depth of field.
Tv - Shutter priority mode allows you to set the shutter speed, and the camera picks the appropriate aperture. The larger the number after the 1/, the shorter the time that the shutter will be open, and the less light will be captured. Shorter shutter times mean that fast-moving objects will be less blurred: you can effectively freeze motion with a fast shutter speed.
Get instant access to breaking news, the hottest reviews, great deals and helpful tips.
Manual - When the mode is set to M for Manual, you are fully in control: you set the shutter speed by rotating the dial next to the shutter, and the aperture by holding the Av button on the back and turning the dial. The camera will let you alter these settings however you want, which is useful if you are shooting in an odd situation where you want to override the camera's choice of settings.
The rest of the settings on the mode dial are for dedicated photo modes, such as portraits, landscapes, sports, etc. Generally, you should avoid using these, and instead focus on how you can do the same—such as using Tv mode, and setting the shutter speed to 1/500 or quicker, rather than using the sports mode.
The final setting on the mode dial is a little different: movie mode is for taking videos. We’ll discuss this one separately later.
Back Controls

There are a lot of controls on the back of the T5, grouped around the large screen. The most important ones are the menu (A) , the Q button (B) and the live view (C) buttons. The Menu button opens the on-screen menu that allows you to change the settings of the camera, while the Q button allows you to set any of the controls shown on the LCD screen. To move between the controls and change settings, use the directional buttons. The live view button flips up the mirror inside the camera and shows you a live preview of the image, like a point-and-shoot camera.
MORE: A Digital Camera Glossary
ISO Sensitivity
The ISO setting determines how sensitive the T5 is to light. The more sensitive it is, the more light it can detect, which means shorter shutter speeds and better shots in low light. However, a higher ISO setting also means more of the digital photographers curse: noise. It’s like a radio straining to pick up a weak signal: turning up the volume gives you more of the signal, but also gives you more of the staticky background noise.
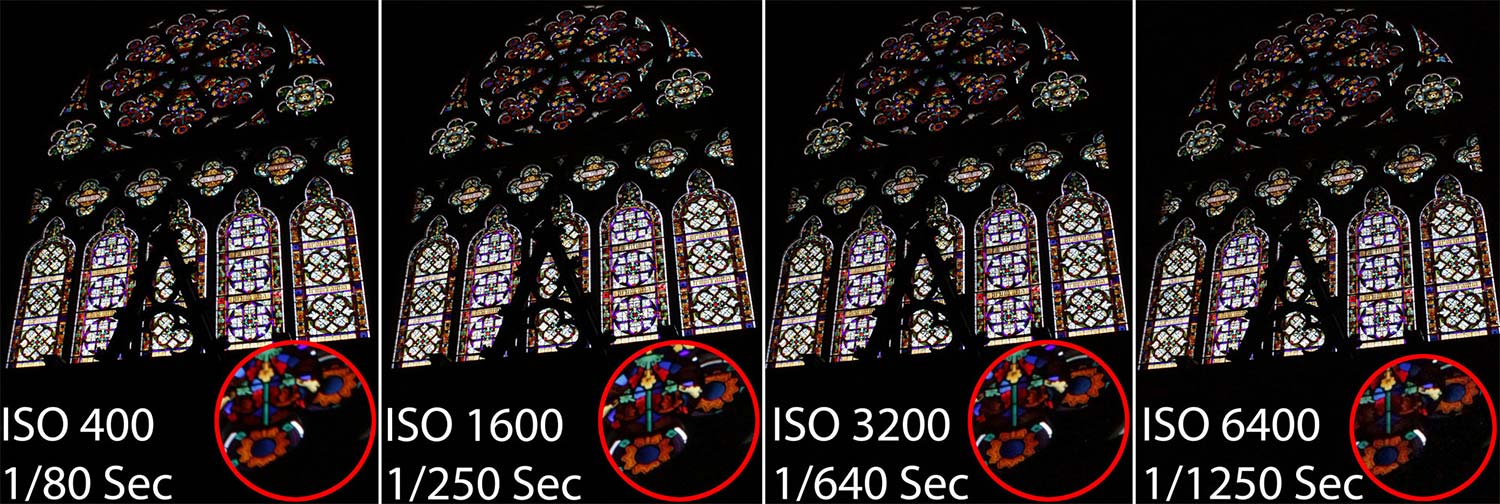
Cameras are no different, except that the noise shows up as a random pattern in the final image. For most subjects, you should set the ISO to auto. But if you are shooting late at night or in a dark room, setting the ISO to 1600 or 3200 can make for a sharper image. The T5 can set the ISO to 6400, but the image gets rather noisy when it is this high. The ISO can be adjusted by using the Q button, or by pressing the up key on the directional pad.
Metering Modes
Metering is how the T5 sees the world, analyzing the light it sees to decide how to take the photo. There are three modes that it can use here: Evaluative, Partial and Center-weighted Average. In evaluative mode, the camera analyzes all the light it sees. In Partial, the camera measures just the light in the center of the frame. This is useful in situations such as a portrait shot against a black background, where the background would otherwise confuse the meter. Center-weighted Average is similar to partial, but it measures the whole frame instead of just the middle.
Color Modes
There are two ways that the T5 judges color: White Balance and the Picture Style. In white balance, the camera is judging the light produced by whatever is illuminating the subject, and adjusting what it interprets as white accordingly. Most of the time, you won’t need to adjust this, but if your photos come out with a color cast (overly reddish, bluish, etc.), you can try using one of the settings to match the light source.
Picture Style is how the T5 interprets the colors that it sees. By using one of the Picture Style settings, you can make colors more vivid. The Landscape Picture Style, for instance, boosts the greens and blues in the image to make plants and blue skies more vivid.
Focus Modes
The T5 includes an excellent autofocus system that can snap the lens into focus very quickly. It works by detecting the focus at nine points in the image, which you see as black squares in the viewfinder. By using this carefully, you can make this system work better for you.
By default, the T5 will use all of these focus points and try and get as many as possible in focus, but you can pick a point by pressing the focus point button on the top right corner of the back of the camera and turning the dial. This is useful if you are trying to focus on something in the center of the frame and ignore others; the camera will then focus quicker.
MORE: Best DSLR Cameras From Beginner to Pro
You can also change how the camera deals with moving objects by changing the AF operation setting, by pressing the left directional button. One Shot mode will focus the camera when you half-press the shutter, then beep and stop. AI Focus will do the same, but will keep checking the focus as long as you keep half-pressing the shutter down. AF Servo does the same, but without the annoying beeping. If you are trying to keep a moving subject in focus, use AF Servo, but otherwise the One Shot mode is fine.
Now that you know your way around the camera, let’s look at how you can use your T5 in a number of common situations.
How Do I Take Great Action Photos?

Action and sports photos are all about freezing the action, capturing an important moment. To best capture these, set the camera to shutter priority mode (Tv on the mode dial) and set the shutter speed to 1/125 of a second, or faster if possible. You should also set the drive mode to continuous shooting (press the left button on the directional pad), which means the camera will keep taking pictures for as long as you hold the shutter button down at a speed of about 5 per second. Also, setting the focus mode to AF Servo means that the camera will continually adjust the focus of the lens. This gives you a better chance of capturing that decisive sports play.
How Do I Take Great Portraits?

Portraits are about capturing the personality of the subject. To isolate the subject from the background, set the camera to aperture priority mode (Av on the mode dial) and set the aperture to F5.6 or lower. This means that the subject of the photo will be sharp and in focus, but the background will be soft and out of focus.
How Do I Take Great Landscape Photos?

Landscape photos are the opposite of portraits: you want everything near or far to be sharp and in focus. So, use aperture priority mode again, but set the aperture to f/9 or more. Putting the camera on a tripod (or resting it on a table or wall) also helps, as it keeps it still while shooting.
How Do I Take Low Light Photos?
To make the most of the light that you have, set the camera to shutter priority and use a shutter speed of 1/30 of a second. This will give the camera more time to gather the light, Again, a tripod, wall or table that keeps the camera steady will help, reducing the amount of camera shake that makes for blurry photos.
When Should I Use The Flash?
The built-in flash on the T5 should only be used when you have no other choice, as it produces rather flat, unappealing photos that exaggerate facial scars or marks. If you put the camera into the A+ mode, it will automatically pop up the flash when in low light. In other modes, you can enable it by pressing the button just behind the shutter. One tip is to try reducing the power of the flash: press menu, then scroll down to Flash Control at the bottom of the menu. If you then select Built-in flash func. setting, and set the flash exposure comp to -1, it will reduce the power of the flash a bit, which can produce nicer shots.
MORE: Camera Recommendations for All Kinds of Photographers
How Do I Shoot Video?
If you turn the mode dial to video (the last option when turning clockwise, the T5 becomes a camcorder. There are a few things to remember, though: the T5 is slow to focus in video mode, so make sure that you focus before you start shooting by gently pressing the shutter and holding until the square in the center turns green. If the camera detects that it is out of focus while it is recording, it will try and refocus, which produces a second or two of blurry video. So, keep your subject in the center of the frame and avoid moving the camera. If you want to focus on something else, stop the recording, refocus and start recording again. A cut between video clips is less disorientating for the viewer than the blurry video.
The microphone that records sound is on the top of the camera, so speaking while holding the camera will drown out other sounds. Keep quiet, and consider adding a better microphone that points forward if you are shooting a lot of video. The T5 has a socket that can connect an external microphone like the $60 Rode VMGO which is much better than the built-in one at recording people speaking.
Richard Baguley has been working as a technology writer and journalist since 1993. As well as contributing to Tom's Guide, he writes for Cnet, T3, Wired and many other publications.
-
MargieR I do not see the time/date on my pictures. How do I set it? The time/date is correct on my camera.Reply
 Club Benefits


