How to set up the Facebook Portal
How to set up the Facebook Portal so you can make video calls using Facebook Messenger and WhatsApp.
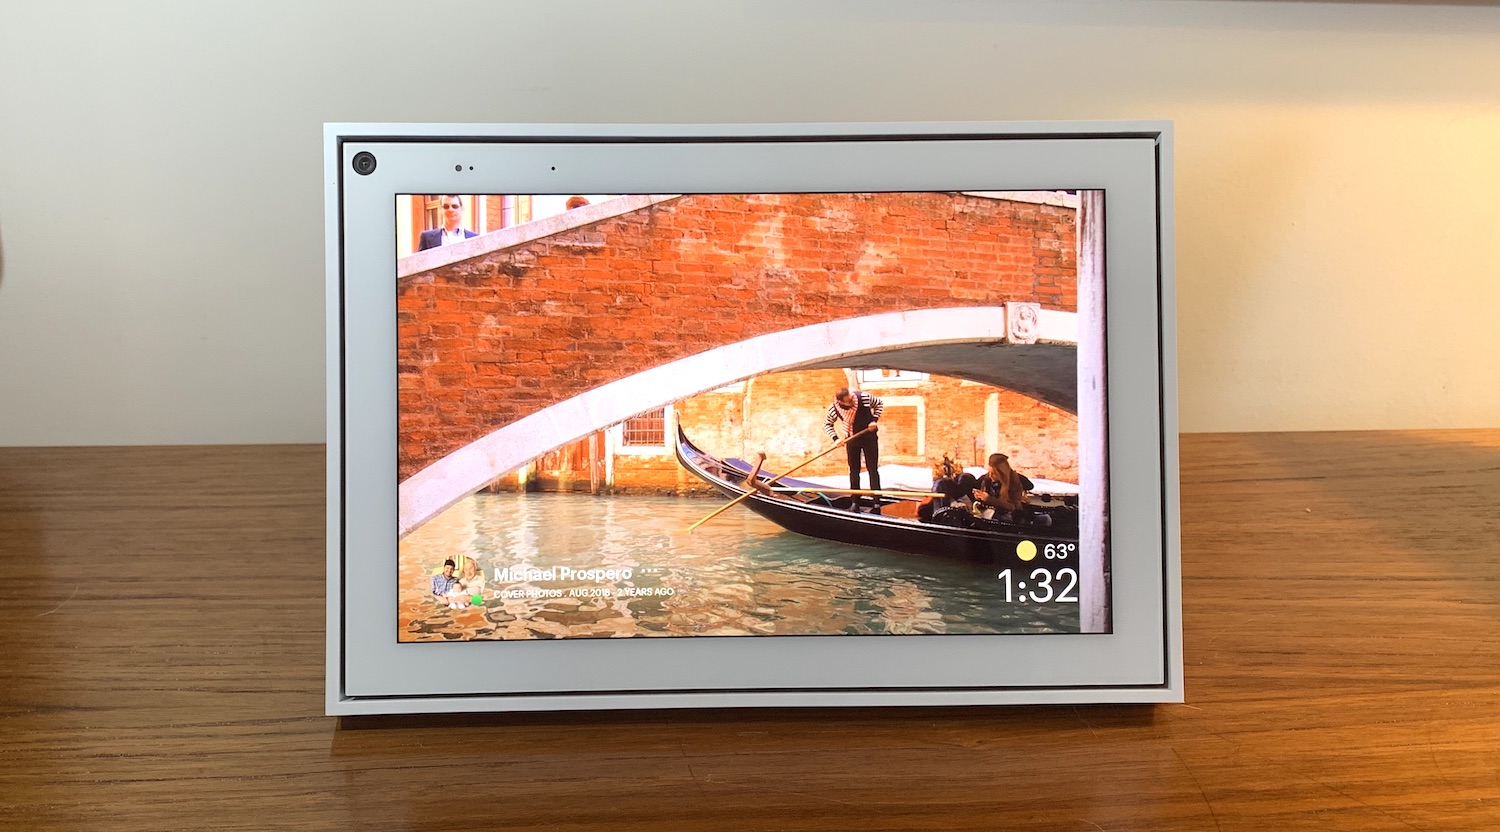
The Facebook Portal smart display is great at making video calls to Facebook Messenger and WhatsApp contacts, and while its setup process is easy, it is somewhat lengthy. In case the Portal’s instructions are confusing to you, here is a step-by-step guide on how to set up the Facebook Portal.
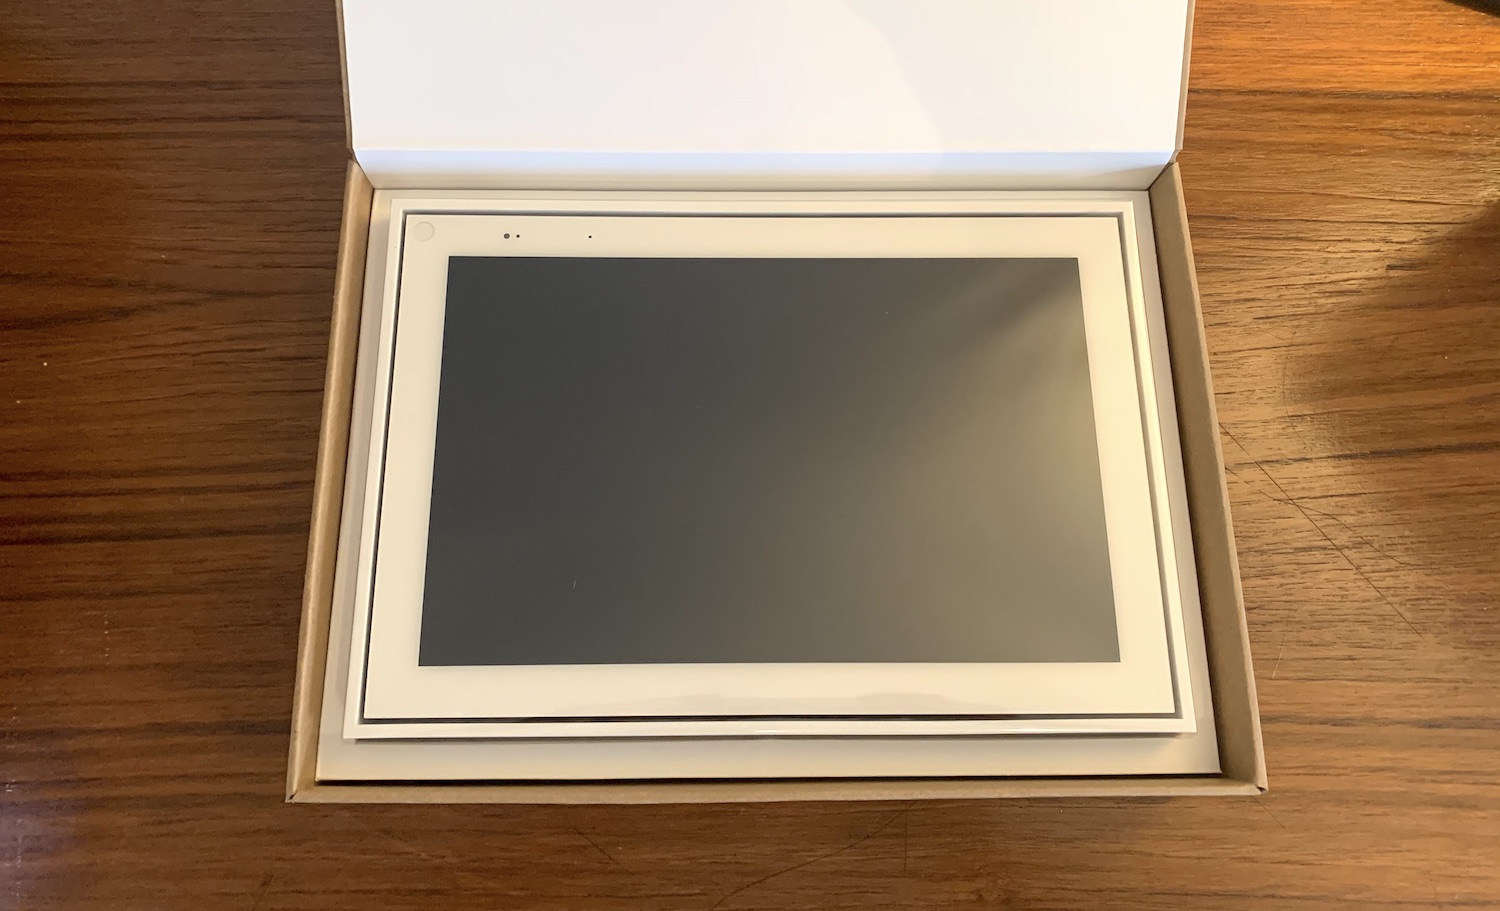
1. Unbox the Facebook Portal.
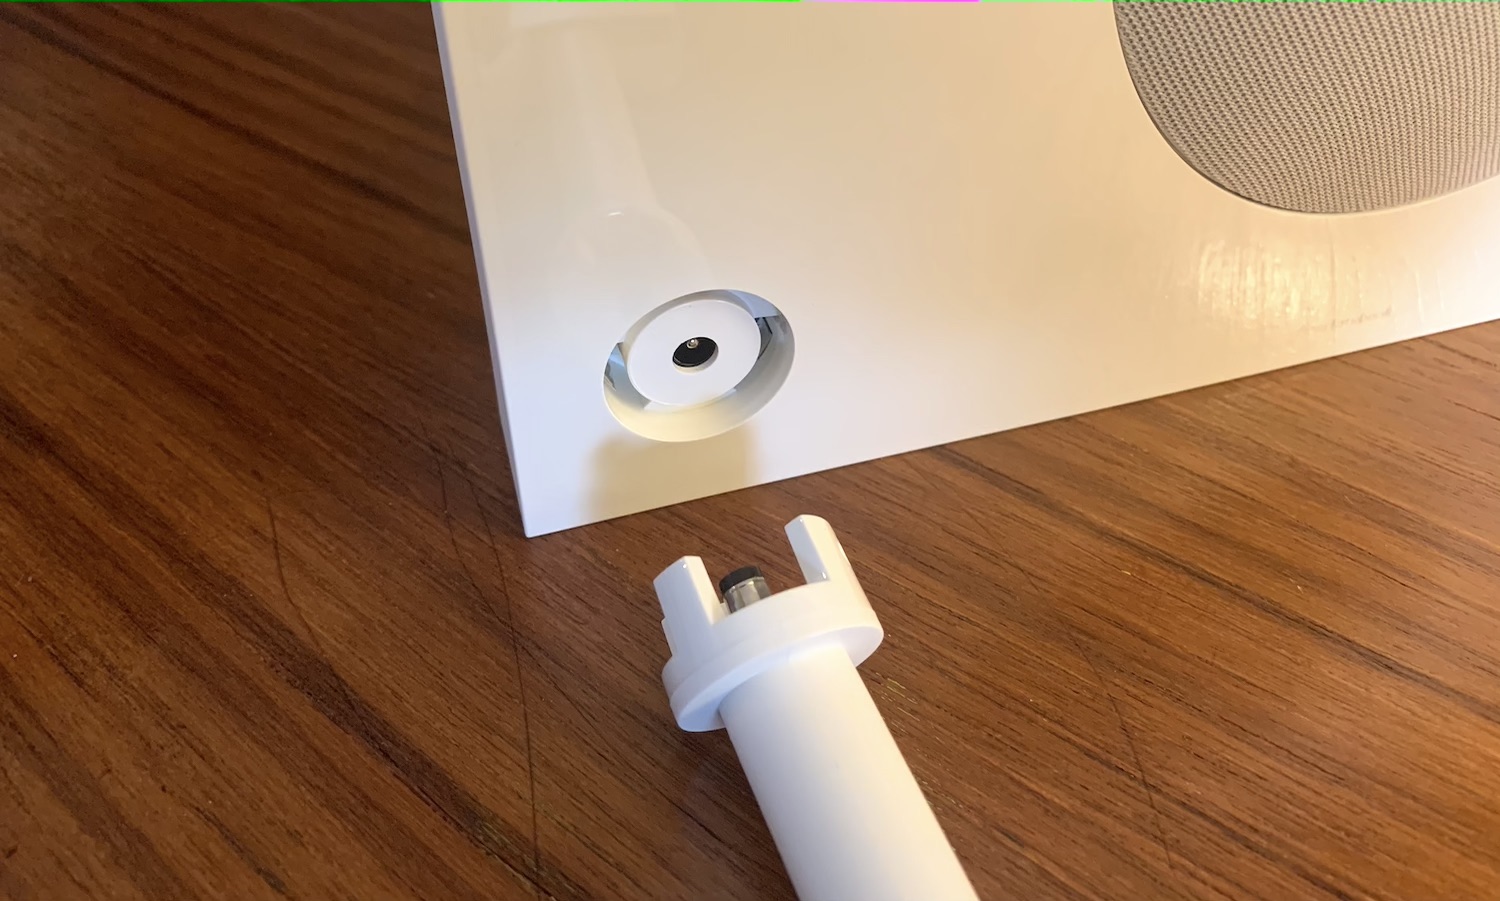
2. Insert the power cord into the back of the Portal, and plug it into an outlet.
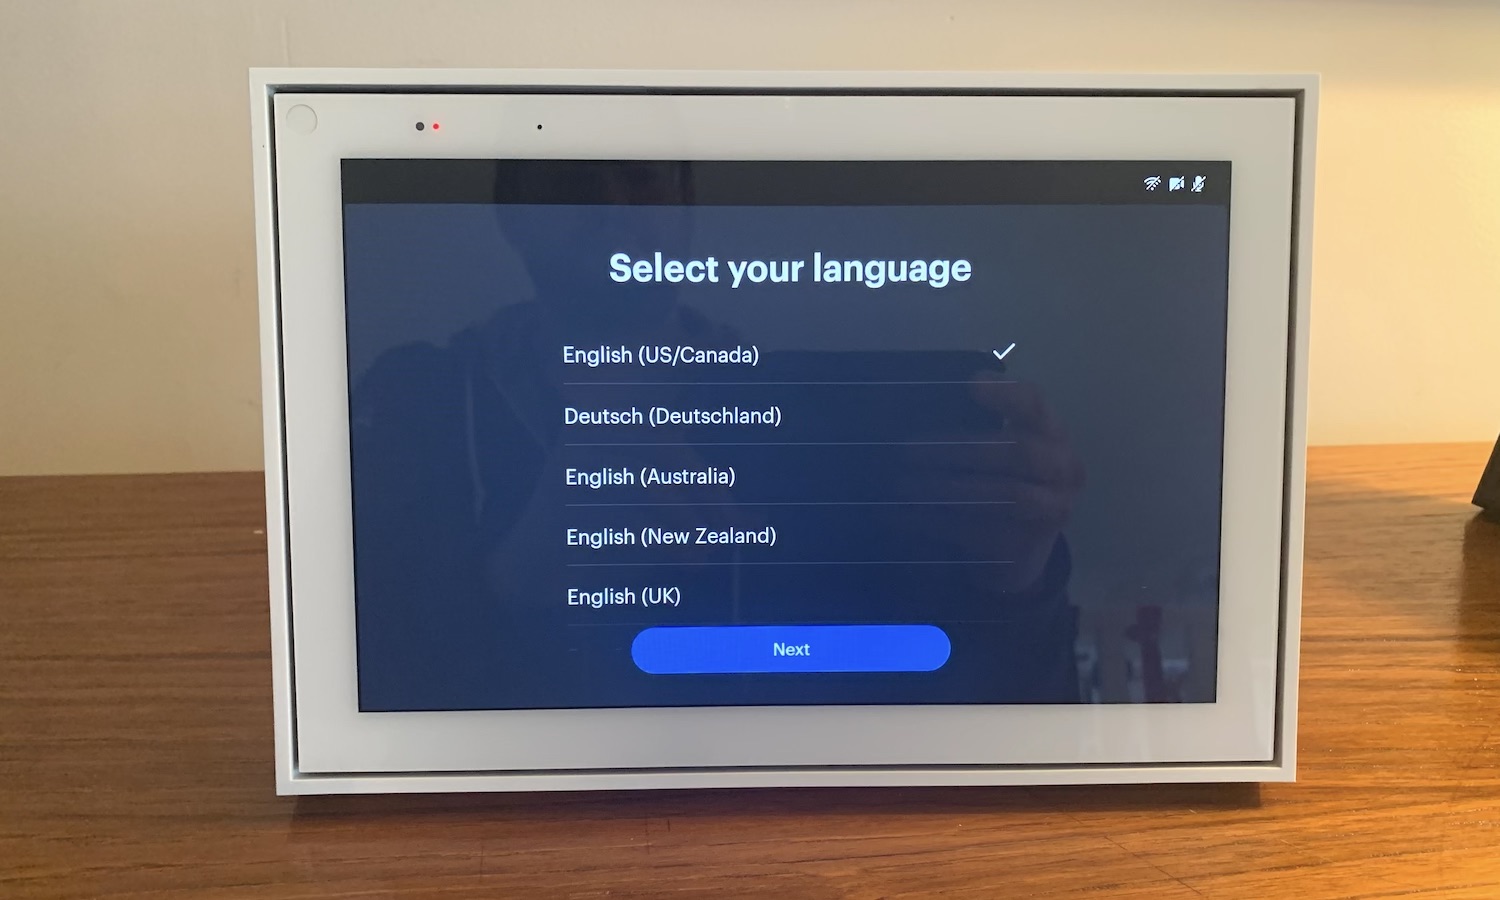
3. After the Portal boots up, select the language you want to use.
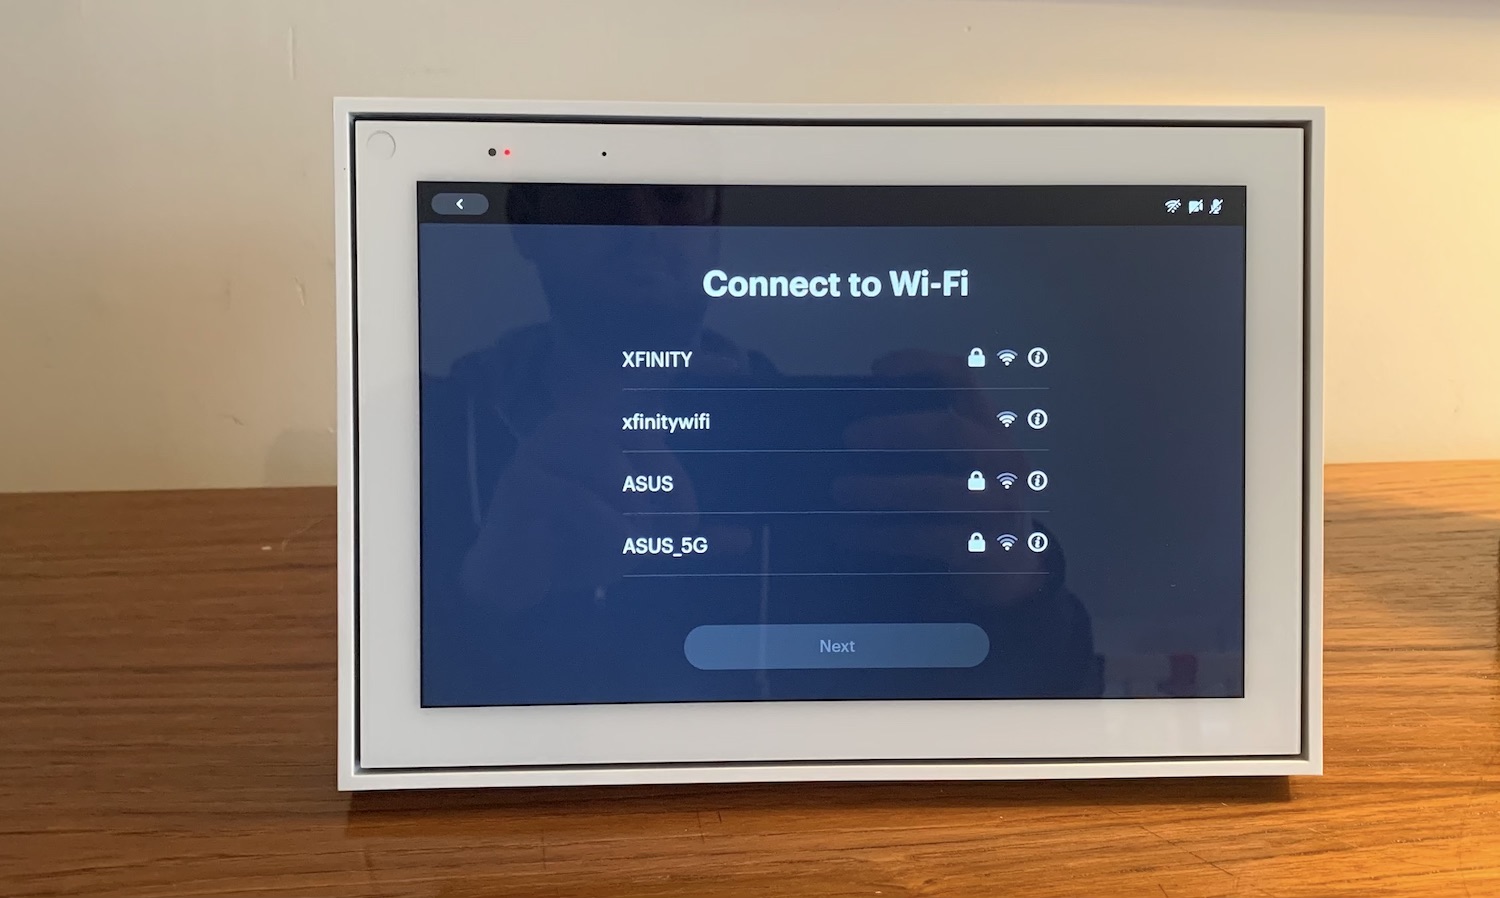
4. Select your Wi-Fi network, and enter your password.
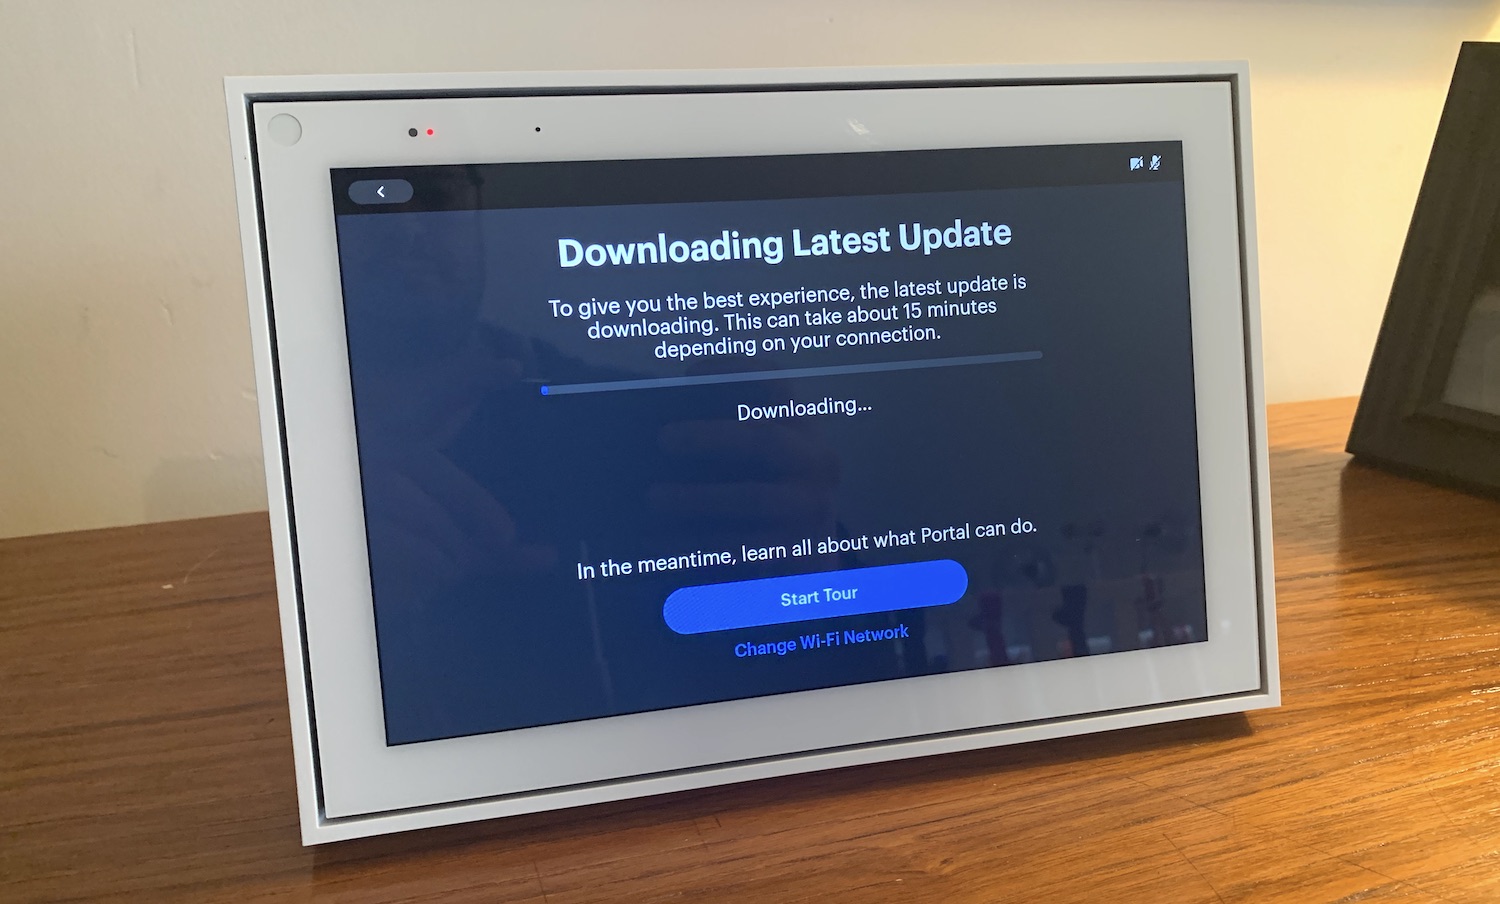
5. After the Portal connects to your network, it will automatically download and install the latest update. During this time, you can take a virtual tour of the device.
6. After the Portal has finished downloading the update, it will ask you to restart it.
Get instant access to breaking news, the hottest reviews, great deals and helpful tips.
7. Once the Portal has restarted, press continue to agree to the terms of service.
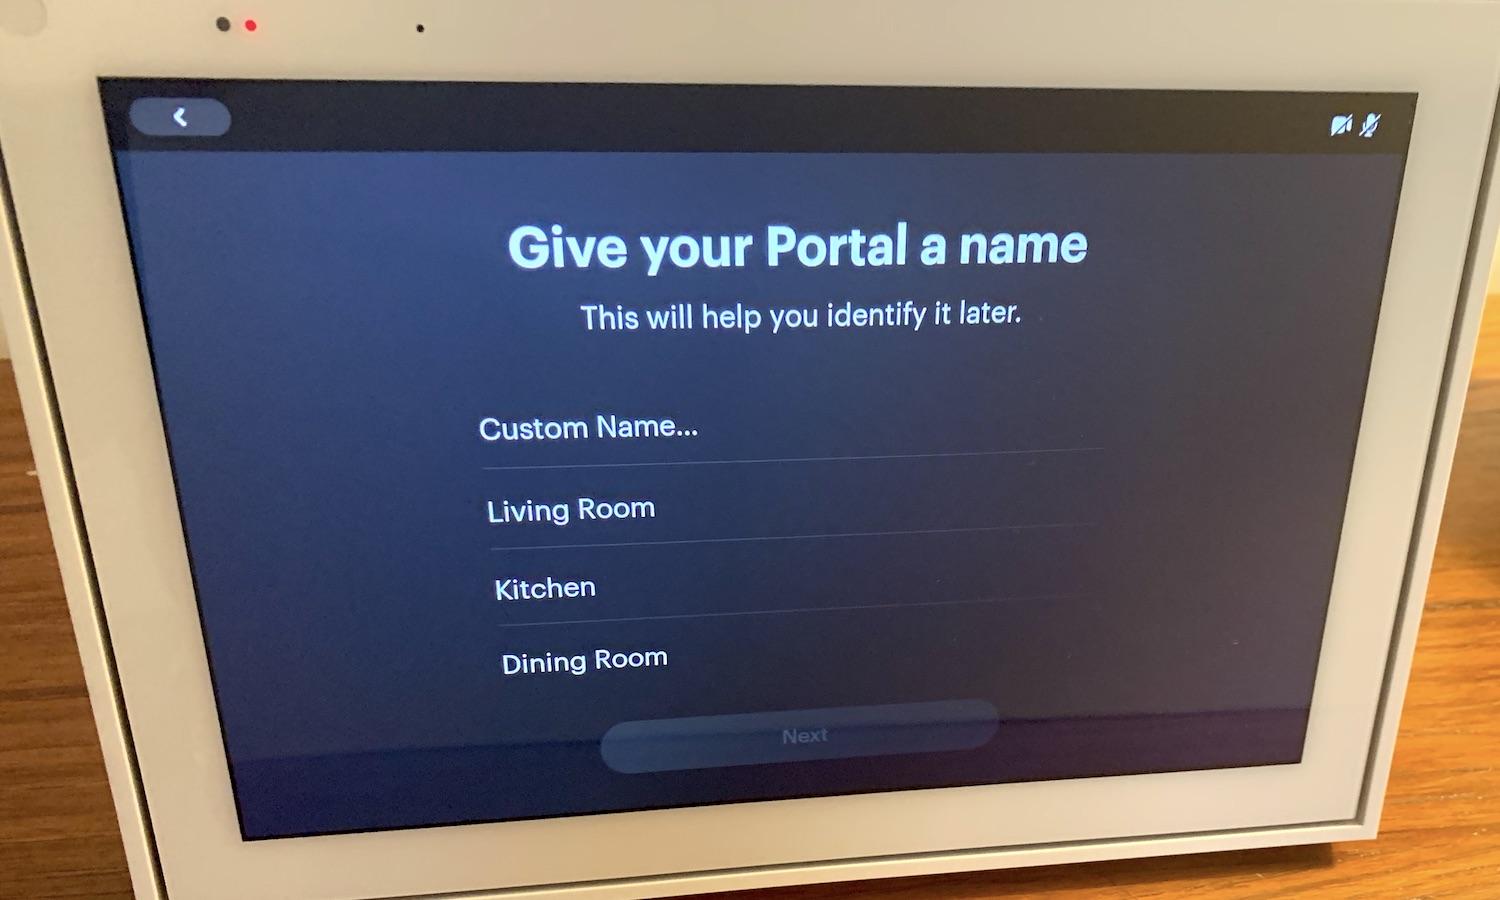
8. Give your Portal a name. You can select from the menu, or create your own name.
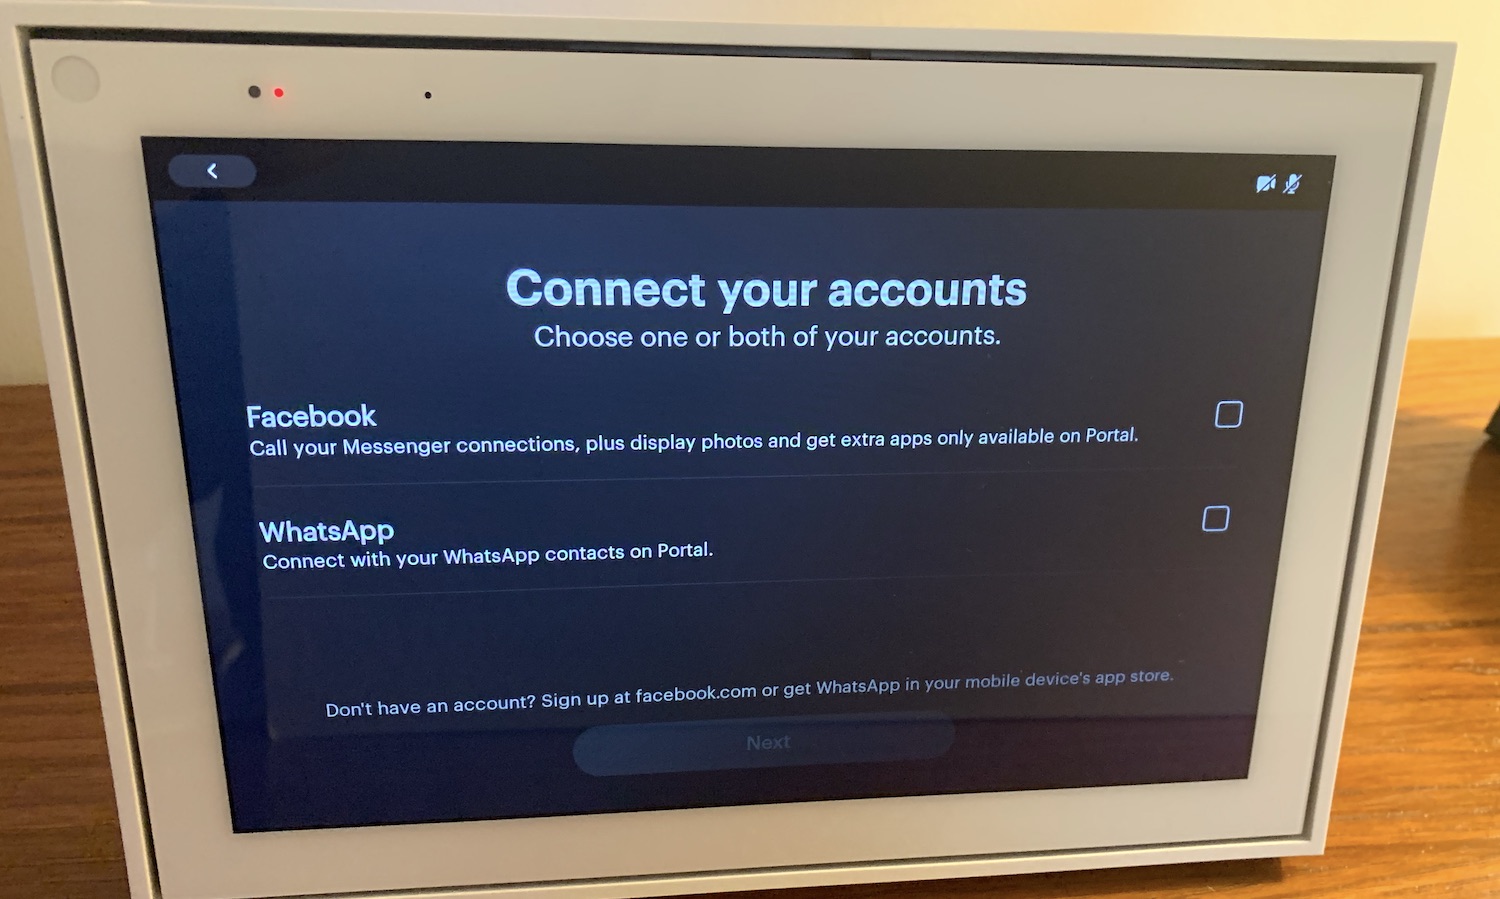
9. Connect your Facebook account. A code will appear on the screen of the Portal. On a web browser on your computer or smartphone, go to www.facebook.com/device and enter the code to connect to your Facebook account. Alternatively, you can enter your Facebook password directly on the Portal itself. If you successfully connect your account, a screen should appear confirming this. Press Next to continue.
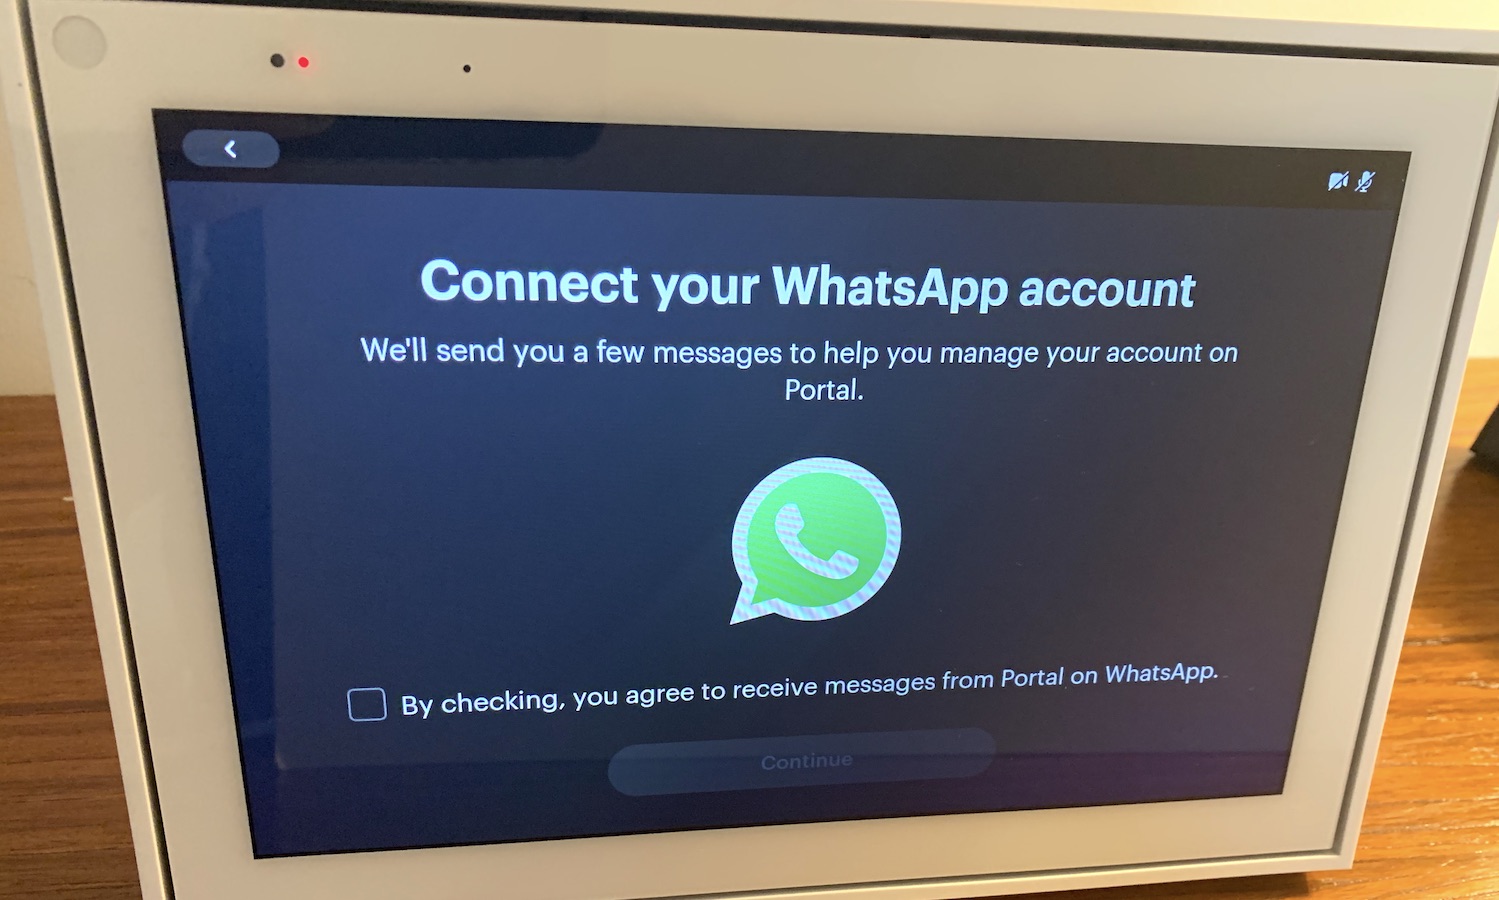
10. Connect your WhatsApp account (optional). If you opt to connect your WhatsApp account to the Portal, a QR code will appear on the Portal’s display. Open the WhatsApp account on your smartphone; on iPhones, go to Settings, and on Android phones, go to chats and select the three vertical dots. Next, select WhatsApp Web, and hold your smartphone’s camera up so that it can read the QR code.
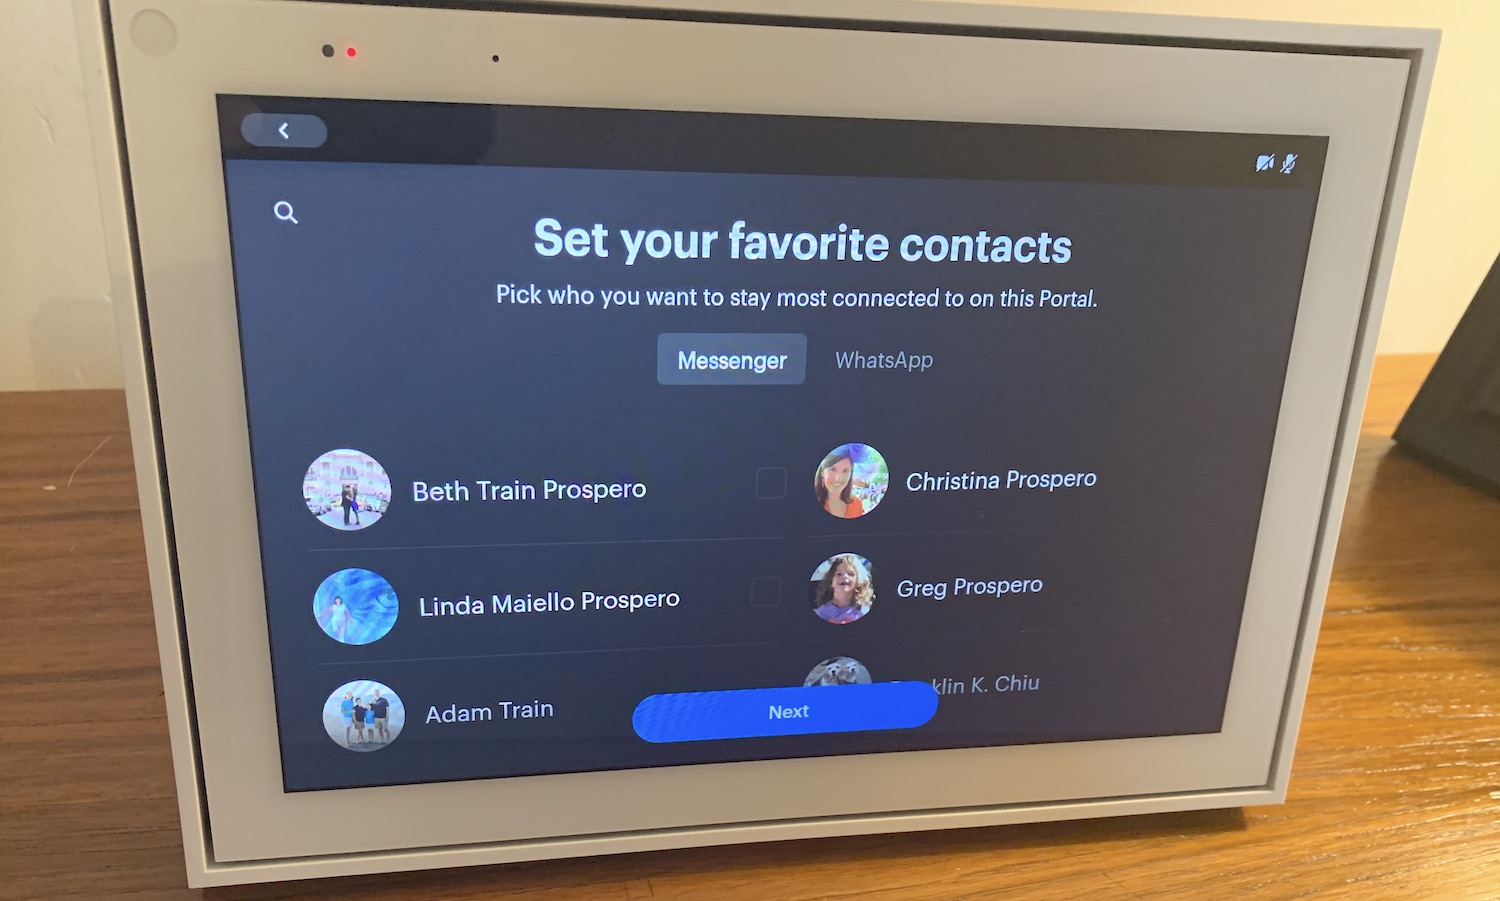
11. Select your favorite contacts. These are the profiles that will always be visible, so you can more easily call them from the Portal.
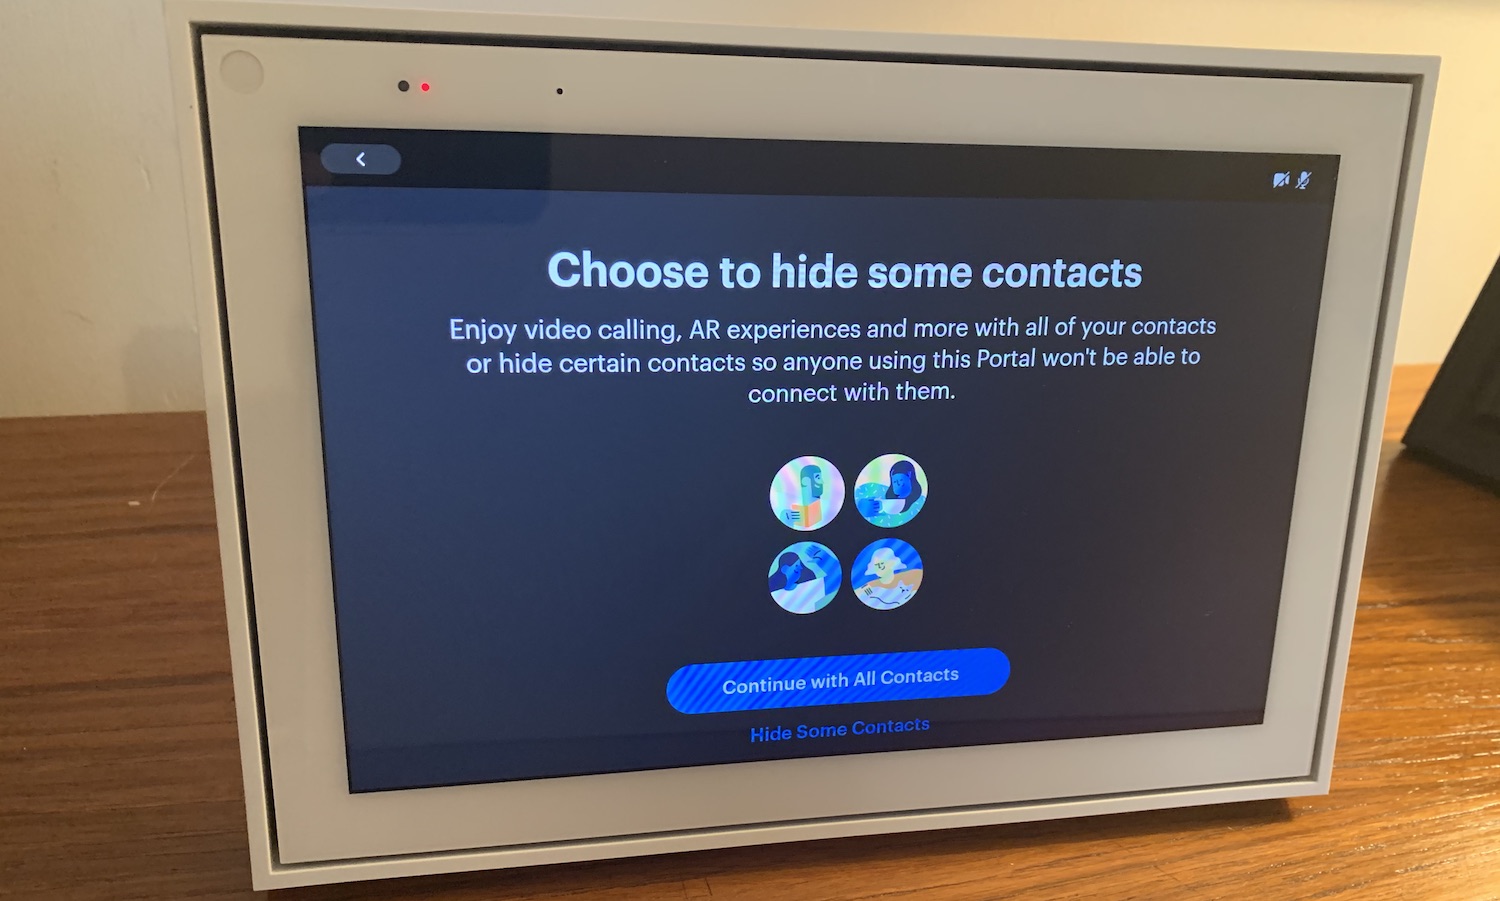
12. Choose to hide contacts (optional). If you don’t want all of your contacts to appear on the Portal, you can hide them, if you so choose.
13. Next, you can see how the Portal’s camera works; it can lock on to your face, and digitally zoom and pan to keep you in the frame as you walk around the room. You can skip this step if you want.
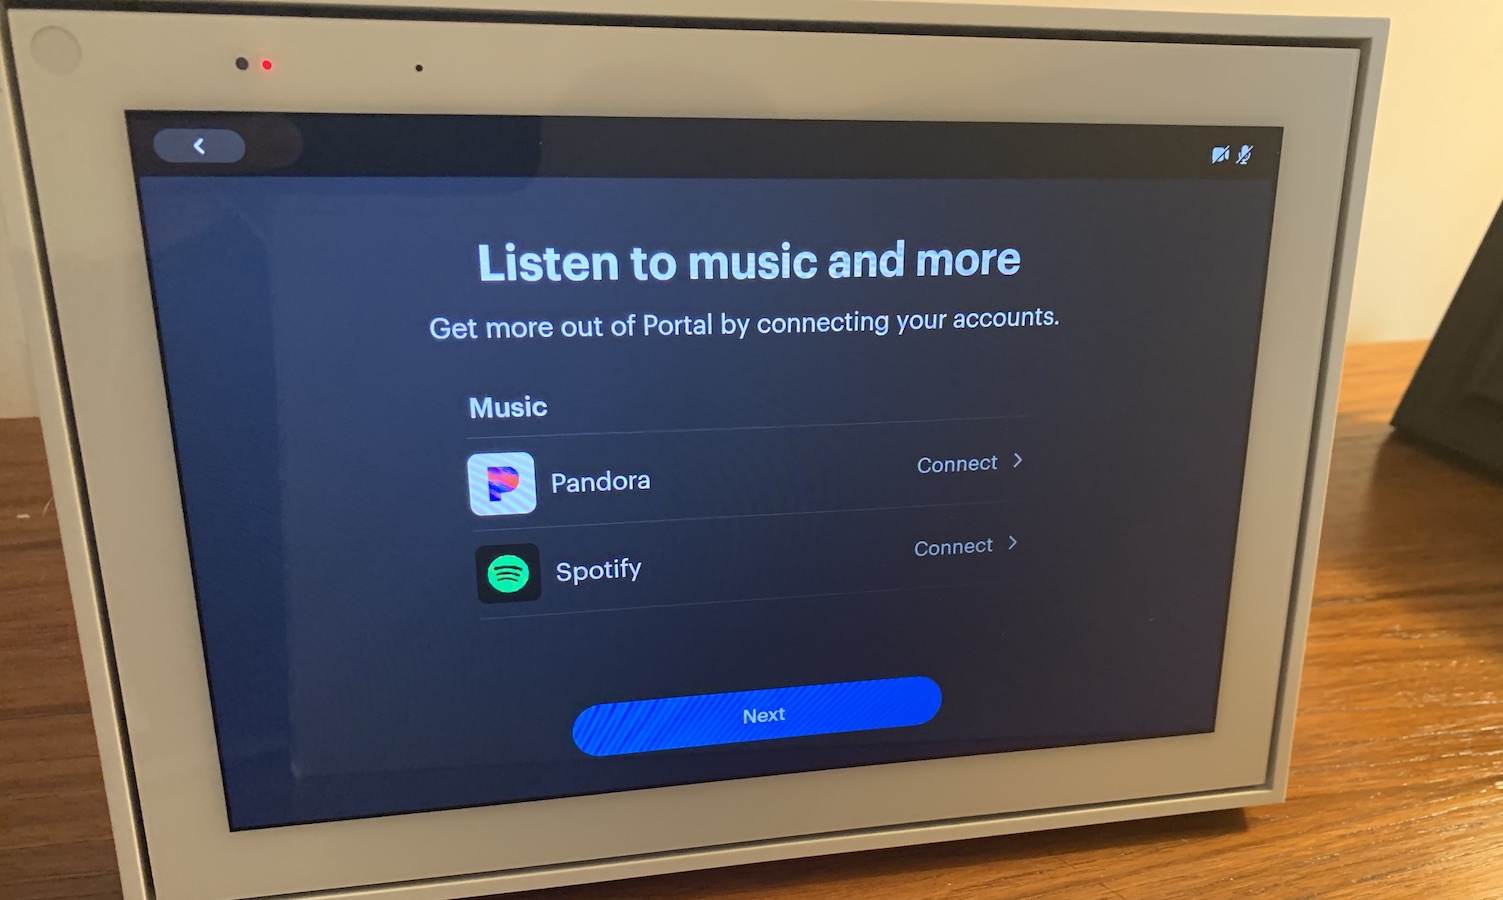
14. Connect Pandora and Spotify. If you have accounts with either of these music streaming services, you can link them to the Portal. Select “connect” next to the service you wish to use.
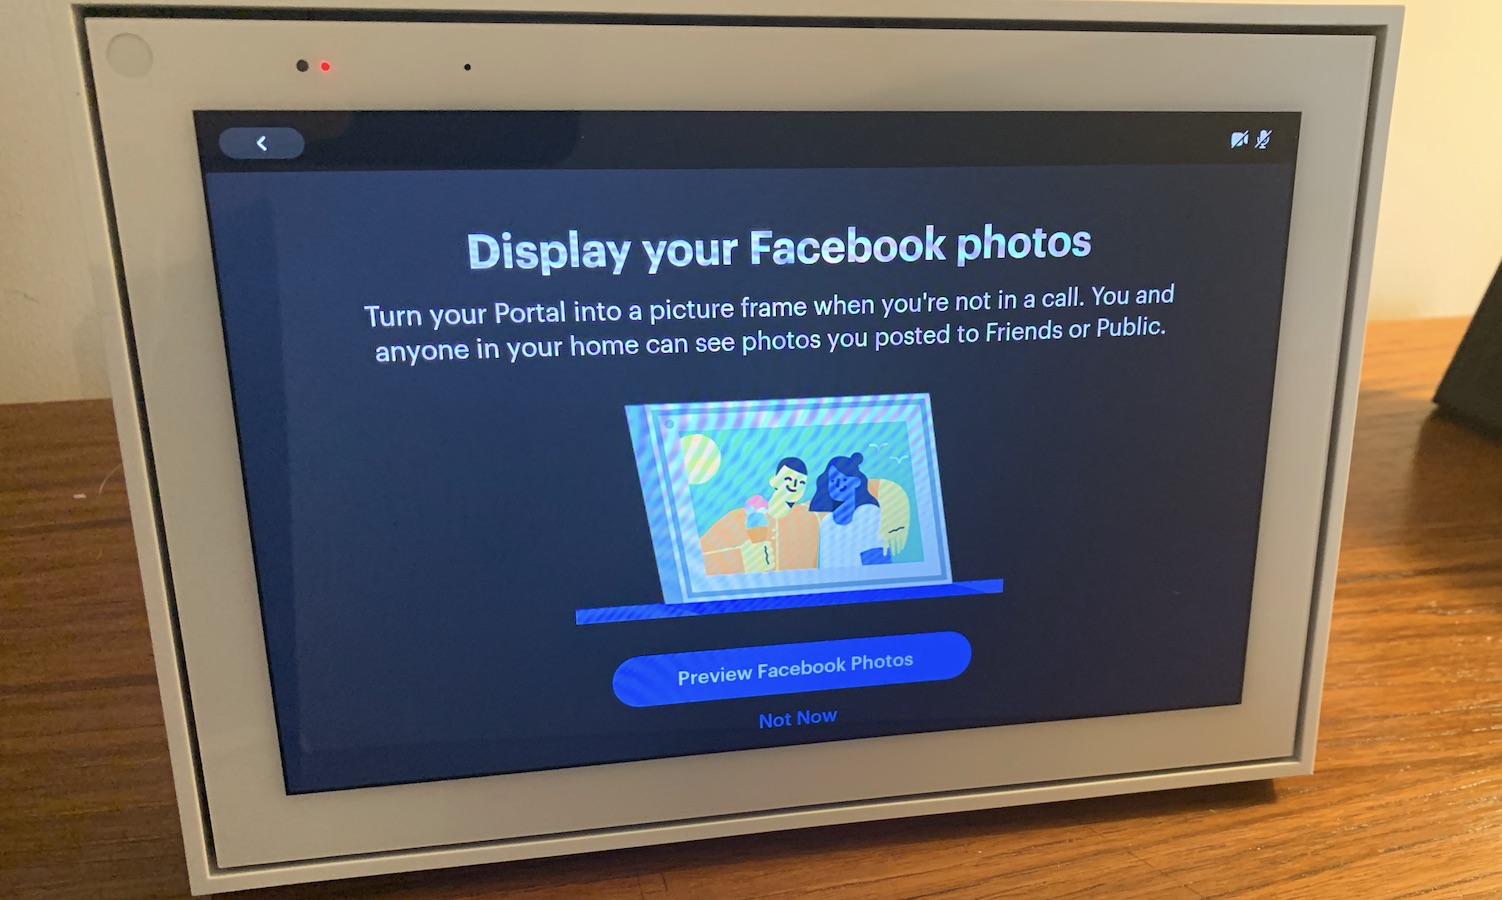
15. If you want to use the Portal as a digital picture frame, select Preview Facebook Photos, and then Add Facebook Photos in the next screen. You can choose which Facebook albums you want to display. Later, you can also connect your Instagram account if you want to display photos from there, too.

16. Select Get Portal App if you want to add photos directly from your phone. This will require you to install a separate app on your smartphone.
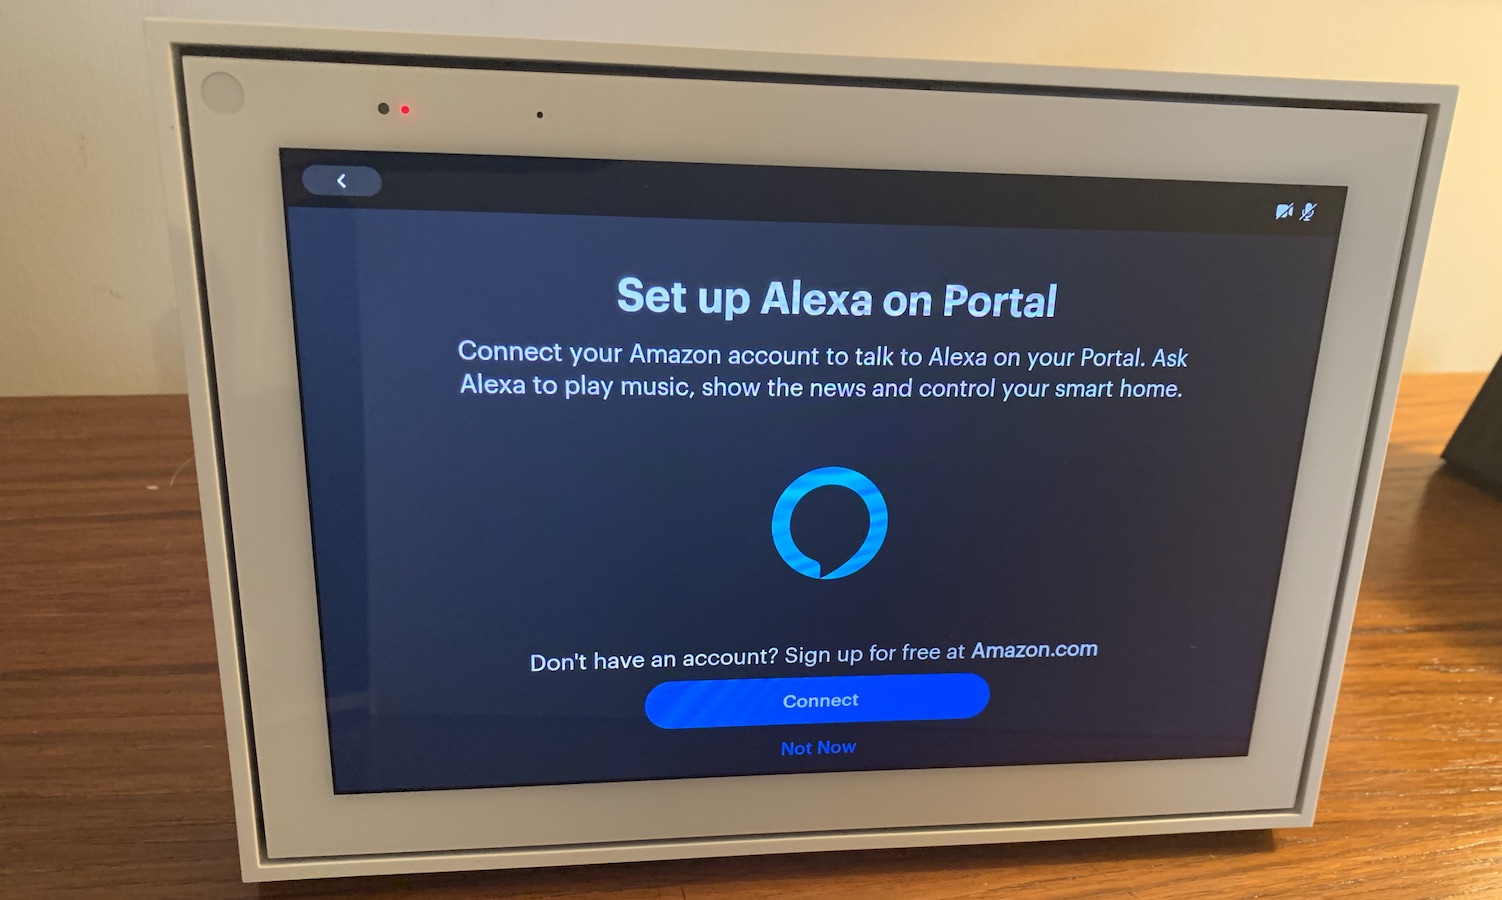
17. Connect Alexa if you have an Alexa account, and want to use it on the Portal. We recommend using Alexa rather than the Portal’s own voice assistant, as Amazon's assistant is far more capable.
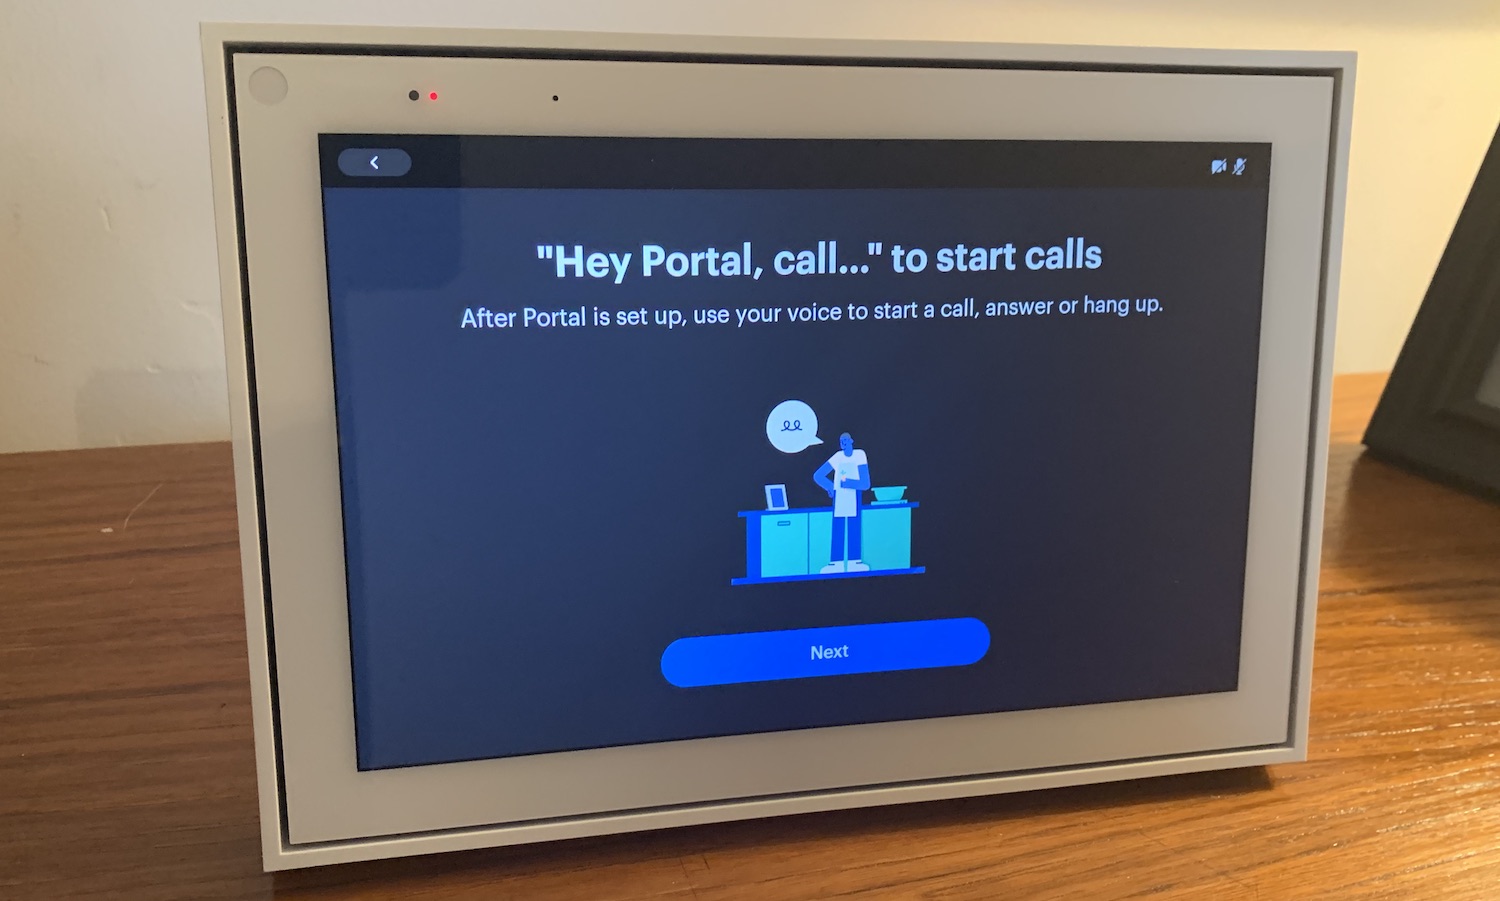
18. Press Next to use the “Hey Portal” trigger to initiate video calls.
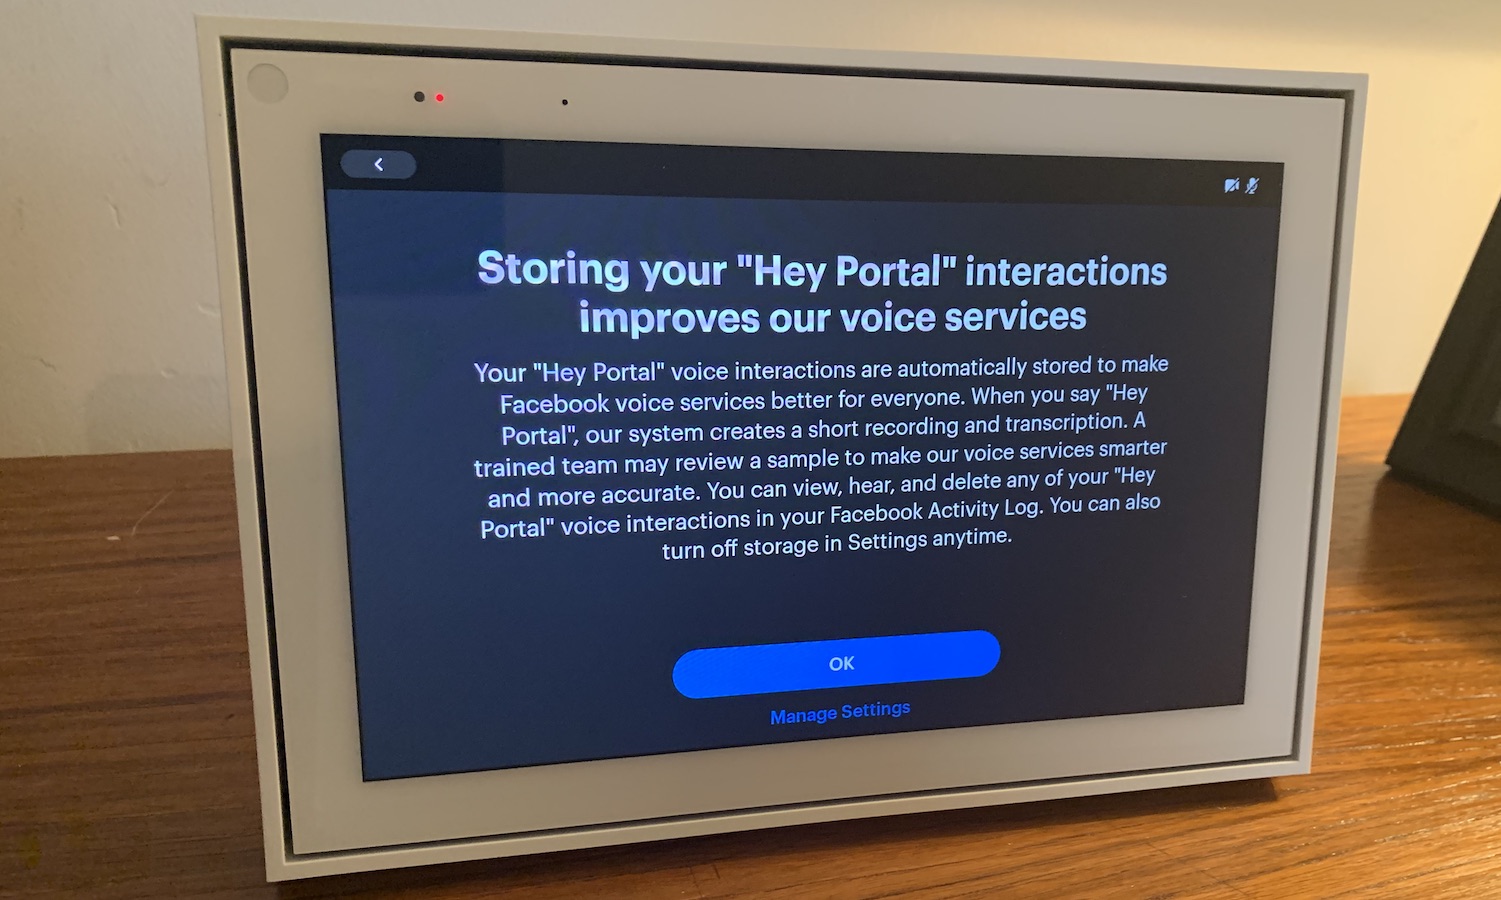
19. The last step is to allow the Portal to store your “Hey Portal” voice recordings so that Facebook can listen to them in order to improve its voice-recognition capabilities. This is optional, and even if you agree to this during the setup process, you can turn this off and delete all your recordings at a later time.
20. Your Facebook Portal should be set up now. The main home screen should display your favorite contacts as well as those individuals whom you called recently. If you swipe to the left, you’ll see all of your installed apps, Contacts, and Settings.

Michael A. Prospero is the U.S. Editor-in-Chief for Tom’s Guide. He oversees all evergreen content and oversees the Homes, Smart Home, and Fitness/Wearables categories for the site. In his spare time, he also tests out the latest drones, electric scooters, and smart home gadgets, such as video doorbells. Before his tenure at Tom's Guide, he was the Reviews Editor for Laptop Magazine, a reporter at Fast Company, the Times of Trenton, and, many eons back, an intern at George magazine. He received his undergraduate degree from Boston College, where he worked on the campus newspaper The Heights, and then attended the Columbia University school of Journalism. When he’s not testing out the latest running watch, electric scooter, or skiing or training for a marathon, he’s probably using the latest sous vide machine, smoker, or pizza oven, to the delight — or chagrin — of his family.
