Need a scanner? The Google Drive app has one built in — here's how to use it
Ditch your desktop scanner in favor of Google Drive
Here at Tom’s Guide our expert editors are committed to bringing you the best news, reviews and guides to help you stay informed and ahead of the curve!
You are now subscribed
Your newsletter sign-up was successful
Want to add more newsletters?
Daily (Mon-Sun)
Tom's Guide Daily
Sign up to get the latest updates on all of your favorite content! From cutting-edge tech news and the hottest streaming buzz to unbeatable deals on the best products and in-depth reviews, we’ve got you covered.
Weekly on Thursday
Tom's AI Guide
Be AI savvy with your weekly newsletter summing up all the biggest AI news you need to know. Plus, analysis from our AI editor and tips on how to use the latest AI tools!

Weekly on Friday
Tom's iGuide
Unlock the vast world of Apple news straight to your inbox. With coverage on everything from exciting product launches to essential software updates, this is your go-to source for the latest updates on all the best Apple content.
Weekly on Monday
Tom's Streaming Guide
Our weekly newsletter is expertly crafted to immerse you in the world of streaming. Stay updated on the latest releases and our top recommendations across your favorite streaming platforms.
Join the club
Get full access to premium articles, exclusive features and a growing list of member rewards.
Back in days gone by, a scanner was an incredibly important part of any office setup. After all, in those days there was no other way to digitize paper documents and still be able to read them when you’re done. That’s no longer the case; now, you can do more or less the same thing with the best camera phones.
Not only do apps like Google Drive have the ability to capture paper documents in no time at all, they can also instantly back up those documents to the cloud. That way you can access those documents across all your devices with little to no extra effort. Plus there’s access to all the modern editing tools you’d expect, to make those documents crystal clear.
Here’s how to scan documents using the Google Drive app, and ditch your chunky desktop scanner for good.
How to scan documents using the Google Drive app
- Open the Google Drive app
- Tap the Camera icon
- Line-up the document in frame
- Use auto-capture or press the camera button
- Edit accordingly
- Rescan the image if necessary
- Tap ‘Done’
1. Open the Google Drive app
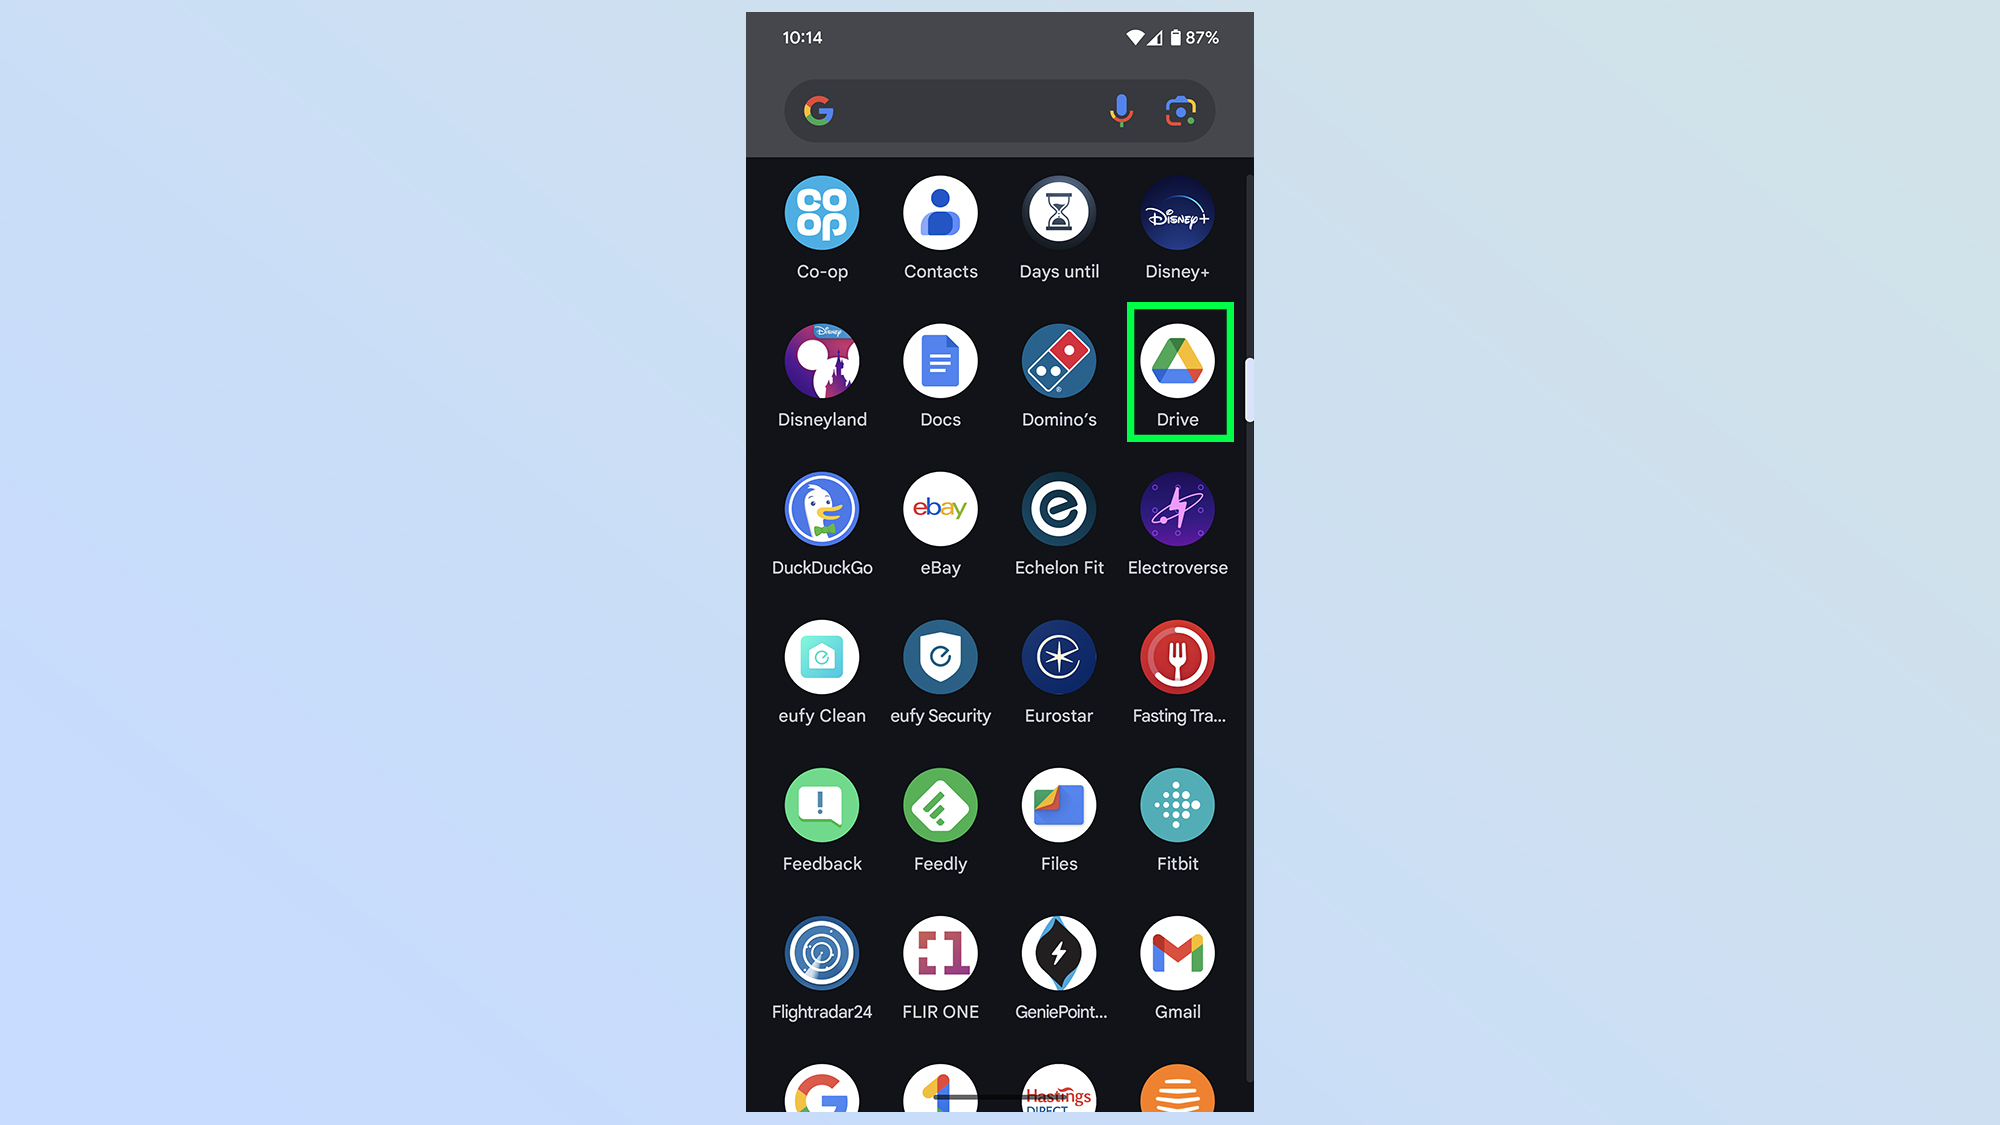
The first thing you’ll need to do is install the Google Drive app. This is preinstalled on all Android phones, and can be downloaded on iPhone from the App Store. The process is the same on both platforms, however.
2. Tap the Camera icon
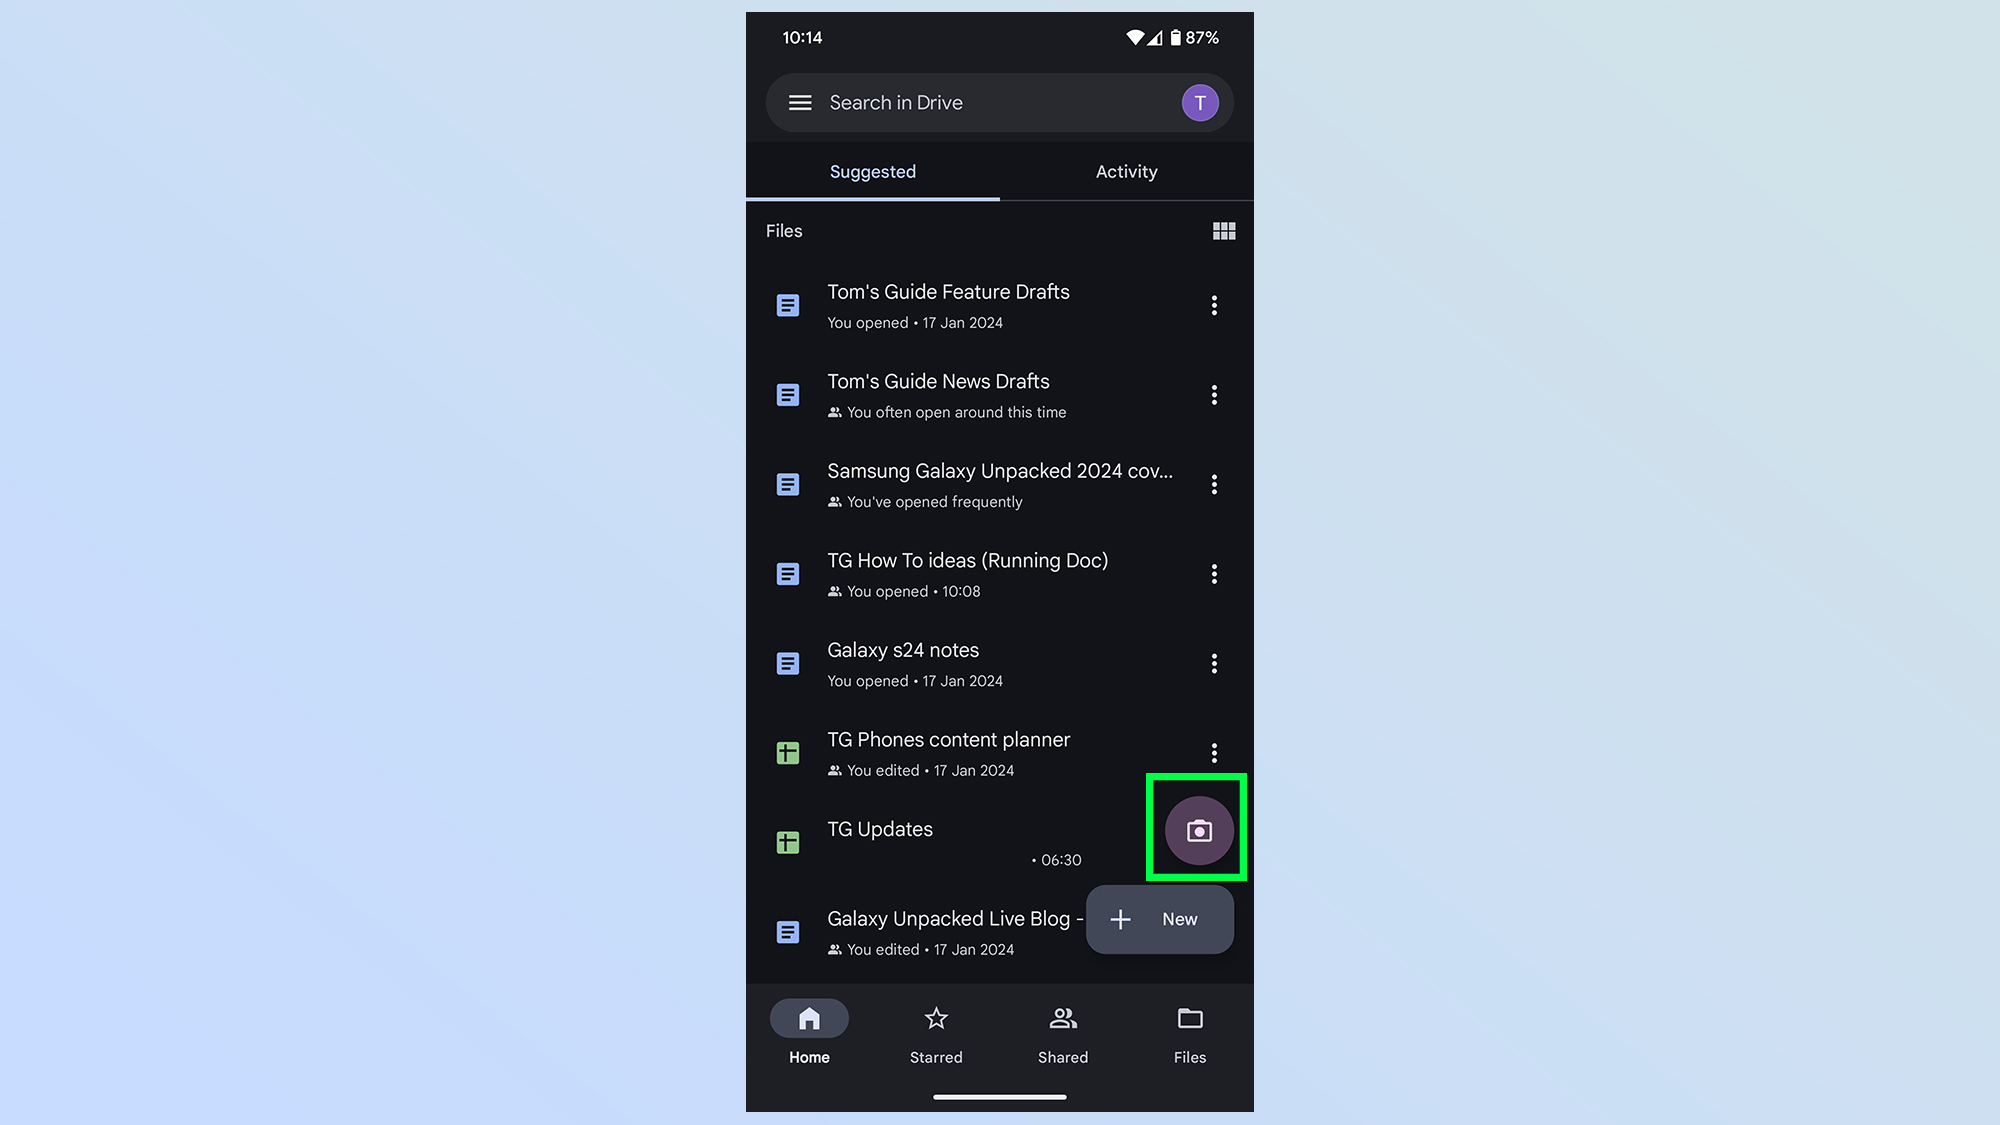
Once Google Drive is open you’ll need to tap the camera icon in the button right, just above the Plus sign icon.
3. Line-up the document in frame
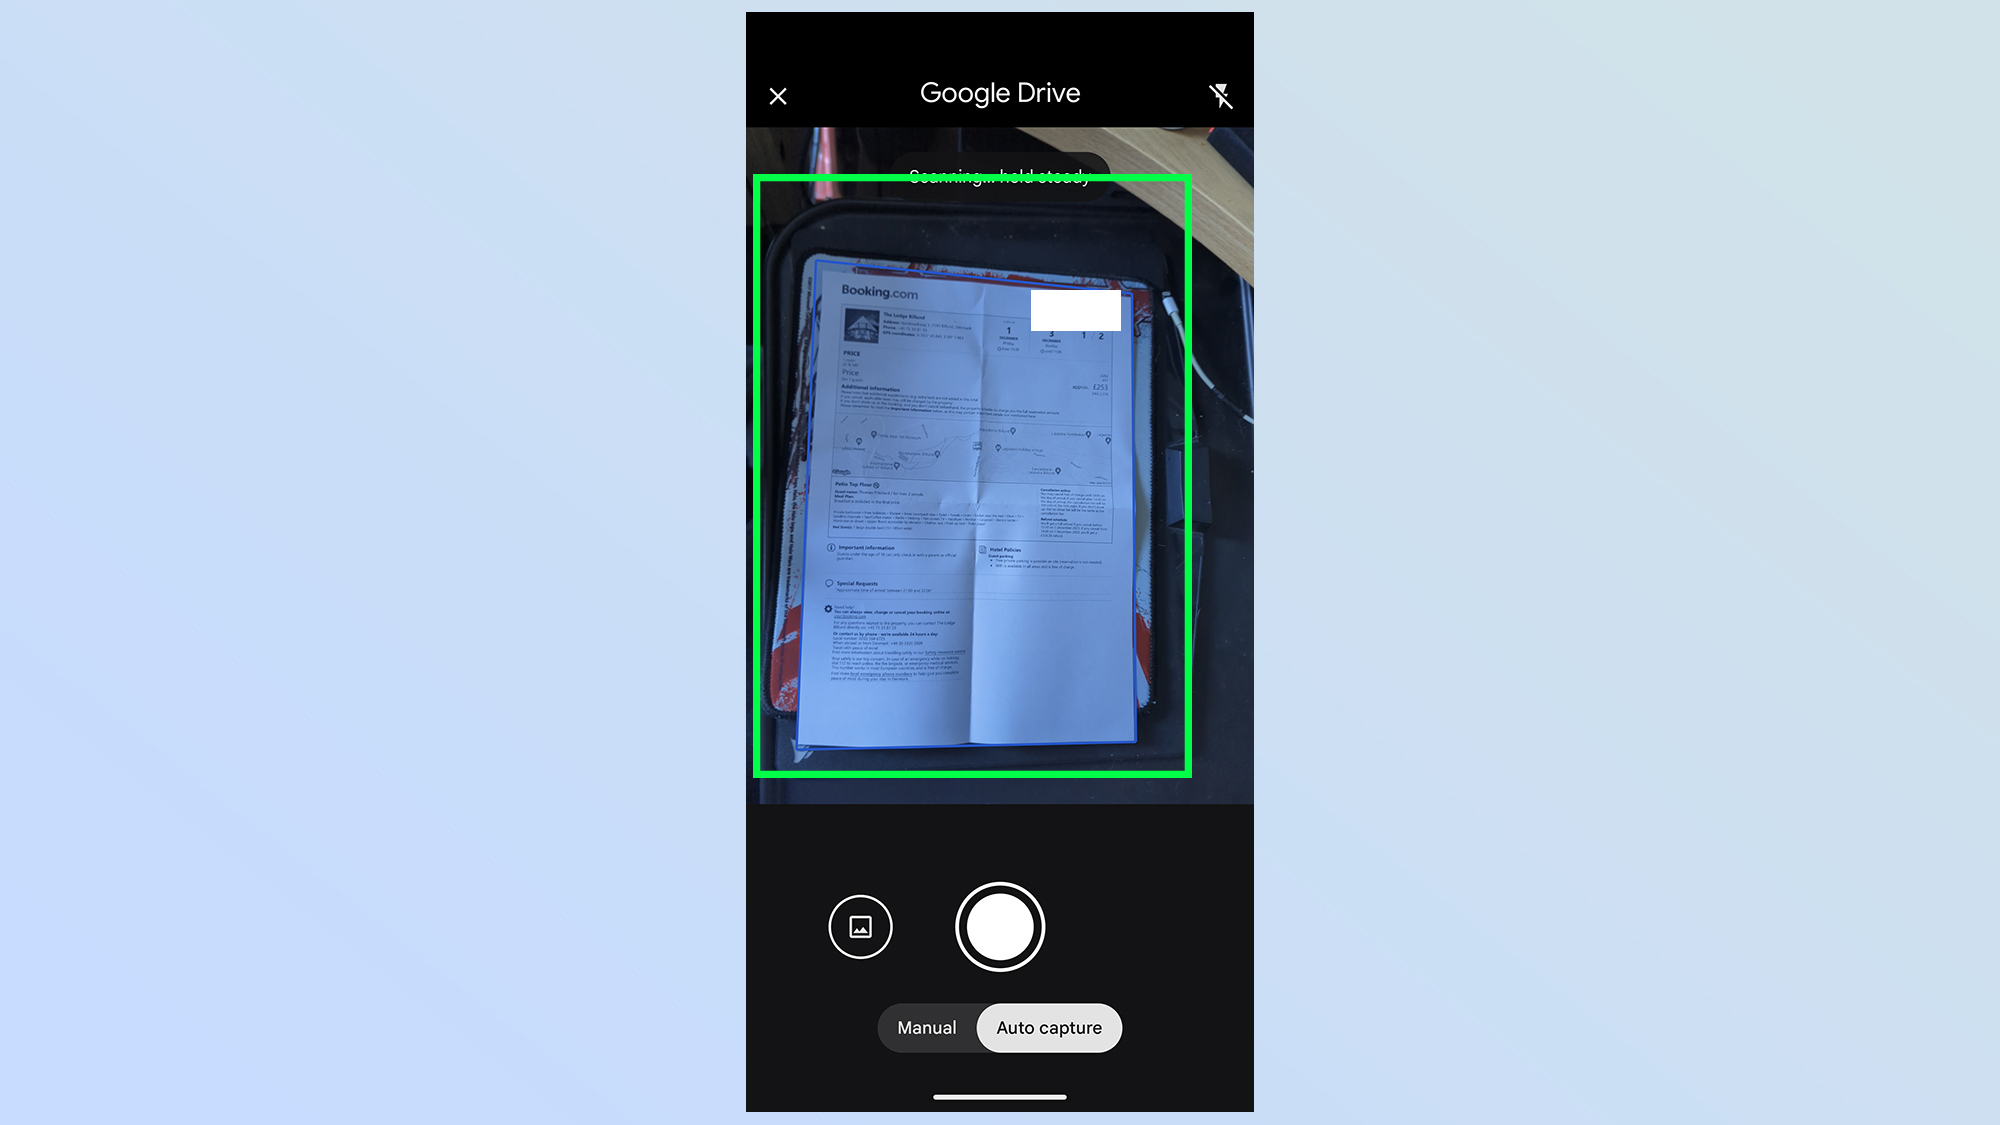
From there you'll need to line up the document within the on-screen camera frame. Be sure to get the whole thing in frame, and that the text on the page is clear and well-lit so the camera can pick everything up. You’ll know it’s working when a blue box appears around your document.
4. Use auto-capture or press the camera button
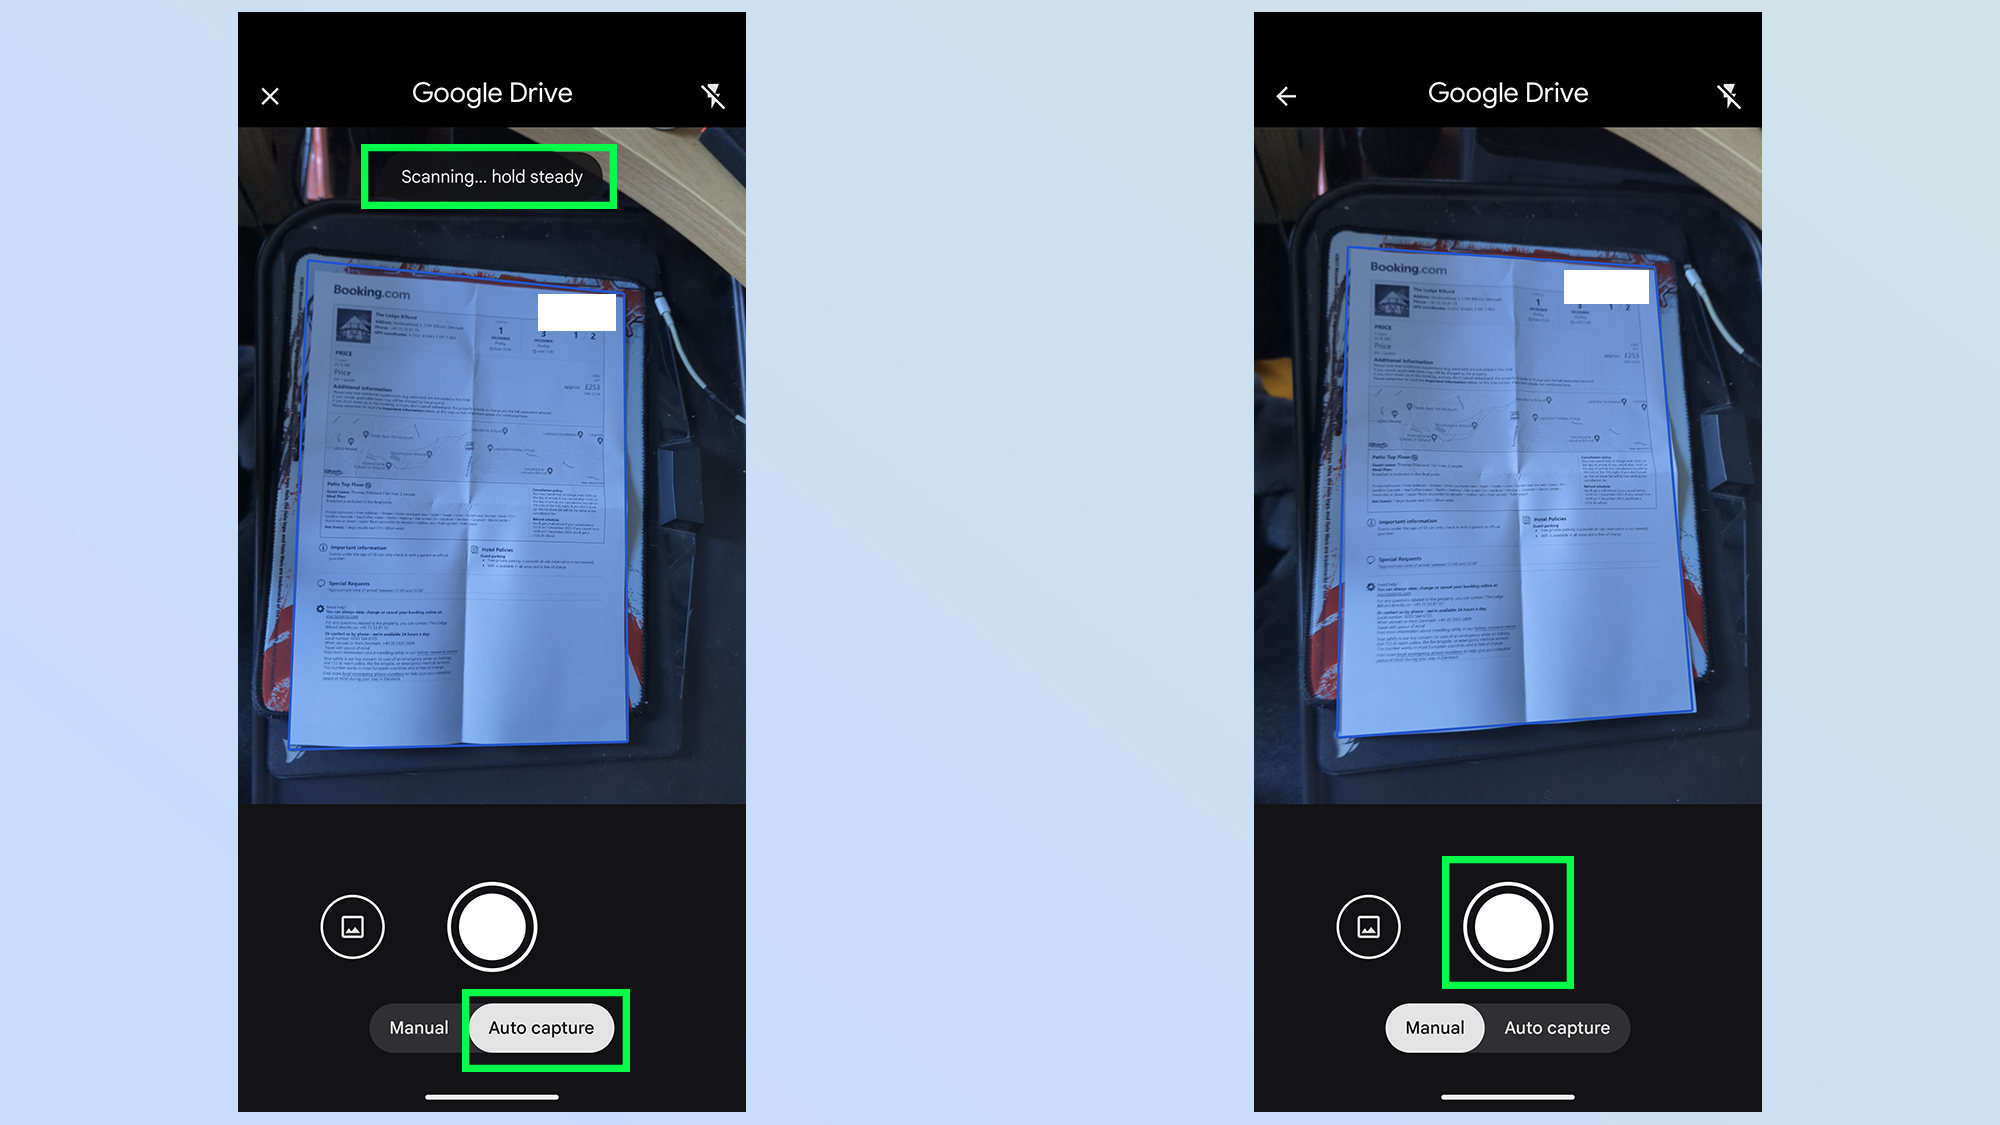
If you have Auto-capture toggled on, wait a couple of seconds and let Google Drive capture the document by itself. If you have Manual mode switched on, you’ll need to press the shutter button in the lower middle part of the screen.
Whichever method you choose, the document should be automatically cropped by Google Drive during the scanning process.
5. Edit accordingly
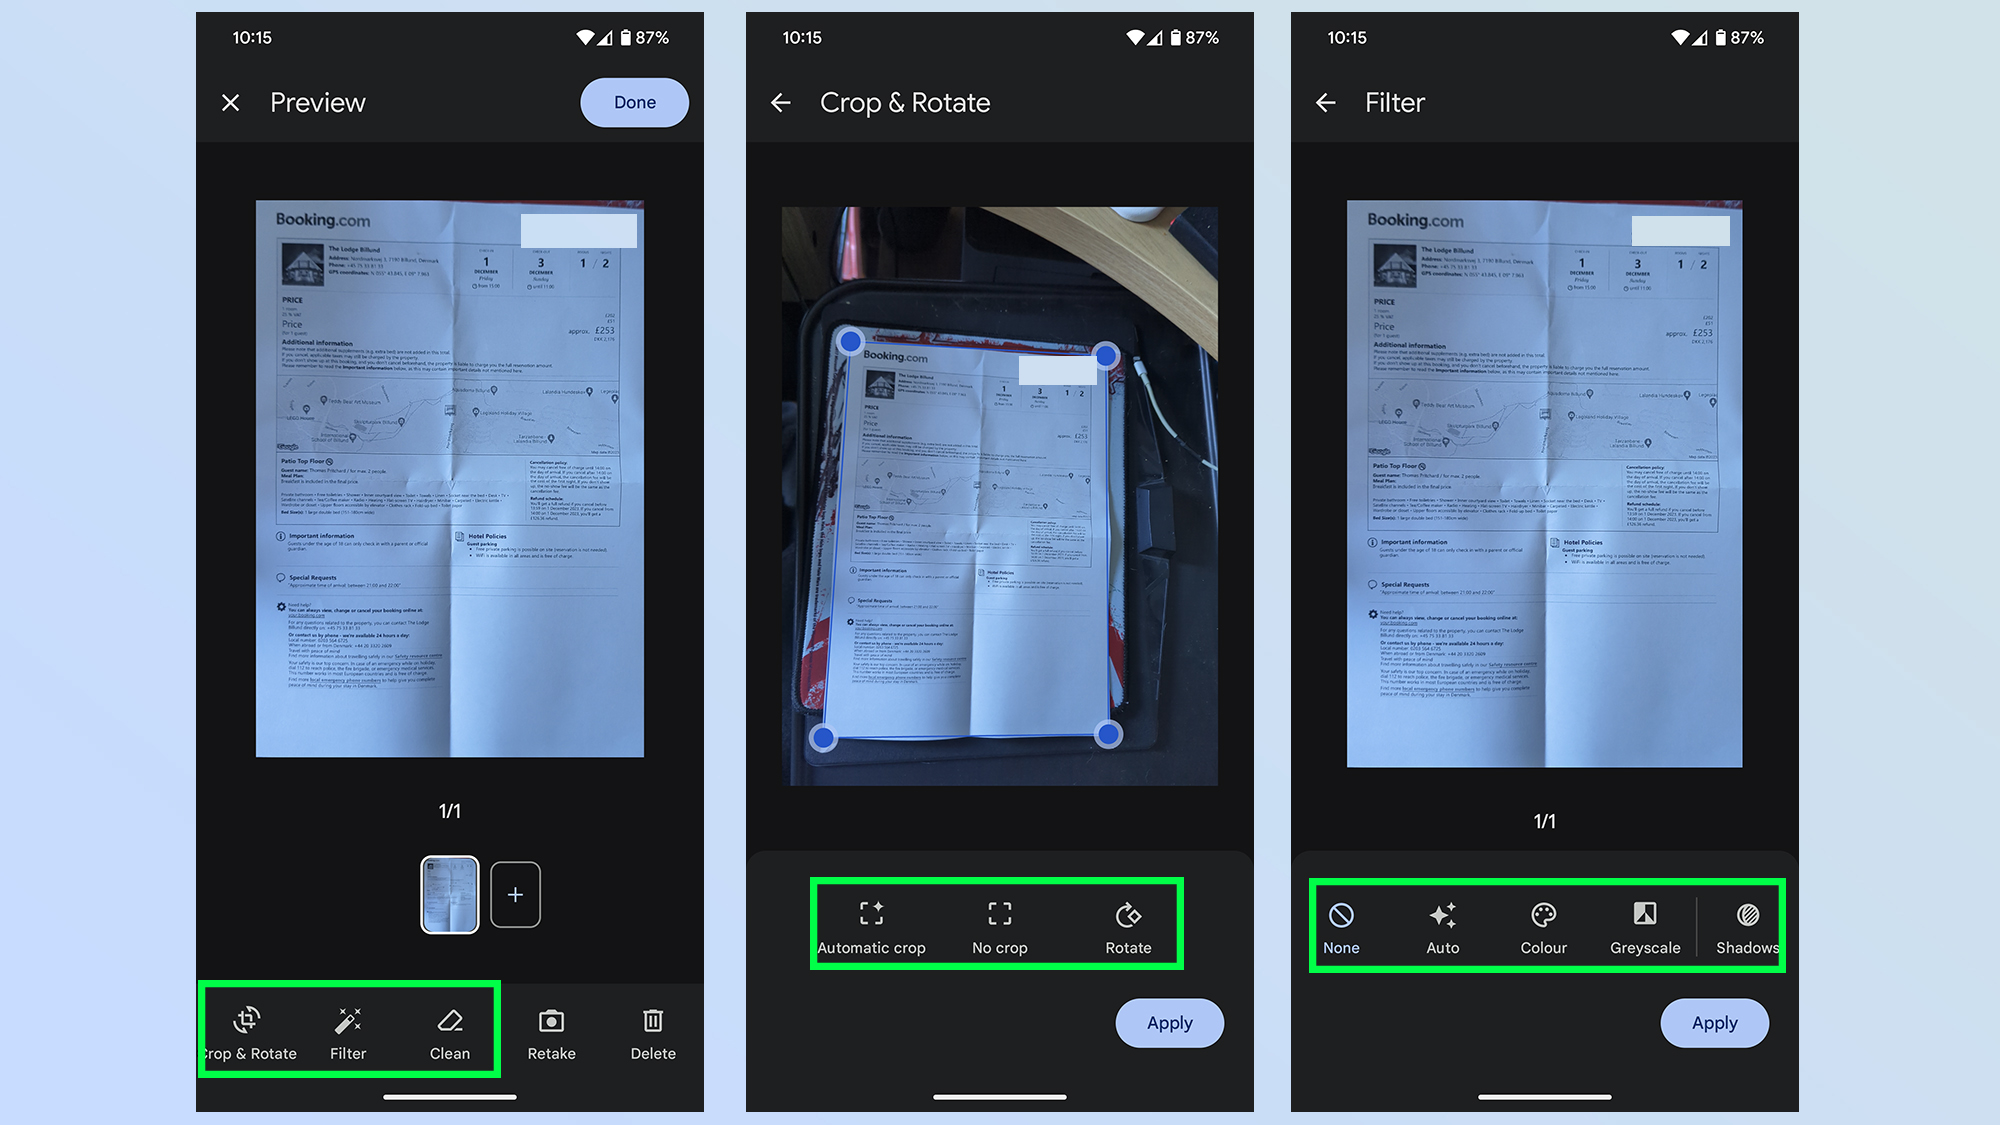
Once scanned, Google Drive gives you the option to edit your document before it’s uploaded to the cloud. This includes altering the crop, clearing up areas of the image and adding filters.
5a. Rescan the document if necessary
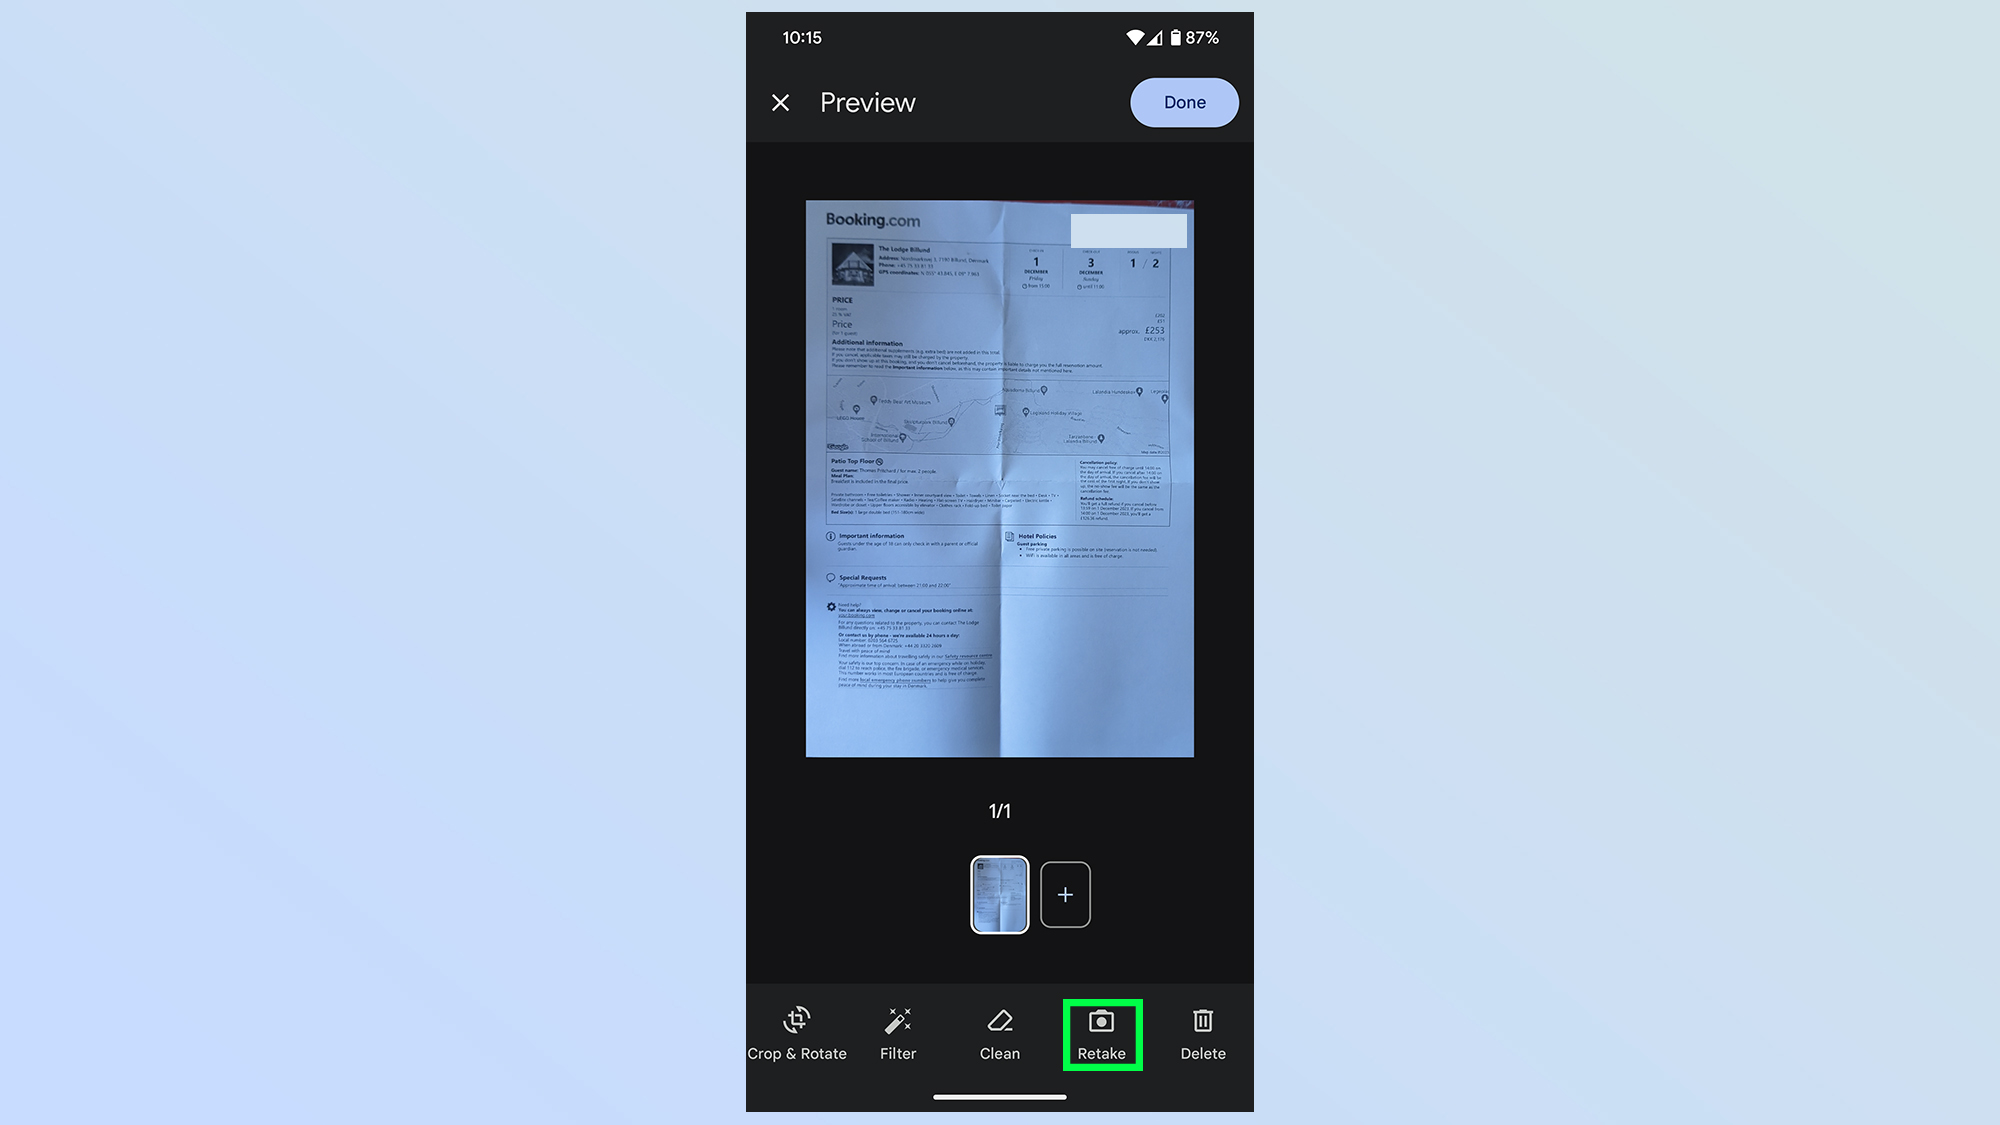
If you’re not happy with the results, you can hit the Retake button to start over.
6. Tap ‘Done’
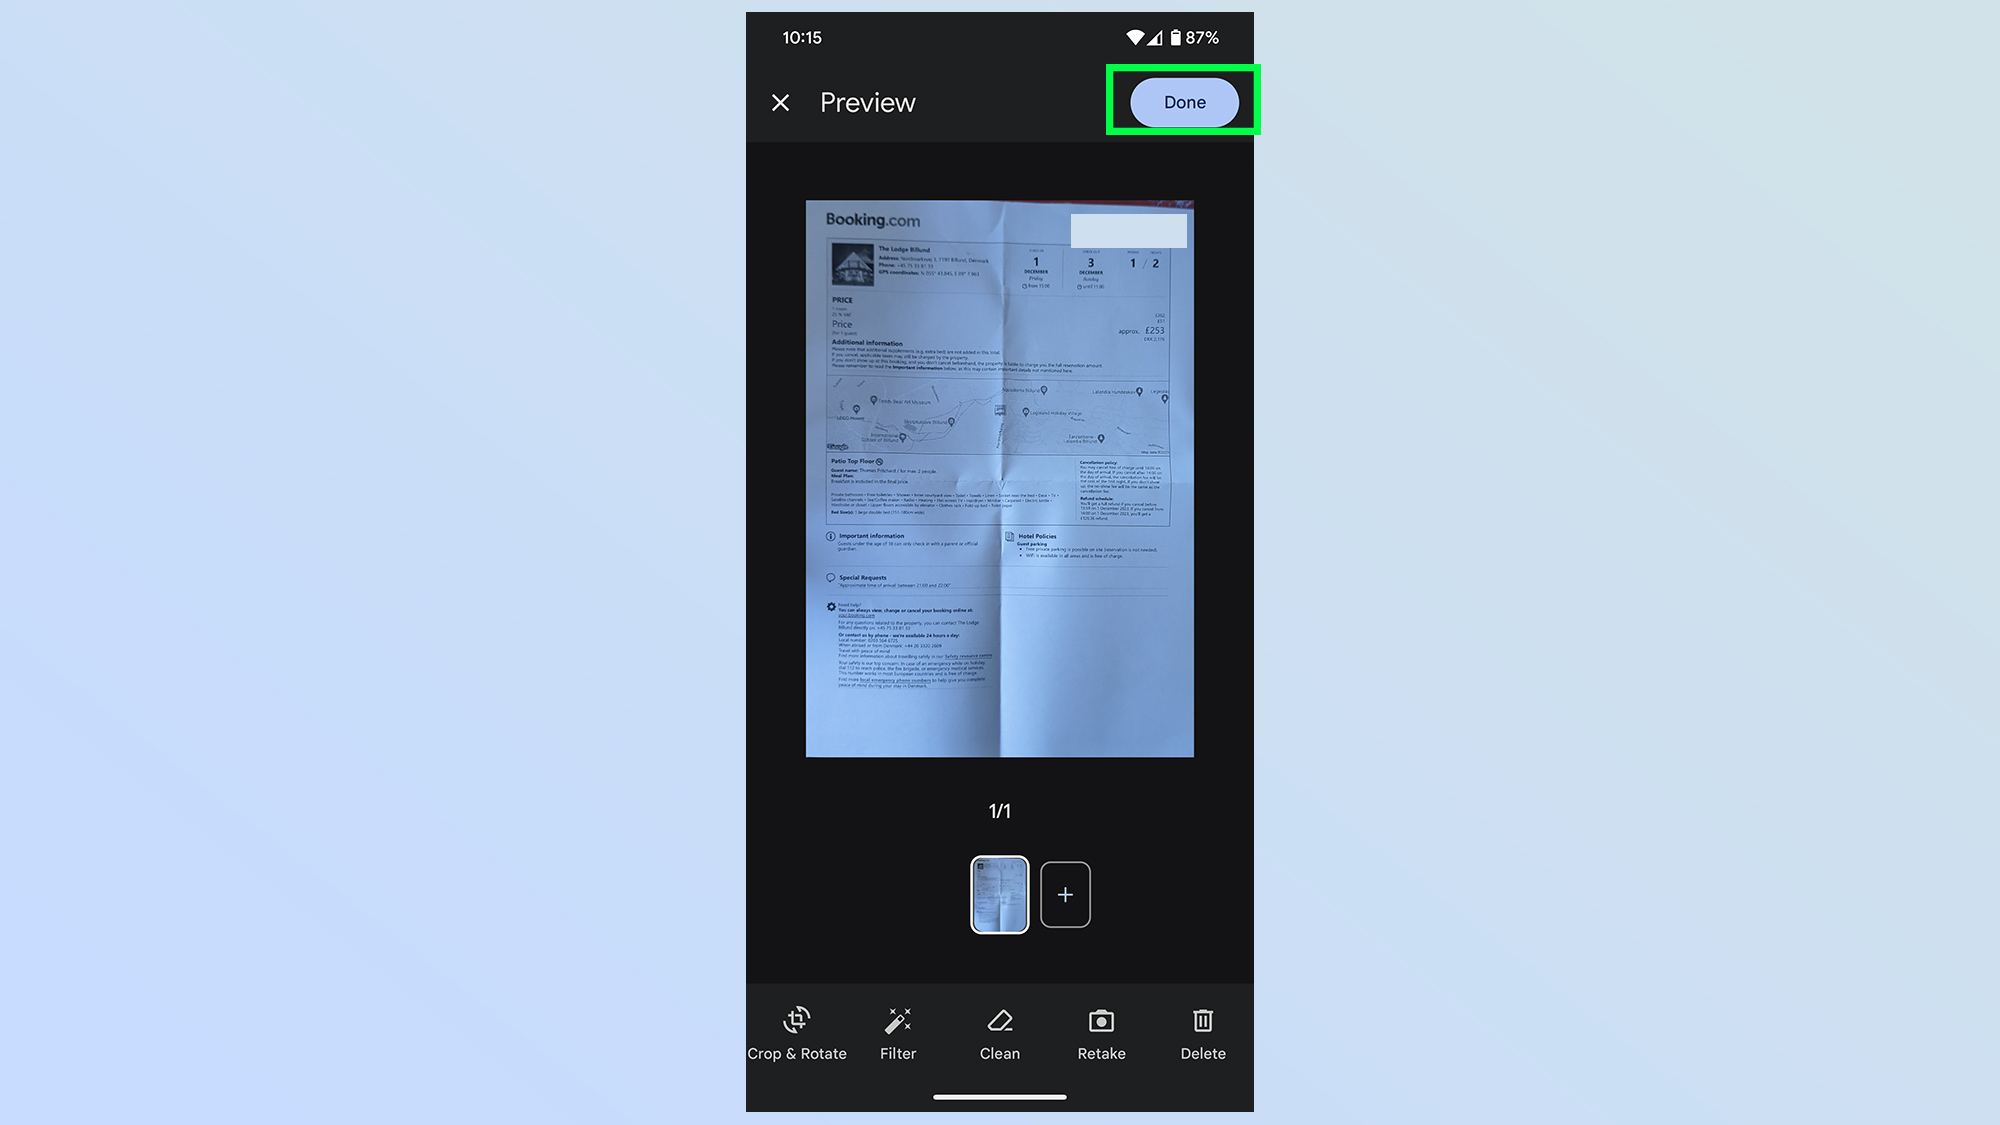
Once you’re happy tap the Done button in the top right corner, at which point Google Drive will upload the scanned document to your cloud storage — ready to be accessed when you need it.
If you're looking for more guides on how to unlock secret features on your phone, be sure to check out some of our other tutorials. Like how to turn your iPhone into a 3D capture device, how to make iOS 17-style stickers in WhatsApp, how you can automatically track subjects when you record video on a Samsung Galaxy, and how to use the iPhone's hidden AI magnifier.
Get instant access to breaking news, the hottest reviews, great deals and helpful tips.

Tom is the Tom's Guide's UK Phones Editor, tackling the latest smartphone news and vocally expressing his opinions about upcoming features or changes. It's long way from his days as editor of Gizmodo UK, when pretty much everything was on the table. He’s usually found trying to squeeze another giant Lego set onto the shelf, draining very large cups of coffee, or complaining about how terrible his Smart TV is.
 Club Benefits


