


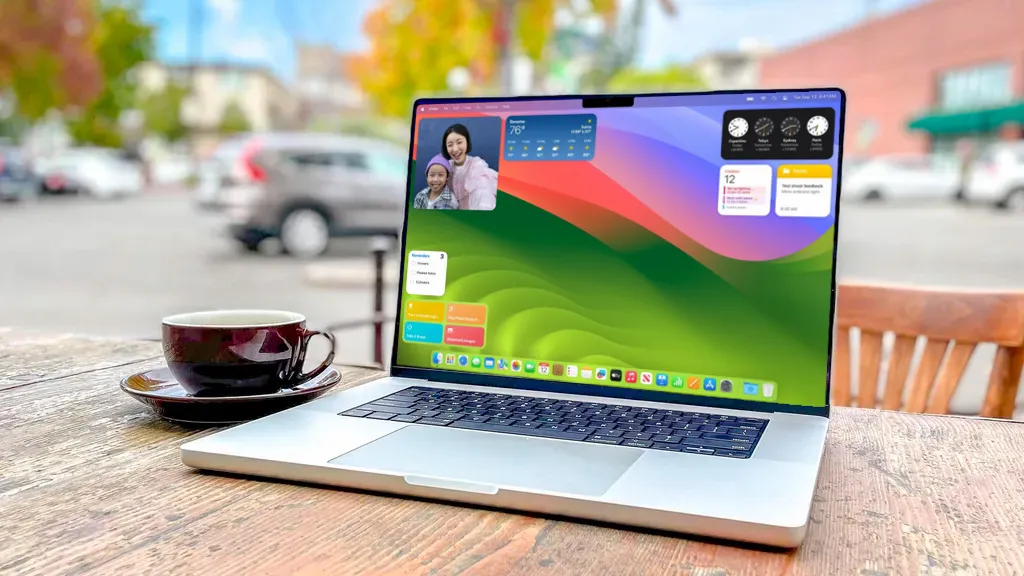
One of the key features in macOS Sonoma that Apple was keen to show off centered around desktop widgets. Similar to the widgets that have been around on iOS for a while now, these widgets allow you to quickly view information from your most-used apps without having to open the apps themselves. Of course, if you then want to open the app, the widget also gives you quick access to it.
While we've covered how to add widgets to your desktop in macOS Sonoma in general, there's a really cool facet of widgets which we've yet to cover until now — and that's the ability to add iPhone widgets to your Mac's desktop.
This is great if you simply prefer the look and proportions of iPhone widgets; it also means that you have a cohesive look across devices since macOS and iOS widgets often look slightly different It also means that you don't actually have to have a widget installed on your Mac to use it, as long as it's installed on your iPhone (which needs to be running iOS 17 and signed into the same Apple ID as your Mac).

Here's how it works.
How to use iPhone widgets on macOS
You'll need to be running macOS Sonoma on your Mac and iOS 17 on your iPhone to use this feature. We can show you how to download and install macOS Sonoma and how to download and install iOS 17 if you need some help.
1. Right click your desktop and select Edit Widgets

First up, secondary or right-click your desktop. We can show you how to right click on Mac if you aren't sure how. Then click Edit Widgets.
2. Choose an iPhone widget

Scroll through your Widgets Library, and select a widget. You'll notice in the bar on the left that your iPhone widgets appear — for example, I do not have Deco, Deliveroo or Duck Duck Go applications installed on my Mac, but they appear in my macOS Widgets Library. You can simply select an iPhone widget and skip to step 4.
Alternatively, you can also choose a widget that has both a macOS and iOS version, which we're demonstrating here and in step 3 to cover all our bases. The process to select these is slightly different and involves an extra step: find a widget that has both "On This Mac" and "From iPhone" in the top right of its panel.
3. Click From iPhone

Click From iPhone and you'll see the macOS versions of the widgets change to iOS versions.
4. Add the widget and click Done

Select which widget size you want and click the green + symbol when it appears. When ready, click Done.
5. Open the widget on iPhone

You may now need to confirm using your iPhone. If so, grab and unlock your iPhone and open the app or tap the iOS widget in question.

And that's all there is to it. You'll now have your iPhone widget on your macOS home page. This is a super neat little feature and another benefit of the Apple ecosystem, which gets increasingly well-connected with each major iOS and macOS release.
If you'd like to read more tutorials for your Mac, check our how to clear the cache on Mac, how to change the screenshot save location on Mac and how to remote control your Mac from your iPhone.

