
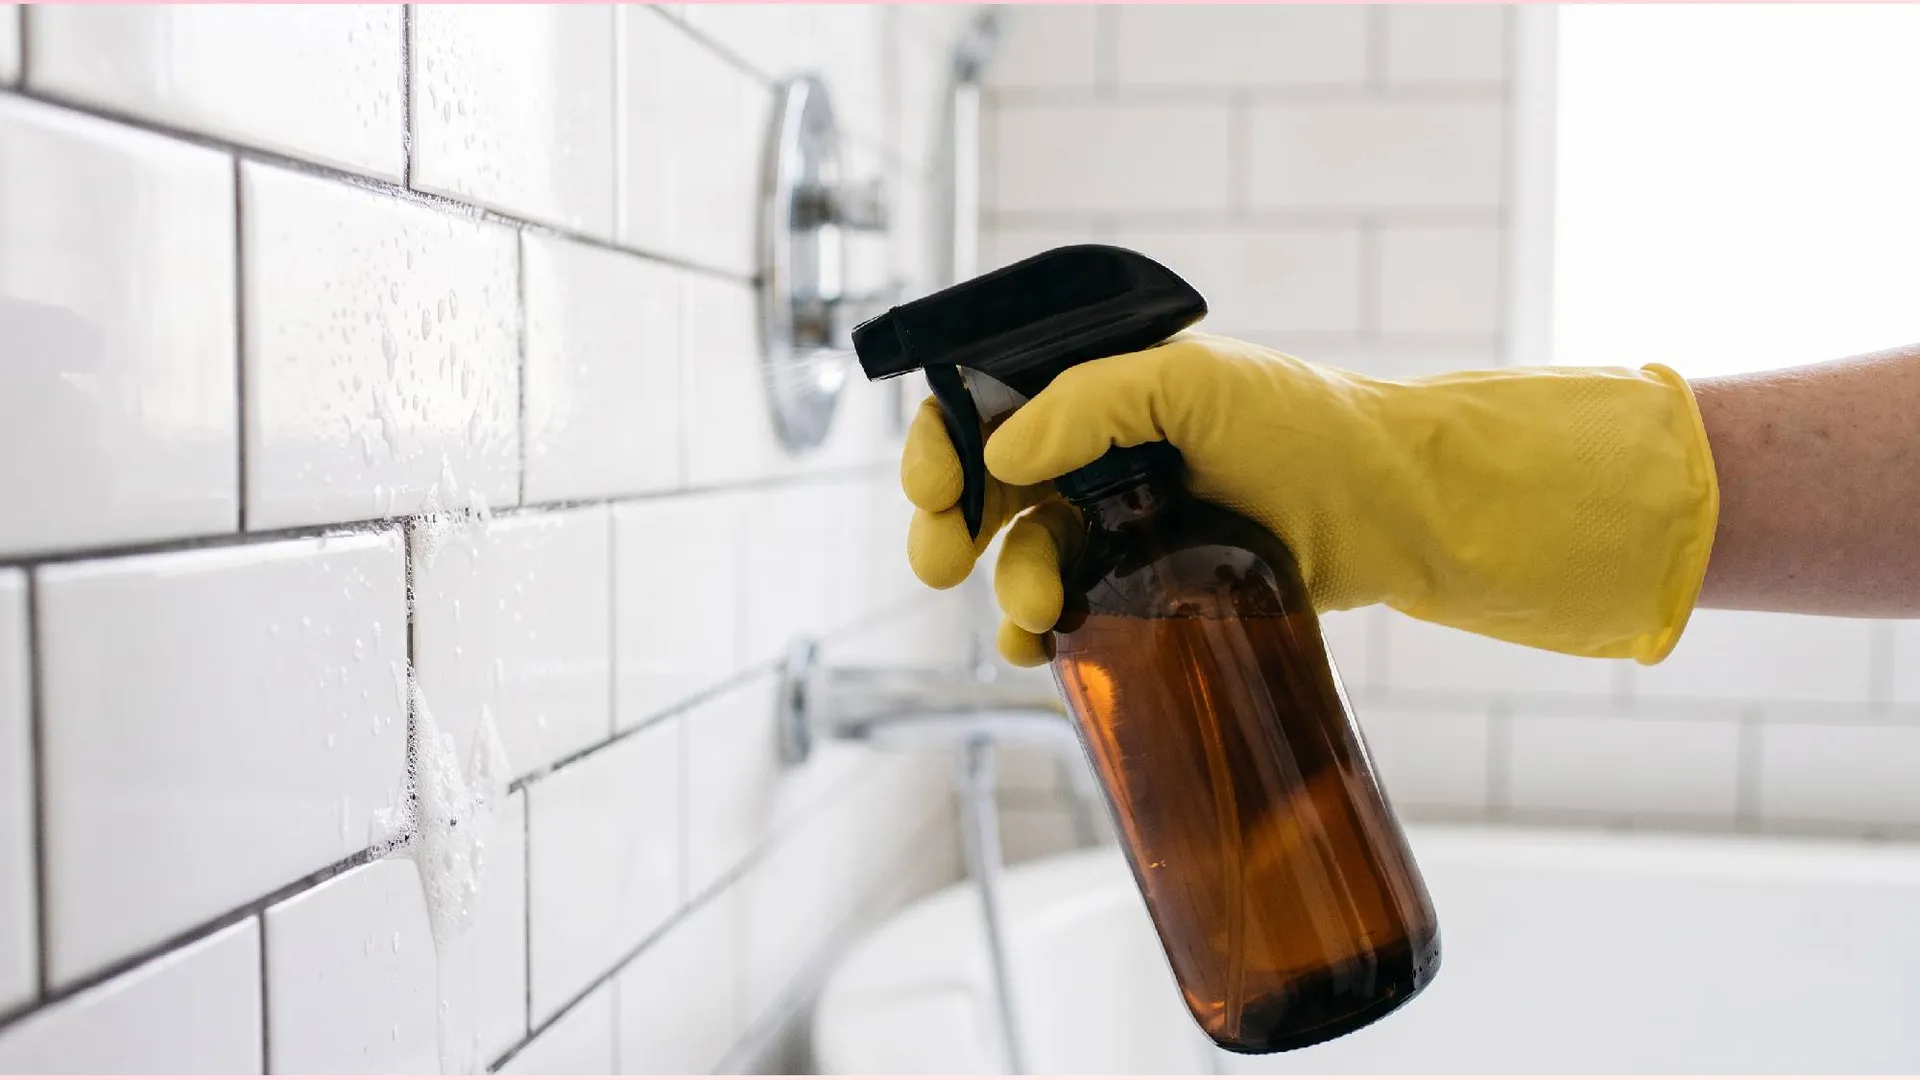
When it comes to tackle-it-all household cleaning, white vinegar has always been my go-to, from shining up the windows to deep-cleaning baseboards. While it works wonders in certain instances, the bathroom is where I ran into its limits: vinegar simply isn't strong enough to destroy mold spores, and its acidity can actually erode tile grout over time.
The problem is that bathroom humidity and trapped moisture create the ultimate breeding ground for stubborn mold, bacteria, and soap scum. Vinegar merely skims the surface of these messes, leaving behind strong, lingering acid fumes without actually tackling deep mold or eliminating persistent odors at their source.
Switching to standard 3% hydrogen peroxide gave me an odorless cleaner that's safe on tile and drastically out powers vinegar on bathroom grime.
Hydrogen peroxide vs. vinegar: why peroxide wins
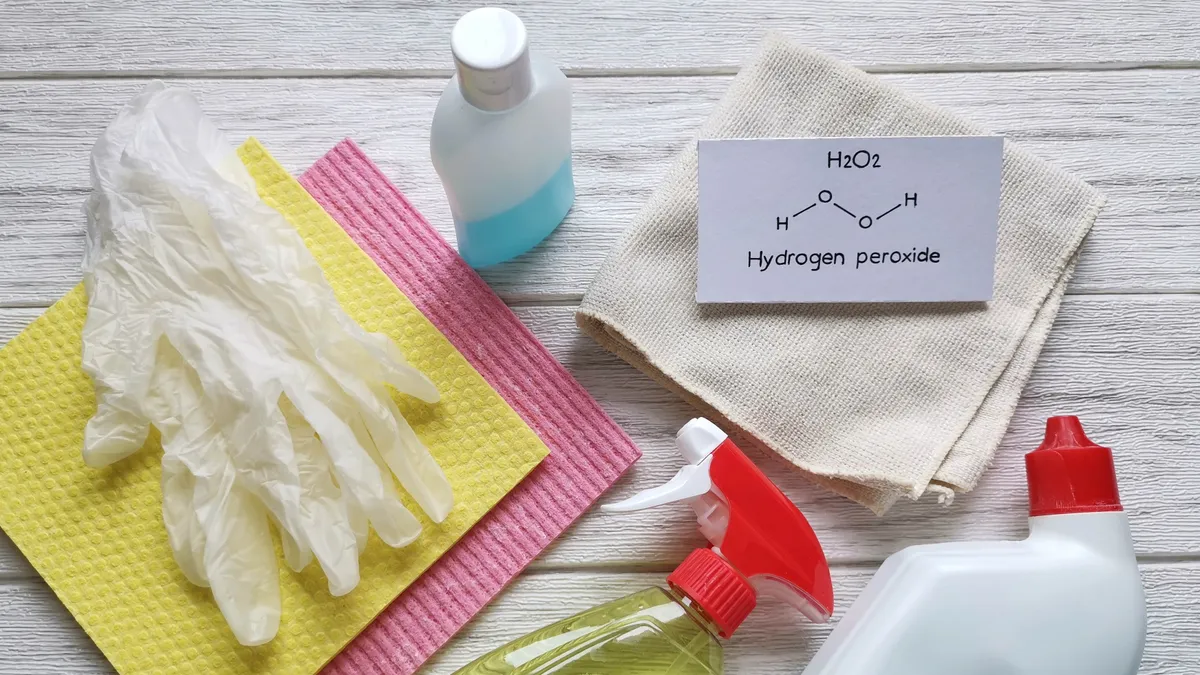
The key difference comes down to how each cleaner attacks grime. White vinegar is a mild acid that relies purely on acidity to dissolve surface buildup. While that works on basic soap scum, vinegar lacks the oxidizing power needed to destroy stubborn mold down to its roots — and over time, using an acid on tile grout can slowly eat away at the finish.
Hydrogen peroxide works through an oxygenating fizzing action instead. When it hits mold or bacteria, it breaks down into water and pure oxygen. Those expanding oxygen bubbles penetrate deep into the microscopic pores of your grout, physically lifting trapped dirt and destroying mold at the source.
And while vinegar fills your bathroom with that pungent odor, hydrogen peroxide is, in fact, scent-free. Another added bonus.
How to use hydrogen peroxide in your bathroom
Using hydrogen peroxide requires almost no heavy scrubbing if you let the fizzing action do the heavy lifting. To get the best results, start with standard 3% drugstore hydrogen peroxide in a clean spray bottle and follow these steps across your space:
1. For grout, tile, and caulk
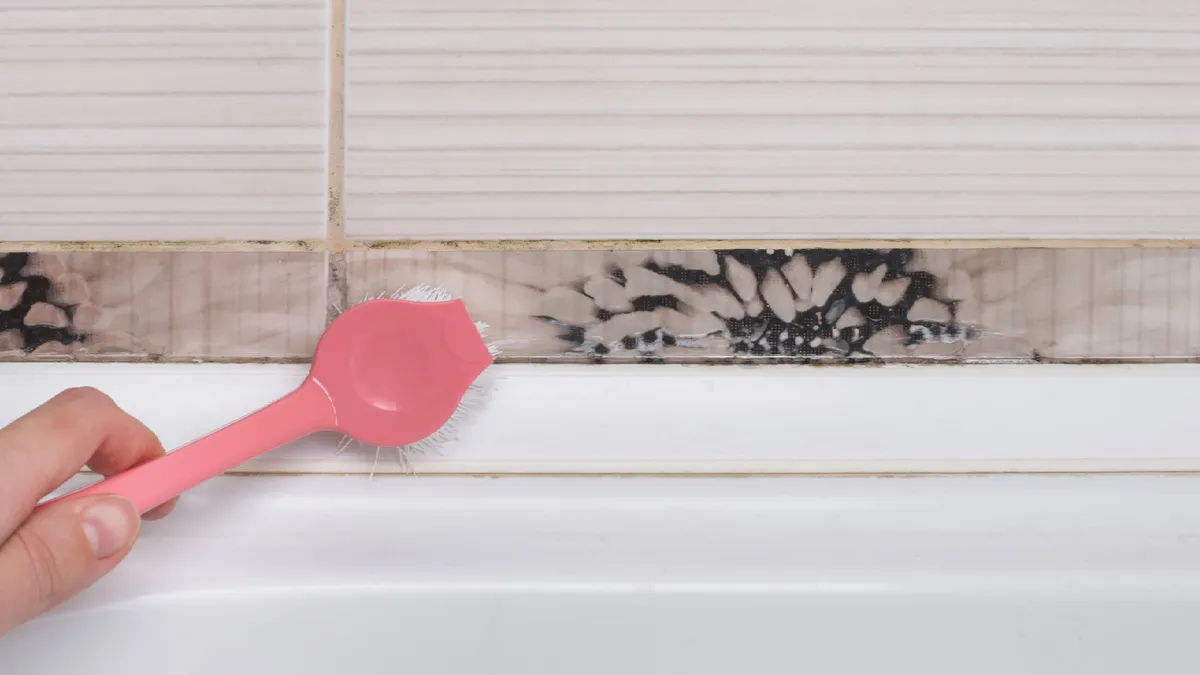
Spray the peroxide directly onto dry, discolored grout lines or moldy caulk seams until thoroughly saturated. If you have heavy, chalky soap scum crust, make sure to wash it away first so the peroxide can reach the mold.
Let it sit for 10 to 15 minutes while the expanding oxygen bubbles break down the grime. Just mist a little extra if it begins to dry out, as peroxide stops working once evaporated. Next, scrub gently using a stiff nylon brush or an old toothbrush, then wipe or rinse clean with warm water.
For particularly stubborn, set-in black mold, mix baking soda and hydrogen peroxide into a thick paste. The baking soda acts as a mild abrasive to lift surface buildup while the peroxide bubbles away deep-seated stains underneath.
Rinse thoroughly with warm water to prevent the baking soda from leaving a hazy white film. It's important to note that if mold has seeped behind silicone caulk, no surface treatment, not even hydrogen peroxide, will work and the caulk must be replaced.
2. For shower glass and mirrors
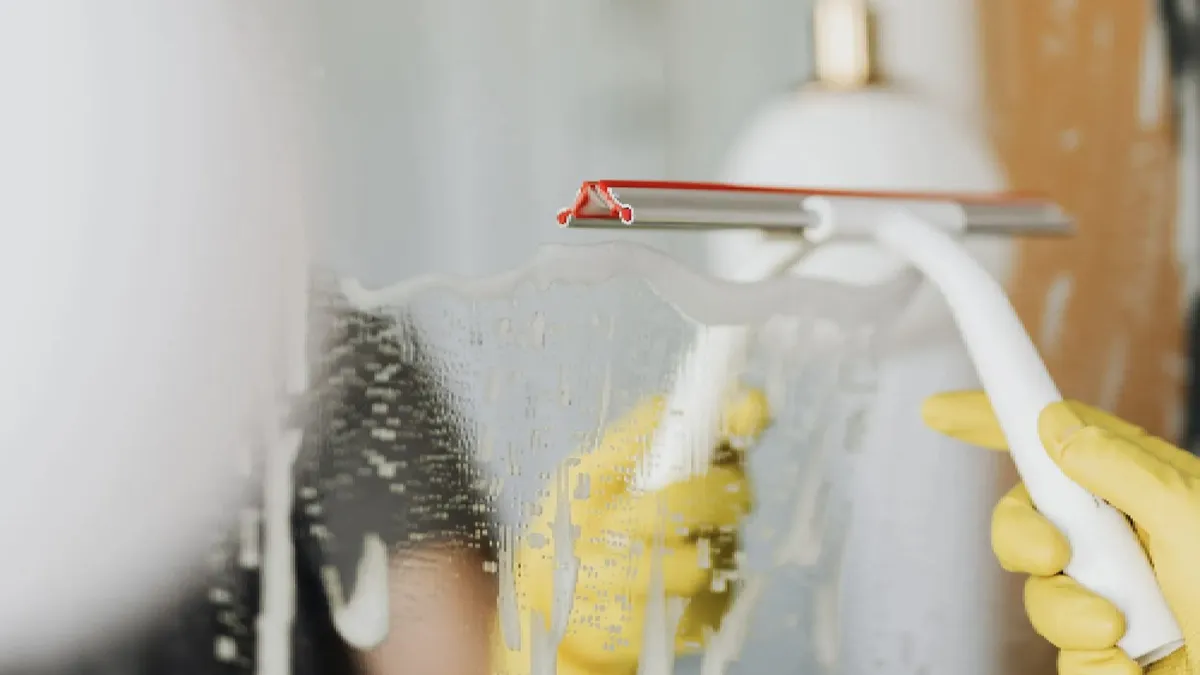
To cut through greasy soap scum and prevent mildew on glass shower doors, mix equal parts hydrogen peroxide and distilled water with a single drop of dish soap in a spray bottle.
Mist the glass, wipe with a microfiber cloth, and finish with a squeegee for a streak-free, crystal-clear shine.
3. For sinks and bathroom drains
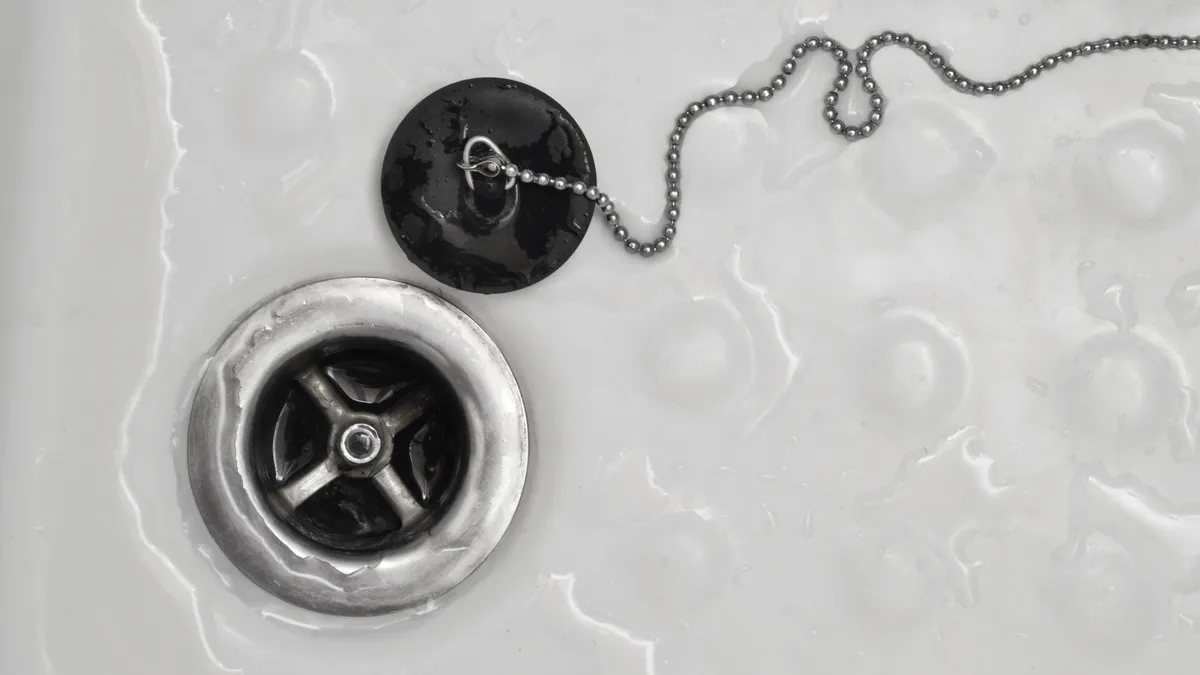
While plumbers strictly warn against using chemical drain cleaners, relying on the popular baking soda and vinegar combo also falls short: the foam produced lacks the pressure to break down organic slime, and vinegar leaves behind a sour smell in your pipes.
Hydrogen peroxide works far better because it oxidizes organic buildup on contact.
Simply pour one full cup of 3% hydrogen peroxide straight down your shower or sink drain and allow it to sit undisturbed for at least 30 minutes. The oxygenating bubbles will destroy odor-causing bacteria sitting in the P-trap, then just flush thoroughly with hot water to keep your pipes fresh and flowing freely.

Follow Tom's Guide on Google News and add us as a preferred source to get our up-to-date news, analysis, and reviews in your feeds. Subscribe to Tom's Guide on YouTube and follow us on TikTok.
More from Tom's Guide