I took a big risk on this $399 gaming monitor — and it really paid off
An open box deal like this could be the perfect upgrade for you
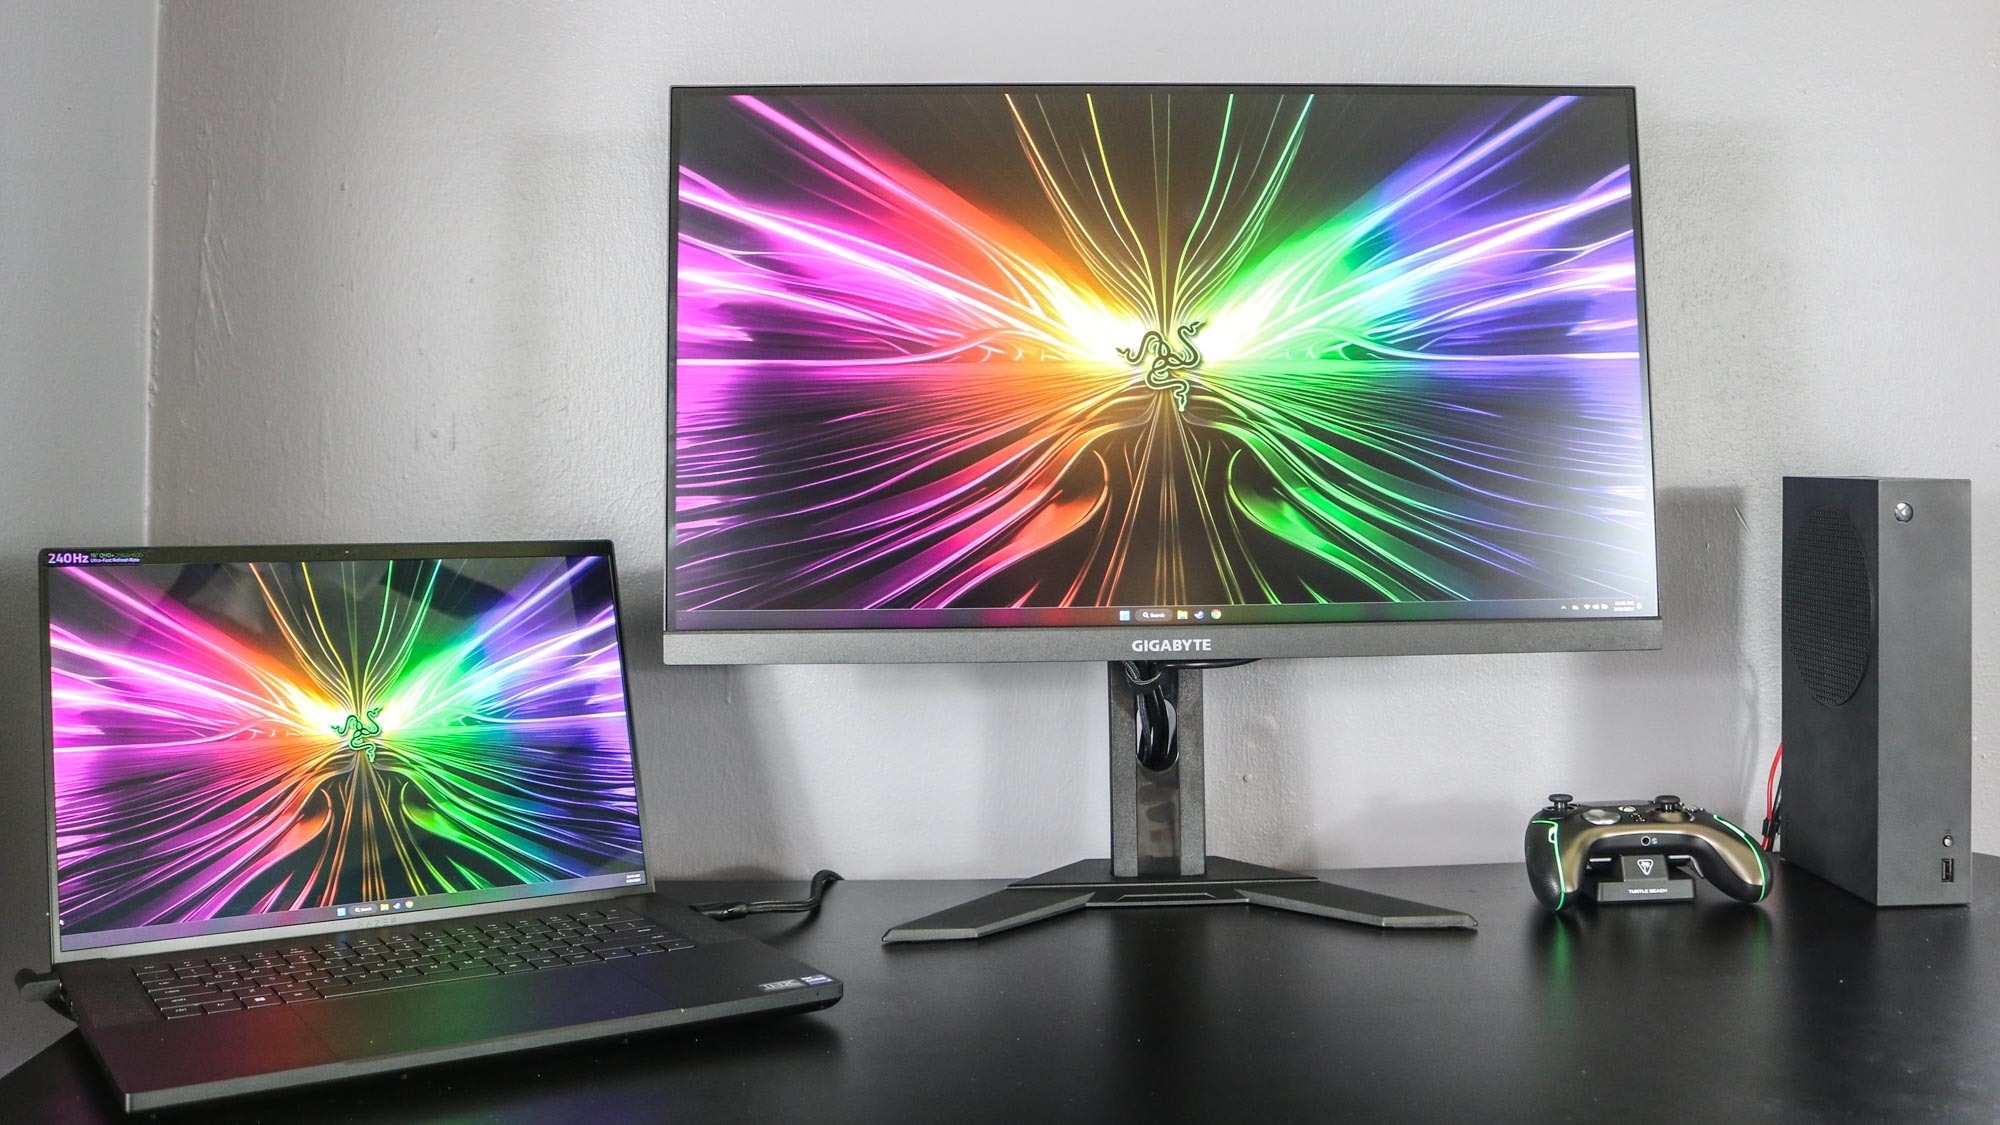
When putting together a new desk setup, it’s a good idea not to rush out and buy everything at once. Instead, if you’re patient and keep an eye on the best Amazon deals, you can save quite a bit and the payoff is even better when you finally have everything you need.
While I’m still on the fence when it comes to picking up a PS5 Slim now or waiting for the inevitable PS5 Pro, one thing’s for sure, my old display just isn’t going to cut it. If you’re spending all that money for a brand new console, you’re going to want one of the best TVs or even a monitor that can fully leverage its capabilities.
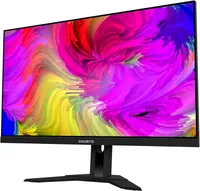
Gigabyte M28U: was $599 now $399 @ Amazon
This 4K gaming monitor features two HDMI 2.1 ports which makes it perfect for high refresh rate gaming on consoles. It also has a built-in KVM switch that lets you use multiple computers with the same mouse and keyboard. The M28U also has a USB-C port with 15W power delivery for your laptop and 3W stereo speakers for when you don’t want to plug in a headset.
Surprisingly, I actually prefer gaming at my desk as there are fewer distractions and I don’t have to wait for the TV to be free. This is why I’m working on putting together a brand new desk setup solely dedicated to gaming. In the past, I’ve primarily used regular monitors without any extra bells and whistles. However, I recently added a new portable monitor with a 120Hz display to my work setup and it got me thinking about trying out one of the best gaming monitors for a change.
Whether you pick Samsung, LG, Alienware or even Sony’s own Inzone M9 (which is built specifically for the PS5), gaming monitors are more expensive than a traditional display since they pack in extra features like higher refresh rates, adaptive sync and HDR. You can save quite a lot by going with a lesser known brand but as someone who’s played the panel lottery before and lost, I wanted to stick to companies I knew when choosing a gaming monitor for my work-in-progress setup.
After countless hours of research and looking for deals during last week’s Amazon Big Spring Sale, I had almost given up. But then I did something I normally wouldn’t — I bought an open box gaming monitor from Amazon Warehouse with my fingers crossed. Here’s how it went along with some tips and tricks in case you want to roll the dice and follow in my footsteps.
Clearing out the warehouse
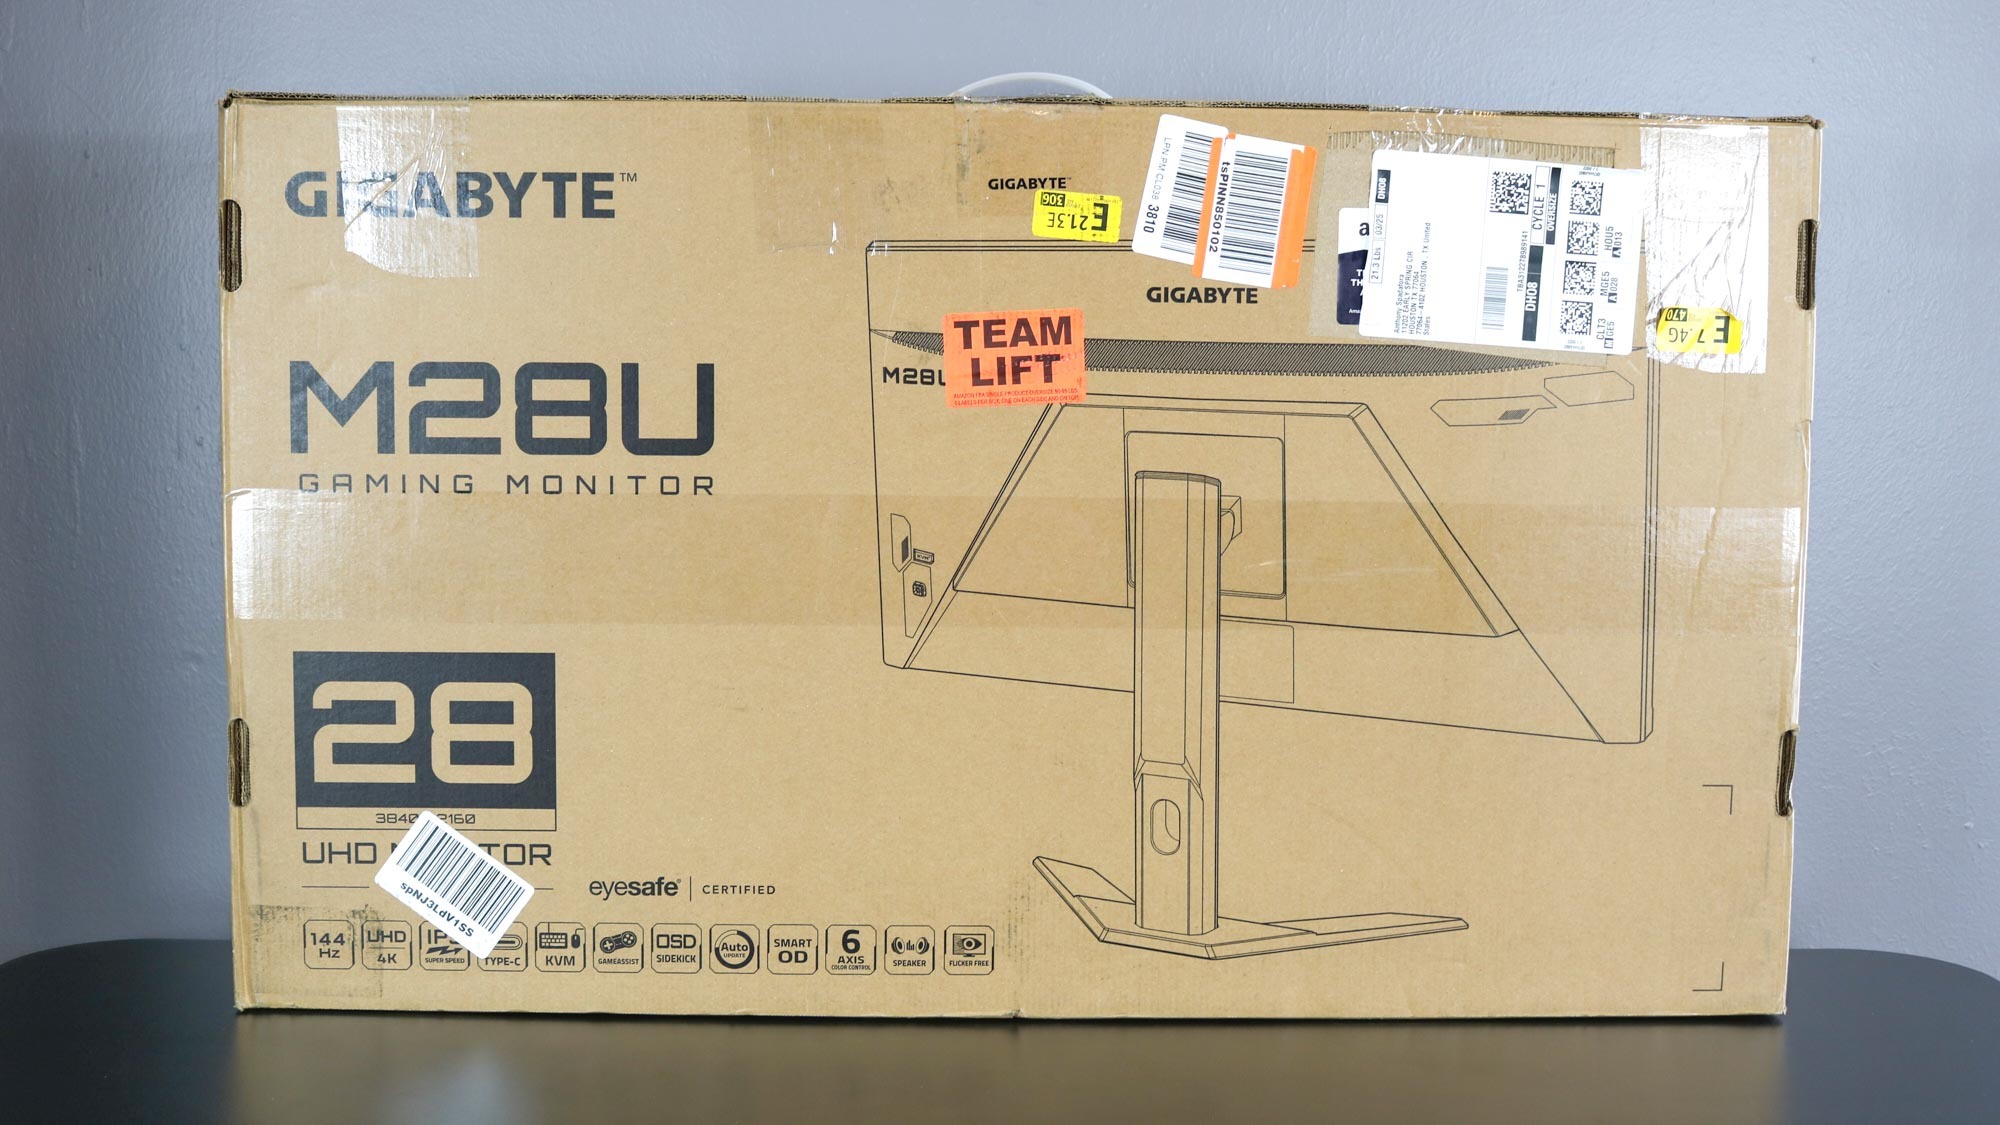
During my search for a gaming monitor to tie together my new desk setup, I came across the Gigabyte M28U ($599, Amazon). What I liked about this particular monitor is that in addition to an anti-glare screen, it also comes with not one but two HDMI 2.1 ports. While the Xbox Series X can do higher frame rates without this port (limited to 1080p resolution), the PS5 requires HDMI 2.1 to go beyond 60 frames per second.
While the Gigabyte M28U is priced at $600, after clicking on the “Other sellers on Amazon” tab, I found that I could get this exact same monitor for more than half off as “Used - Acceptable”. I then saw a Reddit post discussing this same monitor and buying it used from Amazon Warehouse. While some people had bad experiences, others reported that their monitor arrived fine with only minor scratches on its stand. I decided to try my luck and I purchased the Gigabyte M28U for just $280.
Get instant access to breaking news, the hottest reviews, great deals and helpful tips.
The monitor arrived a few days later and despite being left on its side facing up on my front porch, the box seemed fine at first glance. It was covered in packaging tape to hold it together and there were TEAM LIFT stickers all over the front and back. When I opened the box, it still had all of the necessary cords and cables to get the monitor up and running.
I was surprised by the fact that the included stand had never been unwrapped but in retrospect, I should have seen this as a clear giveaway that something was wrong. At the time though, I was too excited to unbox the display and test it out. I set up the monitor, plugged in all the cables and turned it on. My new gaming monitor sprung to life and at first glance, everything seemed to be in working order without any problems. Little did I know…..
Gaming meets productivity
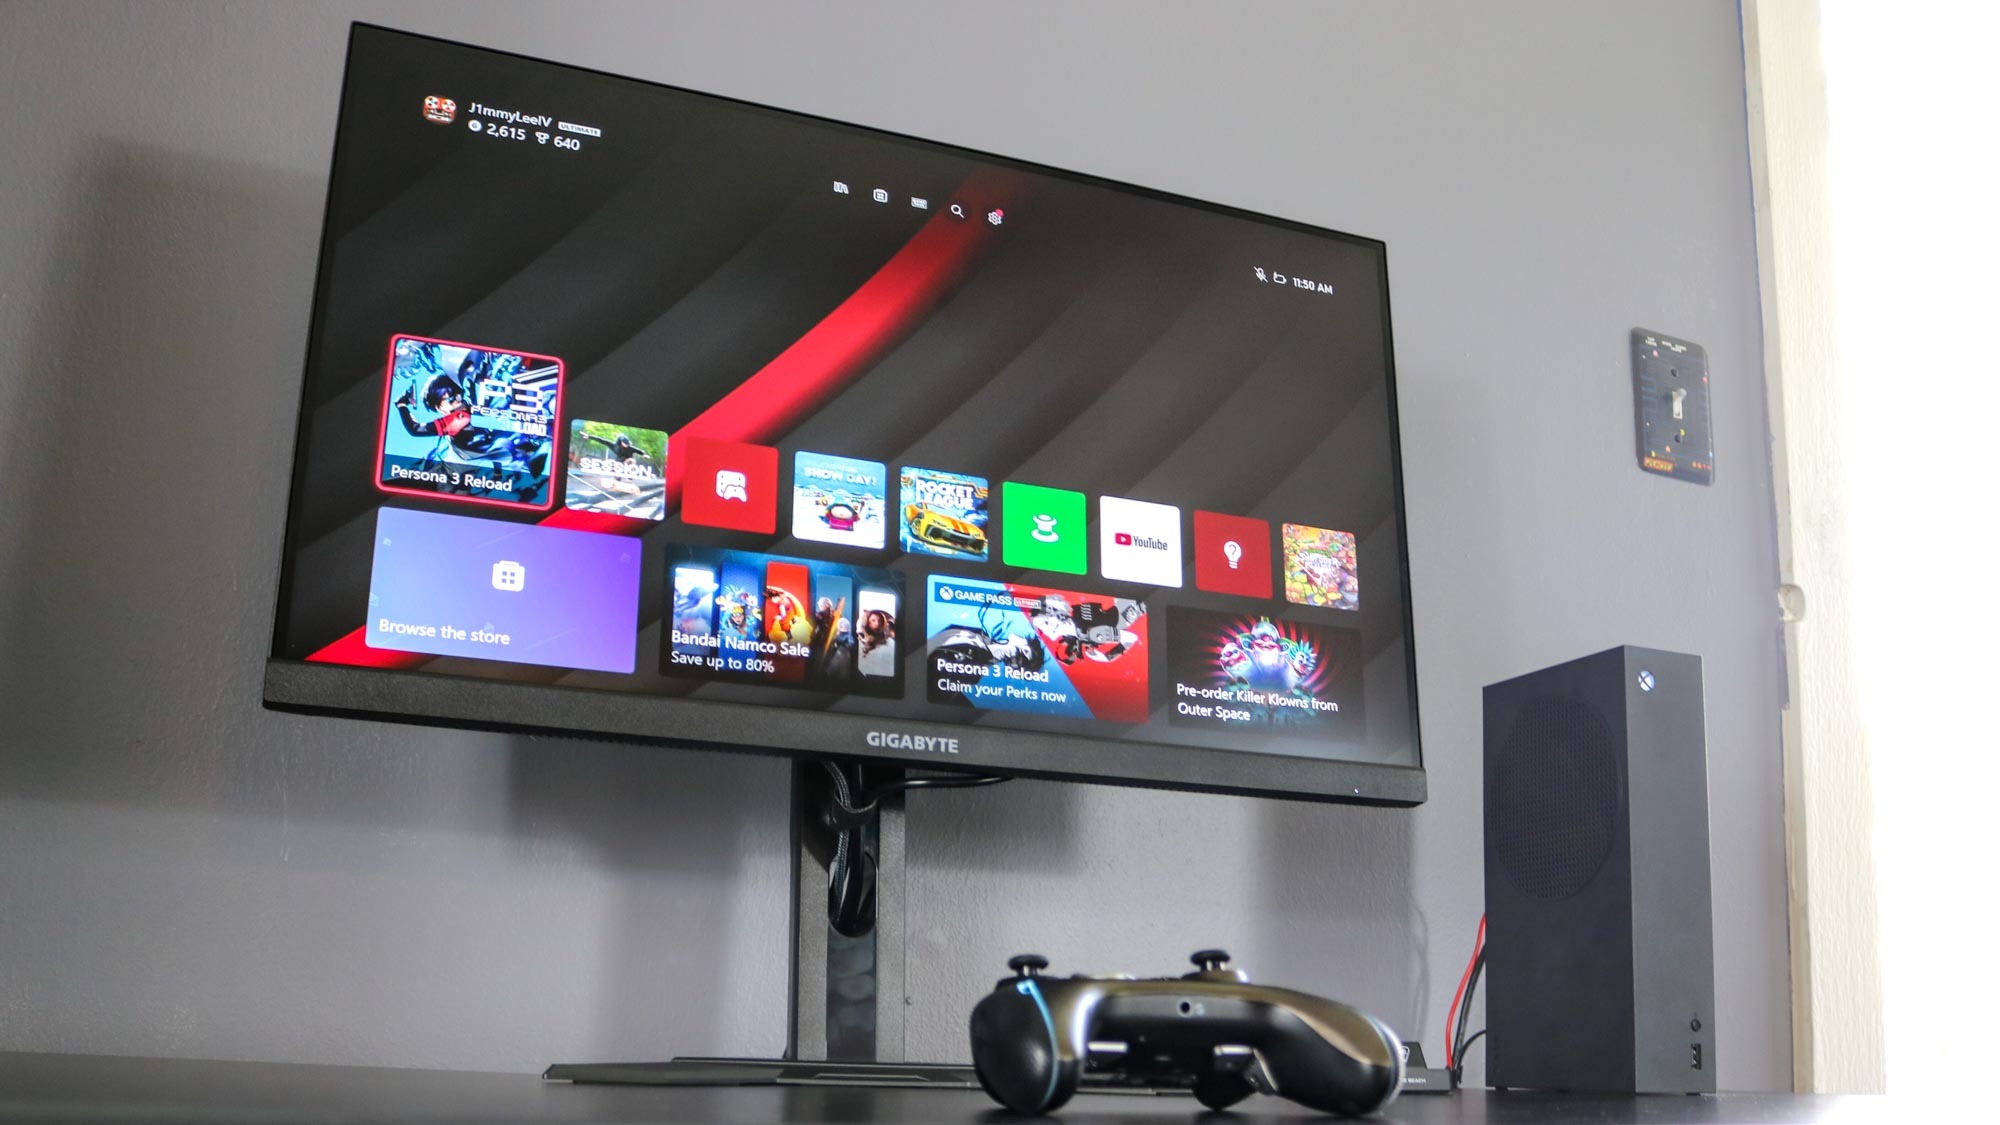
There’s nothing worse than getting a new gadget and finding out you don’t have the right cables to use it as intended. Fortunately, Gigabyte includes a high-speed HDMI 2.1 cable with the M28U, so everything was great in that department.
Although I intend to use this monitor with whatever model of the PS5 I'll eventually get, I decided to test it out first with my Xbox Series S. While Microsoft’s smallest Xbox yet can’t do 120fps at 4K like the Series X, it can do 120fps at 1440p. All it took was a quick trip to the console’s settings menu where I enabled variable refresh rate (VRR). Even upscaled to 4K, the skateboarding sim Session and Rocket League looked great on the new display — both running at 120fps. If you’re interested in gaming at 120fps on either Xbox or PlayStation, TechRadar Gaming has a great explainer here with a full list of compatible games.
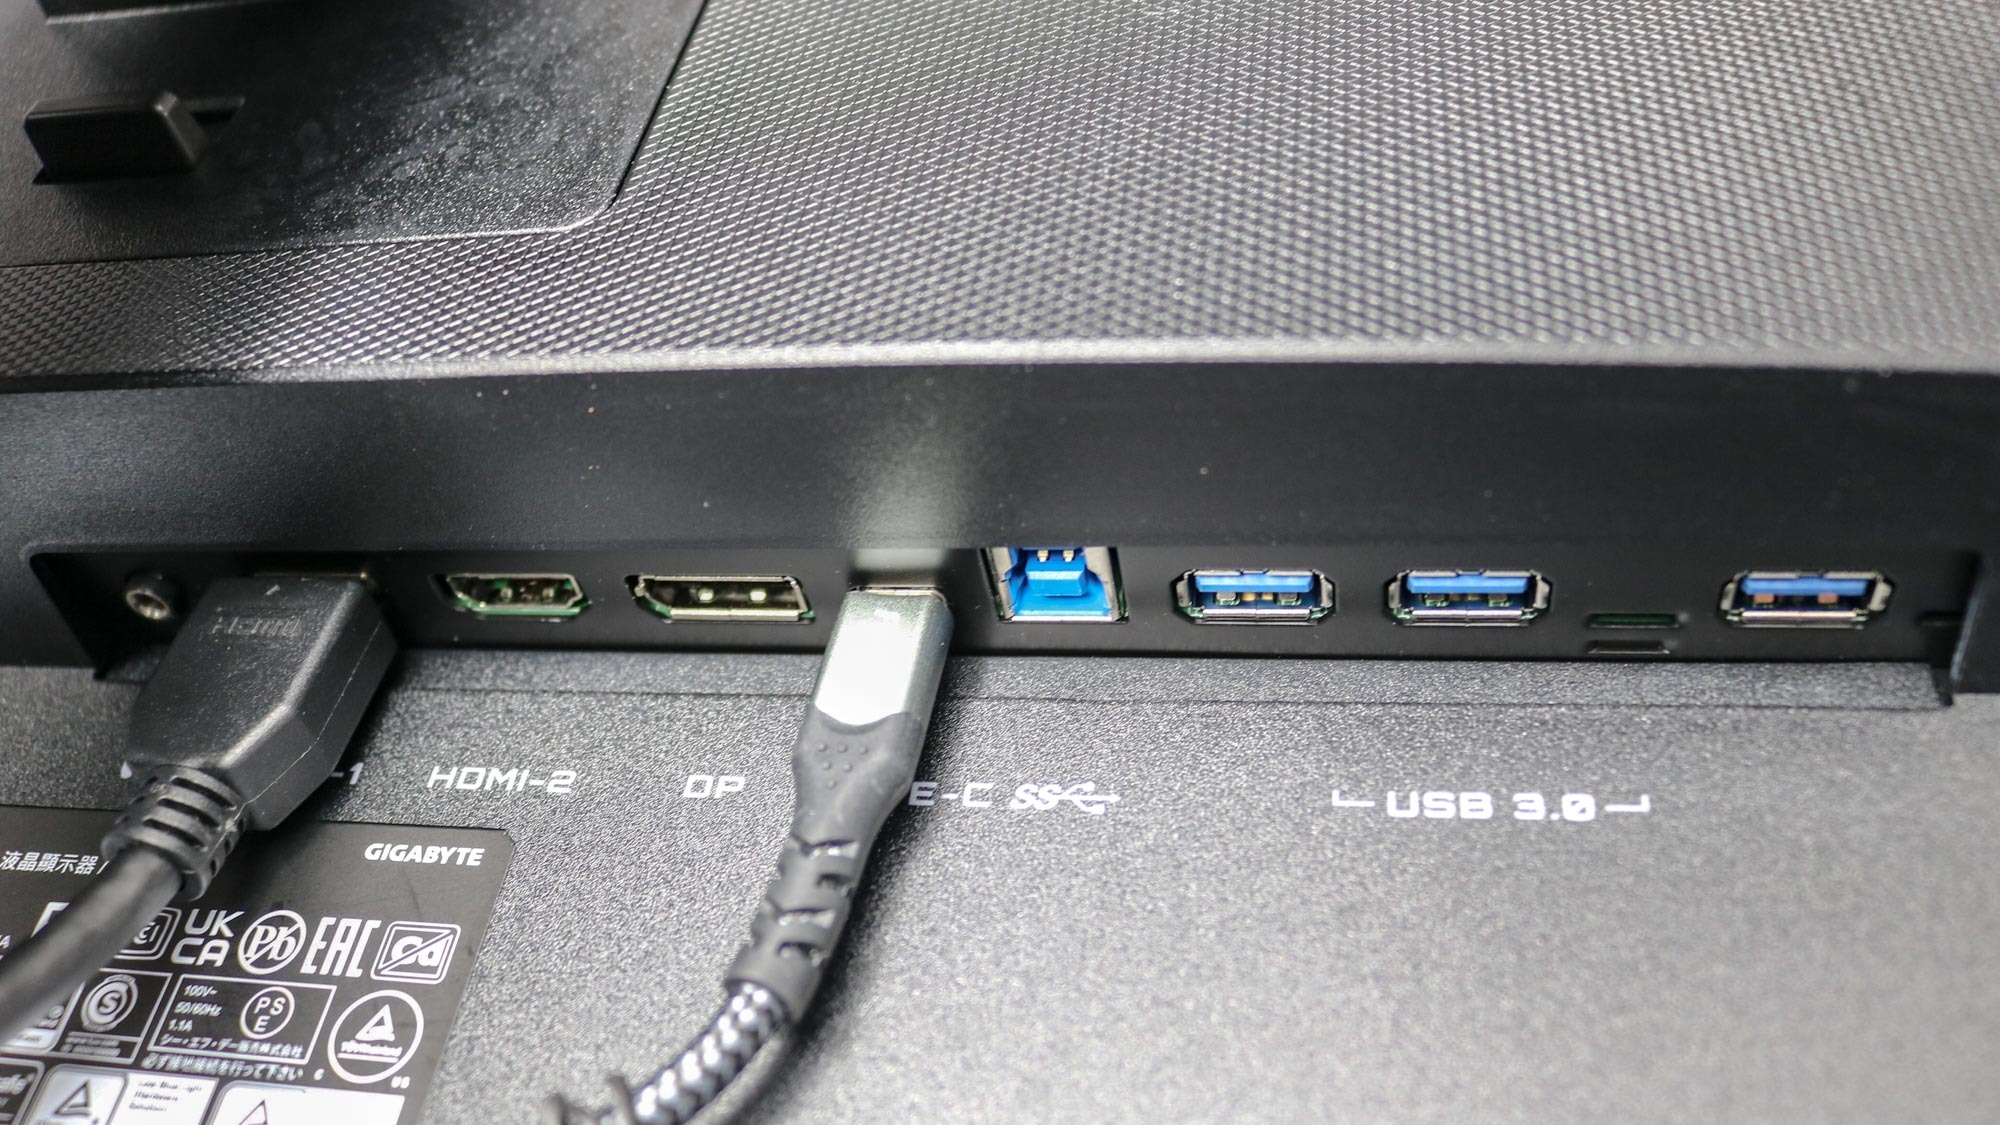
As I plan to use this monitor with multiple consoles and perhaps even a few computers, I was immediately drawn to the number of ports round the back during my research. There are two HDMI 2.1 ports, a DisplayPort, a USB-C port, three USB 3.0 ports and a USB-B port. In total, you could have two consoles and two computers connected simultaneously, though it is worth noting that the USB-C port only delivers 15 watts of power which isn’t really enough to charge one of the best laptops while using it. Still, a USB Type-C port is great to have for quick connectivity and something I look for in every new monitor I buy.
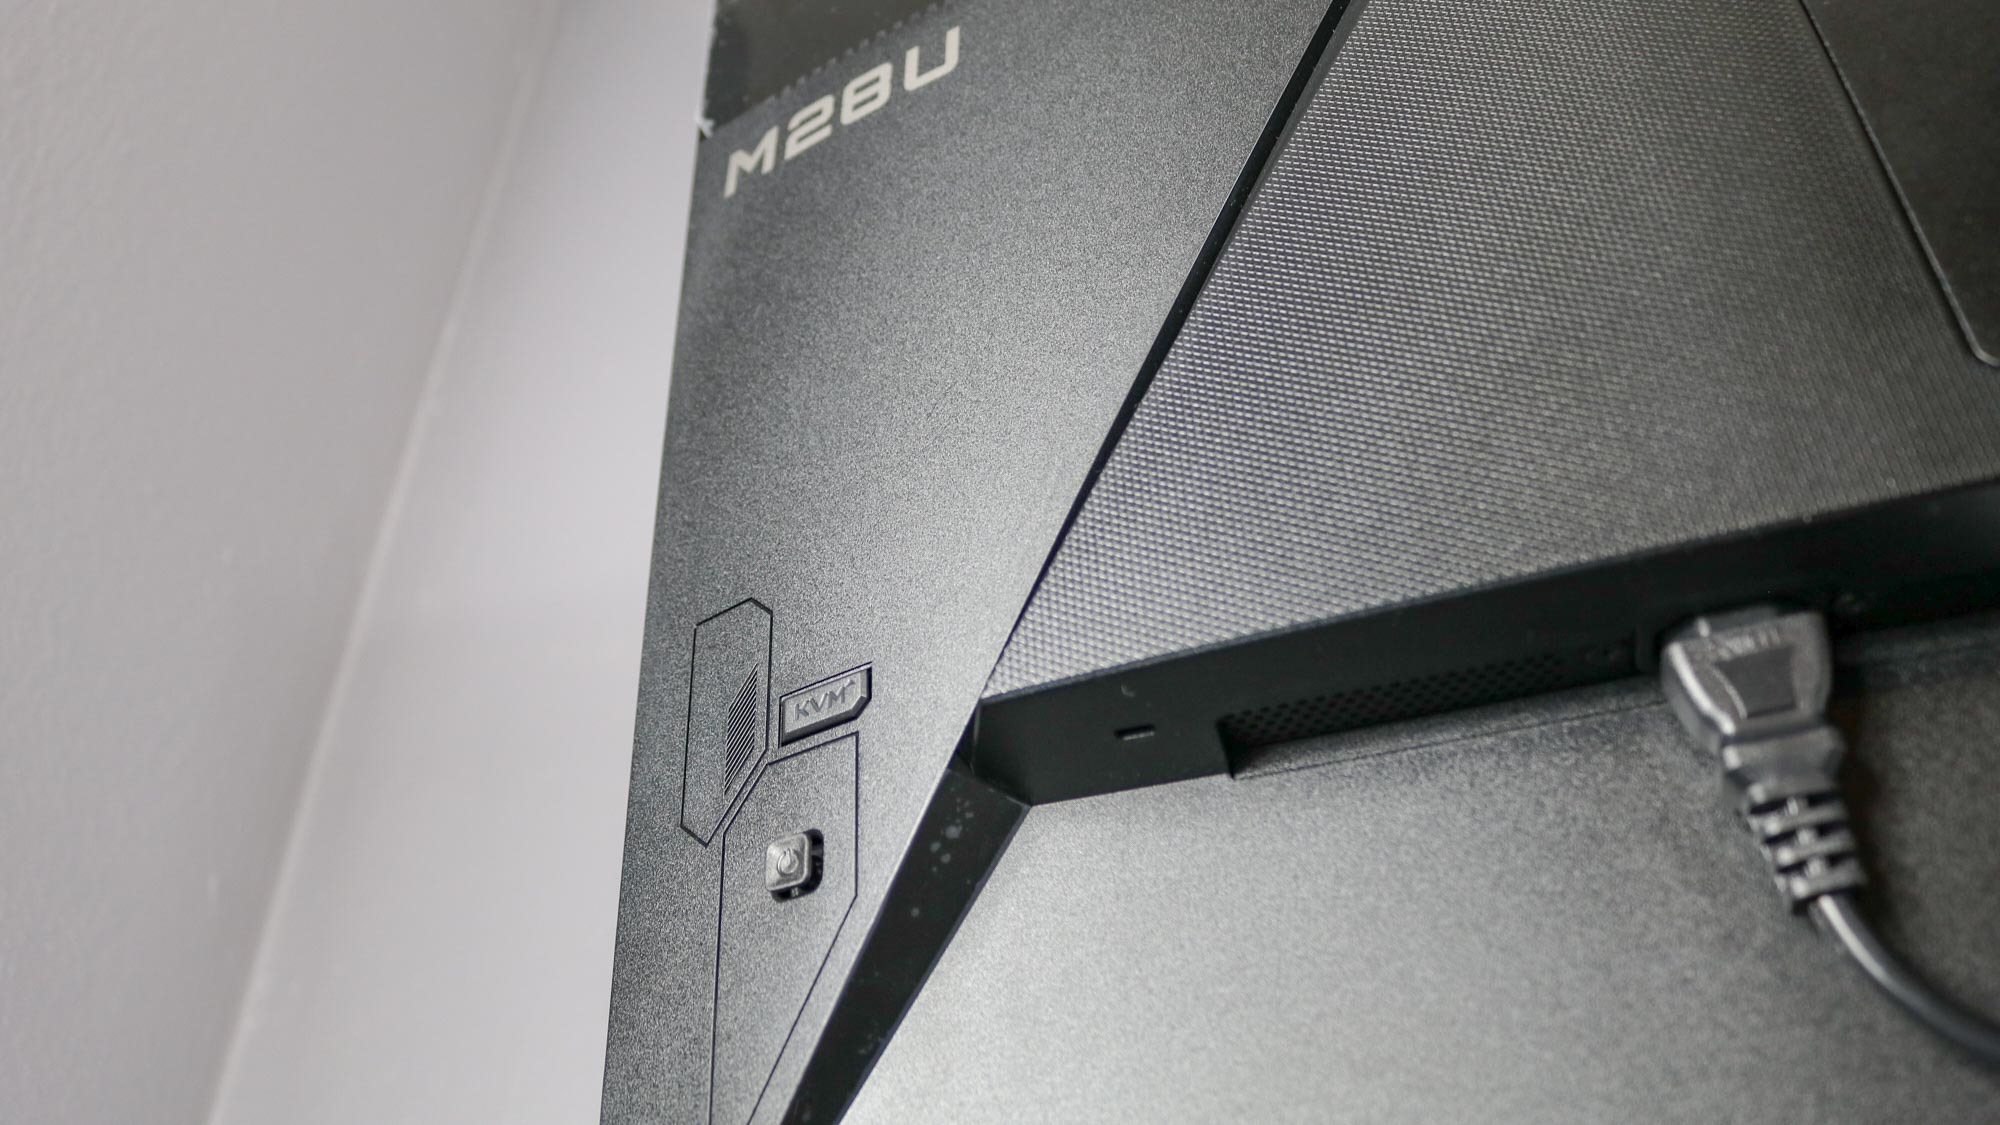
What sets the Gigabyte M28U apart from other gaming monitors is the fact that it has a built-in KVM switch. If you’ve never heard of KVM before, it stands for “Keyboard, Video, Mouse,” and with one, you can use all of these devices with multiple computers without having to unplug anything. Instead of connecting your peripherals into your laptop or desktop, you plug them in at the back of the monitor and by pressing the KVM switch on the backside of the M28U, it switches inputs but you can keep using the same mouse and keyboard.
I have looked at other monitors with a built-in KVM switch before like the LG DualUp but this is my first time seeing this feature on a display that isn’t designed with productivity in mind. In fact, Gigabyte claims that this is the first gaming monitor with a KVM switch. Even if I don’t decide to have a desk setup dedicated to gaming, this feature really intrigued me as I switch between computers and even operating systems fairly often.
Stuck in the middle with you
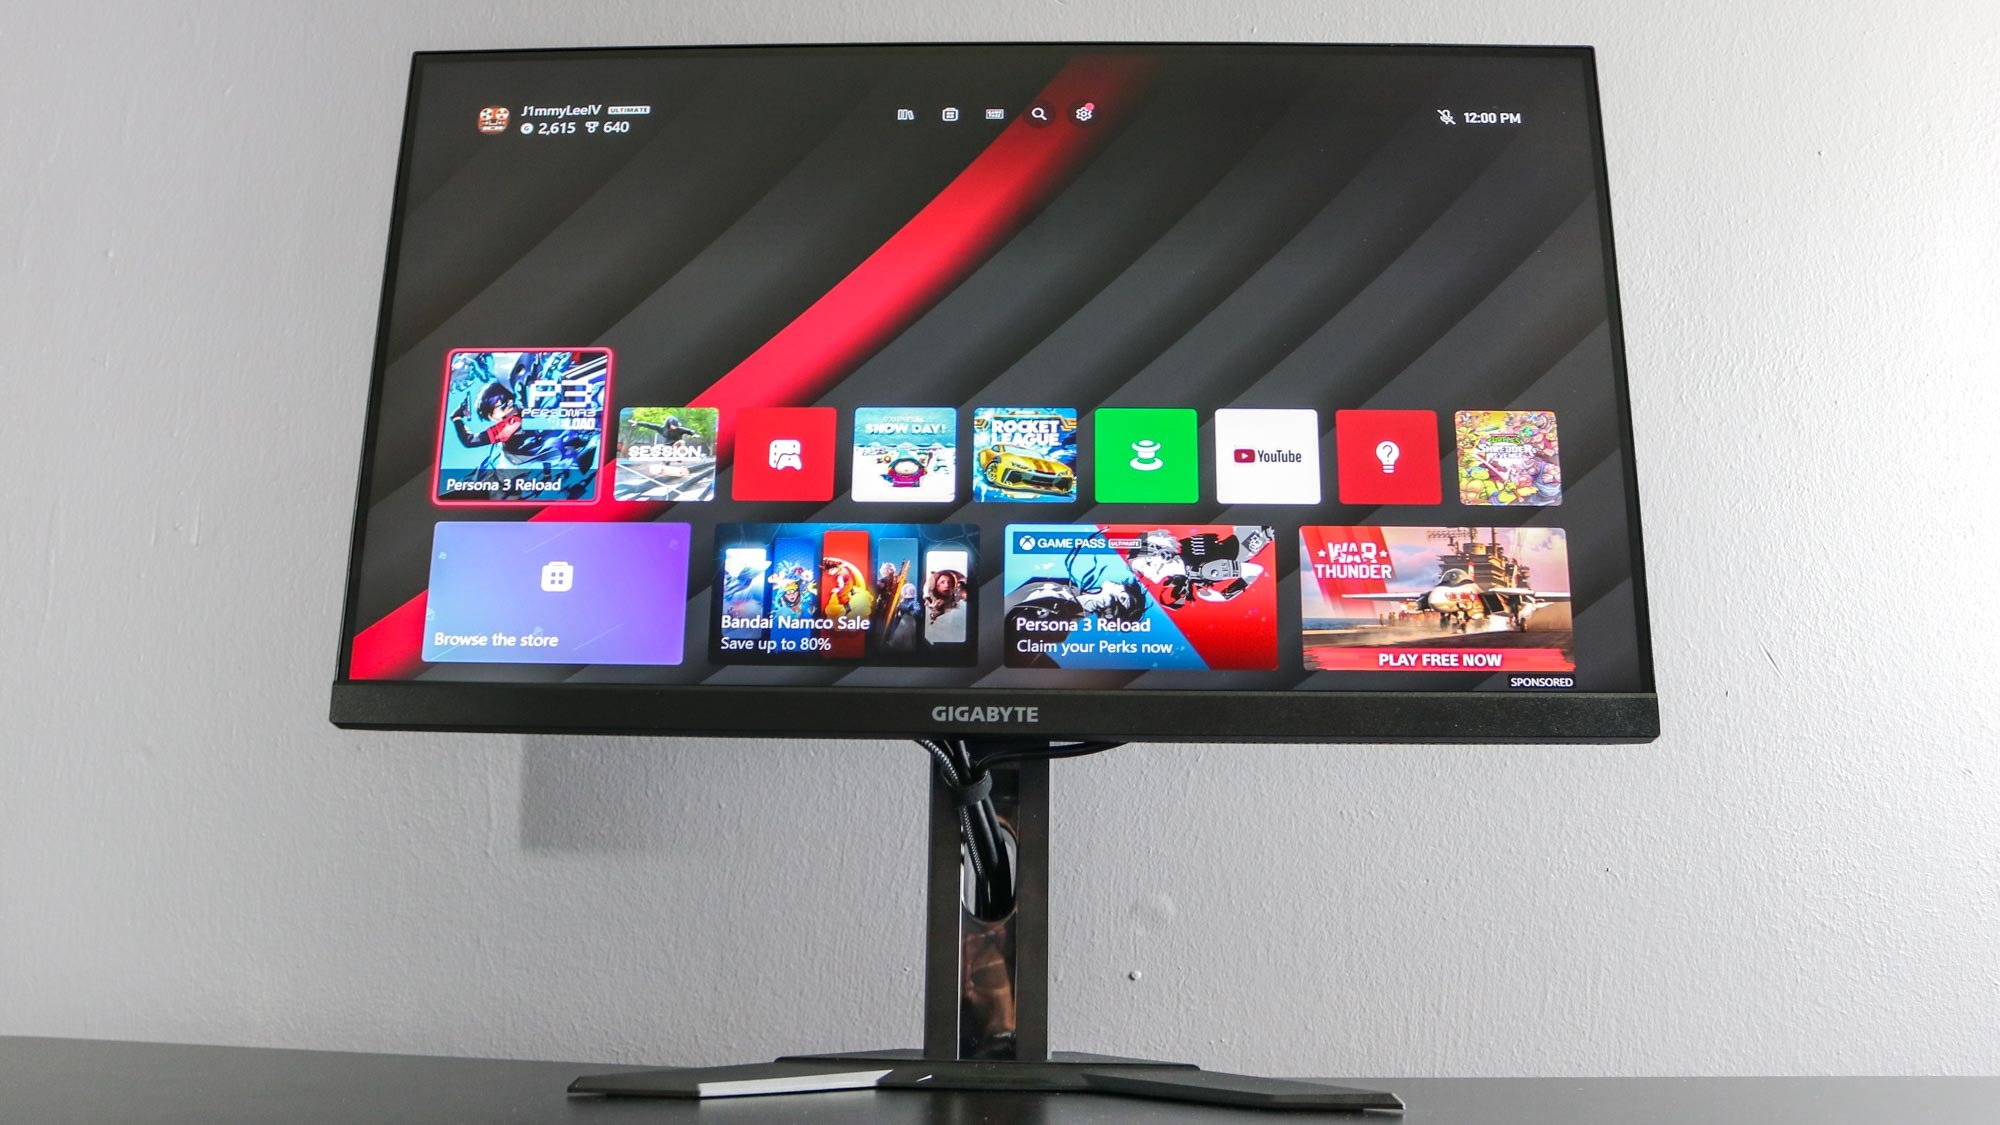
Anytime I buy a monitor online, I always like to put it through its paces before making it a permanent part of a desk setup. Unlike when you buy one from a store, a monitor can easily be damaged during shipping. To this end, I played a few games on Series S and it was then that I realized why it had been returned.
While nothing seemed off while playing Session or Rocket League, when I booted up Persona 3 Reload, I noticed that there was a stuck pixel in the center of the screen. Persona 3 Reload has entirely black loading screens and much to my dismay, I saw a green pixel jutting out at me. I had hope though, as this was a stuck pixel and not a dead one.
Without going into too much detail, a dead pixel will only show up as black since it’s actually off while a stuck pixel will show either red, green or blue as they are caused by a defective sub-pixel (in my case green).
You can’t fix a dead pixel but you can get a stuck pixel unstuck with a bit of work. The first thing I did was load up the tool JScreenFix in my browser, as it’s the easy way to fix a stuck pixel. Basically, the tool has a small box that looks like static on an old TV which you drag on top of the stuck pixel and let it run in the background. I tried it for 10 minutes and then kept increasing the time I let it run for to no avail. I also tried some of the YouTube videos that do something similar to try and get a stuck pixel unstuck. Unfortunately, nothing worked.
Stuck pixels can sometimes be fixed with a bit of pressure, so I tried that next. I put a microfiber cloth onto the display to avoid damaging it and then gently applied pressure on and around the stuck pixel. As you might have guessed, this didn’t work either, but I felt better knowing I tried and I did learn quite a lot about pixels along the way.
If you’re dealing with a stuck pixel on your own monitor, here’s one last bit of good news. Sometimes, stuck pixels can fix themselves over time which I’m hoping happens with my new gaming monitor.
Not the worst tradeoff
As I bought this gaming monitor for more than half off, one stuck pixel isn’t all that bad in my opinion. Everything else works great and while its built-in 3W speakers do leave a bit to be desired, I’m happy with my purchase overall. If things do get worse though, I have a few weeks left to return it and you can bet I’ll be looking for any other problems that might arise during its return window.
So what’s it like using a 4K gaming monitor with a single stuck pixel? Not that bad really. During gameplay or while using the monitor with a computer, it’s not even noticeable. It’s only when my screen goes entirely black that the stuck pixel is visible. The fact that this is a 4K display with 157 pixels per inch helps too and if I sit back a bit in my office chair while staring at the monitor, I can’t see it even though I know it’s there.
Monitors may not be the best thing to pick up on the cheap from Amazon Warehouse since they are more likely to have issues like this. However, I spoke to our deals editor Louis Ramirez who shared his own experience getting heavily discounted electronics this way, saying:
“Buying refurb or preowned is one of the best ways to save money on your computing purchases. I purchased one of my old iMacs as a used system and at the time it knocked $350 off the full price. The three details I recommend you always check are the return period, warranty, and the overall condition of the item you’re about to buy. Many times, refurb or warehouse items are sold in like new condition, but you should always check to ensure that you don’t receive something that’s overly scratched or badly dented. Amazon is generally good at providing all of that info on the product page.”
My new gaming monitor may not be perfect but for the price, it has all the features I need for high refresh rate console gaming. It also has plenty of ports and a built-in KVM switch if I do want to use it for work down the line. If you’re looking for a high-end gaming monitor from a known brand on the cheap, you might want to consider doing something similar. Plus, Amazon makes returns quite easy if you do run into any issues like I did.
More from Tom's Guide
- I added this $50 monitor light bar to my desk setup and it’s a game changer
- This $7 app fixed my biggest problem with remote play on both PS5 and Xbox
- I might be done with laptop cameras after trying the world's smallest webcam

Anthony Spadafora is the managing editor for security and home office furniture at Tom’s Guide where he covers everything from data breaches to password managers and the best way to cover your whole home or business with Wi-Fi. He also reviews standing desks, office chairs and other home office accessories with a penchant for building desk setups. Before joining the team, Anthony wrote for ITProPortal while living in Korea and later for TechRadar Pro after moving back to the US. Based in Houston, Texas, when he’s not writing Anthony can be found tinkering with PCs and game consoles, managing cables and upgrading his smart home.
 Club Benefits


