Club Benefits


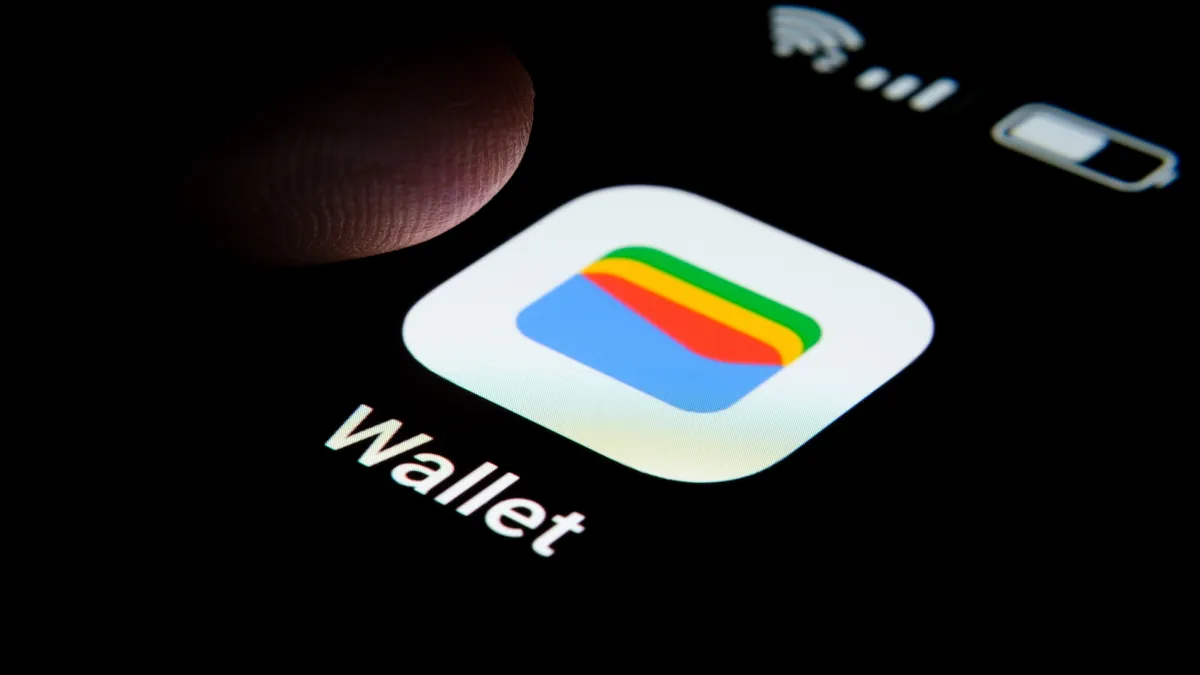
Google Wallet turns your Android phone into a complete digital wallet, storing everything from payment cards to boarding passes in one secure app. Whether you're paying for coffee, hopping on a bus, or managing loyalty cards, Google Wallet handles it all.
Setup is simple — you just download the app, add your cards, and enable contactless payments. If you've used Google Pay before, your cards will automatically transfer over, saving you setup time. The process takes only a few minutes, but opens up a world of convenient, cashless transactions.
Say goodbye to fumbling through your physical wallet and hello to seamless, secure payments with just a tap of your phone. Here's everything you need to get started.

Why use Google Wallet?

Google Wallet provides a simple way to store and access your payment cards, transit passes, tickets, and loyalty cards from your Android phone.
It supports contactless payments, making it easy to pay in stores or on public transport without reaching for your physical wallet. You can also use it to keep track of digital passes, like event tickets or boarding passes, in one place.
Because it’s tied to your Google account, your information can carry over to new devices, and Google’s security features help protect your data. For anyone using Android, Google Wallet offers a convenient alternative to carrying multiple physical cards.
1. Download Google Wallet

Download the Google Wallet app from the Google Play Store and open it on your Android device.
2. Add your Payment Method

Next, tap Add to Wallet and choose New credit or debit card. You can either scan your card so it automatically inputs your card details, or you can enter them manually.
3. Verify your card

Complete any verification steps required by your bank, typically through text message or email confirmation.
4. Enable NFC for contactless payments

Go to your phone's Connected devices settings and make sure NFC is turned on. Then confirm Google Pay is set as your default payment app.
5. Start using Google Wallet
Now you're all set up and ready to make contactless payments. To pay using your Google Wallet, simply hold your phone near any payment reader and authenticate with your PIN, fingerprint, or face unlock.
Now that you've learned how to set up Google Wallet on your Android, why not take a look at some other useful guides?
Explore how to check your Android's battery health and how to stop your personal data from appearing in Google searches. And if you're a pixel user, here's how to use the Google Pixel 9 Reimagine AI feature for stunning photo edits.
Tom's Guide
- How to pair AirPods with any Android phone — 5 simple steps
- Best Android apps in 2025 — free and paid
- Google Maps has 3D Map navigation — here’s how to activate it


...")