


I’ve owned my Peloton Bike+ for about half a year now, and though I actually doubted my dedication at first, I still use it regularly. In fact, I’ve settled into a nice routine using one of the best exercise bikes. However, even with new classes being added daily, and the range of exercises on offer — from yoga to strength classes to meditation — it has somehow started to feel a little same-y.
That’s why I was pleased to stumble across some hidden features on my Peloton bike, which can really break up the monotony. Even if you take advantage of these options just once, it can really refresh your experience and remind you of the versatility of this bike. Here are 8 things you never knew you could do with a Peloton.
1. Lanebreak

For those who love to game, Peloton recently introduced Lanebreak — a game where you race to the music and need to stay in the best lane using the resistance dial. You gain a score based on your tempo, speed and direction (based on the dial). There’s a selection of genres and playlists to suit different tastes, and varying levels of difficulty too. The lengths of these sessions range as well, starting from as little as 5 minutes.

Admittedly, this game left me exhausted, but I can see why others would enjoy it. To access it, you just need to select 'More Rides' on your home screen, and then select 'Peloton Lanebreak'.
2. FTP test
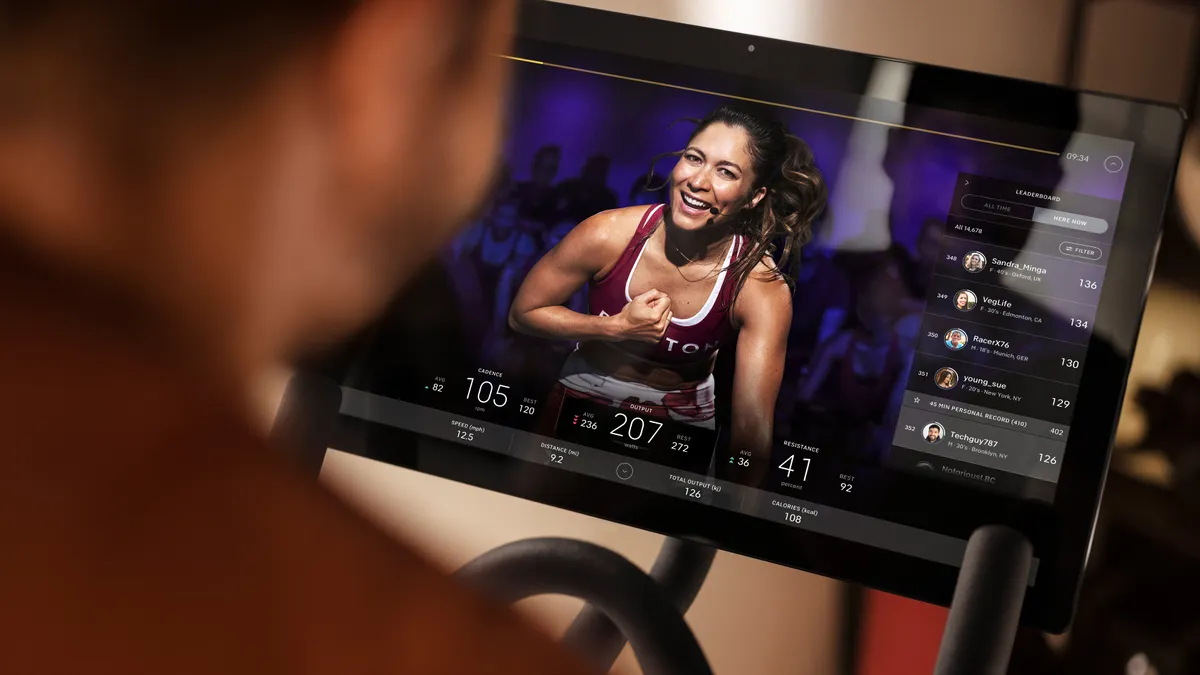
An FTP, or Functional Threshold Power, test measures the average power you can exert over an hour. It essentially helps you monitor your fitness on the bike and is a good indication of your progress. Doing one of these tests can also help you understand how to best pace yourself as you ride, including when to push.
If you complete an FTP test on a Peloton bike, you will also have access to the Power Zones feature. With this, you can essentially add a bar to the bottom of the display during your classes. This can help you understand just how hard you’re pushing yourself, so you get the most out of your class and don’t prematurely exhaust yourself.
You can find FTP test rides on your Peloton in your classes by searching for ‘FTP’. Once you’ve taken a 20 minute class, you can add the Power Zone bar by clicking on your username, then selecting the red cog settings logo at the top left corner. Next, select ‘Preferences’, then scroll down and click ‘Display Power Zones’ or ‘Edit Power Zones’ and finally ‘Custom Value’. You can now fill in the output from your 20 minute FTP test. For full details on this, check out how to do an FTP test on Peloton.
3. Link up your Apple Watch

It’s not exactly a hidden feature, but few realize the benefits of linking up an Apple Watch to their Peloton equipment. By doing this, you can monitor your heart rate and keep track of your performance. All you need to do is set up the Peloton app on your Apple Watch and tap it to the screen when you see the Apple Watch notification at the start of a class.
The app will then use your heart rate to create a ‘Strive Score,’ which essentially measures how long your heart remains in different bands during the workout. A bit like the Power Zones bar, this can help track how hard you’re pushing yourself during workouts. The Strive Score is useful because you can compare it across non-cycle classes too, such as strength and bootcamp.
If you’re interested in buying an Apple Watch, check out our picks for the best Apple Watch.
4. Run with Peloton
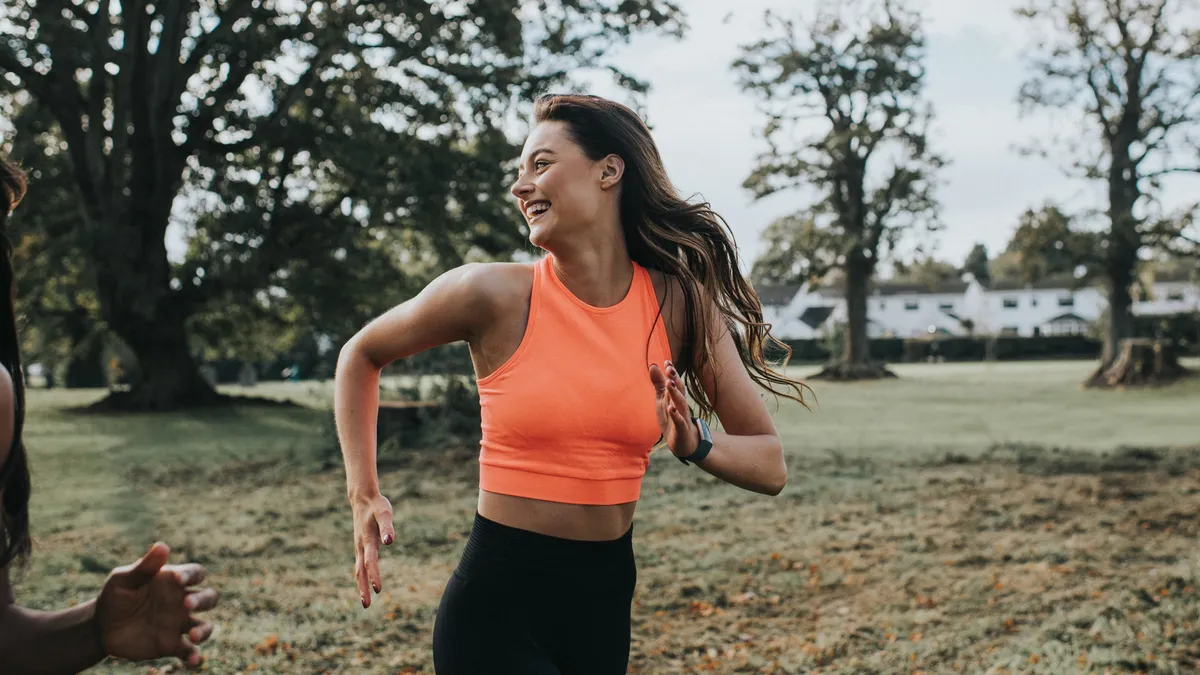
If you sign up for a Peloton membership, you also get access to the classes on your phone via the Peloton app. That means you can ditch the bike altogether and take a walk or run with Peloton. There’s a huge selection of outdoor classes to peruse including dedicated hiking classes if you’re climbing a hill.
By having the Peloton app on your phone, you can also activate ‘Outdoor Route Tracking’, which can be found under the 'More' tab. This tracks your pace and distance as well as route, so you can better monitor your outdoor sessions.
5. Hide the metrics

The stats scattered across the screen during a class can be quite intimidating at first. While the instructors in the beginner classes will break down what each metric means, it’s still too much to keep track of sometimes, even if you’re a seasoned Peloton cyclist. Some will also find it disheartening to see they’re at the back of the pack during a class.
That’s why it’s nice that you can hide the metrics altogether if you want to — so it’s just you, the instructor and the music. All you need to do is double tap anywhere on the screen and voila, a clear display.
6. Charge your phone

Depending on whether you’ve got the Peloton Bike or Bike+, you should notice a spare port on the back of the screen (Micro USB for Bike and USB-C for the Bike+). This acts as a network port, but you can use a power adaptor to charge your phone, headphones, heart rate monitor or whatever you need.
However, just bear in mind that whatever you need to charge will need to sit somewhere while you cycle — it’s unlikely to balance on the handlebars. This can somewhat limit its use unless you have a particularly long cable. Using this port for anything other than a direct network connection may also invalidate the warranty.
7. Swap out to a toe cage

When I first tried out the Peloton Bike, I really struggled with clipping the cycling shoes in and out before and after classes. Once I even had to remove my shoes while still attached to the pedals and pry them free manually. That’s why I was relieved to find out you can attach dedicated toe cages and use your regular sneakers instead.
What’s more, toe cages start from as little as $40, while the Peloton cycling shoes start at $125. We recommend Venzo Compatible with Peloton Bike and Bike+ Pedal Toe Clips Cage ($49.99, Amazon). These are a great alternative to cycling shoes if you struggle with your ankles in general.
8. Check out your personal records

You’d think you could easily see your personal records on a Peloton bike, but it’s not as apparent as all that. To access your personal records, you need to click on your username and scroll down in 'overview'. On the lower-right side, you will see a section for personal records which you can swipe through. For further detail, click "manage personal records." This will display your records in a format which is easier to read.
From here, you can also click Manage and calculate your records based on a specific date. This is useful if you want to check your progress over a single year or if you’ve taken a break from the bike and don’t want to count previous workouts.

