18 macOS Terminal commands to turn you into a Mac power user
Get under-the-hood of your Mac with these useful macOS Terminal commands

Here at Tom’s Guide our expert editors are committed to bringing you the best news, reviews and guides to help you stay informed and ahead of the curve!
You are now subscribed
Your newsletter sign-up was successful
Want to add more newsletters?

Daily (Mon-Sun)
Tom's Guide Daily
Sign up to get the latest updates on all of your favorite content! From cutting-edge tech news and the hottest streaming buzz to unbeatable deals on the best products and in-depth reviews, we’ve got you covered.

Weekly on Thursday
Tom's AI Guide
Be AI savvy with your weekly newsletter summing up all the biggest AI news you need to know. Plus, analysis from our AI editor and tips on how to use the latest AI tools!

Weekly on Friday
Tom's iGuide
Unlock the vast world of Apple news straight to your inbox. With coverage on everything from exciting product launches to essential software updates, this is your go-to source for the latest updates on all the best Apple content.

Weekly on Monday
Tom's Streaming Guide
Our weekly newsletter is expertly crafted to immerse you in the world of streaming. Stay updated on the latest releases and our top recommendations across your favorite streaming platforms.
Join the club
Get full access to premium articles, exclusive features and a growing list of member rewards.
It's fair to say that, of all of the macOS apps, Terminal can feel the most daunting. Rather than use a graphical user interface, Terminal expects you to type in commands. It's like going back in time to using DOS or a retro computer from the 1980s. And yet it's extremely powerful.
By getting to grips with Terminal you can make your Mac perform a host of tasks. You can also perform under-the-hood tweaks designed to make your computing life run a little more smoothly or simply find information in a flash.
But first, you need to know some basics such as how to open Terminal on Mac. You also need to be aware that commands need to be inputted carefully. After all, in some cases, you are making alterations to the way your Mac operates so take your time and don't do anything you don't feel comfortable with.
With that in mind, let's take a look at 18 macOS Terminal commands to turn you into a Mac power user, covering both serious and fun things you can do.
1. Save screenshots in different image formats
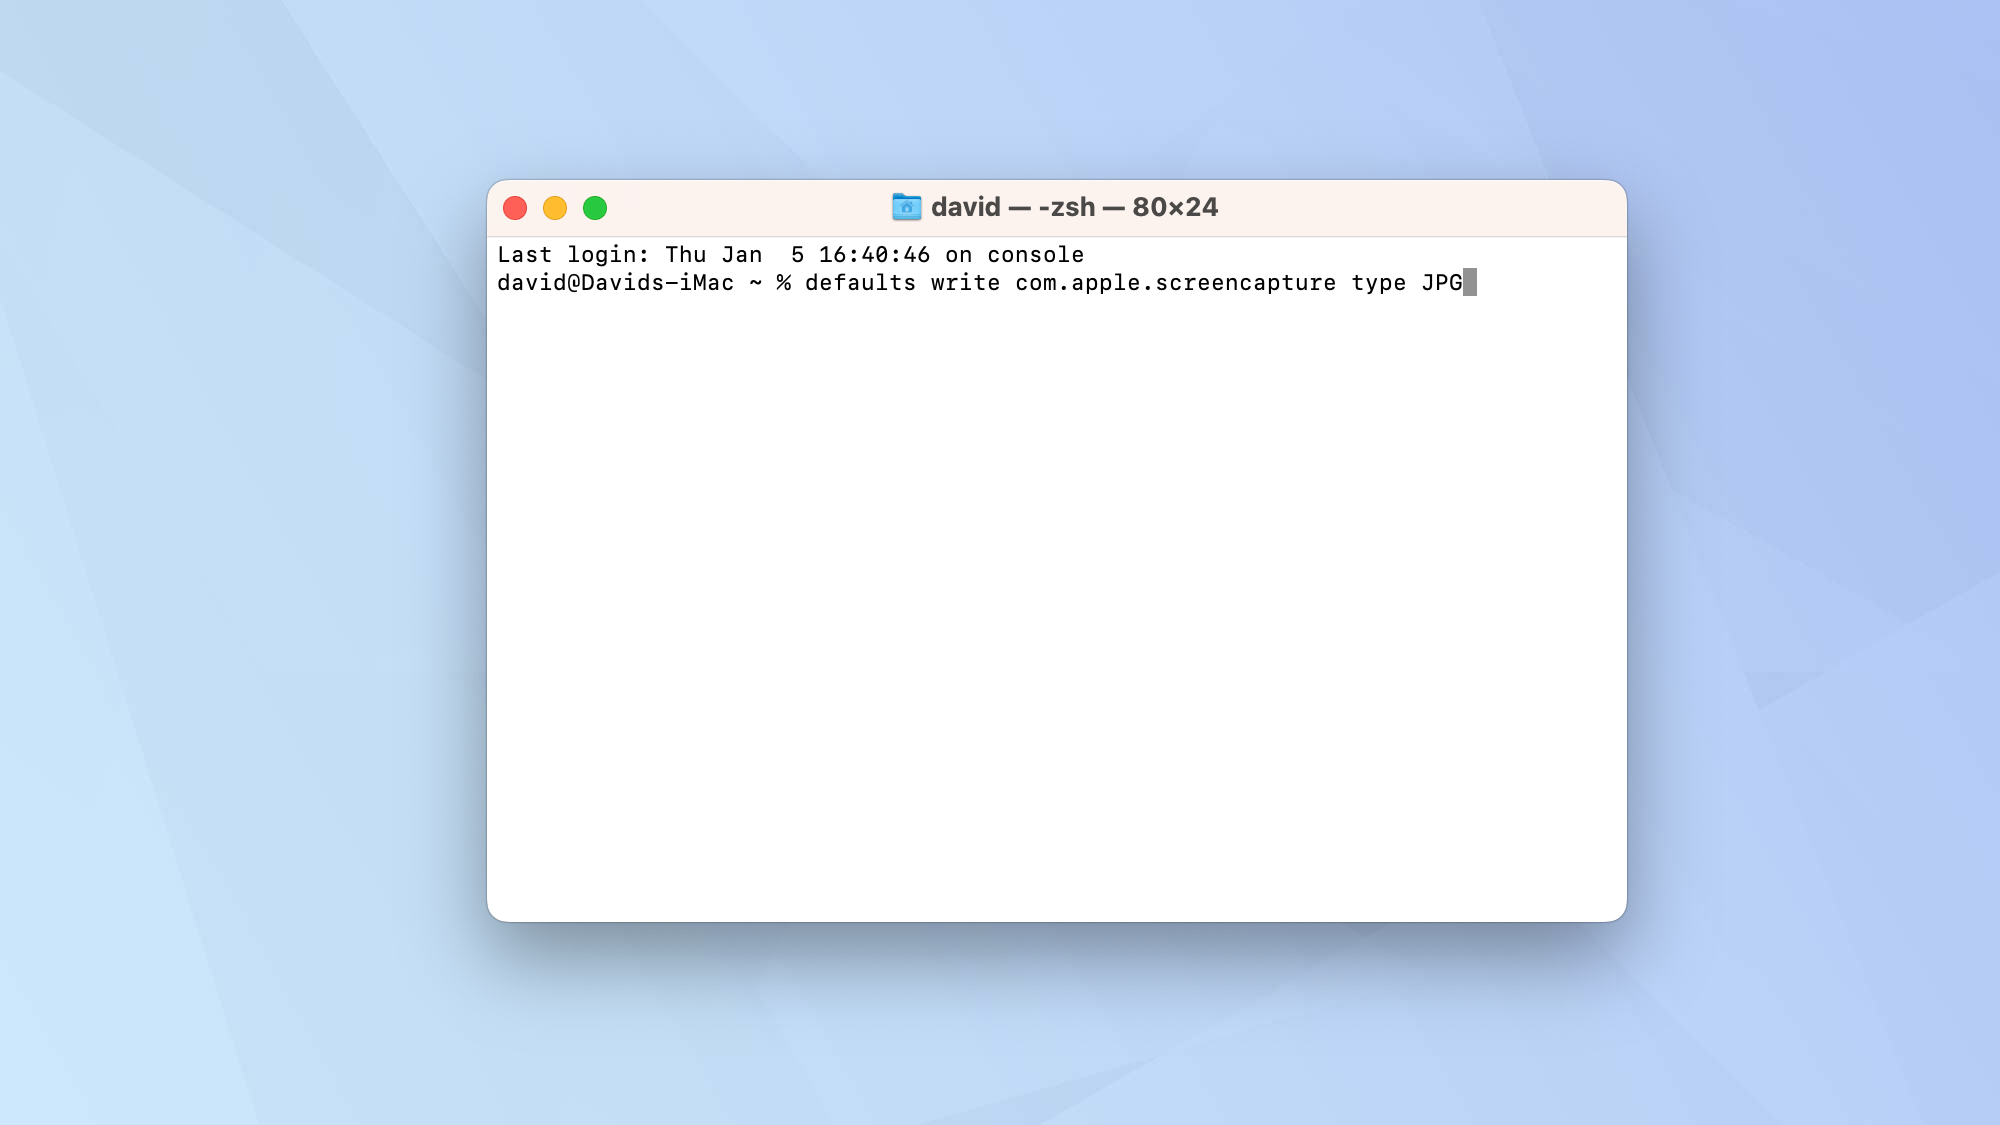
You likely know how to take a screenshot on a Mac. But would you prefer the shots are saved in a different format? By default, screenshots are stored as PNGs but with Terminal you can change that in seconds.
Type:
defaults write com.apple.screencapture type [format]
Get instant access to breaking news, the hottest reviews, great deals and helpful tips.
In place of [format], enter JPG, GIF, TIFF or RAW.
Press Enter when you've entered the command.
2. Change the filename of screenshots
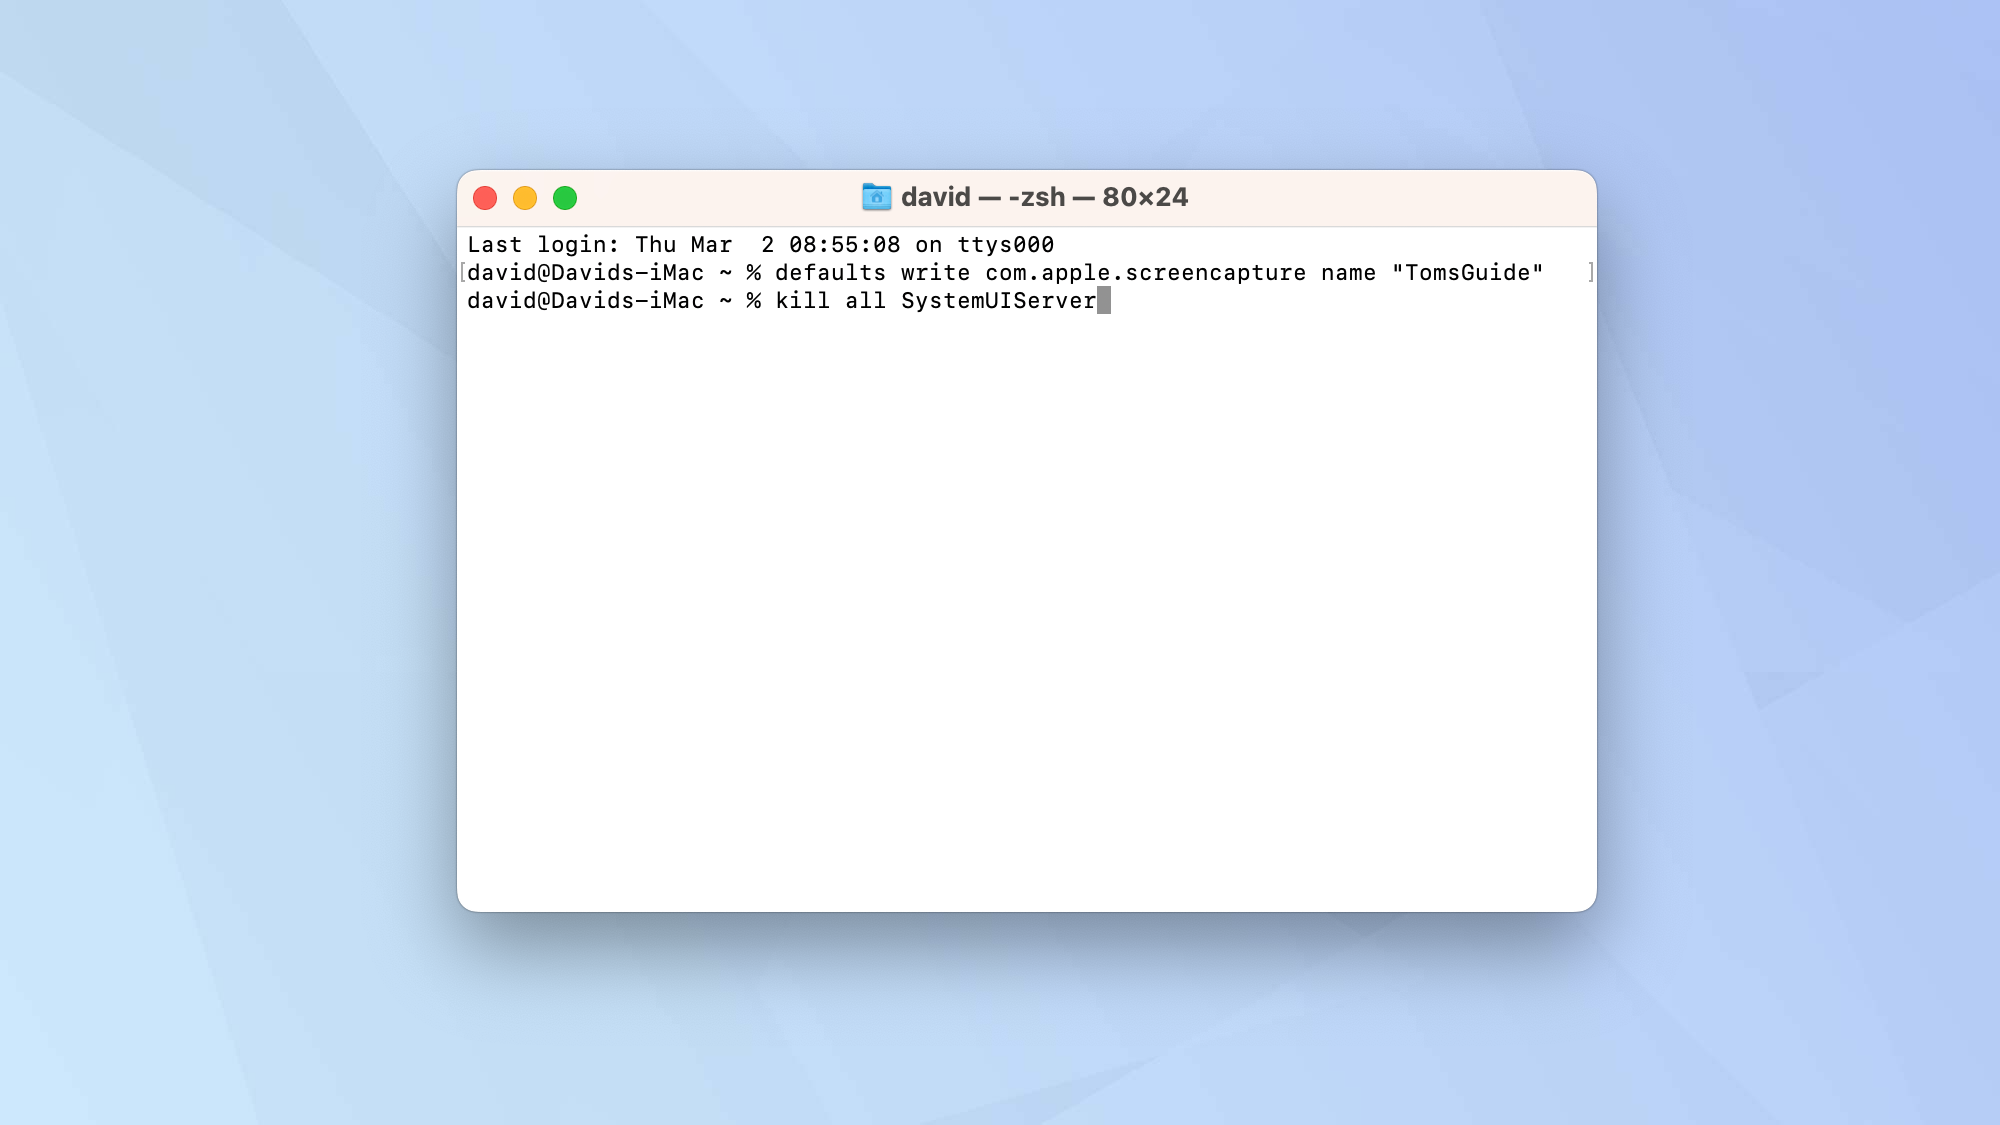
You can also stop your Mac from naming every screenshot you take as “Screen Shot”.
Sure, this default naming convention makes it plainly obvious that you've taken a screenshot but if you're going to be taking a whole bunch of them for a specific task, then you may find it's more convenient to have them saved as something else.
To do this, type:
defaults write com.apple.screencapture name “[New Screen Shot Name]”
The bracketed part will need to be replaced with the screenshot name of your choice. Hit Enter.
Now type:
killall SystemUIServer
Then hit Enter.
3. Increase the space between icons in your Dock
Do you want to make your Dock appear less crowded? Inserting block spaces in between icons can help you to better organise the different apps which appear there by separating them into defined chunks.
Type:
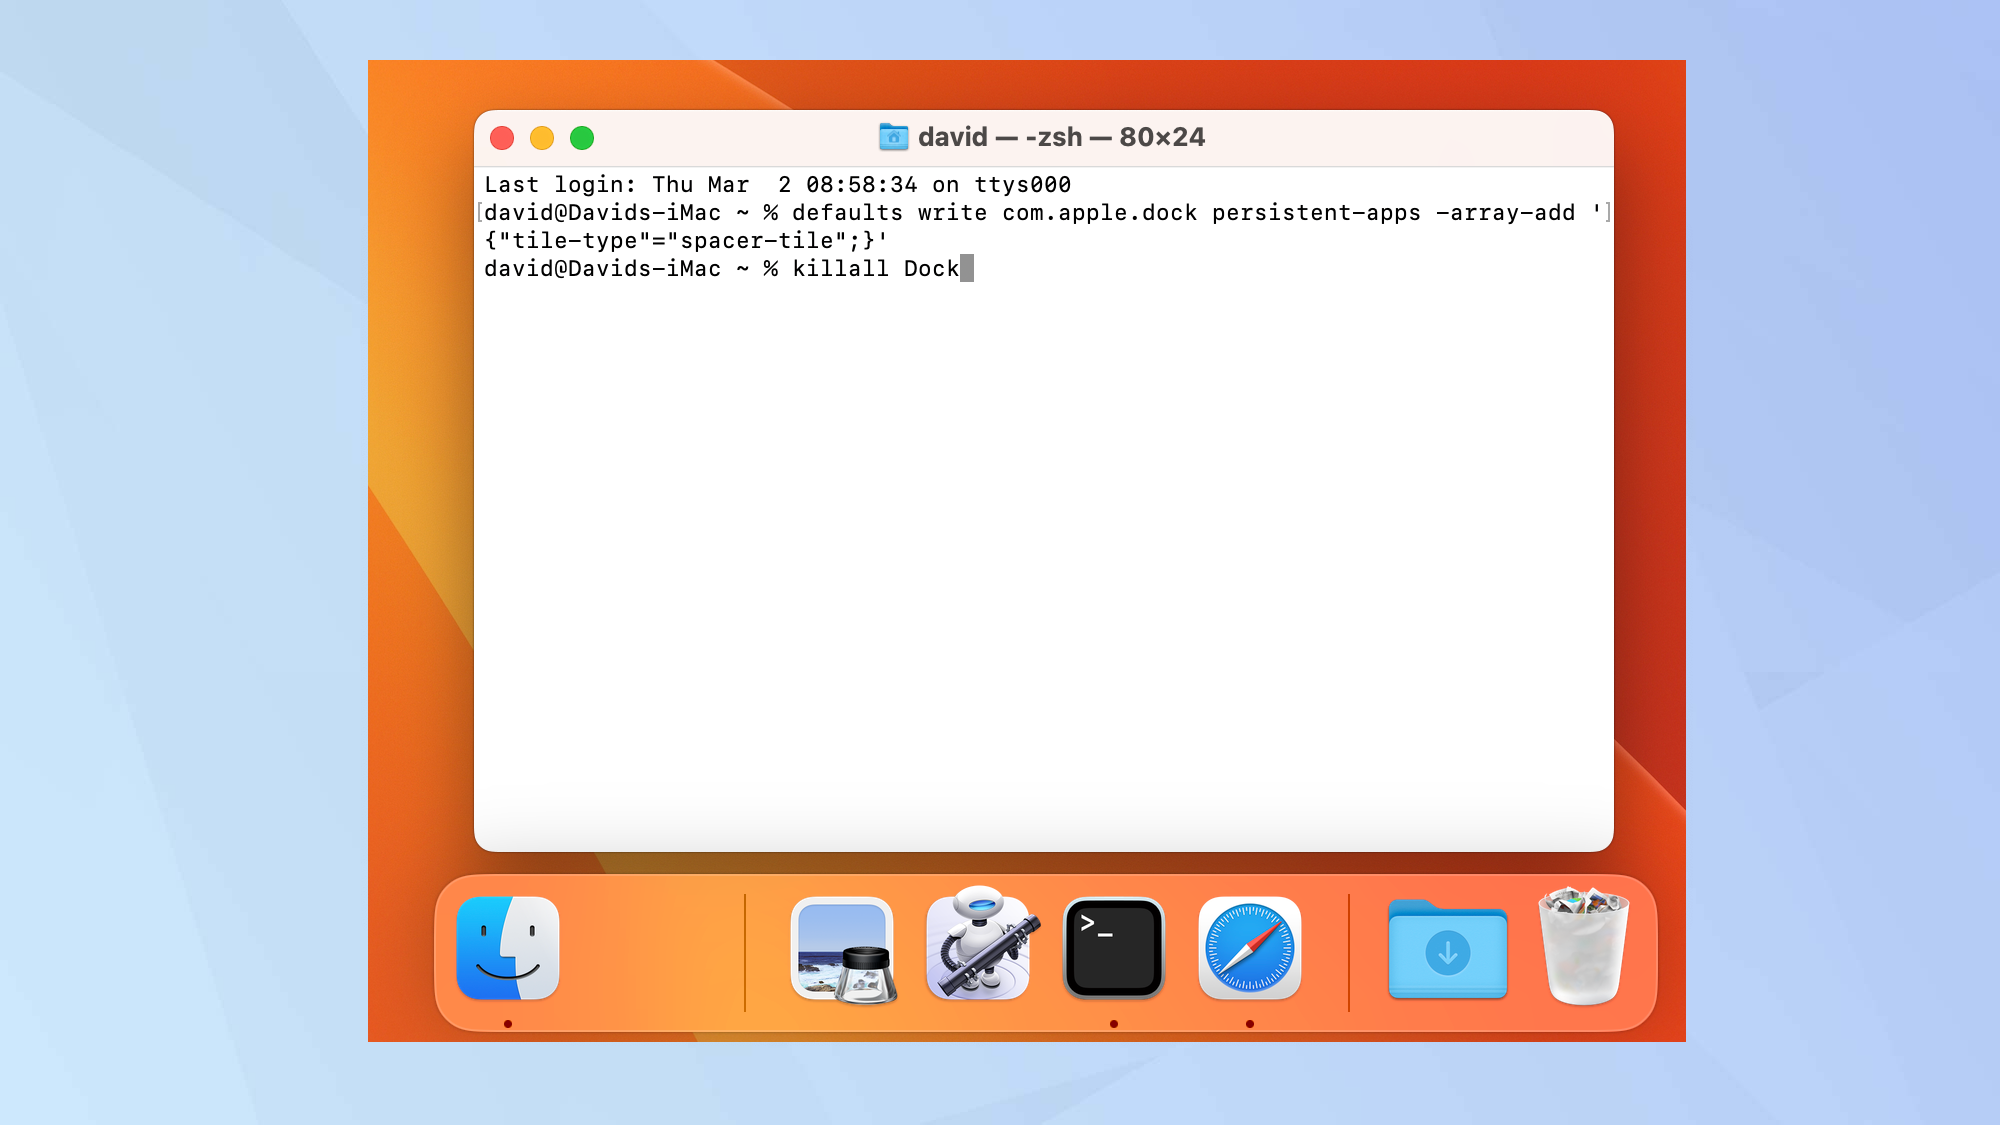
defaults write com.apple.dock persistent-apps -array-add '{"tile-type"="spacer-tile";}'
Press Enter and type:
killall Dock
Hit Enter.
This will insert a space block in the Dock which can be moved around and placed where you want it to go. It's effectively an invisible app tile. To remove it, you just need to know how to right-click on Mac. Right-clicking the space will give you the option to select Remove from Dock.
4. Hide inactive apps from the Dock
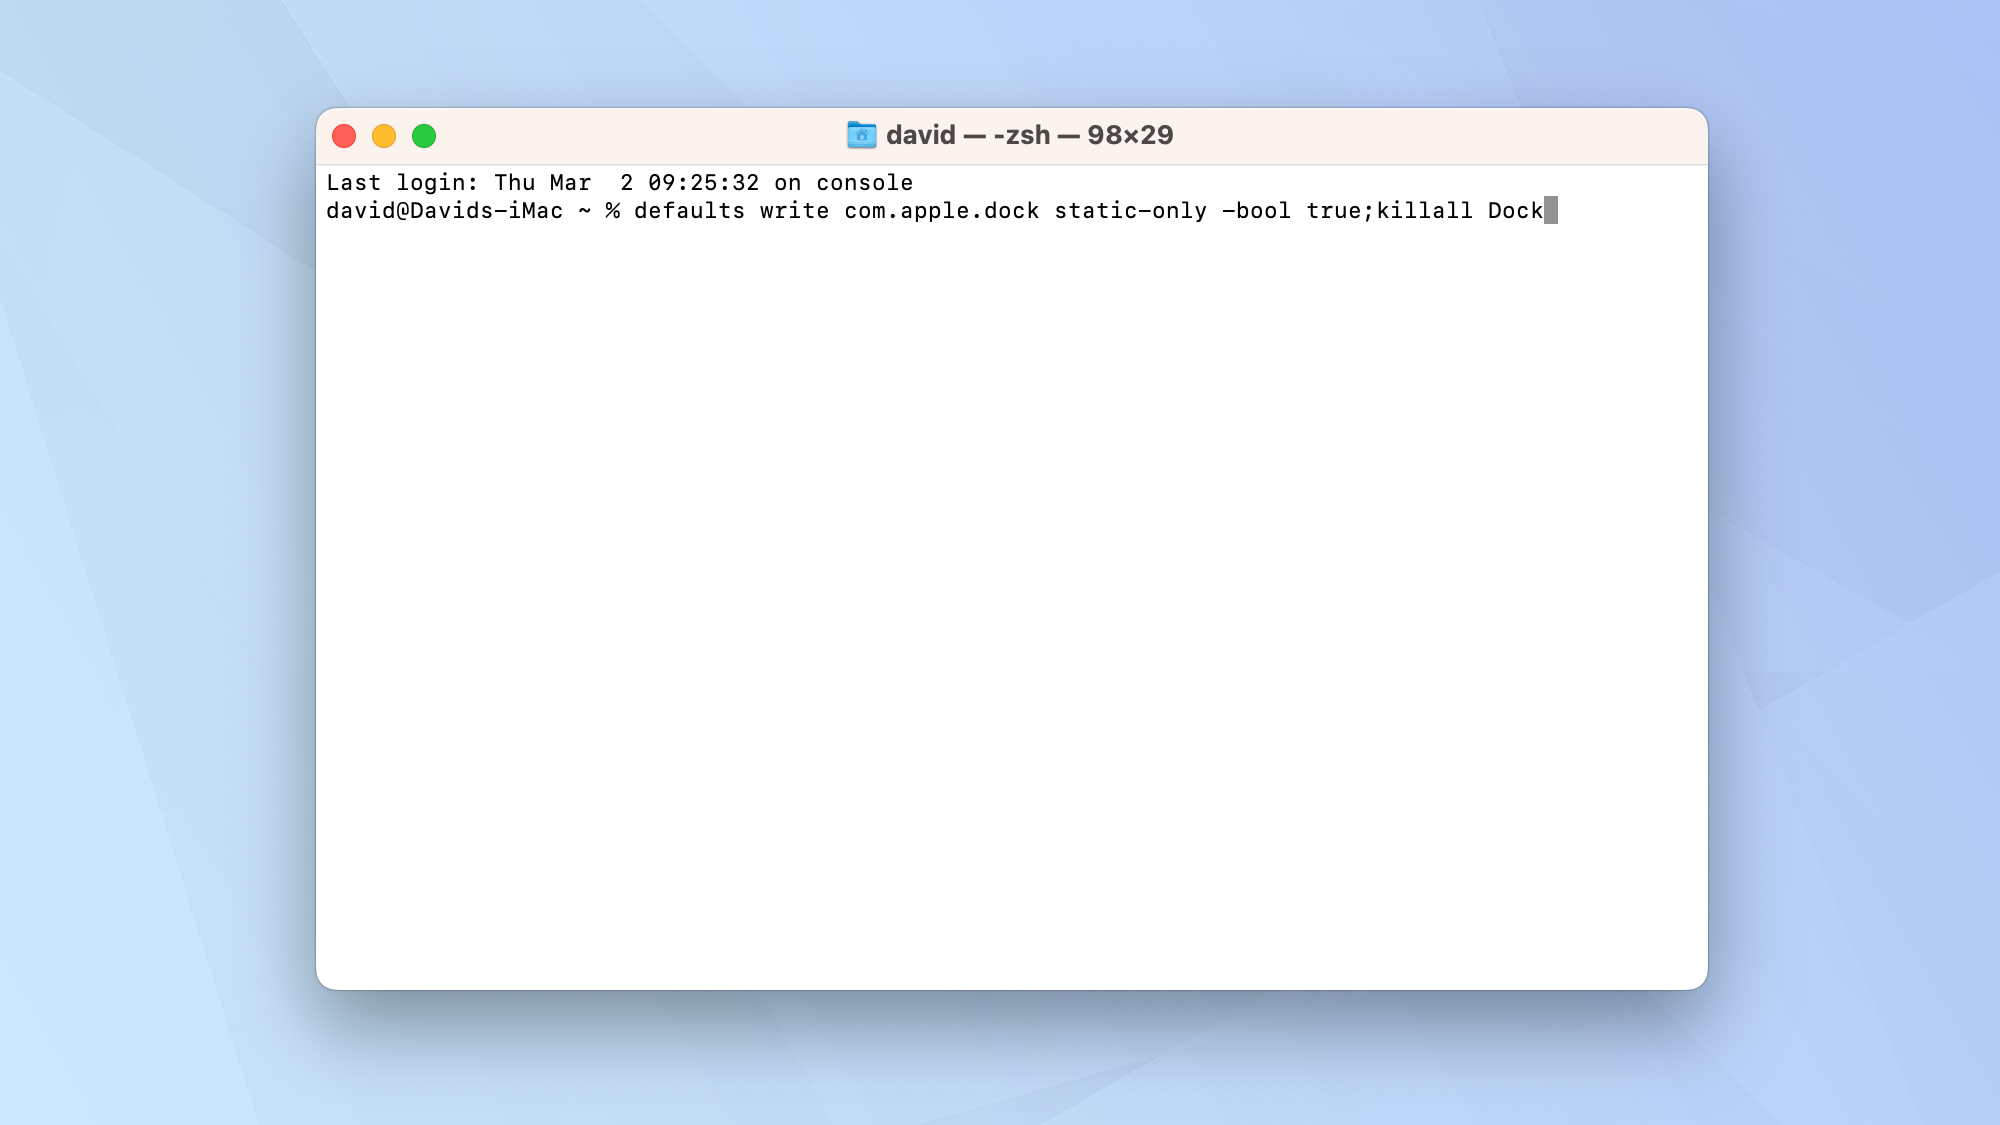
You can also clean up the Dock by removing apps that are not active. This way, you will only see the apps that you want to make use of during your current session. This is another way to keep your Dock looking clean.
Type:
defaults write com.apple.dock static-only -bool true; killall Dock
Press Enter. You can turn things back to normal by typing:
defaults write com.apple.dock static-only -bool false; killall Dock
Press Enter again.
5. Update software on your Mac
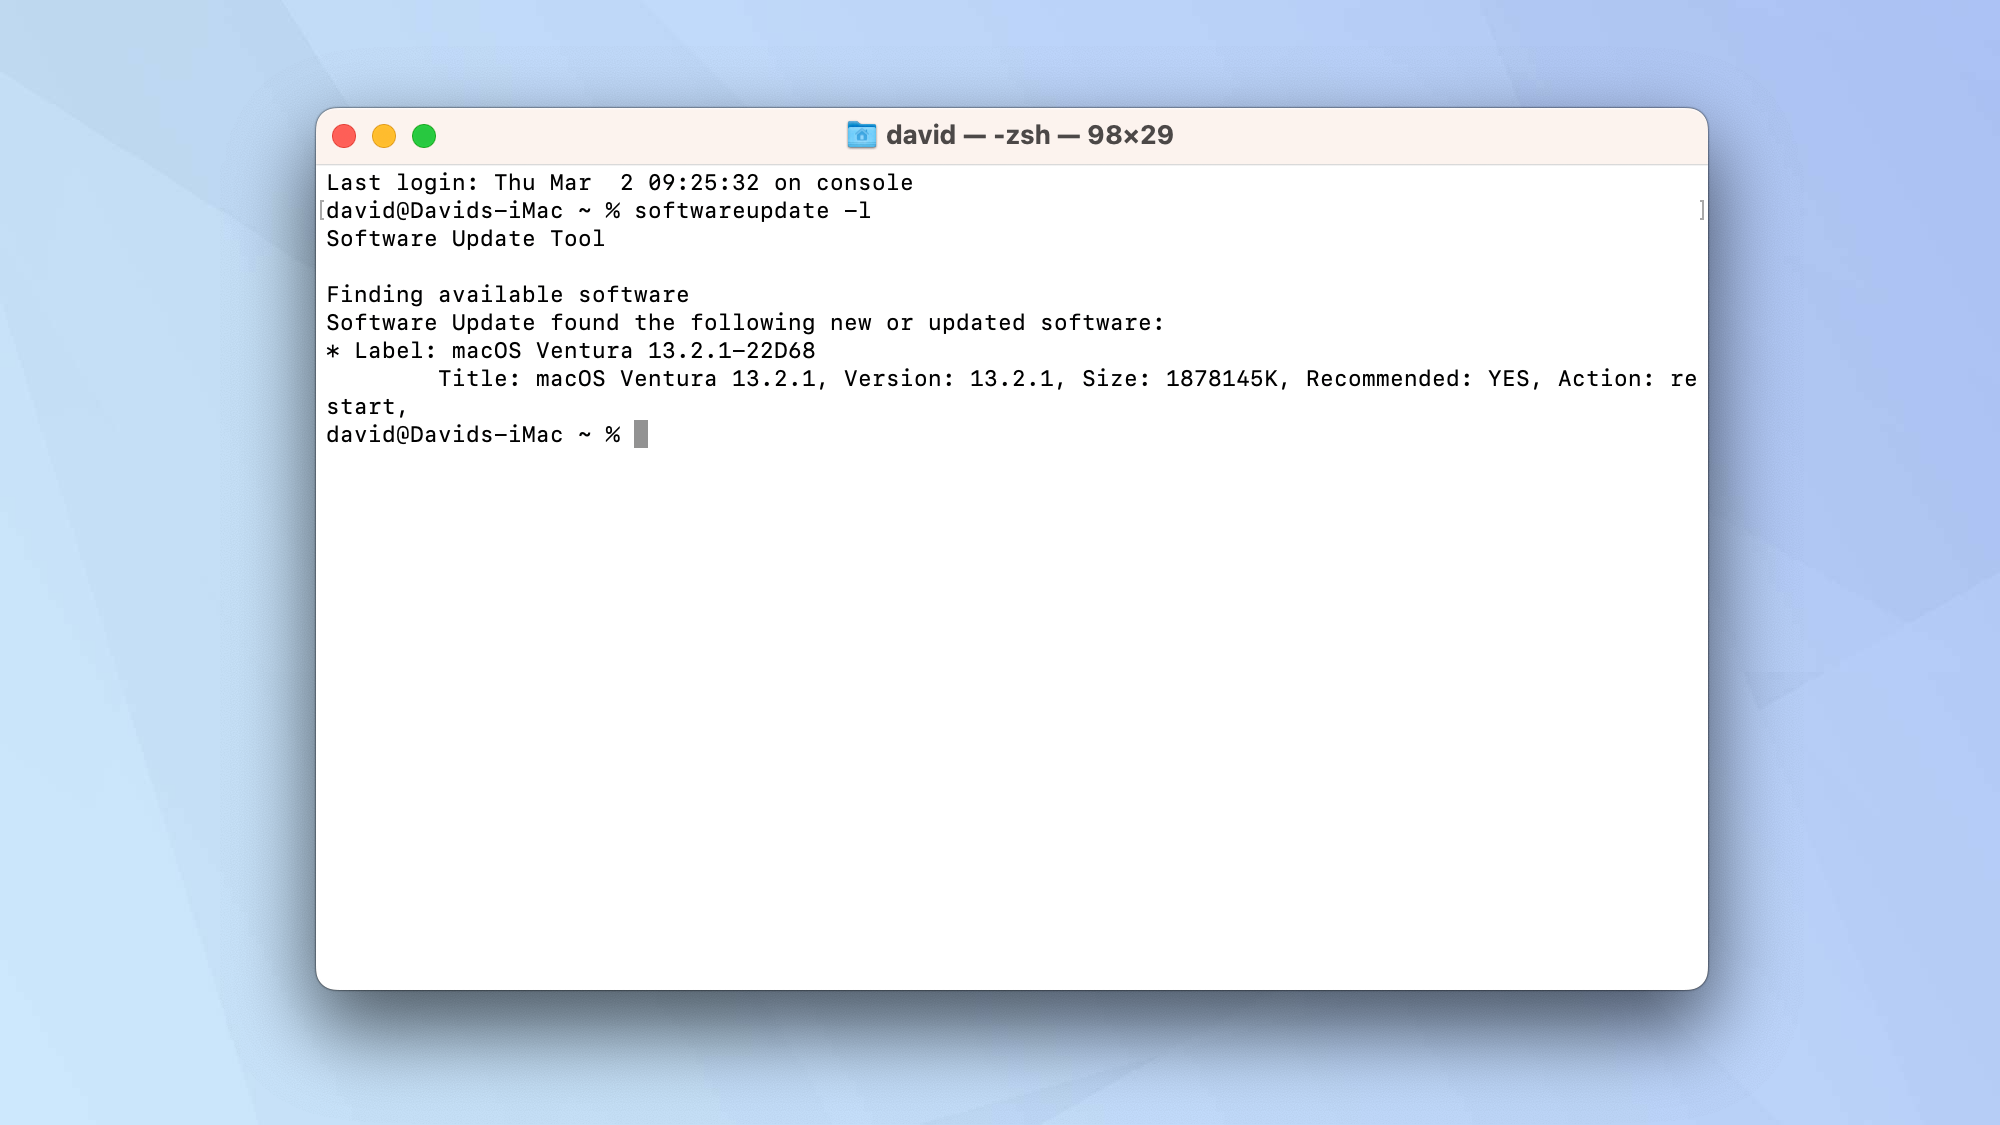
Although you can use macOS user interface to update a Mac, you can also make use of Terminal. This will check for new software updates.
Type:
softwareupdate -l
Press Enter.
This will show a list of updates. You can then download and install a specific file by typing:
softwareupdate -i [NAME]
where [NAME] is the filename. Press Enter.
You can also list all of the available updates by typing:
softwareupdate -i -a
Press Enter.
6. Check for updates more often
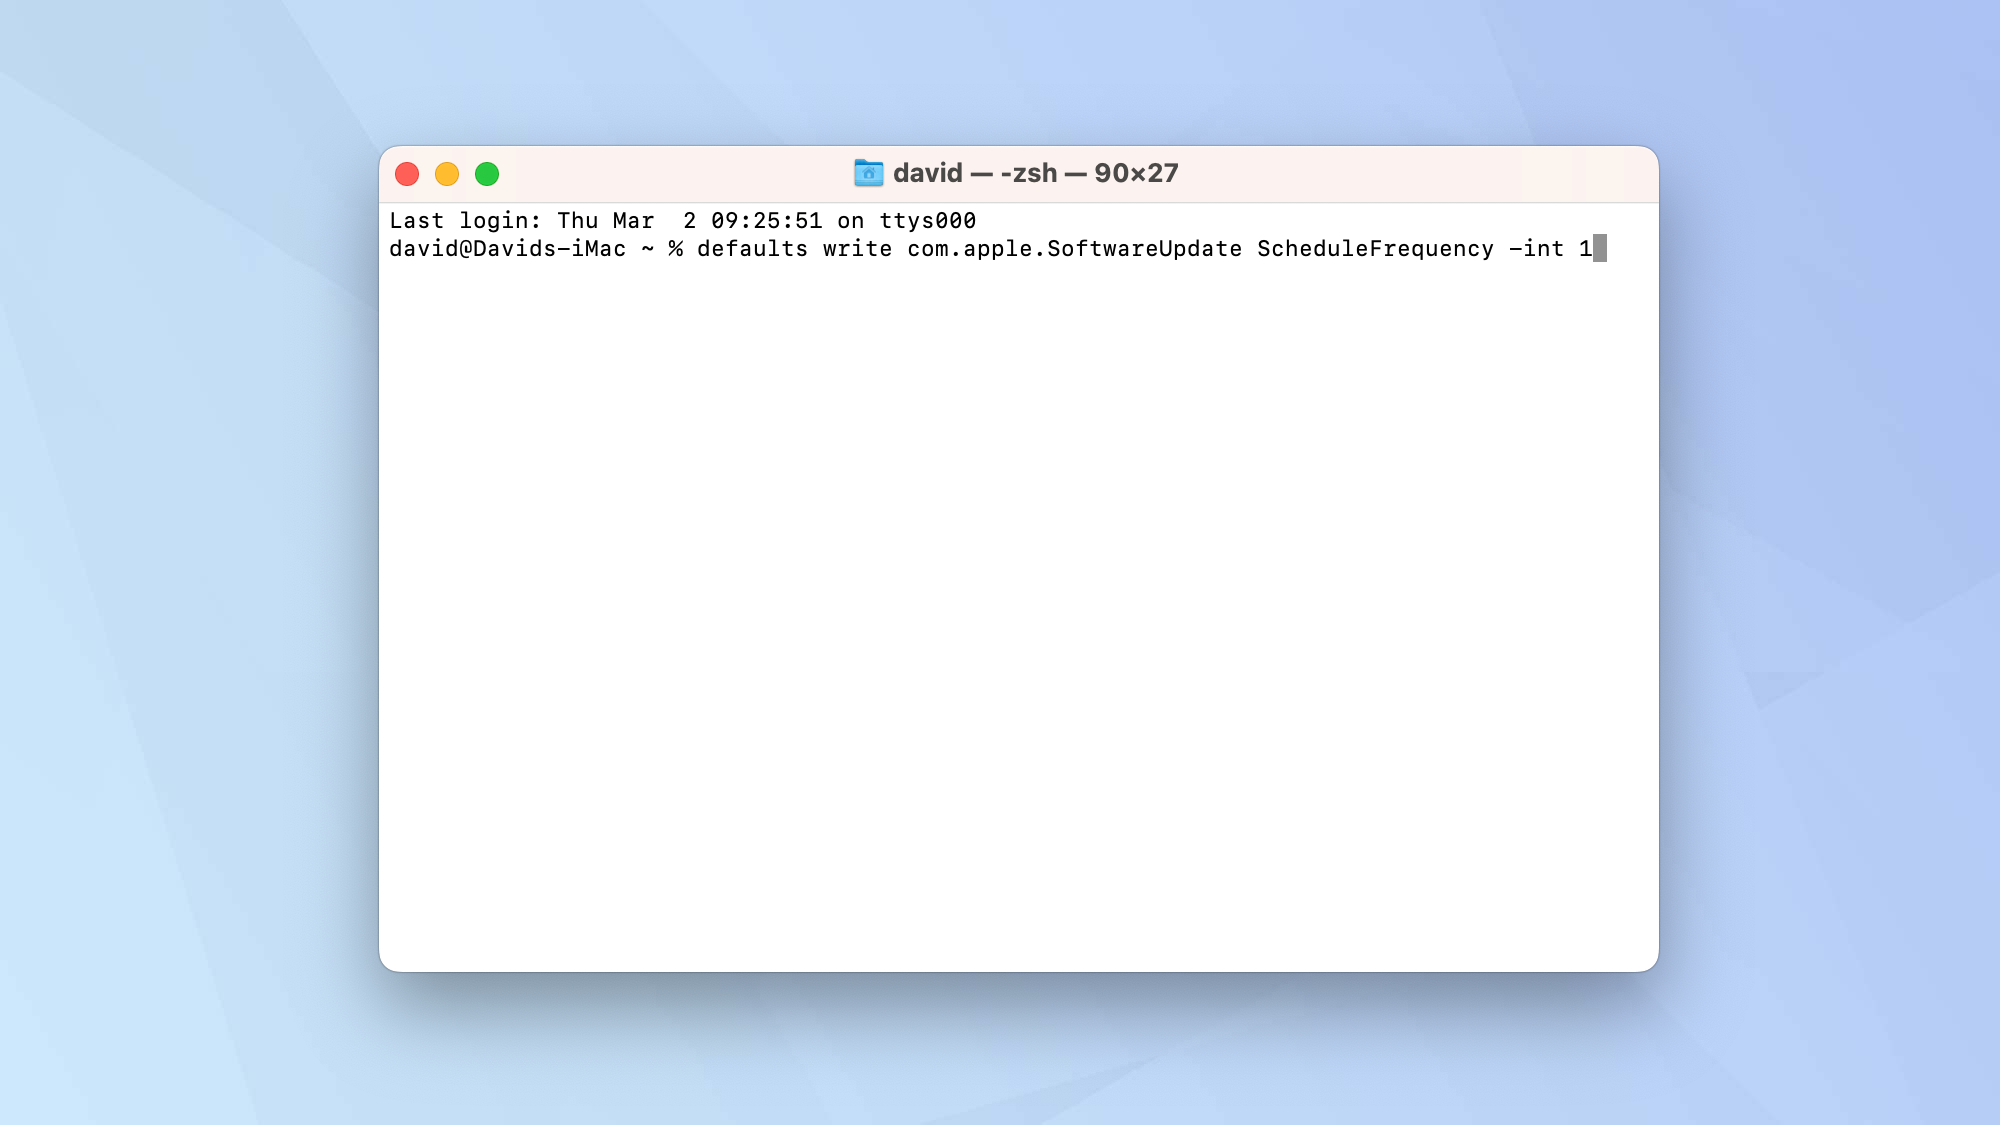
You can also order your Mac to keep up-to-date more often by making it check for updates more frequently. If you want to perform a check every day, type:
defaults write com.apple.SoftwareUpdate ScheduleFrequency -int 1
Press Enter.
If you change the number at the end of the command, then you can increase the time between checks (for example "2" would check every two days).
7. View hidden files and folders
To protect important files from being deleted, macOS ensures they are hidden from view. But you may still want to see every file, particularly if you are looking for something specific.
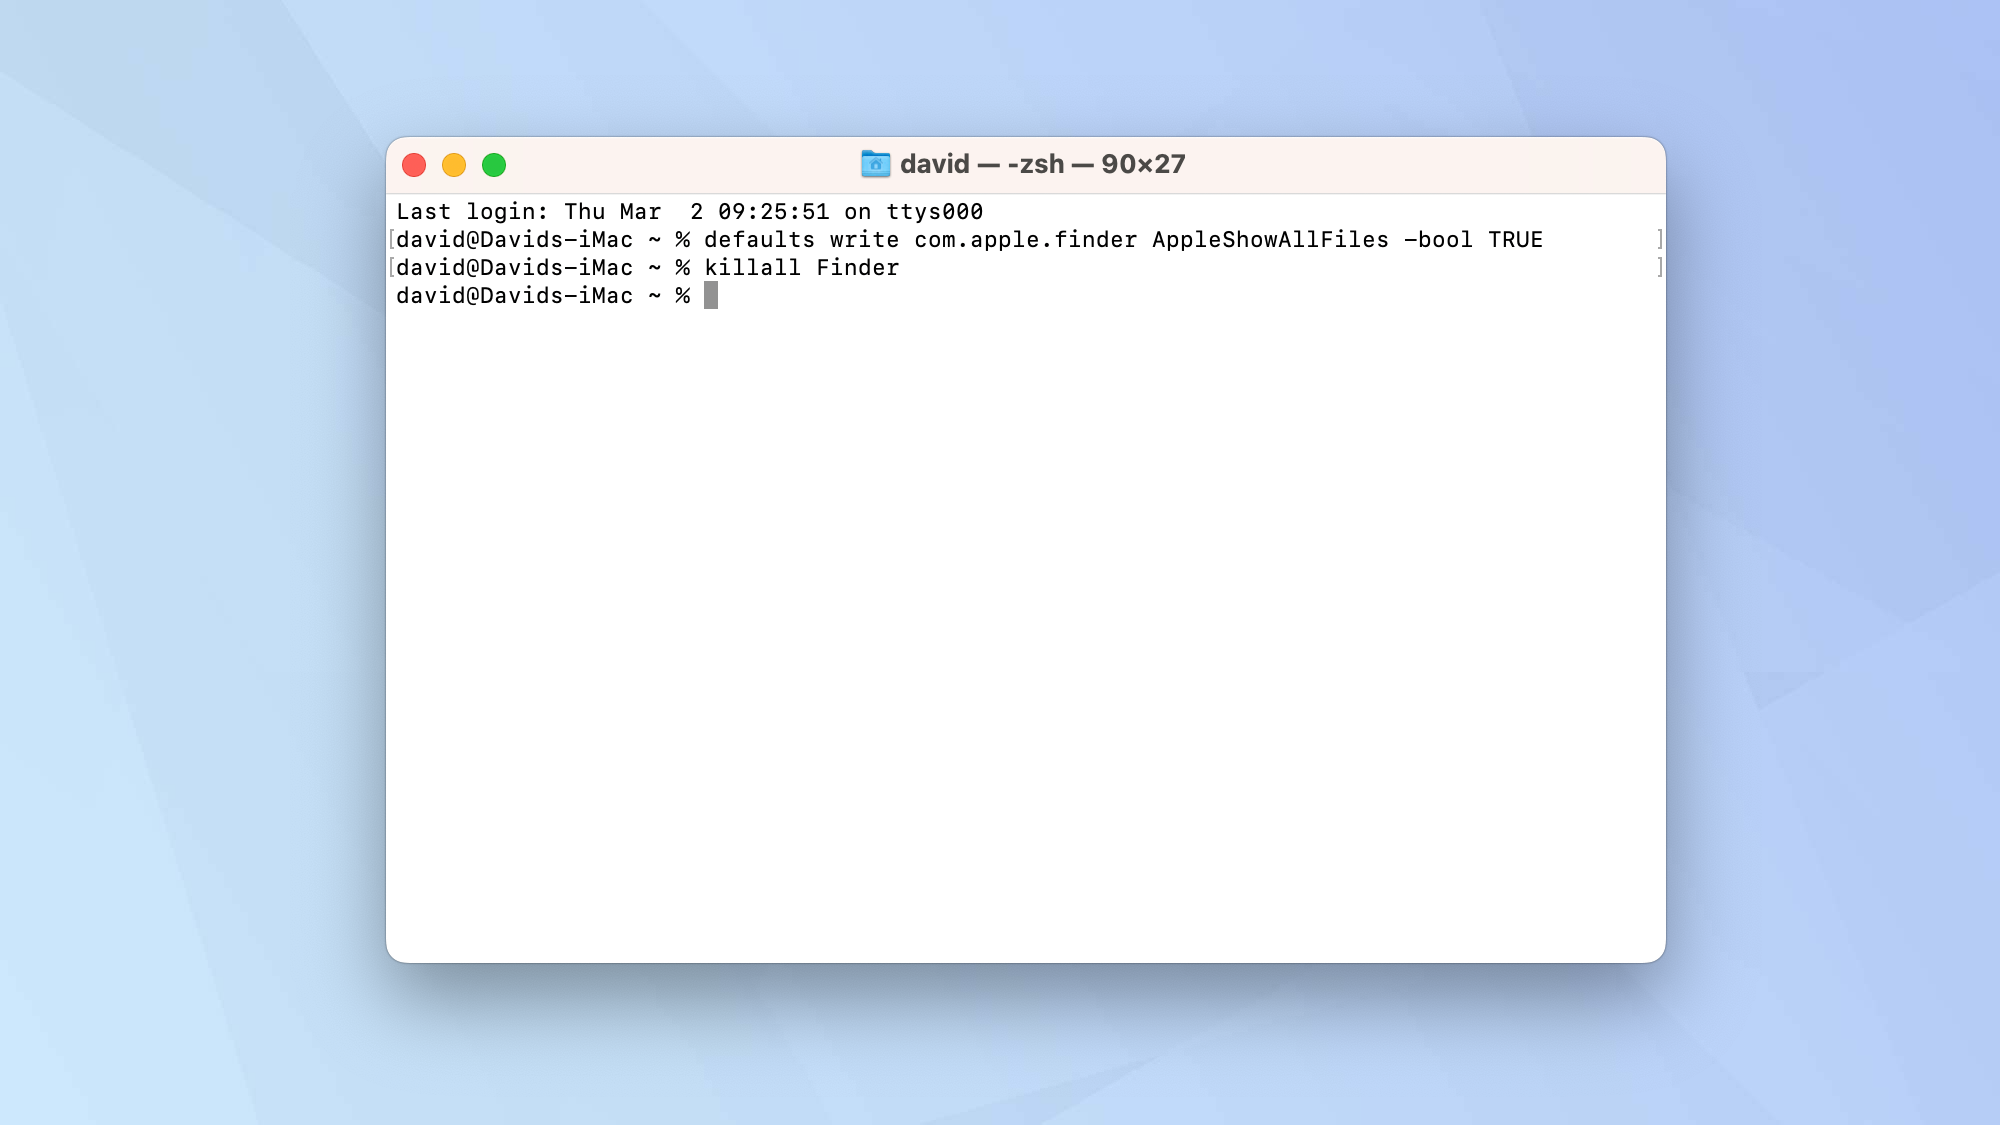
For this, you need to type:
defaults write com.apple.finder AppleShowAllFiles -bool TRUE
Press Enter.
Now type:
killall Finder
Press Enter.
Just to reiterate, the reason some files are hidden is to protect your Mac, so tread carefully when working with any of them.
8. Stop your Mac from sleeping
You can quickly prevent a Mac from snoozing with one simple command. This is extremely useful if you don't have administrator rights and can't change the Power settings to stop your Mac constantly going to sleep after 2 minutes.
Type:
caffeinate
Press Enter.
To revert back to normal, press Cmd + W with the Terminal window open and click Terminate.
You can also add a timer to this command if you wish.
Type:
caffeinate -t [TIME]
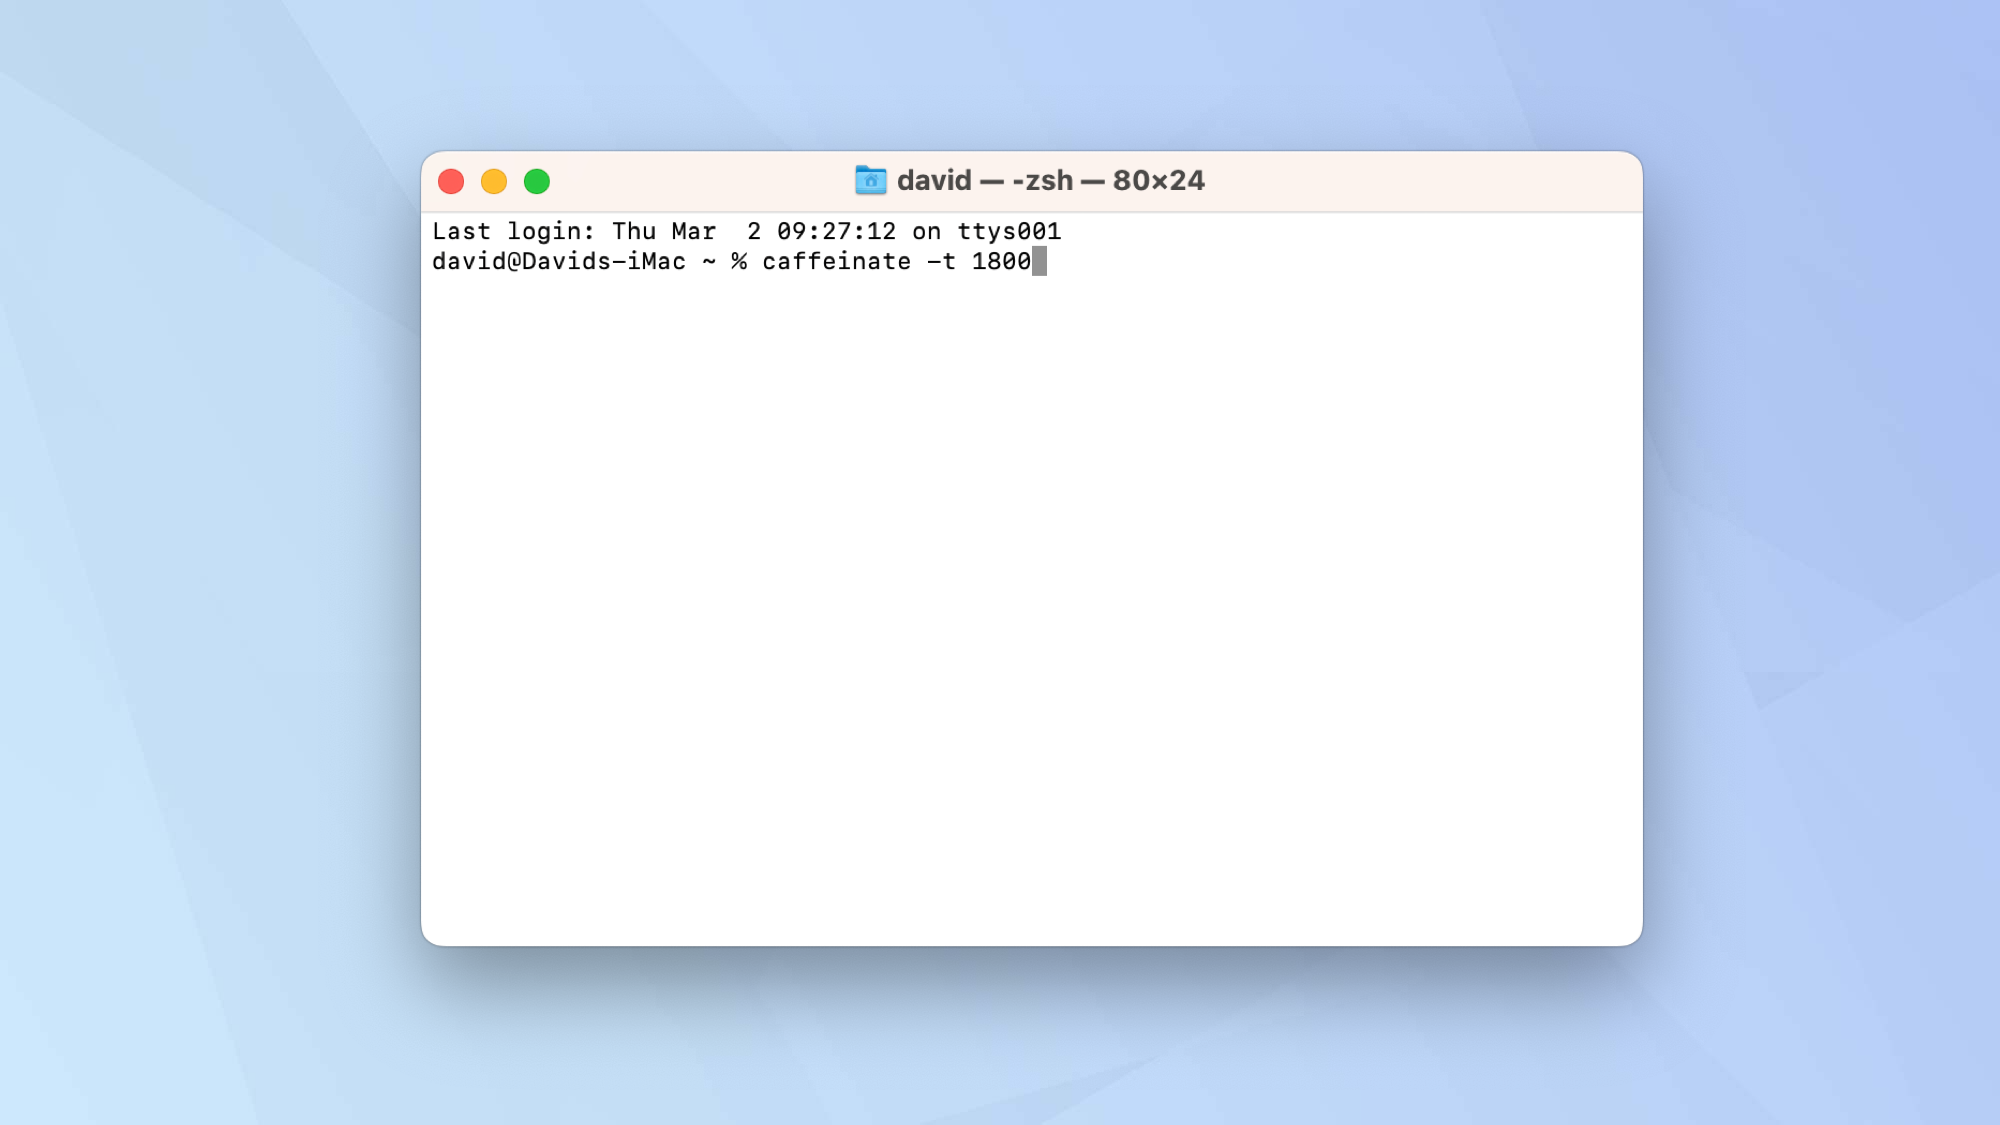
Here, [TIME] needs to be entered in SECONDS! For example, if you want to make a sure a Mac remains active for 30 minutes, you can type:
caffeinate -t 1800
That's 30 minutes multiplied by 60 seconds!
Read our full guide on how to stop your Mac sleeping with Terminal.
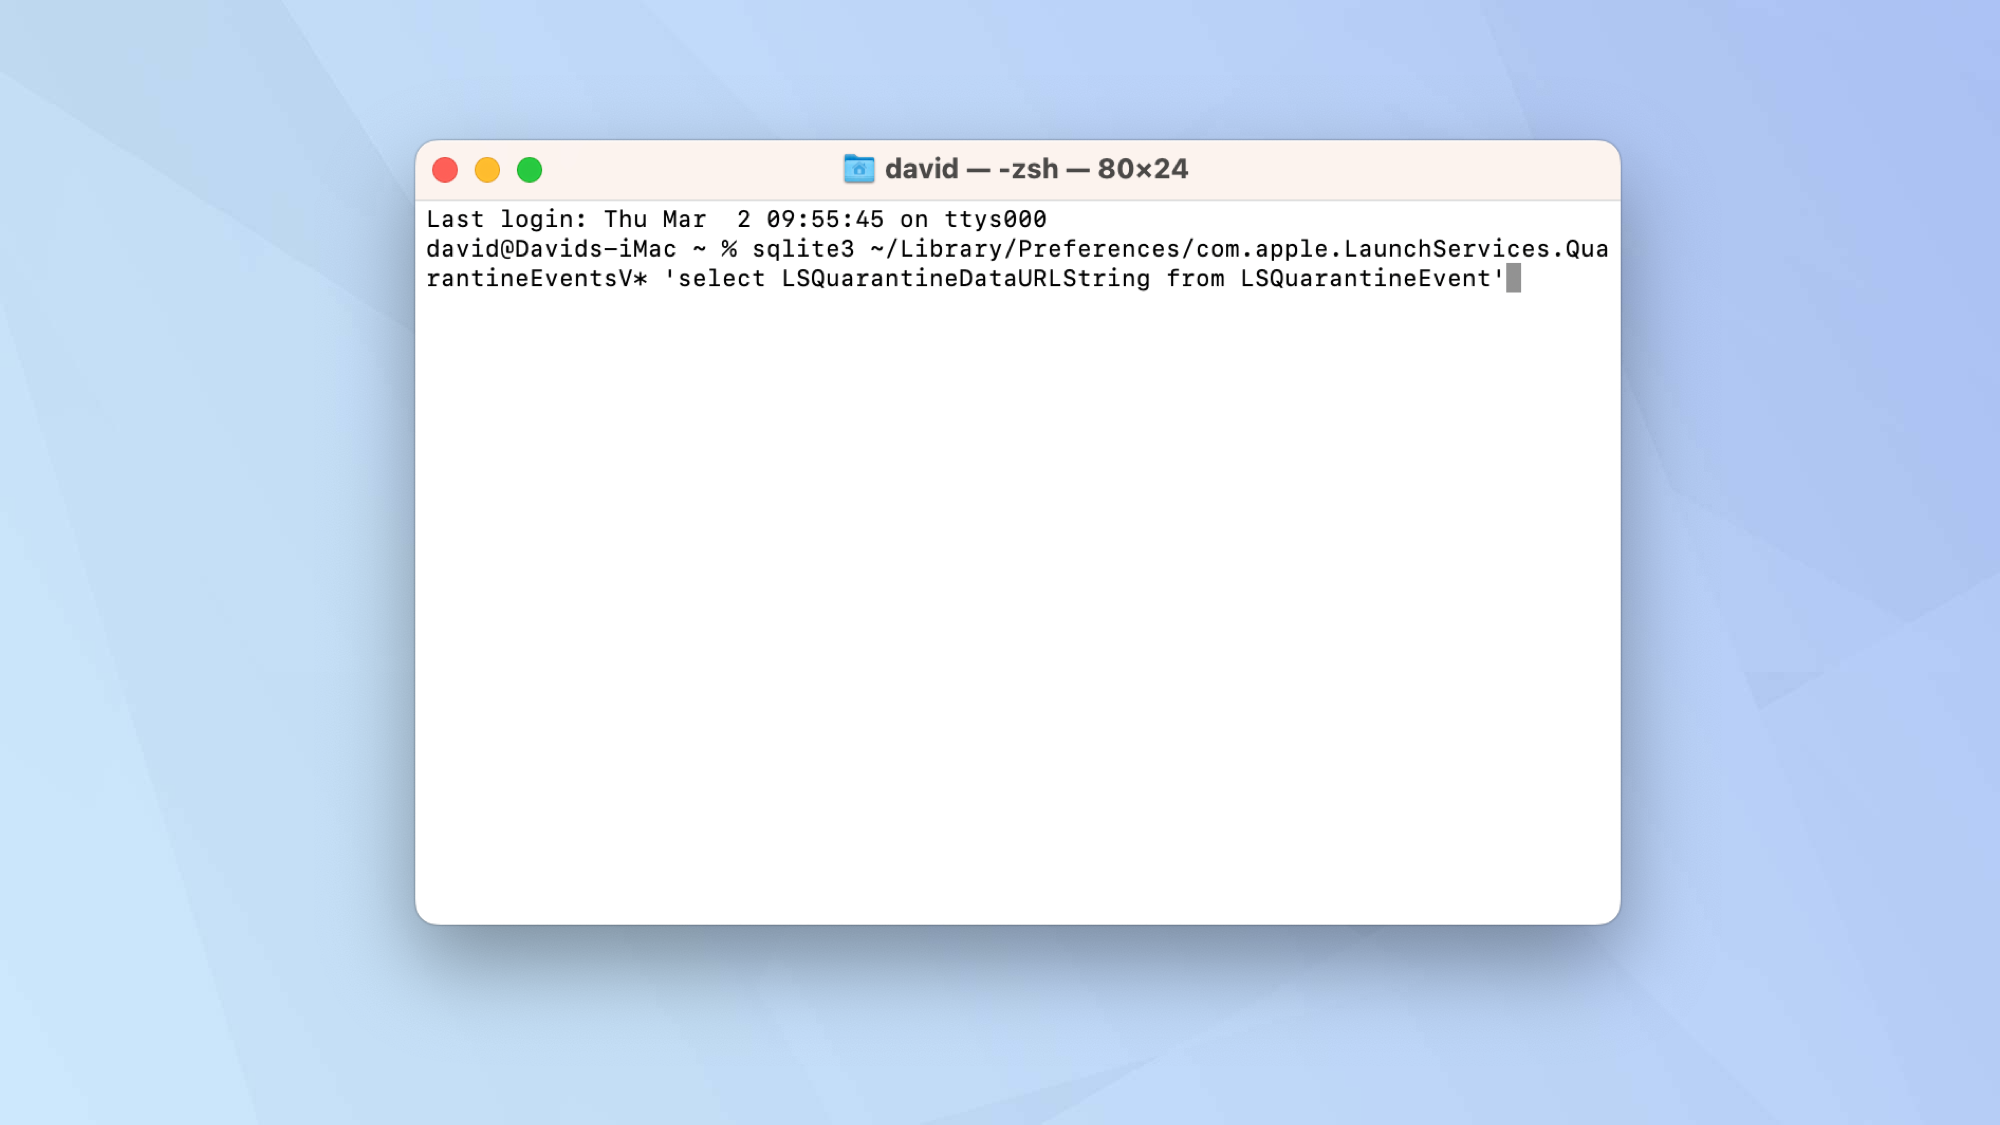
9. View your download history
Want to check what has been downloaded on your Mac? That's as simple as typing:
sqlite3 ~/Library/Preferences/com.apple.LaunchServices.QuarantineEventsV* 'select LSQuarantineDataURLString from LSQuarantineEvent'
Then hit Enter.
You will now see a list of your downloads, allowing you to check or identify the files.
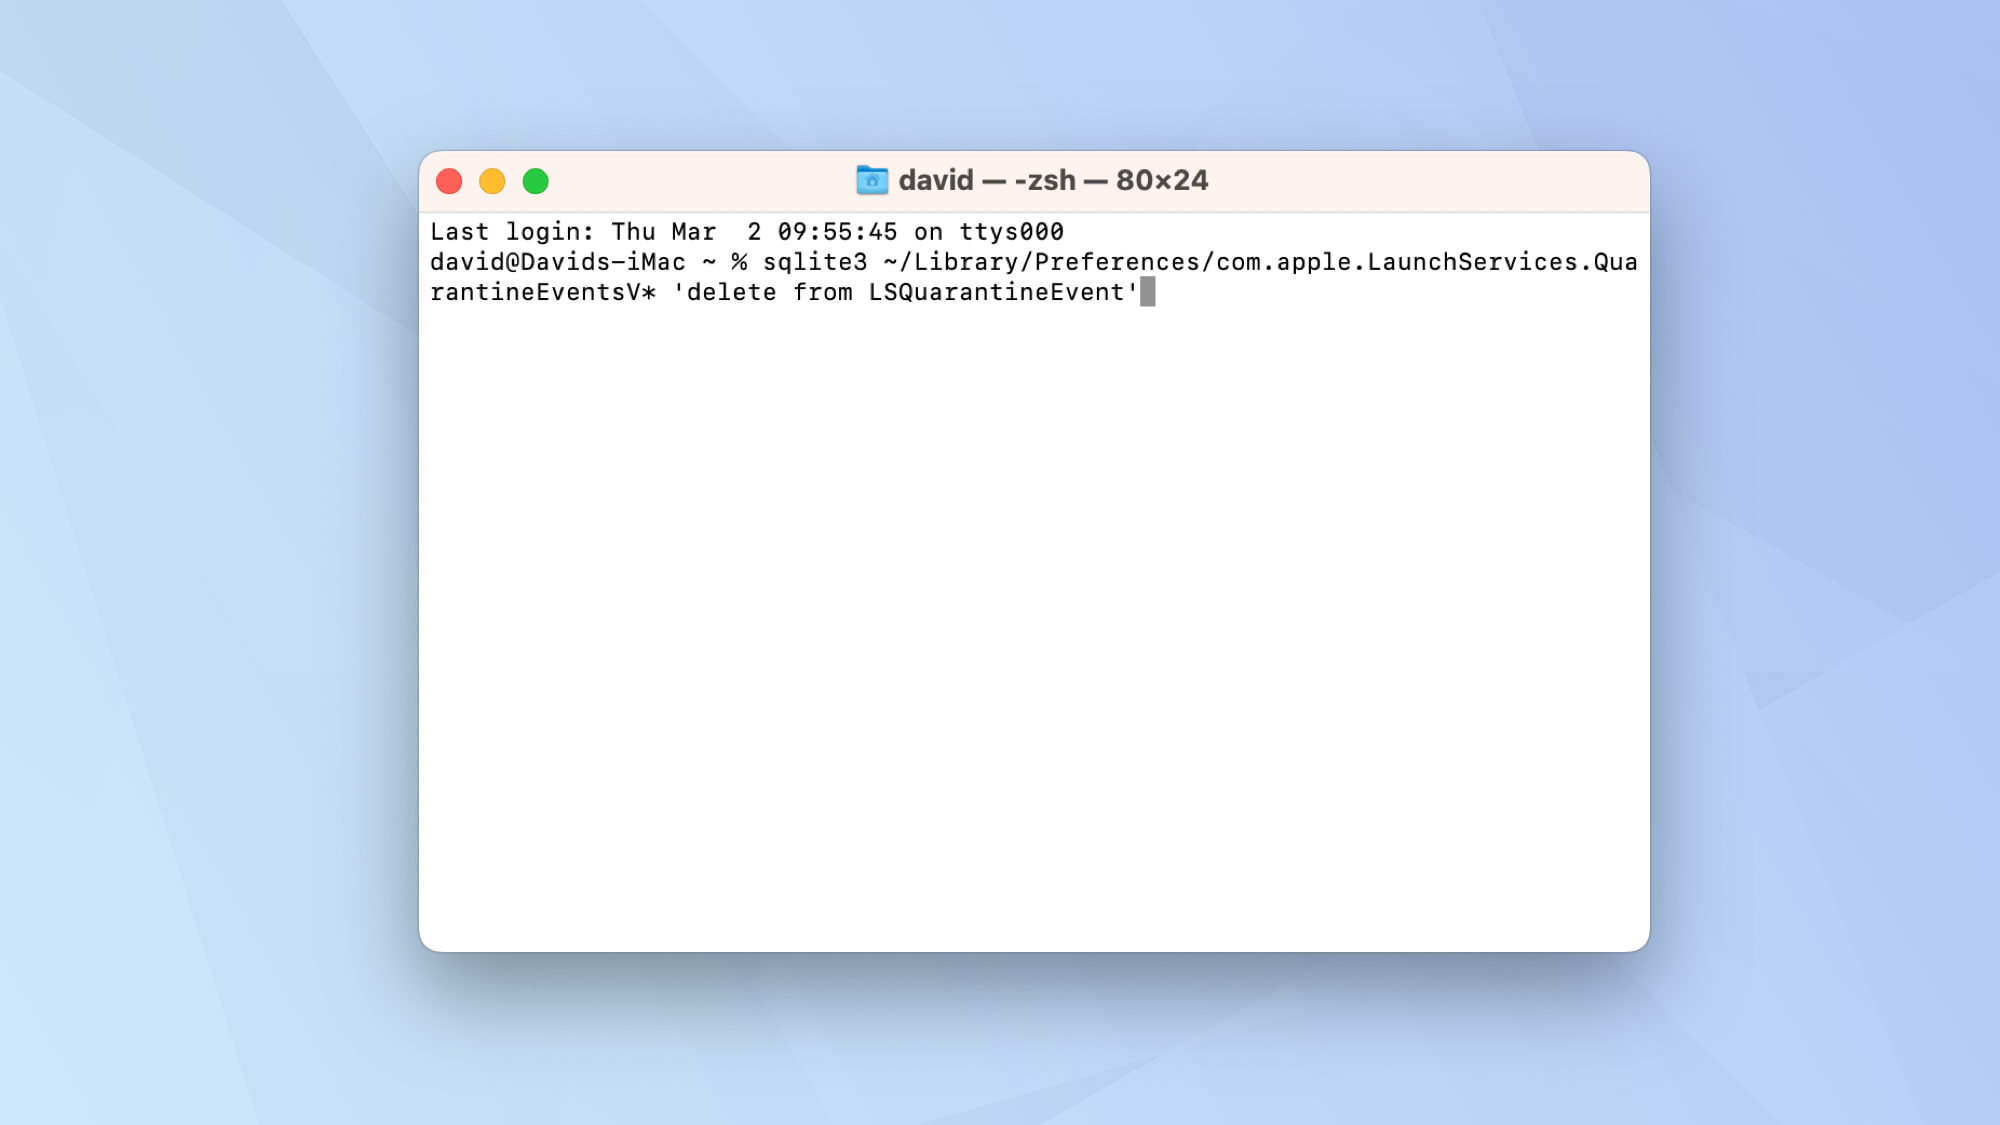
10. Delete your download history
If you want to go on and remove the download history, that is easy too.
Just type:
sqlite3 ~/Library/Preferences/com.apple.LaunchServices.QuarantineEventsV* 'delete from LSQuarantineEvent'
Press Enter. And it's all gone!
11. Password-protect a compressed folder
You may want to include confidential or sensitive files in a folder. You may also want that folder to take up as little room as possible. By compressing the folder and protecting it with a password, you can achieve both aims — this is also just a great way to protect a file or folder on Mac.
First you will need to identify the location of your folder so discover how to show a file path on Mac if you're not sure.
Then, in Terminal, you will need to locate that folder by changing the directory (cd).
Type:
cd [path]
Press Enter. Now type:
zip -er [name of the folder you are looking to create.zip] [name of the folder you are compressing]/
Press Enter again.
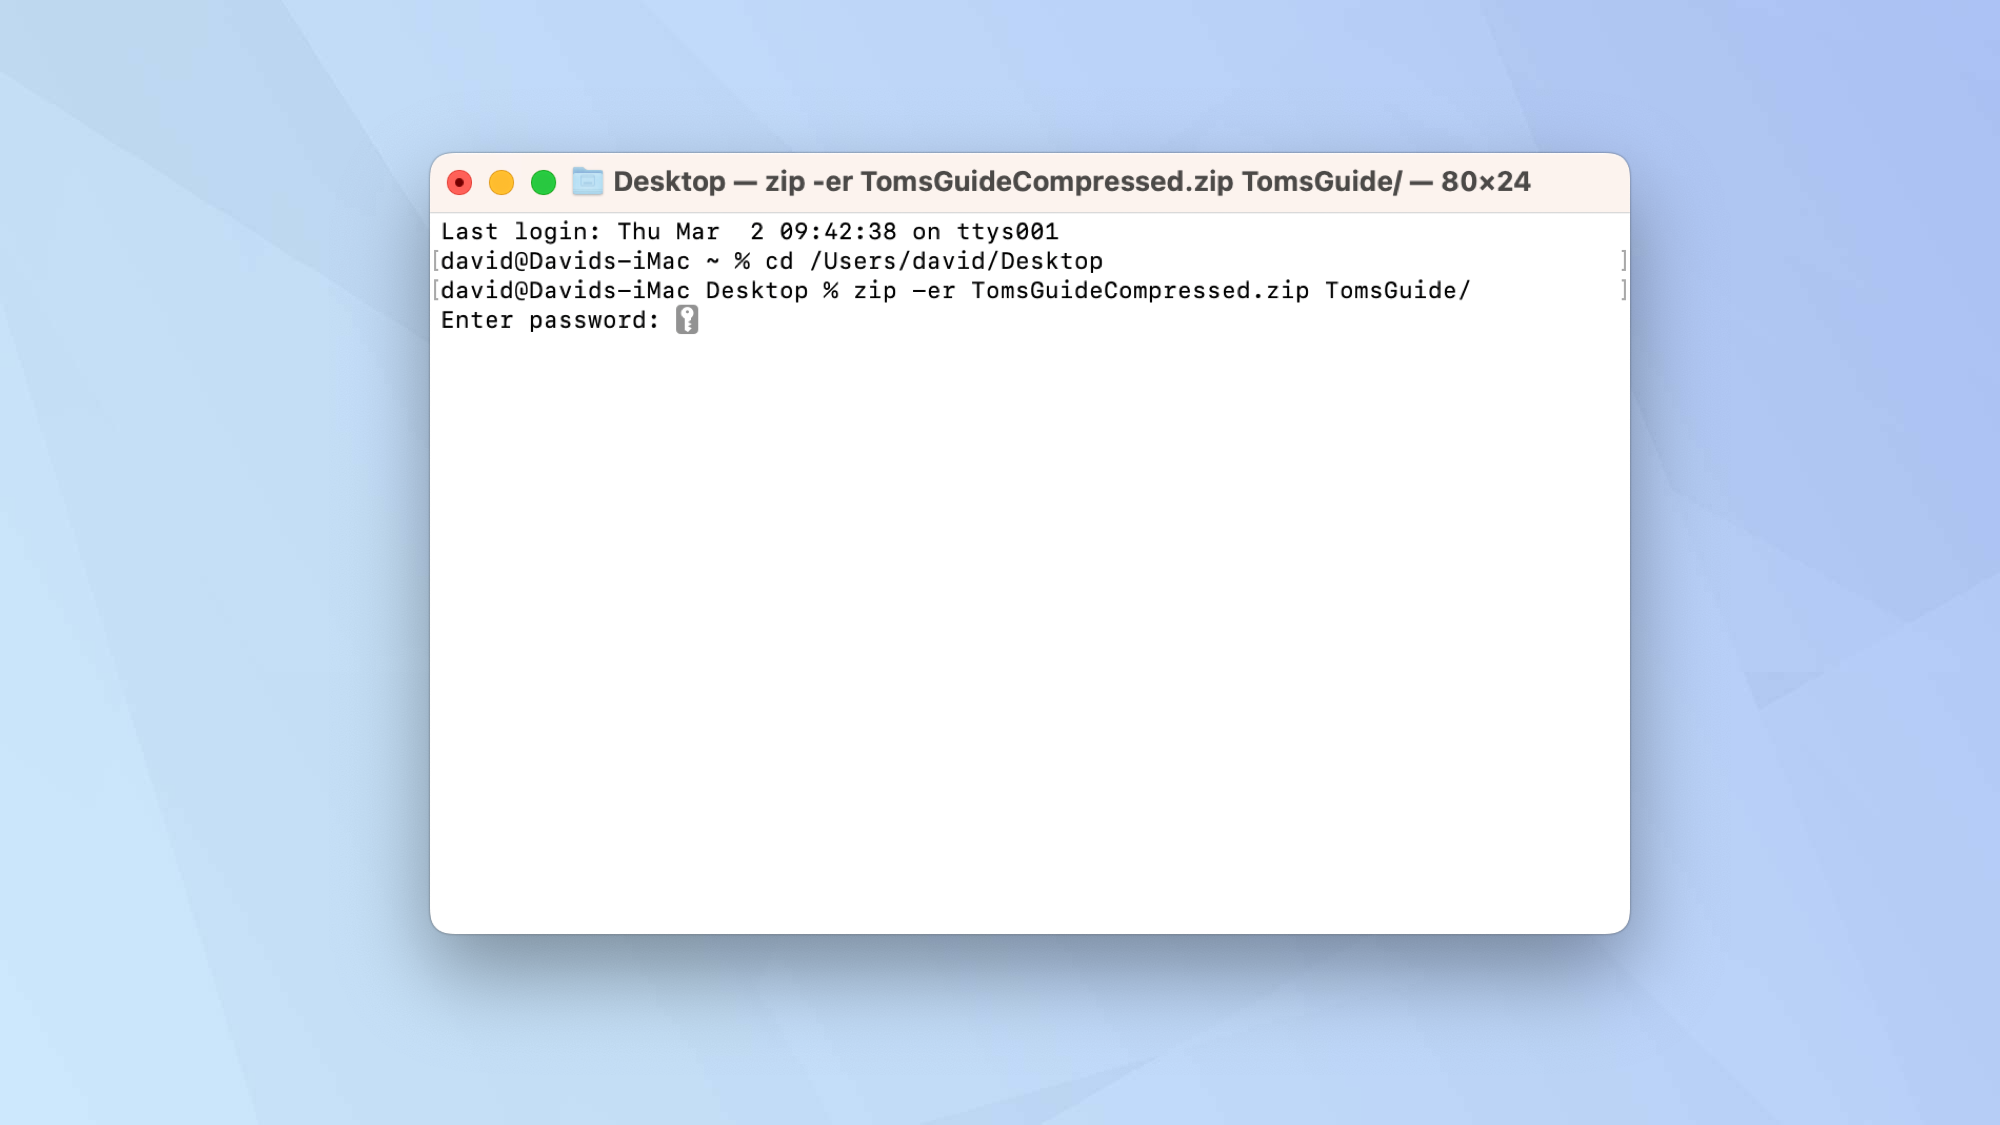
For example, let's say you have a folder called TomsGuide containing a bunch of files and you want the compressed file to be called TomsGuideCompressed.zip (note the suffix .zip!). You will type:
zip -er TomsGuideCompressed.zip TomsGuide/
Note the / at the end! You will be asked to enter a password. Do this carefully and remember it!
12. Shut down your Mac
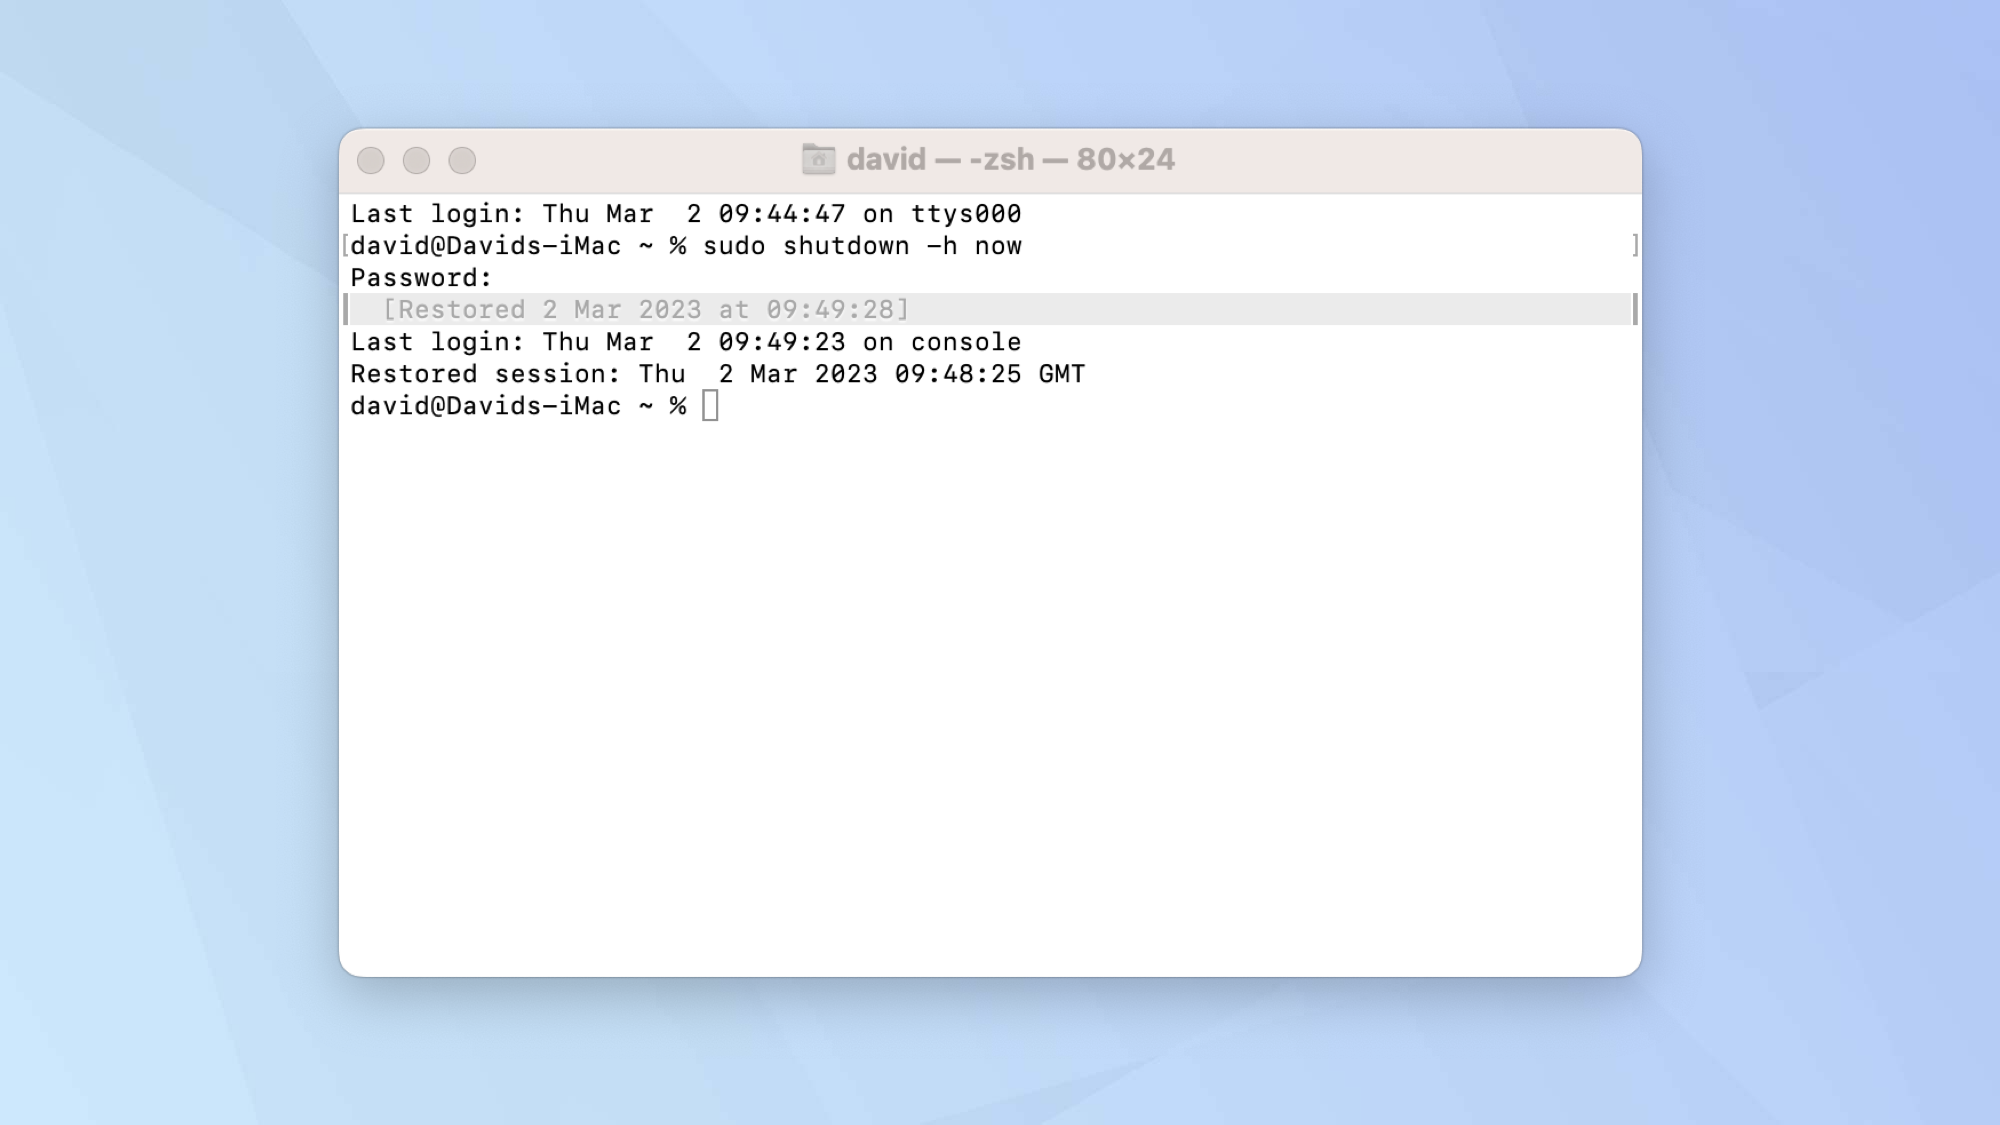
You can shutdown a Mac by clicking the Apple icon and selecting Shut Down. However, what if your power button is broken? If you are in Terminal, then you can type:
sudo shutdown -h now
Press Enter. You can also restart a Mac by by clicking the Apple icon and selecting Restart but you can also type:
sudo shutdown -r now
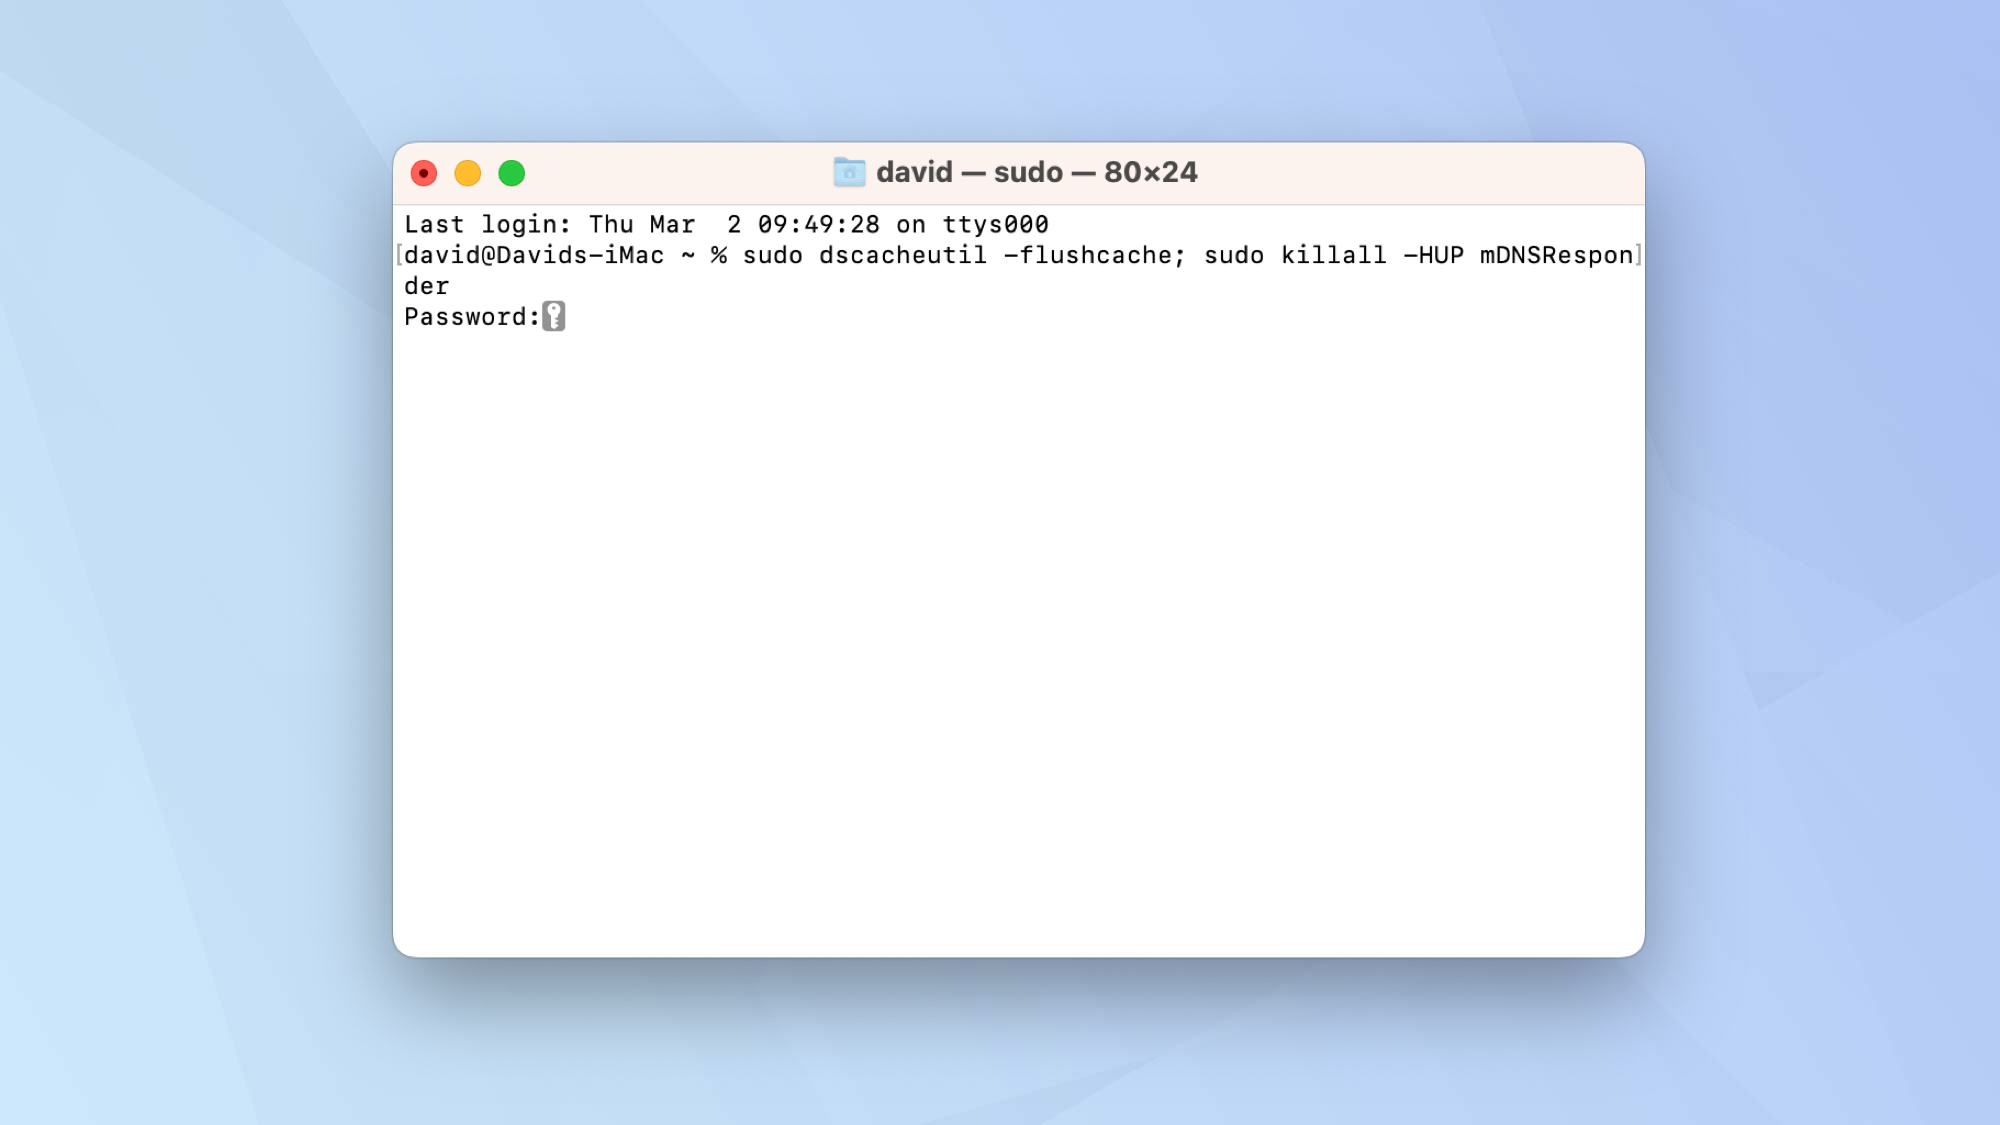
13. Flush the DNS cache
It's actually rare that your Mac's DNS cache — the area where recent website visits are stored — will cause you any problems. But if you are having connectivity problems, then resetting the Domain Name Server is a good troubleshooting step you can try.
Type:
sudo dscacheutil -flushcache; sudo killall -HUP mDNSResponder
Press Enter. You'll be prompted to enter your Mac's password.
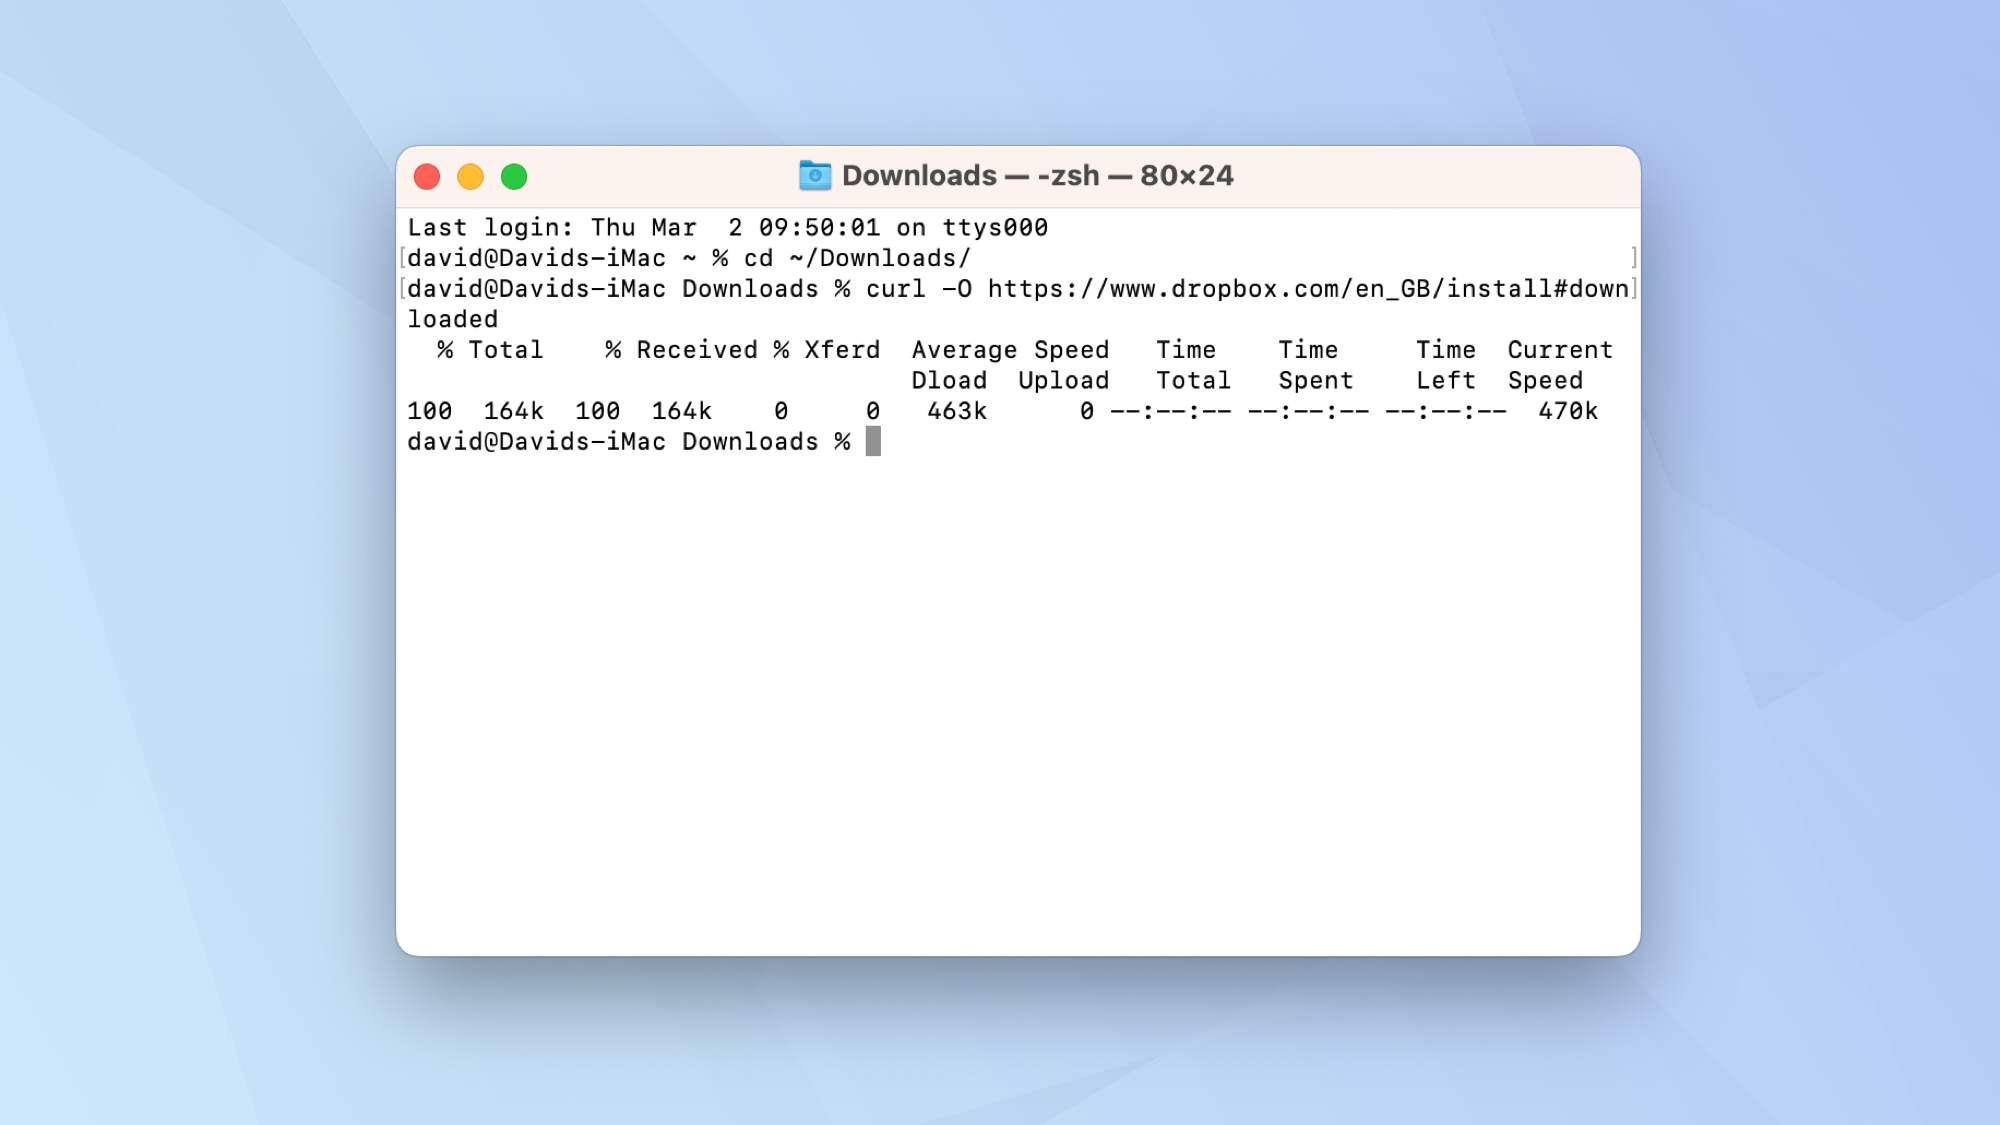
14. Directly download files
So ok, you can just launch Safari (or any other decent browser) and use it to download files. But, if you have a direct link, then you may be tempted to use Terminal instead.
If so, type:
cd ~/Downloads/
(that's assuming you want the file to end up in the downloads folder).
Press Enter then type:
curl -O [URL of file]
The bit in brackets needs to be replace by the full URL of the download link. Press Enter again.
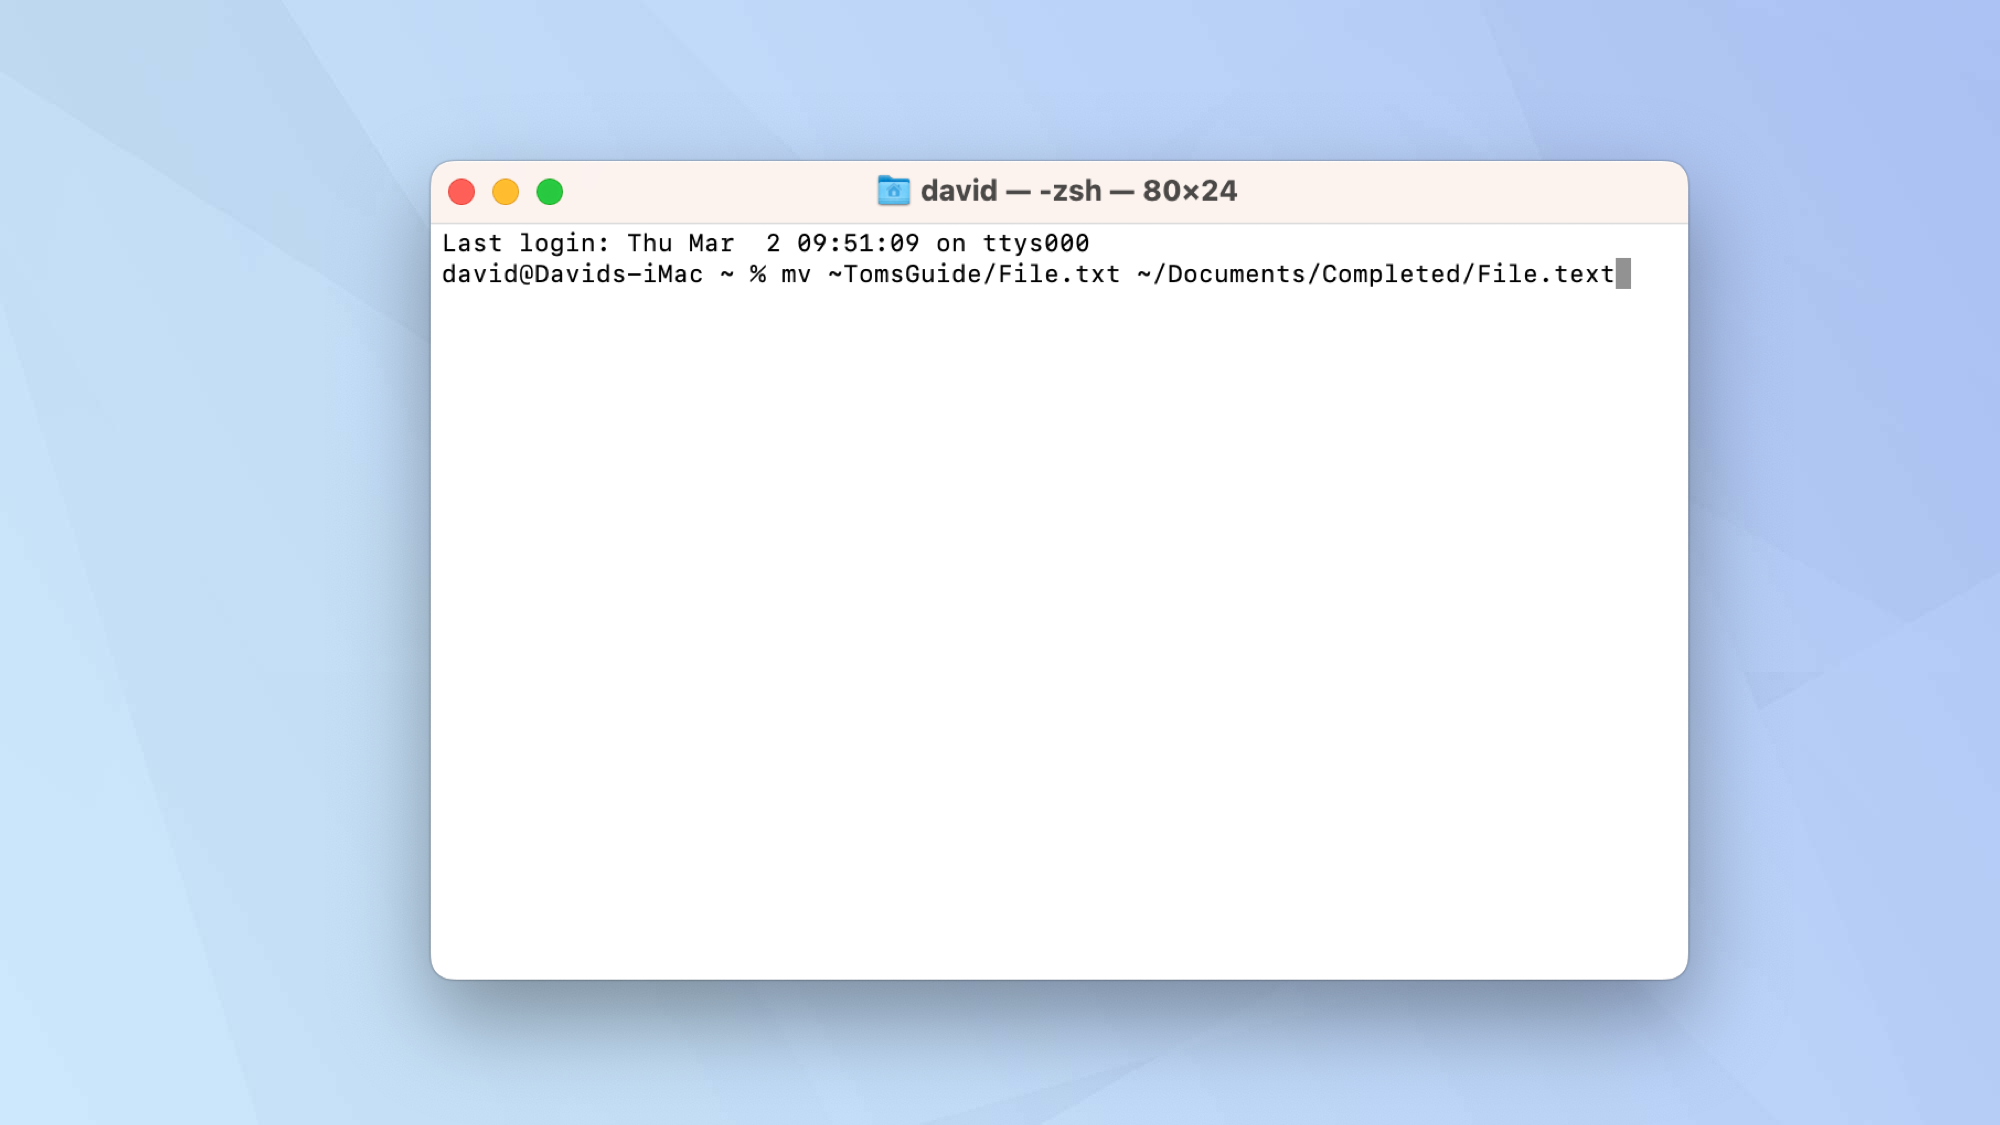
15. Copy files from one folder to another
Do you have some files that you want to move and can't be bothered opening Finder and dragging and dropping them from folder to folder?
Type:
mv [existing file pathway] [new file pathway]
So, for example, let's say you want to move a file from a folder called TomsGuide to one called Completed, you would type:
mv ~/TomsGuide/File.txt ~/Documents/Completed/File.txt
Press Enter when you've done that.
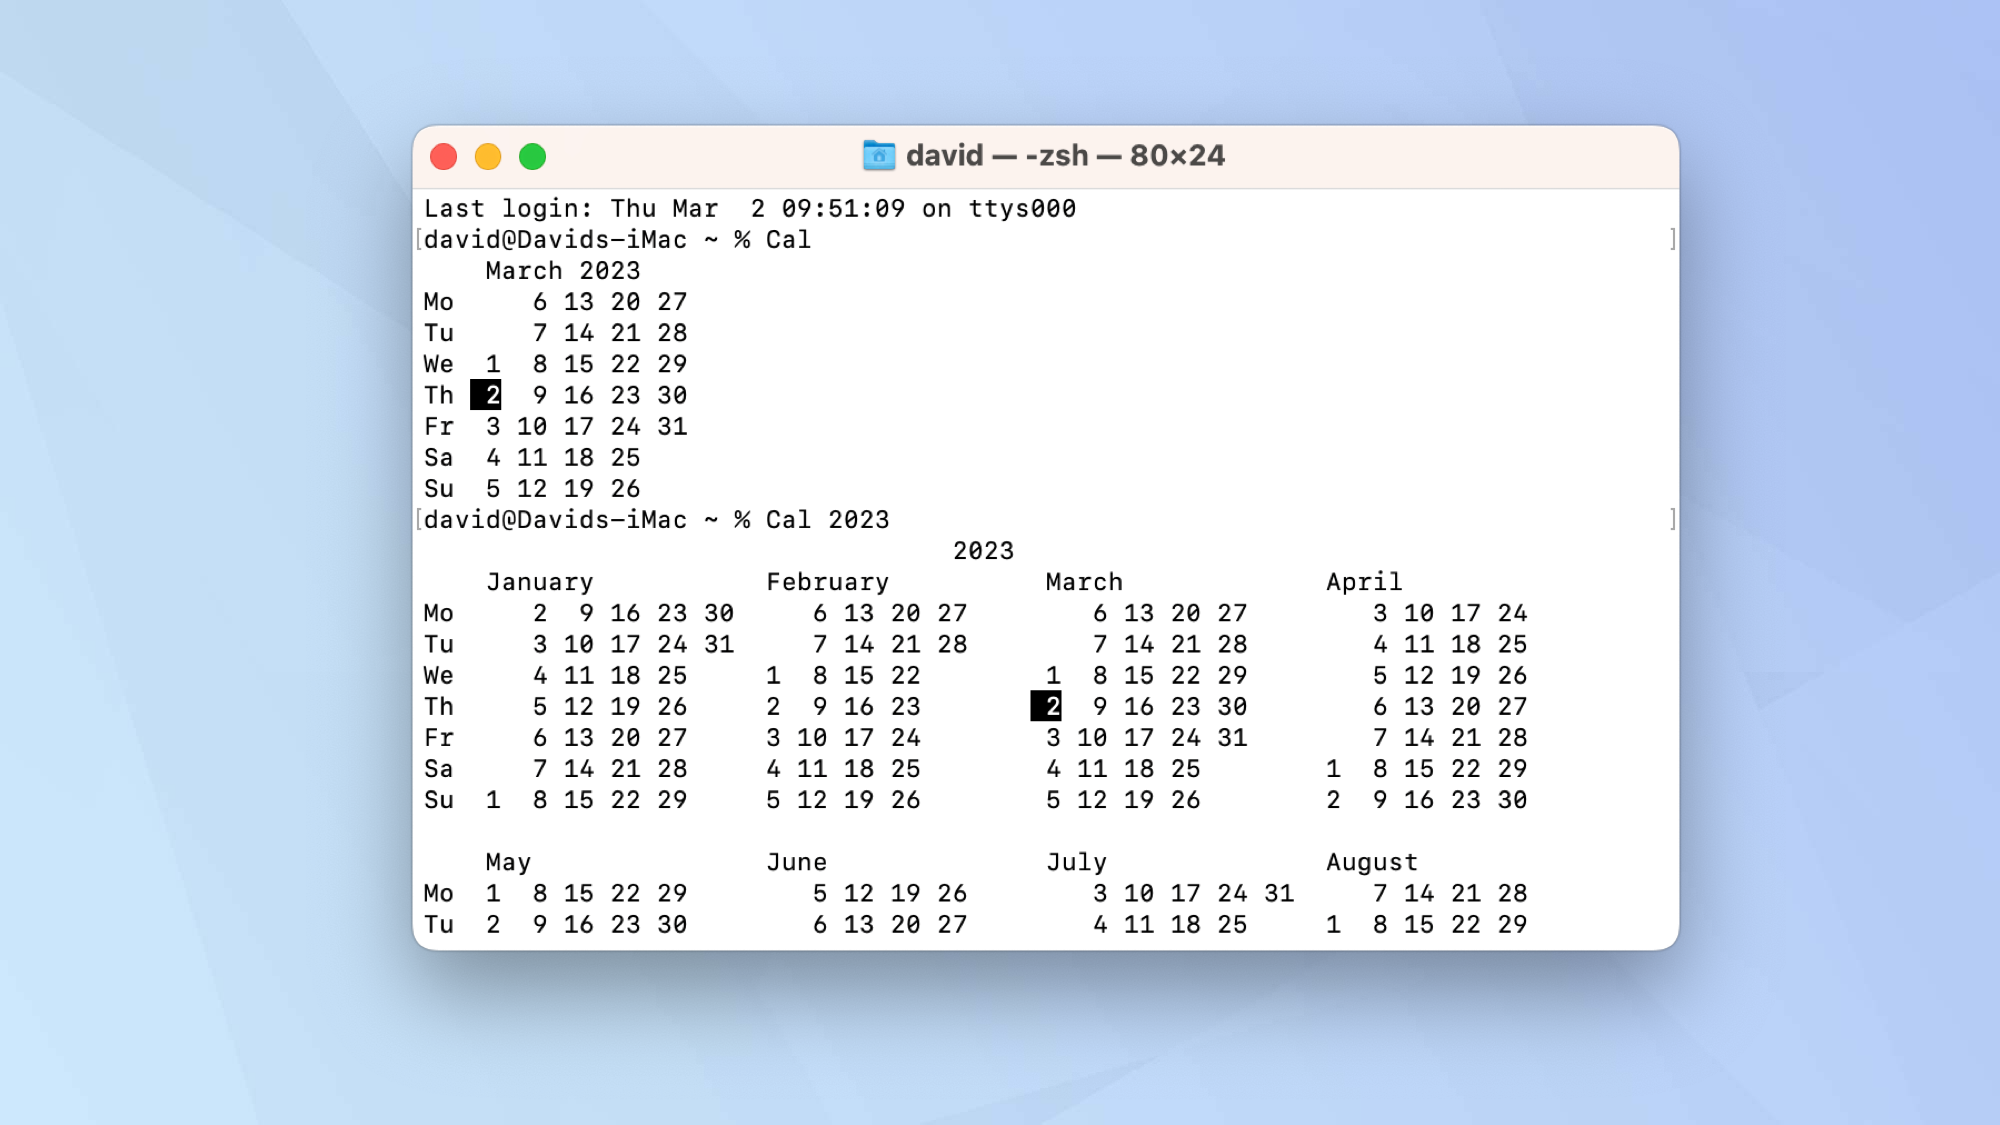
16. Display a calendar
If you need to quickly check the date or view a specific month from a specific year, you can call upon a calendar within Terminal. Super retro!
Type:
Cal
This will show you the current month and year. Press Enter.
For a different month and year, you need to specify both using numbers.
For example, for August (the eighth month) in 2023, type:
Cal 8 2023
An entire year can be obtained by typing:
Cal [year]
Replace the bracketed section with the year.
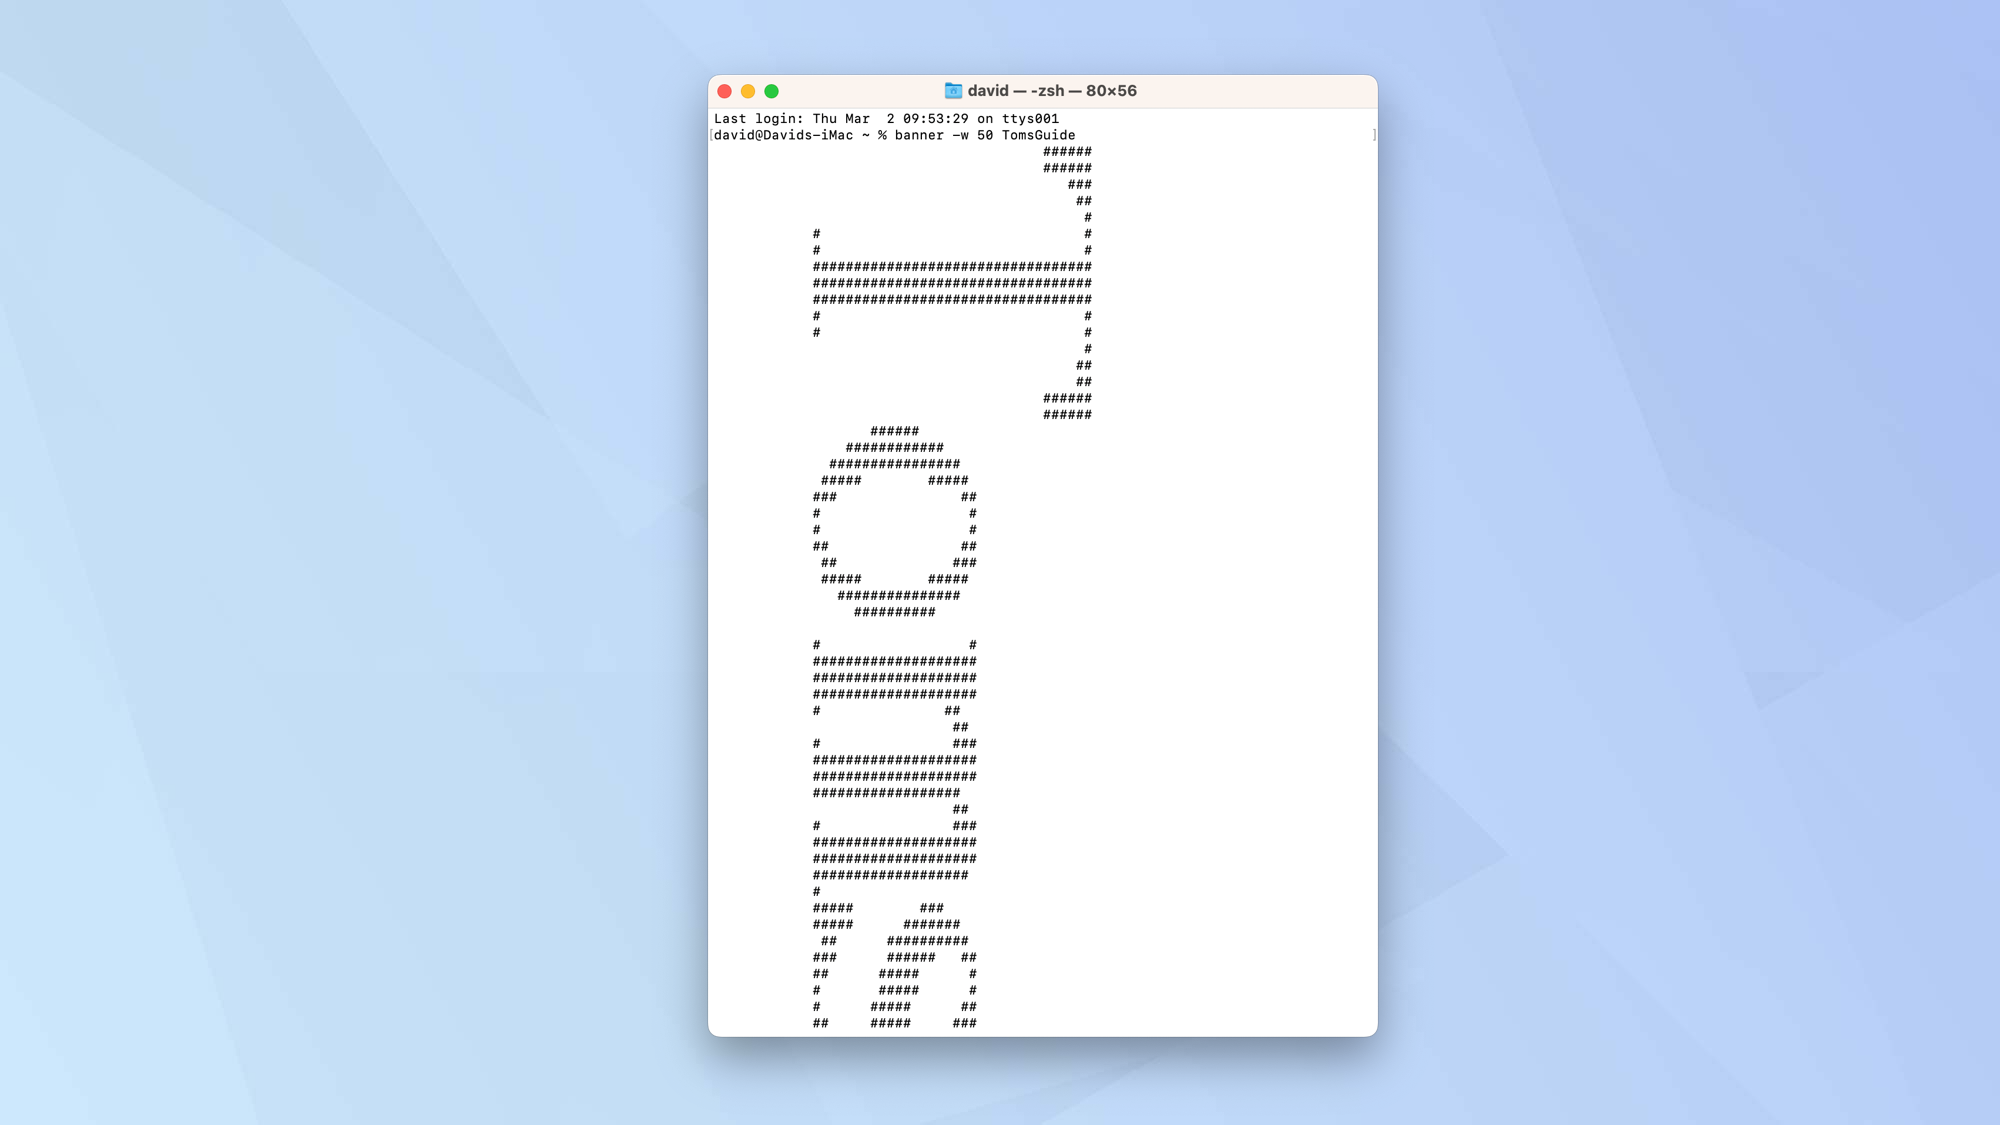
17. Create ASCII art banners
Want to have some more fun? Then you could try making a banner made out of ASCII characters.
It's really easy to do and you can make it say anything you wish.
Type:
banner -w 50 TomsGuide
Just replace TomsGuide with your text and press Enter. If you wish, play around with the number. This relates to the width of the ASCII art.
Now you can spam Reddit threads with whatever ASCII words you like.
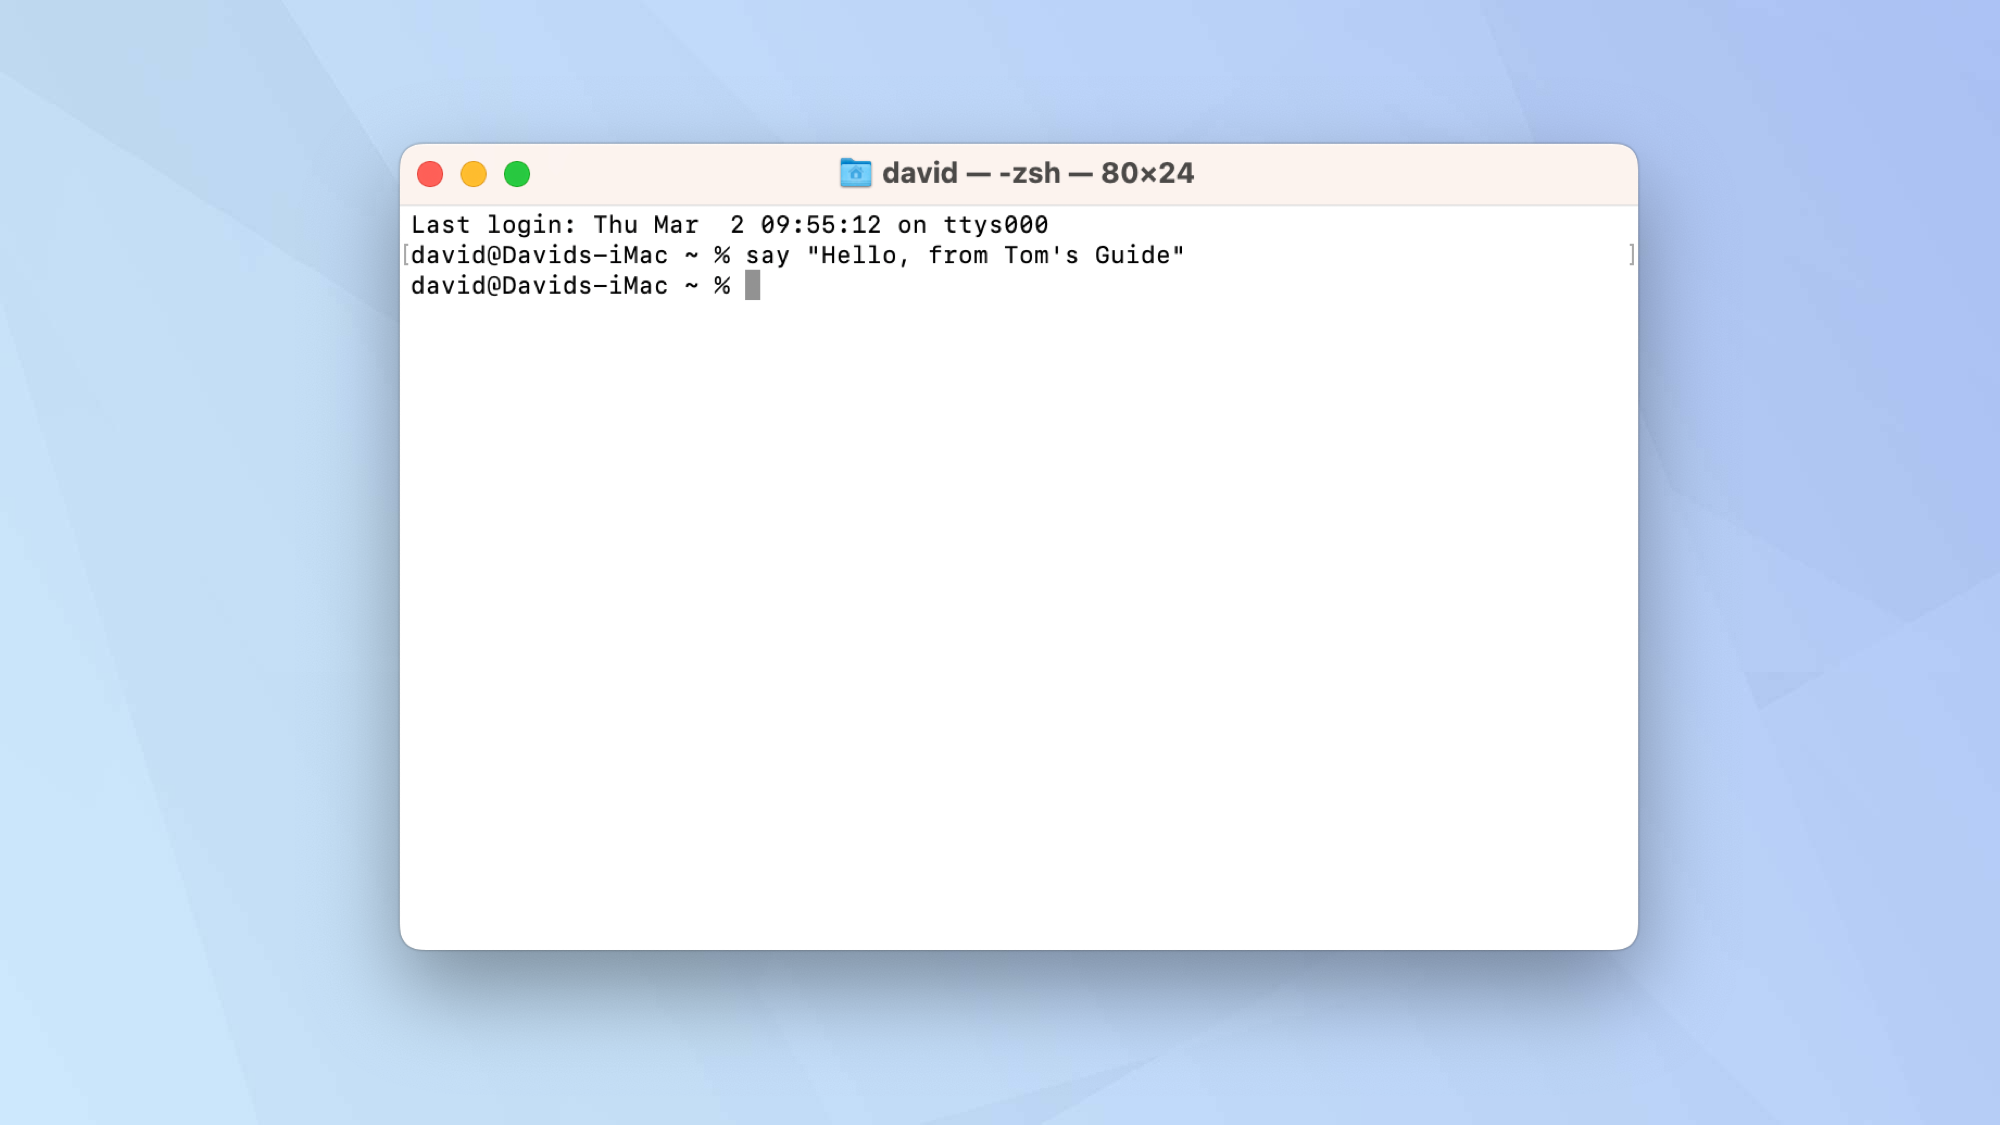
18. Make your Mac talk
Want your Mac to say something? Then try this little trick which gets your computer to read out whatever you write.
Try typing:
say "Hello, from Tom's Guide"
Then press Enter and repeat with other sentences. Enjoy playing around, getting your Mac to say different things.
And there you go. You should now be feeling more confident about using Terminal. But wait, there's more! If you want to know how to troubleshoot and reset Bluetooth on Mac, then Terminal can help there too. Likewise, if you need to discover how to change the screenshot location on Mac, Terminal can play a part. Indeed, it's worth coming back to Tom's Guide in the coming weeks and months to see what other commands you could use. If you're new to macOS and need some basic tutorials, get started with how to type a hashtag on Mac.
Next: learn how to use the Automator on Mac to simplify your processes.

David Crookes is a freelance writer, reporter, editor and author. He has written for technology and gaming magazines including Retro Gamer, Web User, Micro Mart, MagPi, Android, iCreate, Total PC Gaming, T3 and Macworld. He has also covered crime, history, politics, education, health, sport, film, music and more, and been a producer for BBC Radio 5 Live.
 Club Benefits


