How to paint your IKEA furniture for a flawless finish — decorating experts share their top tips
I don’t know a single soul who hasn’t, at some point, purchased an item of furniture from IKEA. Whether it was flat-packed or ready-assembled, everyone is hooked on the functional and modern designs that this Swedish store has to offer, all at exceptional prices.
Whether you are starting up, or are established in your abode, there are plenty of furniture options at IKEA that are designed to add a modern aesthetic to your space, while adding practical worth. And while I don't favor an all-out contemporary look, I like to mix old and new for a homely eclectic vibe.
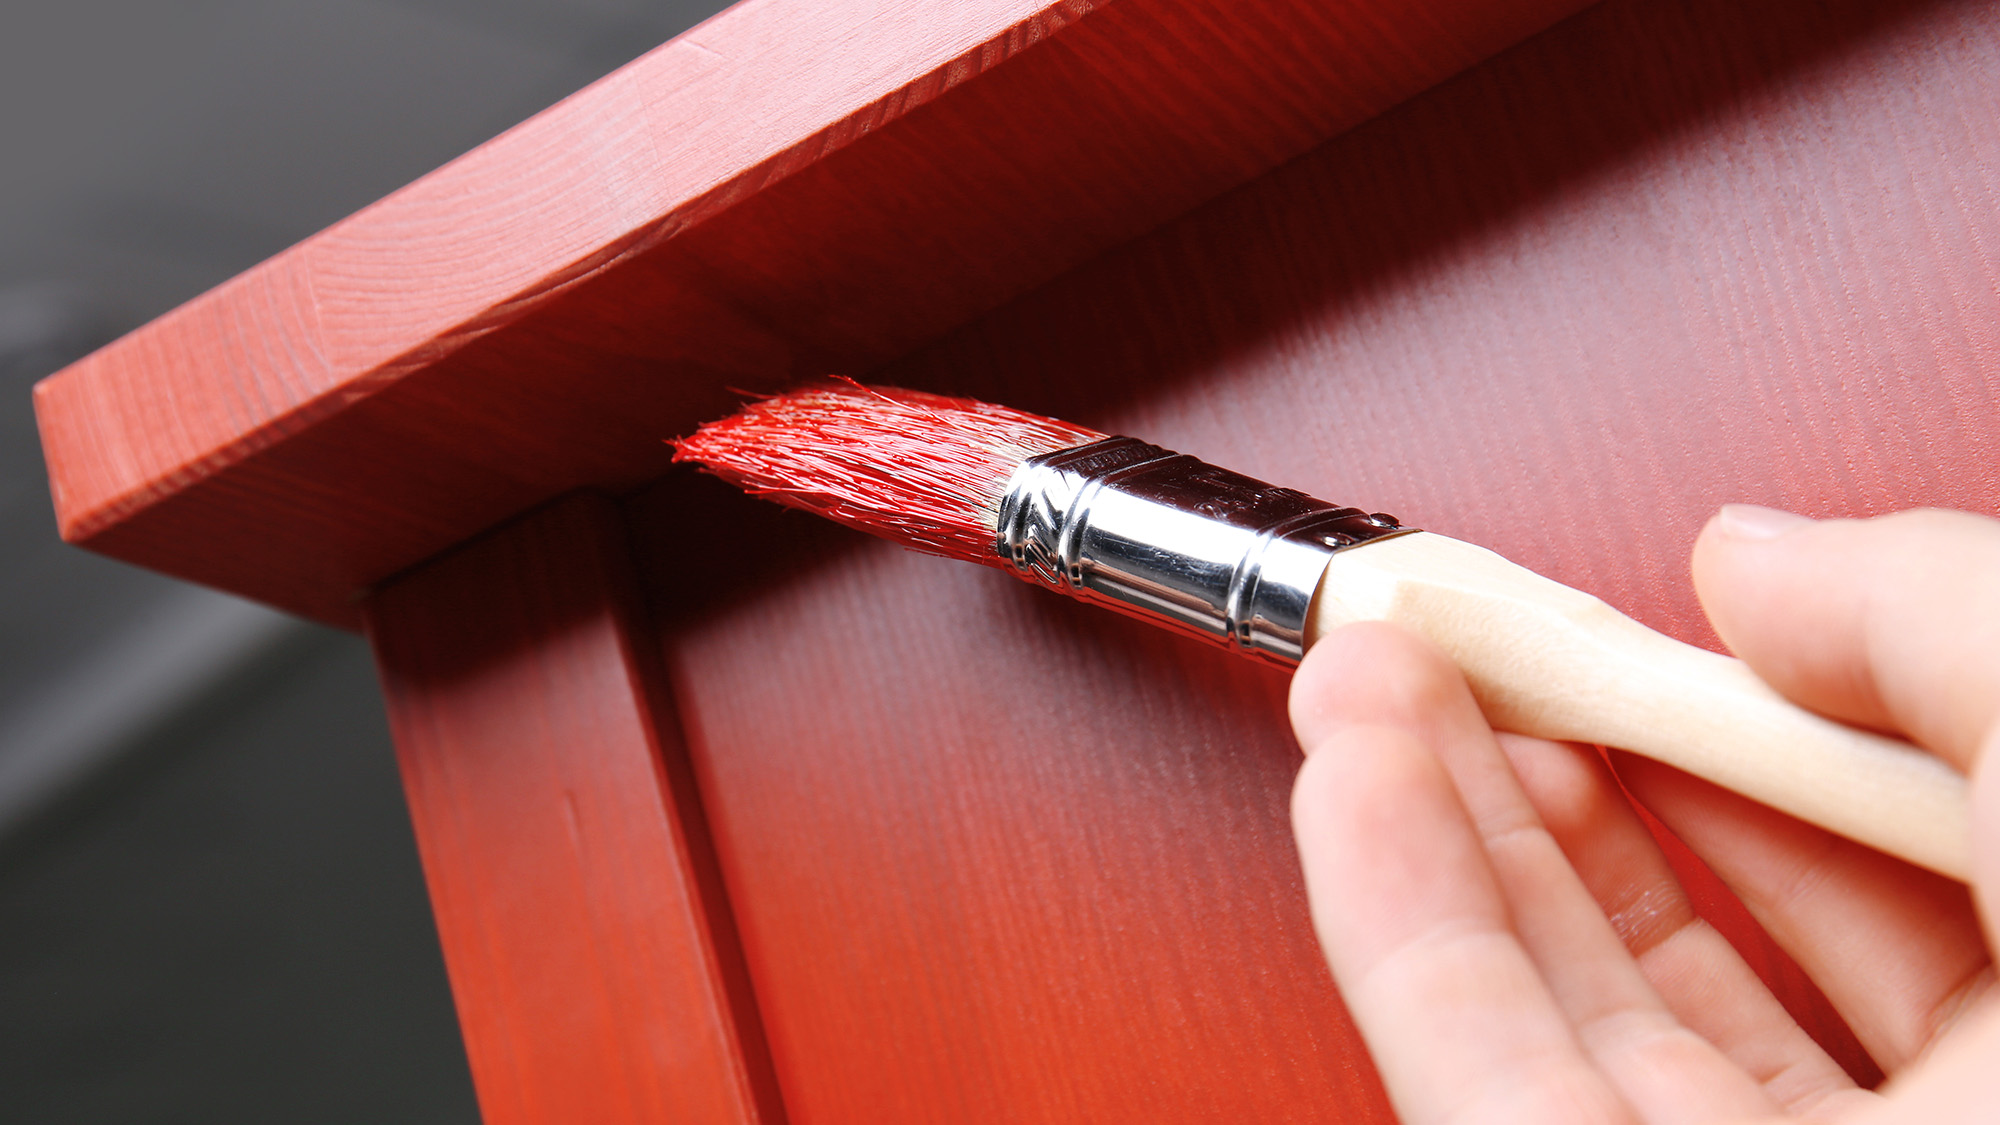
So, if you’ve purchased any IKEA furniture and feel it could do with a bit more panache, you could get out your paint brushes and personalize your purchases. However, before you get started, it’s worth knowing how to paint IKEA furniture the right way.
Although I've dabbled at painting a few pieces of furniture, I called on expert decorators to share their top tips when painting IKEA furniture.
The benefit of painting IKEA furniture
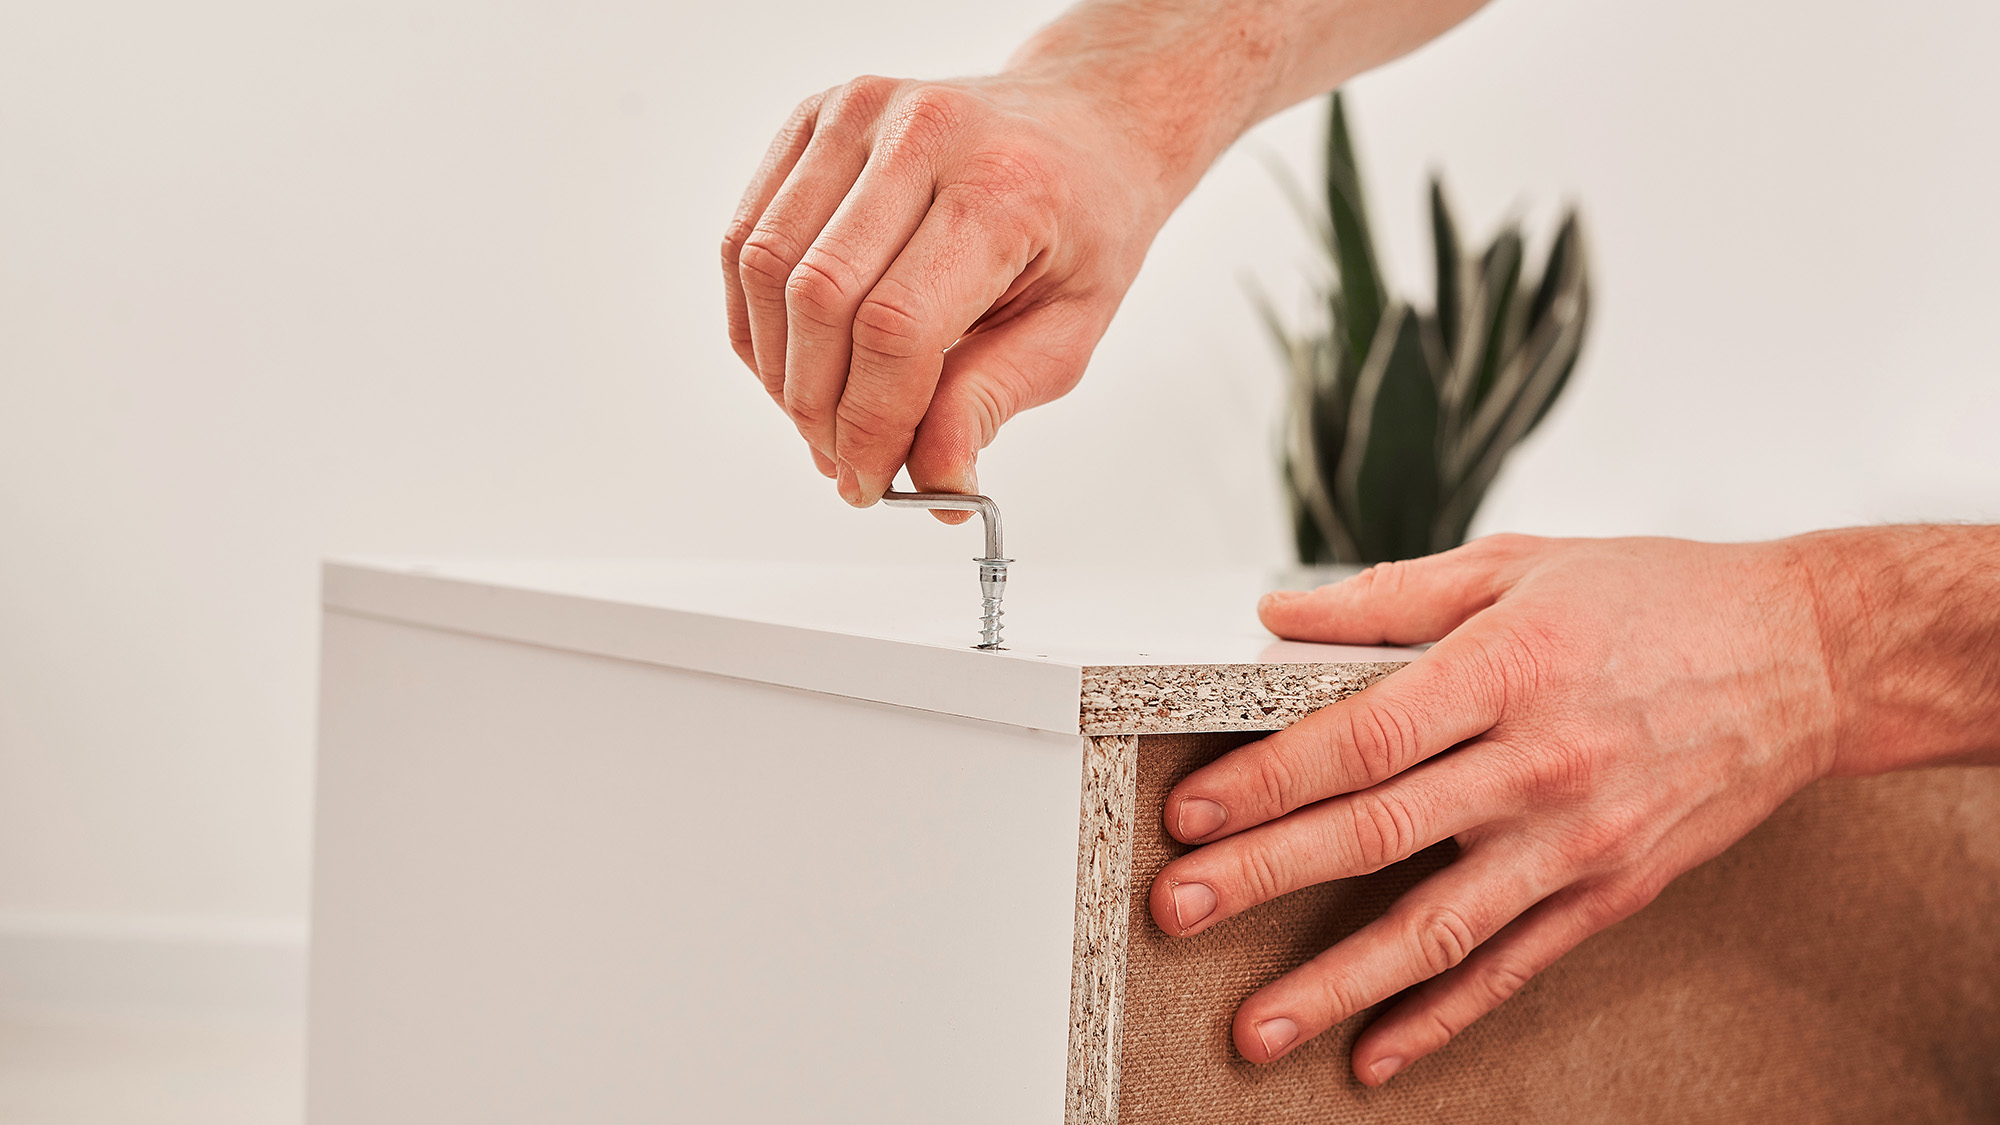
“Painting IKEA furniture is a common way to upgrade and personalise pieces that are otherwise mass-produced and fairly plain in style,” says Violeta Stoyanova, home and improvement expert at Fantastic Handyman.
“Many IKEA items are affordable and functional but often come in standard finishes, such as plain white, black or light wood veneer, which can look generic,” she says. “By painting them, you can completely change the appearance, matching the furniture to your interior or giving it a more high-end look.”
It’s also a cost-effective solution, especially if the furniture is still structurally sound, but doesn’t fit your decor. And beyond aesthetics, Stoyanova says that painting your furniture can help refresh scratched, faded, or worn surfaces, extending its life.
What’s more, if you’ve got a creative flair and don’t mind DIY, she suggests it can be one way to add your personality to your home and turn an off-the-shelf product into something unique.
Get instant access to breaking news, the hottest reviews, great deals and helpful tips.
And Carr Lanphier, CEO at Improovy, says painting IKEA furniture “can be a fun way to bump this type of cheaper furniture up a notch in terms of decor value and visual interest.”
Understanding the material
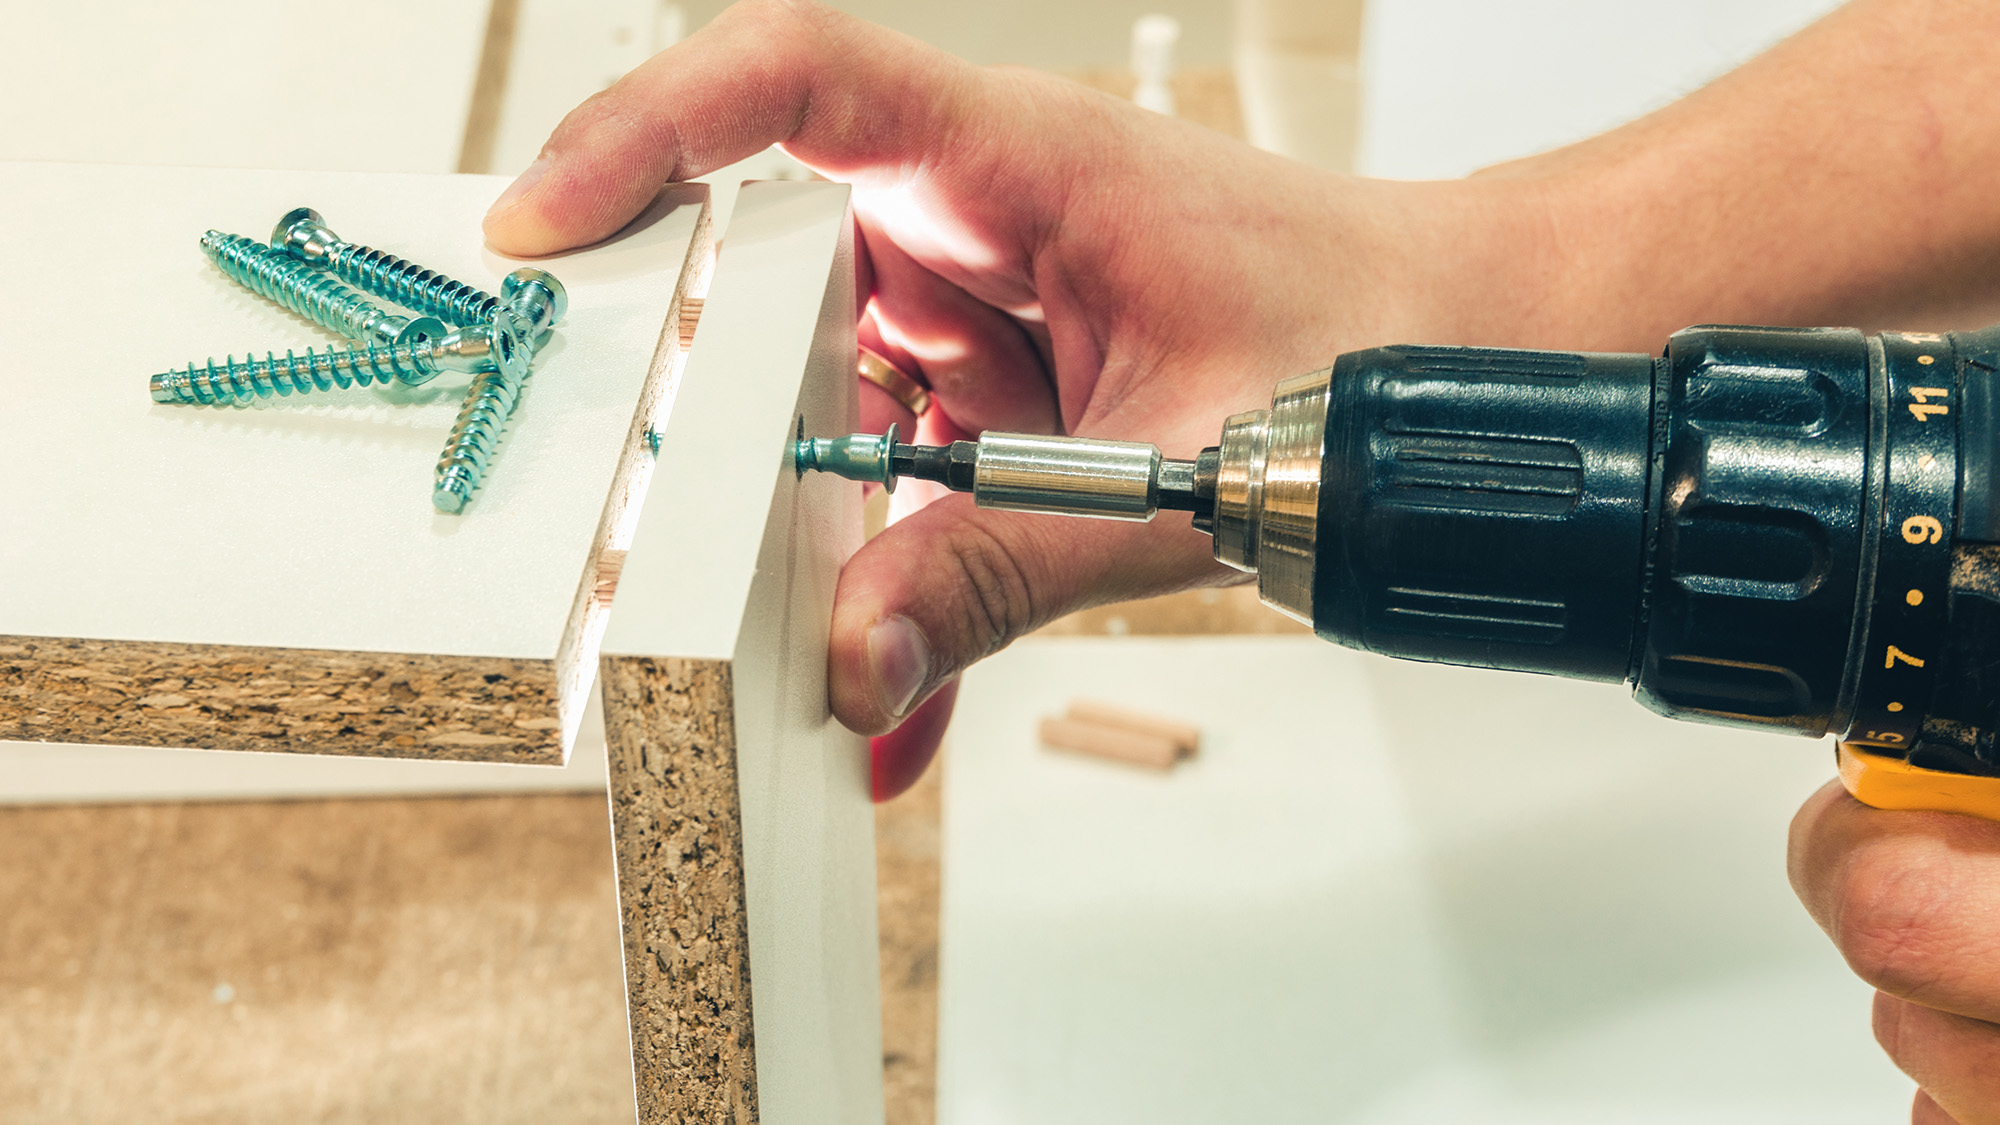
IKEA furniture is often made from particleboard or fiberboard, which doesn’t behave like solid wood, and this means it can be tricky to paint. However, Angie Kreller, interior designer at Yabby, says it can be done, but you need to get the prep right and make sure the paint adheres well and doesn’t peel over time.
Stoyanova explains that the paint is less likely to adhere to particleboard or fiberboard than it would to wood, as the surface is often covered with a thin laminate or veneer that is smooth and non-porous, meaning that paint won’t stick well if applied directly.
So, to overcome this hurdle, you’ll need to prepare the surface by giving it a clean to remove any grease or dust. I recommend using sugar soap as it does a good job at removing grease and dust.
Once everything is clean, Stoyanova recommends lightly sanding the surface with fine-grit sandpaper to create texture for the paint to adhere to. “Do it just enough to dull the sheen of the laminate or veneer and create a key for the primer,” adds Stoyanova.
This 500ml bottle of sugar soap can be used to clean and prepare surfaces for painting. The concentrated liquid will make up to 14 liters of solution to remove grease, grime and nicotine stains.
To prime or not to prime?
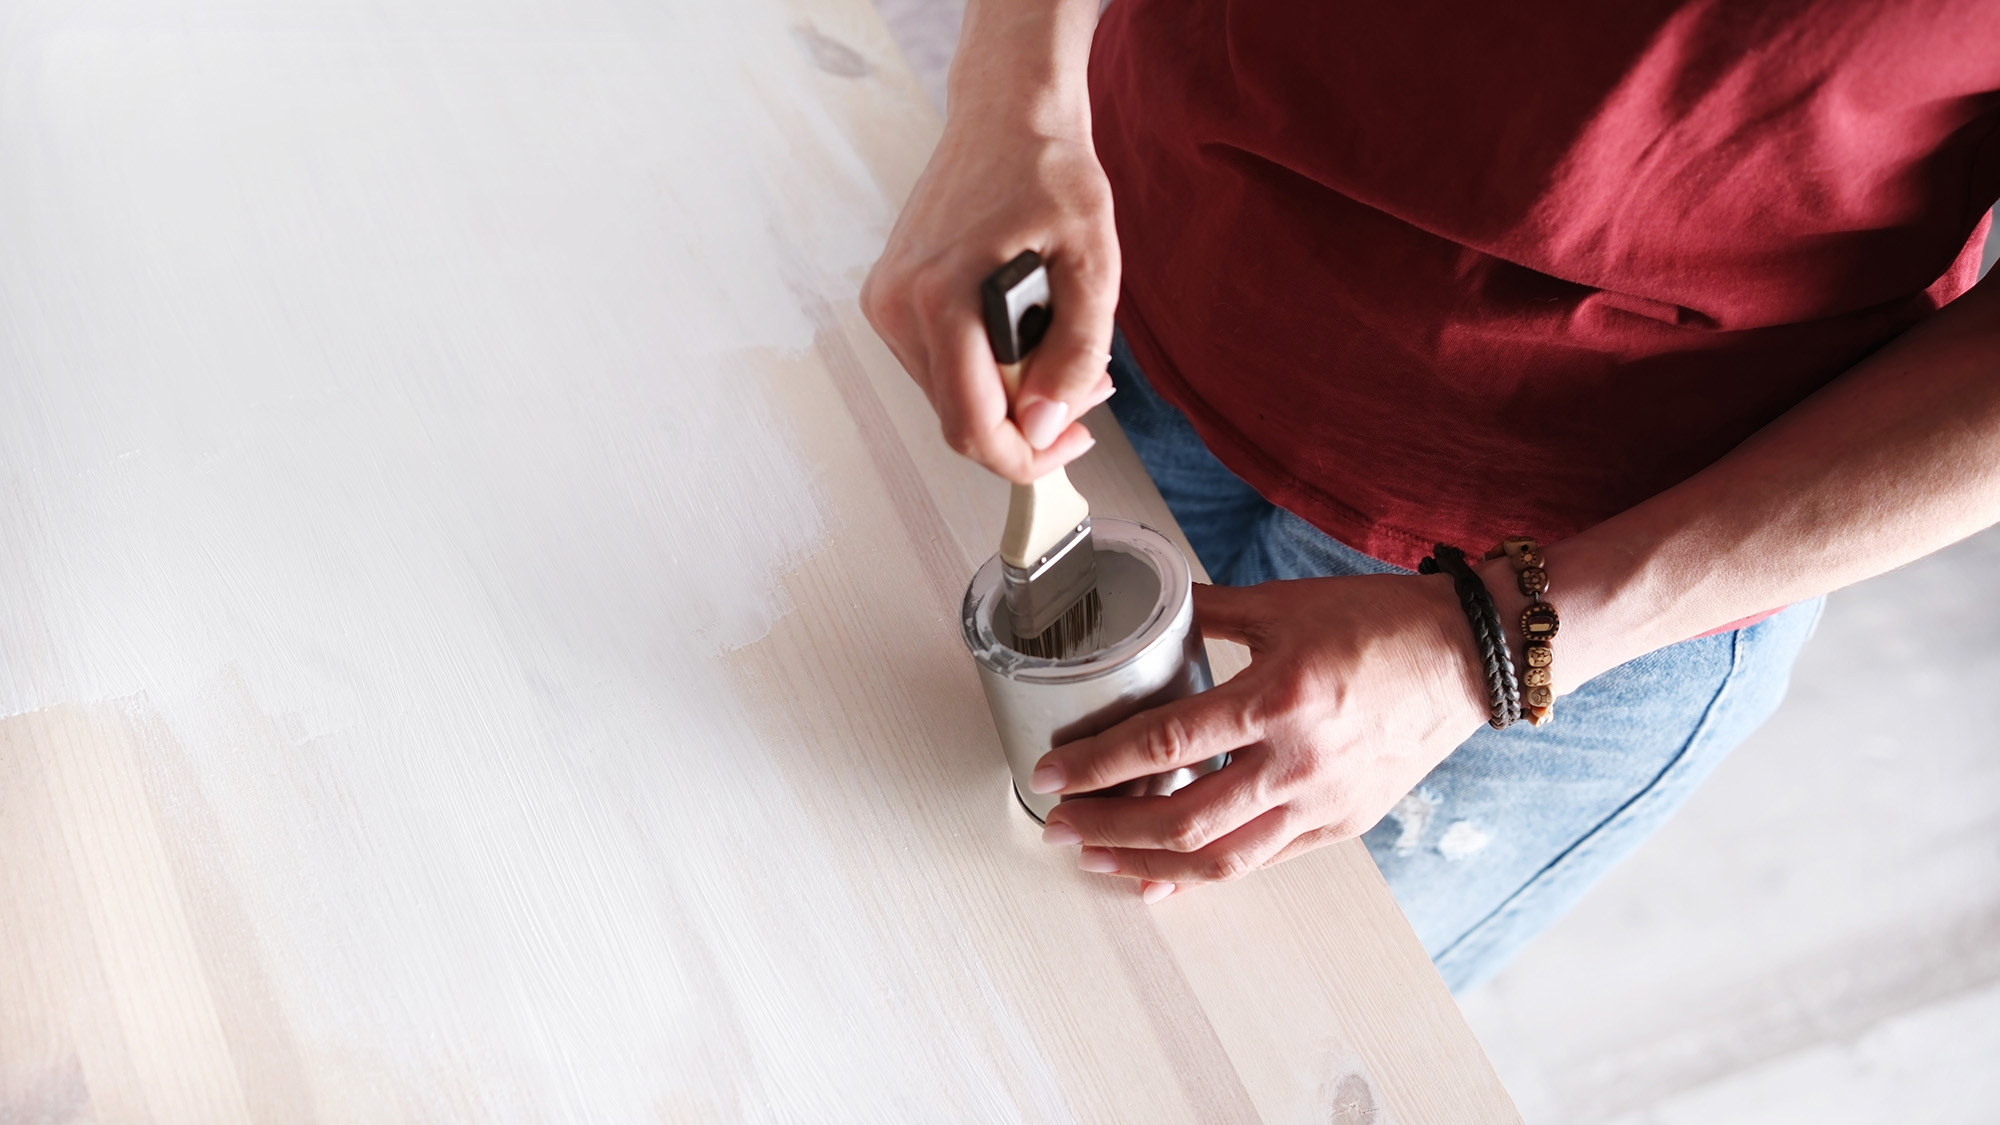
You may wonder whether you need to prime the surface of your furniture or if it’s safe to skip this step.
“Just as if you were painting cabinets, you should indeed use a primer,” says Gilberto Rodrigues, owner at GRH Painting. “Primer acts as a base that helps your paint stick to the surface and prevents peeling.
“Primer does depend on the surface, but for IKEA furniture, I would always recommend it. We always use primer when repainting over surfaces like solid wood, particleboard, and fiberboard,” he adds.
However, on raw particle board, MDF, or areas where the veneer has chipped away, Stoyanova recommends using a stain-blocking primer. “It will help seal the porous surface and prevent the material from swelling when painted,” she says.
After sanding, Stoyanova suggests applying a high-quality bonding primer to your furniture, which is designed for glossy or laminate surfaces, as it will seal the particleboard and provide your topcoat with a surface to grip onto.
And she recommends taking care around edges and corners, as these are the areas most prone to chips and moisture damage. And she adds, “Sometimes, reinforcing them with wood filler before priming helps.”
If you don’t take these steps, you’ll find your paint will peel or bubble.
Should you paint the furniture pre-assembly?

You may have already assembled your furniture and have been using it for some time before considering a revamp. if this is the case, it’s best to keep it this way and paint it in situ. From experience, I know that not everything goes back together as planned.
However, in the ideal scenario, it’s easier to paint your flat-packed furniture before assembly — make sure you’ve checked through the packaging to ensure that everything’s included, as you won’t be able to exchange your goods once you’ve got your paintbrush out.
Kreller also agrees and says, “You should start painting when the furniture is disassembled. This will help you get all of the edges and the hard-to-reach spots that you can’t get to when the furniture is assembled.”
And Stoyanova shares a tip, “It’s important to avoid painting over areas where hardware will attach because this can weaken the bond.”
If the furniture is already assembled, she says, “you’ll need to be more careful with masking and detail work, and sometimes you’ll have to accept that not every surface will be coated.”
What paint is best?
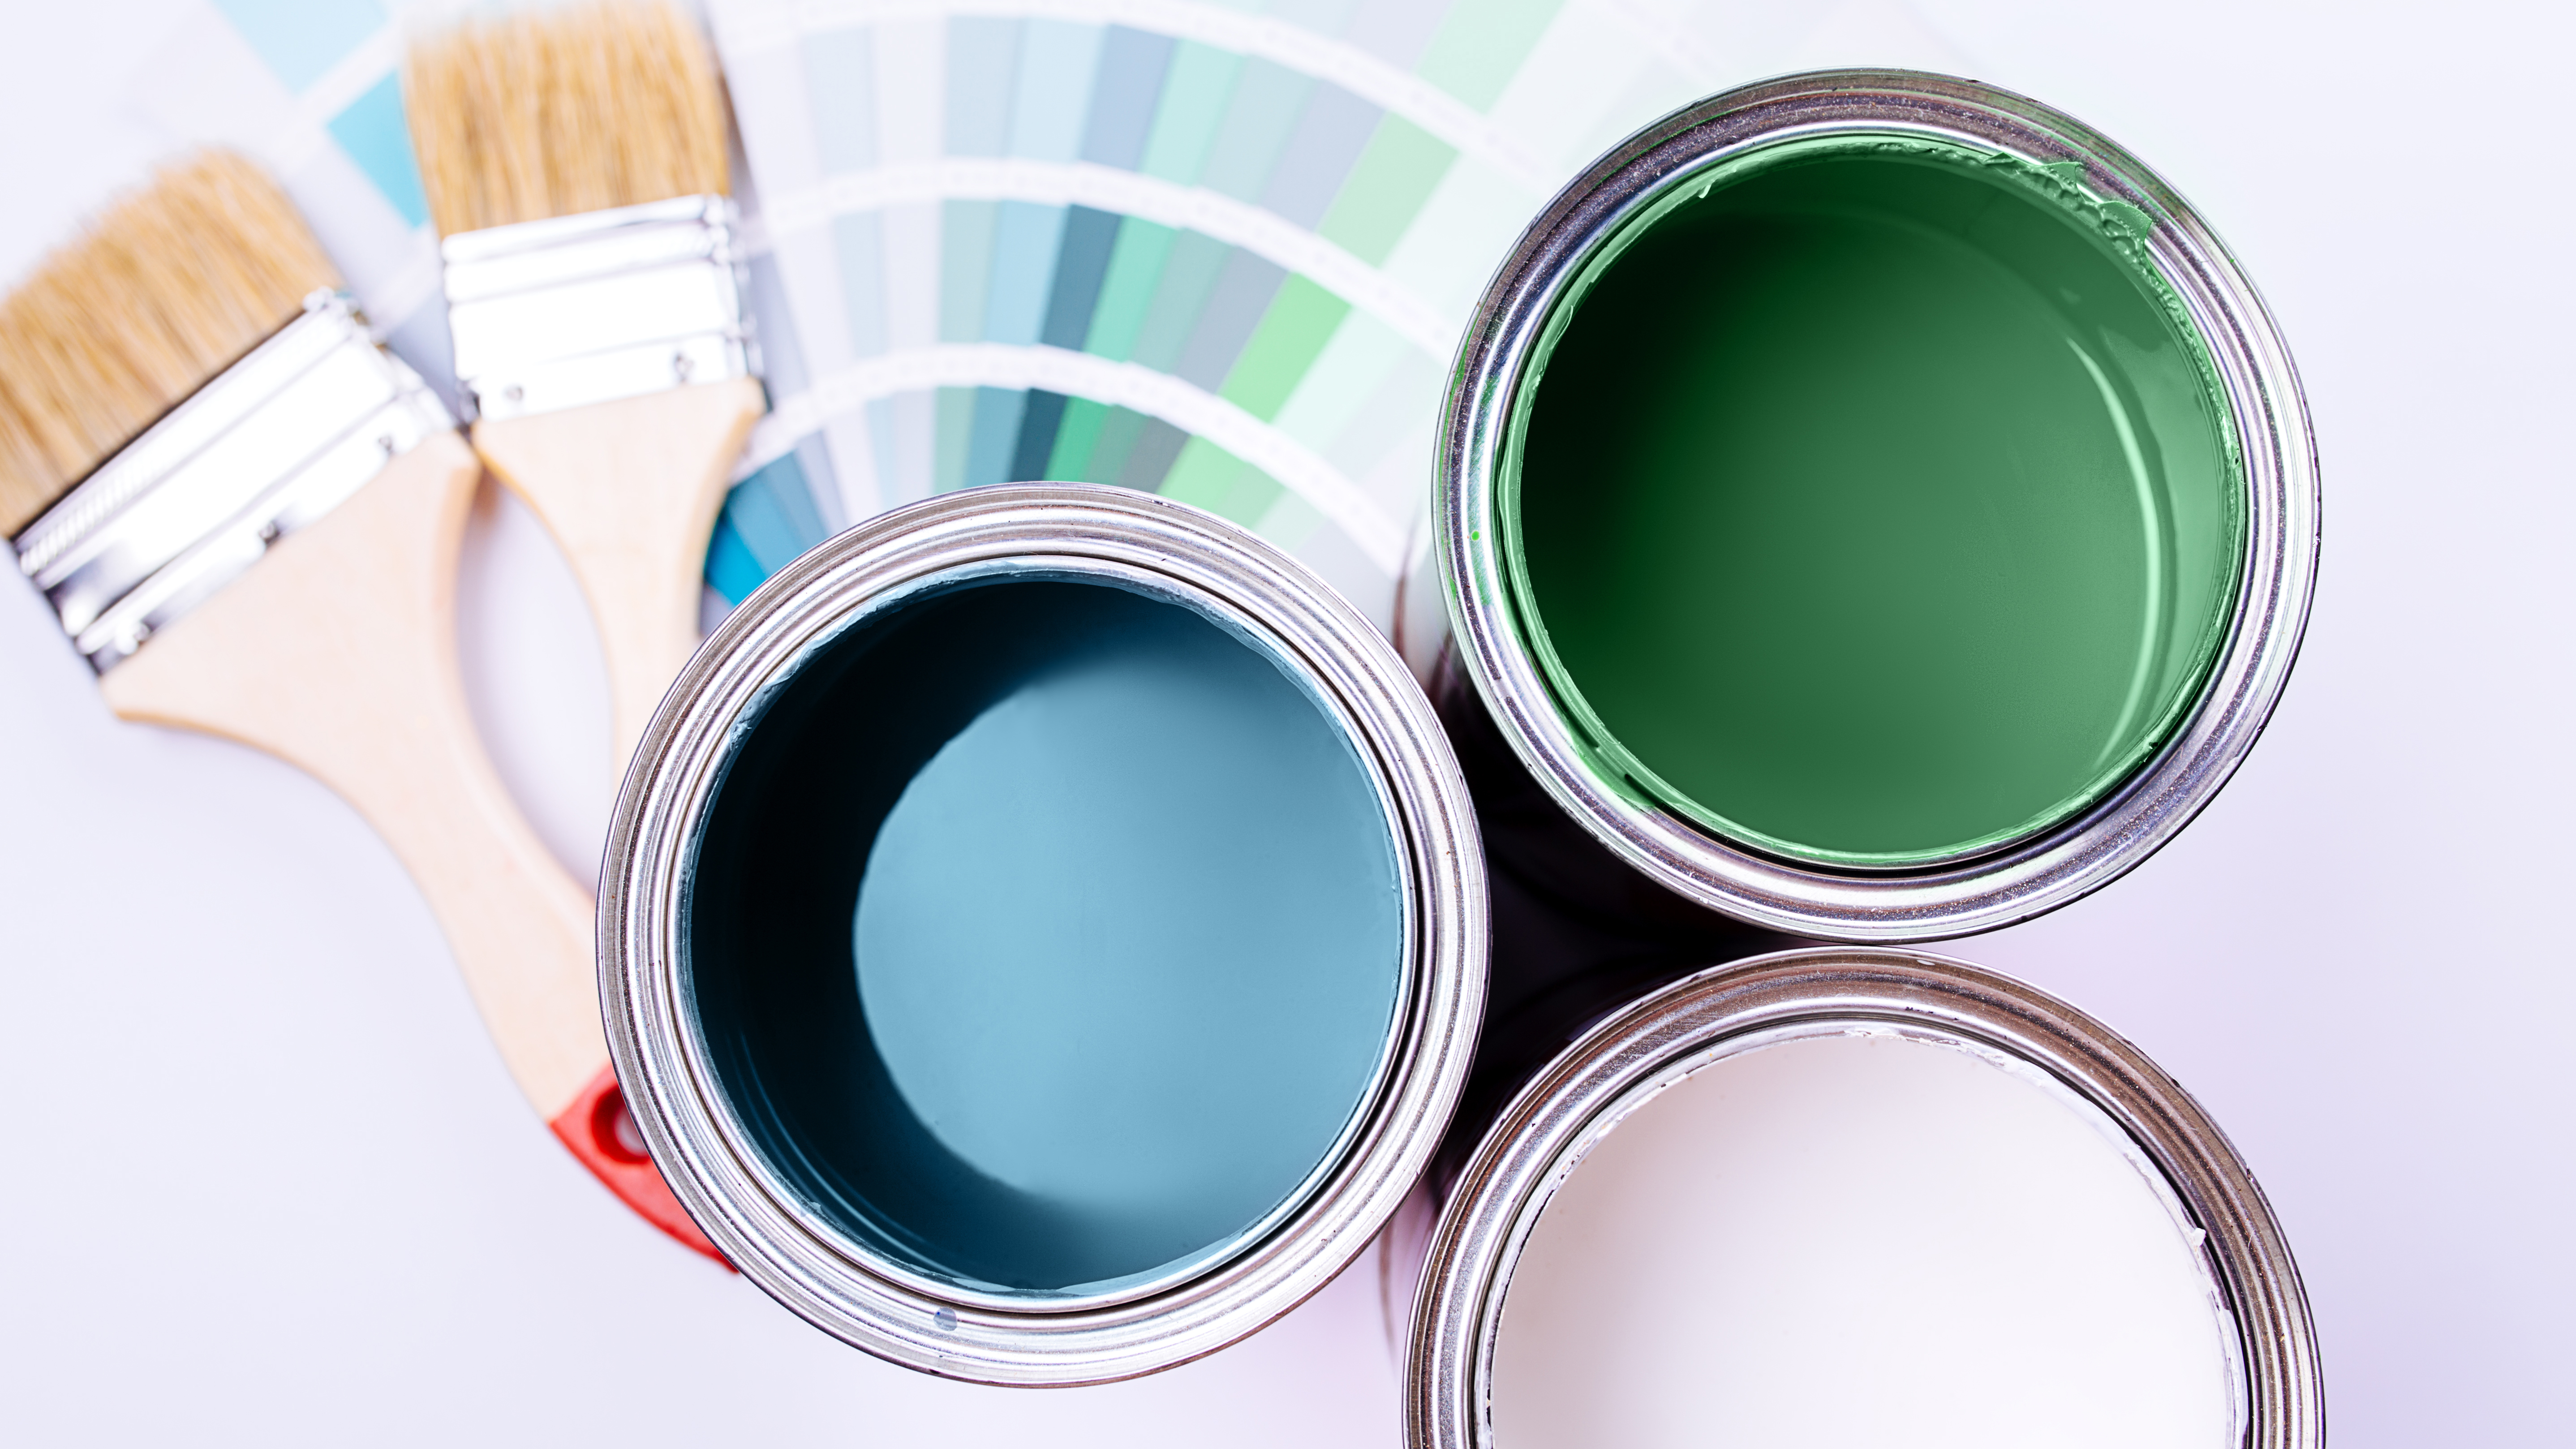
Your paint of choice will depend on the finish you are after, with Stoyanova suggesting gloss or semi-gloss paint if you want a durable finish, as they are easy to clean and suit frequently used surfaces.
“Eggshell or satin finishes offer a softer, more muted appearance, which works well for decorative pieces or furniture in low-traffic areas, but they are slightly less resistant to scratches and cleaning,” she advises.
However, her top recommendation for IKEA furniture is to use water-based acrylic or enamel paints. “They adhere well to primed surfaces and provide a smooth, long-lasting finish,” she explains.
Brush vs roller: Which is best?
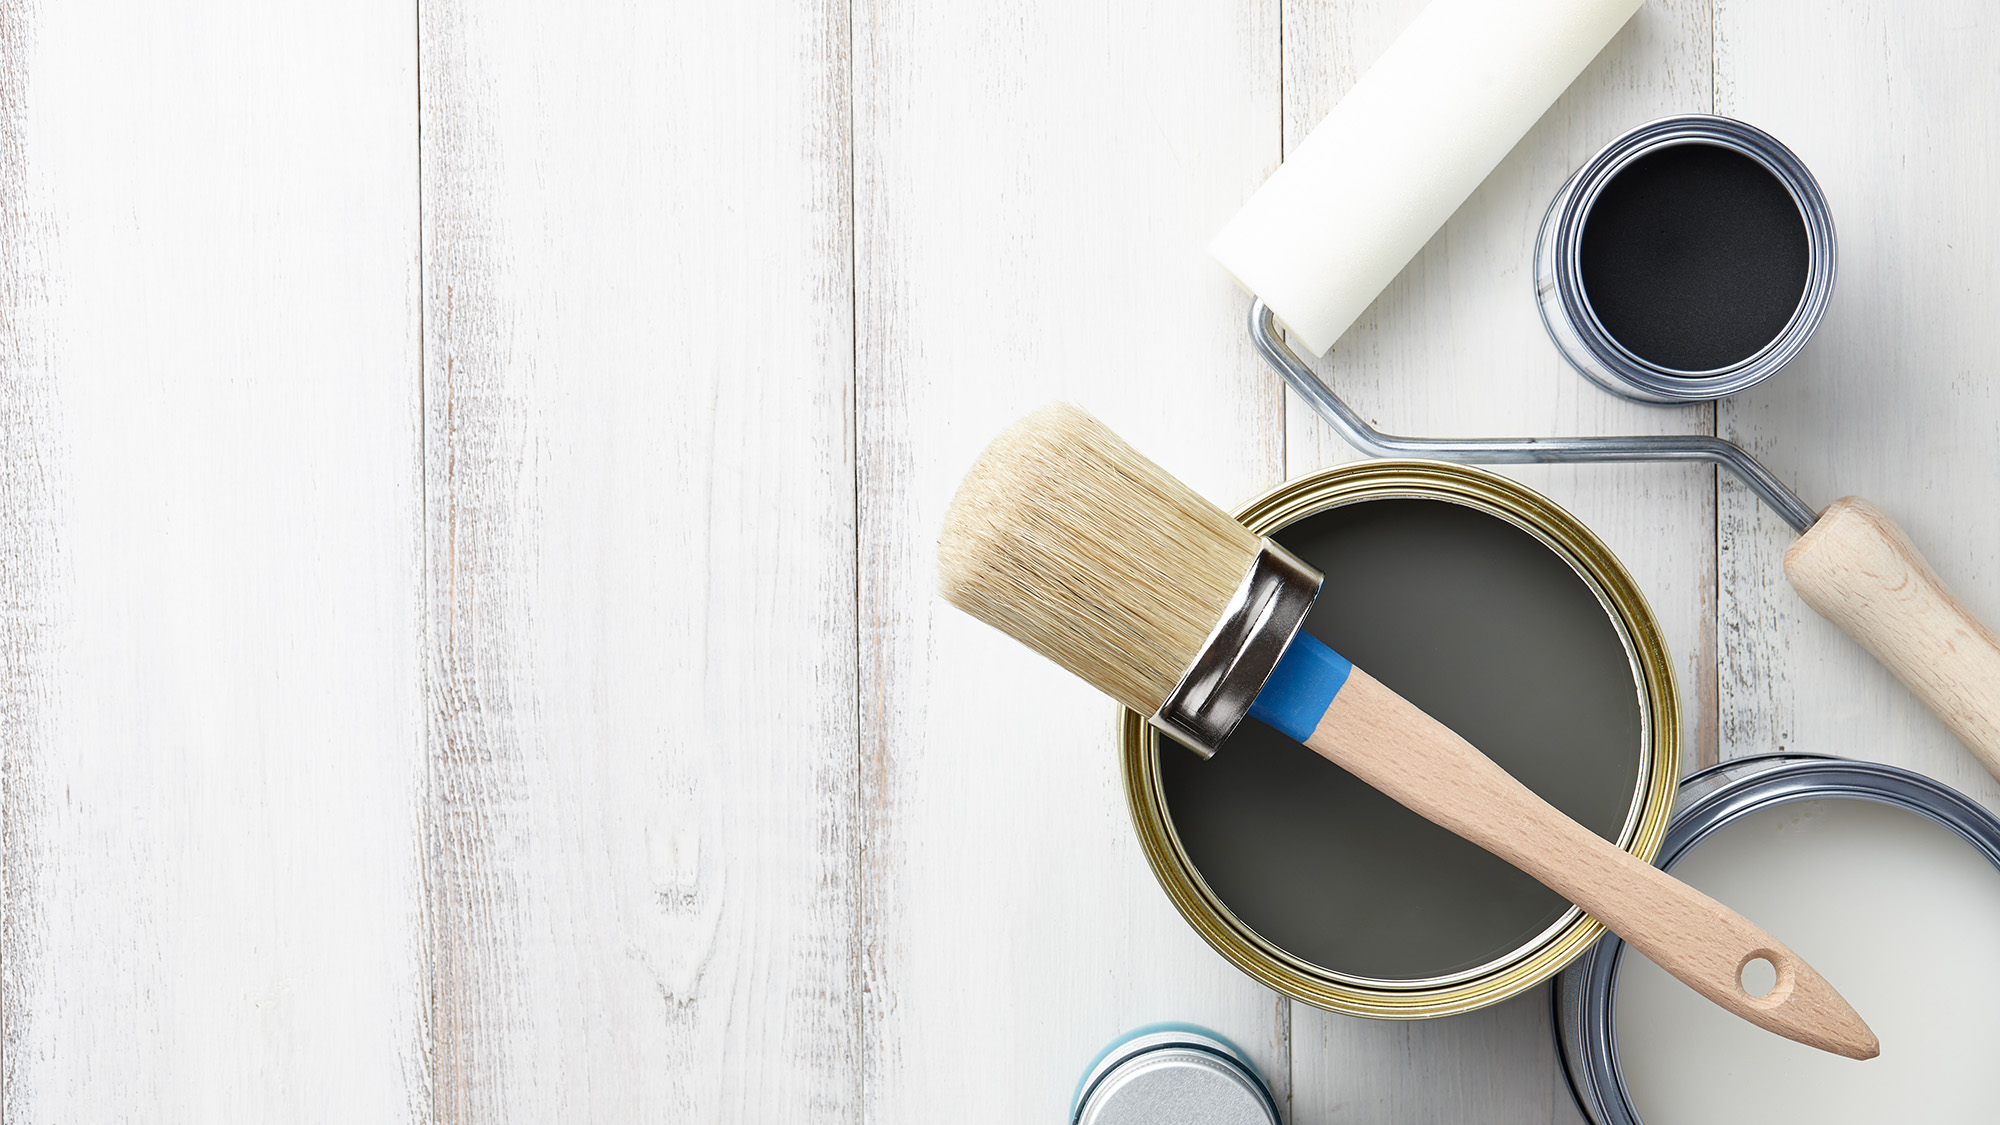
Rodrigues recommends using a roller rather than a brush to paint your furniture. “A foam roller often gives you the best smooth finish, and it’s what we use for interior painting,” but he says, “You can use a brush for the corners and the small details.”
Todd Harmon, a furniture specialist, principal designer, and co-founder at Starfire Direct and Patio Productions, agrees, and he recommends using a high-density foam roller for large, flat areas like tabletops or cabinet fronts. “This reduces streaks and best reproduces a sprayed-on appearance,” he says.
He suggests using a synthetic brush for the edges, corners, and detailing, but warns, “Don’t use cheap brushes — they shed bristles and produce uneven lines that will be visible even with several coats.”
The best painting technique
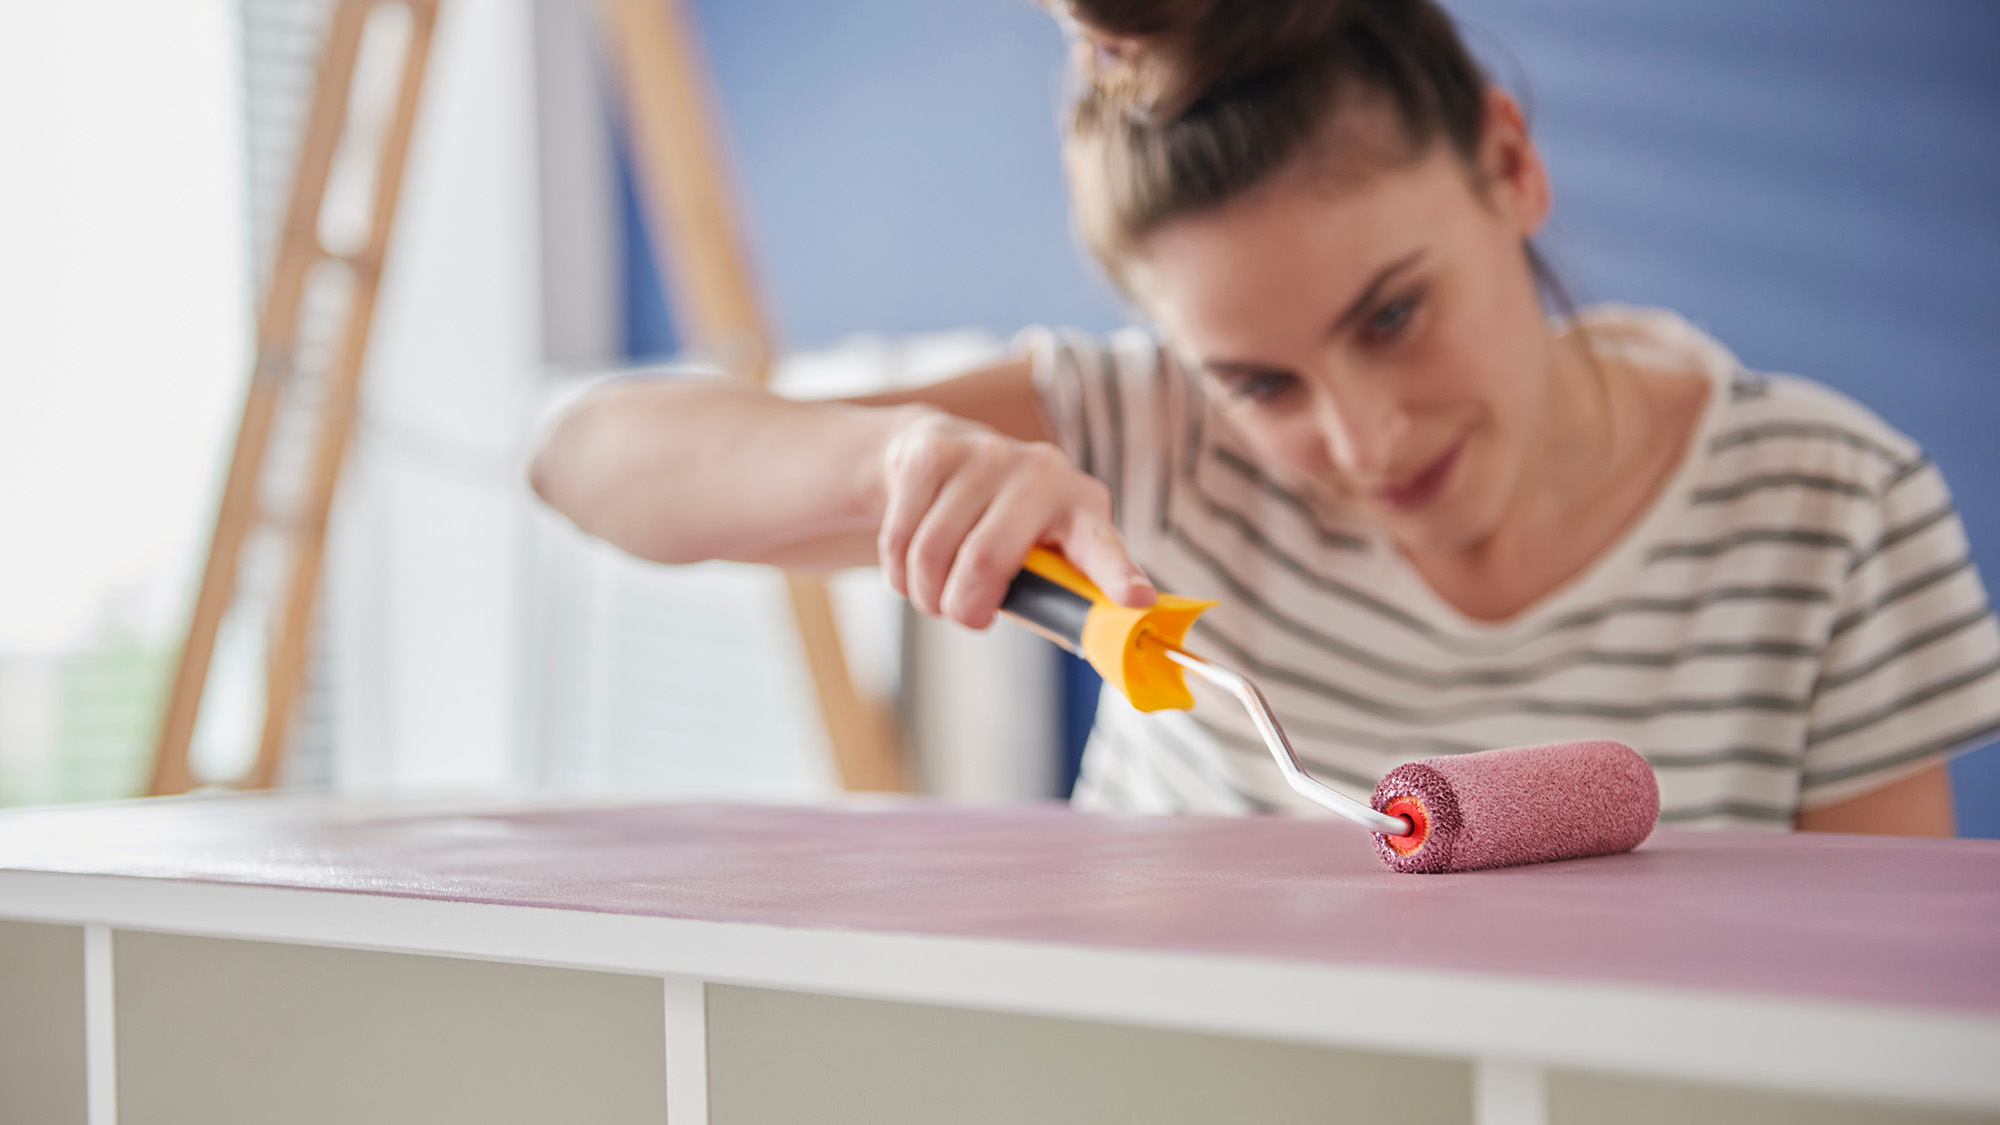
“The best way to paint IKEA furniture is with preparation, technique and patience,” says Stoyanova.
I’m sure I’m not the only one to have fallen down at the final hurdle!
“When you’re painting, use thin, even coats instead of a single thick one. This will prevent drips, brush marks and uneven texture,” she advises.
You should then allow each coat to dry fully before lightly sanding it and applying the next one. “The first coat provides coverage, while the next coats build opacity and smoothness,” explains Stoyanova.
And for added durability, Stoyanova suggests finishing with a clear water-based polyurethane or acrylic topcoat. “It protects the paint from scratches, moisture and wear without yellowing over time,” she adds.
With the right preparation, correct paint, and a little bit of patience, you should end up with a smart piece of furniture that has either had a revamp or been decorated to fit in with your personal style.
Follow Tom's Guide on Google News and add us as a preferred source to get our up-to-date news, analysis, and reviews in your feeds. Make sure to click the Follow button!
More from Tom's Guide
- IKEA just dropped '40 weeks of deals' for its 40th anniversary — here's what I'm shopping right now
- How to choose the best paint for your interior finish — from durability to sheen
- IKEA drops its new earthy collection just in time for fall — here are the 3 items I’d shop now

Camilla is the Homes Staff Writer and covers everything to do with homes and gardens. She has a wealth of editorial experience, mounting over 30 years, and covers news and features, tests products for reviews and compiles buying guides.
Her work has appeared in business and consumer titles, including Ideal Home, Real Homes, House Beautiful, Homebuilding & Renovation, and Kitchen & Bathroom Business. She’s even appeared on the cover of Your Home, writing about her own house renovation.
Although she’s obsessed with decorating her home, she also enjoys baking and trying out the latest kitchen appliances. But when she’s not inside, you’ll find her pottering about in her yard, tending to her vegetable patch or taking in her prized hydrangeas.
You must confirm your public display name before commenting
Please logout and then login again, you will then be prompted to enter your display name.
