
 Club Benefits


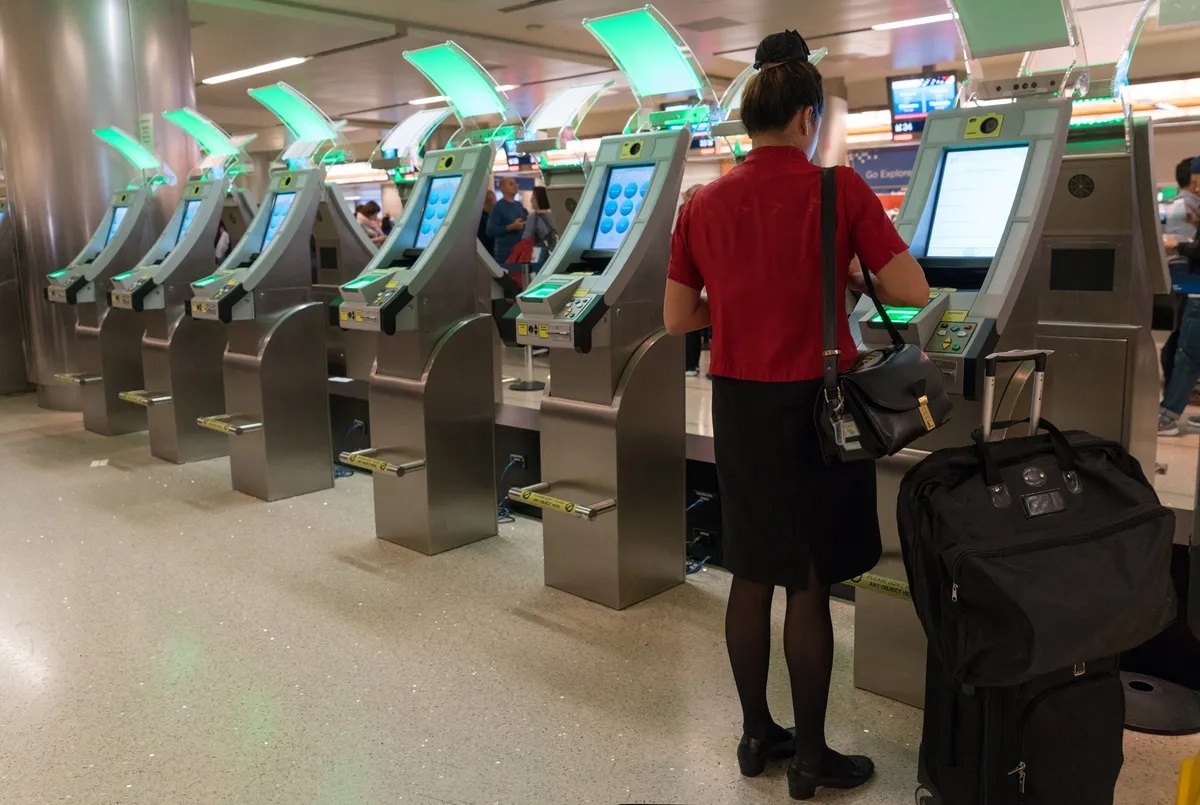
Few things feel frustrating the way a massive line at Customs does when you're trying to return home from a trip abroad.
I know because I recently returned from a week visiting the Netherlands, and after deplaning at San Francisco International Airport I felt my stomach tighten as I followed signs toward the exit. I'm no jet-setter, but I've been lucky enough to be allowed back into the country after leaving a few times, and each time it's taken at least an hour to get through U.S. Customs.
And hey, I get it. Rules have to be followed, passports need to be checked. But nothing feels bad in quite the same way as knowing you're almost home after being so far away for so long, only to run into a long line of other haggard, frustrated passengers shuffling slowly through a cold, cavernous room. If you're really lucky, you'll arrive during peak hours and find the line folding over on itself and snaking out into the entry hall.

I don't believe in Hell, but if I did, it might look a little bit like the Federal Inspection Area at SFO on a busy day.
Things weren't quite that bad when I touched down at SFO earlier this week, but I was still looking at a line of fellow international arrivals that was likely to take at least an hour to get through. I started to make peace with this and was digging through my pockets for some earbuds when a friend I was traveling with told me something that changed my life for the better.
"Hey, do you have the Mobile Passport Control app on your phone? You should get it right now, it means we can skip this line."
We got to skip the entire Customs line and walk out of SFO 10 minutes after landing."
Sure enough, she was right. I downloaded the Mobile Passport Control app to my iPhone while I was walking through SFO and by the time I hit the Customs line, I no longer had to worry about it. Instead, I could use a special line specifically for folks using Mobile Passport Control, and since my friends and I were the only ones using it, we got to skip the entire Customs line and walk out of SFO 10 minutes after landing.
My hour was given back to me, I got home earlier and happier than I expected, and my entire trip was made better by avoiding that last final sour note at the end.
I owe my friend a drink for saving my bacon with that handy tip, and if I knew what was good for me I'd never tell another soul about Mobile Passport Control. After all, why would I want to ruin the joy of an empty Customs queue by telling everyone about this handy app?
Lucky for you, my pal is a librarian who believes information should be shared, especially when it makes people's lives better. So now not only have I told you about the secret "skip the line" perk (albeit for another line that's usually much emptier) that comes with using Mobile Passport Control, I'm going to walk you through the simple process of setting up the app yourself.
Note that Mobile Passport Control is an app for iOS and Android that is provided by the U.S. government (U.S. Customs and Border Protection specifically). As of this writing, you're able to submit your passport info and declarations via the app, but only U.S. citizens and Canadian passport holders (on B1 or B2 visas) are allowed to use it, and only at participating airports — check out the U.S. Customs and Border Protection FAQ page for the most up-to-date list.
How to use Mobile Passport Control
- Download Mobile Passport Control from the App Store/Play Store
- Select Mode of Entry and Add Traveler(s)
- Select Travel Information (arriving airport, gate, etc)
- Answer Customs Questionnaire
- Submit, take pic and show QR code + passport to CBP
1. Download Mobile Passport Control

The first thing you need to do is download the Mobile Passport Control app to your smartphone. Search for "Mobile Passport Control" on either the Apple App Store or Google Play Store and download the one that is from U.S. Customs and Border Protection.
2. Select Mode of Entry and Add Traveler(s)

Open the app and you should be greeted by a landing page that asks you to choose your mode of entry.
As of this writing, you can choose from U.S. Airport, U.S. Seaport, or Preclearance location, which includes a limited number of Canadian transit hubs. As of April 2023, the Mobile Passport Control app is usable at 46 locations, including 33 U.S. airports, 4 seaports and 9 Preclearance locations. For the latest list of locations which support MPC, check out the U.S. Customs and Border Protection FAQ page for the app.
Once you choose your mode of entry, you will need to add traveler data to the app. To do this, tap the Add Traveler button and enter your info either manually or by scanning your passport with your phone's camera.
If you are traveling with multiple people, they will all need to be added to the app via the same method.
3. Select Travel Information (airport, gate, etc)

Once you've added all travelers' information (I find the app's built-in passport scanner tool is great at quickly photographing your passport and reading the data, then using it to fill in the form), you need to tell the app the specific port and gate you're arriving at.
Select the port and terminal you're arriving at from the drop-down menus within the app.
4. Answer Customs Questionnaire

This is where you get to the actual work of getting through Customs: Filling out declaration forms. Once you hit Proceed and acknowledge the security notification the app shows you, you will be asked a series of questions about what (if anything) you're bringing through Customs.
Answer all of the questions to the best of your ability. At time of publication, it's just six simple yes/no questions. Once you're done, hit the blue button that reads Save CBP Form.
5. Submit, take pic and show QR code + passport to CBP

Once you're done filling out the questionnaire and you have arrived at your port of entry, hit the Submit Now button. You will be asked to take a photo of yourself using your device's camera, then you submit the photo and your completed forms to U.S. Customs and Border Protection (CBP).
If successfully done, you should get a receipt which has your details, picture, and a QR code on it. If you haven't done so already, get in the Mobile Passport Control line at the Customs desk (in my experience, there's usually a sign and a near-empty queue).
Proceed through the line and when you're called to the Customs desk by an officer, show this receipt to your CBP Officer along with your passport. If everything went well, you should have no trouble getting through Customs!
More from Tom's Guide
- I asked Bing with ChatGPT to plan a trip to Amsterdam, and it didn't go as planned
- It's official — the iPhone SE now looks ridiculously out of date
- 7 things you didn’t know that ChatGPT can do

