iOS 16.4 has a new feature to make your voice sound better on calls — try it now
Here's how to enable Voice Isolation on iPhone and increase the quality of your calls
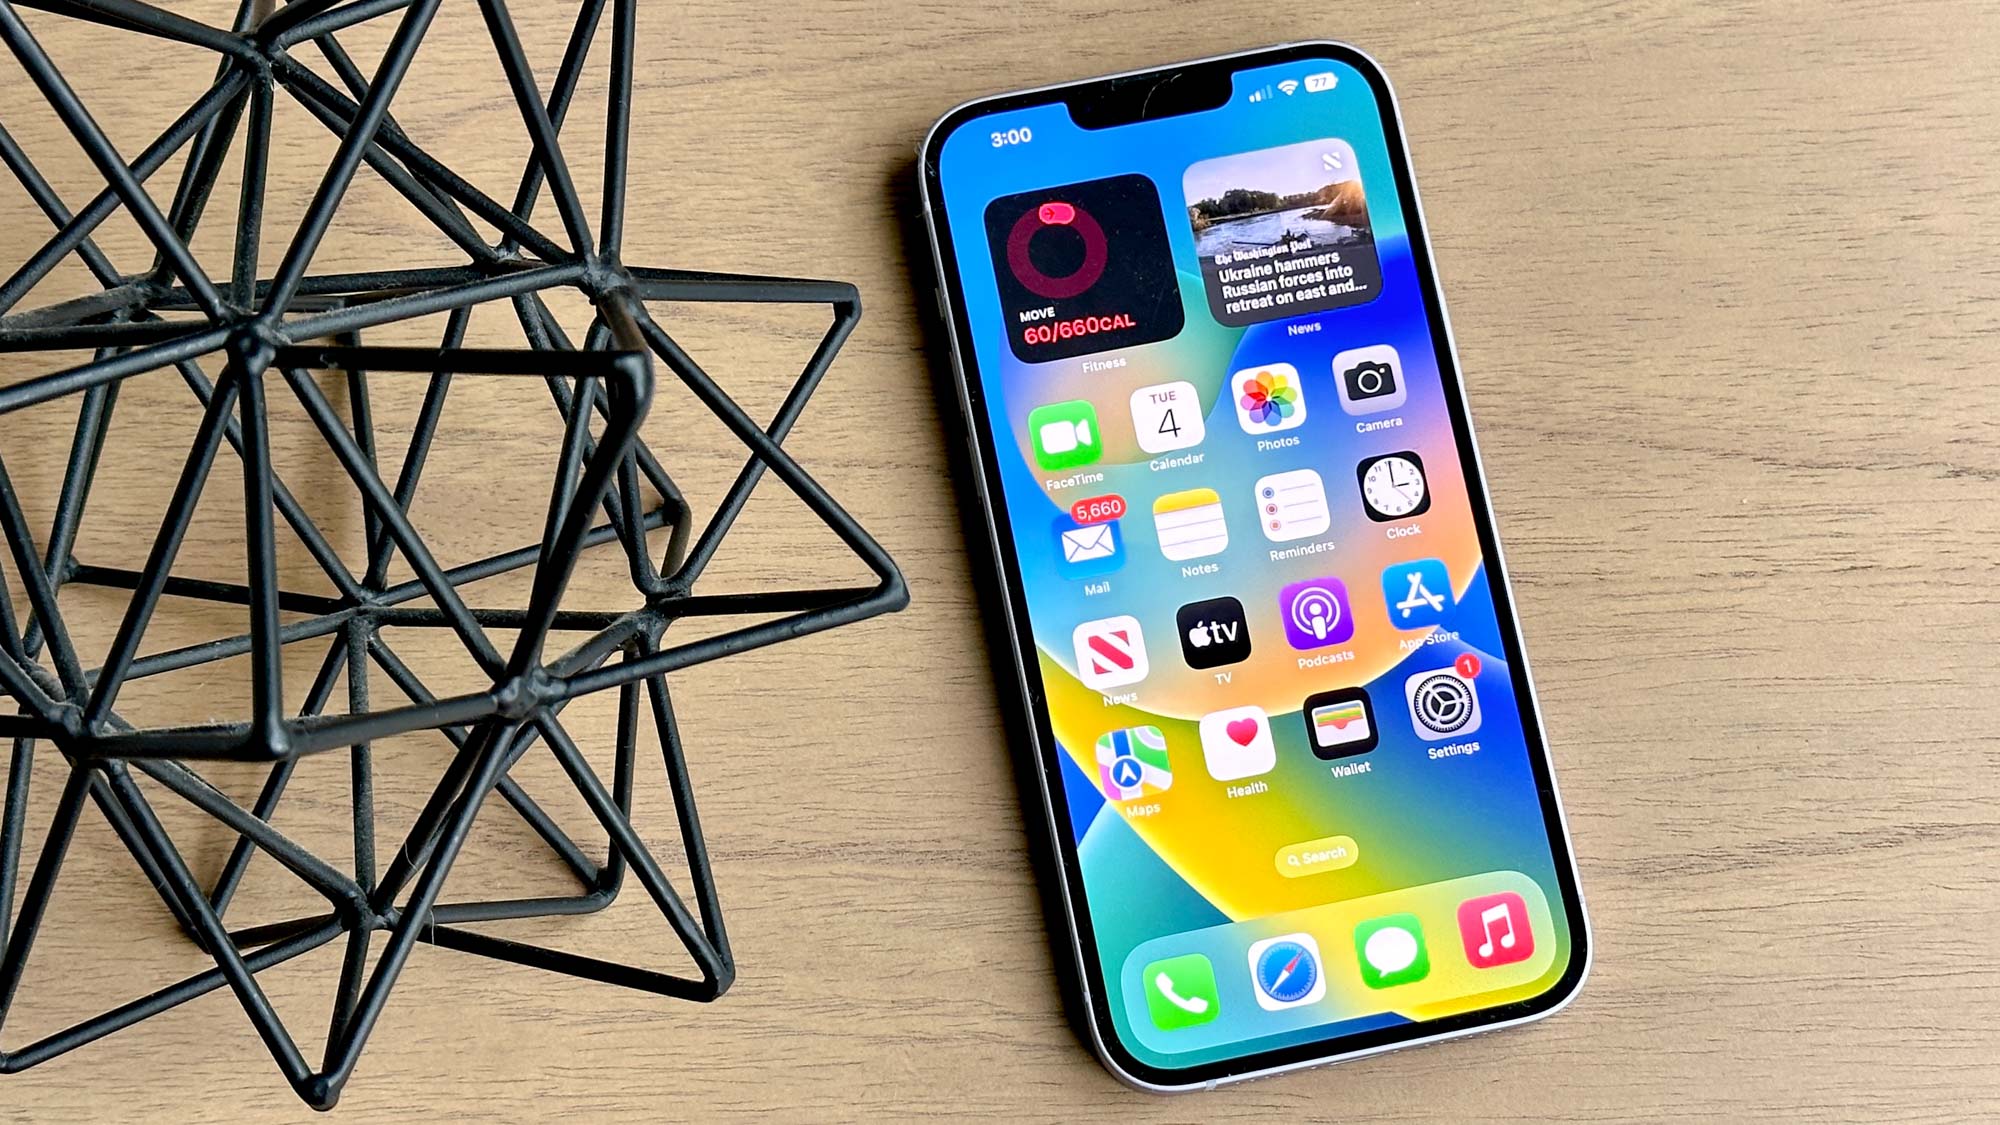
Learning how to enable Voice Isolation on iPhone is super useful for phone calls and FaceTime audio and video calls. Despite being some of the best phones out there, iPhones haven’t traditionally been impervious to background noises affecting phone calls — after all, they use a microphone like every other phone, which just picks up everything it hears. Until now, that is, thanks to Voice Isolation.
By removing unwanted frequencies from your audio signal, Voice Isolation isolates your voice and cleans up what the person on the other end will hear. If you and your phone call partner are both using it, then well, you’re gonna be having some squeaky clean conversations.
Voice Isolation has been around since iOS 15. However, originally it only worked on FaceTime audio and video calls. Now, with the release of iOS 16.4, you can use Voice Isolation on standard phone calls too, and we’re here to show you how.
We’ve done the steps below on FaceTime, but the steps are the same whether you’re using Voice Isolation on FaceTime or a phone call.
How to enable Voice Isolation on iPhone
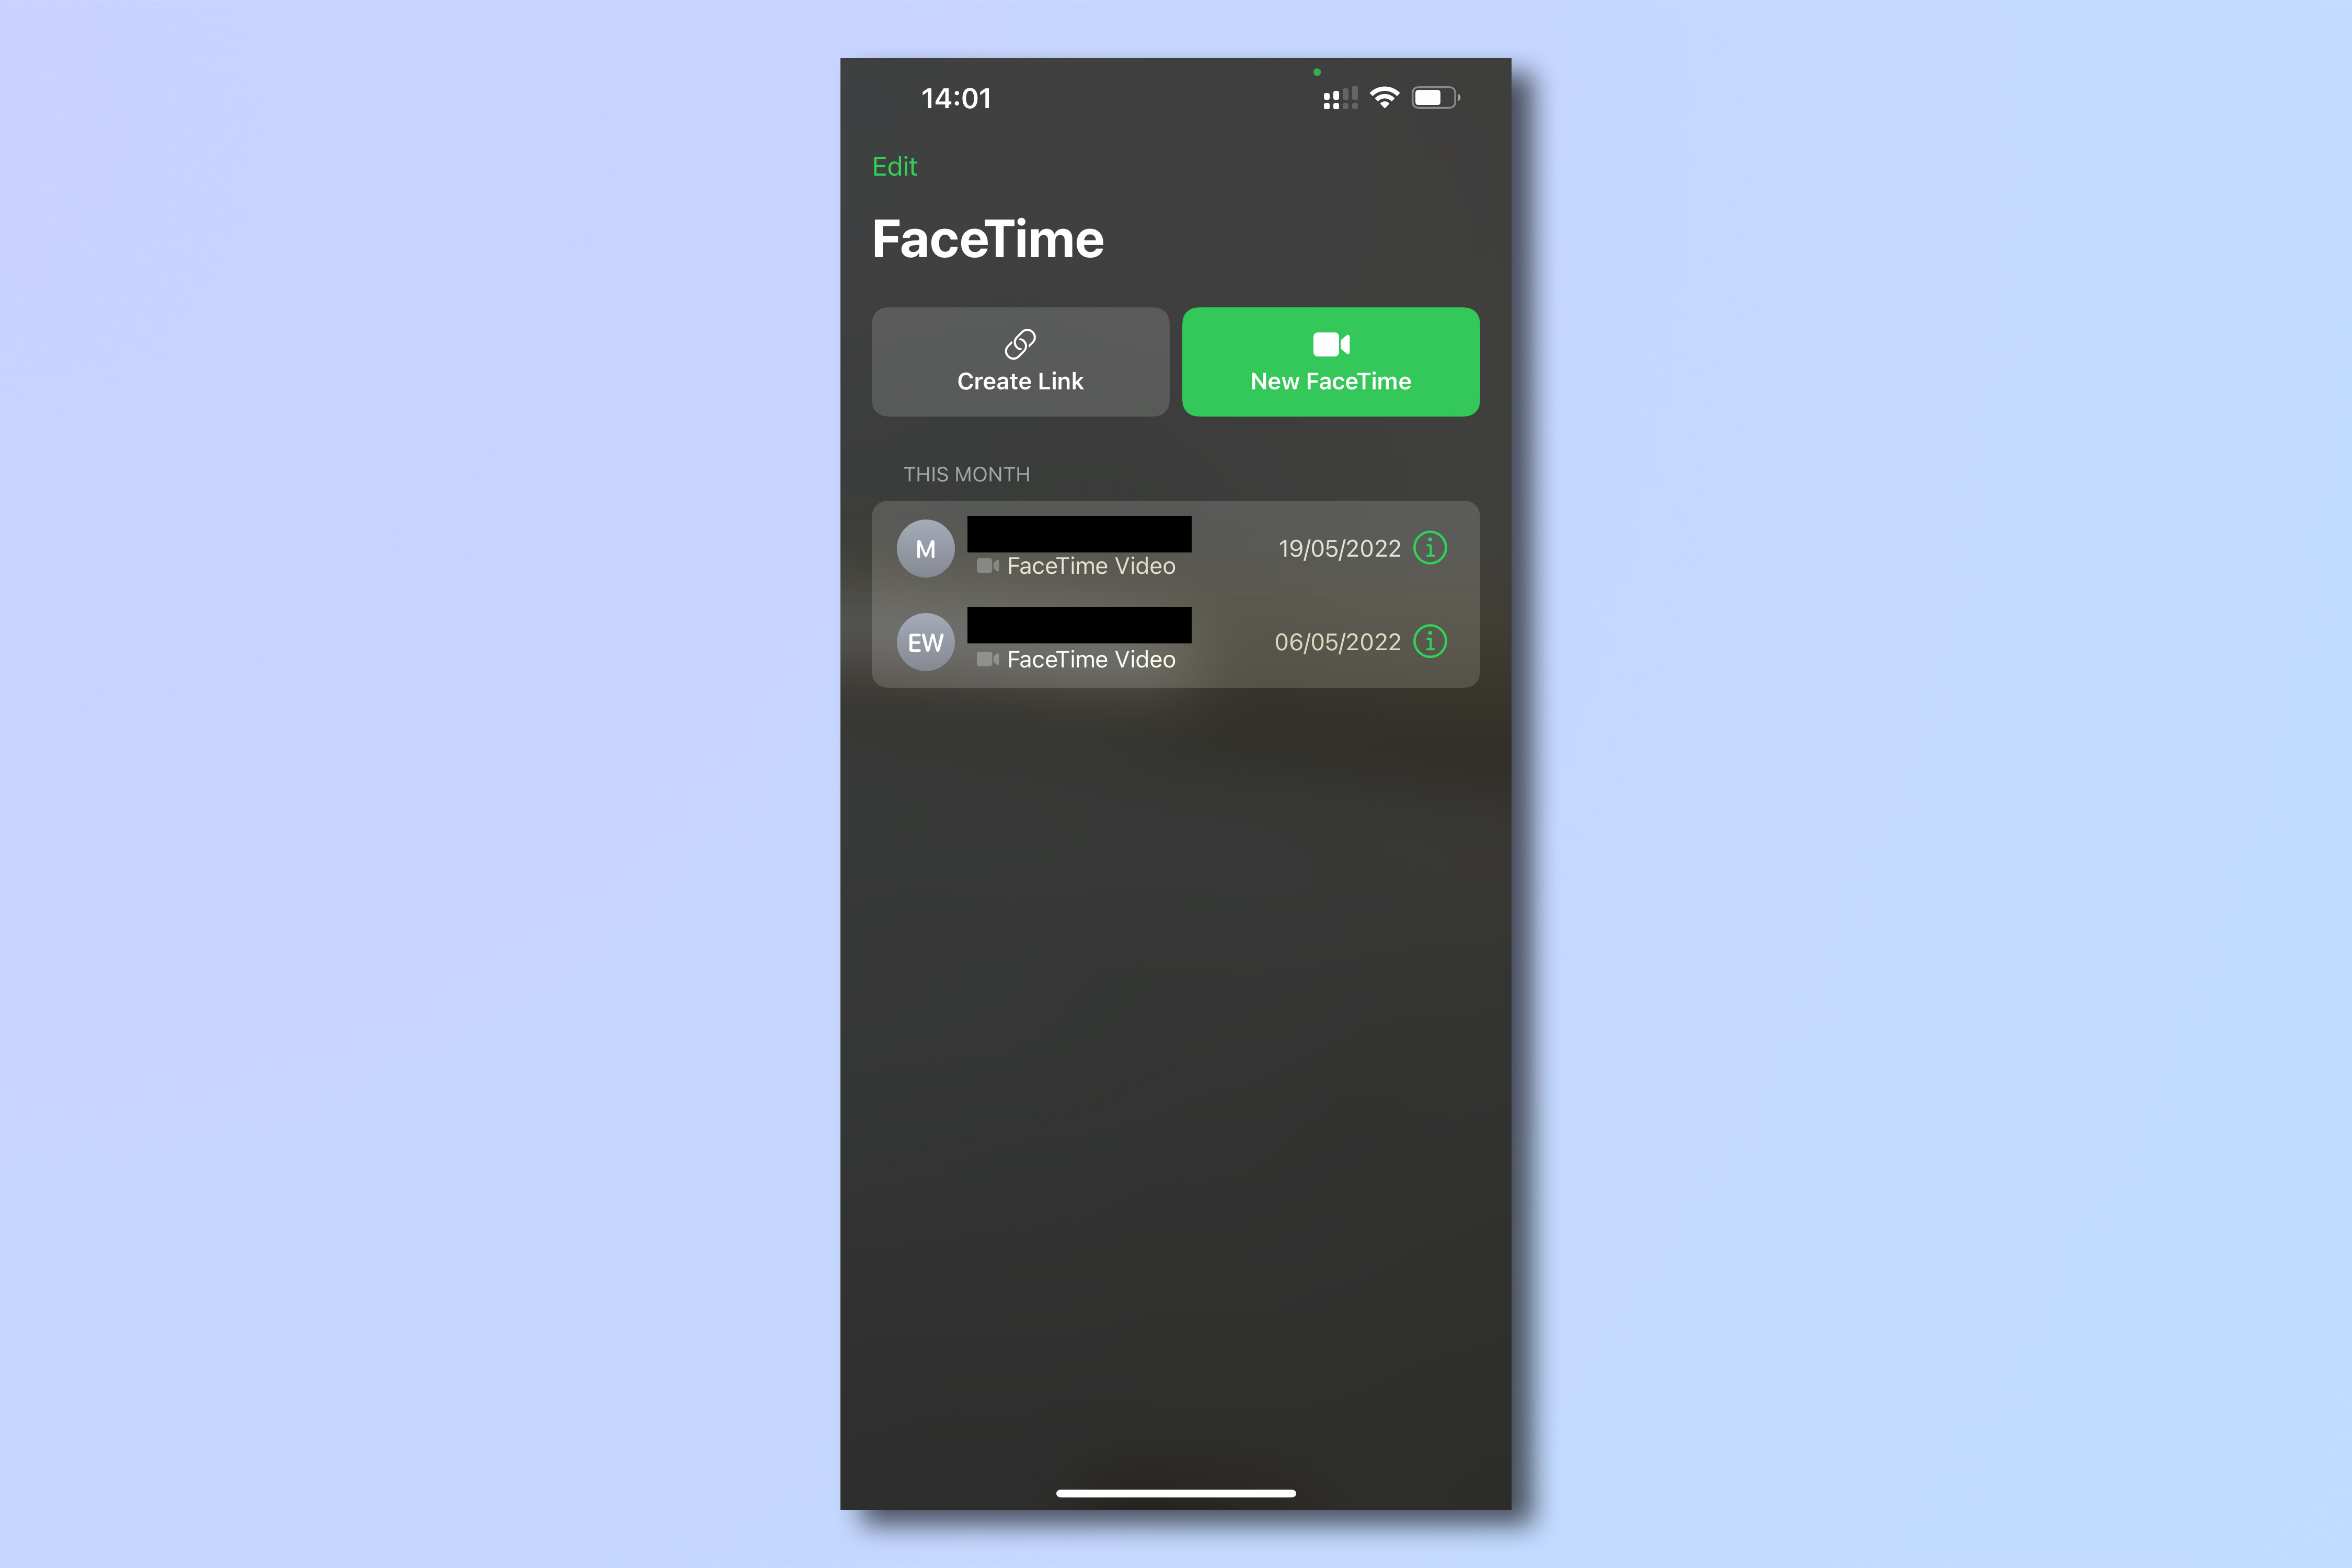
- Start a call using the Phone or FaceTime apps
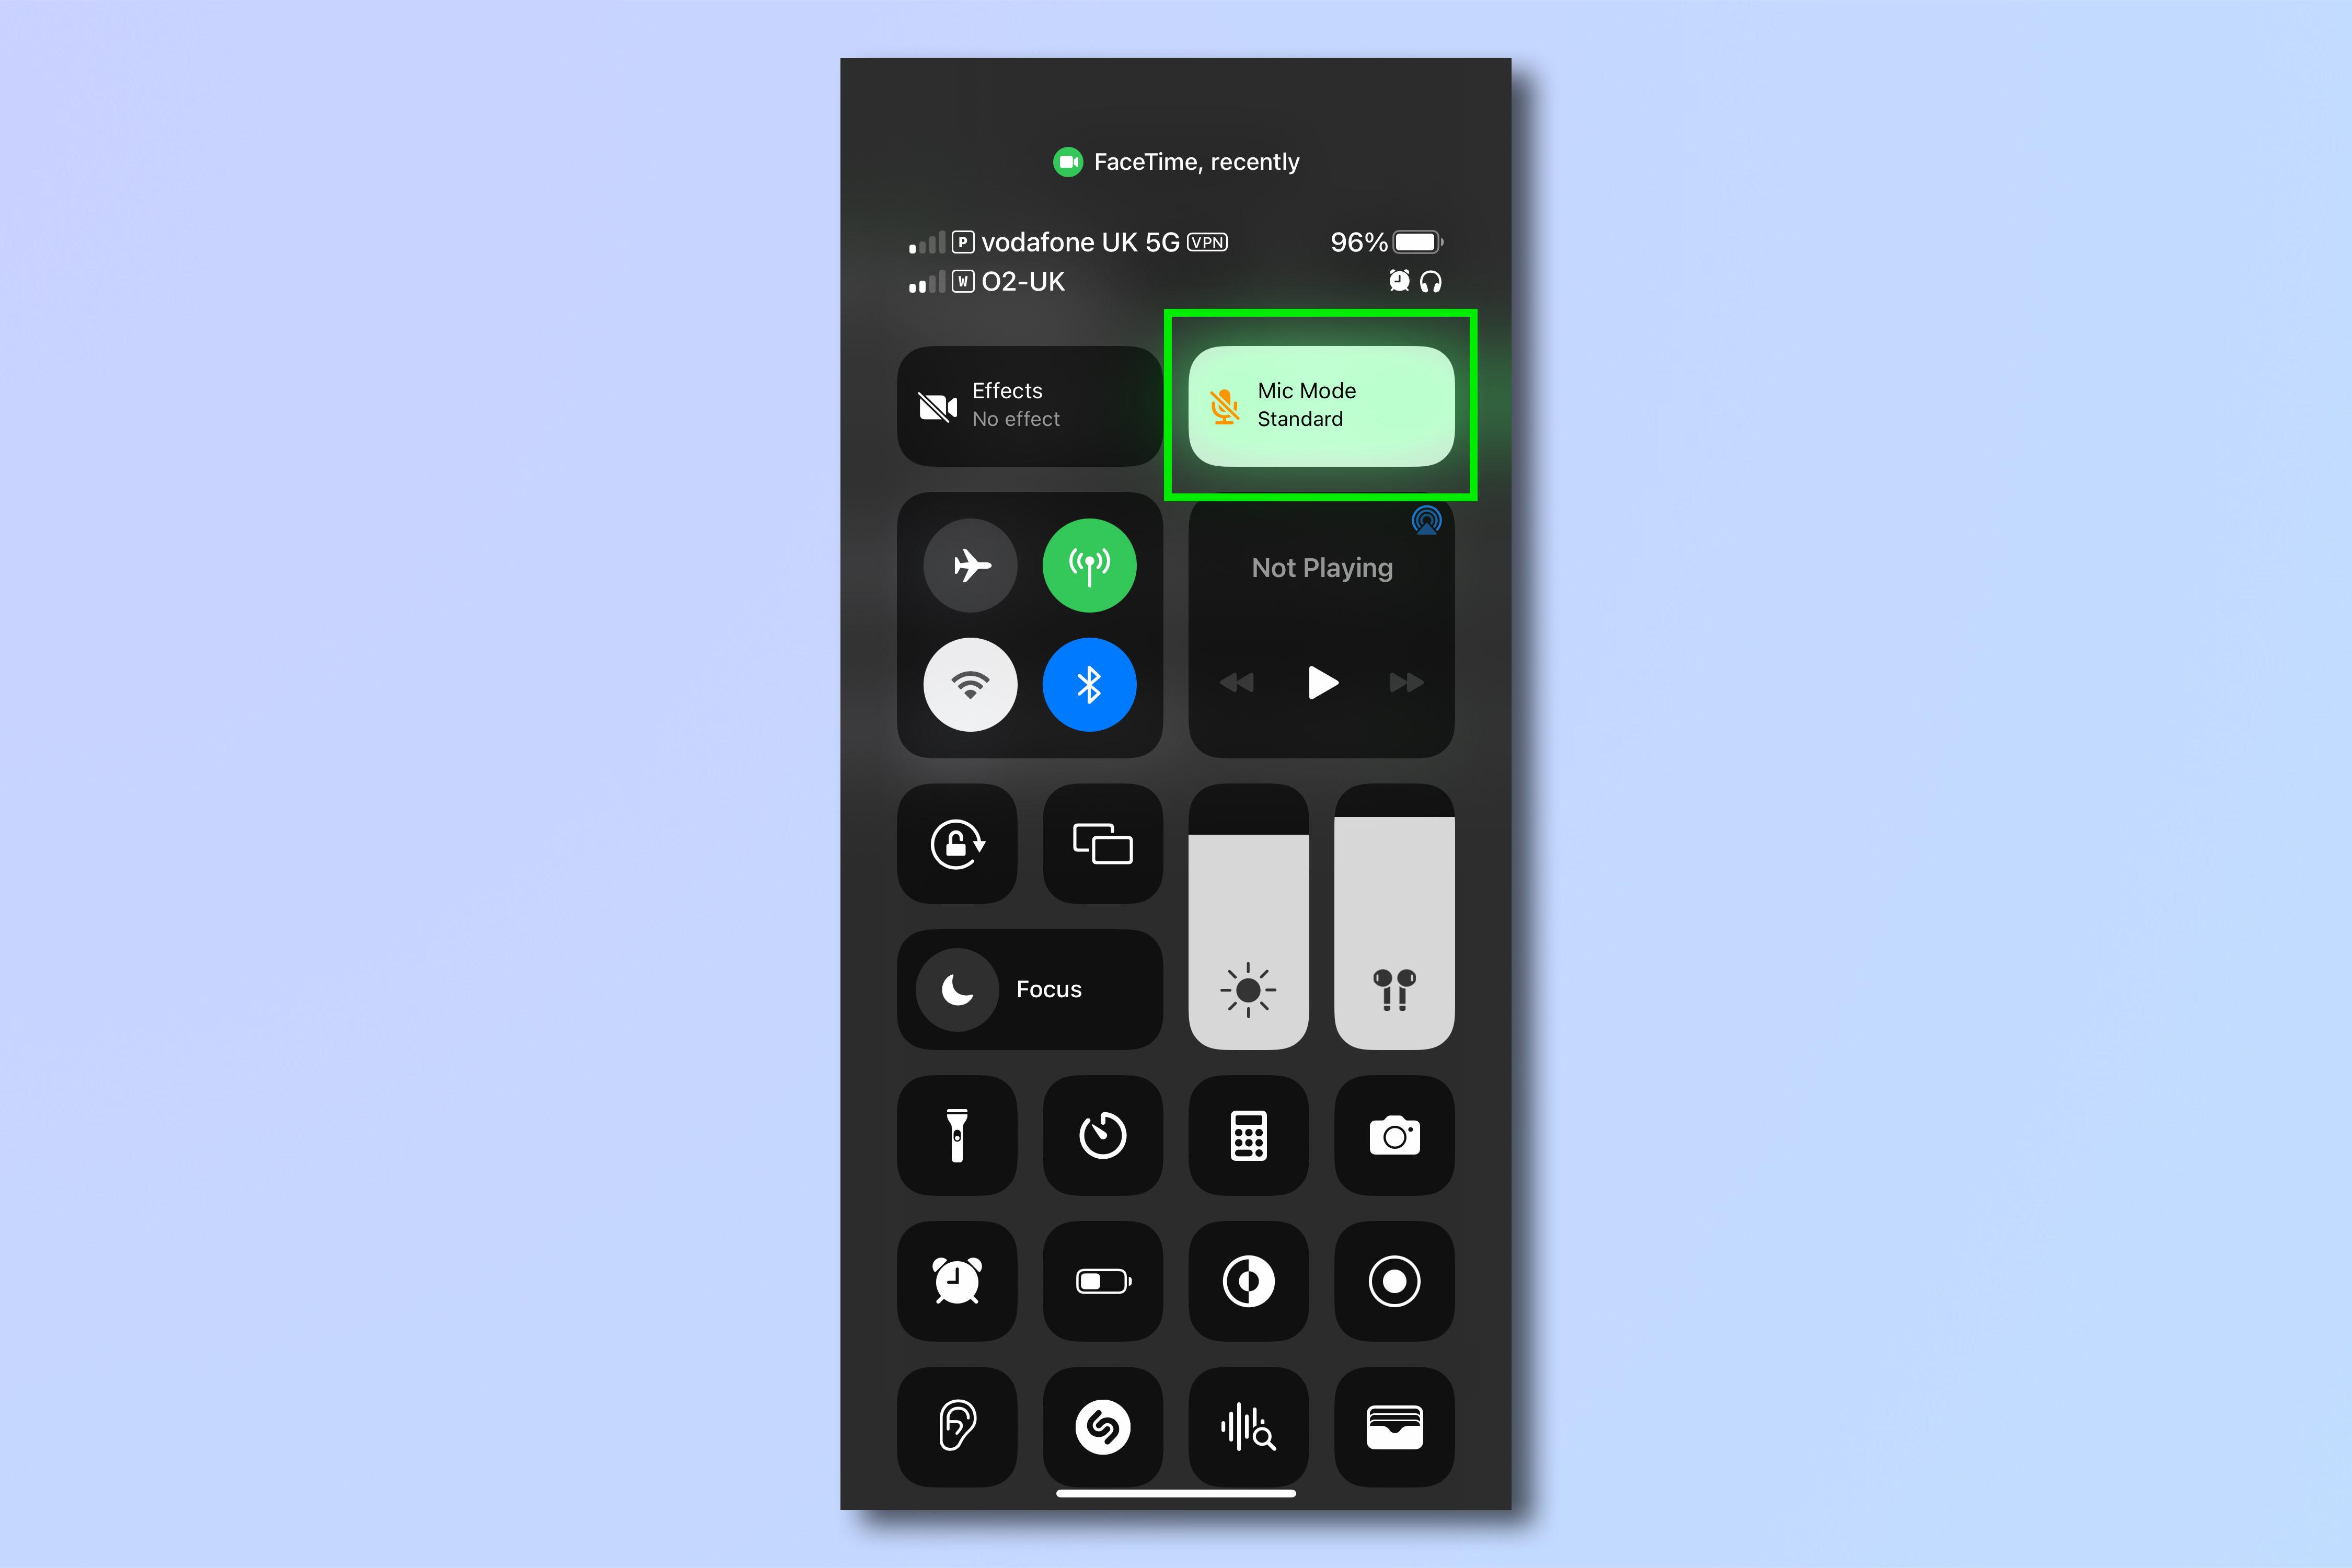
- Open Control Center
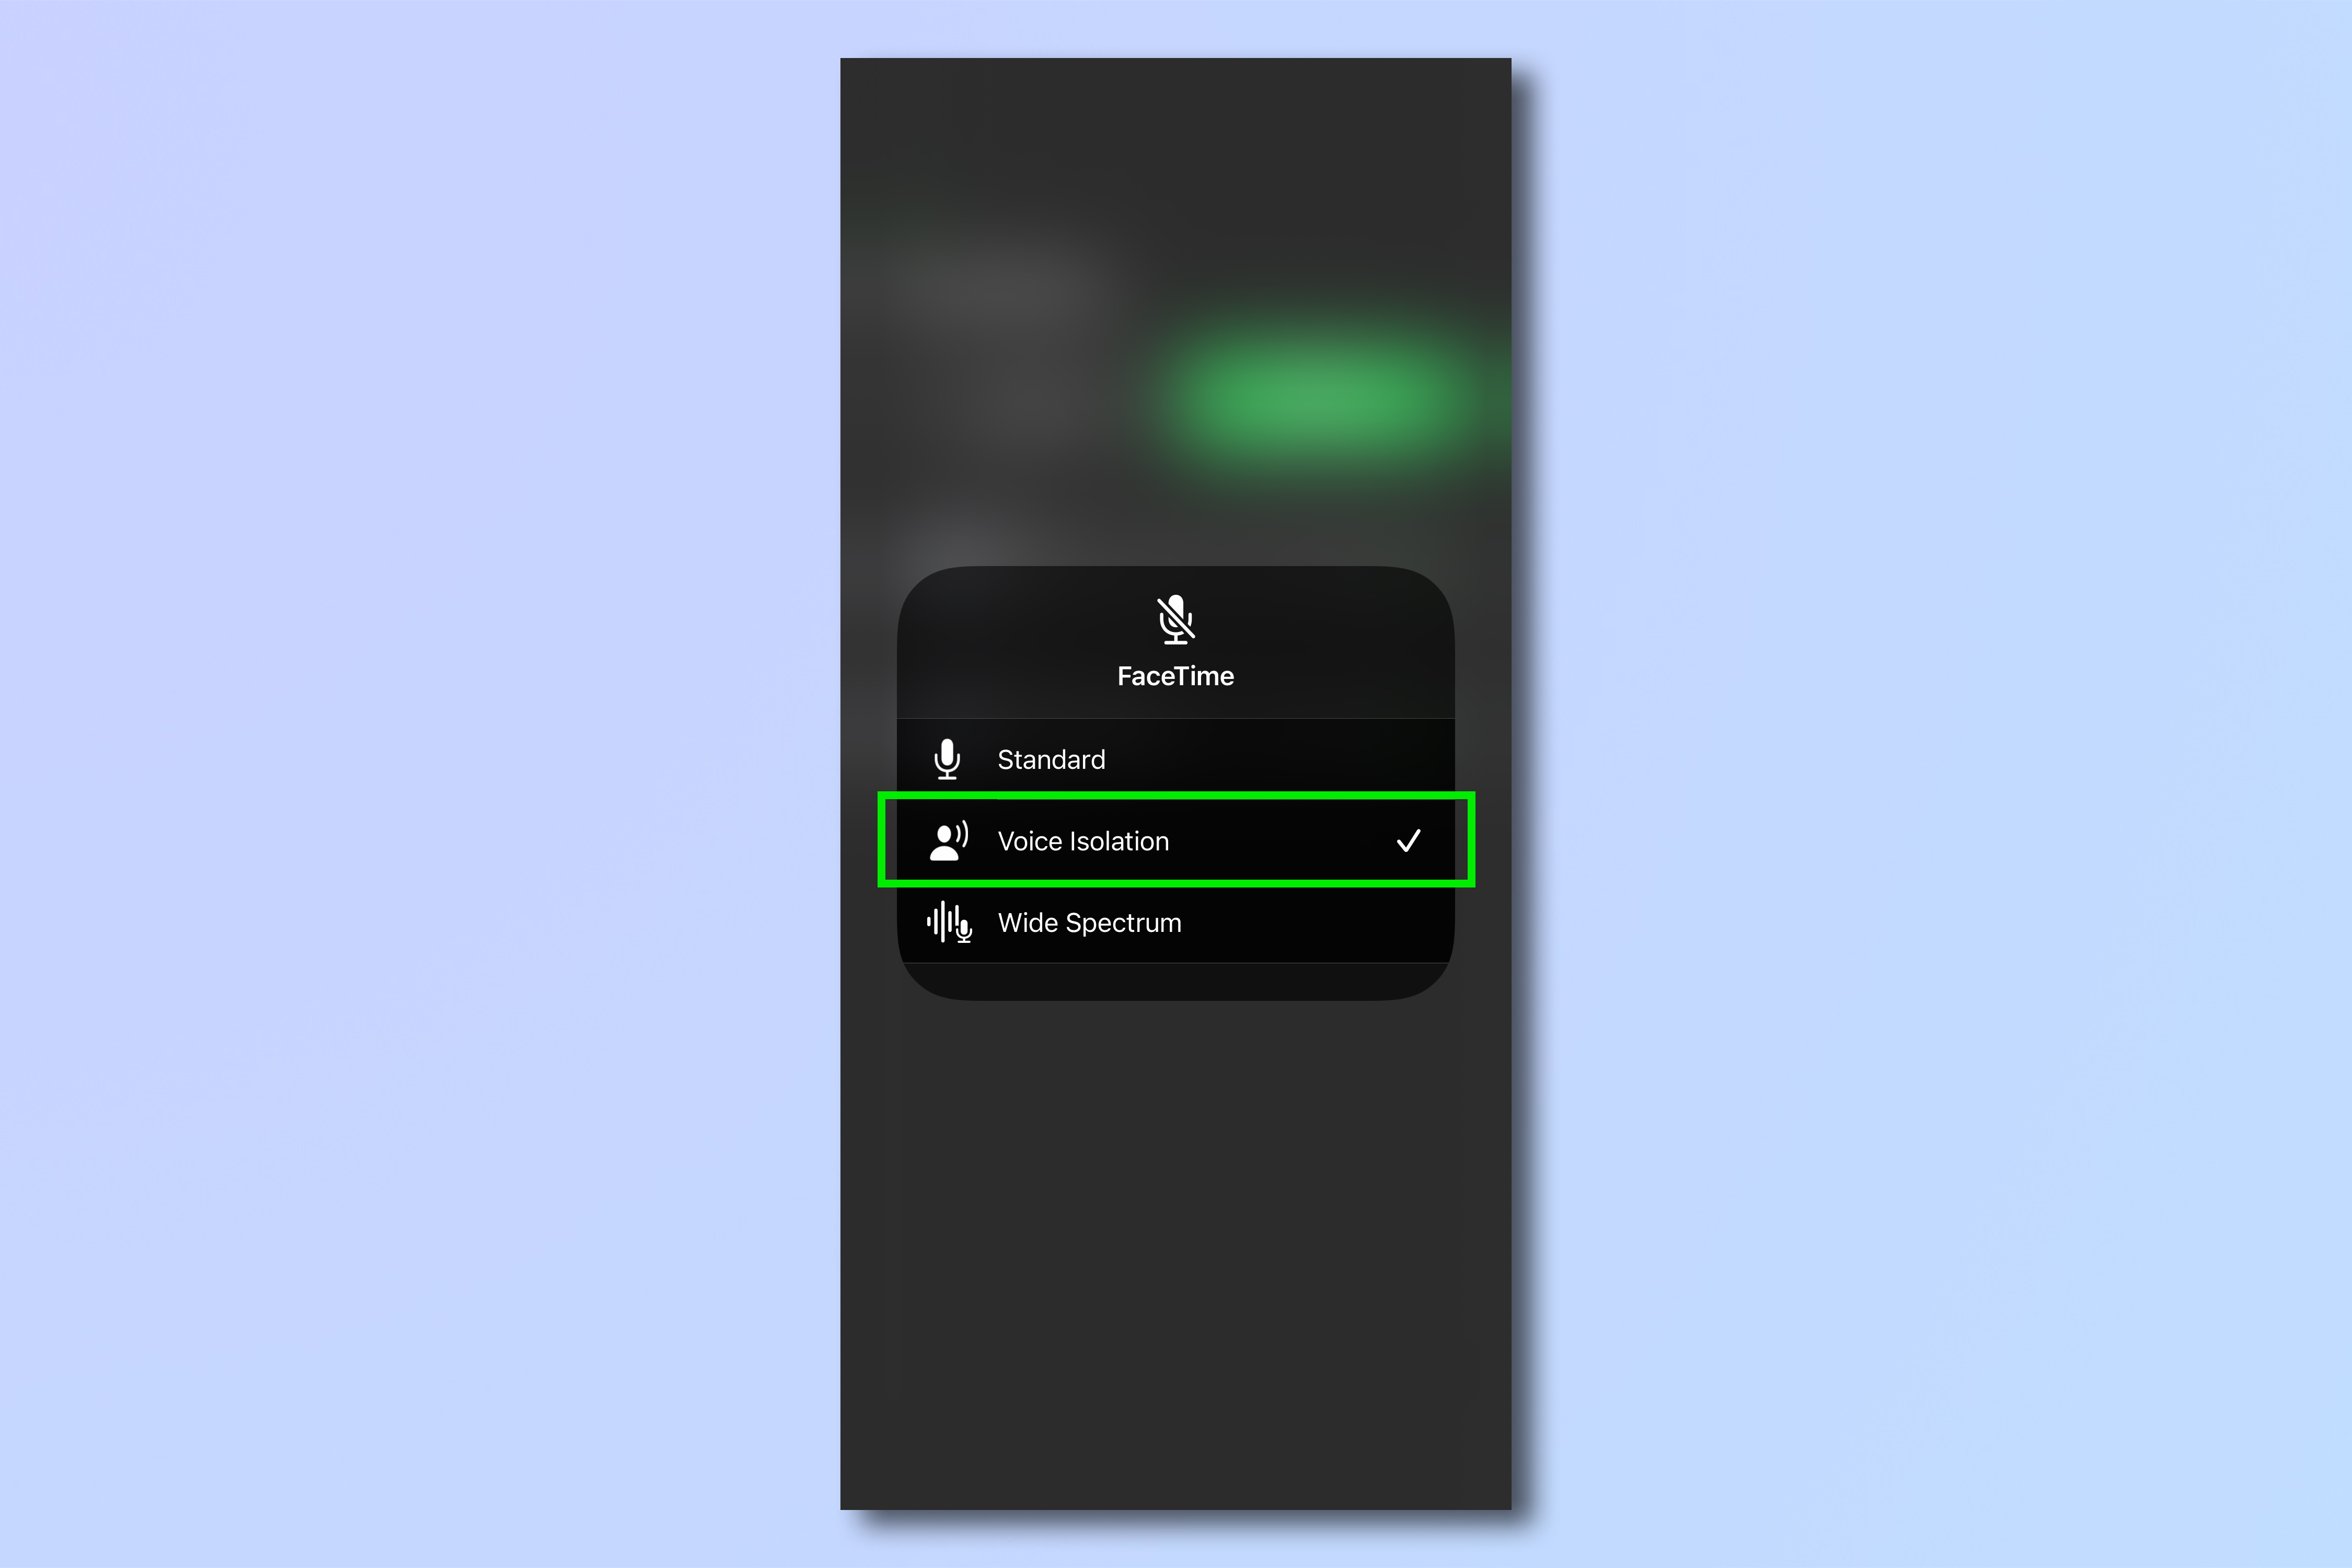
- Tap the Microphone icon, then Voice Isolation
Read on to see detailed instructions for each step.
1. Start a call using the Phone or FaceTime app.
2. Pull down from the top of the screen to open Control Center.
Get instant access to breaking news, the hottest reviews, great deals and helpful tips.
3. Tap the microphone icon (top right) to open the Mic Mode settings, then select Voice Isolation.
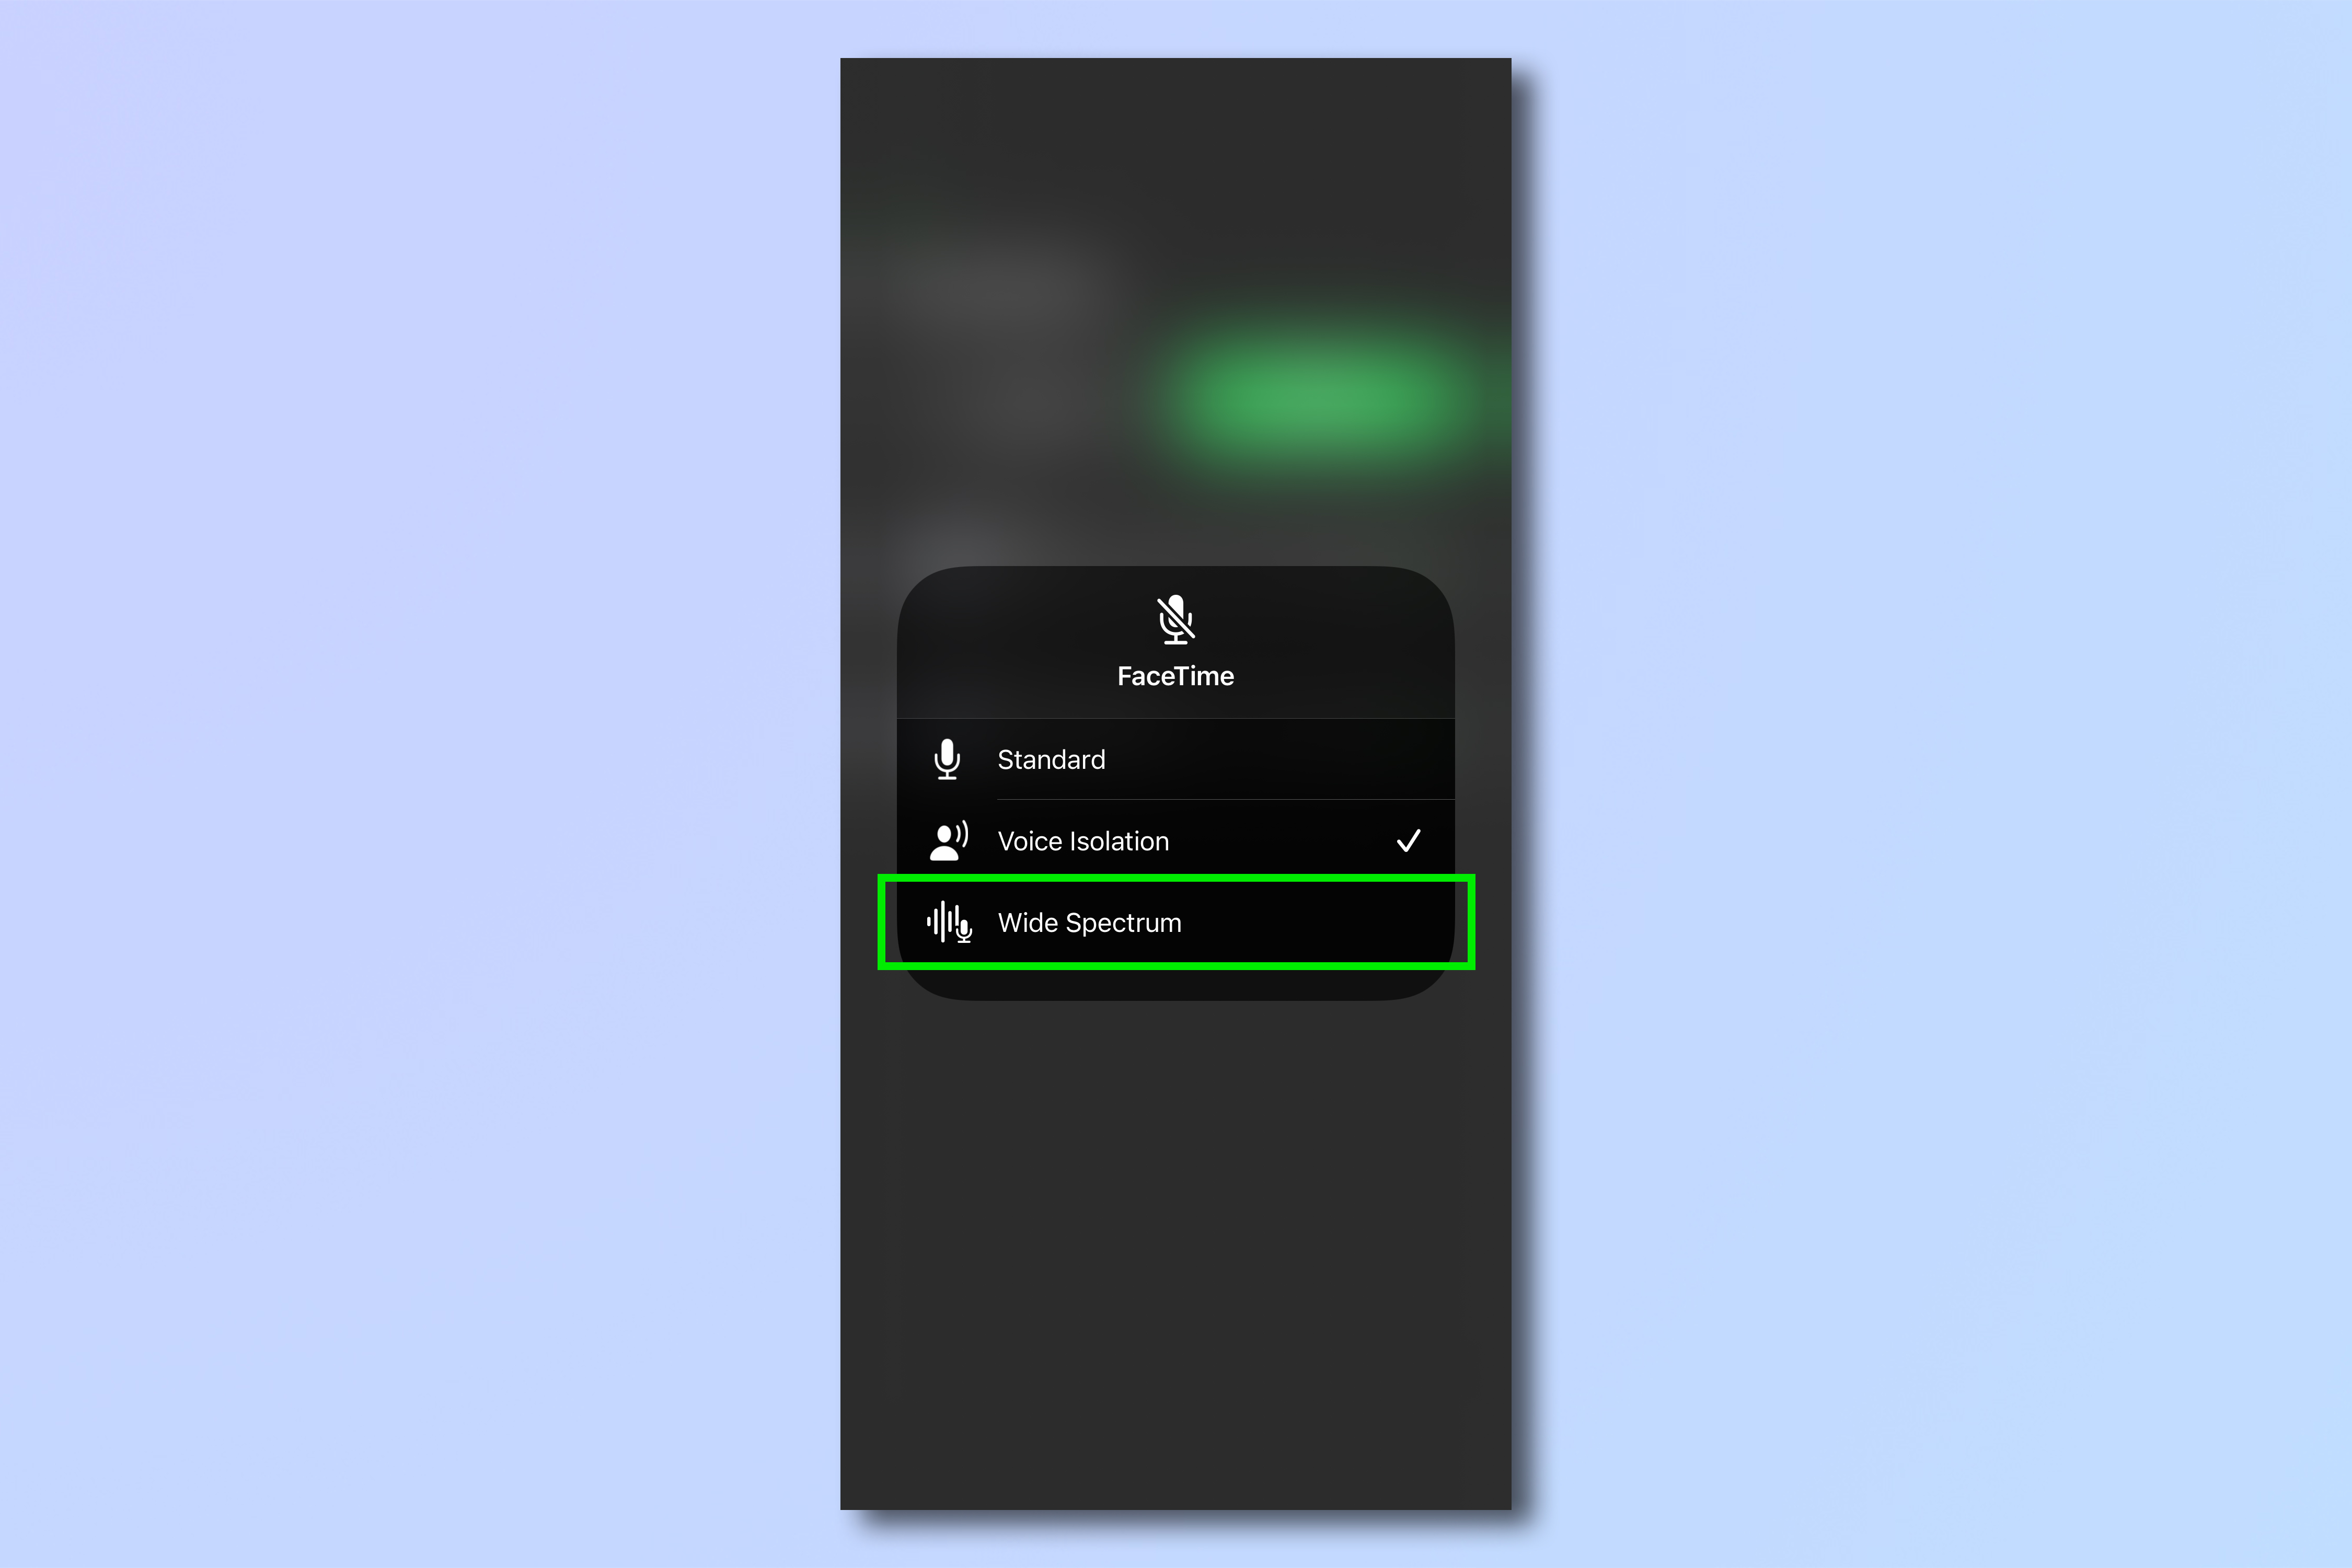
4. Alternatively, select Wide Spectrum from the Mic Mode menu to allow your iPhone to pick up and prioritize background sounds.
Now that you know how to enable Voice Isolation on iPhone, why not check out our other iPhone guides, including how to set up a Wi-Fi hotspot on iPhone, how to make your old iPhone last longer, how to clear RAM on iPhone, how to set TikTok videos as iPhone wallpapers and how to use the built in level on iPhone.

Peter is a Senior Editor at Tom's Guide, heading up the site's Reviews team and Cameras section. As a writer, he covers topics including tech, photography, gaming, hardware, motoring and food & drink. Outside of work, he's an avid photographer, specialising in architectural and portrait photography. When he's not snapping away on his beloved Fujifilm camera, he can usually be found telling everyone about his greyhounds, riding his motorcycle, squeezing as many FPS as possible out of PC games, and perfecting his espresso shots.
 Club Benefits


