How to clean headphones and improve the sound quality
Here’s how to clean headphones and why you should be doing it
Knowing how to clean headphones can really improve the sound quality. Over time headphones collect all sorts of gunk in their drivers and can lose their seal when the padding starts to crumble and fall apart. Cleaning your headphones not only improve their sound quality but they can lengthen the device's lifespan as well, so it’s well worth taking the time to do this.
So why do they get dirty in the first place? With everyday use, even the best headphones will inevitably develop dust and debris in every crevice — even residual earwax can find its way into the cups. You may not spot this unless you own a brightly colored design, but it’s there, and it’s why you need to take the time to clean your headphones. If you don’t do this, over time it will impact the sound quality of the device; after all, if residual dirt blocks up the speaker, it can’t perform as effectively.
Considering headphones can be very expensive, you will need to take care as you clean them. Luckily the process is fairly simple and all it takes is a few household products and some TLC. Here, we take you through exactly how to clean headphones — both over-ear and on-ear, answering any questions you may have along the way.
If your AirPods have seen better days, be sure to also check out how to clean AirPods and how to clean an AirPods case.
How to clean headphones
Microfiber cloths
Rubbing alcohol
Dish soap (optional)
Soft-bristled toothbrush (optional)
Before we begin, it should be mentioned that if your manufacturer offers independent cleaning advice, you should follow that first. Depending on the model and components, some headphones may require different treatment.
1. Switch off and unplug — Make sure your headphones are unplugged or powered off if you’re using a cordless design. Safety first.
2. Extend the headband — Open up the headband as much as you can on both sides, even if it’s further than the setting you would usually use. This is so that you can see all of the dust and debris which may have become trapped on the inside.
Get instant access to breaking news, the hottest reviews, great deals and helpful tips.
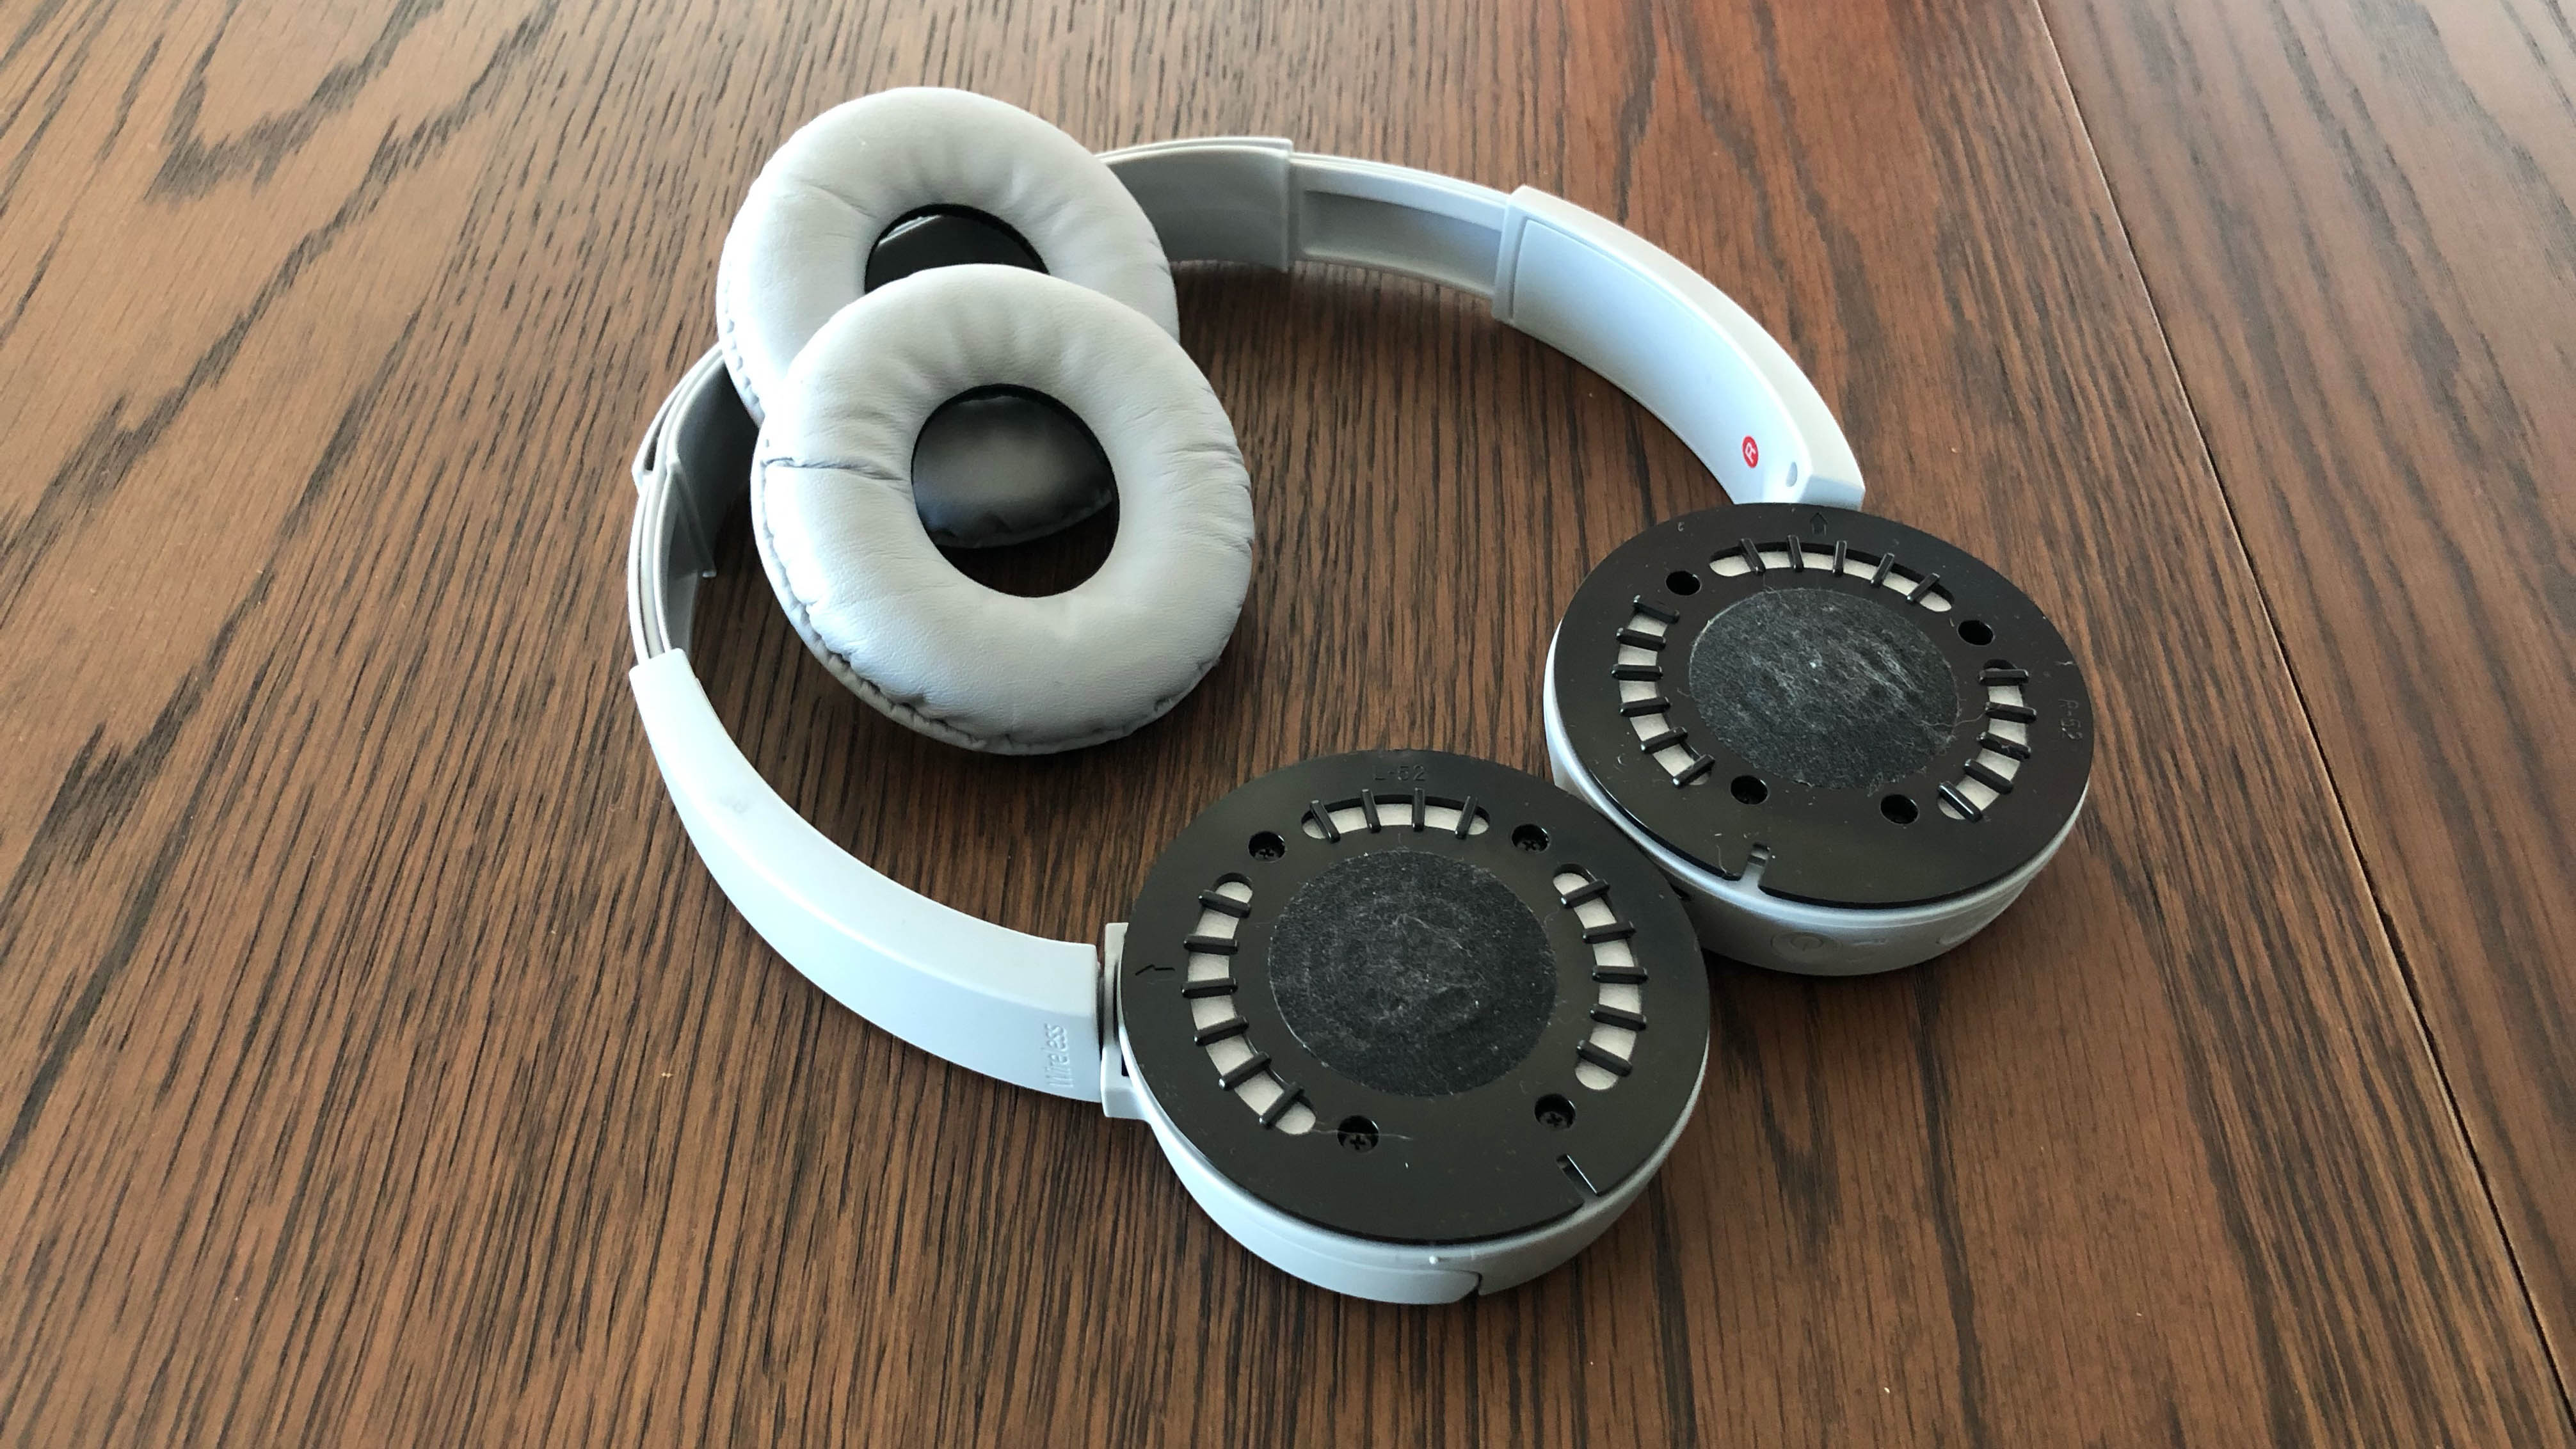
3. Remove the ear pads — To give your headphones a thorough clean, you’re going to have to disassemble them. Remove the cushioned ear pads following the manufacturer’s instructions and set aside.
4. Clean the exterior — If you’re dealing with light, everyday dust and debris, you can simply use a dampened microfiber cloth to wipe down the headband. Run it along both the inside and exterior of the band, although be careful not to wipe over or let excess water get into the ear cups or any electrical components.
For heavier dirt and debris, you can first use a soft-bristled toothbrush to shift the dust in any crevices of the headband, prior to wiping down with the cloth. Any manual toothbrush can work for this, such as these Colgate Extra Clean Full Head Toothbrushes ($5.69, Amazon). You can also use a tiny amount of soapy water if water alone is struggling to shift the grease and grime. If you opt for this method, wipe the soap away with a dampened cloth before proceeding to the next step.
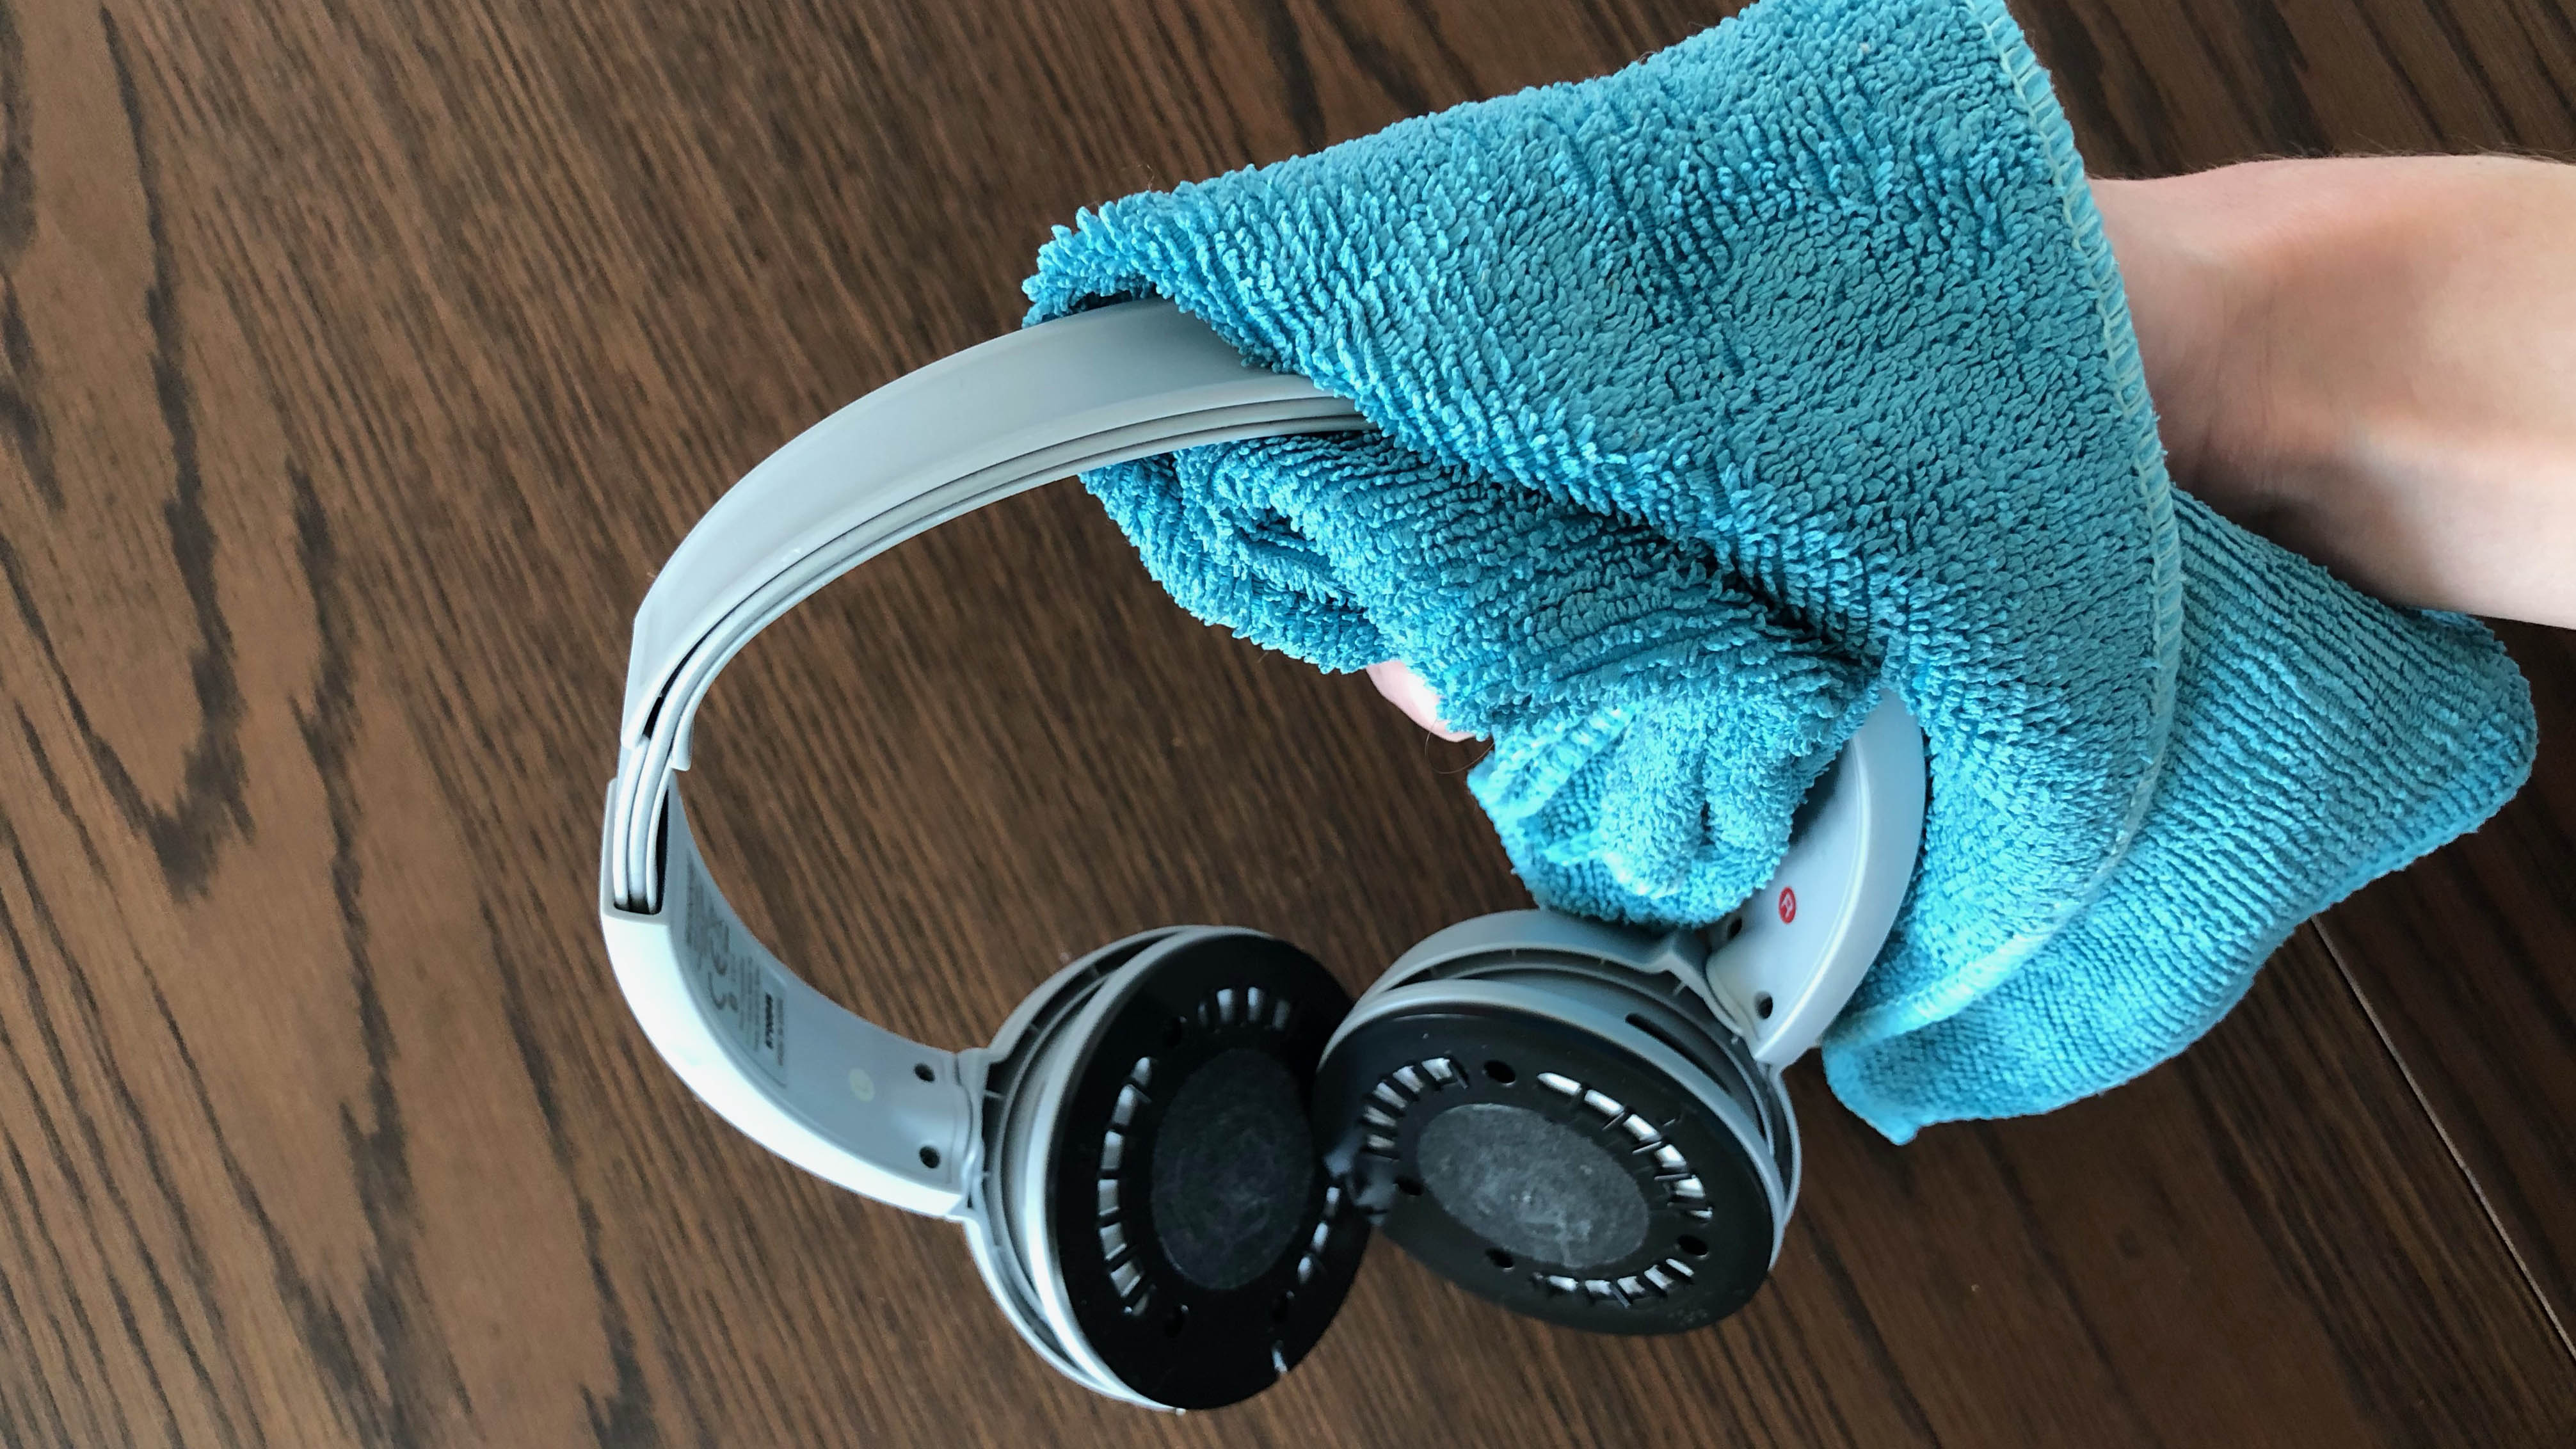
5. Clean the cups — You will have to be very careful as you clean the exposed cups attached to the headband; the speaker drivers are very delicate and can be easily compromised by excess water. Use a very lightly dampened microfiber cloth and brush over the surface, while holding the cups inverted so that the moisture steers clear of the drivers.
Our Audio Editor, Lee Dunkley, says: ‘Headphones and earbuds contain delicate speaker drivers, so it’s important to go about any cleaning task with care so as not to damage the components inside. Using any liquid near audio components should always be approached with caution to avoid any permanent damage to internals. A cotton swab, isopropyl alcohol, and a lint-free cloth are audiophile tools when it comes to cleaning any kind of audio component, and are a useful investment to keep your audio gear looking and sounding its best.’
6. Leave to dry — Dry the headband and cups with a fresh microfiber cloth, doing your best to soak up any residual water. Then set aside to air dry for as long as necessary, ideally several hours.
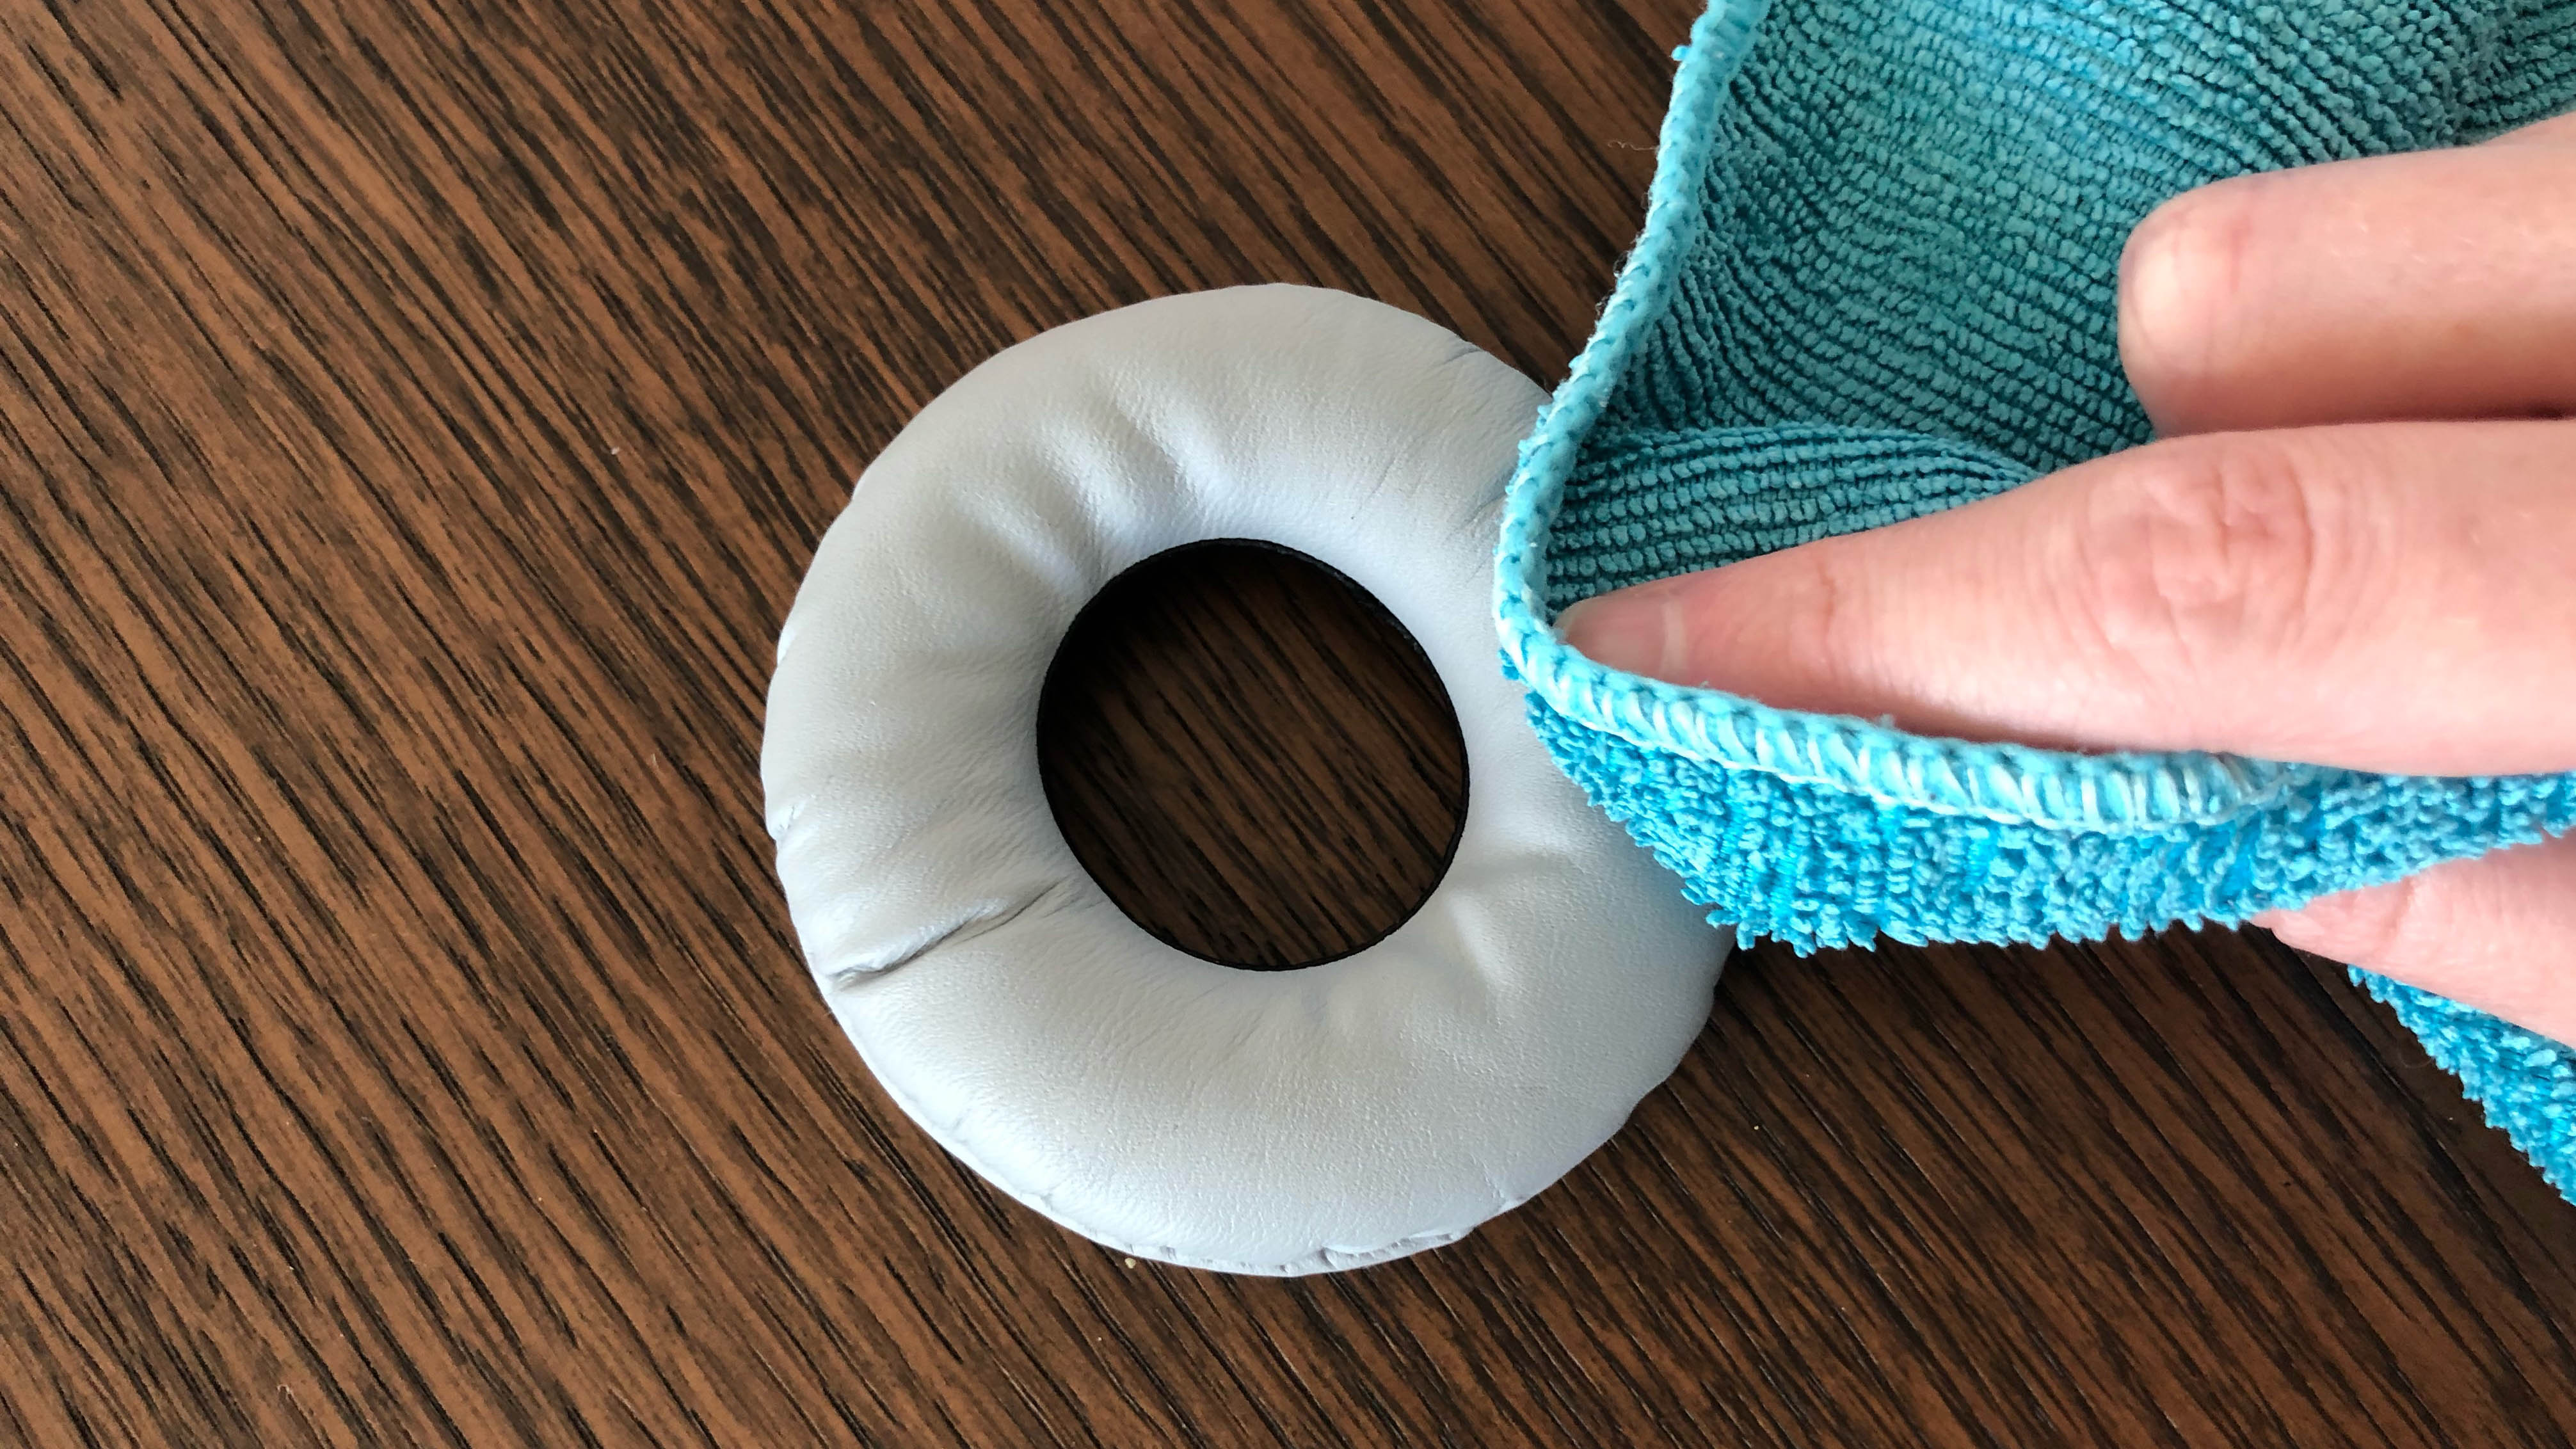
7. Clean the ear pads — Now you’re going to want to disinfect the ear pads with a small amount of rubbing alcohol on a microfiber cloth. Wipe down the surface, but be sure not to soak the material or use too much as alcohol can damage leather — just apply lightly. You can also use cotton swabs for any awkward spots. Set these aside to dry just as you did with the headband.
8. Reassemble — Once dry, reassemble and you’re done. Your headphones should look and sound just like new.
How often should you clean your headphones?
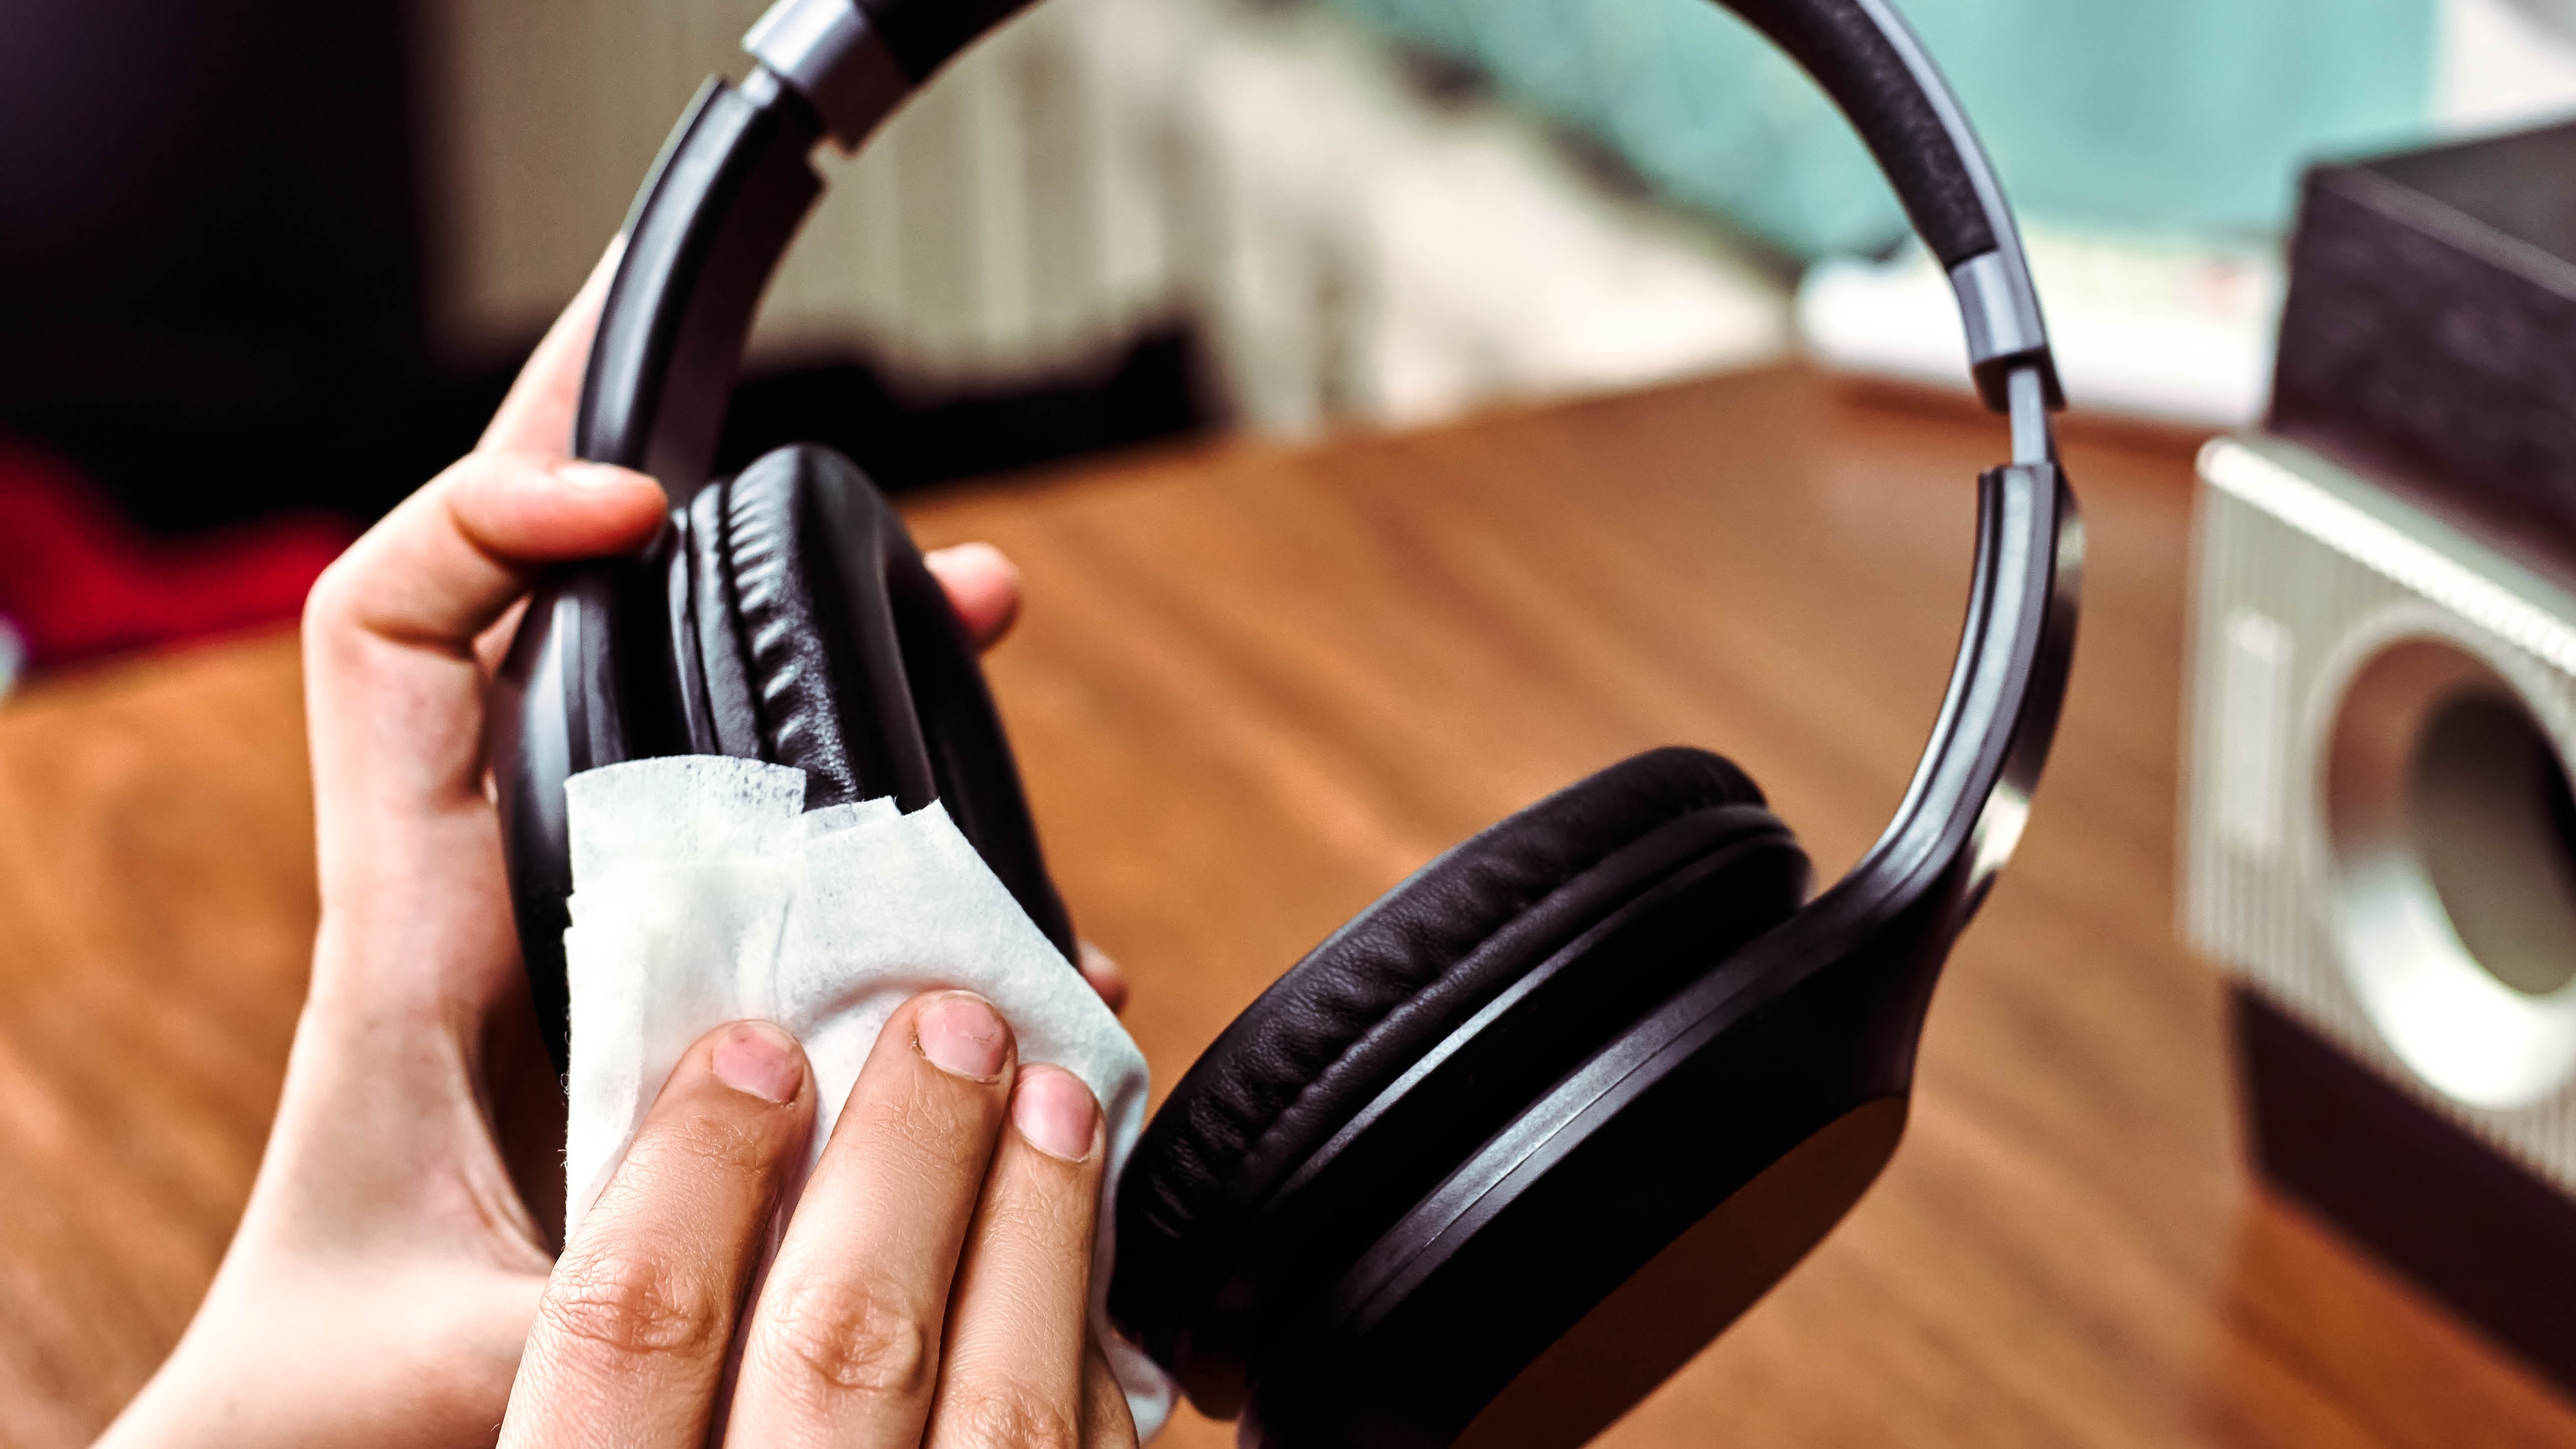
This largely depends on how often you use your headphones as well as what activities you use them during. For instance, someone who enjoys sitting and listening to music will likely need to clean them much less often versus someone who works out while wearing their headphones.
For everyday use, you’re recommended to wipe down your headphones about once a week. Although, if you’re using them to exercise, they should be cleaned and dried after each workout. If you share your headphones with others, they should also be cleaned between each user — that way there’s less chance of ear infections spreading from person to person.
For more tips, tricks and how tos, check out how to clean iPhone speakers, how to clean an iPhone's charging port and how to get water out of your phone.

Katie Mortram used to be a Homes Editor for Tom's Guide, where she oversaw everything from kitchen appliances to gardening tools, as well as smart home tech. Specializing in providing expert advice for cleaning and home manintenance, she now works as Household Advice Editor for Good Housekeeping.
 Club Benefits


