How to clean an Instant Pot — tips to remove grease and grime
Here’s how to clean an Instant Pot, so you can get it working as good as new again
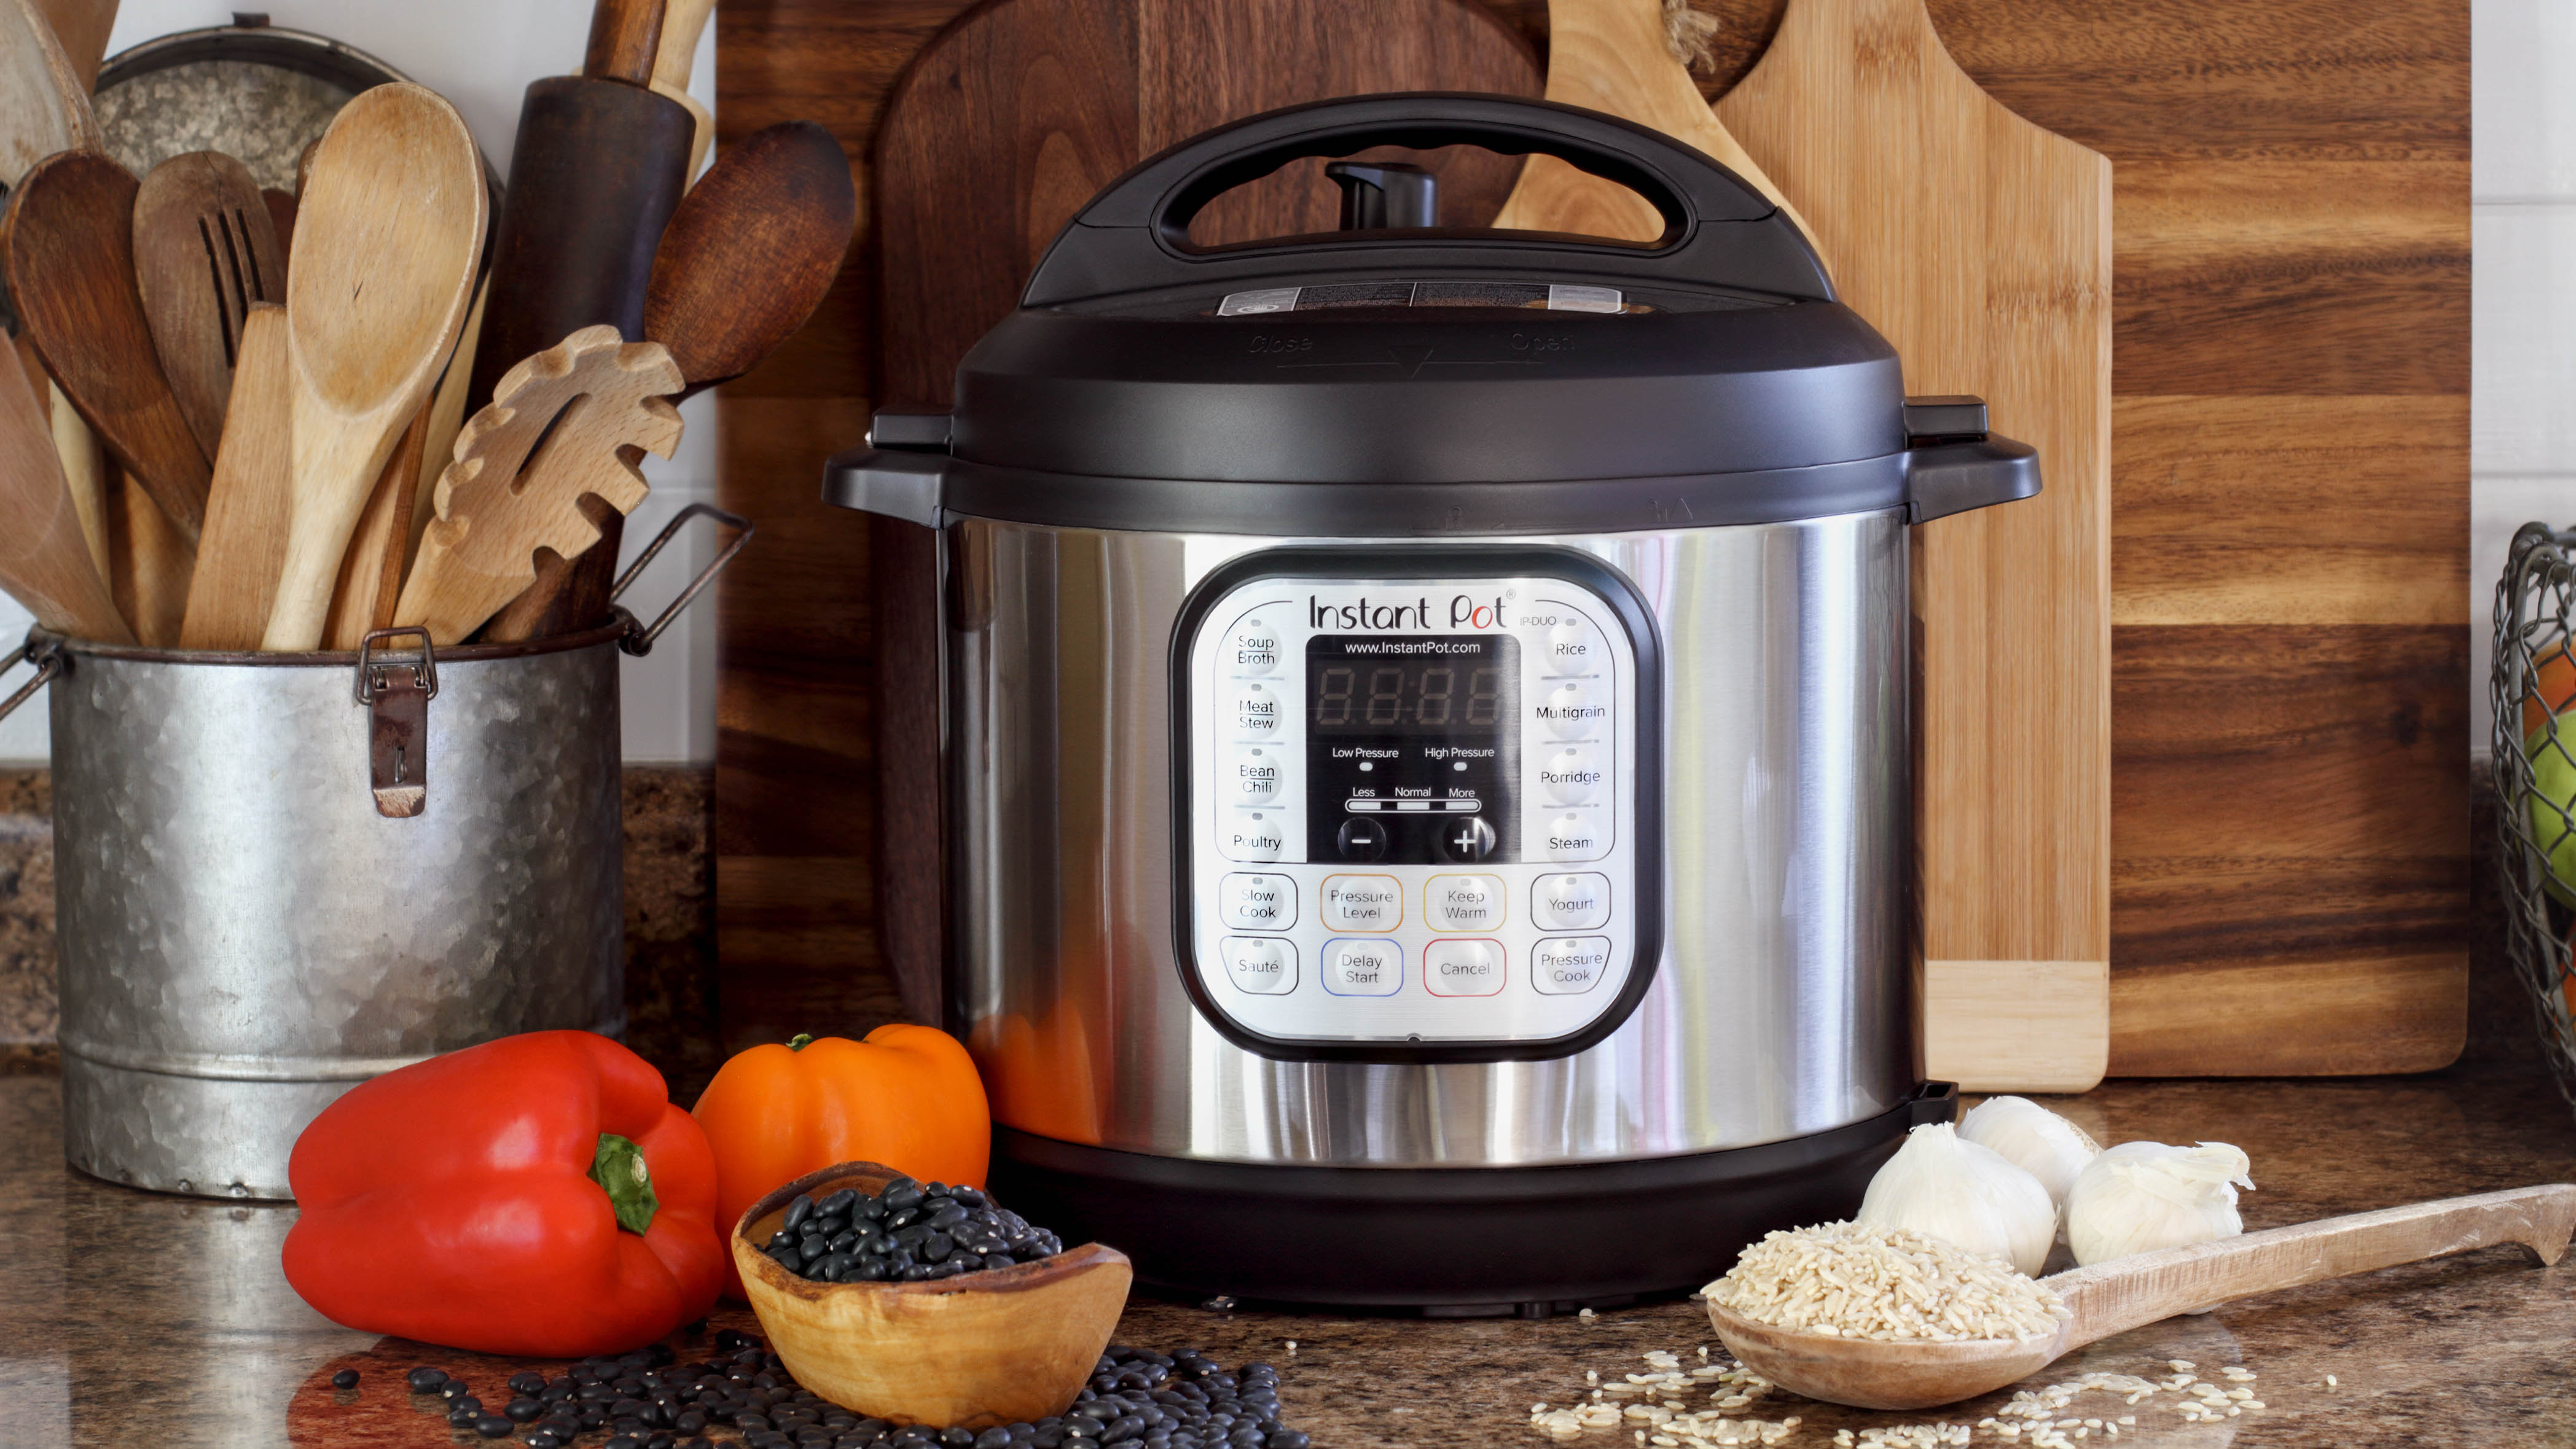
Knowing how to clean an Instant Pot can help your appliance last much longer. Even the best Instant Pots can struggle if they’re not deep-cleaned on occasion. While everyday washing after use will remove immediate food residue, grease and grime can still build up in and around your Instant Pot, resulting in foul smells and a deteriorating performance. In extreme cases, it can even lead to expensive repairs, or replacements — which is why it’s important to give your Instant Pot some TLC once in a while.
Fear not, though. Deep cleaning your Instant Pot isn’t as difficult or as time-consuming as it may sound. All it requires is a few household tools and some elbow grease. Here, we will guide you through the best method to deep clean your Instant Pot, including all its nooks and components, while answering any questions you may have along the way. By the time you’re done, your pressure cooker will look and function as new again, so you can try out all kinds of Instant Pot recipes.
Here’s how to clean an Instant Pot.
How to clean an Instant Pot
Microfiber cloth
Dish soap
Distilled white vinegar
Toothbrush
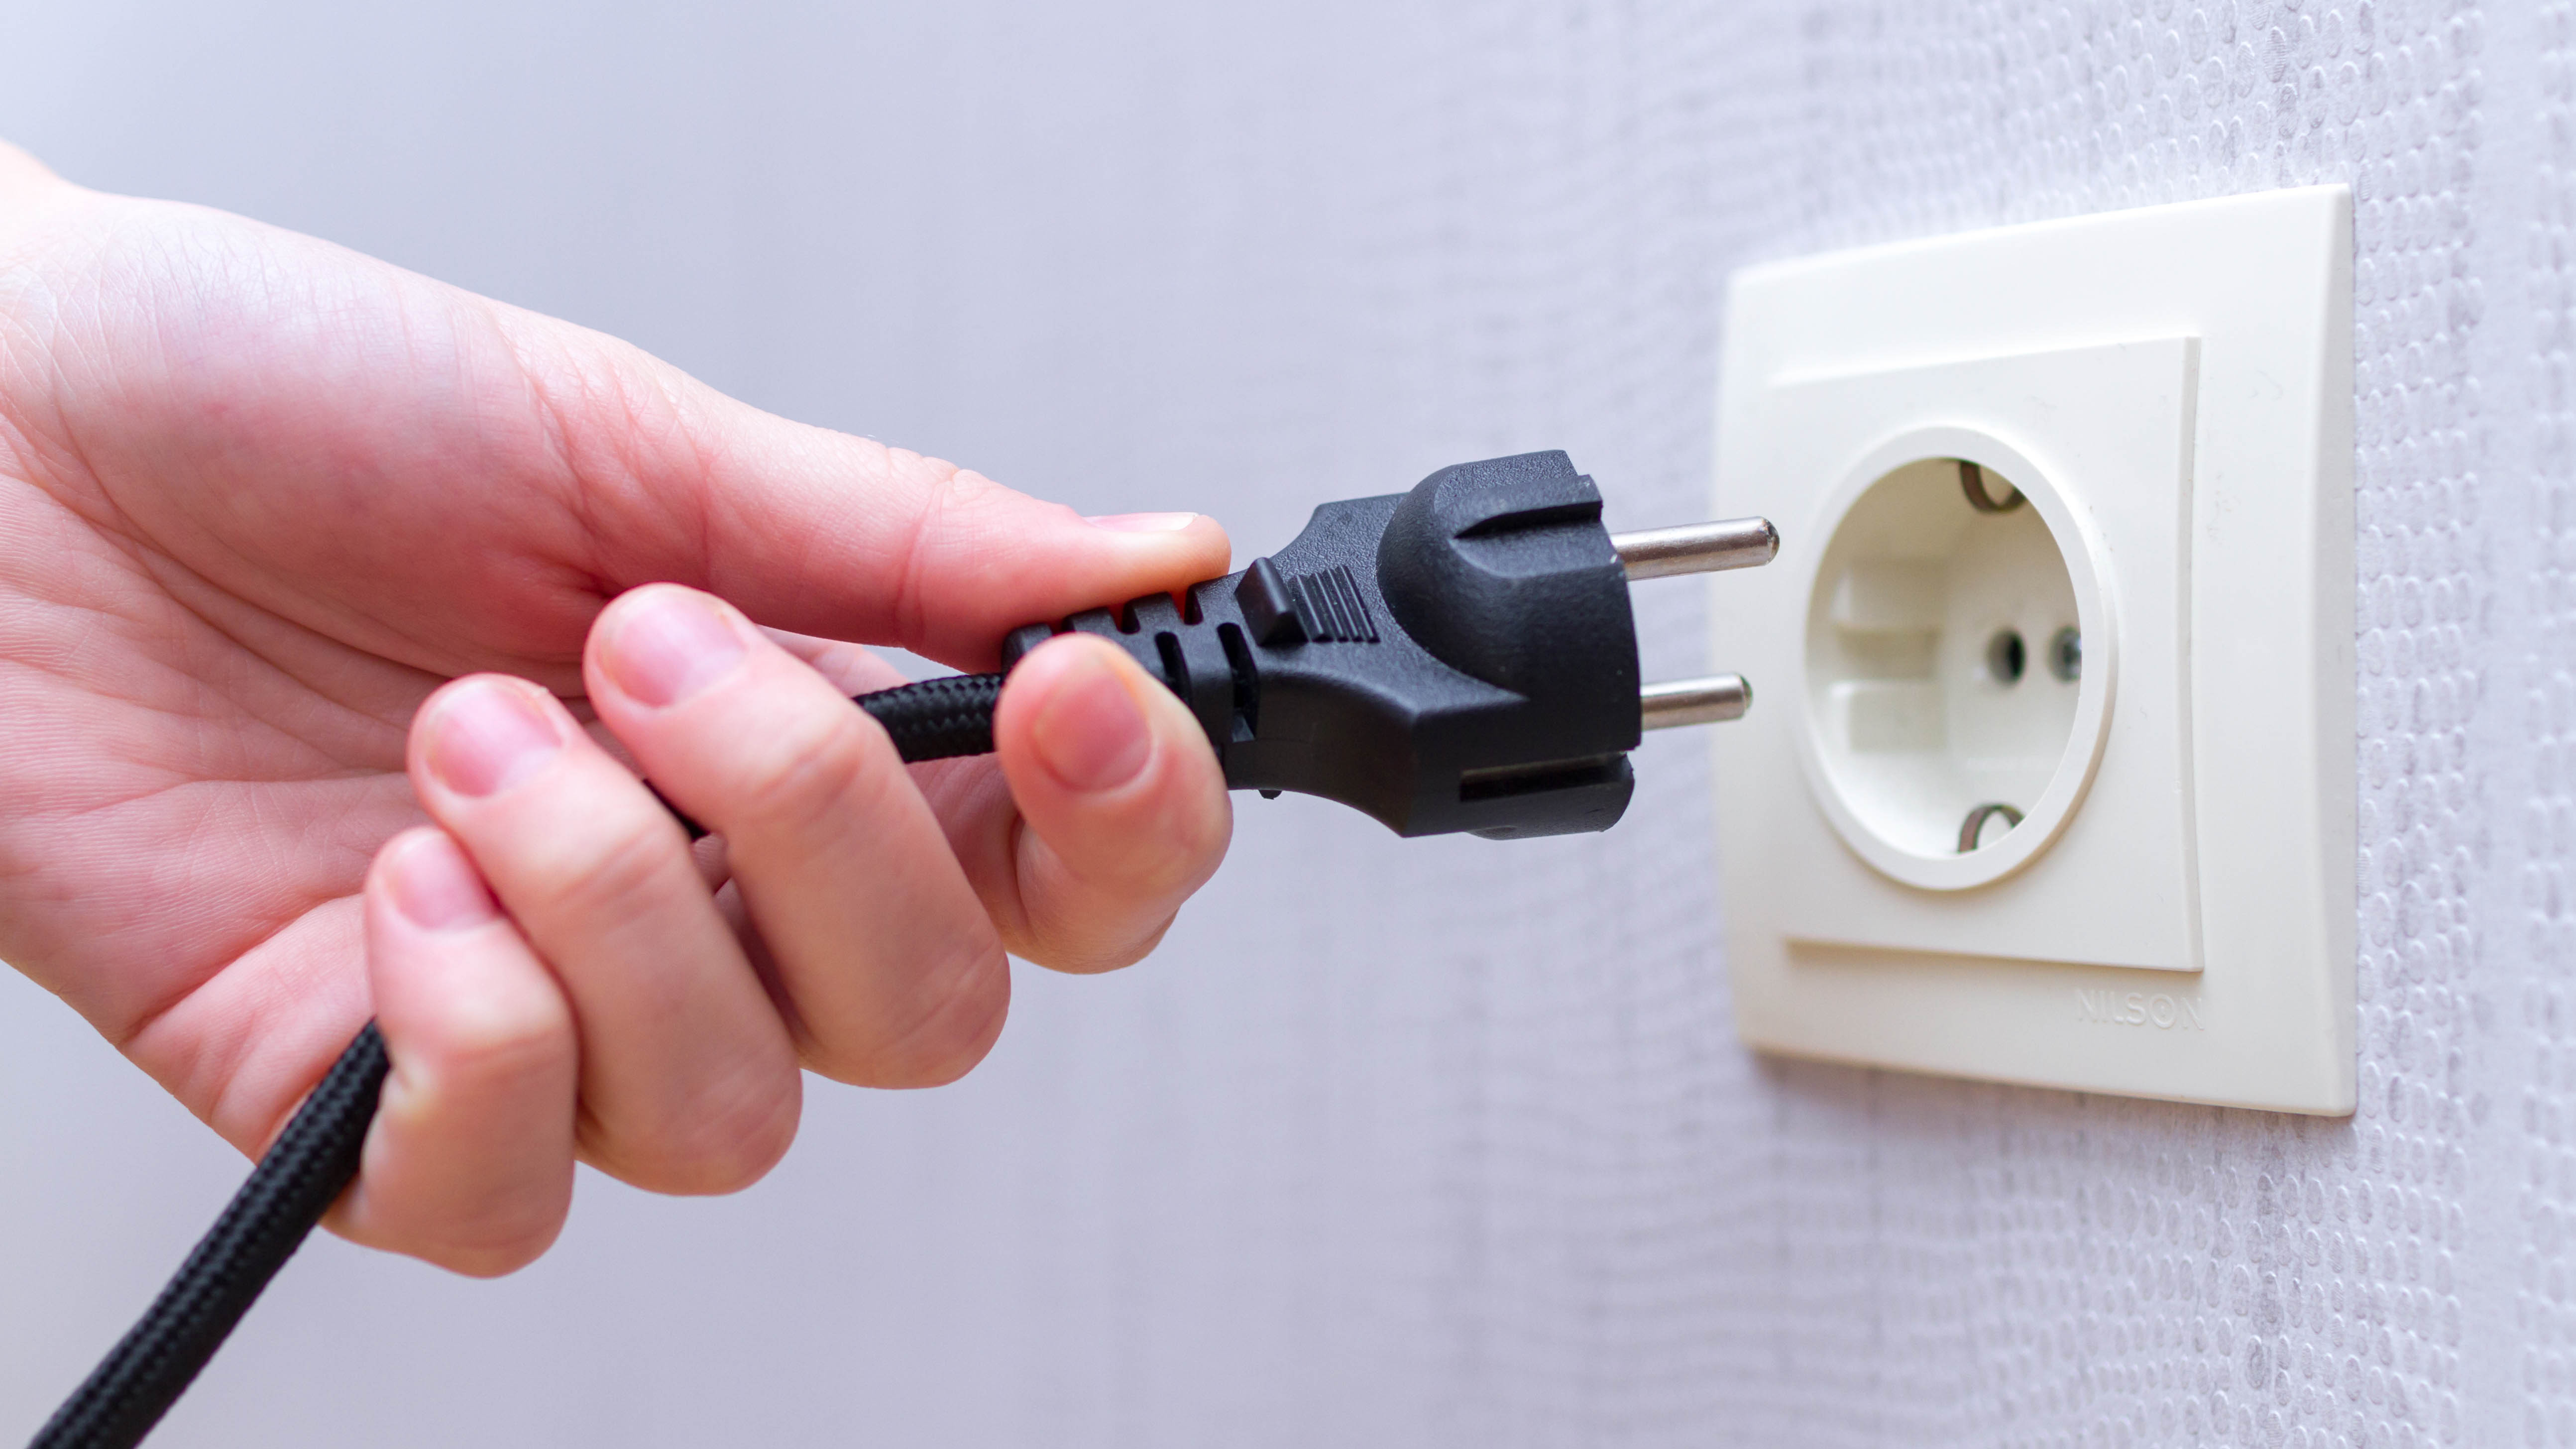
1. Unplug and take apart — Unplug your Instant Pot and let it cool completely before you start cleaning it. It’s also a good idea to disassemble all of the basic parts and components so you can work on each individually.
Separate the lid and inner pot from the base, and locate any accessories you may have stored in your cupboards, such as the steam rack, lid inserts or additional lids. Make sure you have adequate space to work on each.
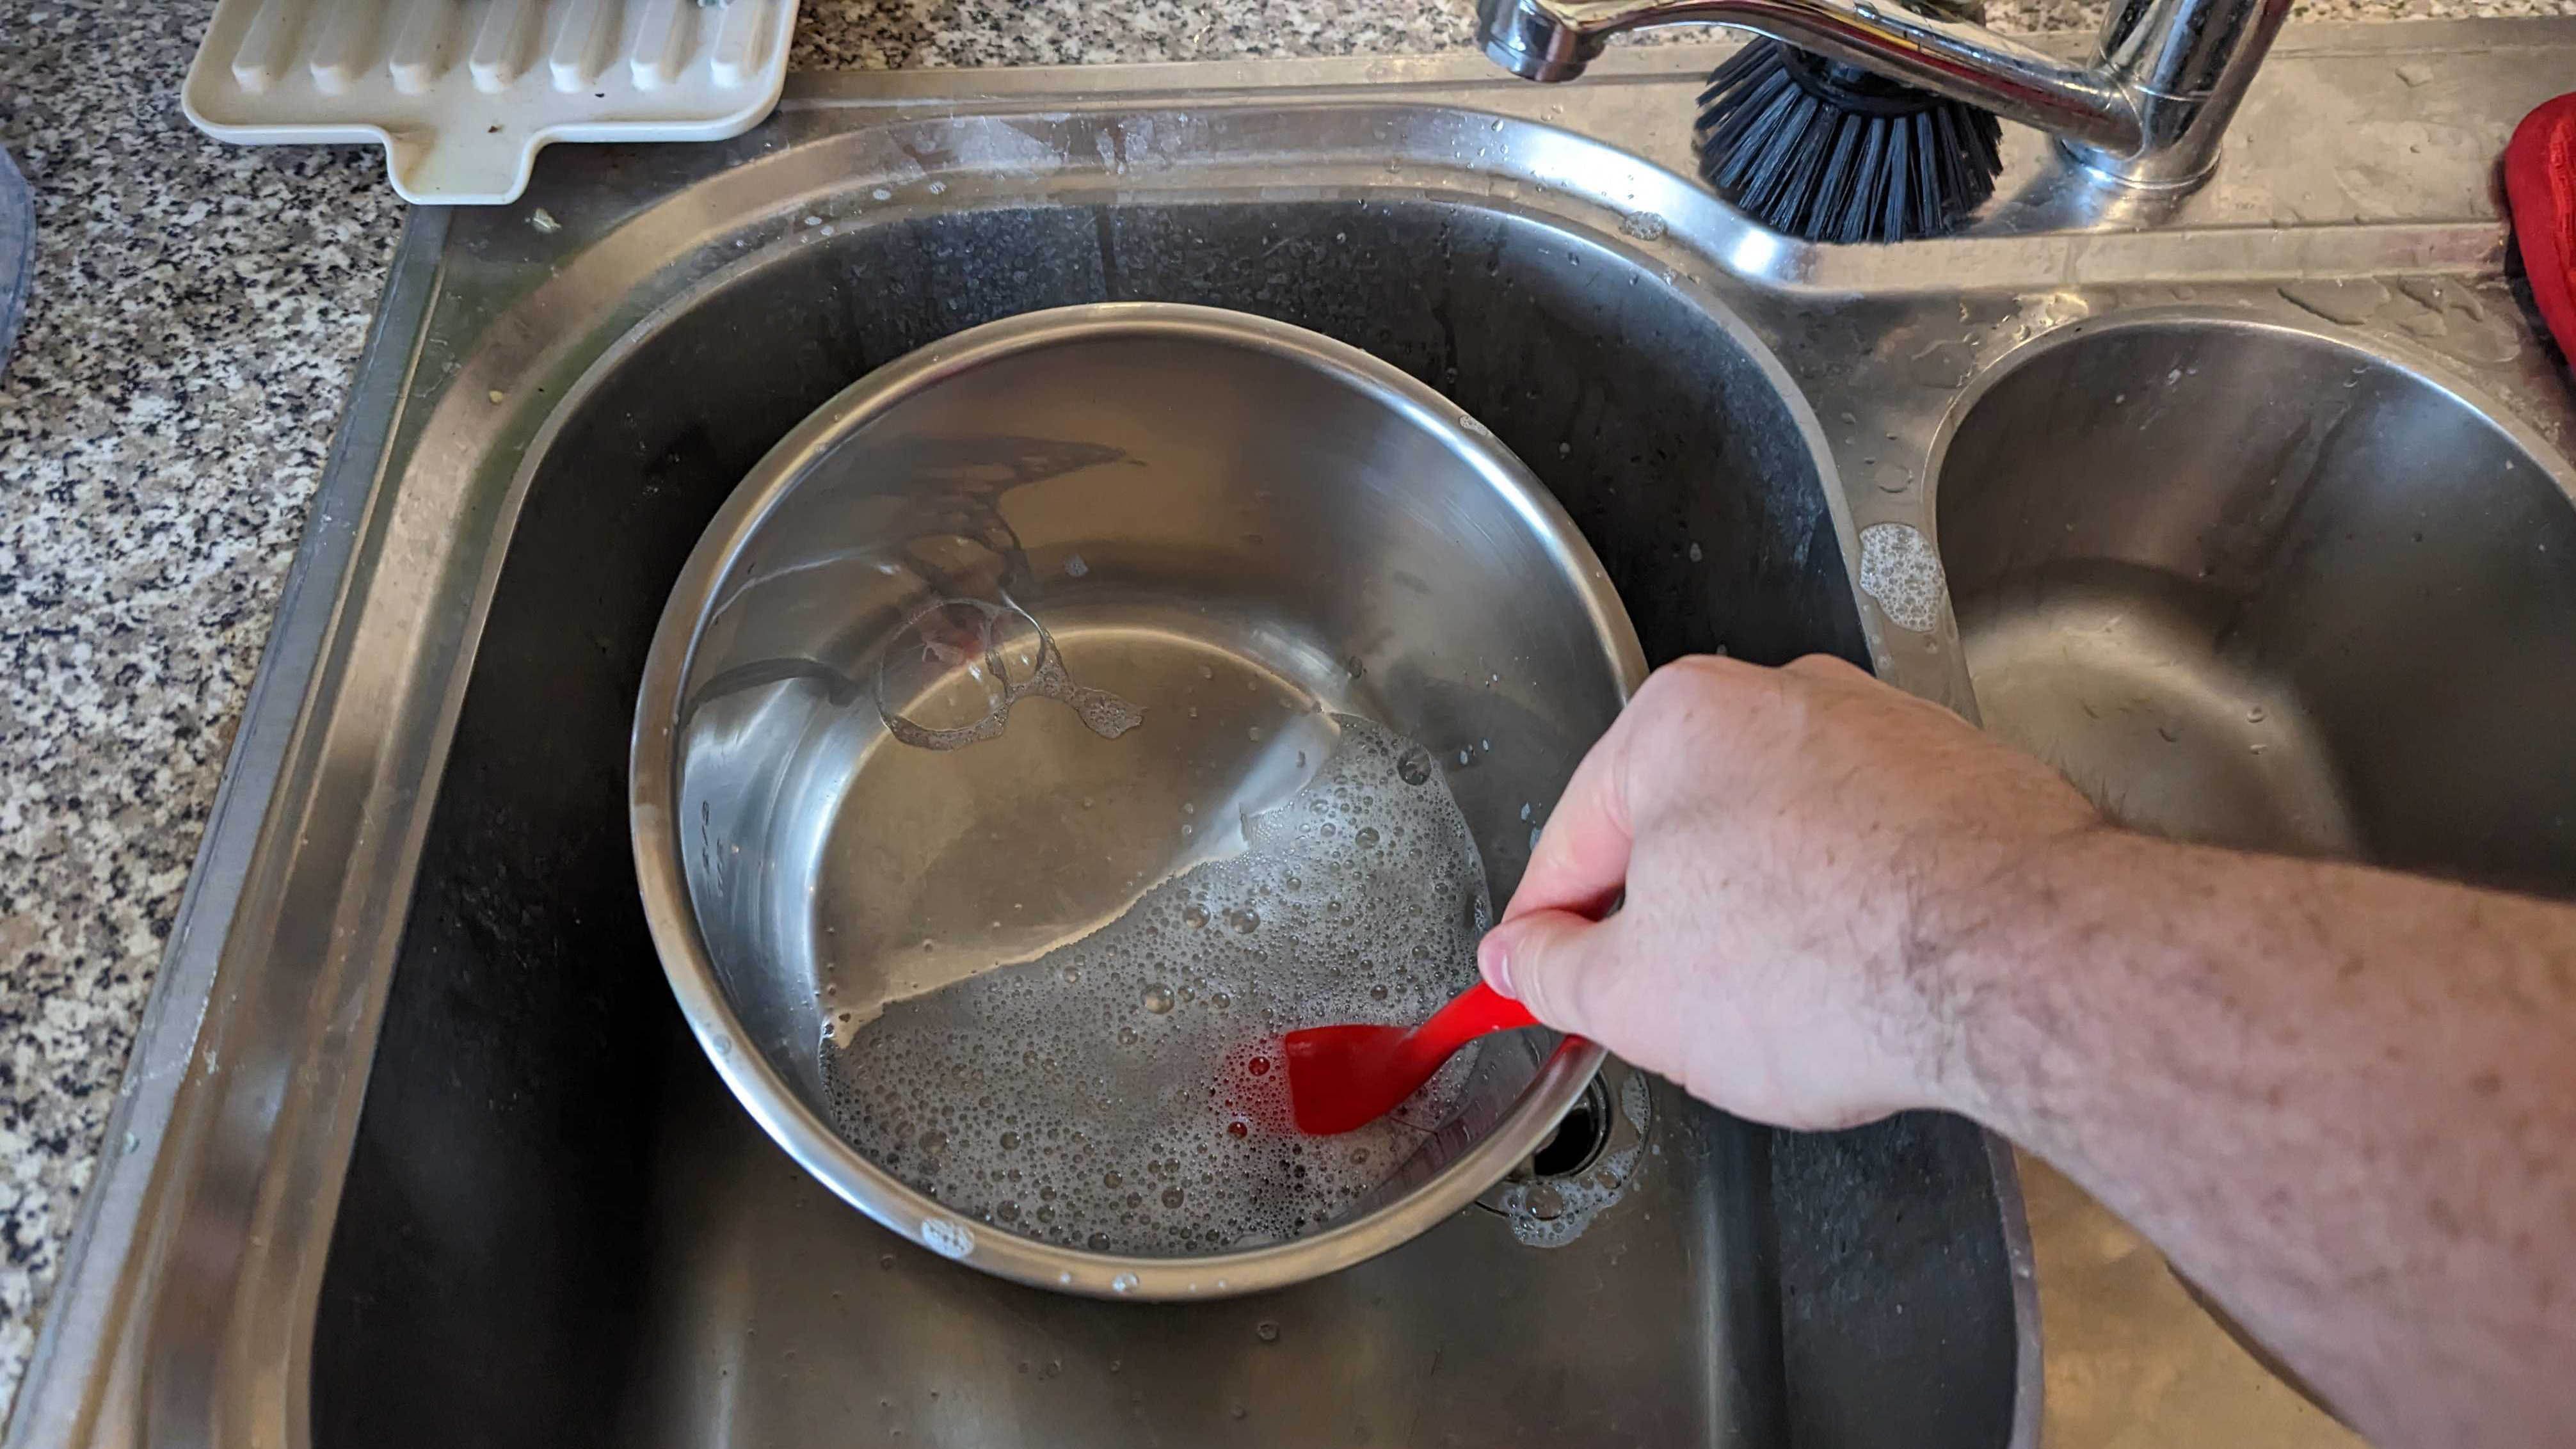
2. Start with the inner pot — Generally speaking, your inner pot will be dishwasher-safe or alternatively you can wash it by hand. So hot, soapy water and a soft microfiber cloth will be sufficient for everyday residue. If you’re dealing with stubborn stains or burnt residue, allow the pot to soak before scrubbing it out. Just make sure not to use steel wool or anything abrasive, as these can scratch the surface. Stick to microfiber cloths or a non-scratch scouring pad, such as Scotch-Brite Non-Scratch Scour Pads ($2.73, Amazon). Be sure to clean the exterior as well as under the rim when you clean the inner pot.
While your inner pot may be dishwasher-safe, it can still show signs of wear and tear, such as watermarks and rainbow discoloration. Each can easily be removed with some TLC. To deal with these stains, simply add a cup of white vinegar to the pot, tip the bowl so it covers the sides, and allow it to sit and work its magic for 5 minutes. Then drain it, wash the residual vinegar away, leave to dry and it should look as good as new.
Get instant access to breaking news, the hottest reviews, great deals and helpful tips.
If marks remain, the vinegar may require longer — scrubbing out your Instant Pot with a microfiber cloth soaked in vinegar can also help. Alternatively, you can use a proprietary stainless steel cleaner, such as Bar Keepers Friend Superior Cookware Cleanser & Polish ($7.32, Amazon).
3. Disassemble and clean the lid — Your Instant Pot lid actually contains many components, each of which you’re going to need to clean. This is likely the most intimidating part of the whole process, but we will walk you through what needs to be done. Bear in mind that not every model comes with all of the below components, so only remove those which are relevant to your Instant Pot.
Flip the lid over and first remove the sealing ring. This flexible, silicone ring can be found on the inside of the rim. Simply take hold of it and slowly pull it out of its fitting until it comes loose. Next, locate the anti-block shield — this can be found towards the edge of the rim and looks a bit like an underturned tea leaf strainer. To remove this, push it towards the rim, while lifting it up at the same time — it may be stiff to remove.
Next, remove the tiny silicone cap on the underside of your float valve using your fingers, but be prepared for the float valve to fall out on the other side. The steam release valve may also be removable on top, simply pull it up to dislodge it. Always, refer to your manual if you require more detailed guidance on how to do any of this or for clarification on what components you have. Once everything is disassembled, wash each part as follows:
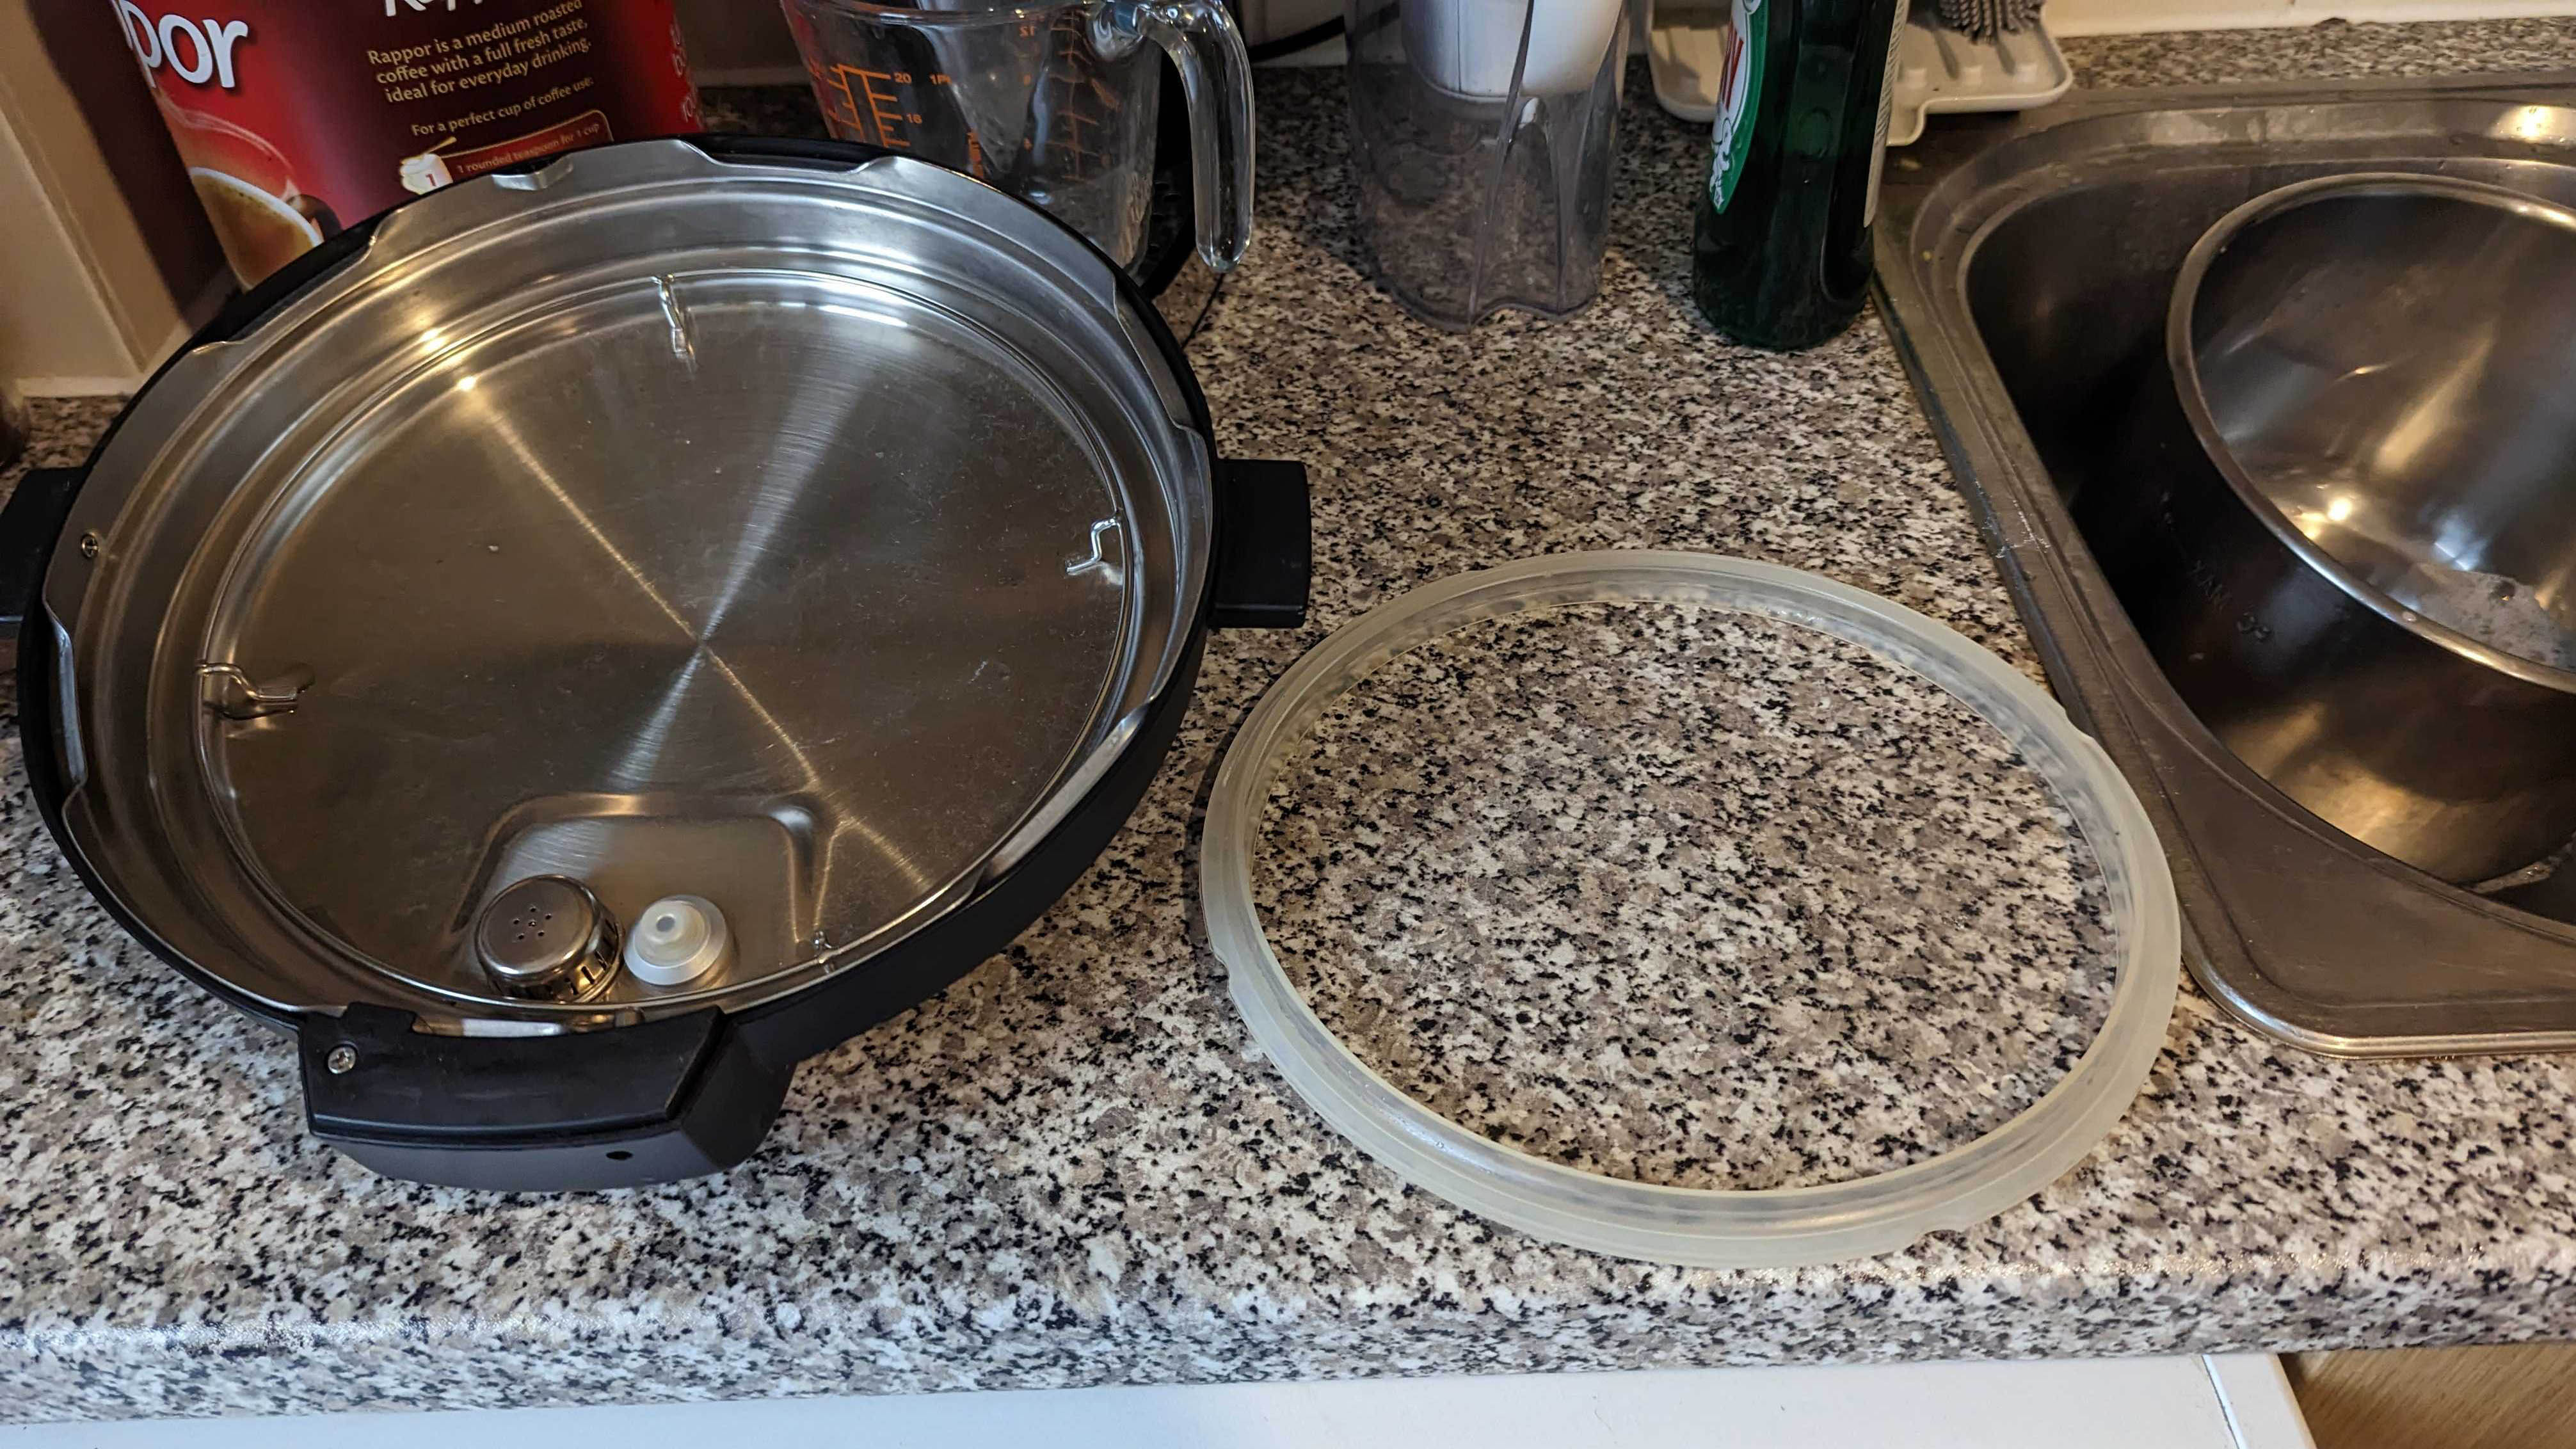
- Sealing ring — Check for cracks and warping. If damage is apparent, you will need to replace this part. Otherwise, the sealing ring is dishwasher safe or can be washed by hand. If washing by hand, make sure you scrub in the crevices to get at any residual food.
- Anti-block shield — Wash by hand using warm, soapy water. Use a toothbrush to dislodge blockages from the holes. Then rinse and dry.
- Silicone cap and float valve — Make sure your sink has a plug in place so you don’t accidentally lose these down the drain. Carefully wash by hand, and hold up to the light to check for any residual food blockages. Scrub with a toothbrush if necessary.
- Steam release valve — While this part is dishwasher-safe, you still better off washing by hand as it will easily fall through the racks in a dishwasher. Use warm, soapy water and make sure any blockages are removed. You can also use a cotton bud to reach in here.
Once you’ve done all that, don’t forget to clean the overall lid as well. Most Instant Pot lids are top-rack dishwasher safe for everything cleaning. Refer to your manual to be sure. Models with the Ultimate Lid recommend wiping down with a damp cloth, so there are exceptions. Otherwise, you can wash by hand using warm, soapy water and a microfiber cloth. Make sure you reach into any crevices, using a toothbrush if necessary, and keep all openings clear of blockages. Thoroughly rinse, drain and leave to dry.
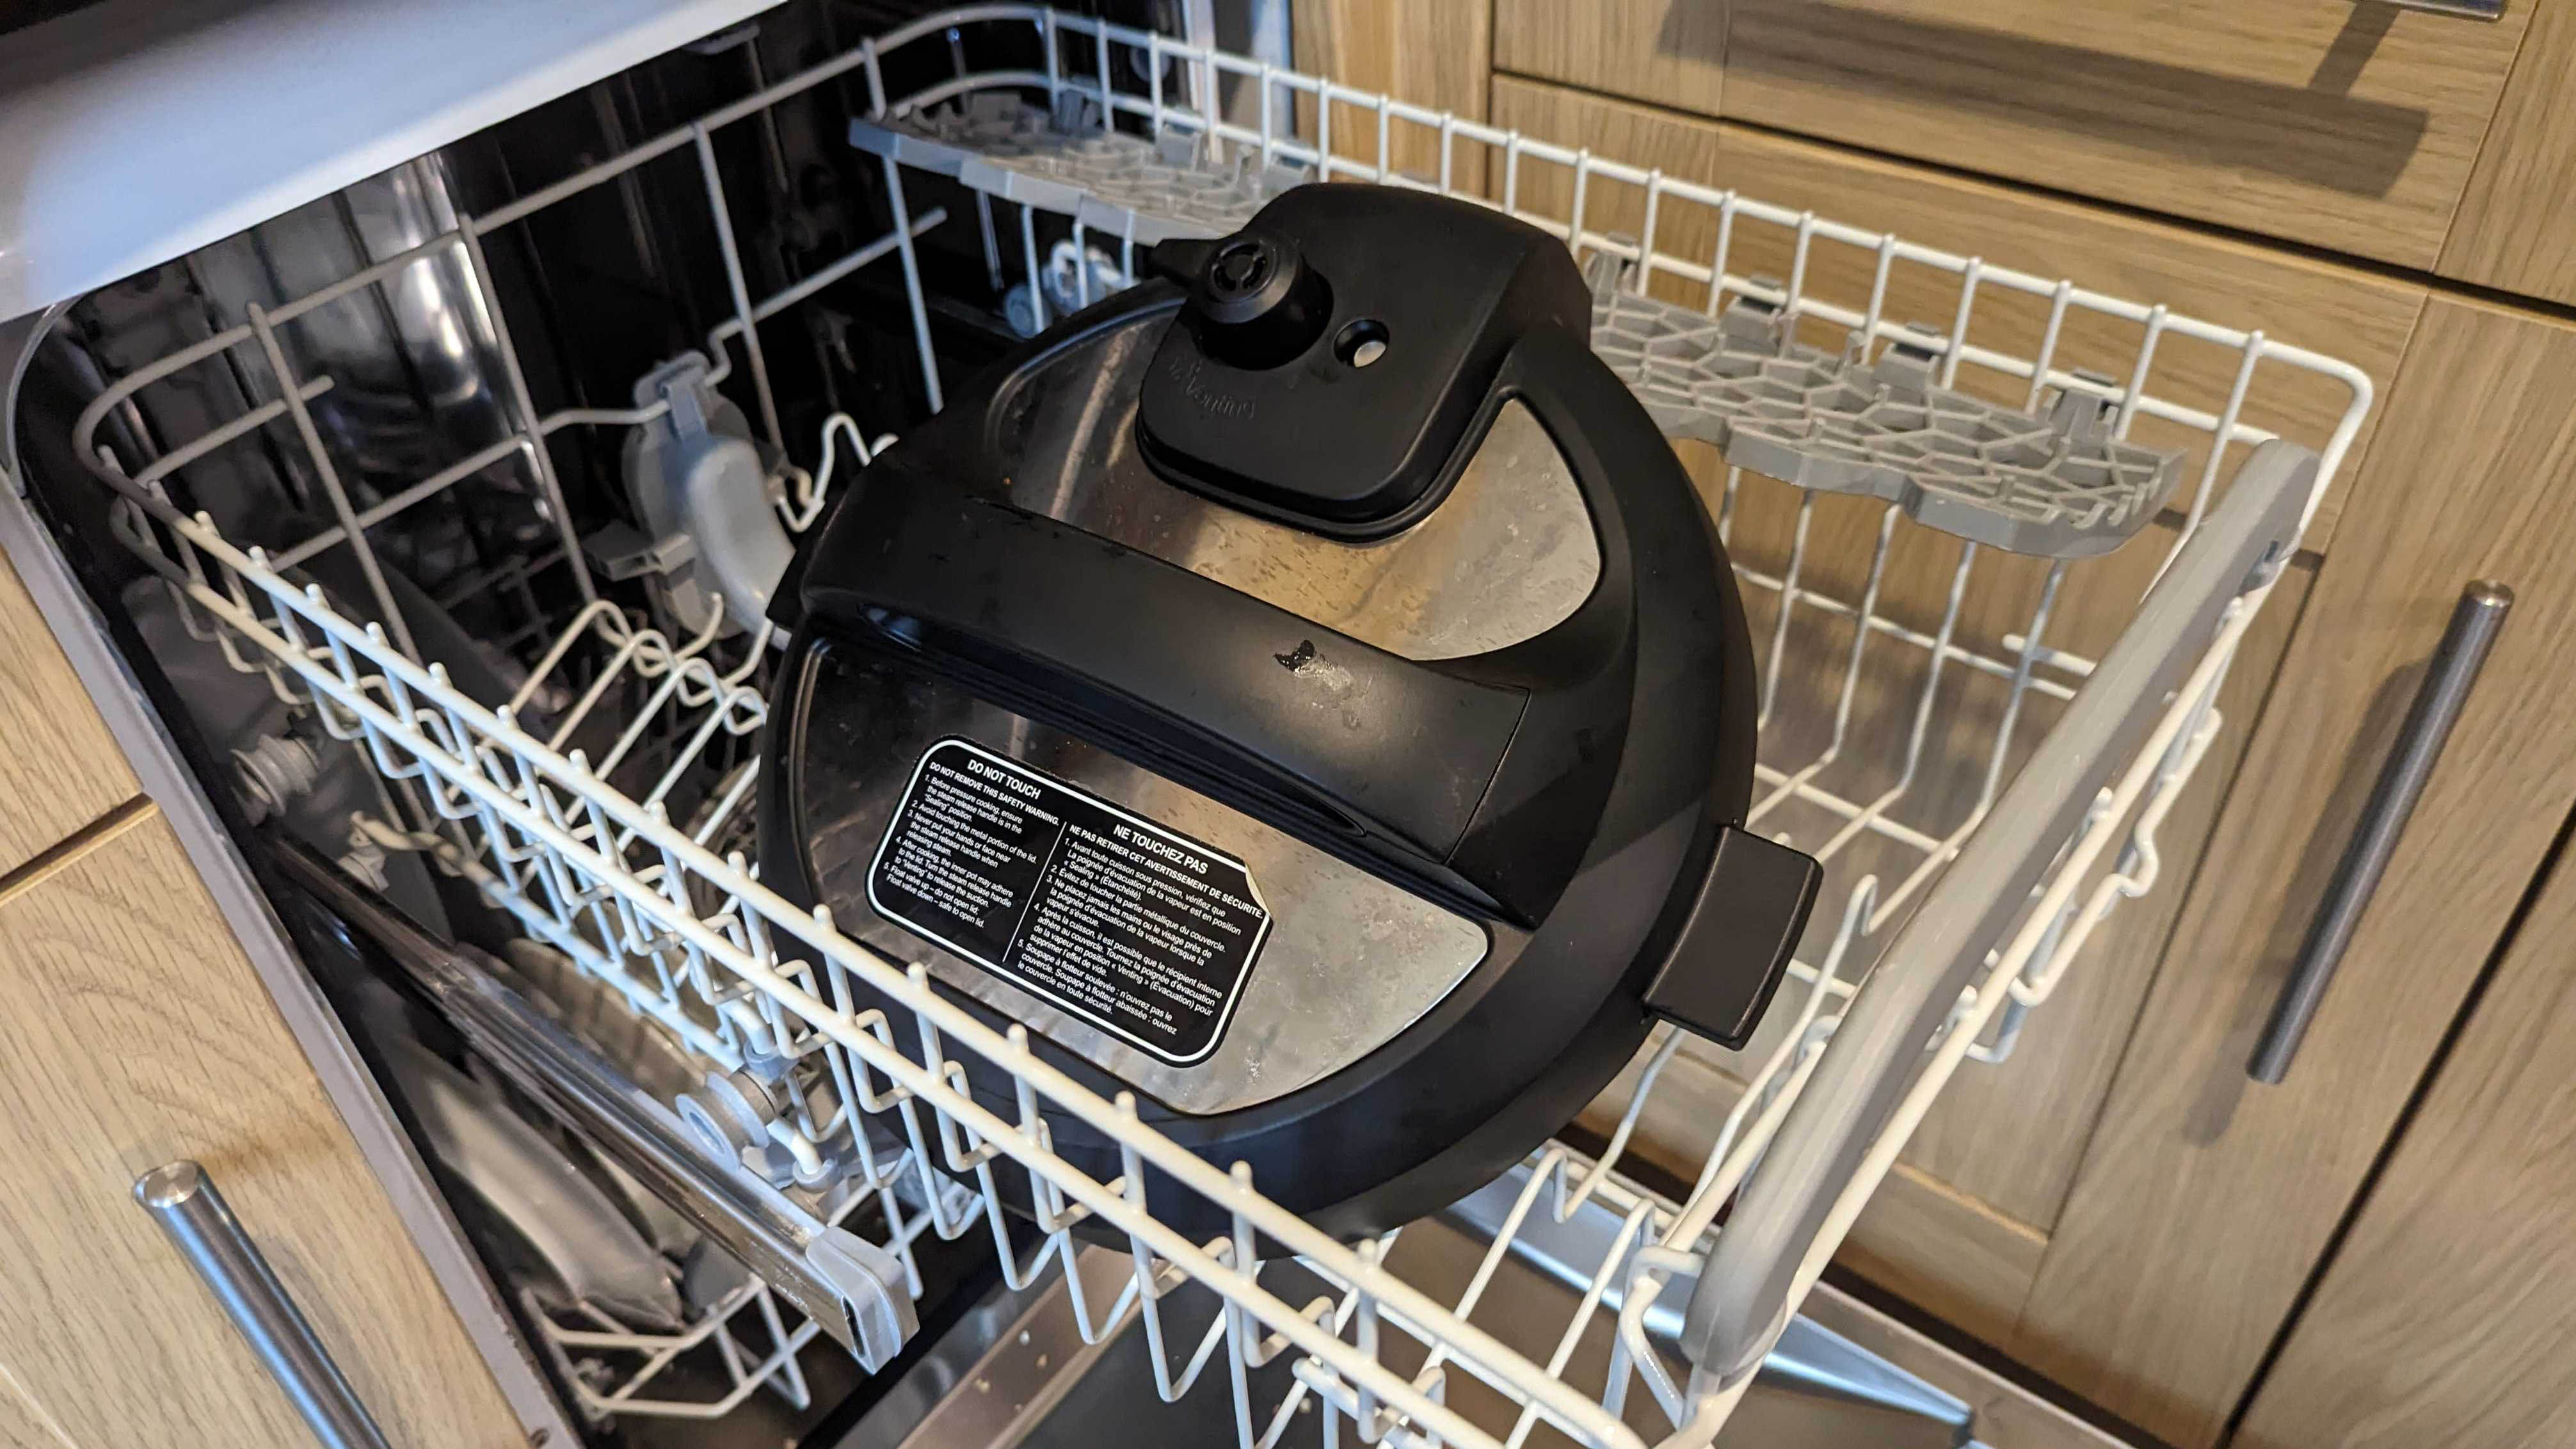
4. Don’t forget the accessories — You’re not quite done yet. Let’s not forget about the accessories! If your steam rack requires cleaning, it is dishwasher safe or you can wash by hand as well if necessary with warm soapy water. Your Instant Pot might also come with a condensation collector around the back of the base. Remove this and hand wash it before leaving it to dry.
If your Instant Pot has air frying functionality, it may come with an additional lid or air frying basket to make this possible. Follow the instructions as recommended by the manufacturer for cleaning. Some accessories will be dishwasher safe, whereas an air fryer lid will likely require only a damp cloth.
5. Work on the base — Of course, you want the exterior of your Instant Pot to look good as well. First, never put the base of your Instant Pot in the dishwasher, or subject it to excess water; this will break the appliance. Instead, use a lightly damp microfiber cloth to wipe down both the outside and interior of your base, but keep it as dry as possible throughout the process and avoid any electrical components. If food has built-up around the rim, use a toothbrush to scrub it clean. Then leave it to thoroughly dry out.
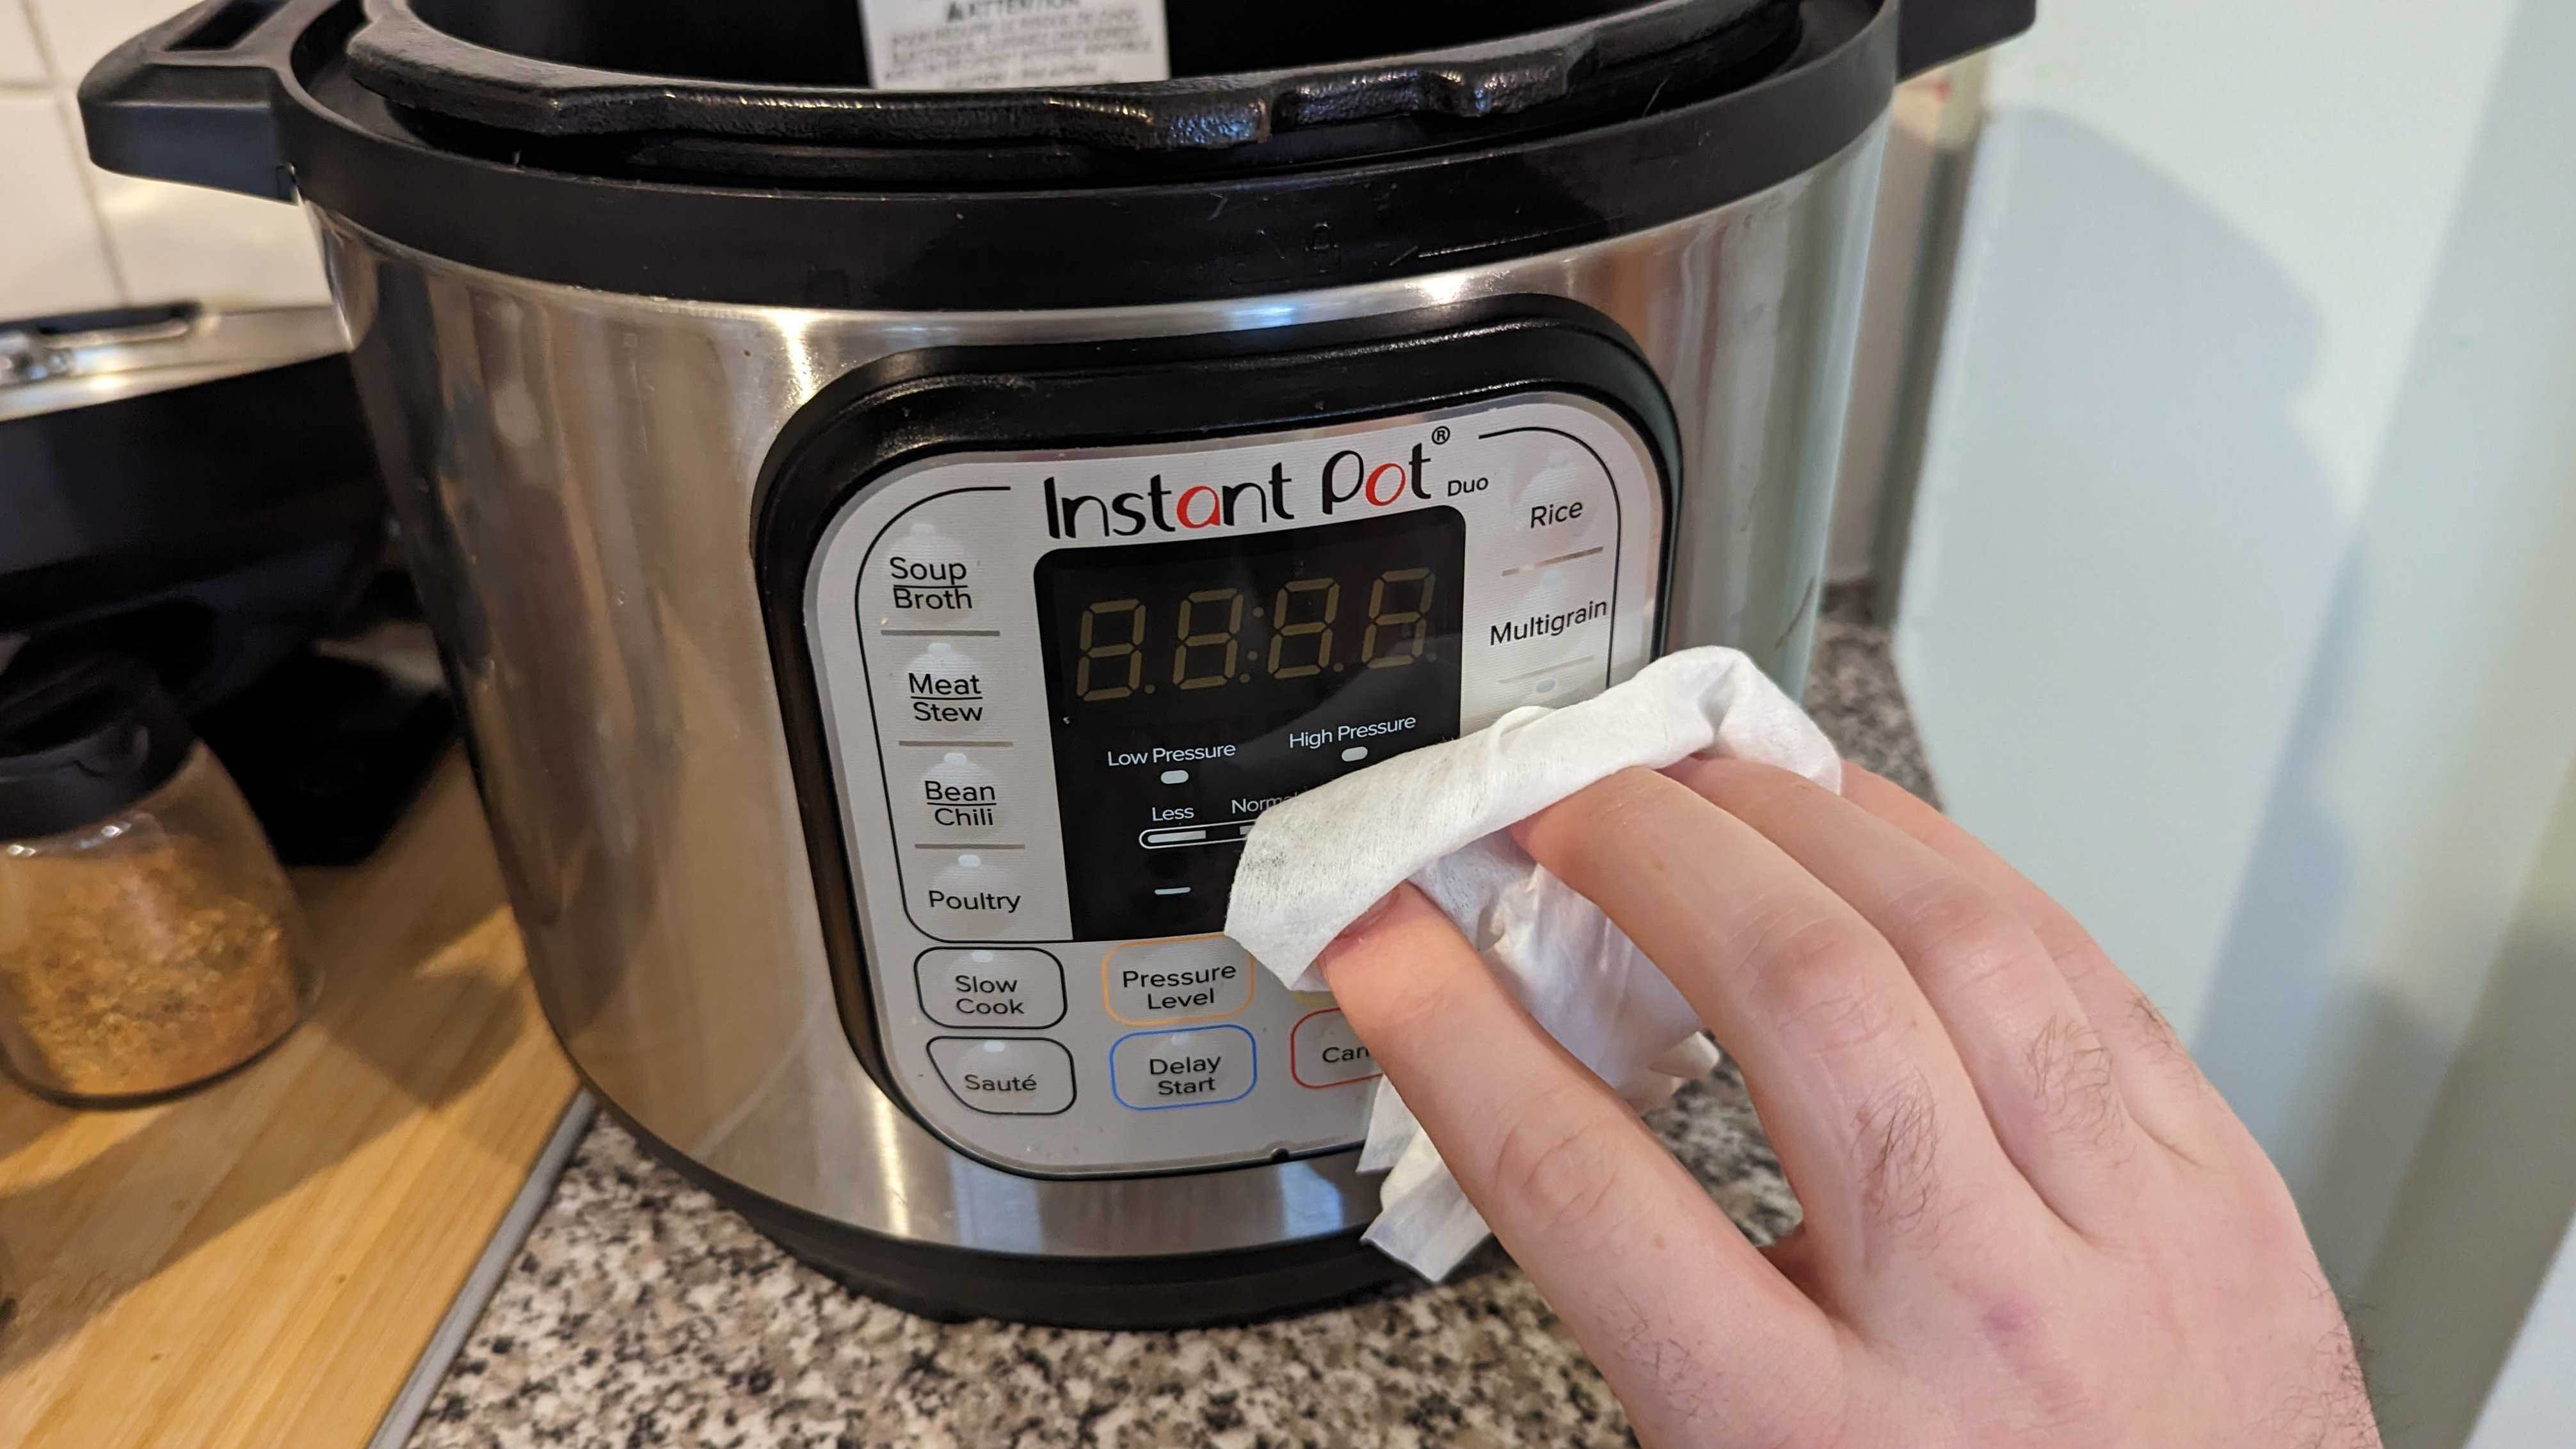
6. Reassemble — Once everything is completely dry, put it all back together again, making sure all components are correctly fitted to function. For future storage, it’s a good idea to leave the lid inverted in the cooking pot. That way it can air better and reduce odors.
7. Make sure everyday cleaning is adequate — Going forward, make sure you’re cleaning your Instant Pot adequately after each use, following the above instructions on the relevant components. Rather than just throwing the pot and lid in the dishwasher each time, the anti-block shield and sealing ring should ideally be removed first, so it has a more thorough wash. Also, don’t leave stains to sit and burn on where they’re made — they will only be more difficult to remove in the future.
And that’s it, your Instant Pot should look as good as new again! Remember to keep cleaning it to keep up its condition.
How often should you deep clean your Instant Pot?

You should clean your Instant Pot after each use to remove basic residue. However, in terms of deep cleaning, the answer to this obviously depends on how often you use your Instant Pot as well as what you cook inside it. If you notice your Instant Pot is starting to smell, or you spot a blockage in one of your components, you should clean it immediately. Generally speaking, if you use your Instant Pot daily, deep cleaning once a month is good practice.
What should you do if your Instant Pot is smelly?
Unfortunately, your sealing ring will eventually build up odors and need replacing. But, there are ways you can reduce the smell. With your Instant Pot assembled and ready to go, tip two cups of distilled white vinegar into the inner pot, then close and lock the lid and use the steam setting for two minutes. You might want to open a window during this process. Once finished, remove the seal ring and let it dry. This should help reduce the smell. Rinse out afterwards to remove residual vinegar and let it all dry.
For more tips, tricks and how tos, check out: are Instant Pots worth it?, how to clean an air fryer and the best air fryers.
Considering buying an air fryer in addition to your Instant Pot? Be sure to check out Instant Pot vs air fryer for a full distinction between the two.

Katie Mortram used to be a Homes Editor for Tom's Guide, where she oversaw everything from kitchen appliances to gardening tools, as well as smart home tech. Specializing in providing expert advice for cleaning and home manintenance, she now works as Household Advice Editor for Good Housekeeping.
