Whether you've just moved into a new home, or want to revamp a room, a fresh coat of paint can give it an instant uplift. However, while it may seem like an easy task to pick up a brush or roller to paint a room, you could be making these common painting mistakes.
Despite having the right tools and supplies ready, if you don’t prepare and paint walls properly, this can result in unsightly streaks, blotches or an uneven finish. And the last thing you want is to spend extra money to pay a decorator to fix your botched jobs!
To help you paint like a pro, we asked an expert about the most common painting mistakes when decorating and how to avoid them. You might also want to avoid these paint colors that are making your home look cheap and discover how to choose the best paint for your interior finish — from durability to sheen.

Plus, these are the 5 paint colors you should never use in a bedroom.
1. Forgetting to clean the walls first

A common mistake many people make is not preparing the surface before painting. Walls are prone to picking up dust, dirt or even cobwebs, which can ruin the finished paintwork. It’s always recommended to give walls a good clean first with a soapy water solution, to ensure a smooth surface.
“For surfaces exposed to grease, swap out soap for washing up liquid or another degreaser in order to cut through the grime,” suggests Michael Rolland, paint expert and MD of The Paint Shed. “Sugar soap spray can also be used to prepare walls in most situations too. Follow this up by washing again with clean water to remove the cleaner residue, then finish by wiping with a clean damp cloth.”
In addition, inspect the walls for any cracks, holes or dents that need to be repaired. Apply caulk to fill in any cracks or holes with a putty knife, and let it dry completely before any necessary sanding. This will make painting easier, and ensure you have a smooth finish.
Bear in mind that if you have mould or mildew in your home, always get it treated and never paint over it. If you do, it will just grow back through the paint, and make the problem worse.
2. Buying cheap paint brushes
You might think that you’re saving money on cheap paint brushes from the Dollar Store, however, experts advise you not to scrimp on your tools. Cheap paint brushes tend to cause streaking, or have loose or limp bristles. These will either get stuck to the wall or won’t absorb paint very well, causing an uneven finish. “Choose an acrylic bristle brush for projects involving a water-based paint as they absorb little water and natural bristle brushes for solvent-based paints,” agrees Rolland, “It is well worth investing in a high-quality angled sash brush. Not only will it make your job easier, it will provide crisp, professional-looking lines that may mean you don’t need to mask at all.”
It's always best to invest in high-quality brushes such as these Pro Grade - Paint Brushes ($15, Amazon), which are more durable. This will save you time and money in the long-run!
3. Not using a primer before painting

Another common painting mistake is not using a primer first, and painting directly onto the wall. Essentially, primers are the base coat for ensuring you have a smooth, blemish-free surface before painting. Using a good quality primer is essential; it will help seal the wall and prevent mold.
In addition, primers are great for neutralizing the walls, and concealing unsightly stains or marks that might show through the paint job. This is especially useful when you’re painting over a dark color with a lighter tone. “In most cases, we recommend using one coat of primer before two coats of your chosen paint to achieve a professional finish,” advises Rolland, “For porous surfaces (wood/masonry) or to cover dark colours, a second coat of primer may be required”.
Once the primer is dry, lightly sand the wall with a fine grit sandpaper on a block to get rid of bumps or ridges and create a smooth surface. We can recommend Fandeli Sandpaper Sheets ($13, Amazon), or MICHENG 6PCs Sanding Blocks ($8, Amazon).
4. Using the wrong type of paint
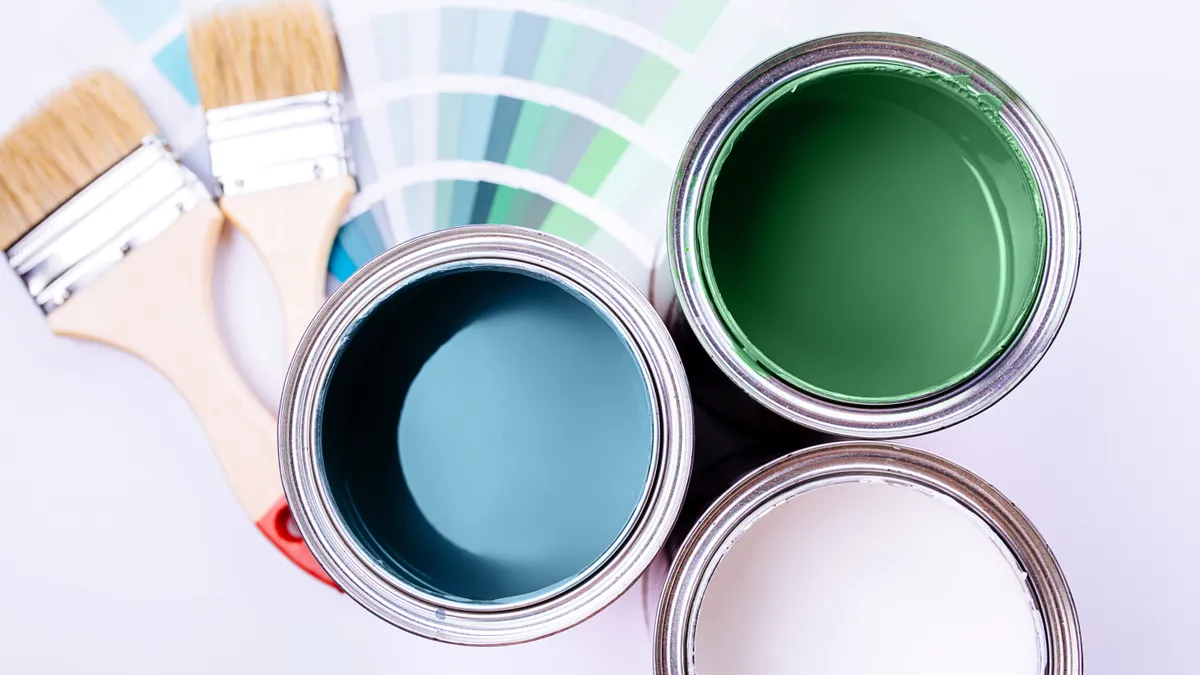
Not all paints are created equal, and another common mistake is using the wrong finish for each surface. The main types of paints are high gloss, semi gloss,flat/matte, satin, and eggshell.
“Porous surfaces, such as fresh plaster and bare wood for example, would absorb too much of a water-based paint,” advises Holland, “for fresh plaster a contract matt or silk is advised, for bare wood a wood primer, undercoat and top coat is recommended prior to painting, but if it is an exterior wood surface, a microporous undercoat and top coat are recommended.”
If in doubt, most paint brands will have a guide on their different finishes for every surface type on their website.
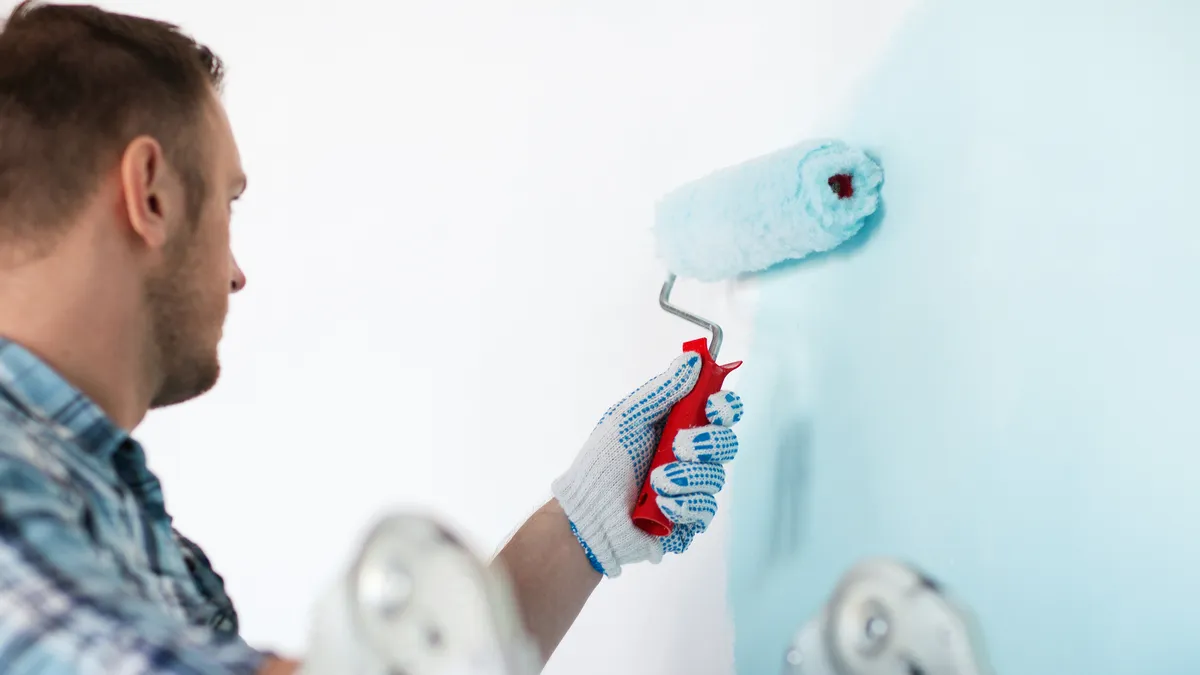
5. Over-brushing walls

Although we want to ensure we get good, even paint coverage, you want to avoid over-brushing. This will only cause unsightly brush strokes, drag marks, or ridged surfaces, which will ruin the overall finish. Additionally, over-brushing can lead to loose bristles, which can become stuck to the wall or in the paint.
“Load the paint brush and quickly brush the paint across the surface in a smooth motion, using a stroke or two to level it off,” suggests Rolland, “Applying too much pressure on your strokes can lead to easy mistakes and paint dripping from your brush. And when it comes to tight corners, wiggling your brush can be a good technique for filling in the areas you may have missed.” This way, you'll have a smooth, professional finish.
6. Not mixing the paint

Another mistake is not mixing the paint thoroughly before applying coats. Once you open your can of paint, mix the color around with a wooden stirring stick or equivalent for about two to three minutes.
Paints contain a mixture of solid and liquid components, which is why the ingredients tend to separate — especially after sitting for a long period of time. Stirring it thoroughly will ensure a smooth, color consistency and overall finish.
In any case, you should always read the instructions on the can before you start painting your walls.
7. Removing tape when paint has dried

Painters tape is an essential tool when decorating, but one common mistake is to remove it when the paint is completely dry. This will just pull the paint away, damaging the finish/surface and ruining all your efforts. Experts suggest removing tape before the paint has dried.
“Edging tape has saved woodwork but a common complaint of the method is that when pulling off the tape some of the paint follows,” agrees Holland, “this is usually due to waiting too long to remove the tape. The tape should instead be removed before the paint is completely dry.”
In addition, if you leave it on for too long, small pieces of tape can break away and leave messy residue. So it’s always best to remove it before the paint is completely dry to avoid a decorating disaster!
How long does it take for paint to dry?
Generally, latex or water-based paints are dry to the touch after one hour and you can recoat within four hours. While oil-based paints take much longer and are dry to the touch between six to eight hours. In this case, you’ll need to wait 24 hours before you can recoat. However, this depends on the type and brand of paint, so be sure to refer to the label on the tin.
More from Tom's Guide
- These 7 clever painting hacks can help save you time
- Plus, here’s how to paint a ceiling without making a mess
- Avoid these 7 color scheme mistakes you might be making in your home