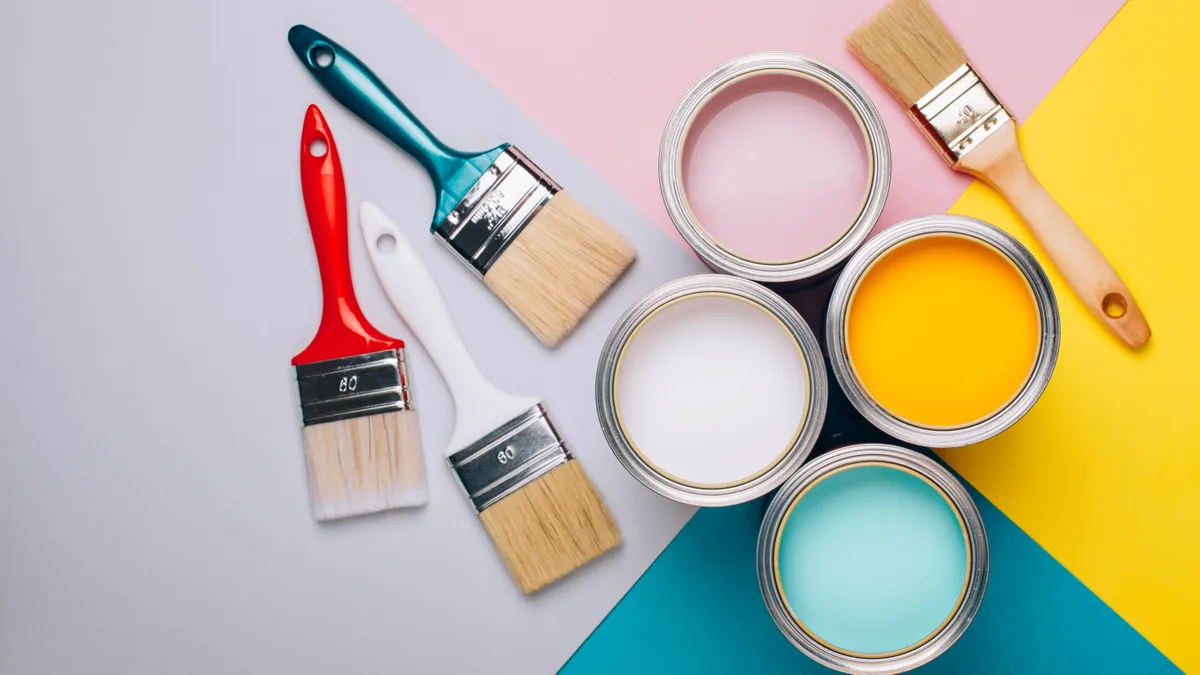
If you’re looking to revamp your home with a fresh coat of paint, you could benefit from these clever painting hacks that will help you decorate like a pro.
Whether you enjoy DIY painting or a complete beginner, learning how to paint a room can often be a tricky task. Luckily, these simple painting hacks will make the task (and clean-up!) much easier, cutting your time in half. What’s more, this should eliminate common mistakes such as paint runs/specks, uneven lines or messy baseboards. In which case, you’ll need to know how to clean baseboards and remove marks. So, if you want to achieve a professional room makeover, check out these clever painting hacks that you wish you knew sooner.
Before you start painting, be sure not to use any of these colors that will make your home look cheap, and avoid these 7 painting mistakes.

1. Use cardboard to protect hardwood floors

One popular trick of the trade is to use cardboard to cover hardwood or vinyl floors, instead of drop clothes. Typically, plastic drop clothes are too large, slippery and awkward to stay in place. What’s more, they are tricky to move around or re-use if covered in wet paint. Cardboard offers the best protection, and can be cut to the right size needed, without messy creases. Alternatively, you can tape sheets of rosin paper together to line your floors, which can be found in craft stores. If you have canvas drop cloths however, these are the best option to cover carpet flooring because they are easy to spread out.
2. Put petroleum jelly on spots you don’t want paint on

If you want to prevent your doors or windows from sticking, another painting hack is to use petroleum jelly. Simply take a cotton swab and use it to rub petroleum jelly over the edges, screws or hinges of the door. Even if you get paint on these areas, this will make it easier to wipe off once the paint is dry.
3. Use plastic wrap around paintbrushes

Painting rooms the right way can often take days, and cleaning brushes between sessions can be a time-consuming task. Instead of washing each time, tightly wrap up brushes and rollers in cling film or even place inside a sealable, plastic bag to prevent it from drying out. This is ideal if you want to store it away overnight, making it ready to go for the next day of painting.
4. Use a rubber band to catch excess drips

There is nothing worse than grabbing your paint can that has paint dripping all around the edges. One trick to avoid this happening is to place a rubber band around your paint can before you start painting. The rubber band is then used to remove excess paint from your brush, into the center of the tin. This will prevent drips collecting in the edges around the opening of the tin, and dripping down the sides.
5. Lining your paint tray

Let’s face it, nobody likes cleaning out messy paint trays — especially if you quickly need to reuse it. A top painting hack is to line the tray with a plastic sheet or trash bag to cover every inch before pouring out the amount that you need. Then, once you've finished painting, simply throw out the plastic sheet or bag in the trash. This way, your paint tray remains spotless, and ready for the next paint job. Best of all, this is quick, hassle-free and will save you precious time.
6. Remove painters tape while wet

Painters tape is an essential tool before decorating a room. But when it comes to removing it once the paint is dry, there’s a chance you might take off some of the fresh color along with it. To avoid this, a top hack is to remove the painter’s tape while still wet, and just before the paint is completely dry.
In addition, if any paint has seeped through, it will be easier to clean up the lines with a cotton swab or damp cloth while the paint is still wet.
7. Soak brushes in fabric conditioner

How many times have you brought out your paintbrushes only to find they’re rock hard? If you want to keep brushes nice and soft, another hack is to soak your brushes in fabric conditioner to soften the bristles. Simply add a cap full of fabric softener to a large container of warm water, and soak for around a minute. Swish brushes around so that the conditioner will also loosen any paint residue, before patting dry with a kitchen towel. Experts also suggest leaving brushes to air dry, then wrap it with the cardboard cover it came in or inside heavy paper. This will help to keep the bristles soft, and prolong its quality.
Know how long it takes for paint to dry
Latex or water-based paints are usually dry to the touch after one hour and you can recoat within four hours. While oil-based paints take much longer and are dry to the touch between six to eight hours. In this case, you’ll need to wait 24 hours before you can recoat.
Be sure to check the instructions on the paint label to confirm specific dry times.
Be sure to check out our guide on how to paint a ceiling without making a mess. And if you're stripping walls, you'll need to know how to remove wallpaper before painting. Plus, check out how to get paint out of the carpet for those accidental spills.