Security cameras only work if they’re positioned correctly. Even the best home security cameras are ineffective if they’re installed in poor locations, turning what should be protection into expensive decoration that misses critical activity.
A camera pointed at the sky or blocked by tree branches provides zero deterrent value because experienced criminals recognize these installation failures immediately. Common placement mistakes waste money and create the exact blind spots burglars look for. Here are seven blind spots to avoid when installing security cameras around your home.
1. Hidden side alleys and back corners

It feels logical to monitor spots you can't see from windows like dark alleys, blind corners, hidden areas around your property. But burglars don't typically use these routes.
Many break-ins happen through front doors and through first-floor windows. Burglars use obvious access points, not hidden approaches. Cameras watching main entrances and visible windows catch more criminal activity than those pointed at obscure corners.
If you want coverage of hidden areas, buy multi-camera bundles so you can monitor both obvious entry points and blind spots simultaneously. Don't sacrifice front door coverage to watch a rarely-used side gate — burglars count on homeowners making exactly this mistake.
2. Behind obstructions
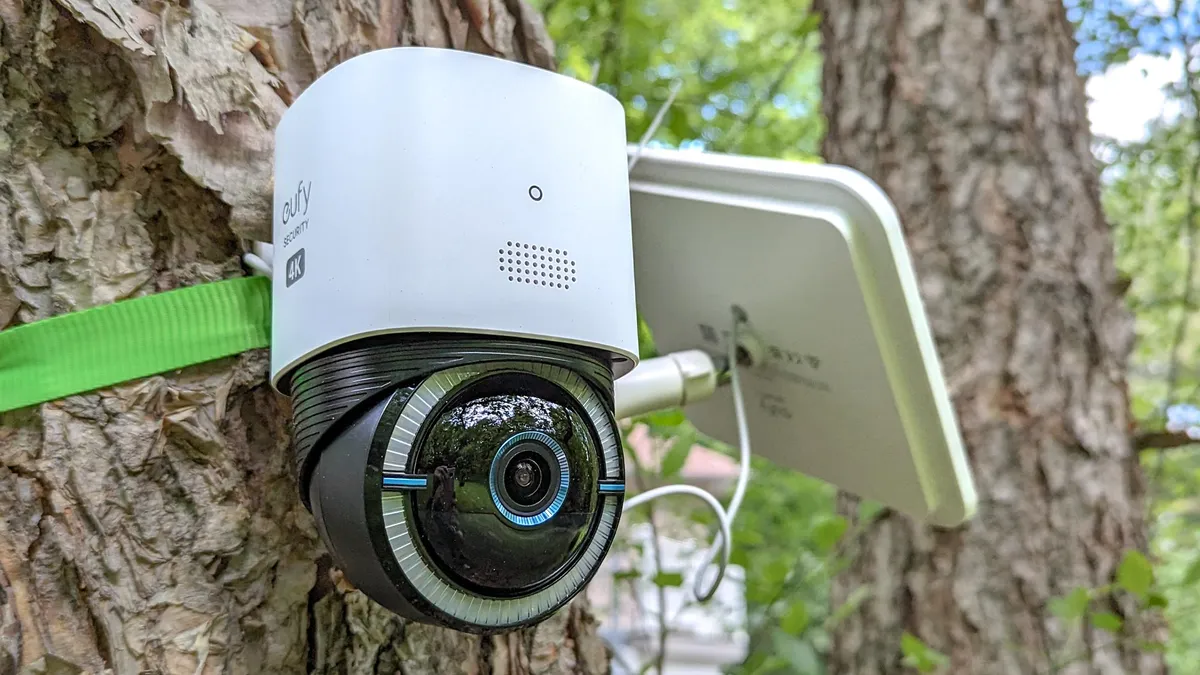
Tree branches, swinging plants, opening doors, and moving pets all create obstructions that block camera views. Burglars notice cameras with obstructed views because they can approach from angles the camera can't see.
Outdoors, consider seasonal changes. Bare winter branches won't block a camera but spring foliage might completely obscure the lens, creating a seasonal blind spot burglars exploit during warmer months.
Indoors, think about door swing paths and pet behavior. A camera that gets knocked askew by a door or bumped by pets creates unpredictable blind spots. Position cameras where daily household activity won't interfere with coverage or physically move the device.
3. Pointing through windows

Indoor cameras placed behind windows to view outside seem cost-effective, but they create multiple problems that burglars recognize as security weaknesses.
Glass creates glare that blinds cameras when the sun hits at certain angles. At night, interior lights reflect off glass and wash out outdoor views. A burglar standing outside at night can see into your lit house clearly, but your camera sees only reflected light and captures nothing useful.
Windows also restrict what cameras can see. Many windows don't provide angles that capture entry points, driveways, or broad yard views. You end up with expensive equipment recording a narrow, glare-filled slice of outdoor space while missing the driveway approach or side door entirely.
Buy outdoor-rated cameras for exterior monitoring instead of compromising with indoor models behind glass.
4. Angled toward the sky

Cameras with wide fields of view that include significant sky create problems when the sun passes overhead. Direct sunlight blinds the lens, washes out details, and makes footage unusable during peak daylight hours.
Constant sun exposure also damages cameras through UV degradation. Plastic housings become brittle, seals fail faster, and components wear out sooner than shaded cameras.
Angle cameras downward to focus on areas below the roofline. Position them where trees, eaves, or structures provide partial shade. This protects equipment and improves image quality by eliminating sky glare.

5. Near heat sources and exhaust vents

Mounting cameras above dryer vents, exhaust fans, fireplaces, or space heaters shortens their lifespan and degrades performance.
Heat damages wireless camera batteries, reducing runtime between charges. Exhaust from vents deposits grime on lenses, creating a film that blurs recordings. High temperatures also weaken adhesive mounts, causing cameras to fall and break.
Keep cameras at least several feet away from any heat source or exhaust vent. Check that outdoor camera locations don't align with furnace exhaust, dryer vents, or fire pit smoke paths.
6. On rough surfaces when using adhesive mounts

Adhesive strips provide quick installation for lightweight cameras, but they fail on rough surfaces, especially outdoors where temperature fluctuations weaken the bond.
Stucco, rough wood siding, textured fiber cement, and unfinished wood fences don't provide enough contact area for adhesive to stick reliably. Cameras mounted on these surfaces fall off during hot summer days or cold winter nights when adhesive loses grip.
Use adhesive only on smooth, clean surfaces like metal, glass, or painted flat siding. For rough surfaces, use screw mounts or camera stands that don't rely on adhesive bonding.
7. Locations with poor lighting at night

Cameras need light to record usable footage. Mounting a camera in a dark corner with no ambient light produces black video at night, even if the camera has night vision.
Infrared night vision works by illuminating areas with invisible light, but it has limited range — typically 20-30 feet for consumer cameras. Beyond that range or in complete darkness, you get unusable footage.
Install cameras near existing outdoor lights, motion-activated floodlights, or porch lights that illuminate the area you're monitoring. Better ambient lighting improves both daytime and nighttime footage quality while extending the effective range of camera night vision.
If adding lighting isn't possible, choose cameras with built-in spotlights or higher-powered infrared illuminators that extend night vision range.

Follow Tom's Guide on Google News and add us as a preferred source to get our up-to-date news, analysis, and reviews in your feeds. Make sure to click the Follow button!

More from Tom's Guide
- 5 things to think about when buying and installing an outdoor security camera
- How to turn on end-to-end encryption on a Ring Video Doorbell
- How to use your old smartphone as a free security camera