Hip mobility is a funny thing — we know it’s good for us, but many of us avoid it (or at least don’t do it enough) anyway. A bit like taking vitamins or drinking matcha, you’re either in or you’re out.
Below, I’ve shared one simple, beginner-friendly hip mobility exercise that gets the nod from me every time. It ticks boxes for building range of motion in your hips and improving overall movement quality. If you want to reduce stiffness, this is how.
Are you in? Learn how to do the exercise step-by-step, plus the benefits.
What is the hip mobility exercise?
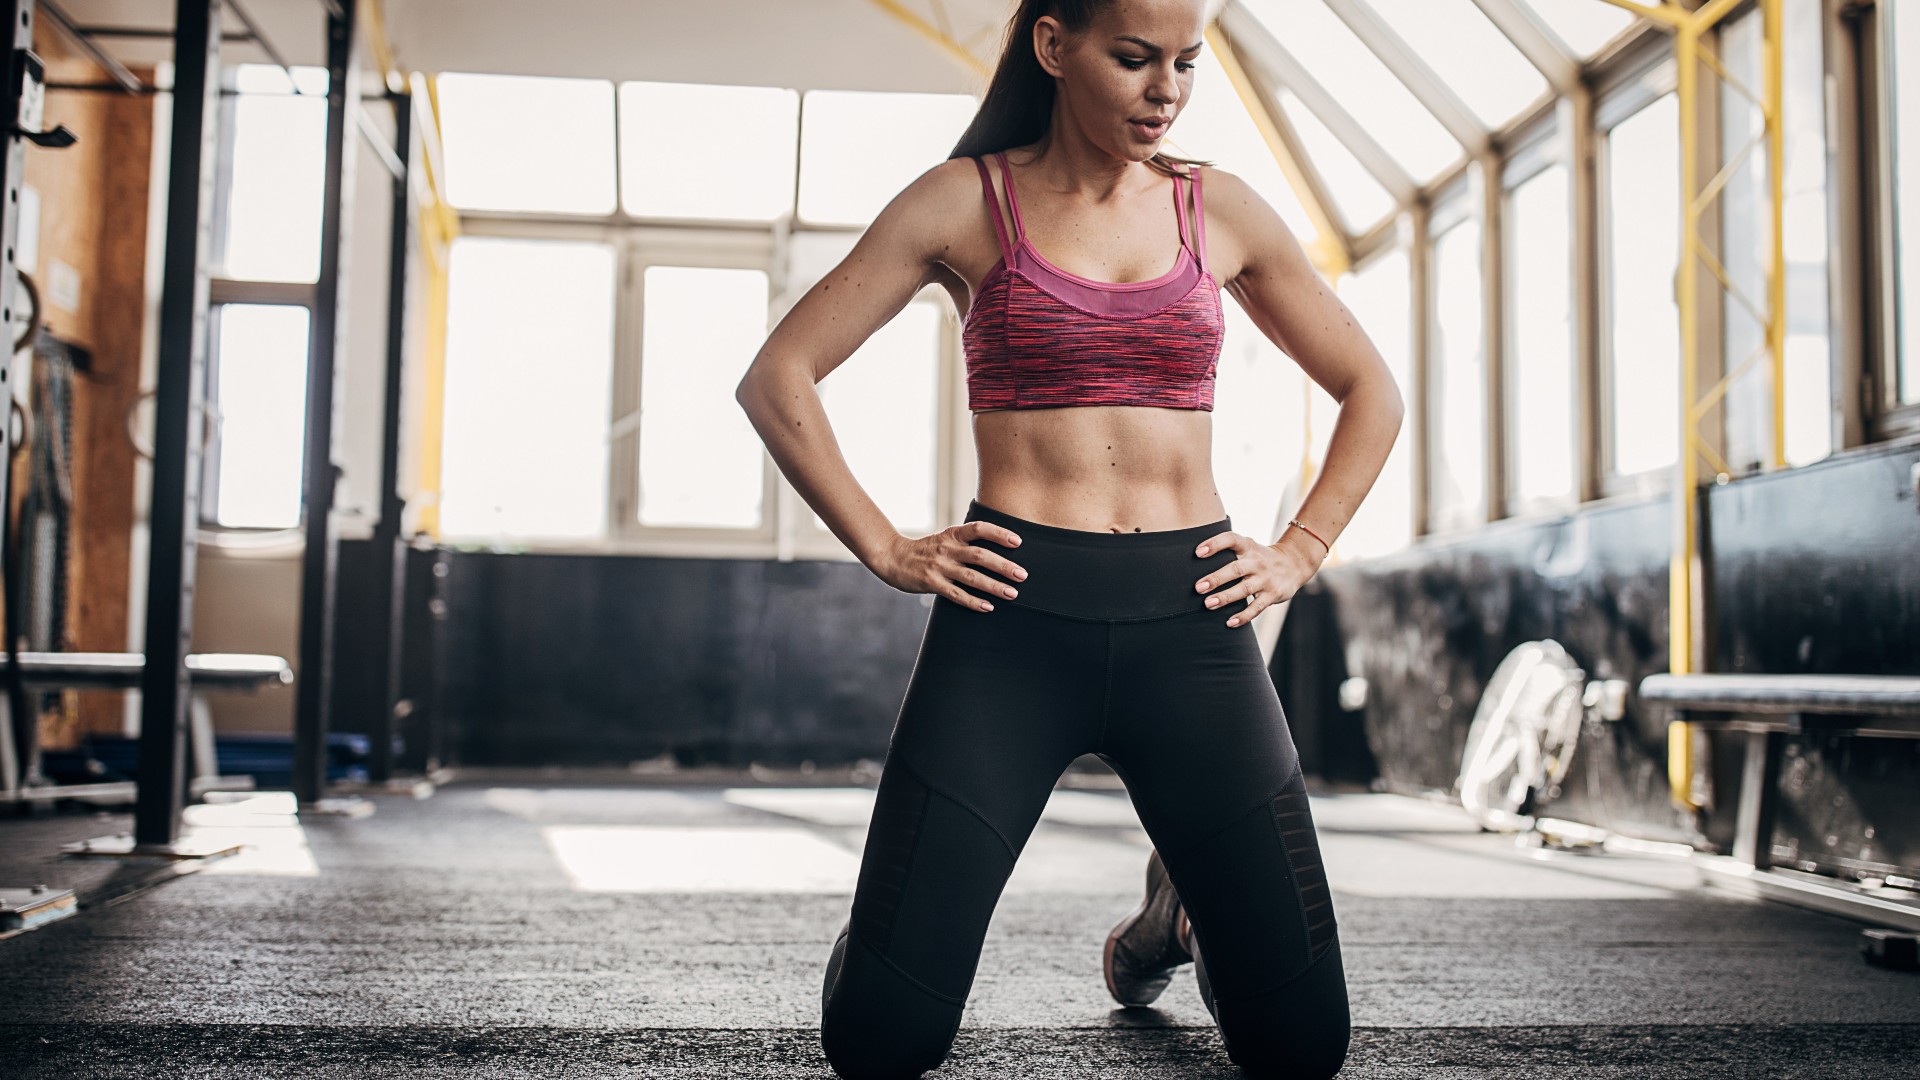
I like to perform this drill alongside other hip mobility exercises to help open up my lower body and release tension. It also helps me increase range of motion before a lower-body workout that might involve squats or lunges, where depth is paramount.
That said, while there are short-term benefits to these types of exercises and routines, the real change comes from practicing them consistently. Over time, an exercise might feel more comfortable, or you might notice improvements in the quality of your movements.
Maybe you can lift your leg higher or open your hip wider. Perhaps 6 reps have become 8, or even 10. These are huge wins.
Everyone is different, but I would work for 4 to 8 reps per side for 2 sets and repeat a few times a week, either using this drill as a standalone exercise or alongside other exercises you enjoy to form a mini mobility circuit.
Get instant access to breaking news, the hottest reviews, great deals and helpful tips.
Here’s how to do it:
- Start on all fours in a tabletop position. Your shoulders should be stacked over your wrists and hips over knees
- If you struggle with wrist pain, hold a pair of dumbbells to remove some pressure
- Start on the balls of your feet
- Step your right foot out to the right and slightly turn your toes inward
- Lift your right knee, then turn it out to the right to open your hip
- Rest the heel of your right foot down so that your right leg is now stacked 90 degrees and open to one side. Your right knee should track over your right foot
- Next, sit your hips back as far as you can toward your left heel (as if performing child’s pose), pressing through your hands
- Reverse the movement — first, come forward into tabletop, turn your right knee inward and place it down onto the mat, then lift your foot and place it back to the starting position
- Switch sides.
The benefits
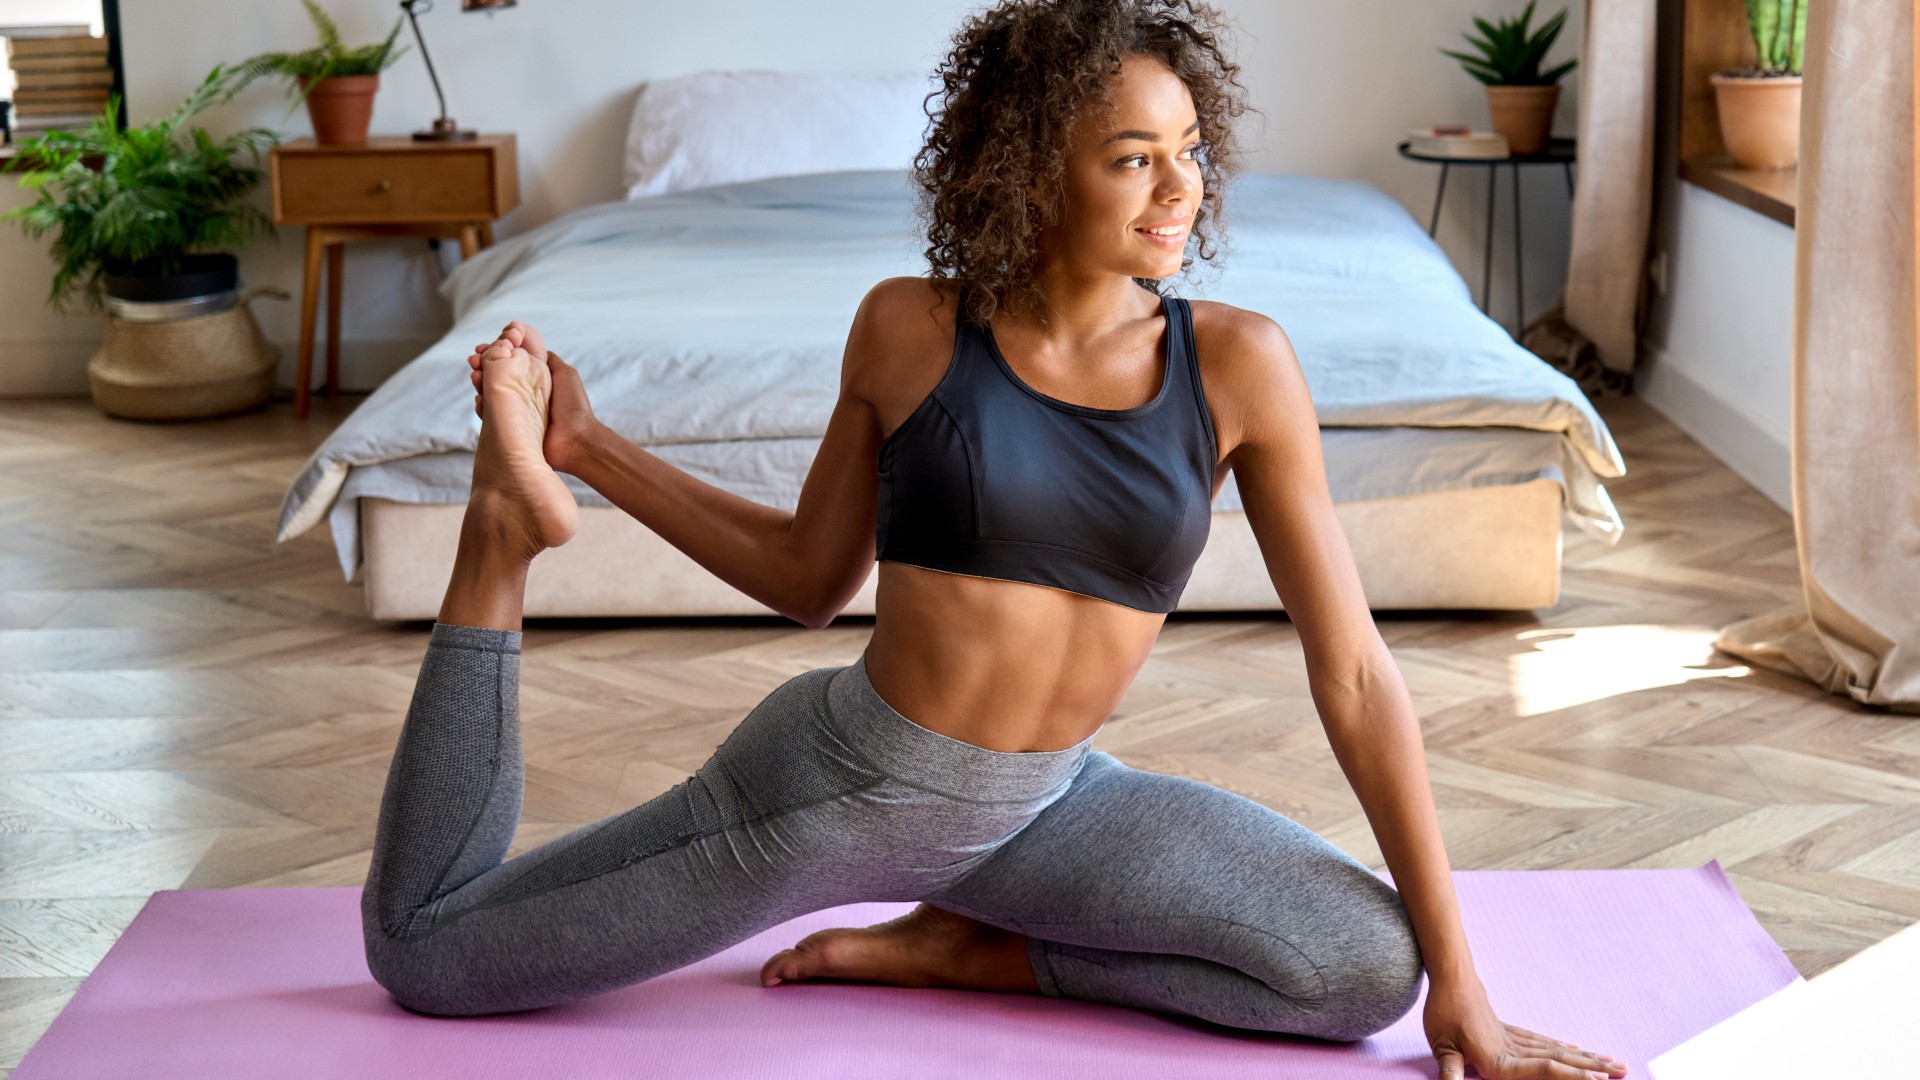
My favorite movements are the ones with multiple benefits; this one first internally rotates the hip by stepping the foot out, then externally rotates the hip by drawing the knee outward in line with the toes.
As you sit back toward your heel, the stretch deepens through the adductors — the muscles that run down the inner thigh — the groin and the glutes. You can turn onto the knife edge of your foot during this part of the exercise if it helps you reach more deeply into your gluteal muscles.
Internal rotation can feel uncomfortable, but shouldn’t be painful. If you’re sitting at a 6/10 or more, it might be time to visit a physiotherapist!
Internal rotation can feel uncomfortable, but shouldn’t be painful. If you’re sitting at a 6/10 or more, it might be time to visit a physiotherapist!
As you come forward and turn the knee in, you repeat the internal rotation of the hip, followed by slight external rotation as you draw the foot in last. Moving your hips both internally and externally improves overall range of motion, given that your leg moves outward and inward daily.
Without strengthening and mobilizing the joints and muscles that assist hip action and lower-extremity movement (we’re talking about the glutes, hip flexors, hamstrings, quads and adductors as examples), the quality of your lower-body movements would be far less.
The adage, "If you don't use it, you lose it," is certainly true, so try to keep your hips and the muscles surrounding them as active as possible, especially as you age.
More from Tom’s Guide
- I tried the ‘Japanese walking’ method for a week — and I’m hooked
- I'm a personal trainer, strengthen your core and build lower body muscle with these 3 bodyweight dumbbell exercises
- I walked 10,000 steps a day for a month — here’s what happened

Sam Hopes is a level 3 qualified trainer, a level 2 Reiki practitioner and fitness editor at Tom's Guide. She is also currently undertaking her Yoga For Athletes training course.
Sam has written for various fitness brands and websites over the years and has experience across brands at Future, such as Live Science, Fit&Well, Coach, and T3.
Having coached at fitness studios like F45 and Virgin Active and personal trained, Sam now primarily teaches outdoor bootcamps, bodyweight, calisthenics and kettlebells.
She also coaches mobility and flexibility classes several times a week and believes that true strength comes from a holistic approach to training your body.
Sam has completed two mixed doubles Hyrox competitions in London and the Netherlands and finished her first doubles attempt in 1:11.
You must confirm your public display name before commenting
Please logout and then login again, you will then be prompted to enter your display name.
 Club Benefits


