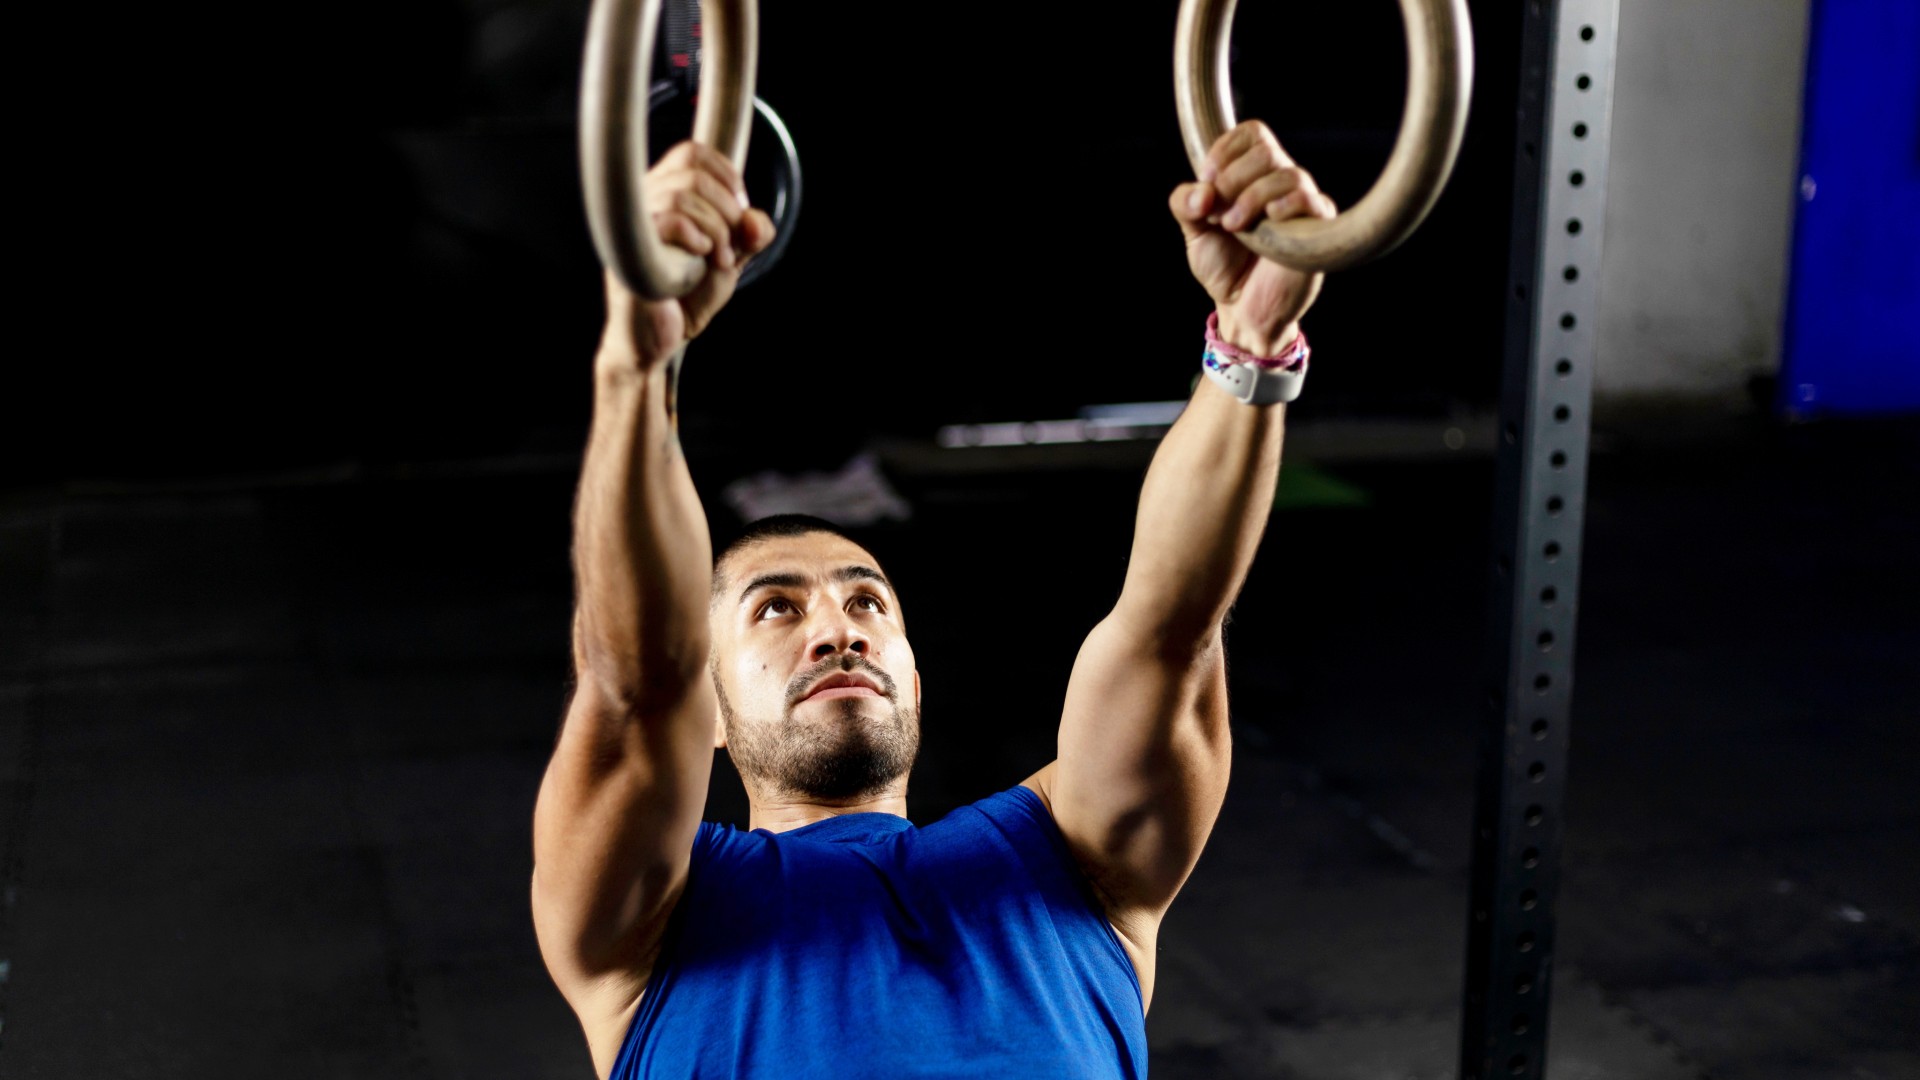
Australian pull-ups, bodyweight rows, inverted rows and even the Australian push-up — whatever you want to call the exercise, this pull-up for beginners is a top move for strengthening your back and biceps.
There are plenty of incredible strength exercises for beginners using a pull-up bar, and this is one of them. Find a stable bar that allows you to position your body underneath as you’ll be rowing from a horizontal position.
For example, you could secure a barbell on a squat rack at thigh height. Then, read on below for how to do the Australian pull-up, the benefits, common mistakes, and our favorite pull-up variations to try.
What are the benefits of Australian pull-ups?
The bodyweight row is the perfect way to strengthen your biceps and back muscles if the standard pull-up isn’t accessible. In fact, it's one of our favorite bodyweight back exercises to do.
This pull-up for beginners involves rowing your body weight toward the bar from a horizontal pull position and hitting the posterior deltoids, lats, mid and lower traps, rhomboids, erector spinae, forearms, and biceps. Your lower back, glutes, and hamstrings also assist with stabilization.
In some fitness circles, it’s believed the exercise gets its name because it looks like an upside push-up, and what do we know about Australia? Everything’s upside down, right? Whatever the true reason for its name, if you plan to add the calisthenics exercise into your routine, here’s how to do it with proper form.
How to do an Australian pull-up
We love the exercise because it’s easy to adapt to suit your ability and can help improve your relative strength — how efficiently you can move with your body weight.
Get instant access to breaking news, the hottest reviews, great deals and helpful tips.
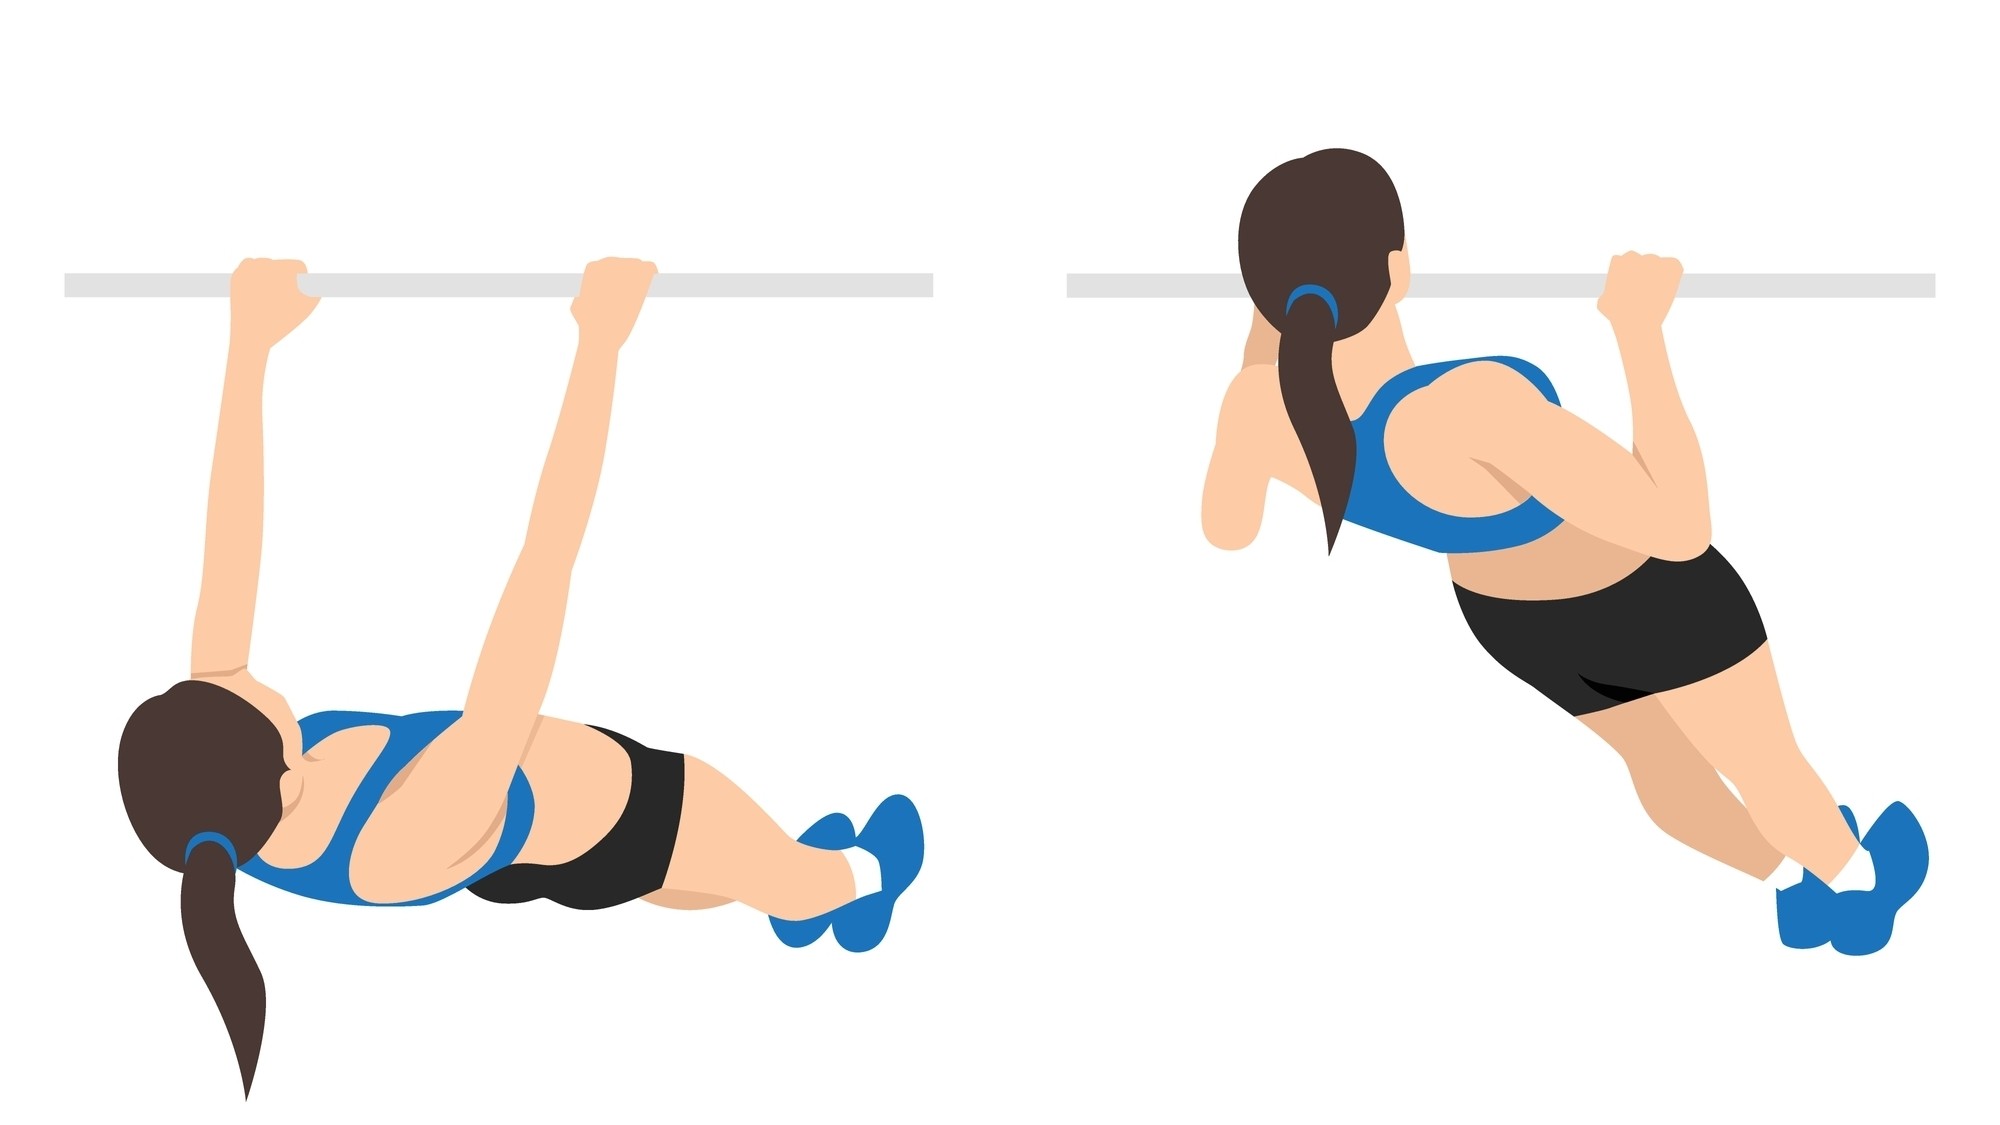
- Lay underneath the bar, ensuring that it aligns with your chest.
- Grip the bar using an overhand with your thumbs wrapped shoulder-width apart.
- Extend your arms and legs away from you and pull your shoulders back and down. Engage your core.
- Pull your chest toward the bar and squeeze your shoulder blades together at the top.
- Keep a straight line from head to toe, then lower to the starting position.
Australian pull-ups: Common mistakes
These are the most common mistakes we see.
Back position
Avoid arching your lower back or rounding your spine as you row. We encourage keeping a straight line from head to toe to help keep the spine neutral.
Half reps
Avoid half-rowing your chest to the bar. If you can’t draw your chest fully upwards, consider walking your feet in a few steps to reduce the intensity and make the row more vertical (we’ll get to variations you can try below). Always aim for a full range of motion to maximize muscle and joint activation.
Leg positioning
Rest on your heels, keep your legs straight and squeeze your glutes and hamstrings to help stabilize the body. Your whole body should move as one solid unit — avoid dropping your bum and leaving your lower body behind.
Australian pull-up variations to try
Horizontal ring pull-ups
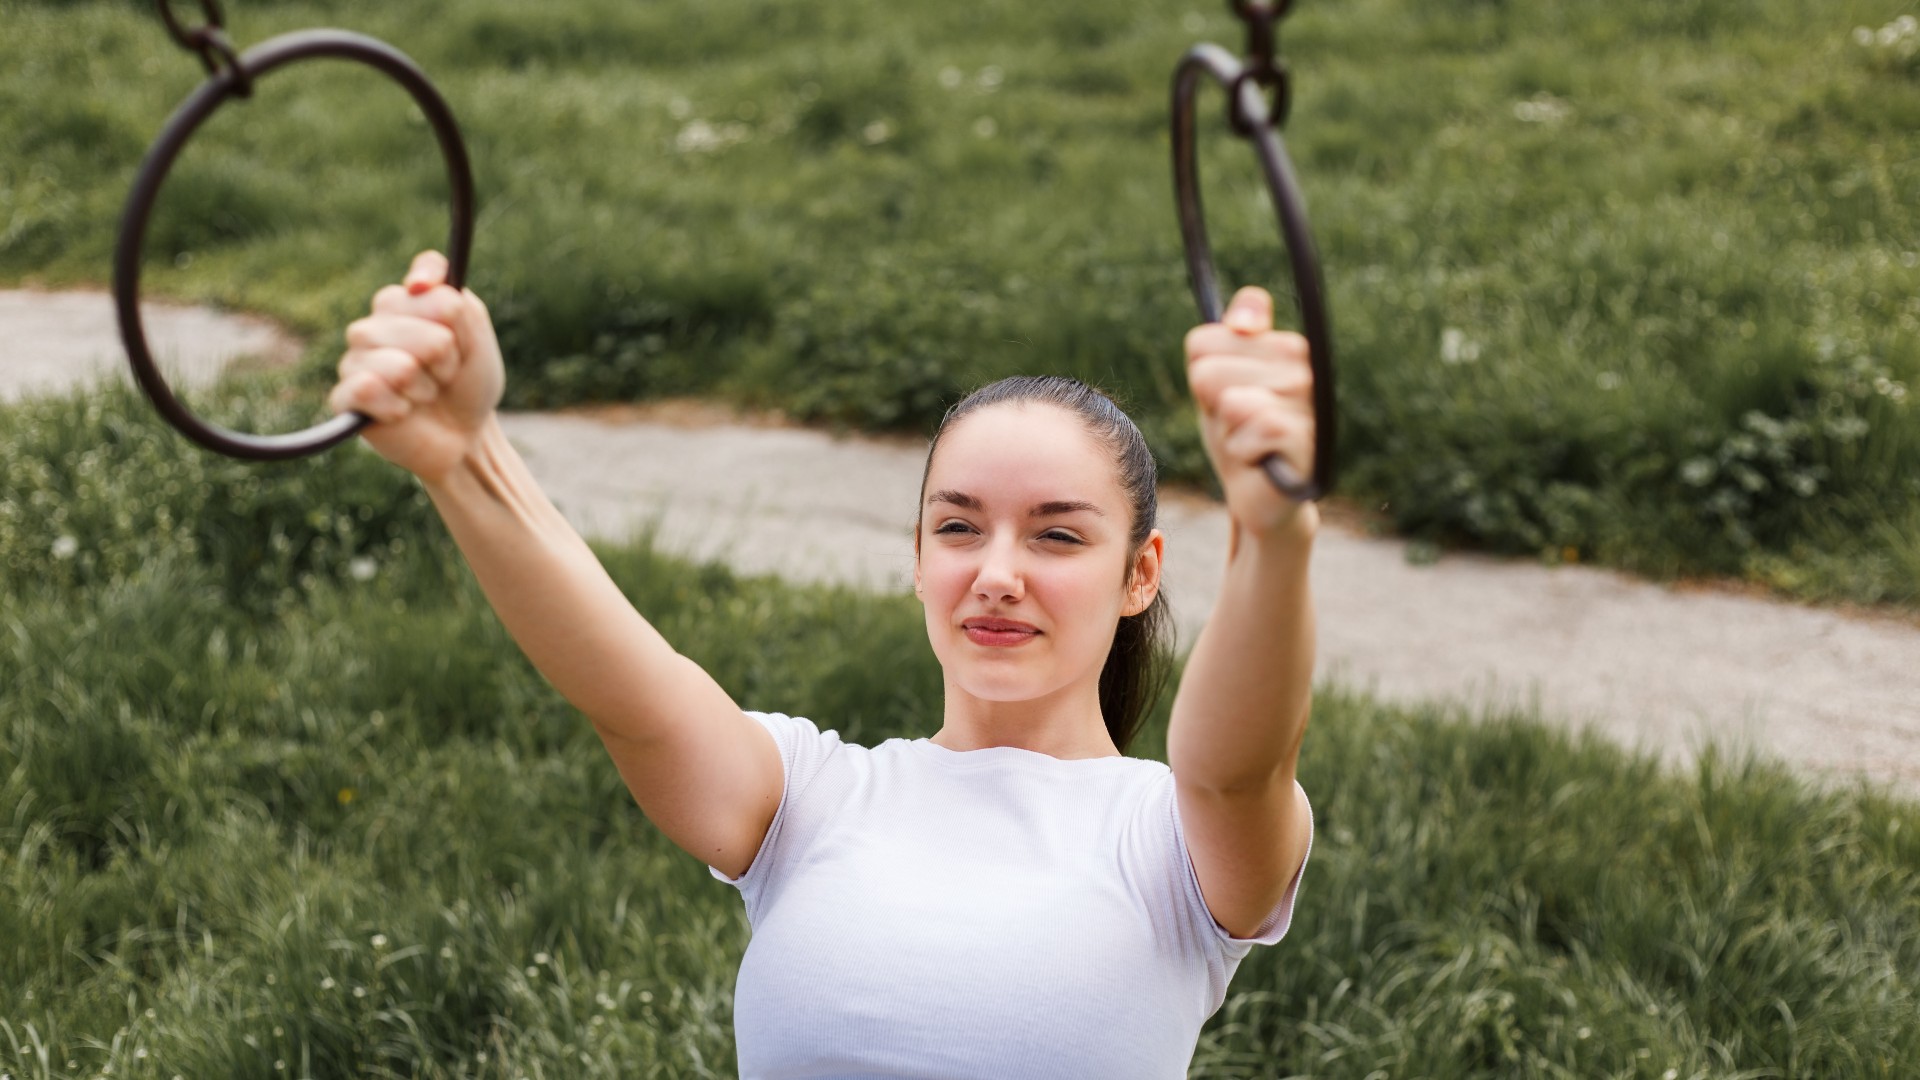
Rings are much harder to keep stable, meaning those smaller stabilizer muscles must recruit to help control the body as you row. Hold one ring in each hand, low to the ground, then walk your feet away until you’re horizontal beneath the rings.
Tempo pull-ups
To make the exercise harder, slow the exercise down to work the muscles harder — this is called the time under tension technique and can intensify calisthenics exercises.
Bar and body height
The more horizontal you position your body, the harder the exercise will become. Position the bar lower to the floor and lay beneath it to make the inverted row more challenging, but to make the row easier, you could position the bar higher up and row from a more vertical position.
Equally, you can walk your feet further away from your body and the bar to lower yourself and make it more difficult, or walk your feet toward the bar to lift your body.
If you still can’t get enough intensity from the horizontal bar exercise, position your feet on a box or similar so that your feet and head are at the same level as you row.
Wide vs narrow grip
Try narrowing or widening your grip. A wider grip can help activate the posterior deltoids (rear shoulders) and the rhomboids, whereas a narrower grip can increase lat activation, especially using an underhead grip.
More from Tom's Guide
- Forget weights — this 4-move workout builds upper-body muscle with just a set of resistance bands
- This 5-move back and biceps workout carves upper body muscle in just 15 minutes
- Pull-ups vs chin-ups; Which is better for building strength?

Sam Hopes is a level 3 qualified trainer, a level 2 Reiki practitioner and fitness editor at Tom's Guide. She is also currently undertaking her Yoga For Athletes training course.
Sam has written for various fitness brands and websites over the years and has experience across brands at Future, such as Live Science, Fit&Well, Coach, and T3.
Having coached at fitness studios like F45 and Virgin Active and personal trained, Sam now primarily teaches outdoor bootcamps, bodyweight, calisthenics and kettlebells.
She also coaches mobility and flexibility classes several times a week and believes that true strength comes from a holistic approach to training your body.
Sam has completed two mixed doubles Hyrox competitions in London and the Netherlands and finished her first doubles attempt in 1:11.
 Club Benefits


