12 essential Animal Crossing: New Horizons tips for starting out
Remedy the struggles of island life with our Animal Crossing: New Horizons tips
Here at Tom’s Guide our expert editors are committed to bringing you the best news, reviews and guides to help you stay informed and ahead of the curve!
You are now subscribed
Your newsletter sign-up was successful
Want to add more newsletters?

Daily (Mon-Sun)
Tom's Guide Daily
Sign up to get the latest updates on all of your favorite content! From cutting-edge tech news and the hottest streaming buzz to unbeatable deals on the best products and in-depth reviews, we’ve got you covered.

Weekly on Thursday
Tom's AI Guide
Be AI savvy with your weekly newsletter summing up all the biggest AI news you need to know. Plus, analysis from our AI editor and tips on how to use the latest AI tools!

Weekly on Friday
Tom's iGuide
Unlock the vast world of Apple news straight to your inbox. With coverage on everything from exciting product launches to essential software updates, this is your go-to source for the latest updates on all the best Apple content.

Weekly on Monday
Tom's Streaming Guide
Our weekly newsletter is expertly crafted to immerse you in the world of streaming. Stay updated on the latest releases and our top recommendations across your favorite streaming platforms.
Join the club
Get full access to premium articles, exclusive features and a growing list of member rewards.
Island life can be tough in Animal Crossing: New Horizons, especially when you’re being chased by wasps, running low on Nook Miles or desperate for some materials. No worries: we’ve got a handful of Animal Crossing: New Horizons tips to make your journey way easier.
Save your Nook Miles
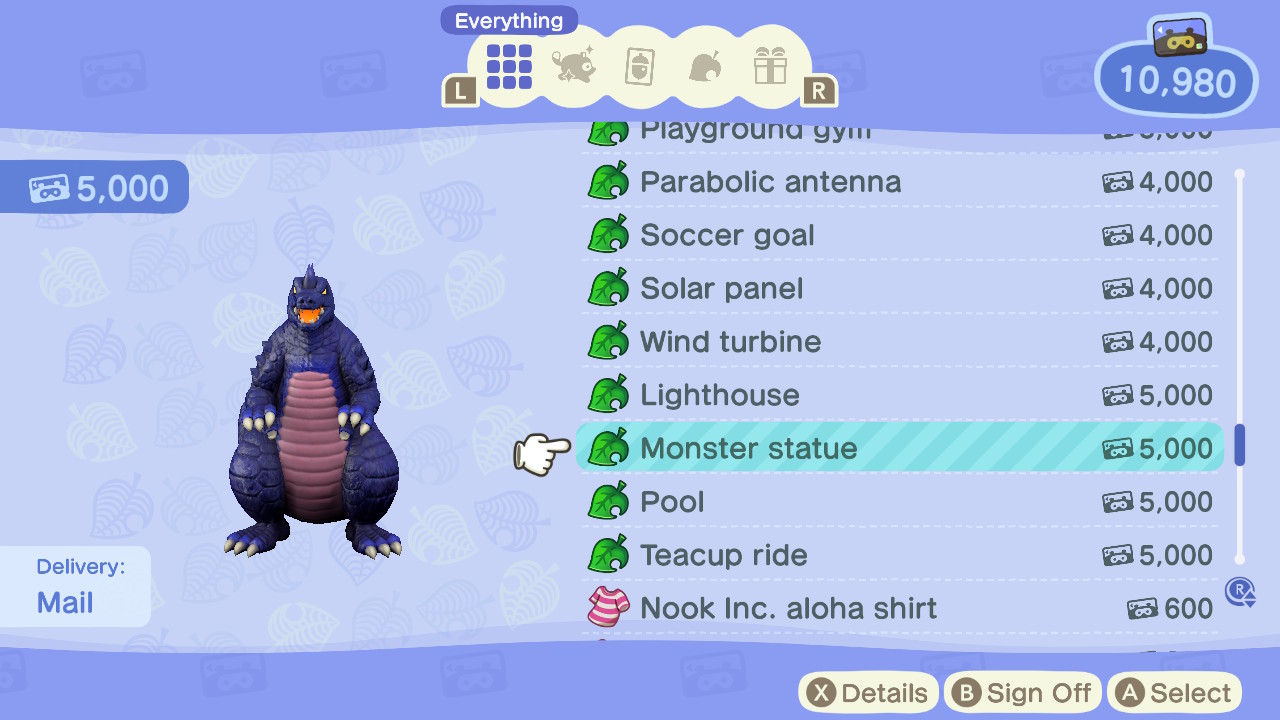
Nook Miles are an unconventional currency introduced in New Horizons that can be exchanged for all sorts of goods. Because you rack miles up at a fast pace, you might feel a strong desire to purchase random stuff on a whim. However, you should save your Nook Miles until Resident Services transforms from a tent to a building. Once this shift happens, the number of items purchasable with this currency increases exponentially. The only things you should worry about before that change occurs are the expanded inventory, tool ring, plane tickets, hairstyles and paying Tom Nook for your tent.
Change your looks
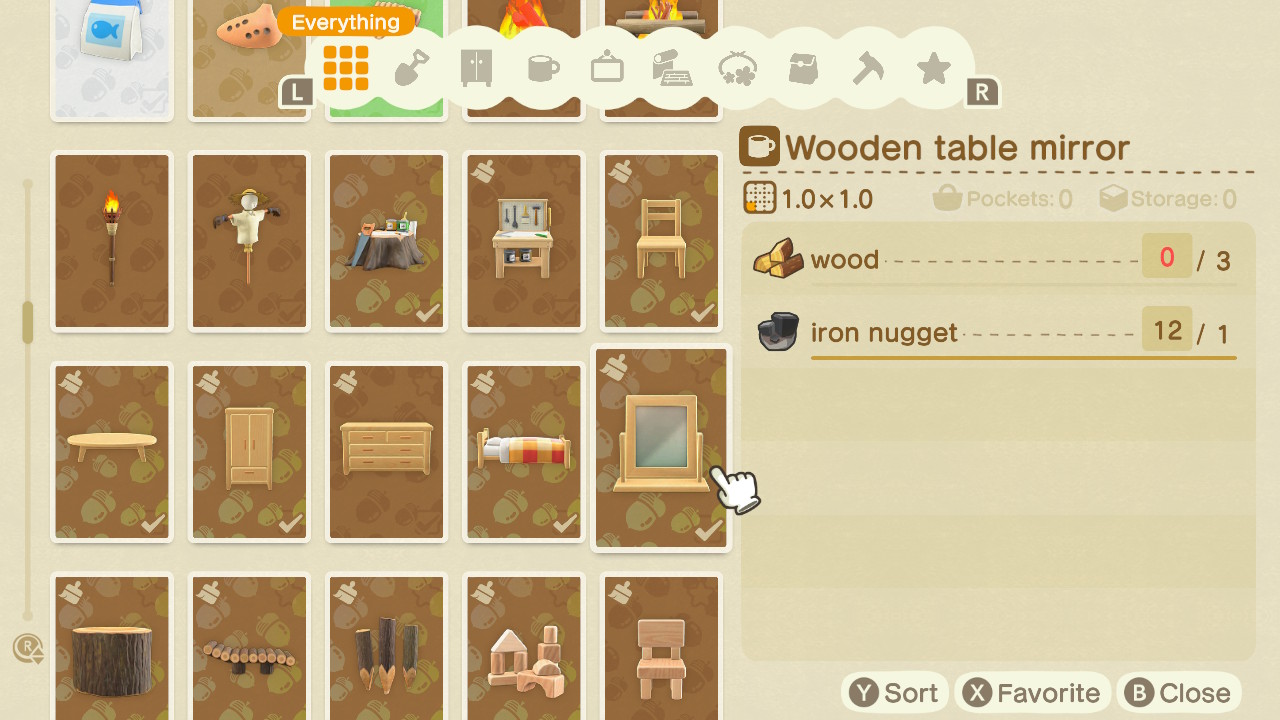
If you’ve quickly scurried through character creation and made a series of awful cosmetic decisions, don’t panic. Once you’re in game, simply craft a mirror using three pieces of wood and one iron nugget. Drop it at home and interact with it, and you’ll be able to fix whatever mistakes you’ve made.
Visit Nook Stop everyday
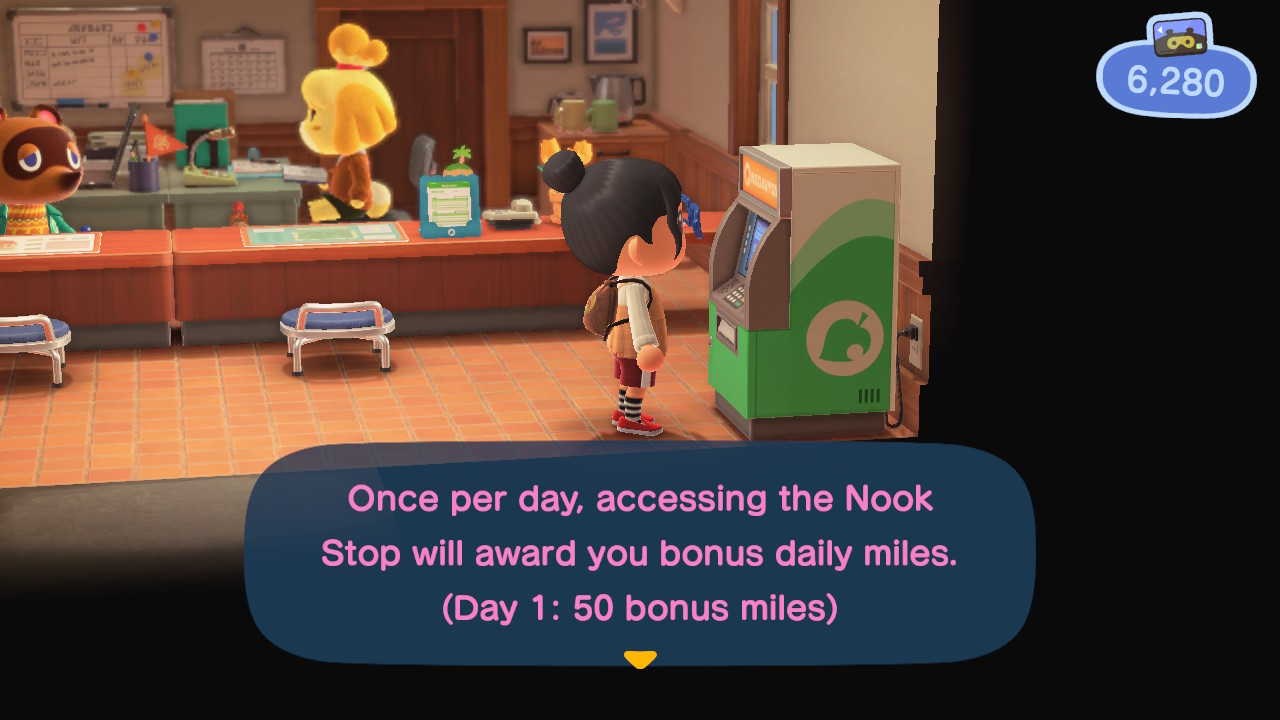
If you’re looking for easy Nook Miles, be sure to check in at Nook Stop every day. With each subsequent visit, you’ll earn an increased number of Nook Miles, capping at 300 from 7-plus days in a row.
Catch tarantulas
If you’re desperate for Bells, wait until night time and search around for tarantulas to catch. They’re an incredible source of currency, providing 8,000 Bells per sale. Be careful though, as they’re also quite feisty and quick to pounce if you make a wrong move. They spawn frequently, so it’s all up to the player to not mess up when trying to catch one.
Hit every rock and tree
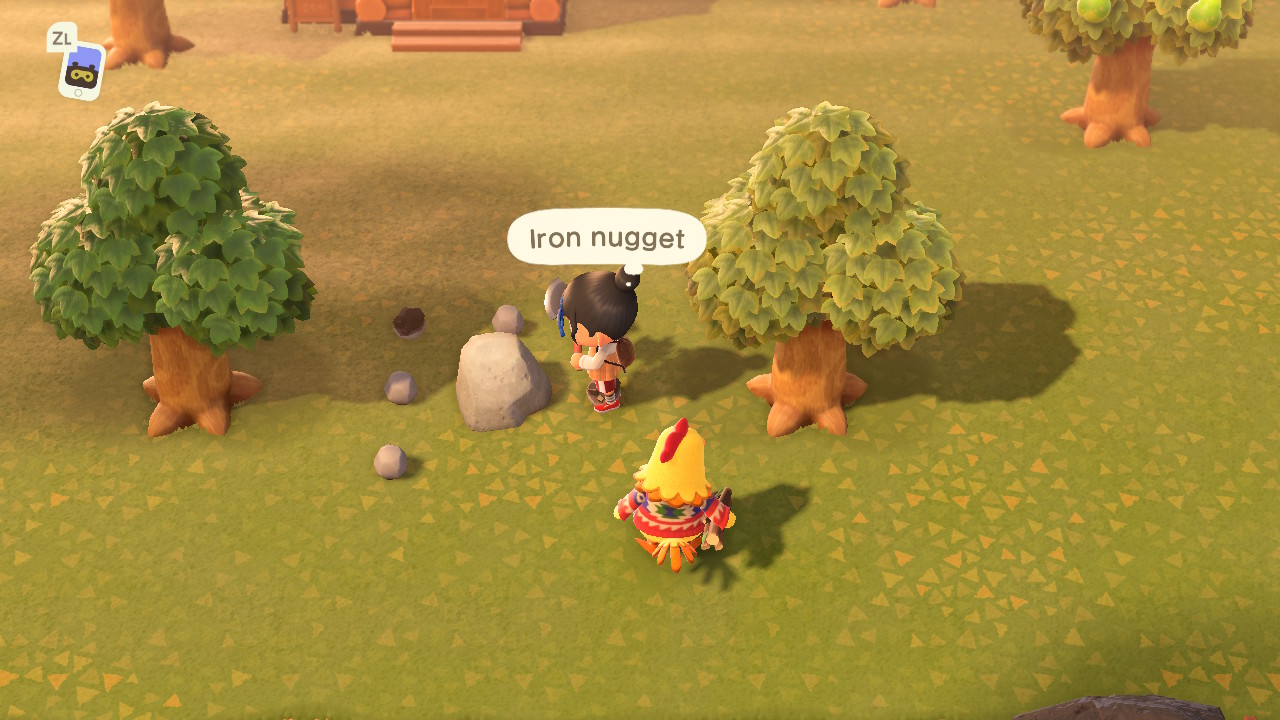
Sometimes Tom Nook will suddenly inform the player about an arduous project they must begin working on. This typically involves a ton of materials, including lots of iron, stone, clay and wood. To avoid the pain of having to haphazardly scramble these together last minute, be sure to hit every rock and tree you can find on the island with a stone axe. As long as you don’t destroy the source, these resources will replenish at the start of each day.
Run inside to escape wasps
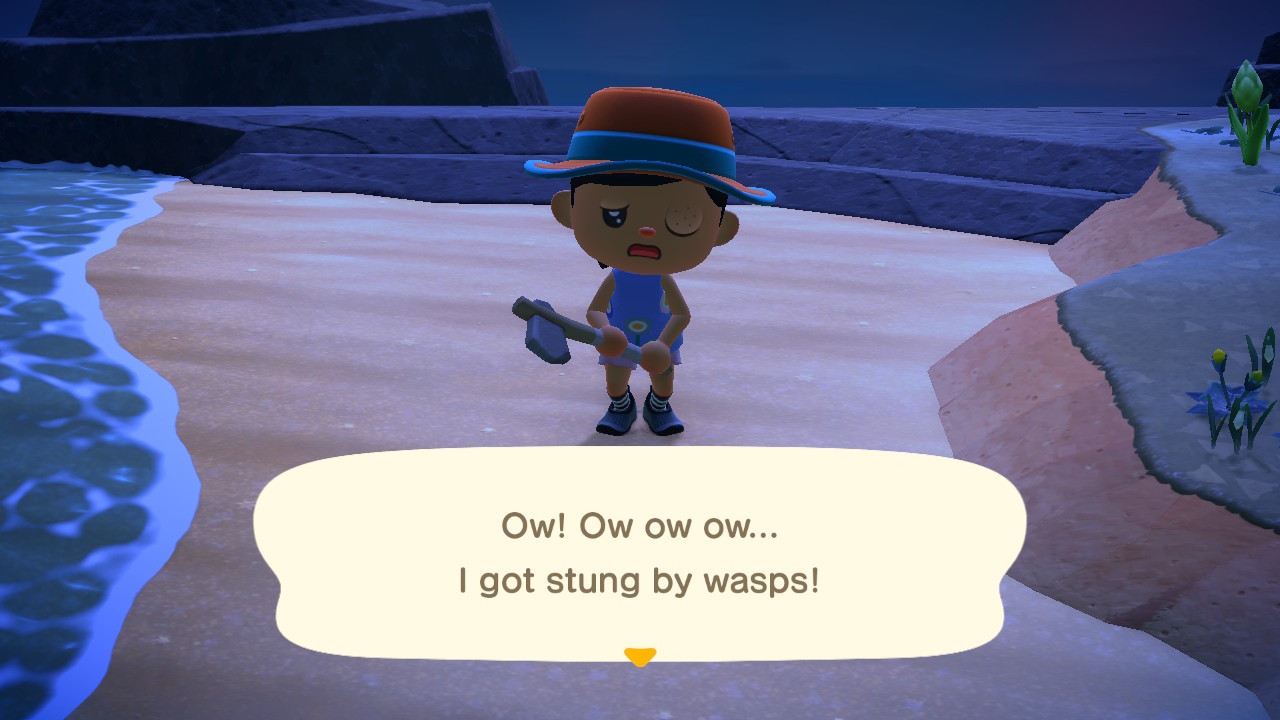
If you’re hitting or shaking trees, a honeycomb might drop down and wasps will emerge to sting you. If you see one, be sure to turn tail and run inside a house, tent or any old building. This is the only way to escape them — though if you do get stung, you can craft medicine using a honeycomb and some weeds.
Get instant access to breaking news, the hottest reviews, great deals and helpful tips.
Get more reactions
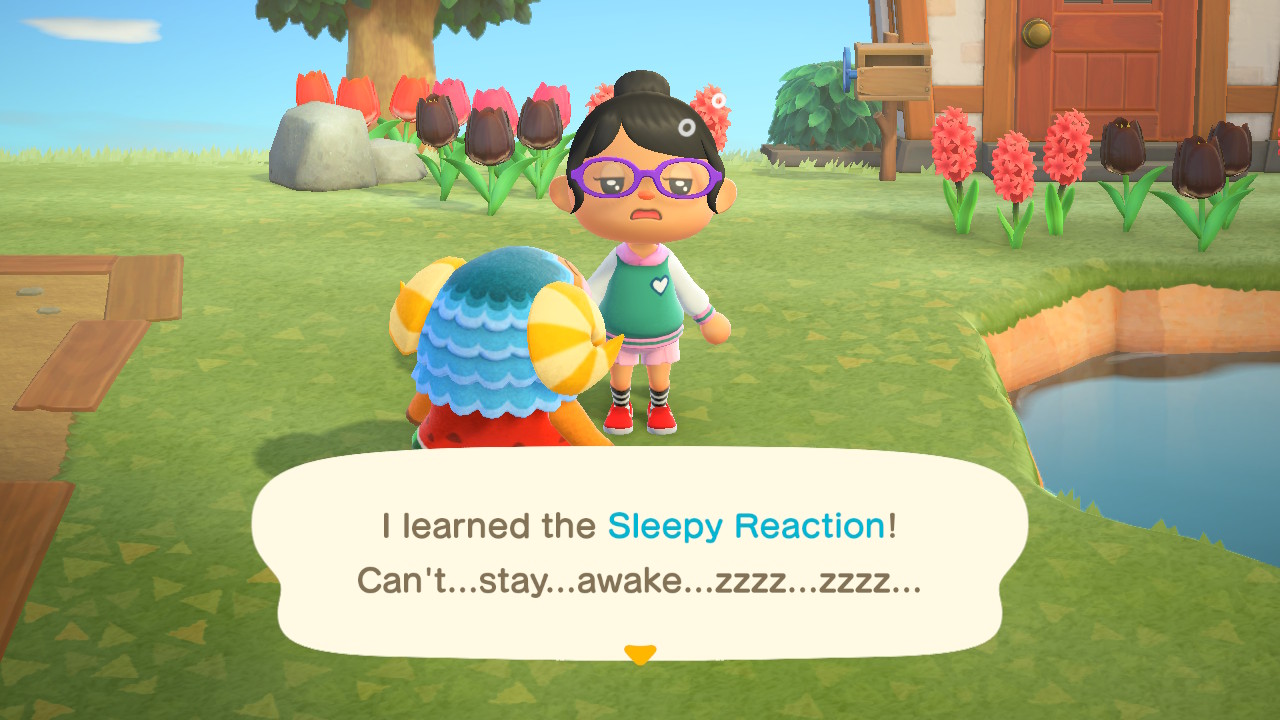
New Horizons boasts 44 emotes, so be sure to talk with your neighbors each day. Sometimes they’ll chat about how they learned to do something cool and will pass that knowledge onto your character. Typically, they’ll provide new reactions, allowing you to emote in a handful of adorable ways.
Beach recipes
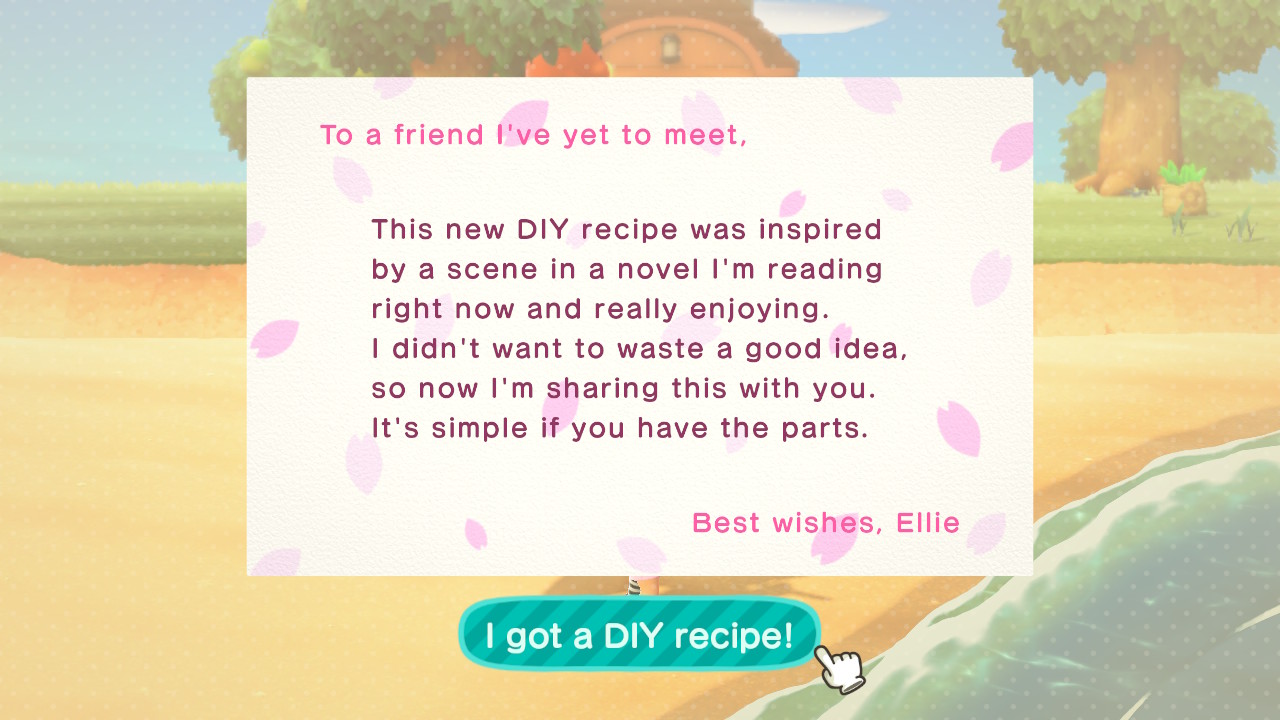
The easiest ways to find new recipes is to run around your island’s beaches and look for little bottles. Open these up and you’ll see a cute letter attached to a brand new recipe, allowing you to learn how to make new furniture or clothing.
Sell old fossils
Digging up fossils is an incredibly important part of building a diverse museum, but if you’ve assessed one with Blathers that’s already part of your collection, then be sure to sell it. Fossils can go for thousands of Bells, making them a pretty good source for quick currency.
Fly elsewhere
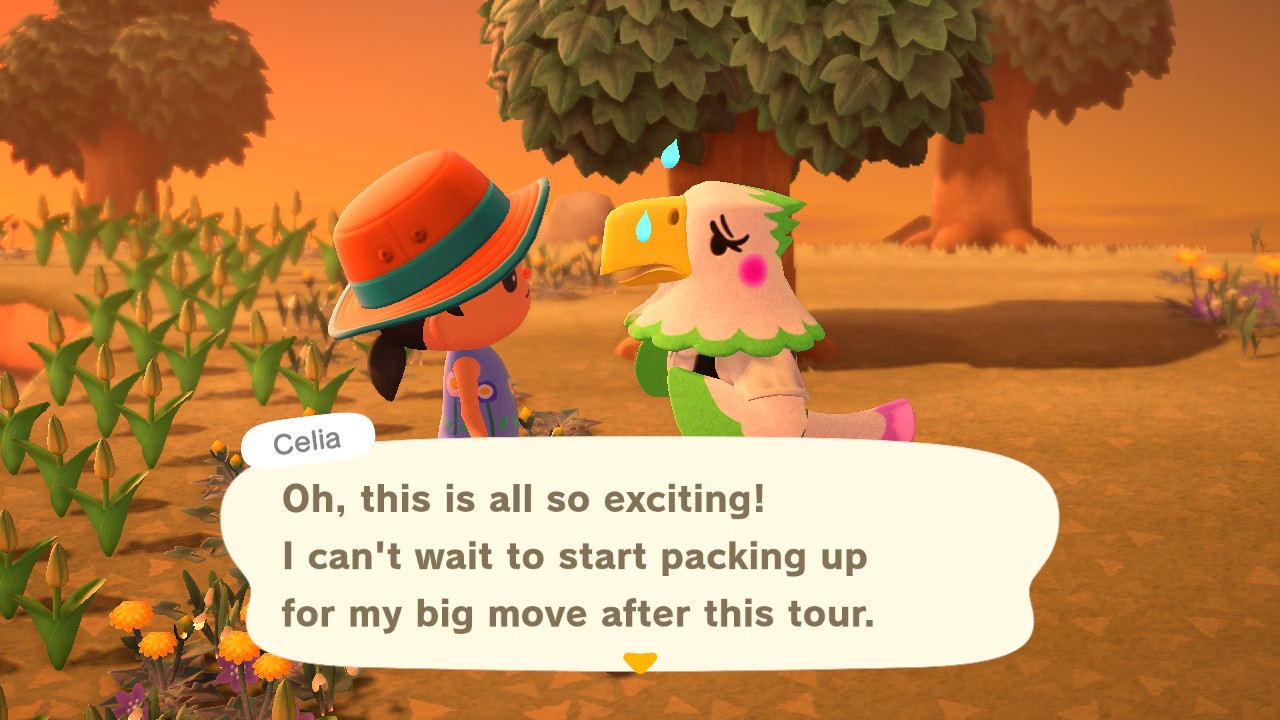
Taking trips to other islands not only provides access to additional resources, but you’ll also find new characters hanging around. Be sure to keep chatting with them until you see a prompt about inviting them to your island. Within a few days, Tom Nook will inform you that a handful of houses will need to be built in order to accommodate new visitors.
However, once you’ve built the Campsite, characters can no longer be found on other islands. Instead, you’ll have to convince them inside the Campsite itself.
You can move buildings later
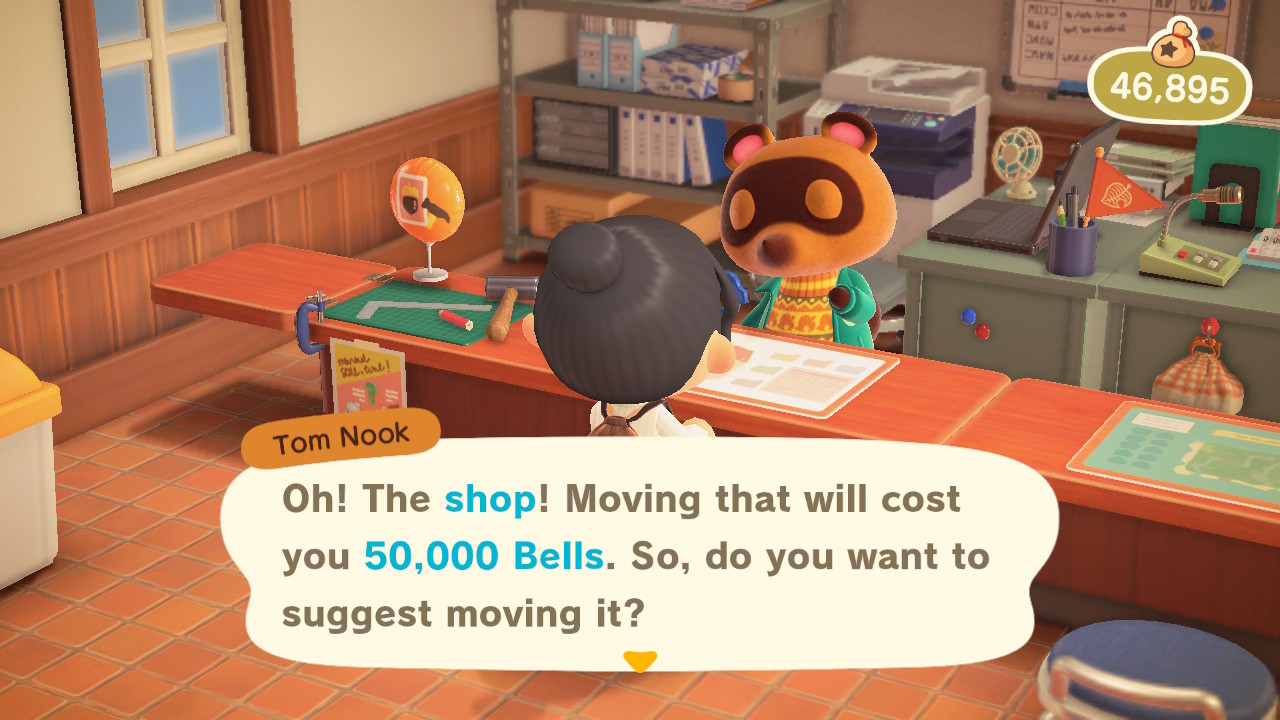
If you’re like me and foolishly placed Nook’s Cranny right behind the town square, don’t worry. Once Resident Services is upgraded, you can talk with Tom Nook about where you’d like to move any misplaced establishments. However, the cost for this is steep — it set me back 50,000 bells to move my shop to a more desirable location.
Progression provides new features
If you’re confused as to why you can’t use ladders, vaulting poles, or edit the island in-depth, keep in mind that progressing through the game is the best way to unlock these things. If you’re unsure of how to do this, go to Resident Services and select the dialogue option “What should I do” while talking to Tom Nook. He’ll let you know how to progress.
 Club Benefits


