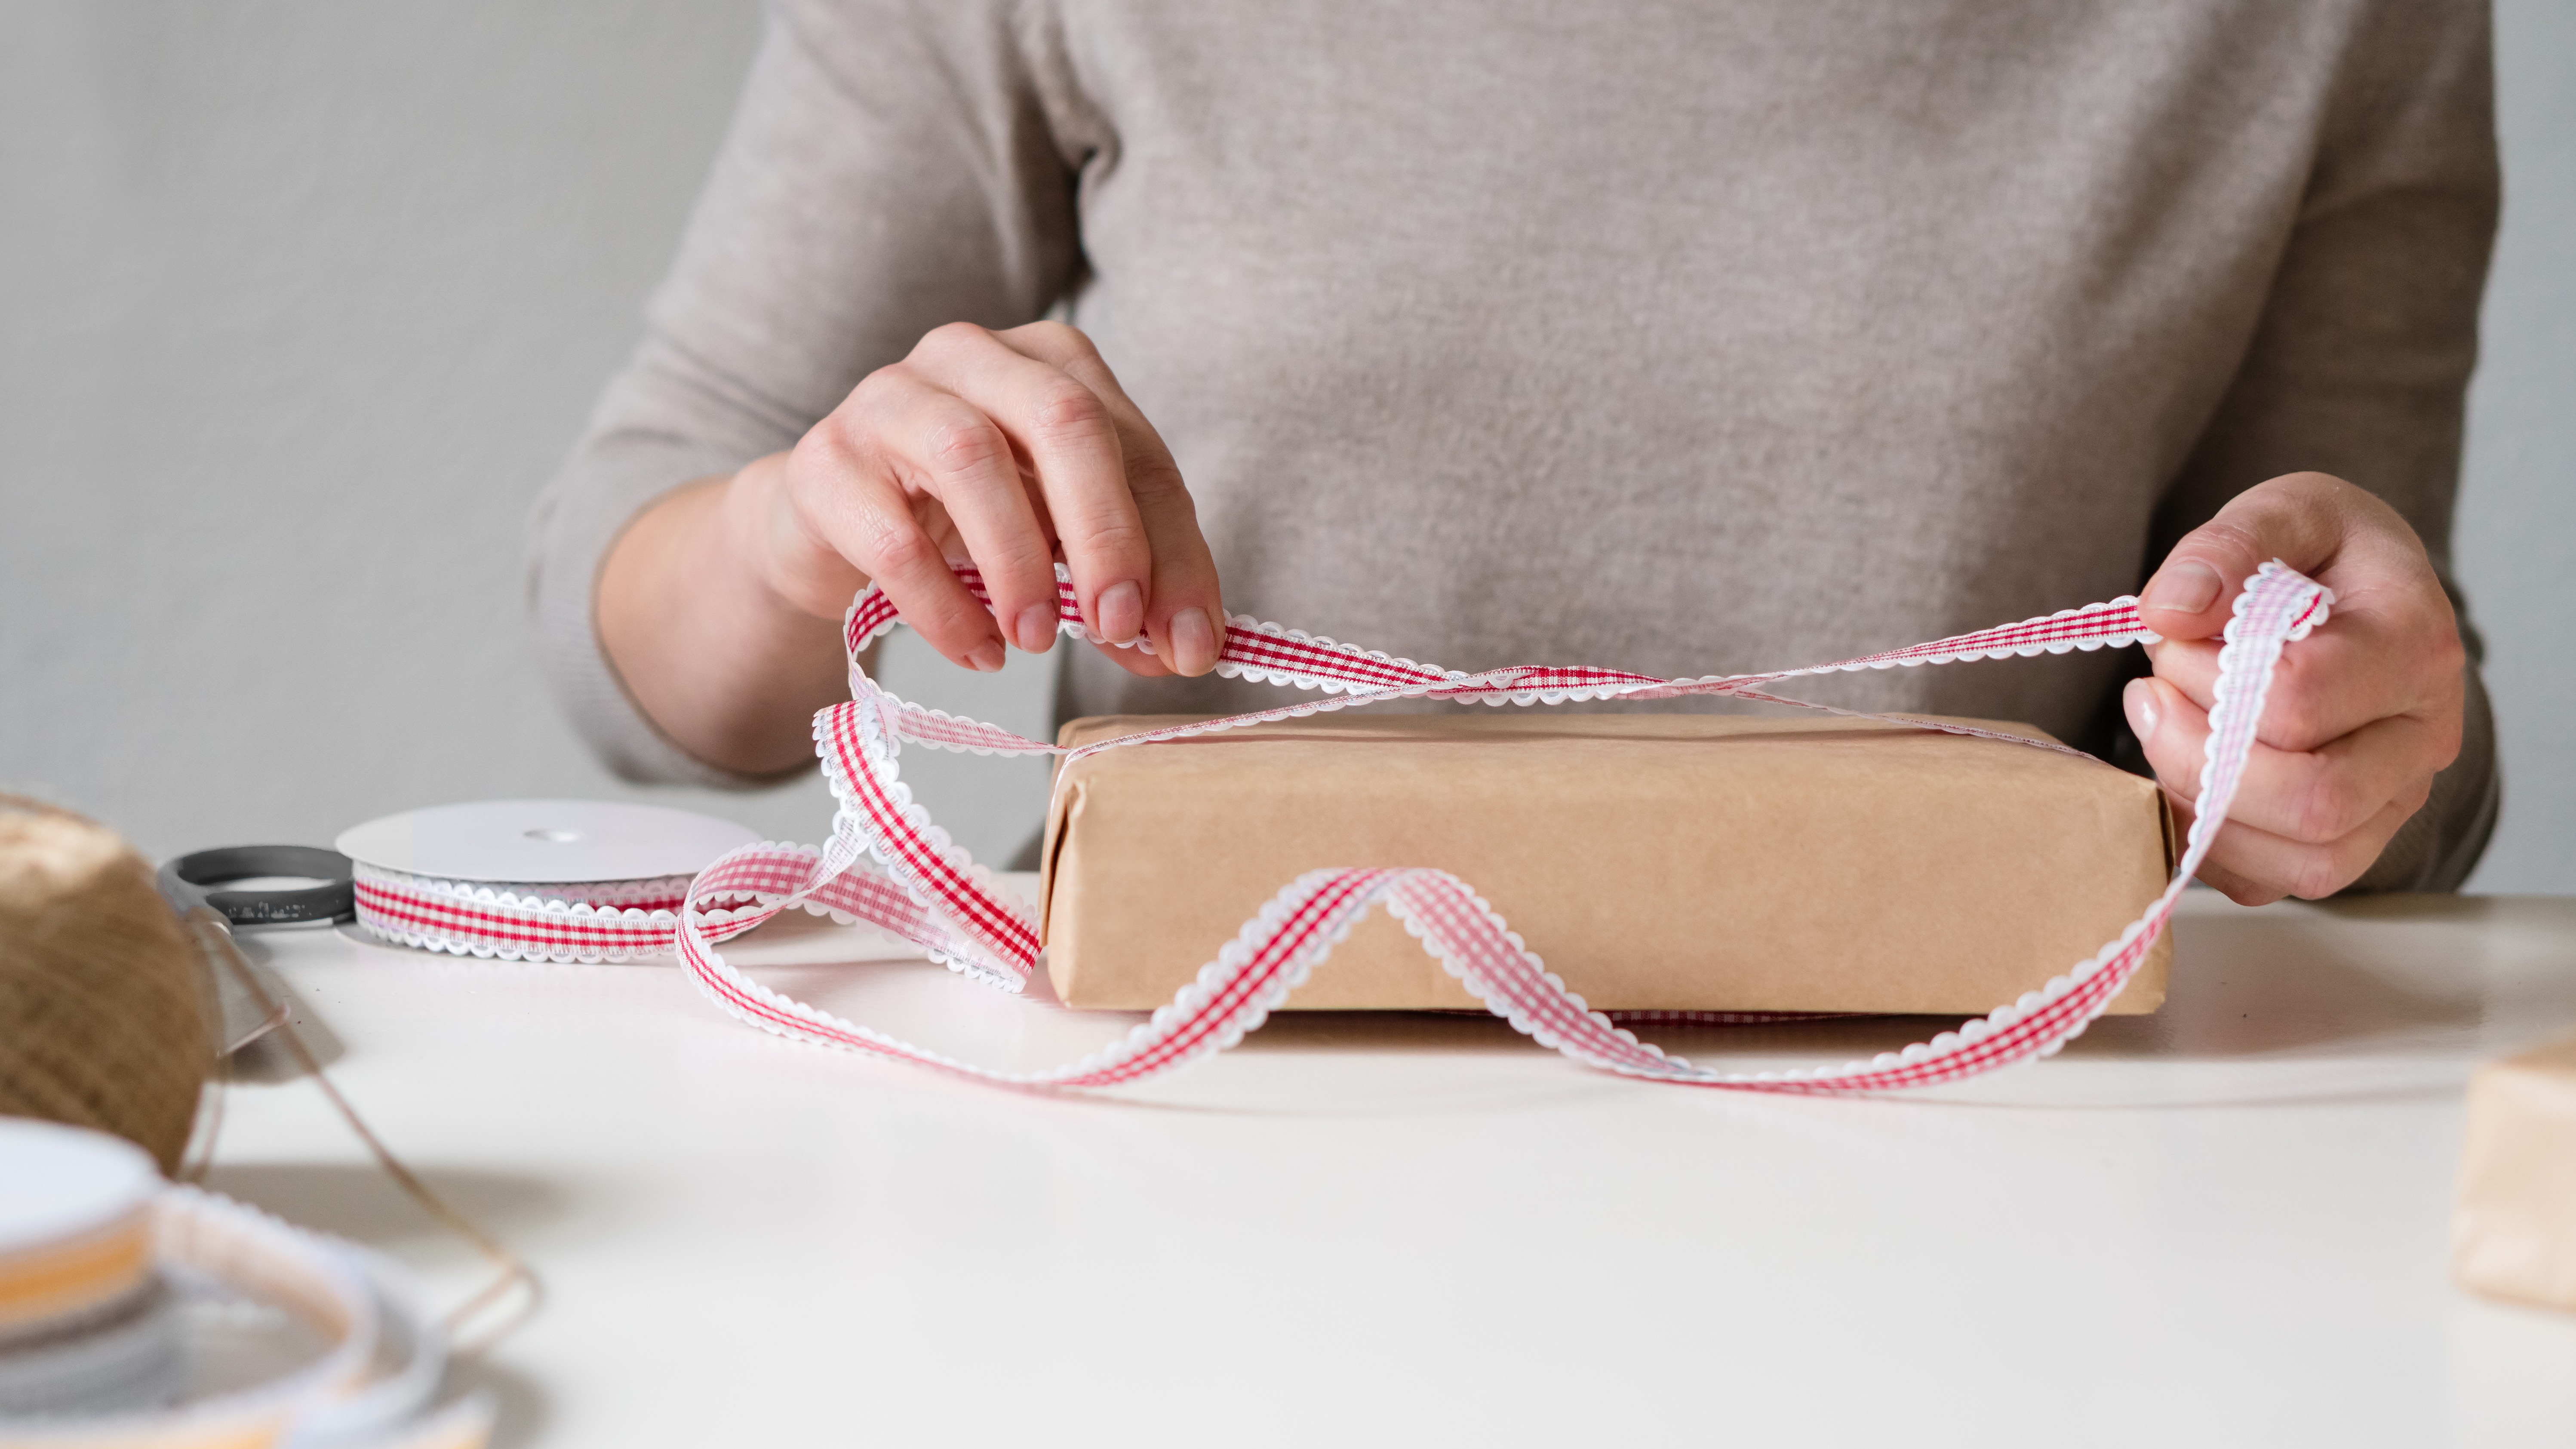
How to tie a bow ribbon for the perfect gift
Here’s how to tie a bow ribbon for your festive gifts.

Here at Tom’s Guide our expert editors are committed to bringing you the best news, reviews and guides to help you stay informed and ahead of the curve!
You are now subscribed
Your newsletter sign-up was successful
Want to add more newsletters?

Daily (Mon-Sun)
Tom's Guide Daily
Sign up to get the latest updates on all of your favorite content! From cutting-edge tech news and the hottest streaming buzz to unbeatable deals on the best products and in-depth reviews, we’ve got you covered.

Weekly on Thursday
Tom's AI Guide
Be AI savvy with your weekly newsletter summing up all the biggest AI news you need to know. Plus, analysis from our AI editor and tips on how to use the latest AI tools!

Weekly on Friday
Tom's iGuide
Unlock the vast world of Apple news straight to your inbox. With coverage on everything from exciting product launches to essential software updates, this is your go-to source for the latest updates on all the best Apple content.

Weekly on Monday
Tom's Streaming Guide
Our weekly newsletter is expertly crafted to immerse you in the world of streaming. Stay updated on the latest releases and our top recommendations across your favorite streaming platforms.
Join the club
Get full access to premium articles, exclusive features and a growing list of member rewards.
Once you’ve mastered how to wrap a gift the right way, you’ll need to add those finishing touches. Knowing how to tie a bow ribbon for the perfect gift will instantly upgrade your boring box, making it stand out under the tree.
In addition, tying a bow ribbon will make your gift more festive, and impress your loved ones this season. It will also save you money on buying pre-made gift boxes!
- If you have horrid oil stains, here's how to remove oil stains from clothes
- Check out how to clean white shoes
But while learning how to tie a bow ribbon can seem time consuming, don’t despair! With a little patience, it’s not that hard to do with these four simple steps. So if you want to present the best gift this season, here’s how to tie a bow ribbon in style.
How to tie a bow ribbon for the perfect gift
1. Measure your ribbon

First, measure the ribbon horizontally across the box. Drape it from edge to edge and leave about 4 to 8 inches of ribbon hanging off the sides for the tail. Do not cut the ribbon yet.
2. Wrap ribbon underneath the gift box

Next, pull the rest of the ribbon under the box and back to the front. Measure the ribbon against the first piece and cut it. Then pull one end of the ribbon under and over the other, so you have a "T" shape.
3. Cross the ribbons across the box

Take the ribbon towards the middle of the box, then bring the shorter end to meet it. Twist the ribbons around each other so that they are aligned vertically. Then, wrap the ribbon around the back of the box and back to the front. It’s best to place your thumb against the ‘twist’ to keep it secure as you wrap the ribbon around the back.
4. Tie the ribbon into a bow

To make the bow shape, fold both ends of the ribbon into loops to resemble bunny ears. Cross the left loop over the right one to make a smaller loop in the middle, pull the left loop through that smaller loop, then tighten.
Get instant access to breaking news, the hottest reviews, great deals and helpful tips.
5. Trim the excess ribbon off tails

Finally, trim off the ends of excess ribbon for a more tidy finish. If you want to get creative, you can even give the tails an angled cut to impress your guests.
Next: You might also want to check out how to avoid these 7 common gift wrapping mistakes while wrapping presents this holiday season.

As the Homes Content Editor, Cynthia Lawrence covers all things homes, interior decorating, and garden-related. She has a wealth of editorial experience testing the latest, ‘must-have’ home appliances, writing buying guides and the handy ‘how to’ features.
Her work has been published in various titles including, T3, Top Ten Reviews, Ideal Home, Real Homes, Livingetc. and House Beautiful, amongst many.
With a rather unhealthy obsession for all things homes and interiors, she also has an interior design blog for style inspiration and savvy storage solutions (get rid of that clutter!). When she’s not testing cool products, she’ll be searching online for more decor ideas to spruce up her family home or looking for a great bargain!
 Club Benefits


