
 Club Benefits


If you’ve noticed your oven has started to smell or you can’t see through the glass door anymore, then it’s time to give it a clean. Knowing how to clean your oven can make this chore much less of a burden. With just a few household products and the right application, you can get your best electric range looking like new again.
Cleaning the oven is something everyone needs to do. If you don’t, it can compromise the smell of the food you cook within, or cause excess smoke by burning any residue which has dripped down. In severe cases, an unclean oven can even lead to fires. That’s why you must take the time to regularly clean your oven. Here, we take you through how to do it, step-by-step.
Once you've finished, here are 7 tips to keep your oven cleaner for longer.
How often should you clean your oven?
This largely depends on how often you use your oven and how much residue builds up inside of it. In general, it’s good practice to lightly clean the oven once a month and then deep clean it every 2-3 months.
Either an oven cleaner or baking soda and white distilled vinegar
Dishwasher detergent
Rubber gloves
Towels or newspaper
Microfiber cloths or sponge and scourer
Empty spray bottle
Tell-tale signs of the oven needing cleaning include smoke building up within, potentially setting off sensitive smoke alarms. If you’re struggling to see through the glass door due to grease and splatterings, then that’s another sign. Lastly, you can smell smoke and grease when it’s time to give it a clean. It’s also a good idea to check the oven quickly after each meal; if you notice any fresh residue, wipe it up immediately, otherwise it will burn on.
What does the self-clean function do on an oven?
Before you start, check if your oven comes with a self-clean program and if it does, follow what the manufacturer recommends in terms of how often you should run it. There are two types of self-cleaning ovens; pyrolytic and steam cleaning.
During a pyrolytic self-clean cycle, which can last several hours, the oven will be locked and reach temperatures of 500 degrees celsius or 900 degrees fahrenheit. The high temperatures will reduce any residue to ash and once the cycle is finished, you simply brush it out. However, be sure to check that you won't need the oven for the duration of the cycle as it will be locked throughout.
It's also a good idea to run this program on a cool day when you can open a window as you will feel the effects of the heat in the kitchen and it can produce a smell, too. We wouldn’t recommend running this program if the oven is particularly dirty with lots of food residue inside of it. Remove this residue beforehand as it will cause excessive smoke.
Steam clean ovens use steam to pre-loosen any residue, but you will need to manually clean it afterwards. These cycles are much faster than pyrolytic, operate at a lower temperature and don’t produce as much smell, but they do require more elbow grease.
If your oven comes with a self-clean program, but you would rather use a standard oven cleaner, be sure to check that the ingredients in the cleaner are compatible. Some chemicals will erode the enamel within self-cleaning ovens, so it’s always best to check with the manual.
How to clean an oven

1. Preparation: Let the oven completely cool and remove everything including the rack holders if possible. This will give you ample space to clean. It’s a good idea to lay down some towels or newspaper around your oven too.
2. How to clean your oven with baking soda: If you’re using an oven cleaner, follow its instructions for application and removal. If you want to try a more sustainable method, you can use baking soda, but it's important to note that this likely wont be able shift heavily burnt on residue within the oven. You may need to resort to an oven cleaner and scourer for this. Baking soda will remove everyday grease and grime though.
To do so, make up a paste with 1 cup of baking soda and 4 tablespoons of water. While wearing gloves, apply the paste to the inside of the oven using a microfiber cloth or just your fingers, keeping it fairly thick and covering all residue. We found it best to dab it on with a spoon, and then just scrub it around with our hands. Avoid the heating elements and ventilation slots if you have a gas oven. You may notice it starts to turn brown, but not to worry, that means it’s working!
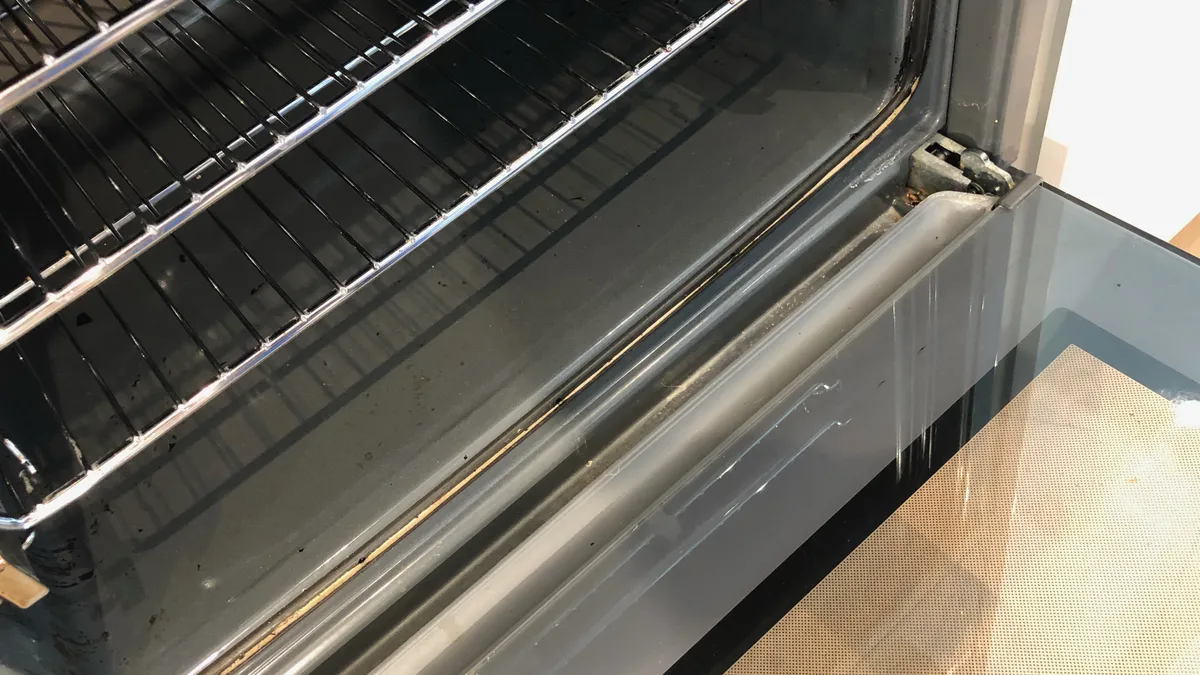
3. How to clean a glass oven door: The same paste can be used on the glass door to remove any built-up grease. Generously apply it once again. The inner glass panel on some oven doors can be removed for easy cleaning. Let the paste sit in the oven for at least 8 hours, or ideally overnight.
Note: Baking soda is said to be abrasive enough to scratch glass, however we didn't experience this for ourselves. If you're concerned about scratches, use a proprietary oven cleaner instead.

4. How to clean oven racks: While you’re waiting, you can tackle the oven racks and holders, if you removed these. It’s easiest to wash both in a bathtub or a sink, but be sure to lay something down to stop them from scratching the surface. Non-slip mats or towels work well for this. Once the racks are in your tub or sink, fill it with hot water until the racks are just covered. Use the hottest water possible to get the best result.
Mix a cup of dishwasher detergent with some hot water separately to pre-dissolve it. This can then be added to the racks and left to sit for 8 hours or overnight. If you don’t have this kind of dishwasher detergent, then there’s also a method which uses baking soda and white distilled vinegar. Before you fill the tub/sink, sprinkle baking soda all over the racks, being sure to cover any soils.
Next, fill an empty spray bottle with white distilled vinegar and spray the racks. You will notice it will start to foam. Once the foaming stops, fill with the hottest water possible until the racks are submerged and leave for 8 hours or overnight. Any residue should scrub off with ease afterwards. Be sure to rinse the racks, or run them through the dishwasher before putting them back!
5. Remove the baking soda paste: Once time is up, use a spray bottle filled with white distilled vinegar to give the oven a final spritz. It will start to foam as the vinegar reacts with the baking soda. Once the foaming stops, use hot water and a microfiber cloth or sponge to remove the paste and scrub the oven clean. Remember, don’t use anything abrasive on the glass door as it can scratch.
Your oven should now be a much better sight! If any burnt residue remains, you may need to repeat the above steps on a focussed area or resort to an oven cleaner, but this method will shift everyday grease and grime. Don’t forget to give the outside a clean with a damp microfiber cloth as well.
How to keep your oven clean
- Invest in an oven liner. These are designed to protect the floor of your oven by catching any spills. These can be easily removed and cleaned, or if necessary, replaced.
- Keep an eye on your oven. After every meal, inspect your oven for any grease or splatters. Cleaning these up immediately is a lot easier than once burned on.
- Clean the oven more regularly. Make sure you schedule to regularly clean your oven, rather than leaving it until necessary. Cleaning it more often will make the chore much easier and keep your oven in the best working condition.
Next: Here are 7 oven mistakes you never knew you were making and what to look for when buying a kitchen range. Looking at cleaning other things? Here's how to clean a baking sheet in 3 easy steps to make it just like new; How to clean windows and leave them streak-free; How to clean a gas stove top to make it look spotless and how to clean a stainless steel sink to make it sparkle.

