Club Benefits


Windows are a focal point for any home, letting light in and allowing us to look out into the world. They’re also regularly exposed to the elements, collecting pollen and debris on one side of the glass and household dust on the other.
Keeping them free of dirt is important, both for aesthetic and hygienic reasons, and this should be a straightforward process. Yet there’s a common yet frustrating phenomenon: You take out your cleaning supplies and wipe down your windows, only to find them covered in unsightly streaks. In fact, they may look dirtier than they did before you started. Not only do you need to clean them all over again, but who’s to say the streaks won’t appear the second time?
With these five tips, you can make sure that each window cleaning treatment actually gets the job done. Even better, these are tips that either make use of everyday household items or don’t require any supplies, so you can start implementing them immediately.

While it may take you a little longer to clean your windows following these steps, you’ll save time in the long run as you won’t need to repeat your cleaning efforts. It is recommended to incorporate all of these steps into your routine, but just one or two will still help to reduce streaks when cleaning your windows.
1. Clean with the right materials

You may be setting yourself up for failure before you even start wiping the window. It’s important to select the right cleaning materials when treating your windows because these liquids can leave residues behind on the glass which contribute to streaking. One problem is using hard water, as it contains minerals which are often left as deposits during cleaning. If you are using a homemade cleaning solution, such as a mix of vinegar and water, then be sure to use distilled water to remove these minerals before you begin.
Alternatively, you may prefer to use soap or a dedicated glass cleaner like Windex. These liquids should be used sparingly and diluted with water, in the case of soap, to minimize the risk of excess liquid collecting on the window surface. A thinner cleaning solution will also be easier to spread across the surface, so your cleaning rag doesn’t drag and leave marks or even abrasions on the glass.
2. Spray the product onto a cloth (not the window)
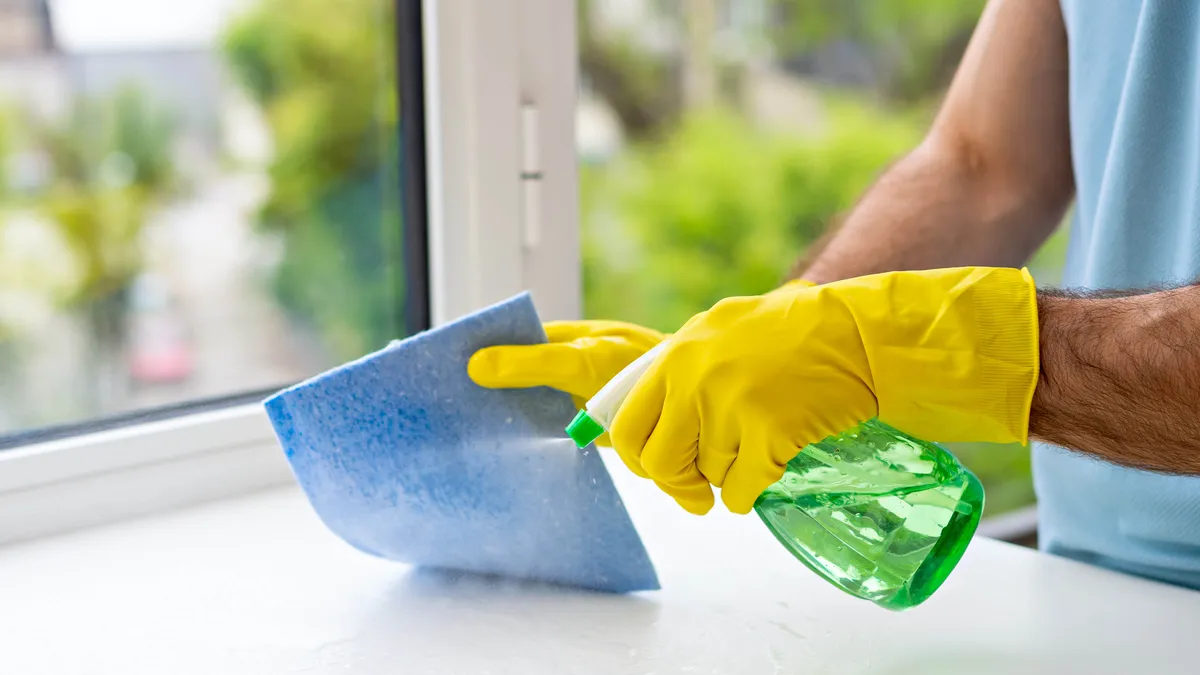
Another way to reduce the risk of excess residue is to apply your cleaning product to a cloth and then rub that cloth on the window, instead of directly spraying solution onto the window surface. This controls the amount of solution coming into contact with the window and also means that there’s less time for the solution to dry and set in place, before you can wipe it away.
Wiping these patches of hardened residue can cause large streaks on your otherwise clean surface.
It’s also important to select a cloth made from microfiber, chamois or something similar, so that you don’t leave any fibers behind as you clean. While it may be convenient to use paper towels, these sheets can easily drop lint or other residue as they’re wiped across the surface. This then leaves you with more material to clean up. A microfiber rag can be used time and again, as long as it’s dried sufficiently in between cleans.
: now $13 @ Amazon")
3. Use a dry cloth to buff away remaining wet patches

Once you’ve applied your cleaning solution and rubbed at any persistent stains, switch to a new, dry cloth. This should be of a similar material to the first one, so there’s no risk of dropping any fibers. Use this cloth to buff away any wet patches that are still lingering on the surface, to ensure that all residue is collected and removed. It’s important to move quickly so that there is no time for any marks to set in and cause streaks.
If necessary, treat one window pane before moving onto the next, so that you’re only applying and removing cleaning solution to a small area at a time.
A traditional method that still stands the test of time is to use newspaper as your cleaning rag. This remains an effective tool and it can even add a light polish, thanks to the oil in the paper. Still, if you choose to use this material, you should be careful of potential stains from the newsprint. This can easily get onto clothes or skin, which will then require separate cleaning.
4. Consider a squeegee for larger surfaces

While a pair of cleaning rags should be sufficient for regular household windows, you may want to consider a squeegee if you have larger windows or even glass doors. Not only can these tools cover a lot more surface area at a time, but they can help eliminate a separate problem: static charge. When you rub the window surface with a cloth, you can give the glass a static charge which then attracts dirt and dust right back onto the glass. You could be undermining all the good work you’ve been doing until now. By utilizing a squeegee, you avoid needing to use rapid agitation on the glass and therefore reduce the chance of static energy.
Squeegees are also useful for creating consistent movement across the glass and covering a lot of square footage at a time. It’s much easier to clean large windows quickly when you have a tool like this, instead of manually wiping with a rag. However, some best practices still apply. Make sure to wipe down the squeegee after each drag across the window, so that you don’t just reapply the cleaning solution to the glass. Also, buff away any residue with a clean rag as you would after using a damp one.
5. Avoid cleaning in direct sunlight

Dried cleaning solution can create streaks when you wipe at it, which is why it’s recommended to work quickly when cleaning your windows. However, if you’re cleaning your windows on a sunny day, the warmth from the sunlight could dry the cleaning residue before you have a chance to get to it – no matter how fast you’re working.
To avoid this, try to clean your windows during cloudier days, so that the cleaning solution will evaporate at a normal pace. This gives you the room to clean thoroughly, without worrying about your speed.
More from Tom's Guide
- Plus, here's how to clean a mirror without leaving streaks
- And vinegar vs baking soda — which is best at cleaning?
- Check out how to clean a glass shower door