7 vegetable seeds to sow in September for bountiful fall harvests
Growing season is far from over
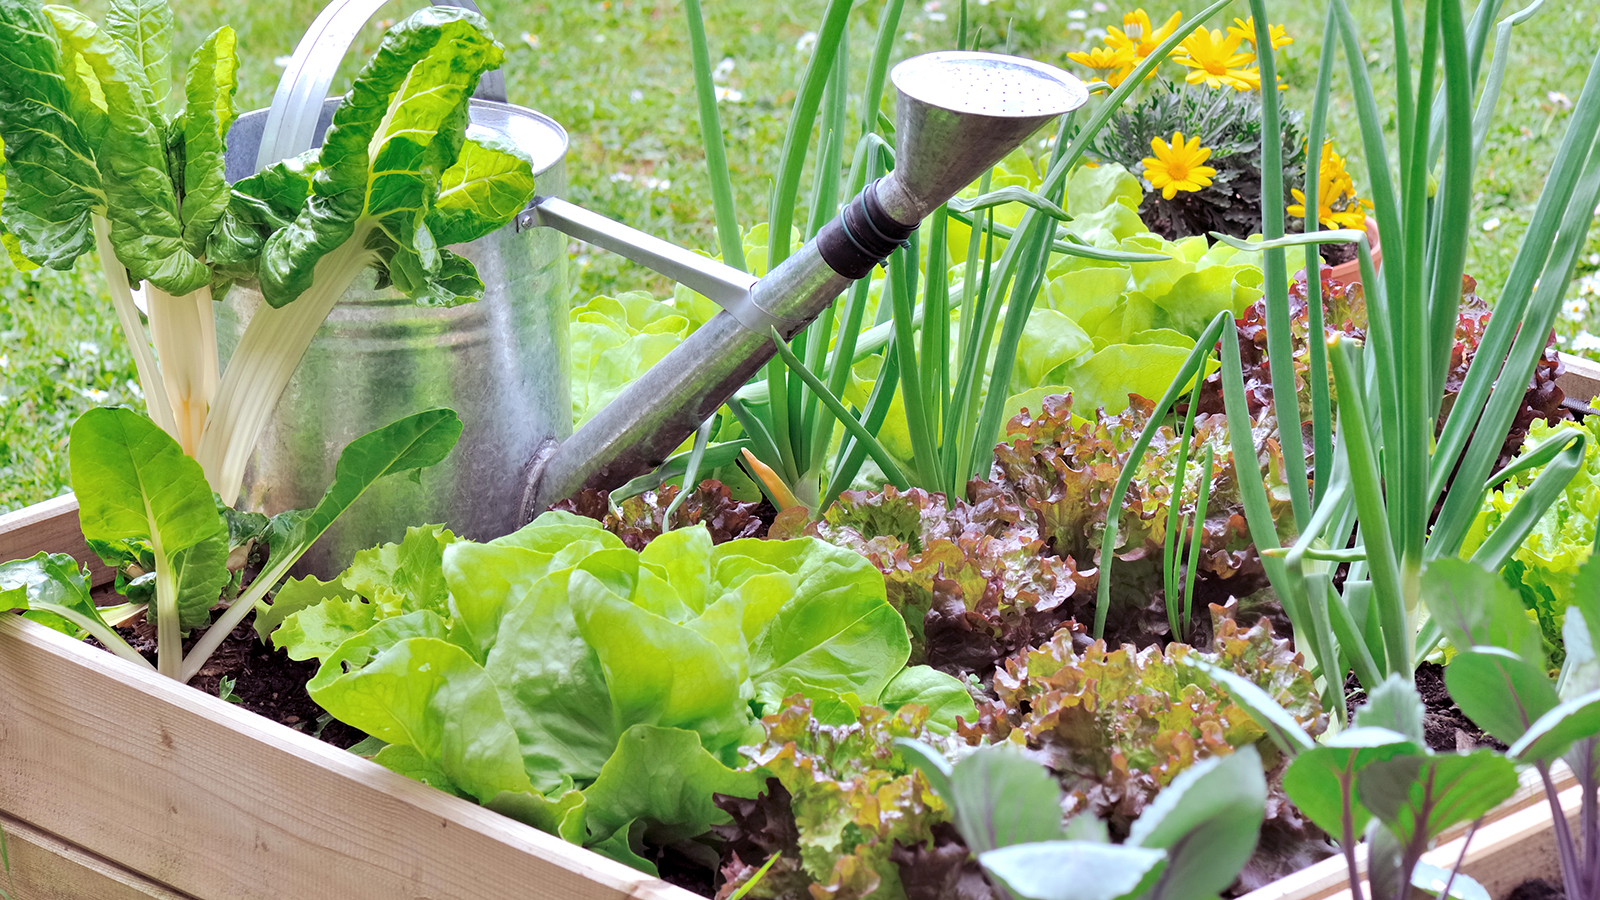
September marks the official arrival of fall and the month often brings thoughts of crisp mornings, color-turning foliage, and the new school year. But the first few weeks of September are still considered summertime and are often quite warm, with conditions that are more than suitable for a final crop.
So, if you get started on the early side of the month, you should be able to raise several species from seed to harvest before the weather gets too cold. As a bonus, any plants you start now should be established by the time winter hits, meaning they can go dormant and burst into fruit as soon as spring arrives.
Get planting in September
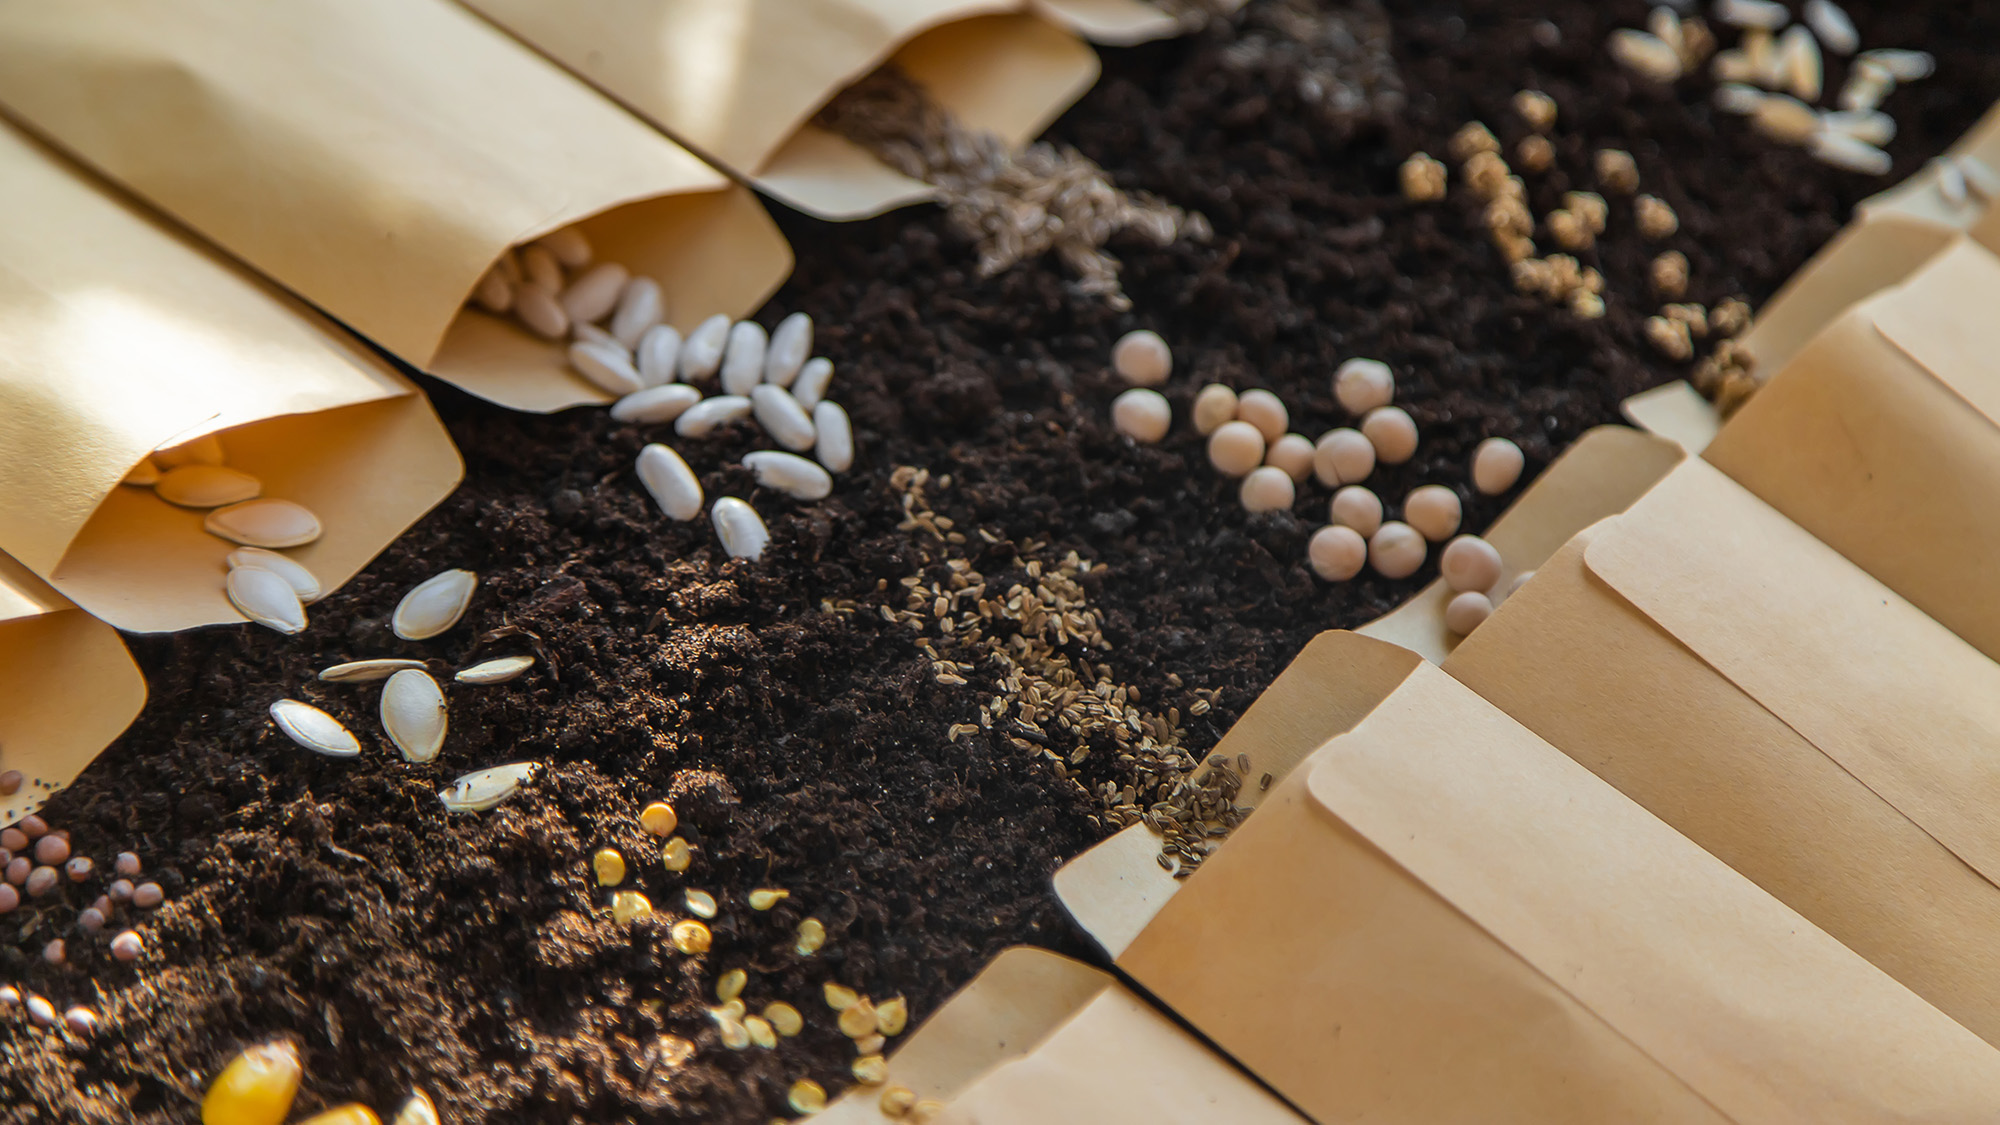
When it comes to September planting, it’s important to look for cool-weather crops that will thrive even as temperatures fall through the month. You’ll also want to prioritize species that have a shorter maturation period, so that there is less risk of frost damaging the produce. In practice, this often means planting leafy greens and other hardy vegetables that we associate with cold weather eating; think root vegetables and brassicas.
The specific weather of your region will impact the best time to grow the following species, but all are generally recommended for planting throughout September. As a rule, the more northern and cool your climate, the earlier you should begin planting. On the flip side, warmer regions can get away with planting later in the month. In some cases, you might want to install a cover or tunnel to protect plants from unexpected cold snaps — this will be more important the cooler your local environment is.
1. Cabbage
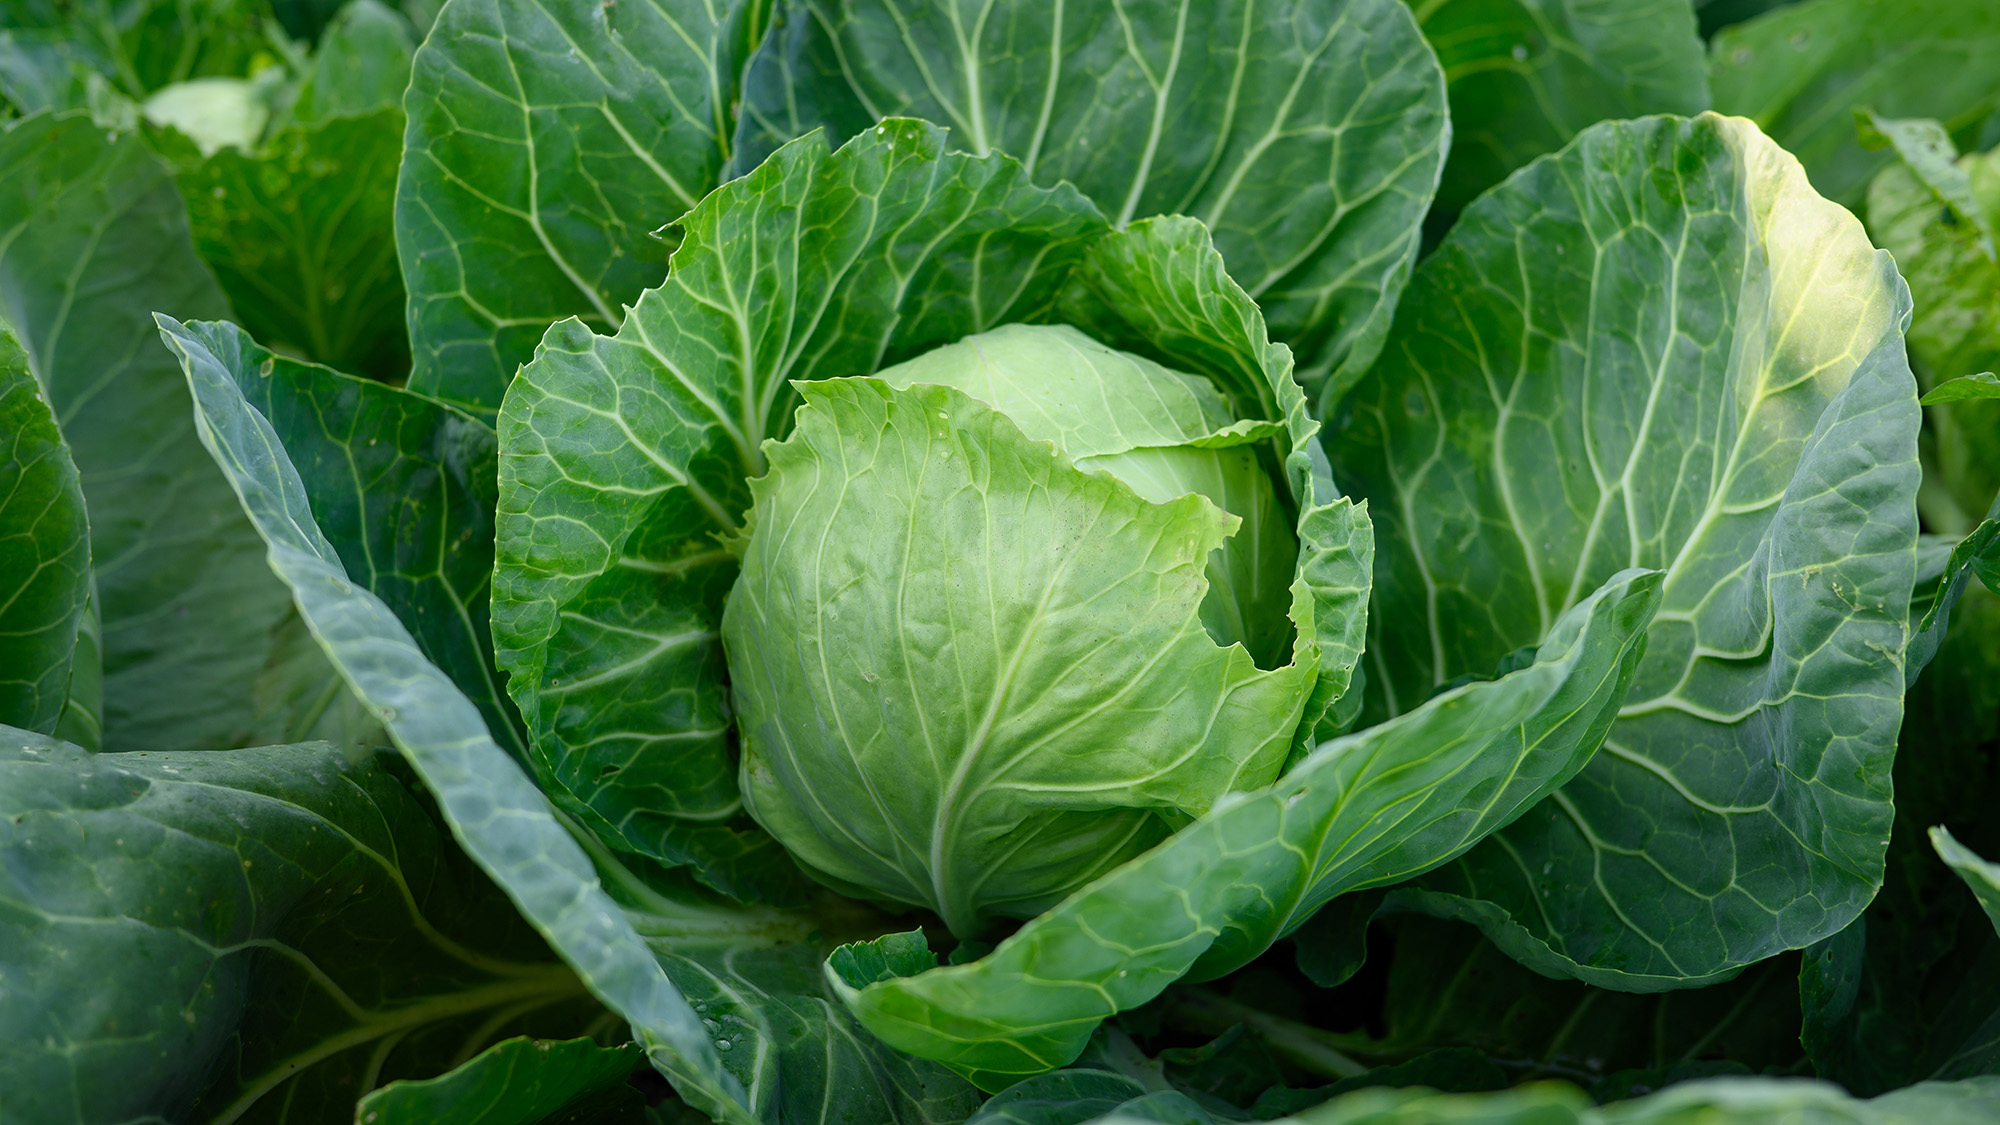
While you can grow cabbages earlier in the year, waiting until September will reward you with a sweeter, larger crop thanks to the warmer conditions of the initial growing environment. By the time the weather cools, the cabbage will have established itself enough to continue growing in a robust way. There are many different varieties of cabbage, some of which grow faster than others, but in general aim to plant your seeds approximately 50-60 days before the first frost. In many regions, that means starting in early September to ensure they mature in time.
Begin by sowing seeds indoors in trays, where the conditions can be controlled. You’ll want a strong source of consistent light, so consider using grow lights if you don’t have sufficient natural light. Once the seedlings have sprouted a couple of leaves, apply fertilizer and begin exposing them to outdoor conditions — this is known as hardening off the plants. After a week of slowly increased exposure, you can transplant the young plants into the garden for the rest of their maturation.
Since cabbages are particularly prone to pests, such as the cabbage moth larva, it’s also a good move to place netting over the plants or spray with pesticide to protect them from being eaten before harvest.
Get instant access to breaking news, the hottest reviews, great deals and helpful tips.
2. Carrots
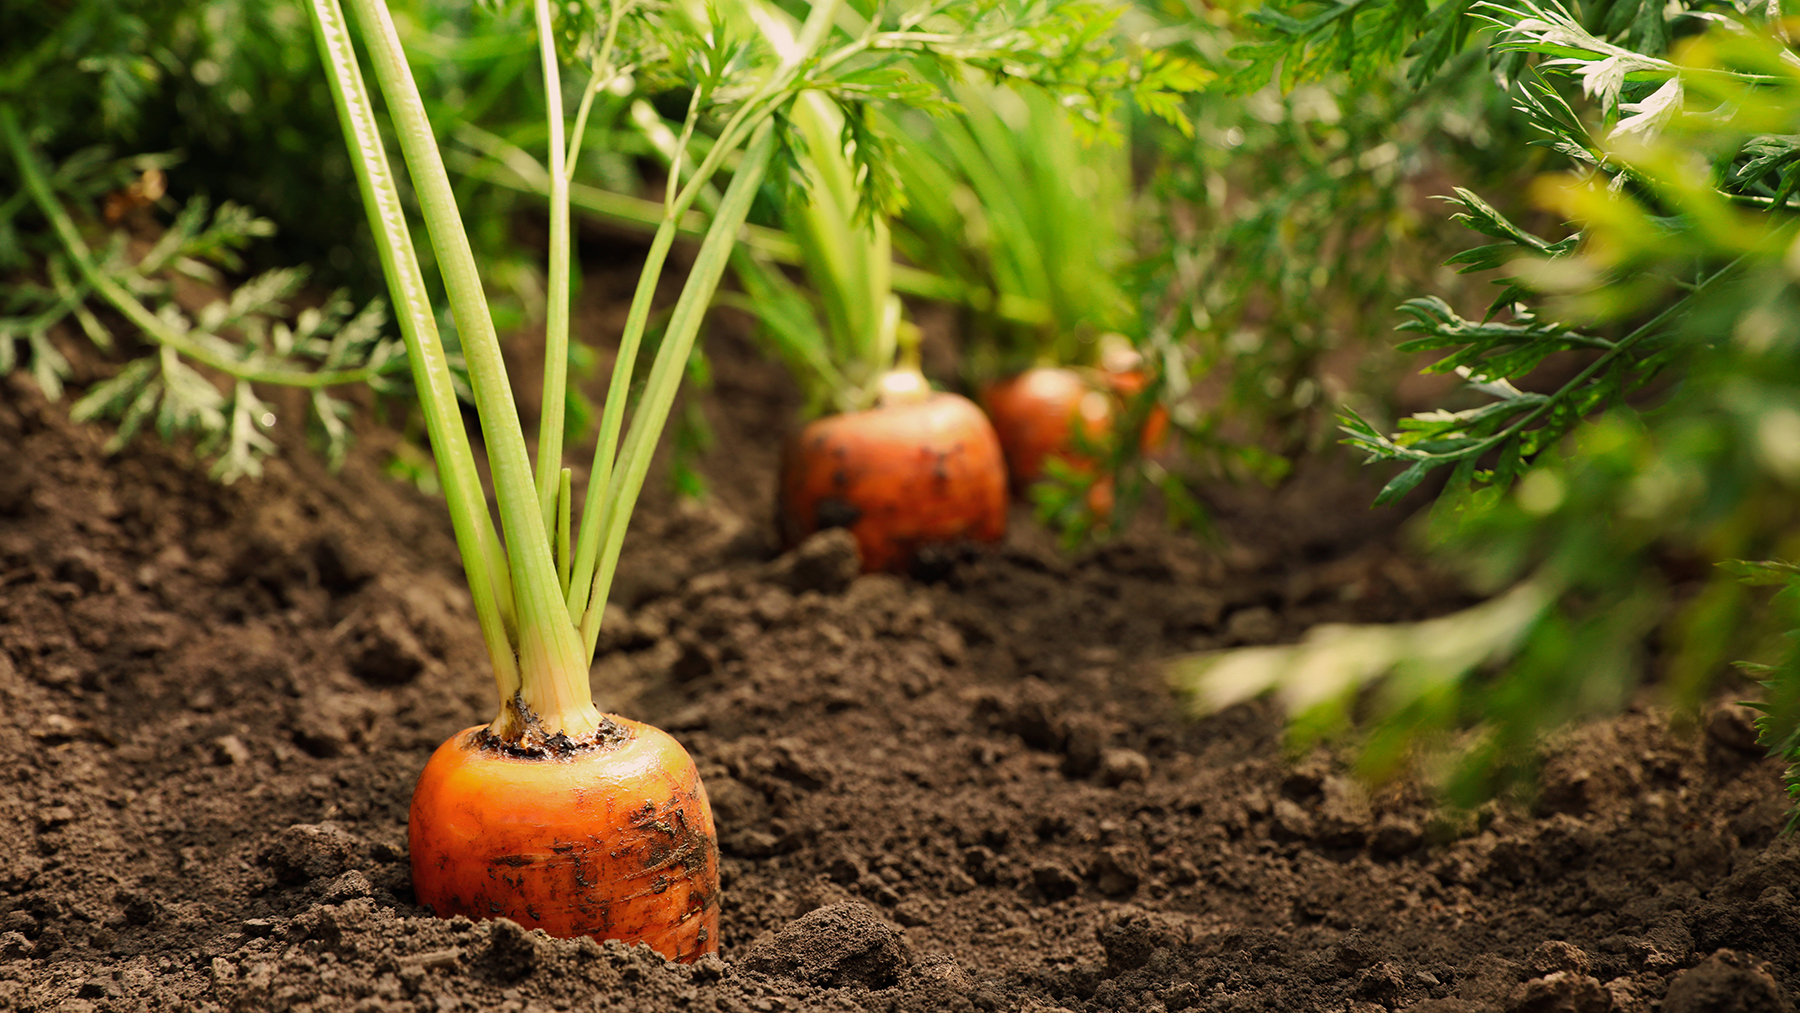
Carrots are a year-round kitchen staple, but they really come into their own when plucked from the ground during the winter months. You can actually keep the crop in the soil and harvest as needed all the way through to the following spring, with the cold temperatures keeping the vegetables in perfect condition. But if you want to start enjoying carrots as soon as the temperatures drop, it’s smart to get planting now. Carrots planted in the last warm weeks will be especially sweet and hearty by the time you harvest in December and January.
Prepare your soil and then sow seeds directly into the ground. It takes about 12-15 days for carrot seeds to germinate and 3-4 months for the vegetables to mature, so don’t panic if it seems like slow going at first — this is normal.
Make sure to plant seeds densely as carrots don’t take up much width; you can fit approximately 15 to every square foot of soil. Water regularly and consider putting a tunnel over the seedlings to protect them from pests or cold snaps, as by the time they emerge, temperatures might have dropped substantially. Then it’s all about the waiting game. Don’t worry if the green tops begin to fade as winter arrives; your carrots will be nicely insulated within the soil.
3. Garlic
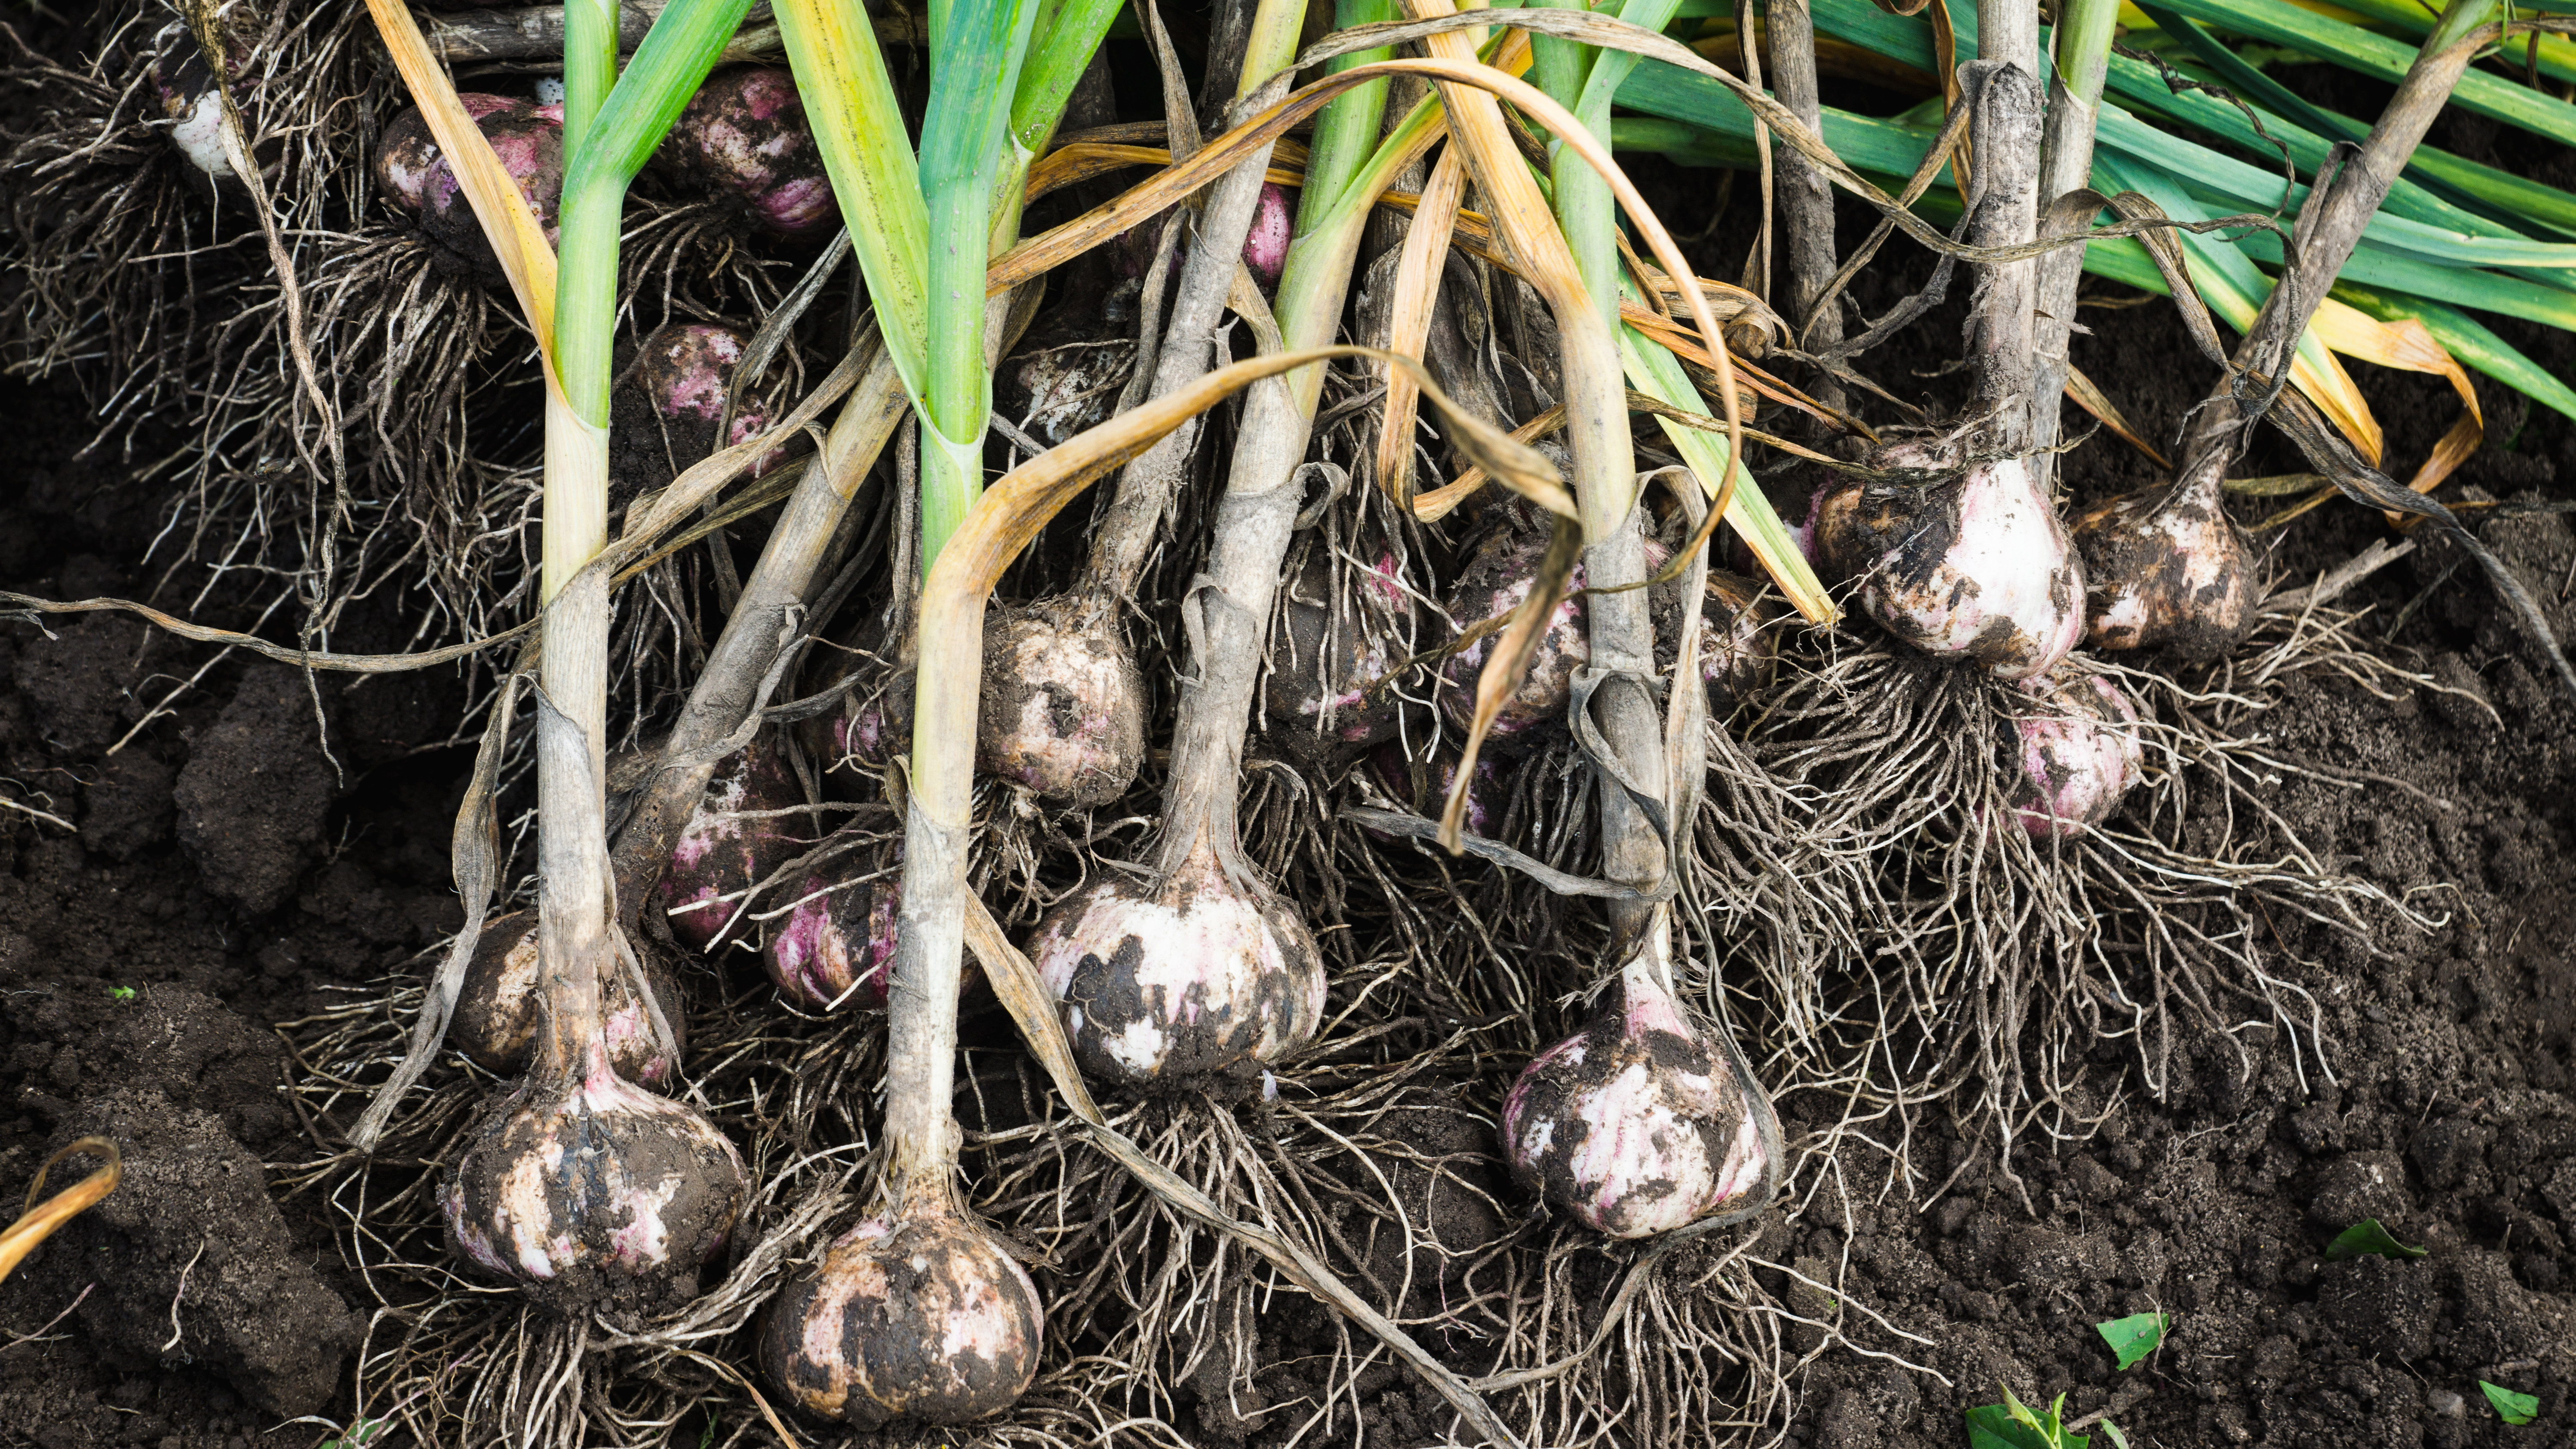
If you think of garlic as a spring time crop then you would be correct! But this species also requires approximately 210 days to reach full maturation, which means it’s best to get started by planting bulbs in the fall. While it’s possible to put the bulbs into the soil as soon as the ground begins to soften in early spring, your best results will be if you give the plant the time to grow and mature. Time your planting so that the bulbs are in the ground at least six weeks before the first hard frost in your region.
While it is possible to grow garlic from seed, your best bet is to use cloves from a bulb and position them with the pointed side facing upwards. Cloves should be spaced approximately two inches deep into the soil and four inches apart. It’s best to grow garlic bulbs in sandy, loamy soil rather than fertile, clay soils. This is because clay soils can cling to the garlic’s papery wrapper, which makes it harder to harvest, plus they retain water more than loamy soils, which can cause the garlic to rot if it’s exposed for too long. If your natural soil isn’t quite right, consider planting in a container instead.
Since garlic is a natural pest repellent, you shouldn’t need to take any special measures to prevent insects — consider planting near vulnerable seedlings to help protect them too!
These garden gloves are made of nylon and nitrile and come in three sizes — small, medium and large. They offer excellent non-slip properties, are comfortable around the wrist, breathable and machine washable. At Tom's Guide, we recommend them as the best overall gardening glove.
4. Mustard Greens
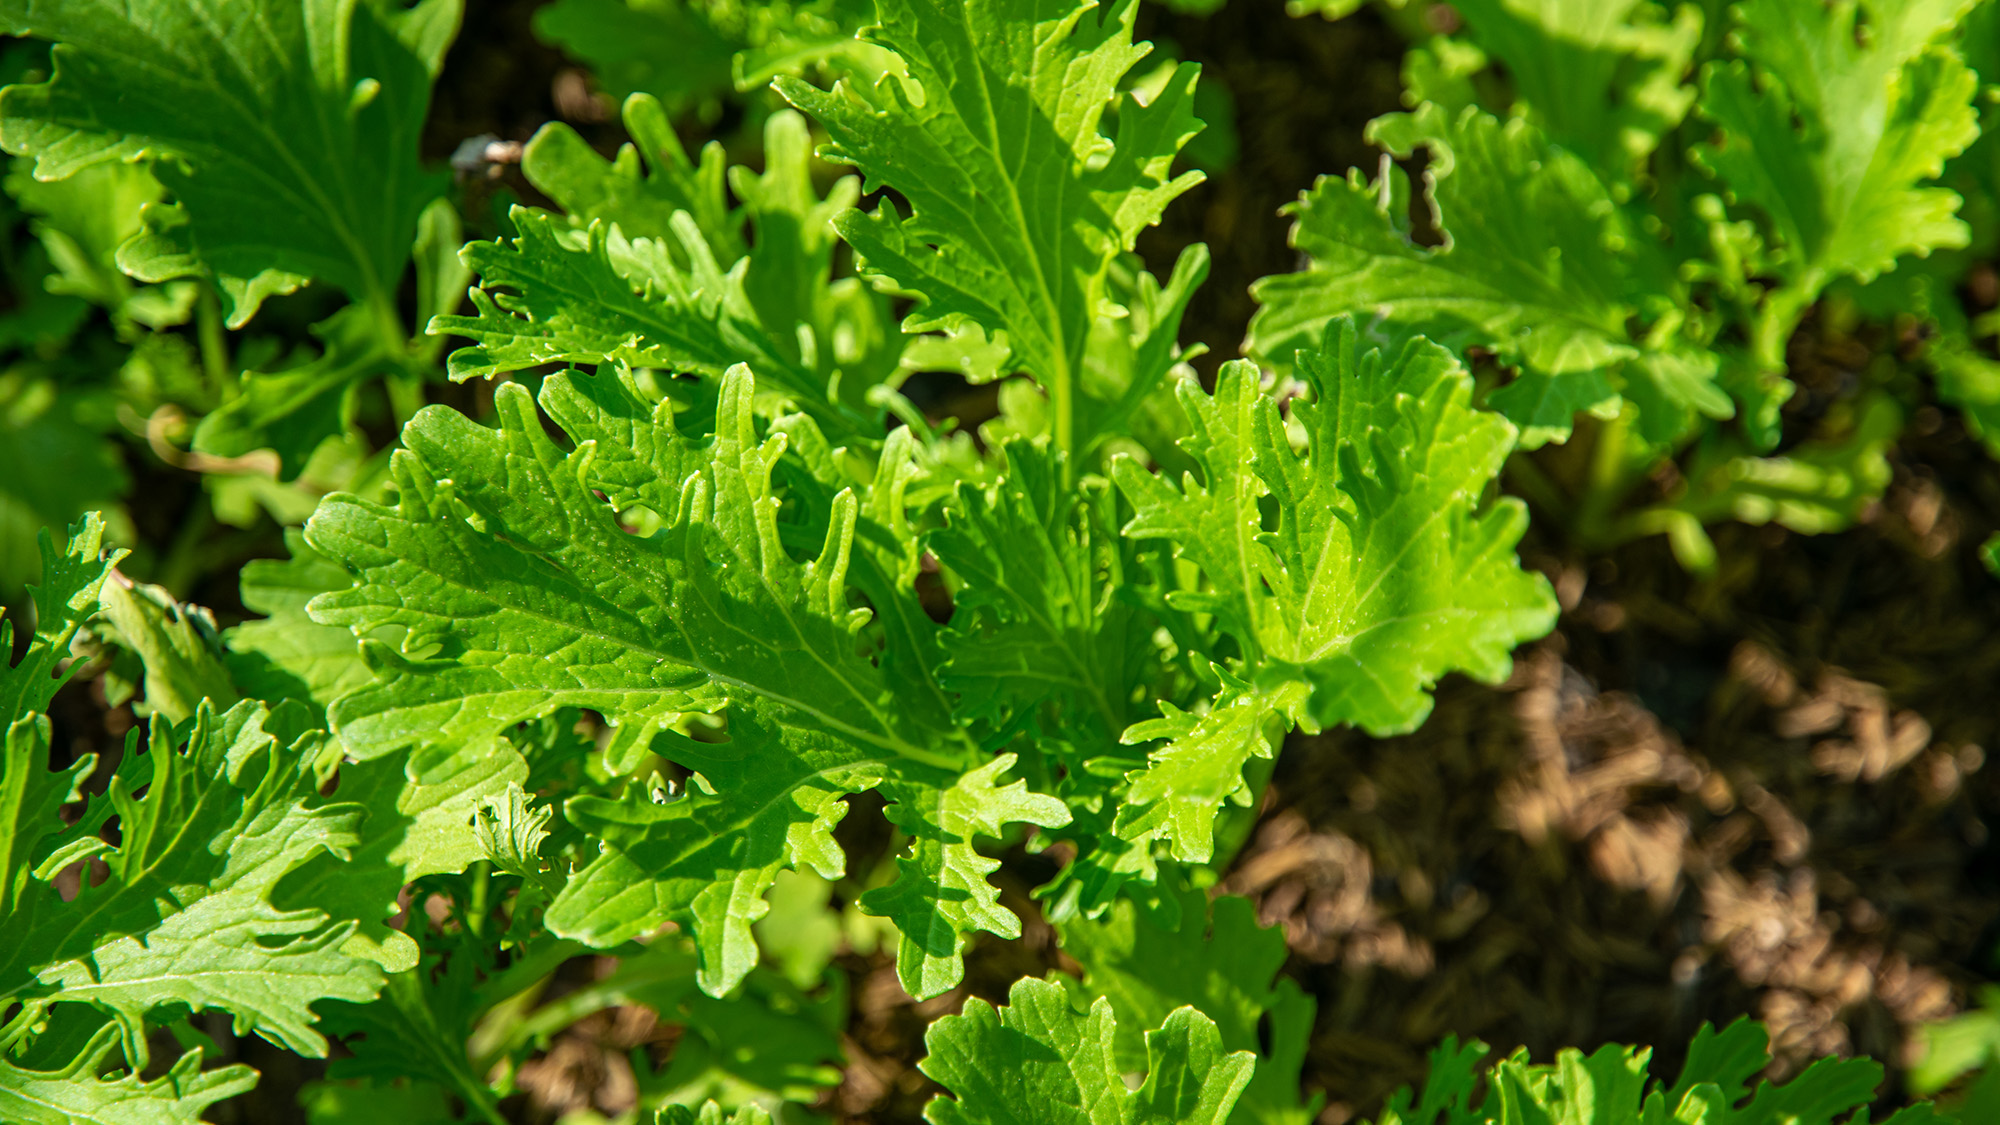
There are all kinds of salad greens to choose from for fall planting, but mustard greens offer something a little different. They have a peppery sharpness that adds dimension to salads, plus they come in various exciting looks that will all add some flair to the garden — choose between frilled or smooth edges, and light green, red or purple shades.
Despite all this originality, mustard greens are part of the brassica family — like kale and collard greens — and do best in similarly cool growing environments. They can handle light frosts and temperatures down to 20°F, making them ideal to plant in September. In fact, some people claim that a light frost results in sweeter leaves.
To grow mustard greens, wait until daily highs are around 75°F — that might mean waiting until later in the month, depending on your region. Sow the seeds in either raised beds or containers, planting them in a zigzag formation to ensure they have sufficient space. If you pack them in, just keep in mind that you’ll need to harvest larger leaves consistently to ensure each plant gets enough light. Mustard greens prefer rich soil, so apply fertilizer or compost before planting. Aim to place them somewhere where they can receive six hours of direct sunlight, but they can handle slightly less sunshine. Water daily for best growth.
5. Arugula
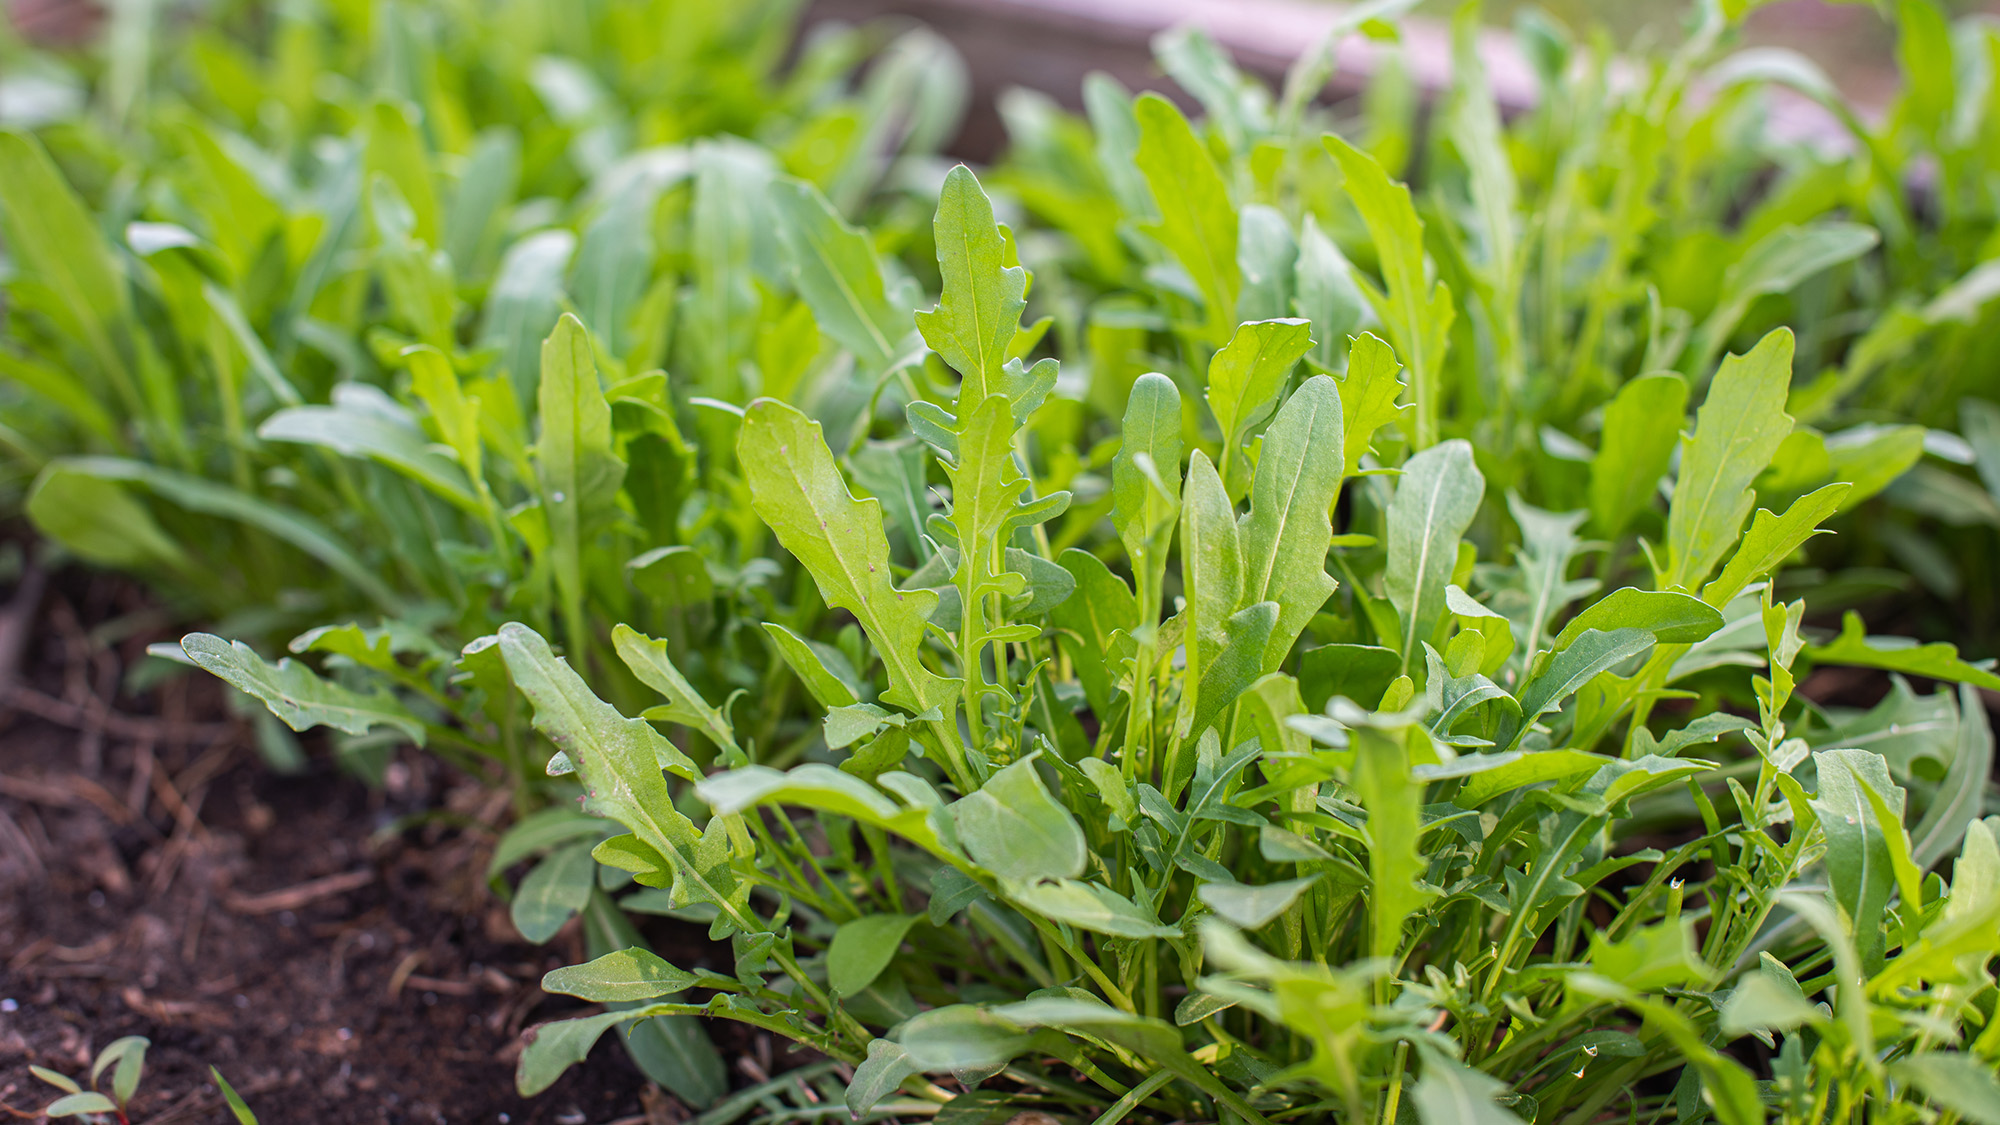
Another peppery salad green that has become increasingly popular is arugula — and just like mustard greens, it does well with September planting. It’s often considered one of the easiest green plants to grow, with the crop producing continuously until the ground has frozen over. In addition to handling frosts well, it can also tolerate warmer conditions, so you can confidently plant seeds in September no matter where you live. If your region is already dipping in temperature, a tunnel or cover can help to weatherproof your crop well into November.
Since arugula has a shallow root system, you can sow the seeds into a planter, container, or raised beds. It is pretty tolerant of various degrees of light and you can pack a lot of seeds into a small amount of space, since most plants will be fairly compact until they reach full maturity. Make sure not to sow the seeds too deeply and apply fertilizer or compost afterwards, to help them germinate. Water consistently and you can expect to see seedlings emerge somewhere between 6-10 days time.
6. Sugar snap peas
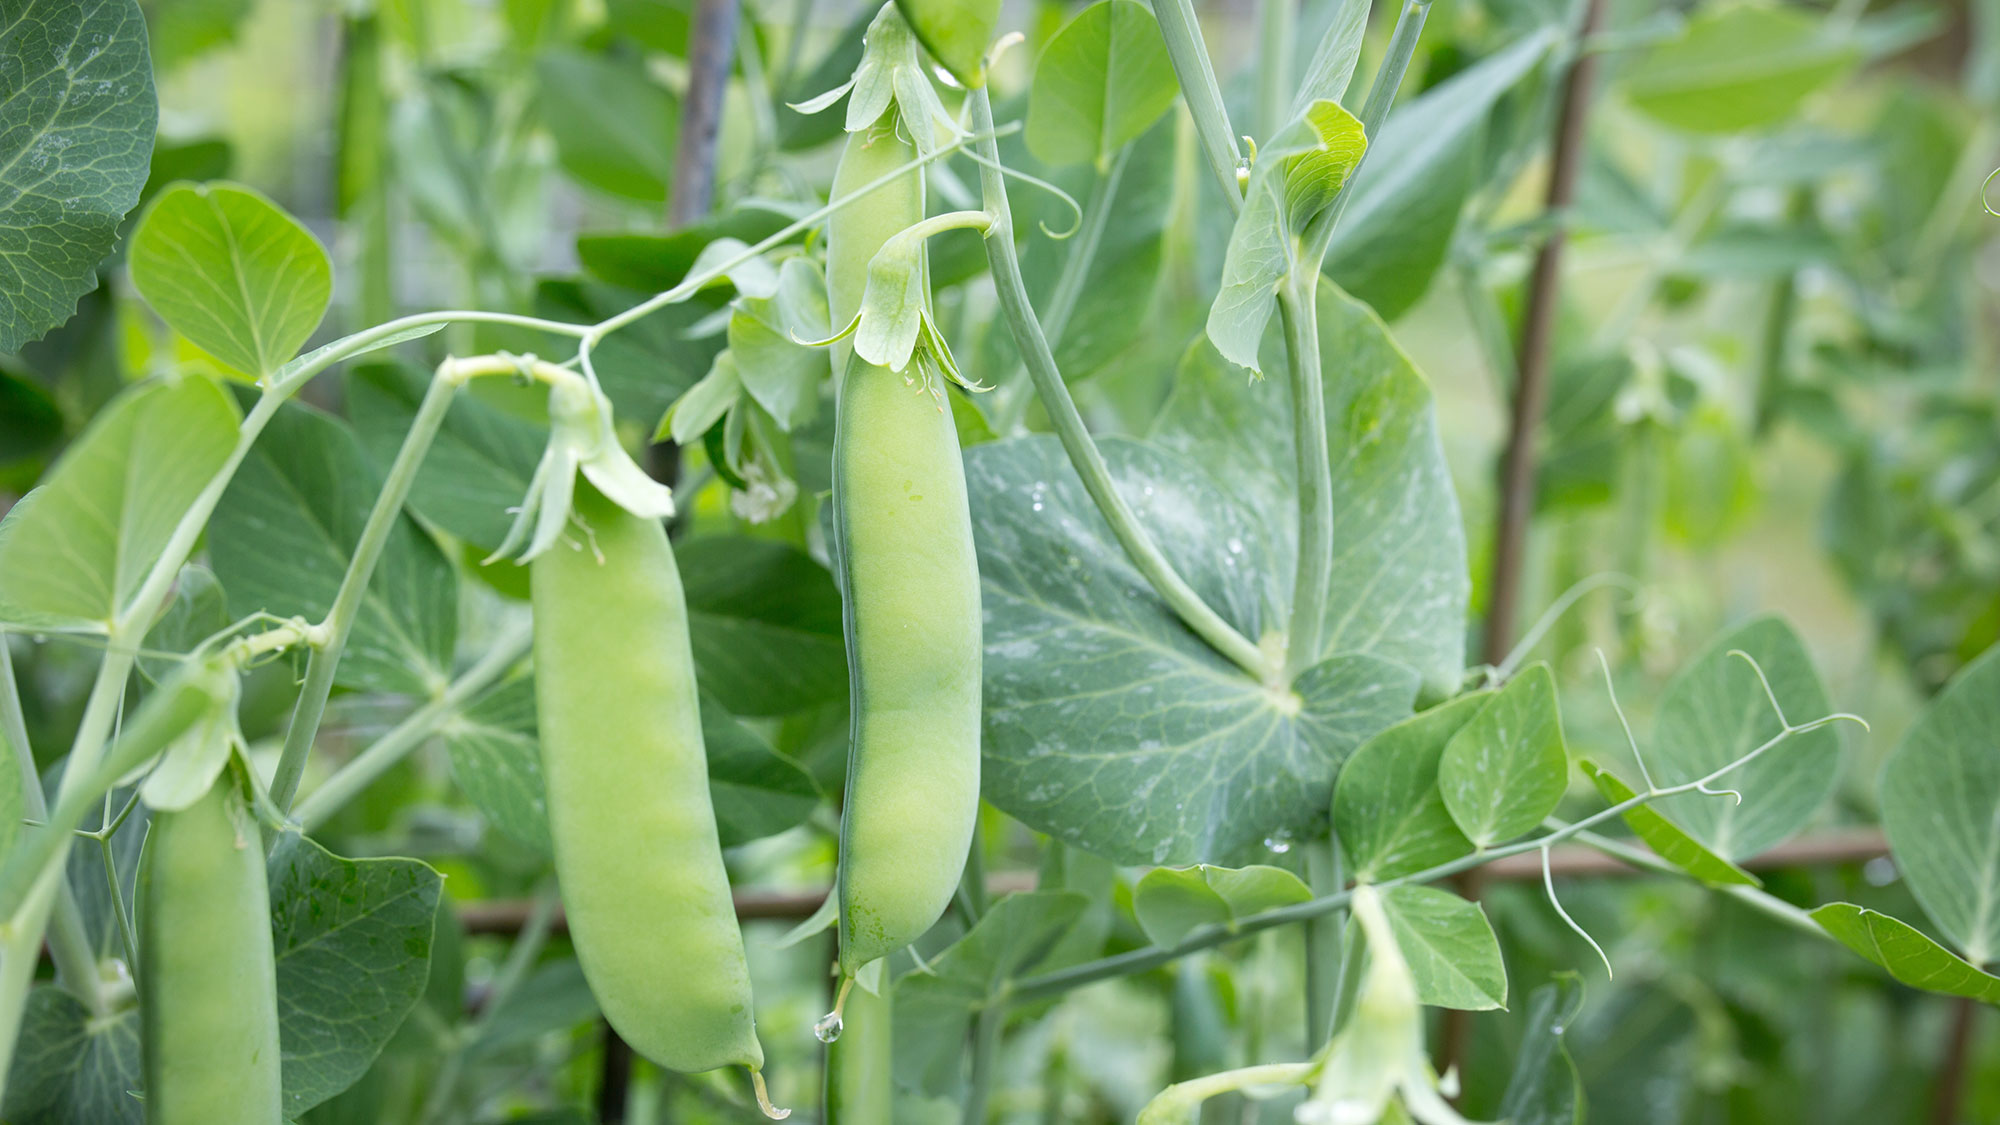
Peas are a summer staple but the snap pea variety actually prefers cooler temperatures between 45-65°F. The end of the month might be the best time for most regions to plant, depending on local weather, but sugar snap peas are also good companion crops for lettuces and cabbages so maybe plant them around the same time. Since they are a hybrid between field peas and snow peas, you will want to grow sugar snaps up a trellis.
For best results, soak your sugar snap pea seeds in water before planting — even a few hours of soaking time can make a difference. This will help them to germinate faster, since the soaking helps to remove some of the thick seed coat that peas have. Place them close to the surface of the soil as they need direct sunlight to thrive; aim for less than an inch deep and 2-3 inches apart. Place a light layer of compost on top and add water to activate the seeds. Be sure to water daily and you can expect to see seedlings in 6-10 days.
7. Blueberries
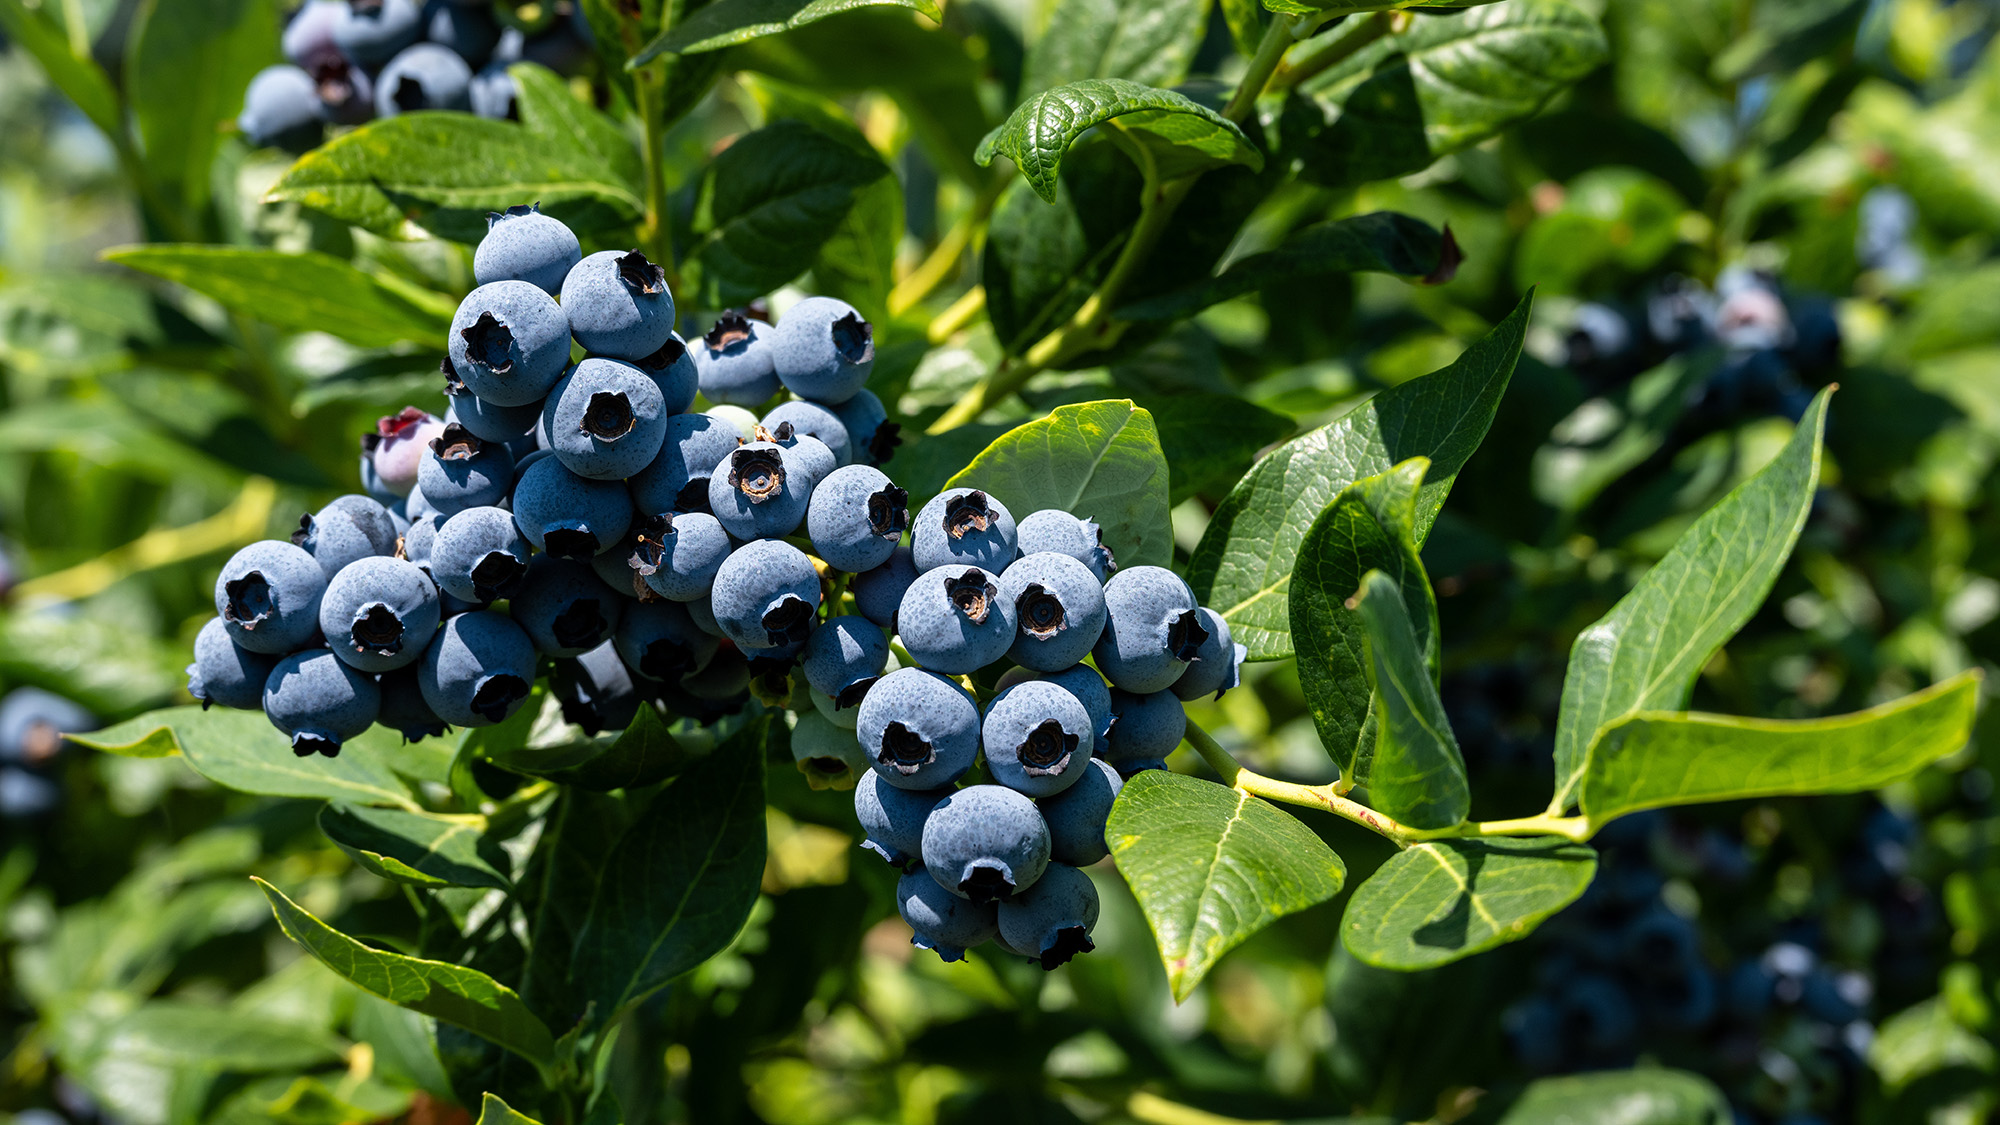
If you’re more focused on getting ahead on next spring, you can do more than just plant garlic bulbs. September is a great time to start planting blueberries so that you can harvest a bumper crop come the summer. By planting blueberries now, you will give the plant long enough to get established and strong before the winter. Then, when the colder weather arrives, it will fall dormant and be able to emerge in the springtime with new growth.
Unlike the other species on this list, it is best to grow blueberries from small bushes rather than directly from seed. You can wait to plant blueberry bushes until the spring, but you will lose those extra months of maturation and your harvest will be delayed by several weeks, resulting in less fruit overall.
Blueberries prefer sunlight and acidic soil, so plant bushes in a sunny area and in well-draining soil with a pH between 4 and 5 if possible. Dig a hole around 20 inches deep and 18 inches wide and ensure the bush’s root system is comfortably packed with soil. Space the bushes approximately 5 feet apart, as they can grow quite wide, and water with 1-2 inches of water per week. To protect the young bush from birds, place a cage around the plant. Young plants will also need to have their flowers pinched off, to encourage fruit set.
Follow Tom's Guide on Google News to get our up-to-date news, how-tos, and reviews in your feeds. Make sure to click the Follow button.
More from Tom's Guide
- How to tell if your vegetables are ready to harvest — garden pros share the top signs
- 7 mistakes to avoid when growing vegetables
- 9 easiest vegetables to grow for beginners

Despite making her home in urban metropolises, Madeleine Streets has been nurturing a green thumb for decades.
Raised by a garden designer, she is putting that childhood education to use by helping others learn how to make their garden bloom, while filling her own New York home with cat-friendly plants.
When not writing about gardening and the outdoors, Madeleine loves to cook, study wine and borrow books from her local library.
You must confirm your public display name before commenting
Please logout and then login again, you will then be prompted to enter your display name.

