I tried Samsung Expert RAW in the Galaxy S22 and it's a game changer
Samsung makes it easy to shoot in RAW
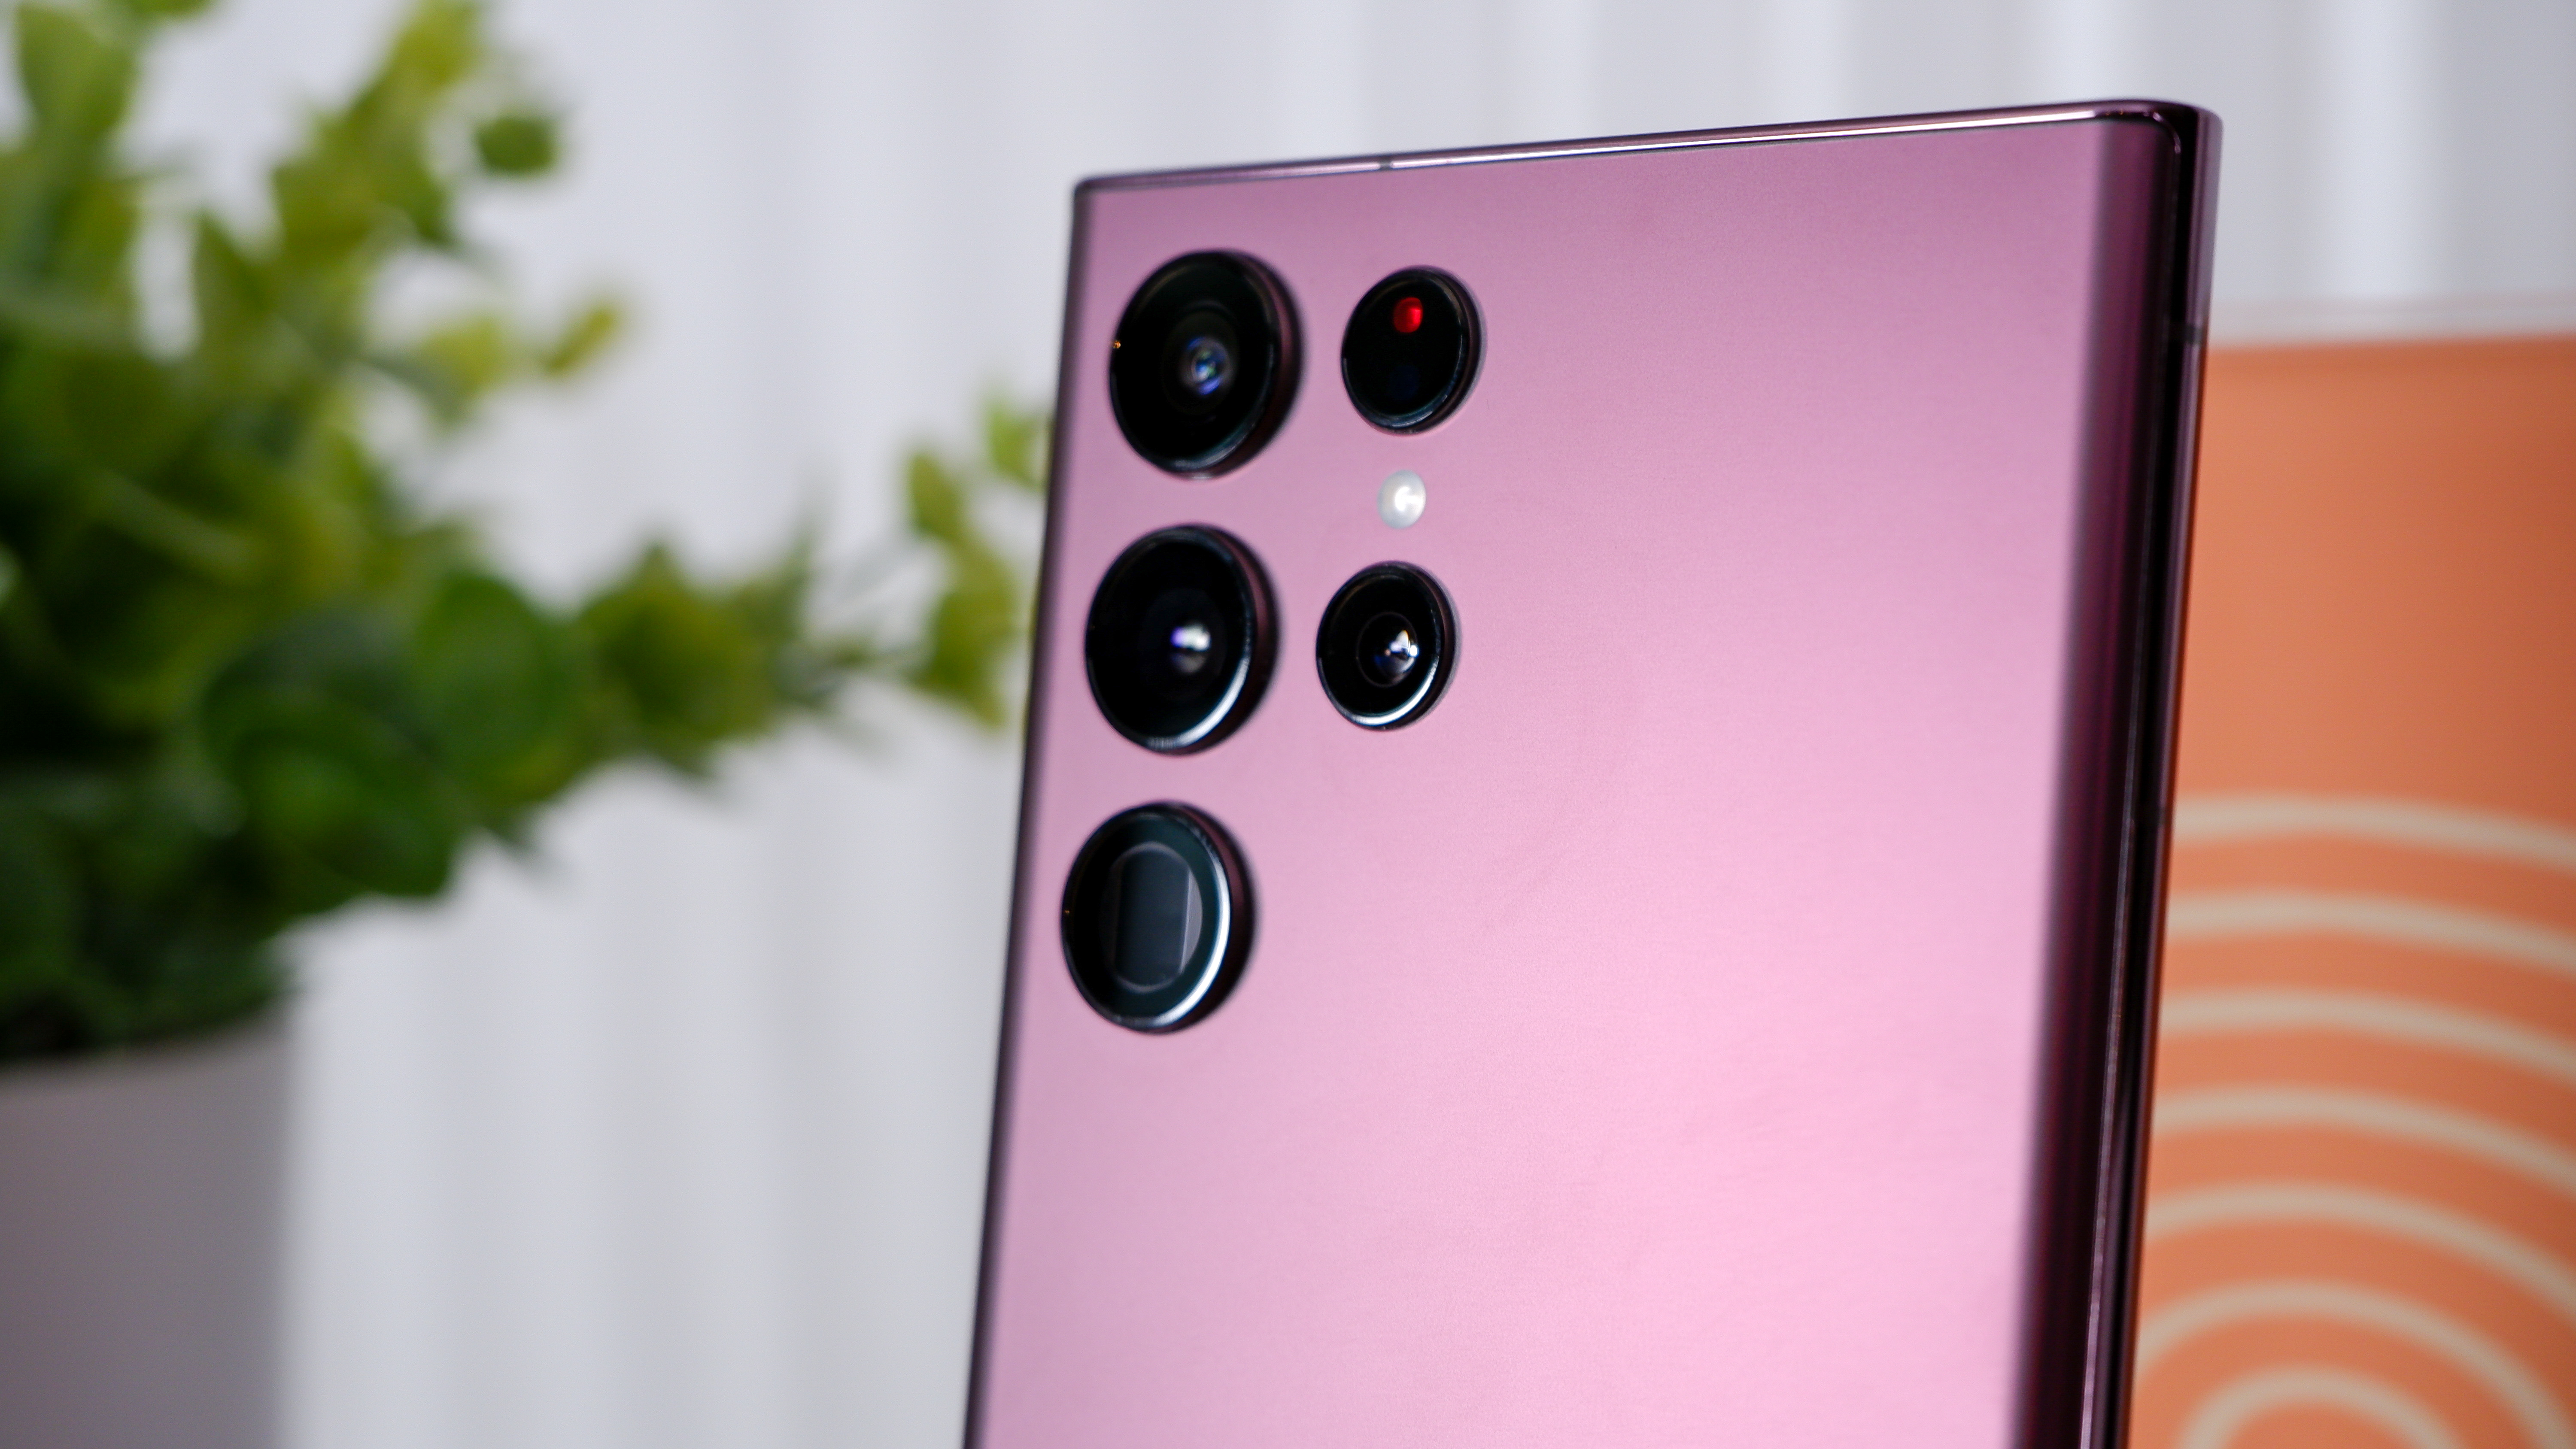
I take a lot of photos on phones, but my interest in getting them perfect has historically ended at just making sure my subject was in-frame and in focus. However, I have to thank Samsung, the Galaxy S22 Plus and the Expert RAW app for igniting a new interest in improving my photography skills.
Expert Raw is a free app that launched with the Galaxy S22 family, but with Samsung's recent OneUI 4.1 OS update, you can now use it on the Galaxy S21 Ultra, Galaxy S20 Ultra, Galaxy Note 20 Ultra, Galaxy Z Fold 3 and Galaxy Z Fold 2. And I think it's well worth trying out since it gives greater freedom when shooting and editing photos in an easily accessible way.
Samsung Expert RAW: Why shoot in RAW?
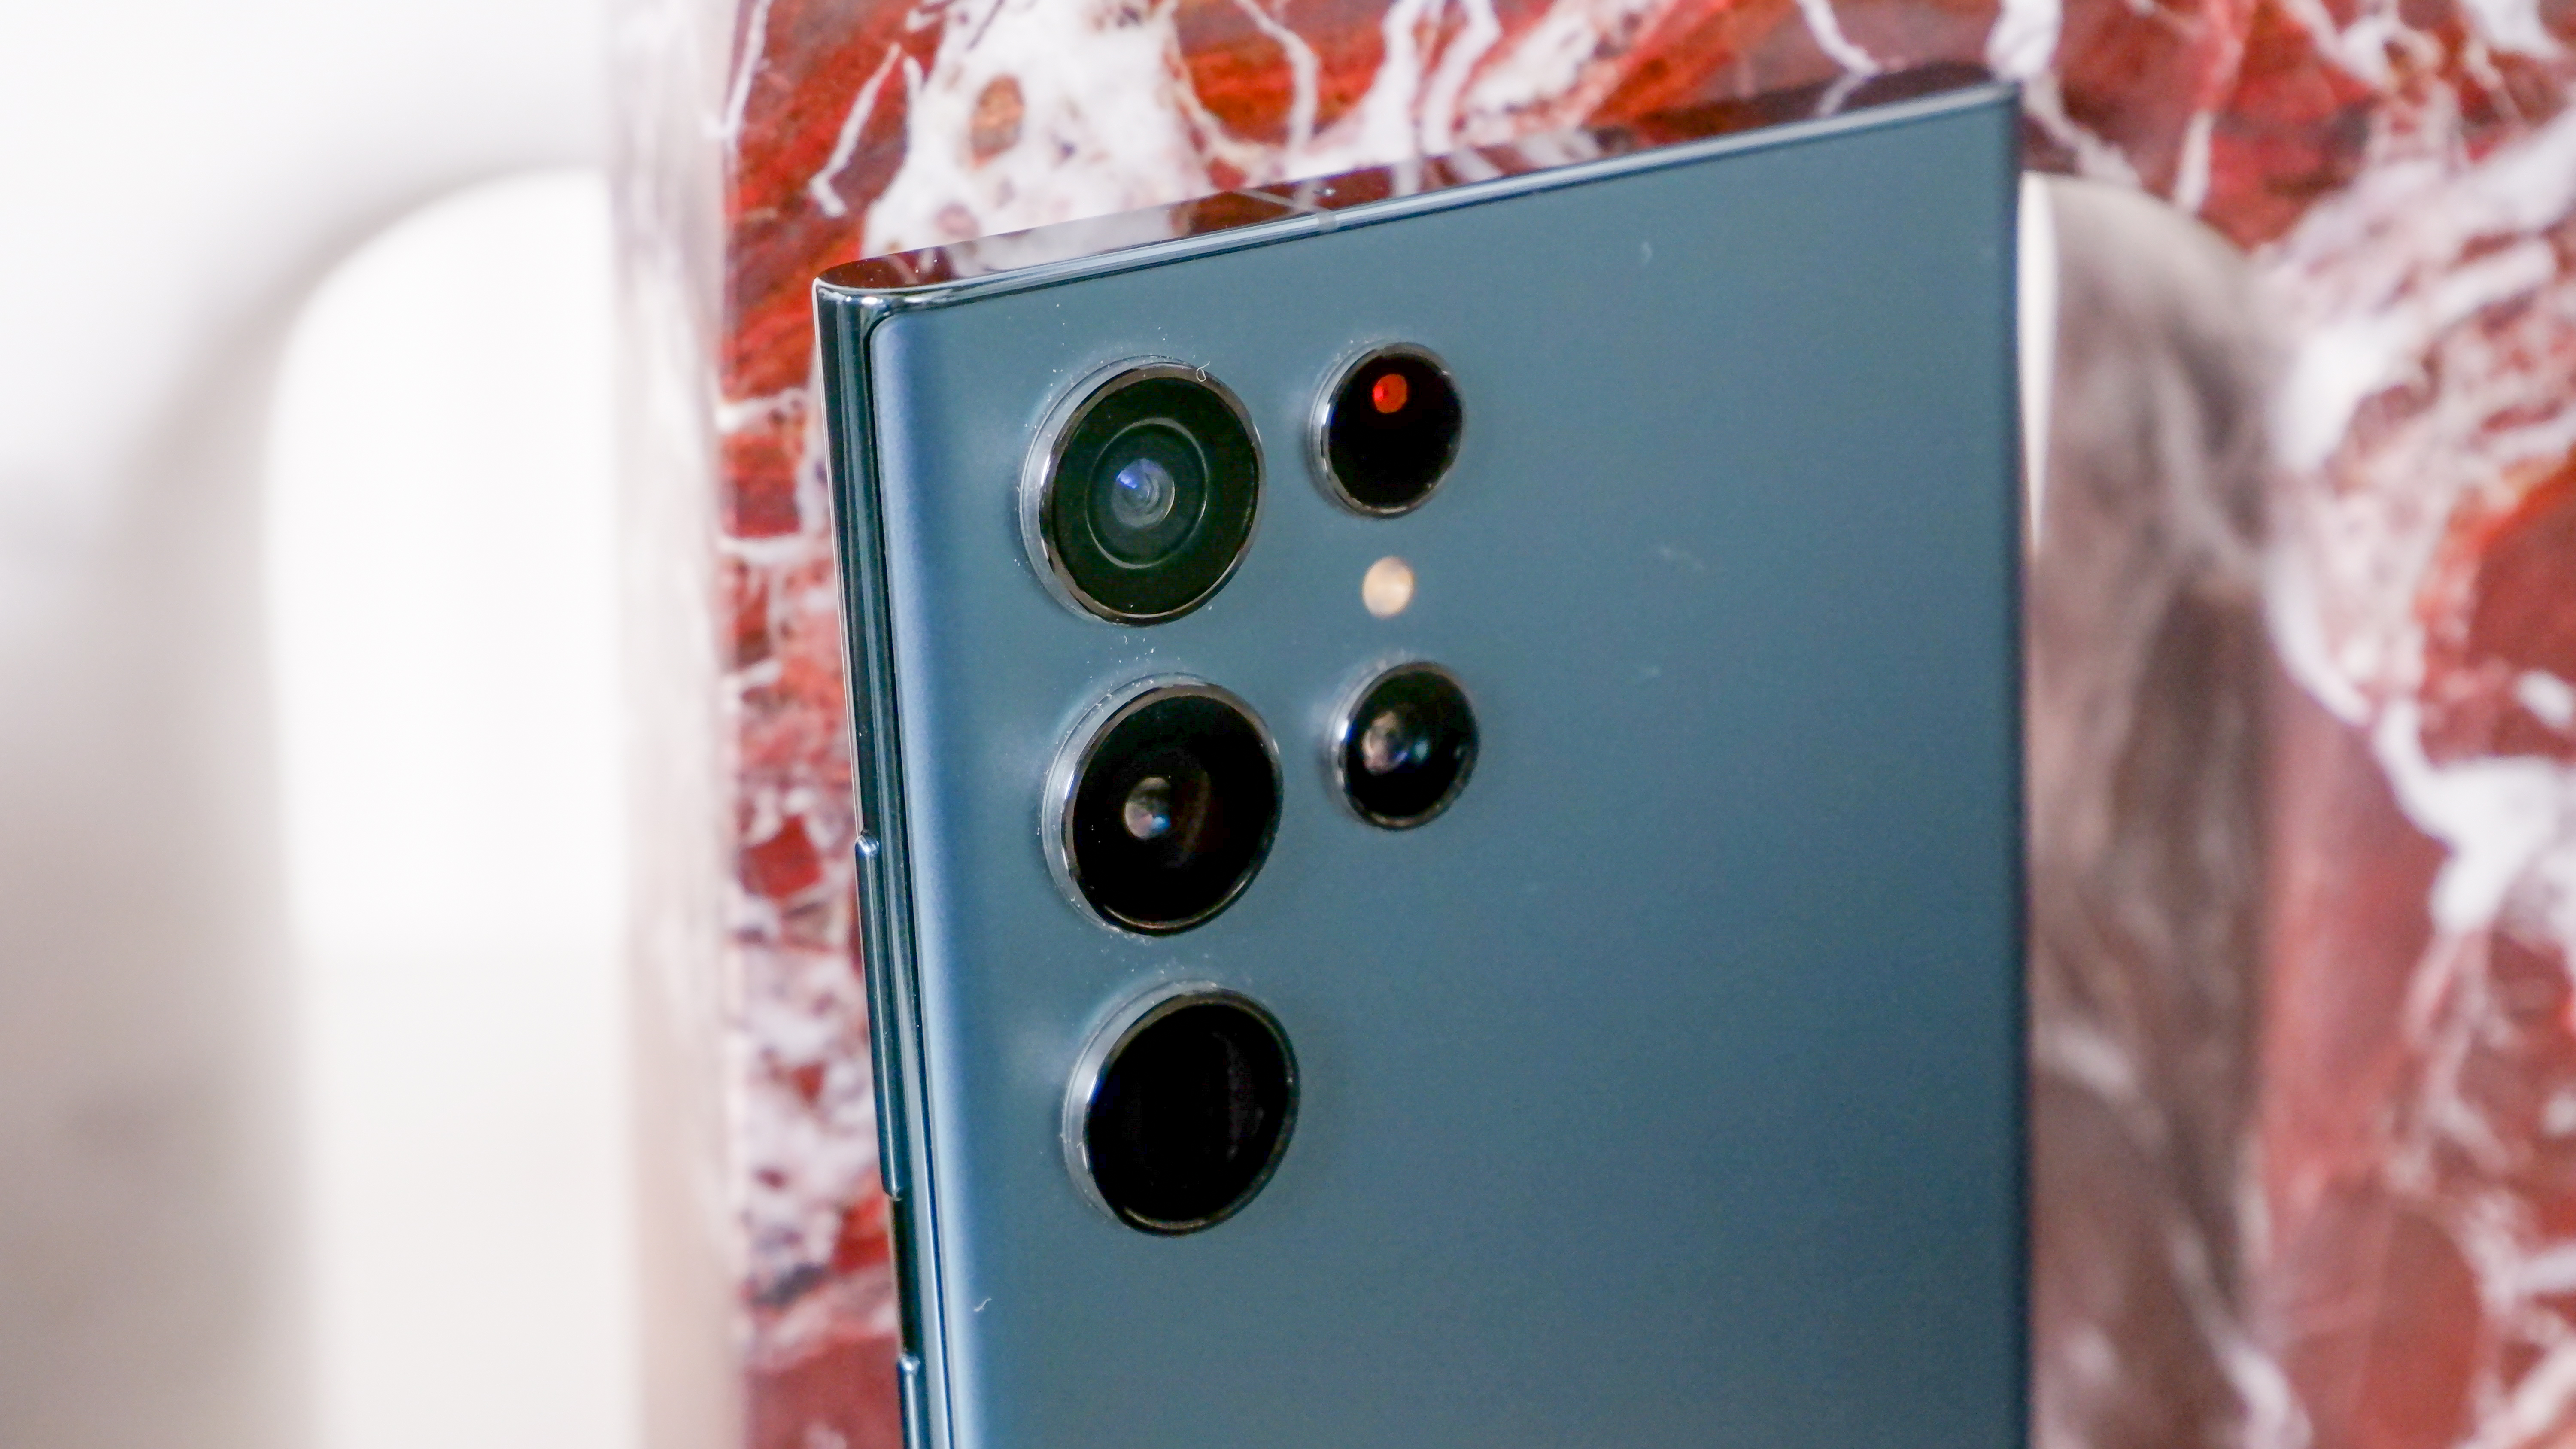
A camera Pro mode isn't new — you can find it in Samsung's default camera app and similar systems across other Android phones. Heck, shooting in RAW on a smartphone has been around for a while now.
However, what Expert RAW does is provide a dedicated app where you can use the more detailed photography controls and shoot in RAW and JPEG simultaneously. (You can also do this on a Pixel 6 Pro.) You keep the normal camera app for point-and-shoot purposes while saving Expert RAW for when you have the time and inclination to get your photo just right.
Despite the name, I don't think Expert RAW is only for absolute experts to use, which is why I felt drawn to it in the first place. Expert RAW's main benefit is that its images are made up of several RAW exposures blended together, instead of a single frame like standard RAW photos. That basically means that you still get a shot that looks good straight away, but the app captures enough information for you to have an easier time editing it later.
Samsung Expert RAW: The app
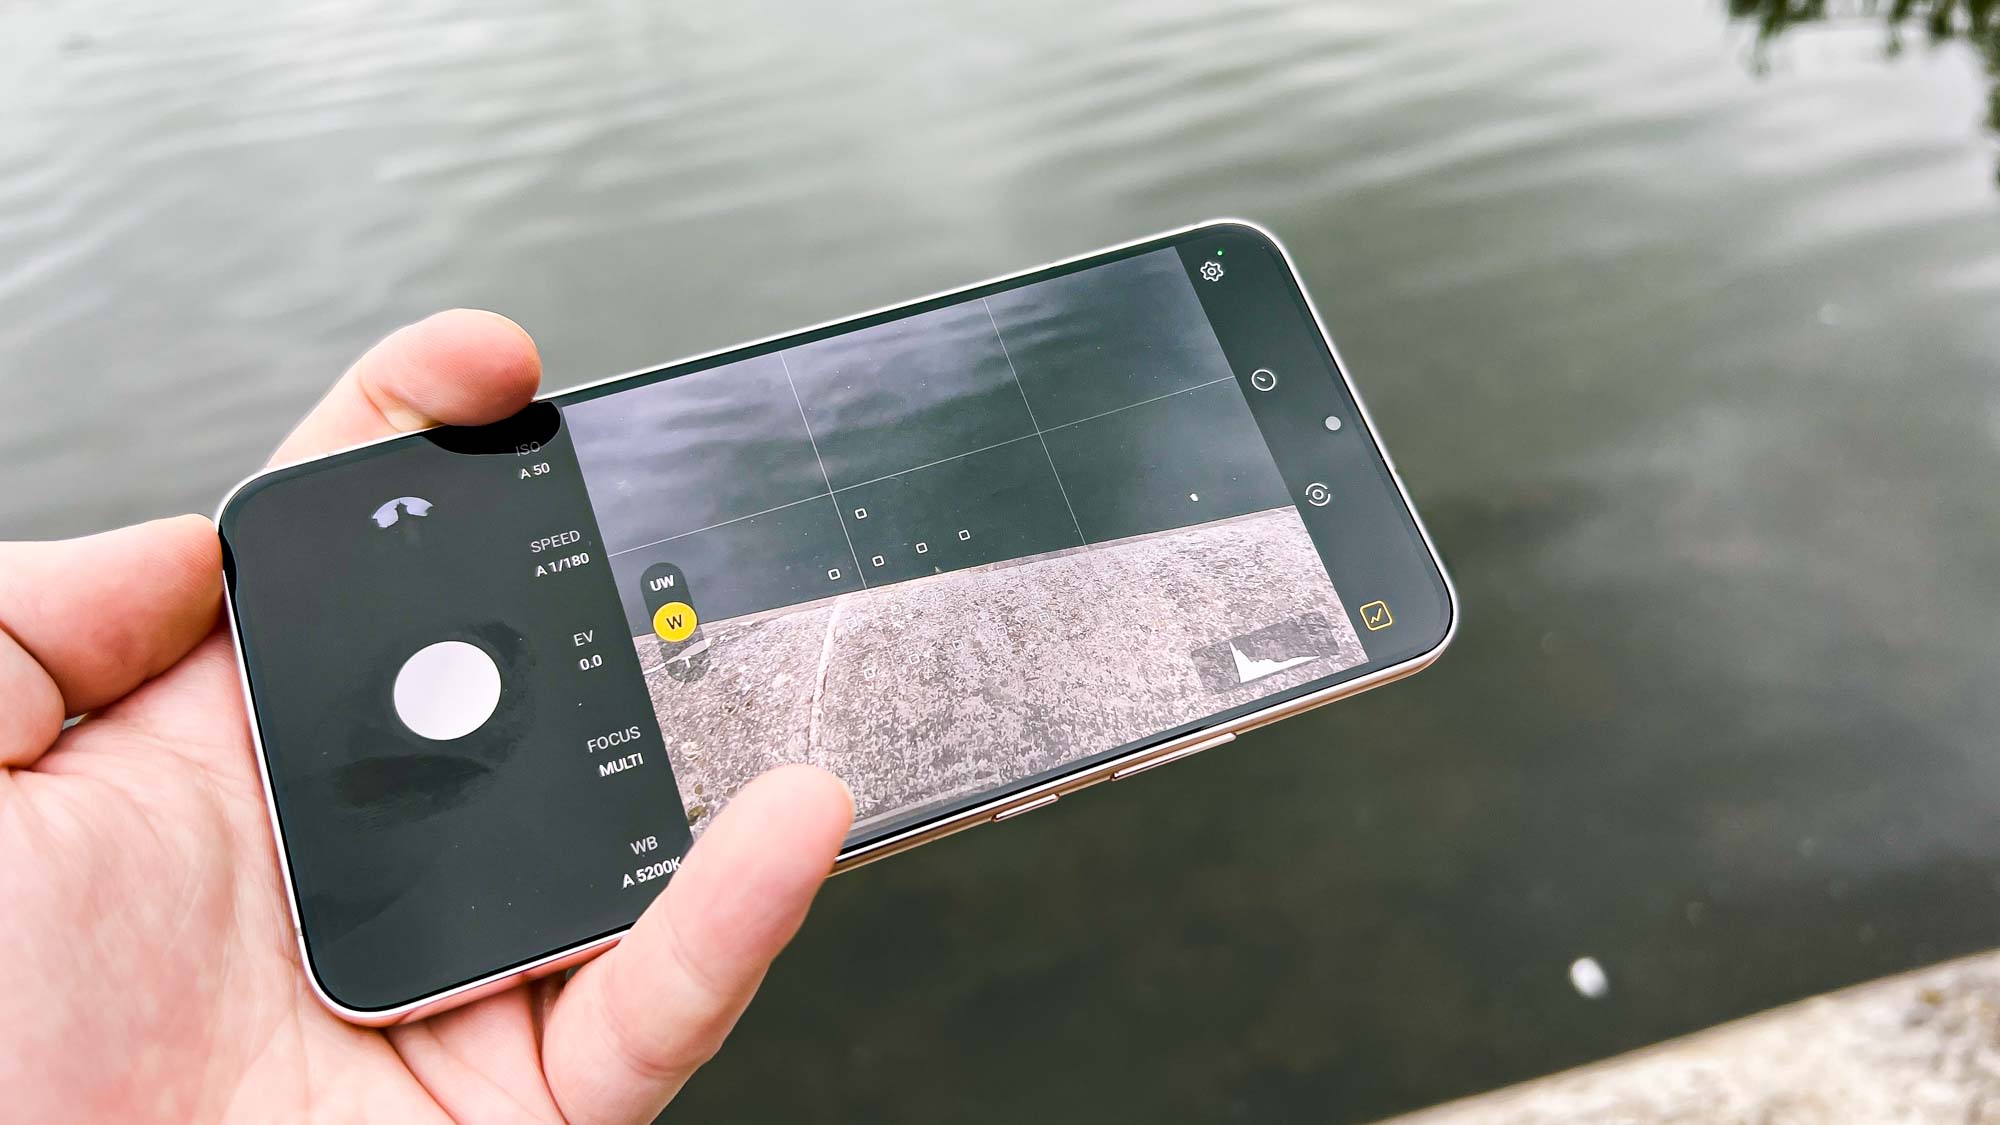
The Expert RAW experience is similar enough to the base camera app when you boot it up, the only difference being your photo, video, portrait and other modes are gone. In their place, you'll find more detailed settings like ISO, shutter speed and white balance. You can also add a histogram display to judge your color levels, set a timer or change your autofocus type. All that stuff can wait though. You've still got a viewfinder, a shutter button and a toggle to shoot with the main, ultrawide or telephoto cameras. That's all you need to get started.

The app will happily take care of all the basics for you, just like the regular camera app. However, the new, easily-accessible control layout encourages you to start experimenting with the settings since they're all in view and are really easy to switch between automatic and manual modes. You also get a useful reset button to instantly snap everything back to the automated settings if you've messed things up.
Get instant access to breaking news, the hottest reviews, great deals and helpful tips.
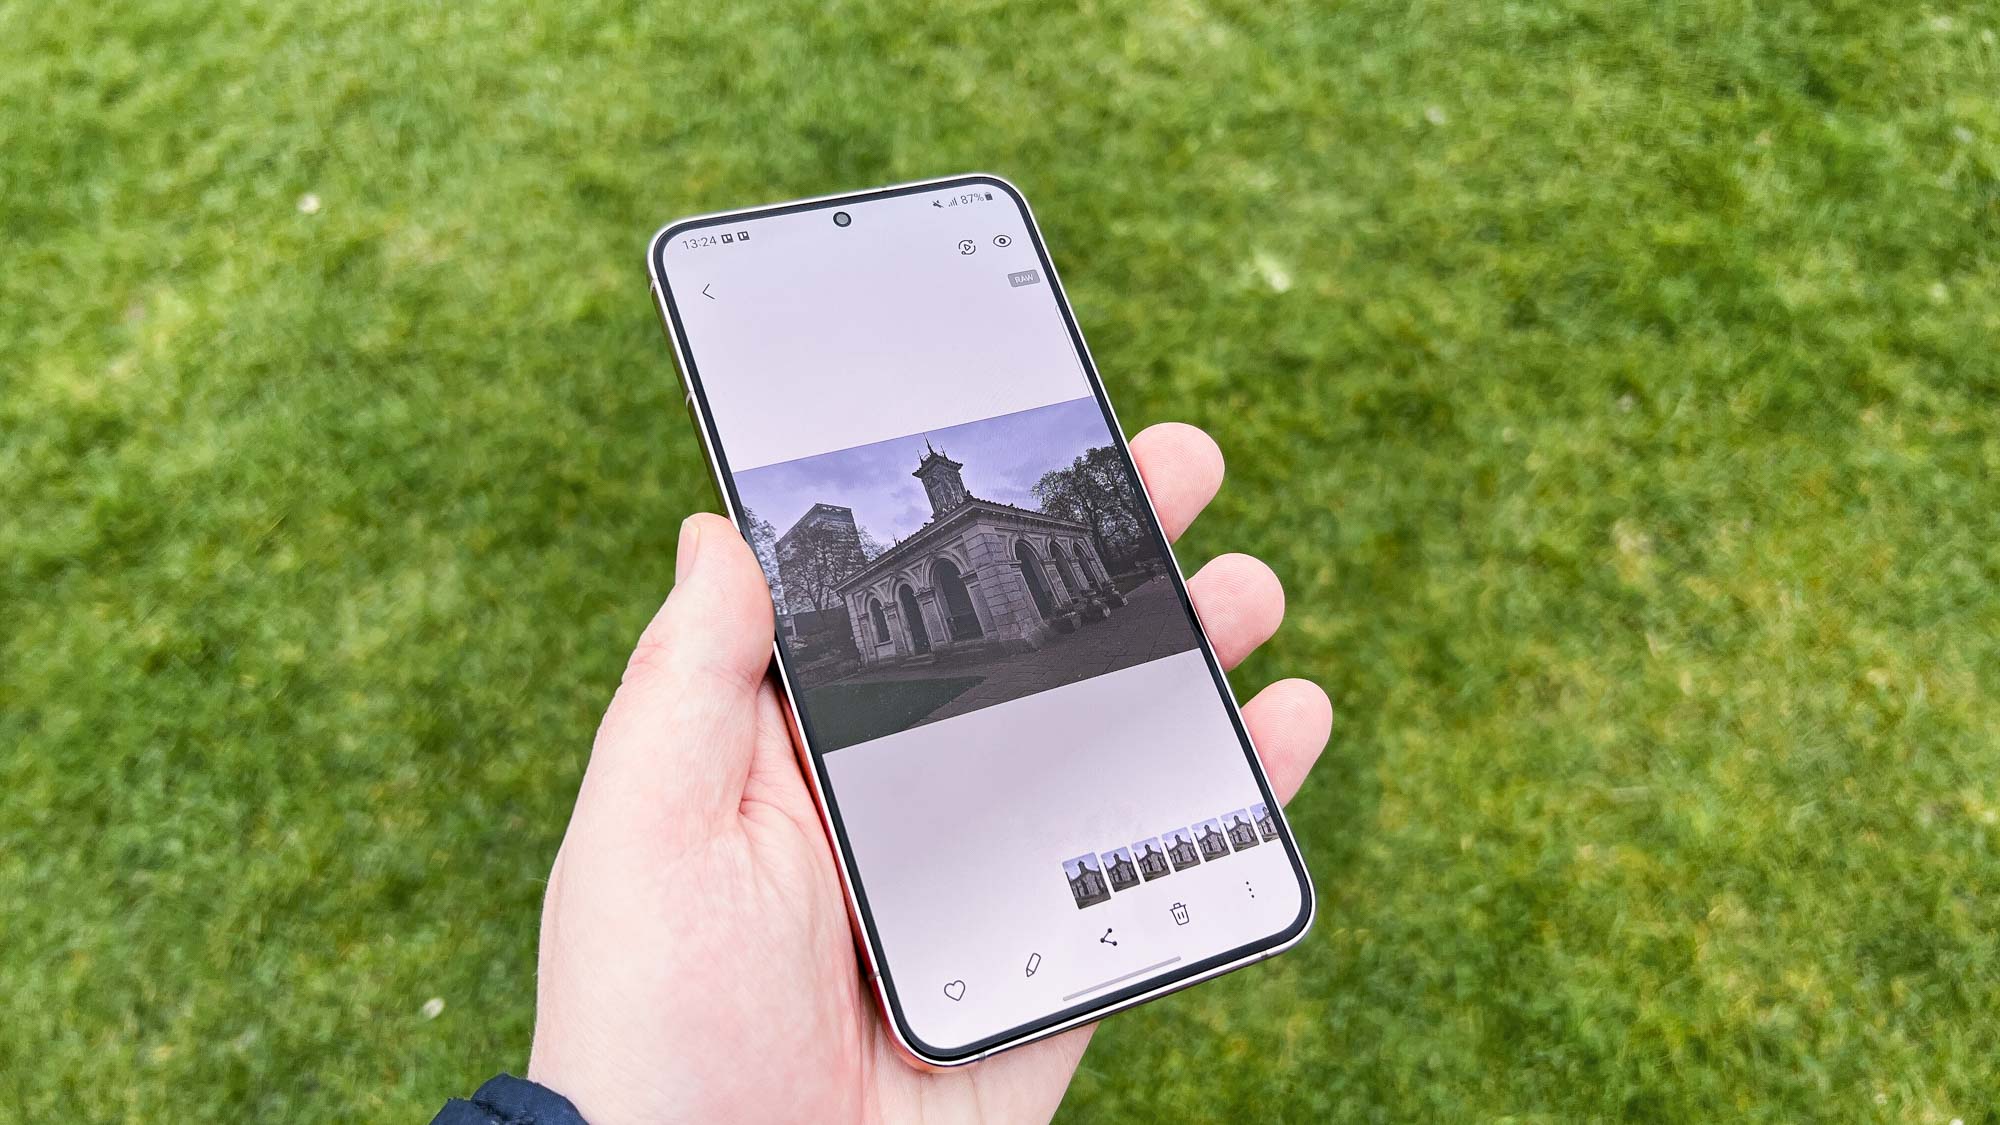
You can browse photos once you're finished snapping through the app's preview function, which shows you only the RAW images and their JPEG counterparts you've shot through Expert RAW. They'll all appear in the usual Gallery app too, but they're mixed in with your other images.
Samsung Expert RAW: RAW vs. JPEG
Whether you're looking at the images in your Gallery app or in your image editor of choice, you won't see much difference between Expert RAW's JPEG shots and the ones you get from the regular camera app. You can see this below in a shot of the Victoria and Albert Museum in Kensington, London that I took using both apps. The coloring of both shots is basically identical, with only a little more definition in the Expert RAW's image if you examine the brickwork of the building
You shouldn't use your own unedited export of the RAW file though. Without treatment, you can end up with a far worse shot, as you can see in this comparison of two telephoto shots of a roof at Kings Cross' Coal Drops Yard. The Expert RAW export is very flat in comparison to the camera app's with the color of the sky and building severely drained.
Samsung Expert RAW: Editing
The real benefit of RAW images only appears when you try to edit the shots later on.
Expert RAW saves the RAW images as Digital Negative (.dng) files, the Adobe-developed RAW standard. This means editing images in Photoshop works just as you would hope, giving you the power to perfect your shot, even if it was really off in the first place.
See this shot of the sculpture "My World and Your World" by Eva Rothschild, located in Lewis Cubitt Park before and after editing. I deliberately made this original image look weird by messing around with the in-app controls, to see if I could save it in the editing process. I managed to do so (excluding some indistinct “clipped” shadows) and now it's a vibrant yet more realistic image.
I am not an experienced editor, but I was able to manage the above only by playing around with the basic sliders available in Photoshop — and only for about half an hour at that. More experienced hobbyists and professionals will be able to get a lot more out of this, and without needing to tote their bulky regular DSLR around. And it goes without saying that you wouldn't be able to make this happen so easily by trying to edit a JPEG, if at all.
Samsung Expert Raw: Problems
There are two notable downsides I found while using Expert RAW. For one, the app doesn't support the front camera, meaning you won't be able to get the editing power we just saw over your selfies. Granted, I'm more likely to want to take a selfie quickly rather than take my time to tune and frame it, but it's still an odd limitation to have.
There are two notable downsides: you're locked at 4:3 and there's no front camera support.
The bigger limitation is that you can only take photos in a 4:3 aspect ratio. That's a common enough ratio for most purposes, but it does mean that you'll have to shoot with a mind to how you want to crop the images later. For example, Expert RAW would be no good for my product shots for Tom's Guide since they need to be 16:9. That's hardly in keeping with the freedom the app's other settings give you.
One other issue is less to do with the app and is just the main unavoidable downside of shooting in RAW: file sizes. These images can be almost ten times the size of the typical JPEG you get from the S22, so you may find yourself quickly filling up your on-board and cloud storage allowances if you take a lot of RAW images.
Samsung Expert Raw vs. Apple ProRAW
Samsung does have competition in the user-friendly RAW photography game. There's the OnePlus 10 Pro's RAW Plus format which I've yet to test in detail, but the main one is the iPhone 13 Pro, which offers ProRAW, another hybrid of RAW and pre-processed image. It's available in the standard iPhone Camera app (once enabled in Settings), and it works with all the phone's cameras, including the selfie snapper, and across all of the available aspect ratios, not just 4:3.
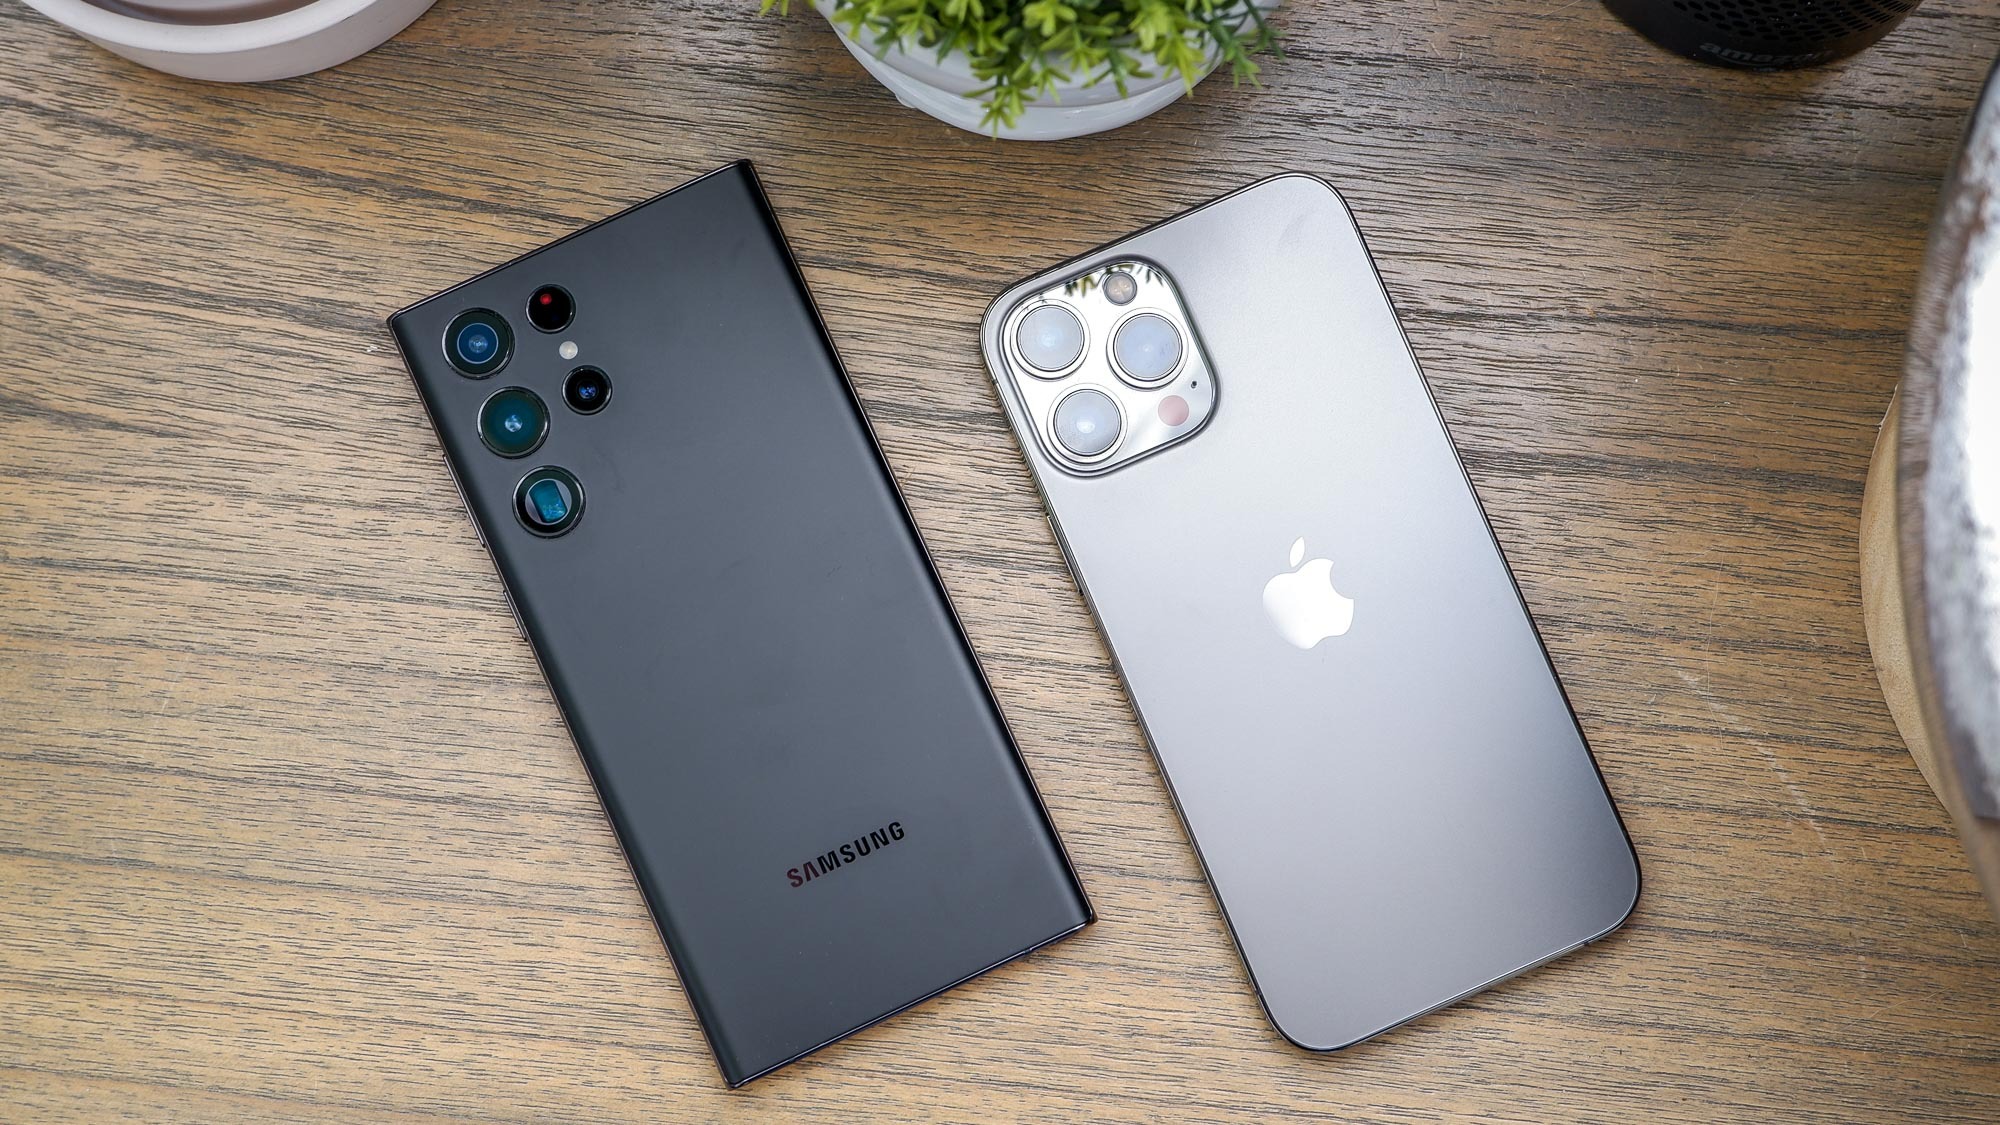
I had a brief period of using ProRAW when Apple first introduced it with the iPhone 12 Pro, but it didn't last as long as my interest in Expert RAW has, mostly because it also features odd limitations. First off, unless you know how to save camera settings on iPhone, ProRAW turns off every time you exit the camera app, which proves irritating if you keep putting your phone away and pulling it out again at regular intervals.
The biggest hurdle, though, is that you have far less control over the camera settings when shooting. You can adjust the exposureand choose from some pre-set color filters, but that is all until you get the photo into an editing app. While the new Photographic Styles on the iPhone 13 let you play with tone and contrast settings, you can only do so by adjusting the four pre-set styles rather than making your own. It's too convoluted to encourage experimentation, and I really hope Apple fleshes these capabilities out on the iPhone 14 and future iPhones.
One other quality of life difference is that you get two images every time you hit the shutter on the Galaxy S22, a RAW image and a JPEG. With the iPhone, you only get a hybrid file that you can export as a RAW file, but it will become a JPEG if you share it by regular means. It saves a bit of space, but I think having both formats keeps things simple when you're just trying to send an image.
In terms of quality though, we see an interesting difference. In the ready-made JPEGs of the Hyde Park Italian Gardens pavilion on a very grey London day, Samsung loses its usual trademark of super-saturated images, making the normally sensible-looking iPhone shot look like the dramatically colored one. Despite this, I still think the iPhone image is the one that's most true to life of the two.
Though I can't show the original RAW files here, the iPhone's RAW image also starts out a touch brighter and warmer than the Galaxy S22's, but of course you can easily change either photo to look pretty much however you like with an image editor.
Samsung Expert RAW: Final thoughts
Expert RAW isn't a camera app you'll want to use exclusively, as good as I think it is. Taking photos in RAW all the time is unnecessary, plus not being able to take selfies, portraits or shots outside of 4:3 really limits your options.
What I would encourage, however, is for anyone who's curious about exploring photography in more depth to try playing around with it. Learning the basics on a phone means you don't need to splash out on a dedicated camera if you can't afford to or don't want to. And if you want to show off what you're doing to your non-photography nerd friends, you have easy-to-share JPEGs of all your images to show as a work-in-progress.
The iPhone's ProRAW option provides a good gateway option too if you aren't an Android fan. That said, its better ready-made shots don't make up for the lack of creative control. As I continue my own journey into photography, I'll definitely be keeping a Samsung in my pocket.
Next: Here's how to turn on RAW photos on iPhone.

Richard is based in London, covering news, reviews and how-tos for phones, tablets, gaming, and whatever else people need advice on. Following on from his MA in Magazine Journalism at the University of Sheffield, he's also written for WIRED U.K., The Register and Creative Bloq. When not at work, he's likely thinking about how to brew the perfect cup of specialty coffee.
 Club Benefits


