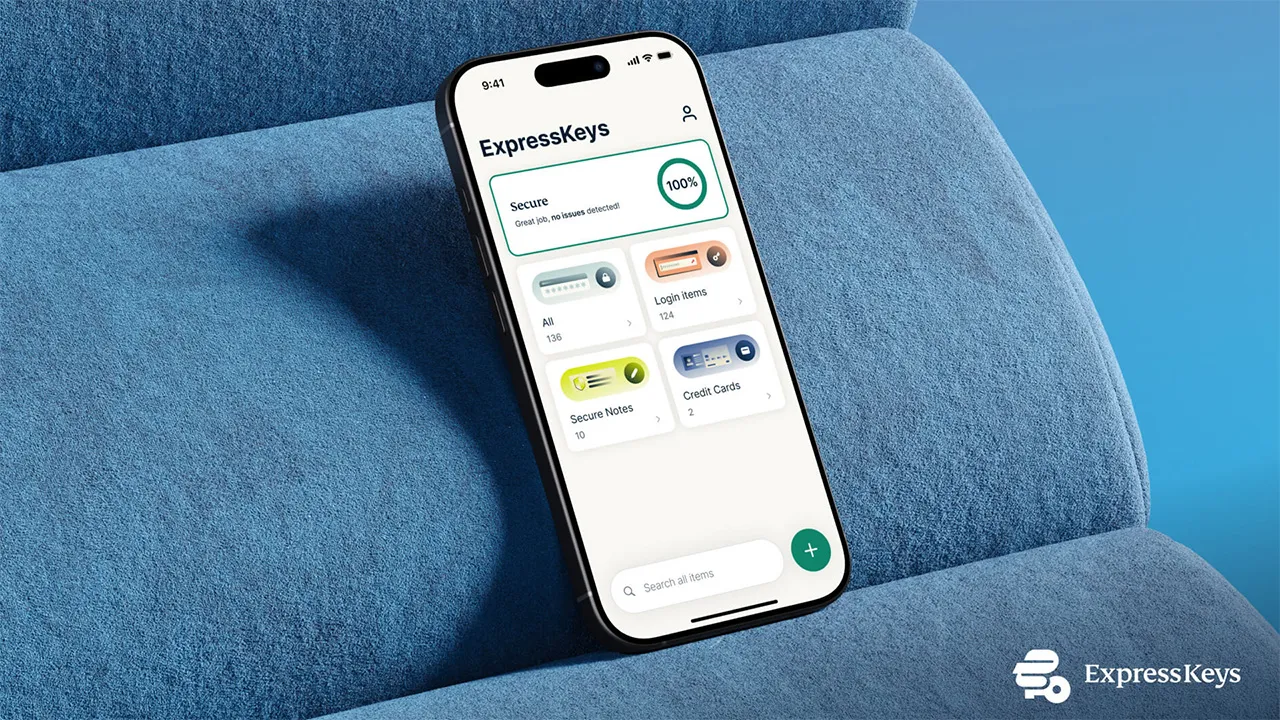
ExpressKeys – formerly known as ExpressVPN Keys – is the simple and secure password manager from one of the best VPNs, ExpressVPN.
Like many of the best password managers, ExpressKeys enables you to generate and store secure, complex passwords, alongside logins, notes, and credit card information.
Previously, ExpressKeys was part of the ExpressVPN app, but it now has its own standalone app, making up part of ExpressVPN's new privacy suite. ExpressKeys access comes bundled with ExpressVPN Advanced and Pro, with plans starting from $3.59 per month.
Historically, you could continue using ExpressKeys even after your ExpressVPN subscription had expired, freely adding and generating passwords, at no extra cost. But ExpressVPN has recently changed this. While legacy ExpressVPN users can still access their stored information, nothing new can be added – rendering ExpressKeys somewhat useless unless you reactivate your subscription.
If you're one of these legacy users, you might want to export your passwords and switch to another passwords manager – here's how.

Setting up
You can export your ExpressKeys passwords using both its mobile app and desktop browser extension. ExpressKeys offers a smoother, more intuitive experience on mobile devices, and that's where I typically access my login details.
However, I found the export/import process was easier to achieve via desktop, and I'll explain why further down.
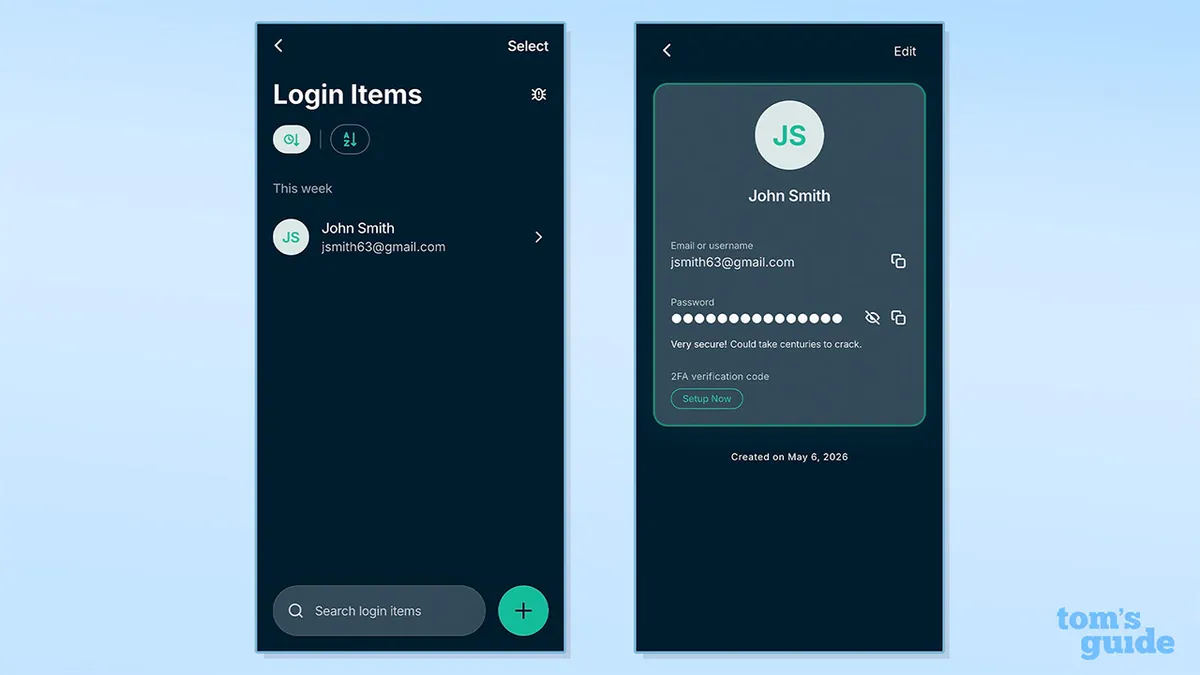
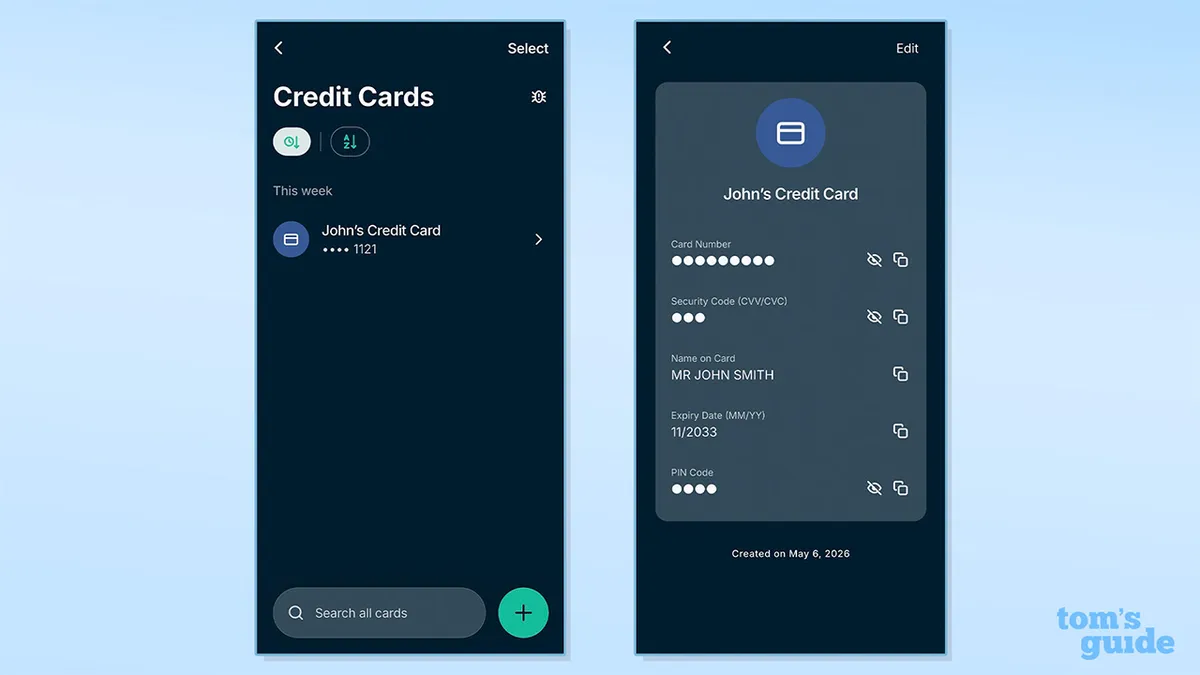
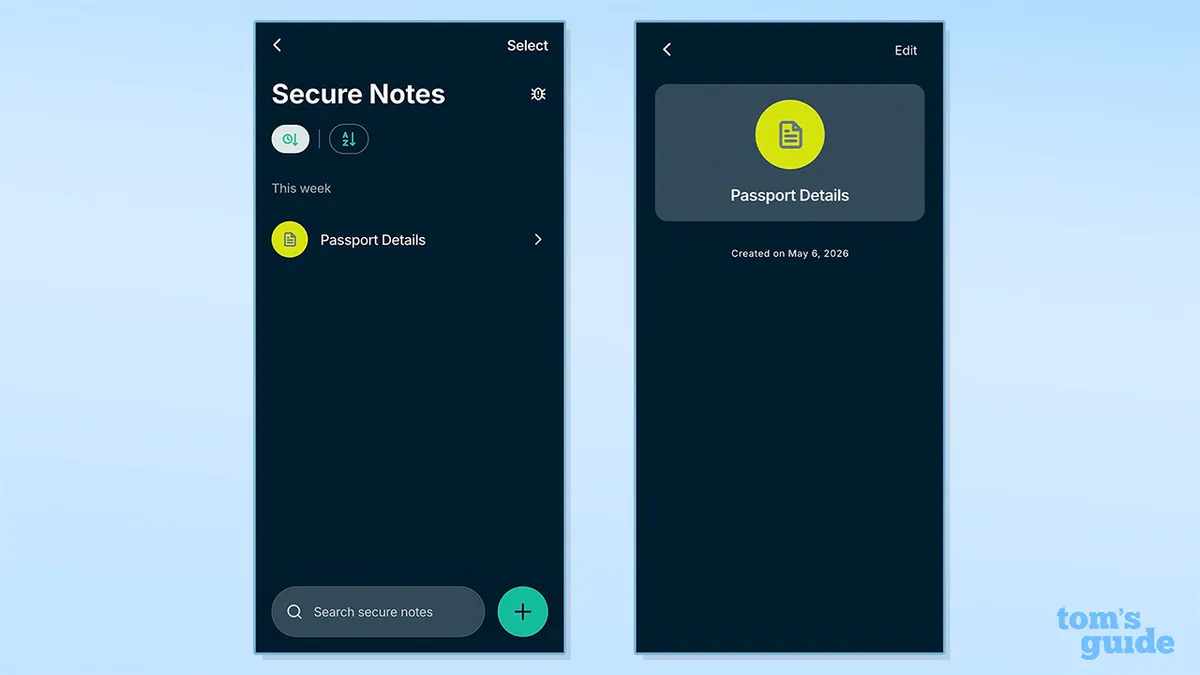
ExpressKeys allows you to store passwords, logins, secure notes, credit cards, and authenticators – all these details can be exported.
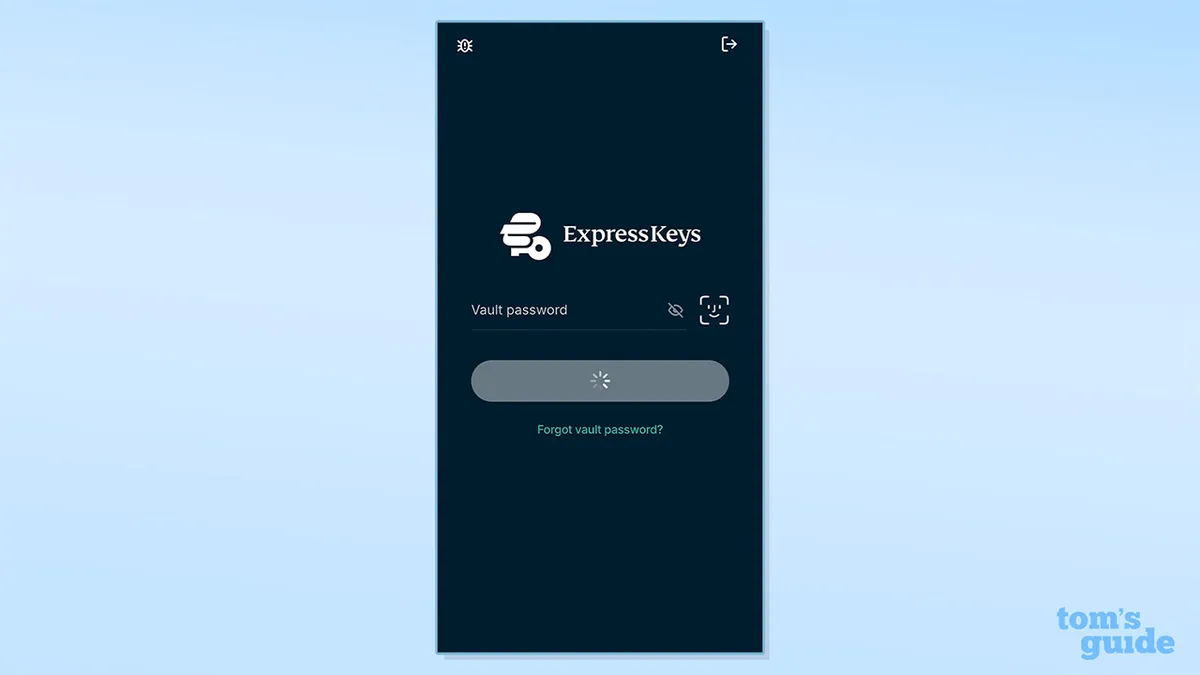
Before doing anything, make sure you're logged into your ExpressKeys app. You may be asked to enter your vault password – you'll also need this later, so make sure you have it to hand. If you don't, you'll need to contact ExpressVPN support.
Ensure you have all the details you want to export, and ideally, have an alternative password manager ready to import them into.
Although you can do both, I'd recommend exporting via desktop, especially if you're going to be importing your data into another password manager. The exporting process is actually more secure on mobile. But when importing, you're often prompted to do this via a web page, making desktop far easier.
Exporting via mobile
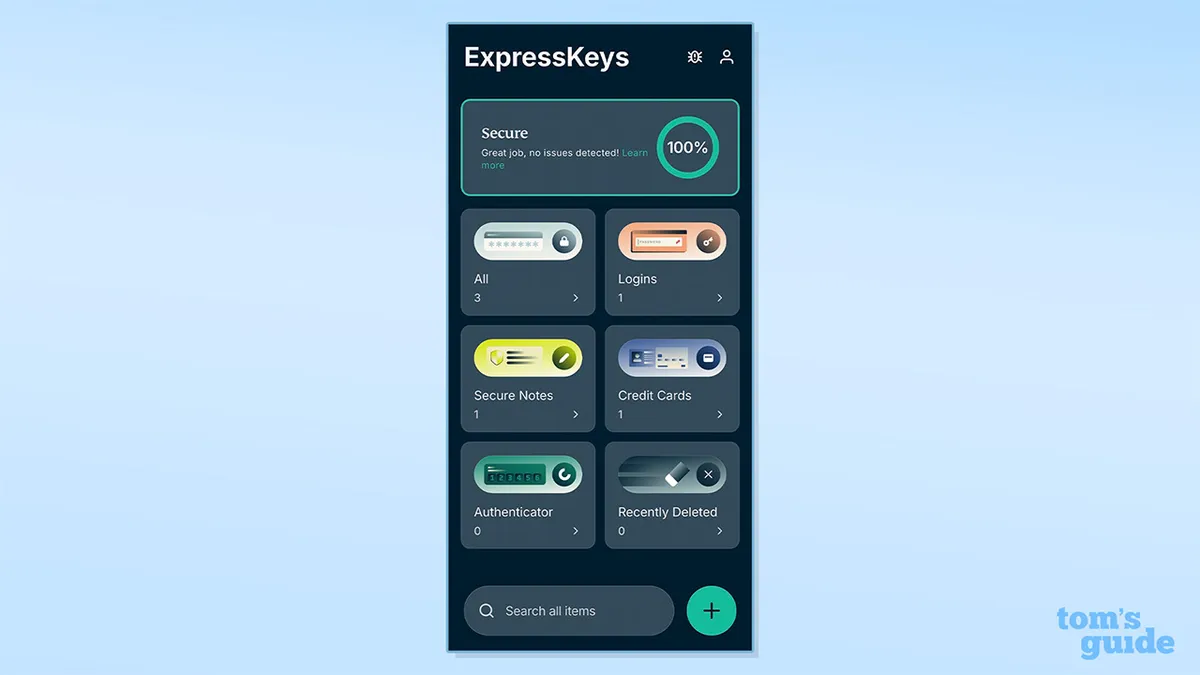
Opening your ExpressKeys app on mobile brings up your dashboard. Here you'll see an overview of all your stored information.
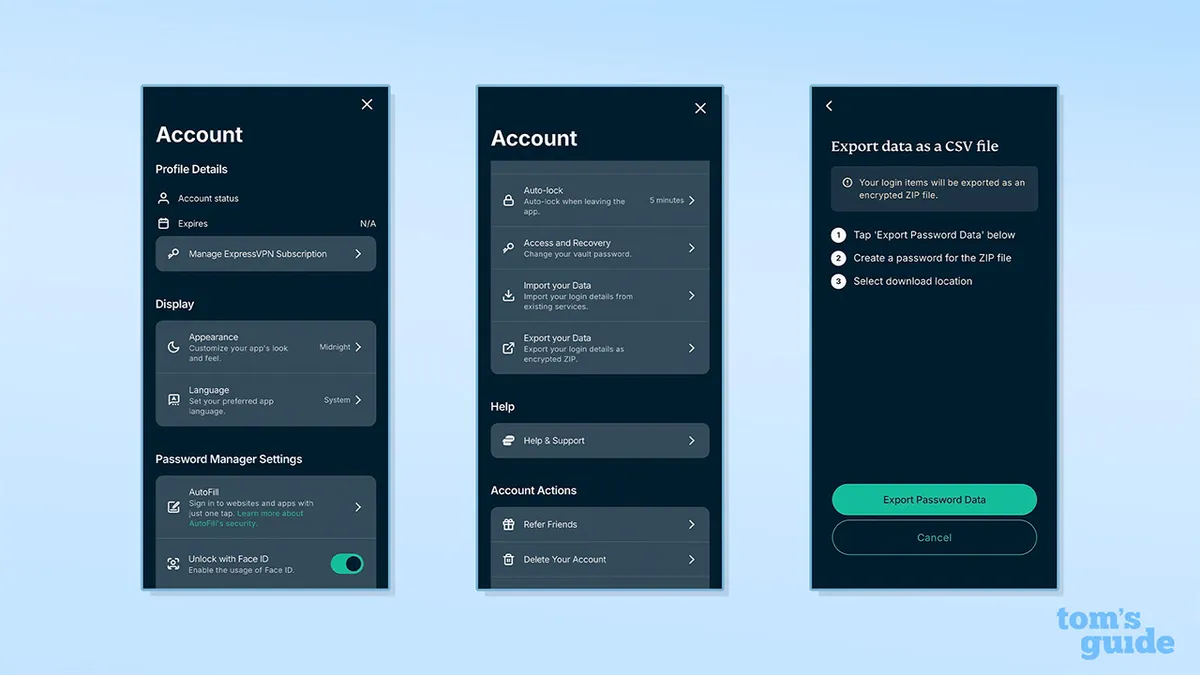
First, select the Account icon in the top right of the screen – it looks like a person. This will bring up your account information. Scroll down to Password Manager Settings and click Export your Data.
You'll be asked to enter your vault password, so make sure you have that handy. If you've lost it, you'll have to contact ExpressVPN support before proceeding.
After entering your vault password, you'll see a message telling you your data will be exported as an encrypted ZIP file.
You'll then be prompted to create a password for this file, and you'll need to enter it to access your data.
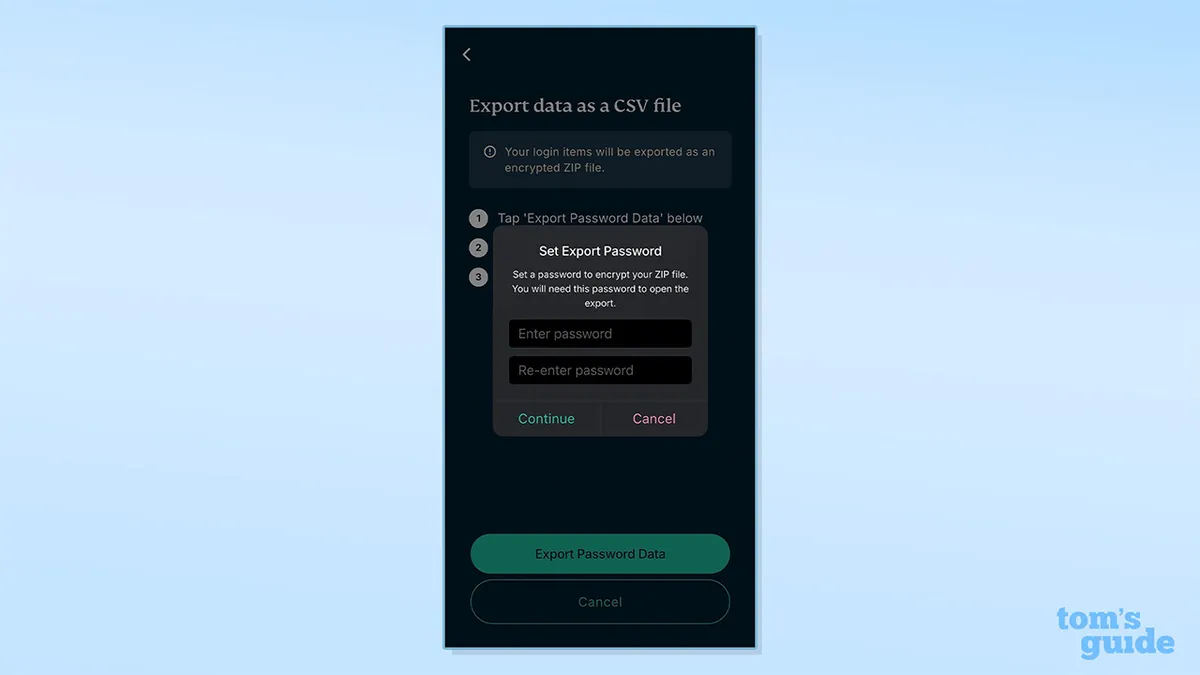
It's important to enter a secure password as, once unlocked, all your exported data will be visible. Once you've created and entered your password, you'll have the option to choose the export destination – I exported my data to Files on iPhone.
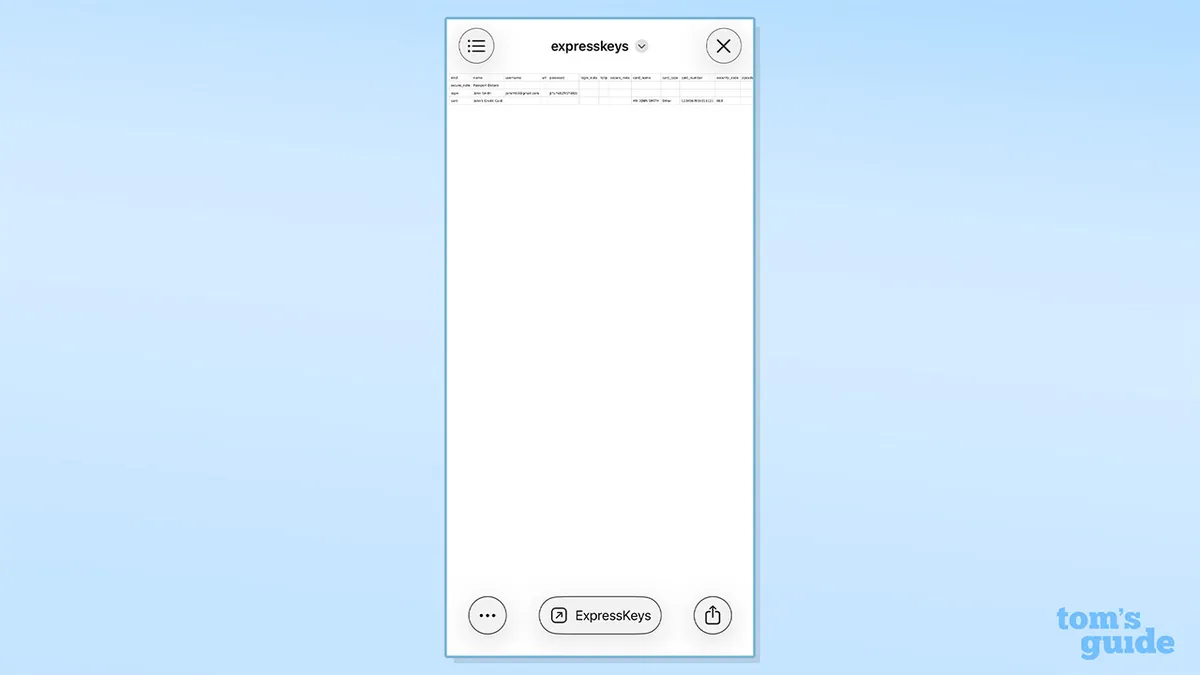
Once exported, you can navigate to your chosen destination, enter your password, and view your exported data.
From here, you can either leave the data as it is, or import it to another password manager. I'll talk you through how to import your data into another password manager later on.
Exporting via desktop
Although ExpressKeys is a mobile-first app, it has a browser extension too. If you don't already have this installed, head to the Chrome Store and install it. You'll have to enter your login details to access your vault.
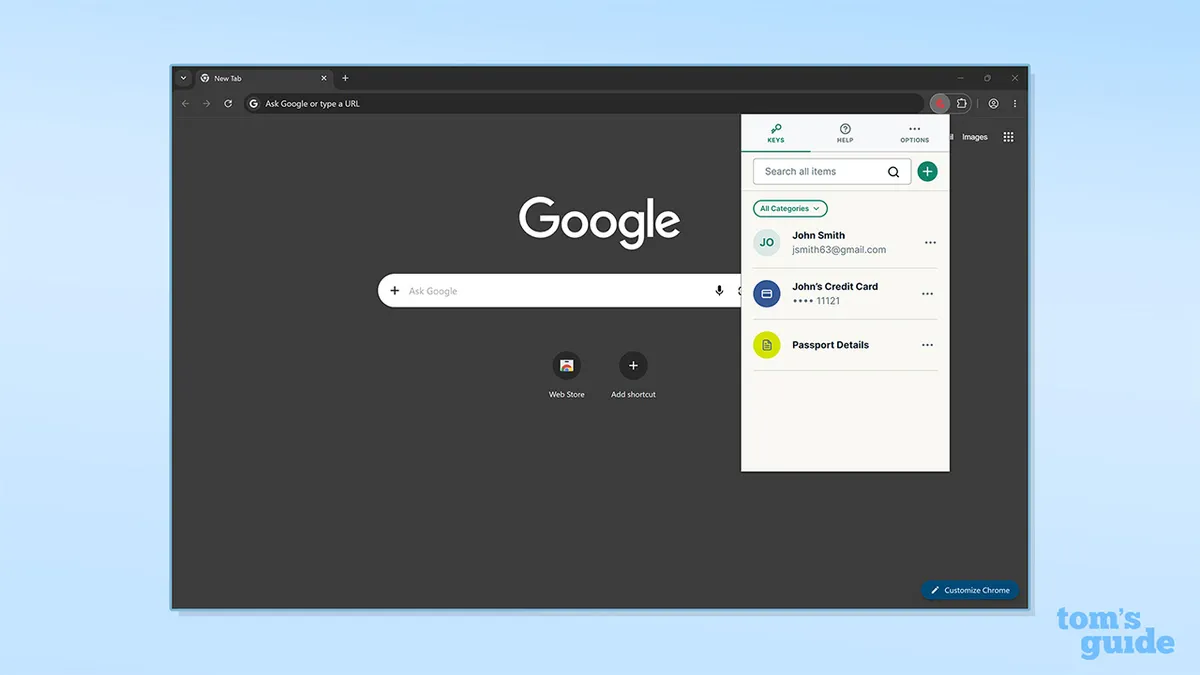
Exporting via desktop is a similar process to mobile. Once logged in, you'll be greeted by a dashboard which lists all your login details.
To start exporting, click the Options tab in the top right, then click Settings. In Settings, scroll down to Data, and click Export data as CSV.
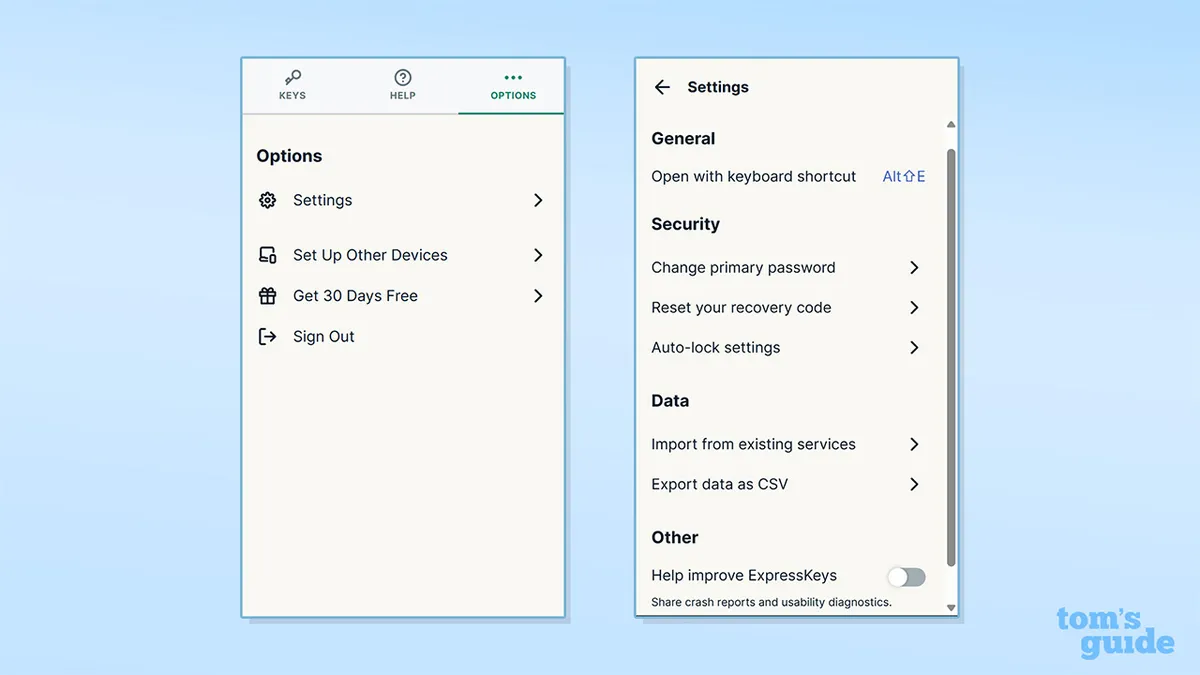
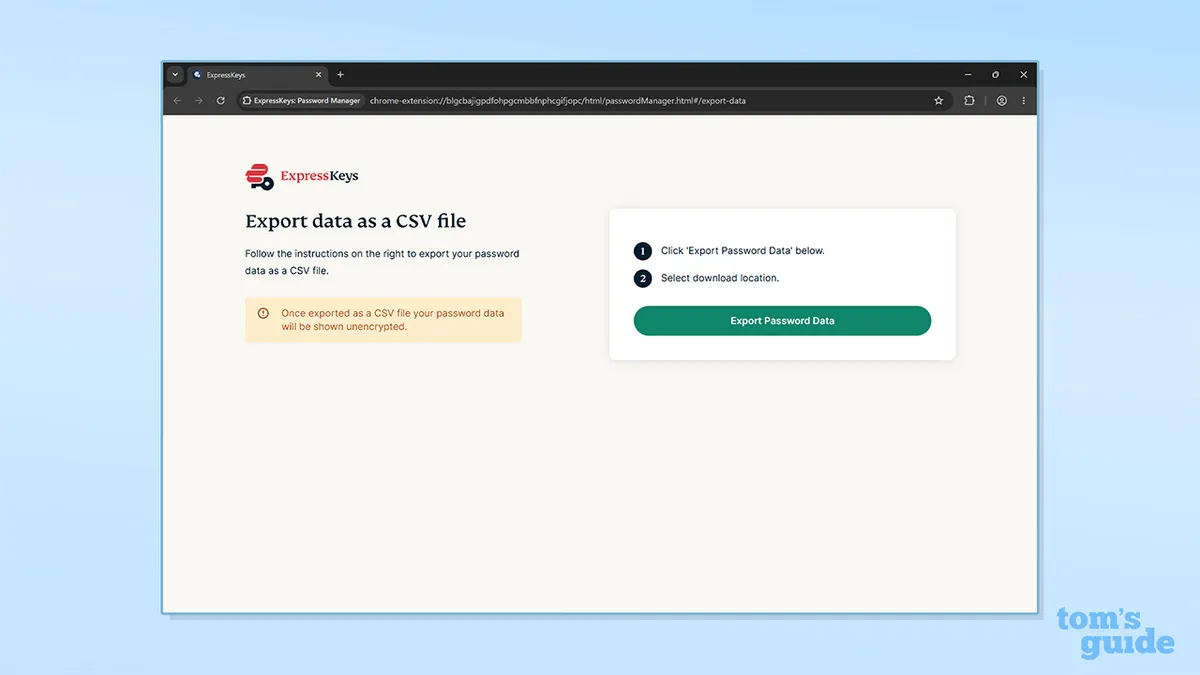
You'll be asked to enter your primary password – this should be the same as your vault password on mobile. Once entered, you'll be able to export your data by clicking Export Password Data.
Unlike mobile, you're not prompted to enter a password to protect this data, and it doesn't appear to be encrypted as standard. You should therefore be extra vigilant over where you're exporting the file and who might be able to access it – we wouldn't recommend exporting passwords on a shared or work computer.
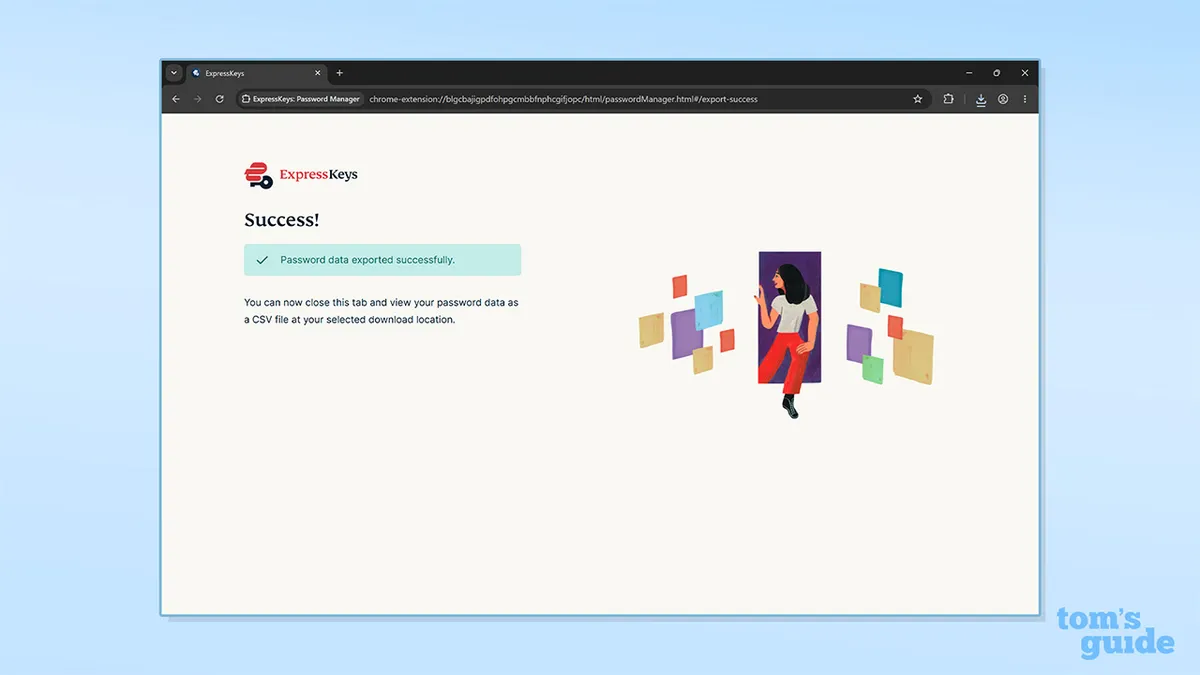
After clicking export, and choosing your destination, you should receive a message saying your password data was exported successfully.
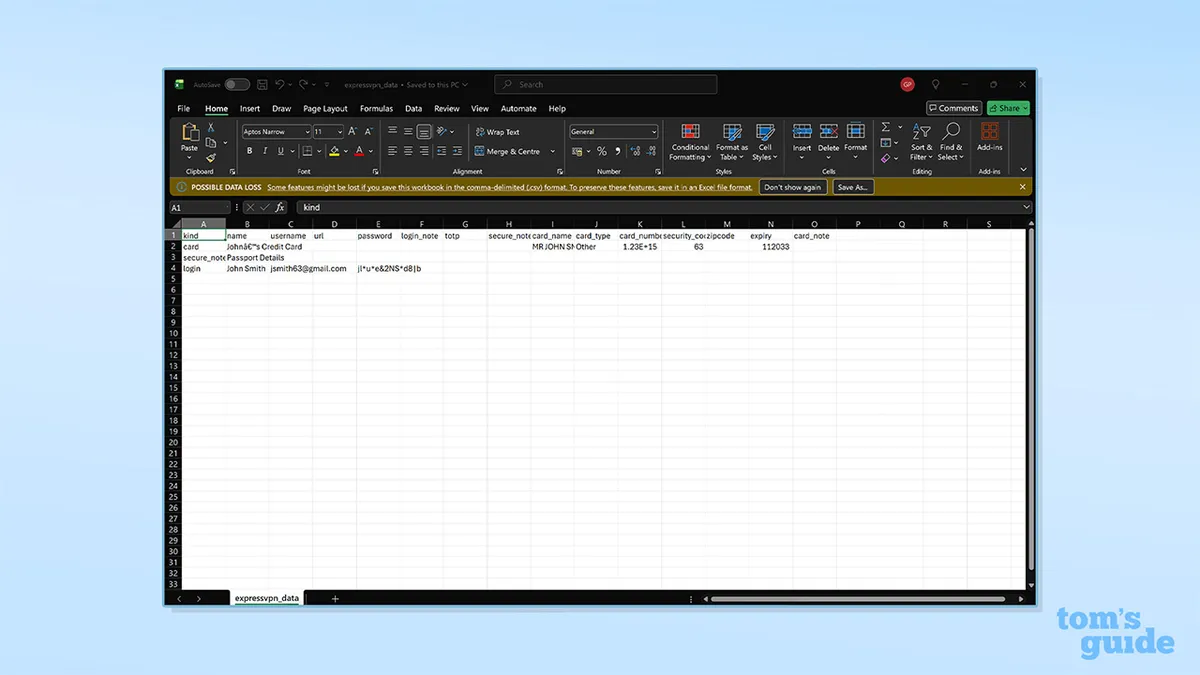
Like mobile, the file will contain all your details in full, meaning they can be read by anyone. So take extra care when opening it.

Importing to another password manager
If you've gone to the trouble of exporting your data from ExpressKeys, you'll likely want to import it to another password manager.
There are plenty of good options out there, but for this example we're looking at two password managers linked to two of the best VPNs – Proton Pass and NordPass, from the teams behind Proton VPN and NordVPN respectively.
I opened the mobile apps of both password managers, navigated to settings, and selected the option to import my data. However, I found that both prompted me to use a web page to import my data, and I couldn't easily import via mobile.
This was a slight pain and is the main reason I'd recommend exporting via desktop.
NordPass is included in NordVPN Plus plans and above, with prices starting at $3.59 per month. It's also available as a standalone plan. Proton Pass comes as part of the Proton Unlimited plan, which costs $9.99 per month and also includes Proton VPN. It's available as a standalone plan, and you can access a limited version for free.

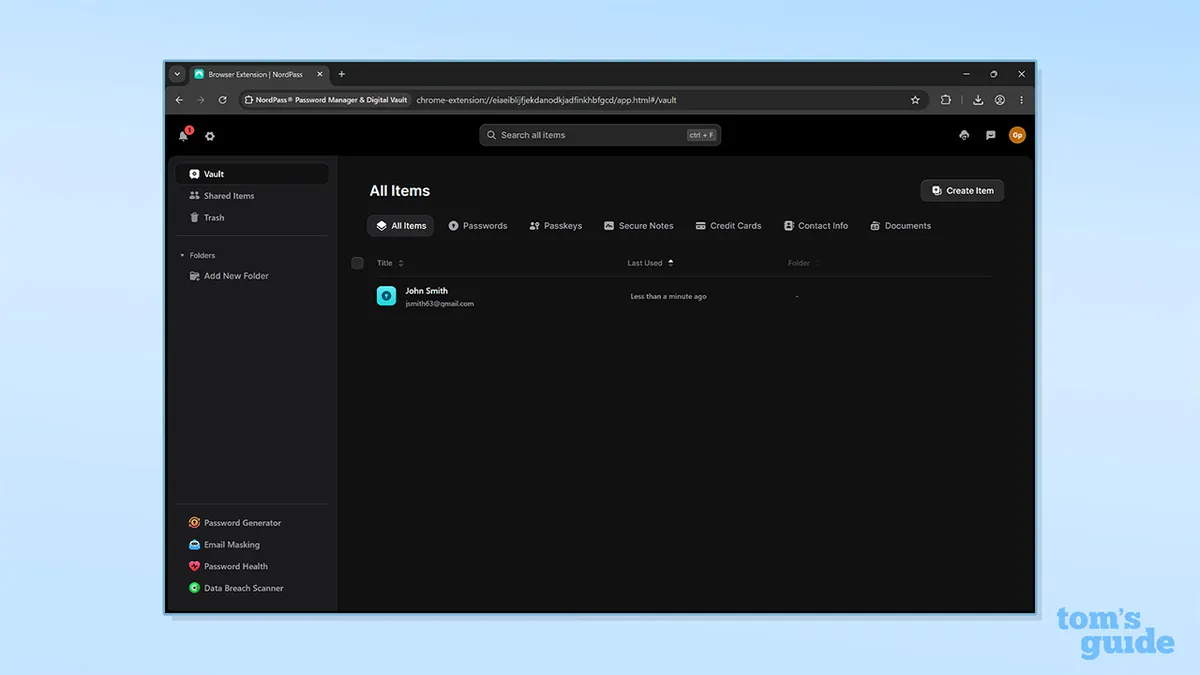
With NordPass, once logged in, you'll see a range of options to add password data. Alongside creating details from scratch, you can import from a browser, password manager, or spreadsheet.
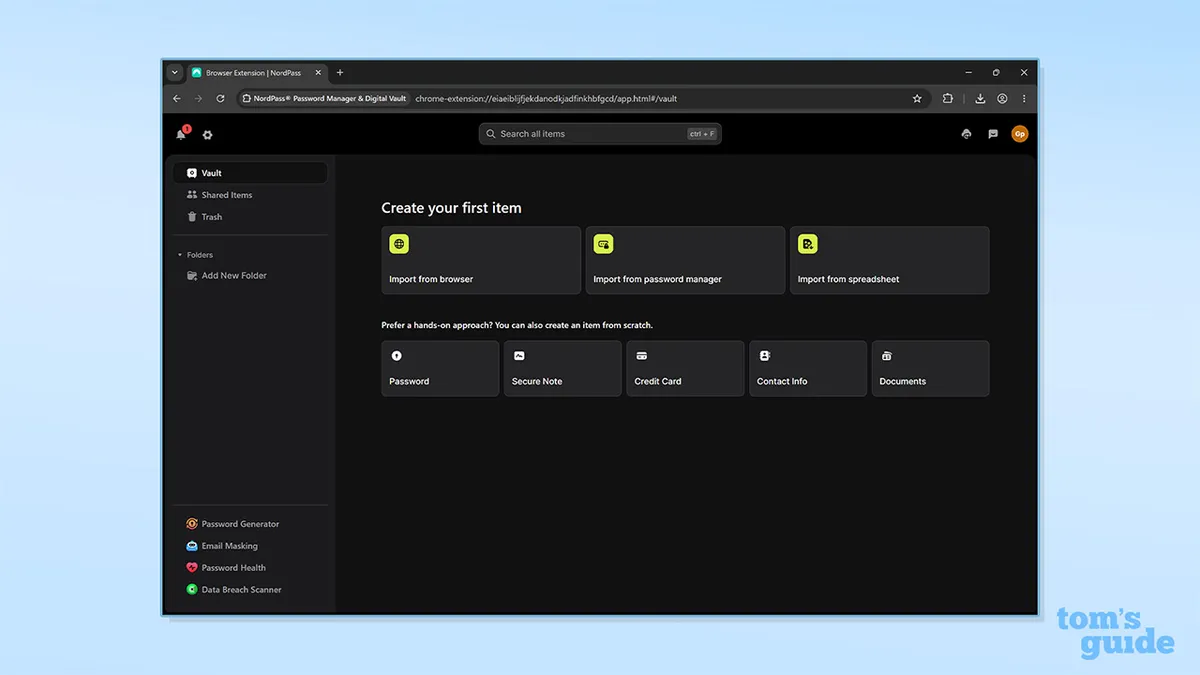
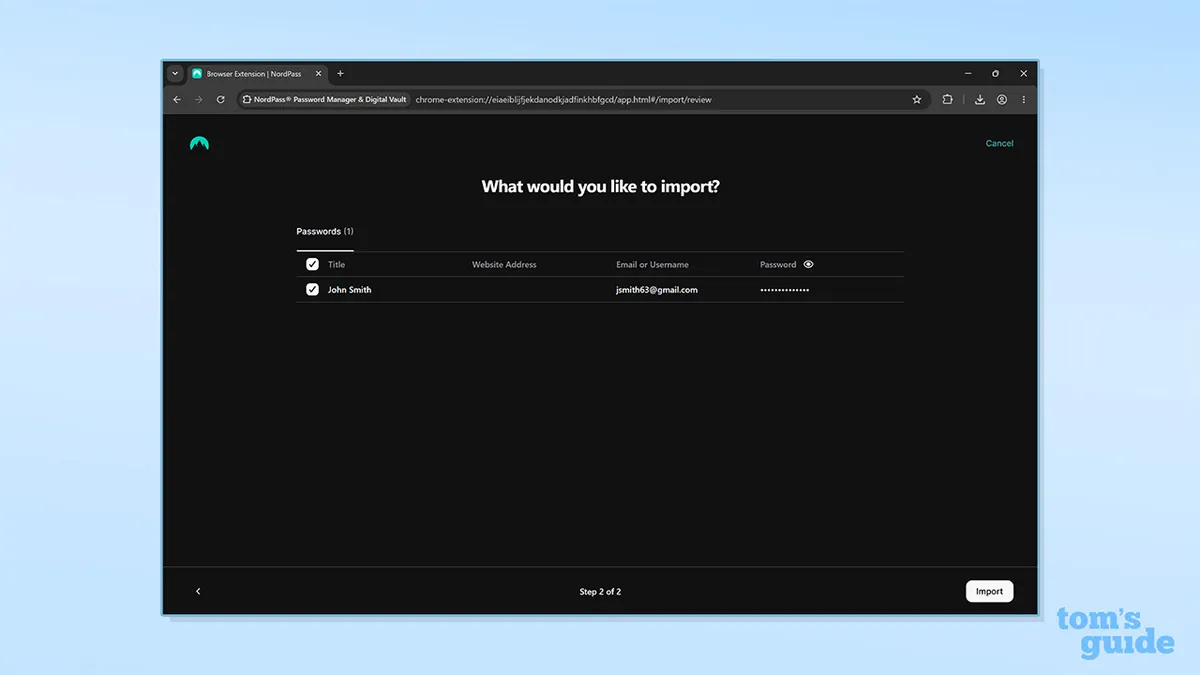
To import your CSV file, click Import from spreadsheet. You can then select the file and click import.
However, when importing my data, NordPass only imported my email and password, not my secure note or credit card information. The app supports both secure notes and credit cards, so I'm not sure why these didn't transfer over as well. In contrast, Proton Pass allowed me to import all three pieces of data.
After importing, my data was stored in both apps and ready to access.
Despite a few quirks, exporting your password data from ExpressKeys, and importing it to another password manager, is a relatively easy process. Exporting via mobile is more secure, but exporting via desktop makes importing more straightforward.
No matter which app you choose, we recommend signing up to an alternative password manager if you're a legacy ExpressKeys user – or resubscribing to ExpressVPN. Having secure complex passwords is crucial for protecting your accounts and data, and using a password manager allows you to generate and store your information with ease.
We test and review VPN services in the context of legal recreational uses. For example: 1. Accessing a service from another country (subject to the terms and conditions of that service). 2. Protecting your online security and strengthening your online privacy when abroad. We do not support or condone the illegal or malicious use of VPN services. Consuming pirated content that is paid-for is neither endorsed nor approved by Future Publishing.